A reflection of my first year at university

Looking back, I’d say I’ve really improved a lot in not only my skills but my confidence to get work done and up to standards, as well as being able to work efficiently in groups. I’ve learned that I have quite good leadership skills as I’m able to go round the group and help out, doing my best to sort problems any members have and bounce ideas of one another. I try my best to make sure everyone has a say in group projects and that no one feels left out or avoided.

Working with 3D was definitely more appealing to me than 2D as its a whole new world of tools an resources, and I love being able to make a 3D model of my ideas, getting to better understand how they work and function, so I’ll certainly be working on this skill throughout the summer. Animating in 3D is a little more taxing than I thought it would be, but its still fun and i think I’m pretty good at it so far. I’ve learned the 12 principles of animation and how to use them effectively to create an interesting animation. This was also my first experience working with Maya, and my first time actively learning about blender and how to use it, I’m looking forward to spending more time with these programs as well as time goes on. 2D still had its own strengths though, as there was more room for complex designs and more stylised pieces, as drawing is something I’ve been used to rather than a 3D program where you model using shapes like cubes and cylinders. Even if it was a little harder trying to draw every frame and getting them to match the past frames, getting the pacing right and trying to make the scene appealing i still did enjoy making my part for the 2D animation, as well as developing my designing skills in the researching stage.

Learning about the history and techniques of animation was very interesting, as i got to research about things I’d never read in detail before, and it helped me broaden my horizon on what kinds of animation actually exist. It also led to me finding some very interesting animators who i can watch and learn from.

The tutors at this university are very friendly and you can tell they want to set you up for success. Its easy to go and talk to them when I need help or when I’m unsure of anything and they do their best to make sure everyone in the class is at the same place and understands what they’re saying. Their lessons are very thorough and enjoyable as they interact with the class throughout and have conversations about the topic on hand. They’ve also given me opportunities for 1 to 1s in order to help me better understand my work and get help and guidance with what I’m doing.

All in all, I’ve enjoyed this first year and had many opportunities to try new things, meet new people and feel safe and welcomed in this educational environment. I’m looking forward to next year, and showing what I’m capable of by practicing my skills over the summer to improve.

The branch

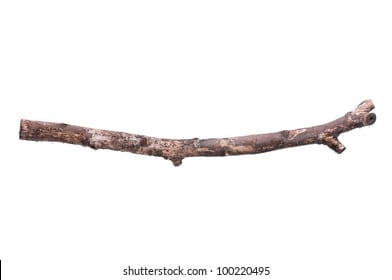
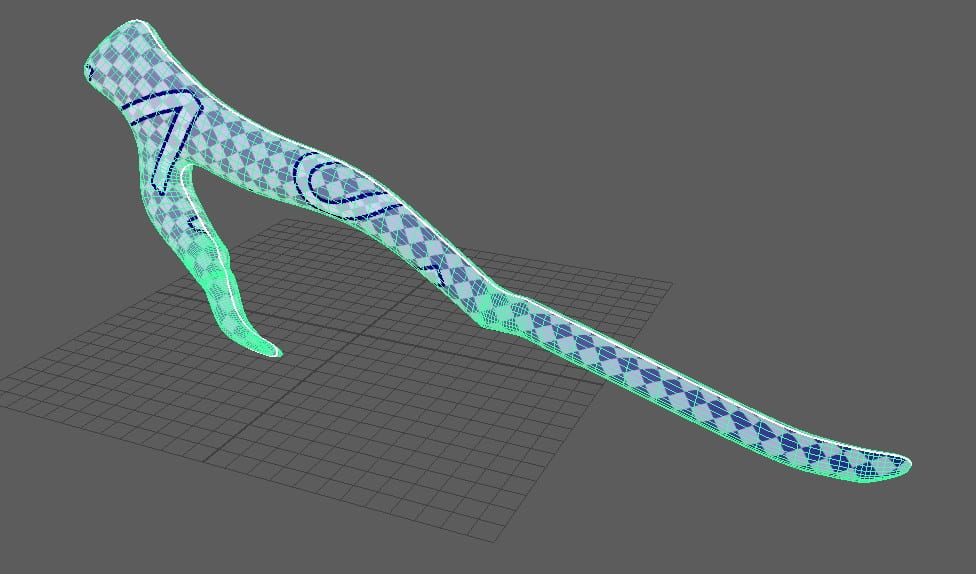
The final thing on my list was making a branch for the assassin to crawl down. I found a nicely shaped branch image on Google and imported it into my Maya scene file. Starting with a cube, I went into front view and sized it down to roughly the same width as my reference image, rotating it and pulling the vertexes down to the first tweak in the branch. Using the multi-cut tool I then added in loop cuts where i thought appropriate to give bend to the branch, using the extrude tool to extrude from the end face and create another section to the branch, aiming it downwards to fit the idea of our animation. Adding more edge loops all the way down the branch, I adjusted each edge and vertex to make sure the branch looked as organic as possible, adding in a little part off at the top to make it feel more dynamic and realistic.

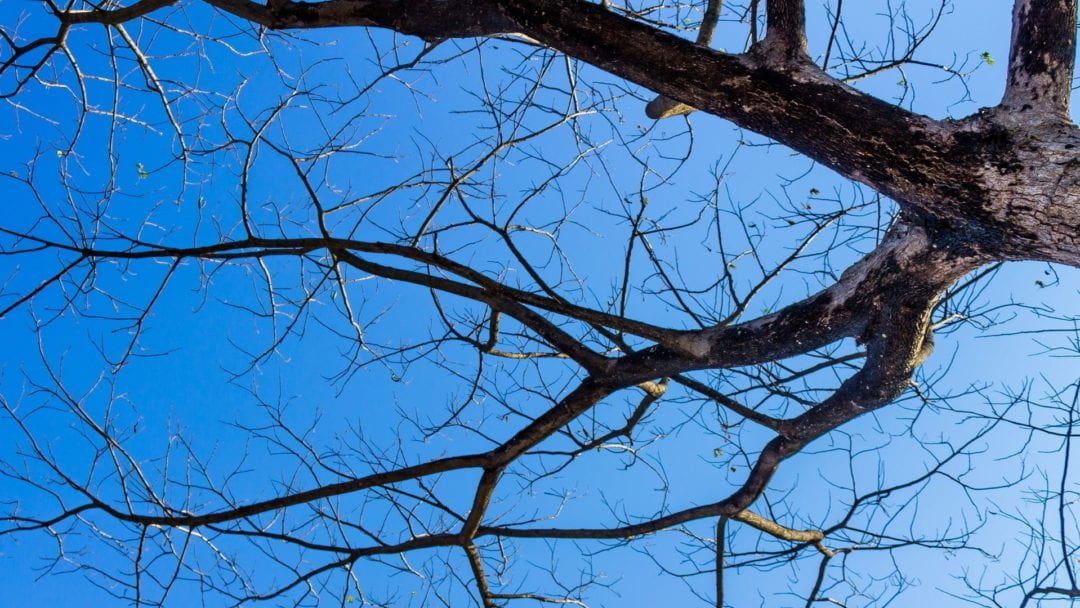
The silhouette of tree stands isolate from cloudless sky.

Moving on to UV mapping, it was fairly simple, I opened the UV editor and projected my branch as a planar on the Z axis, located the edge where the UVs started to flip and selected it. I had to do this in two parts so my UVs were evenly split and not all messed up. Selecting the top edges, i made a cut then did the same for each end of the branch and the bottom. Basically I just selected the edge loop that ran through the exact middle of my model and made a cut, pulling the UVs off each other and unfolding them before using the layout tool to make everything neat and proper.

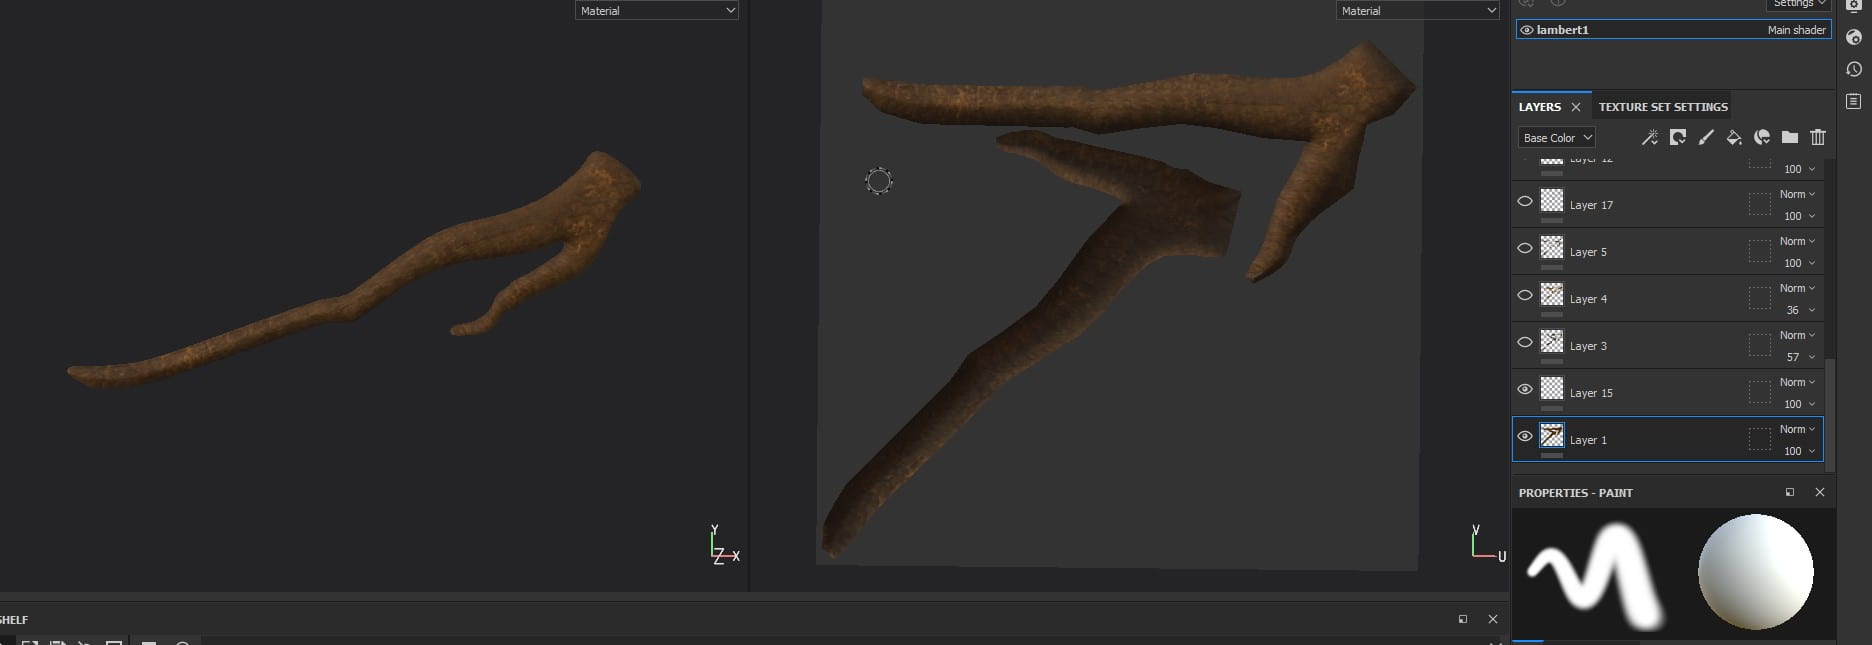
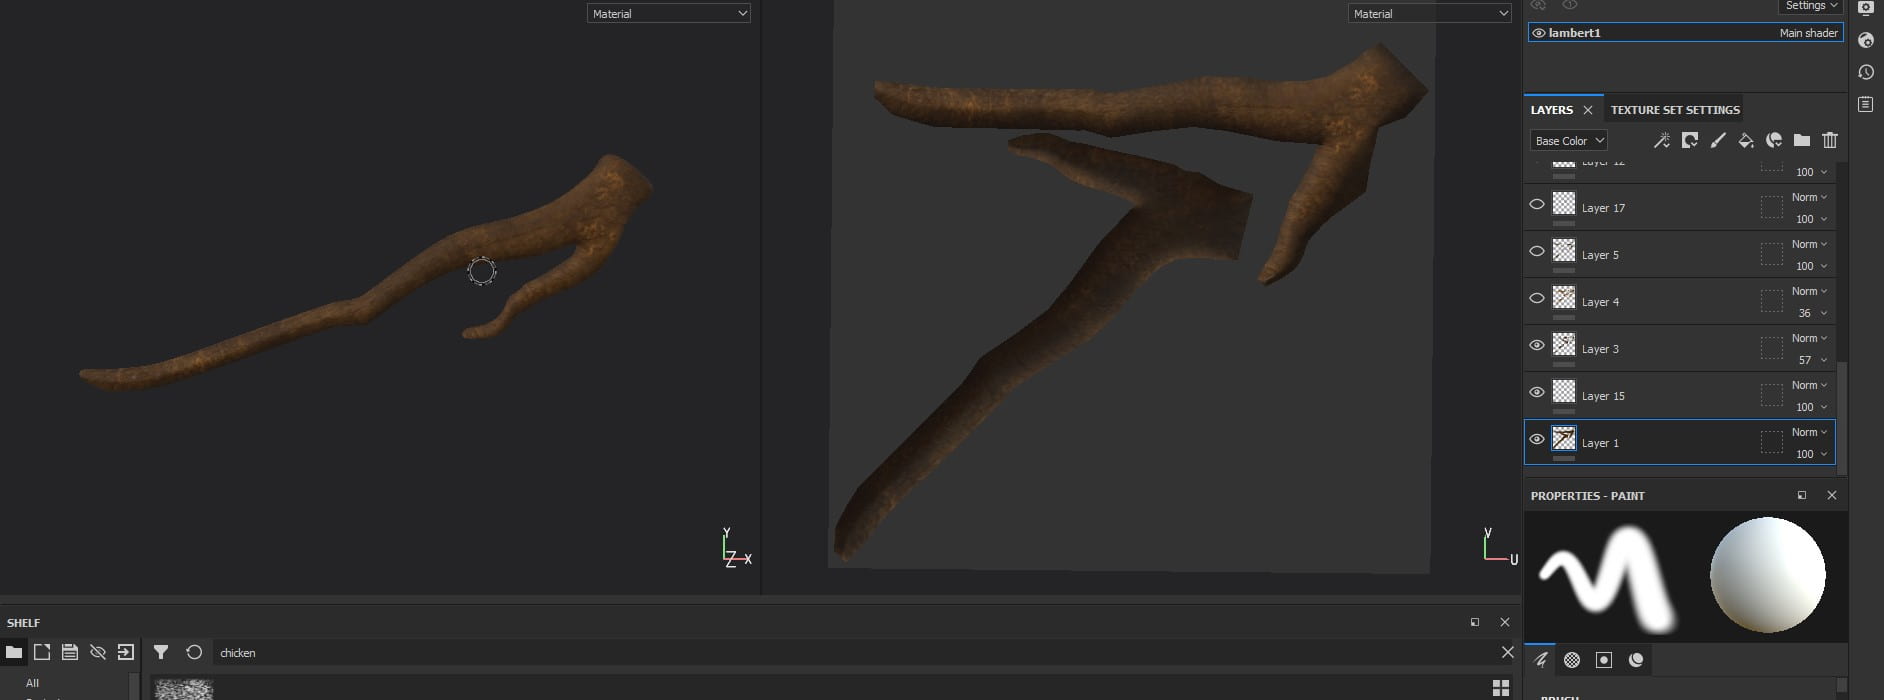
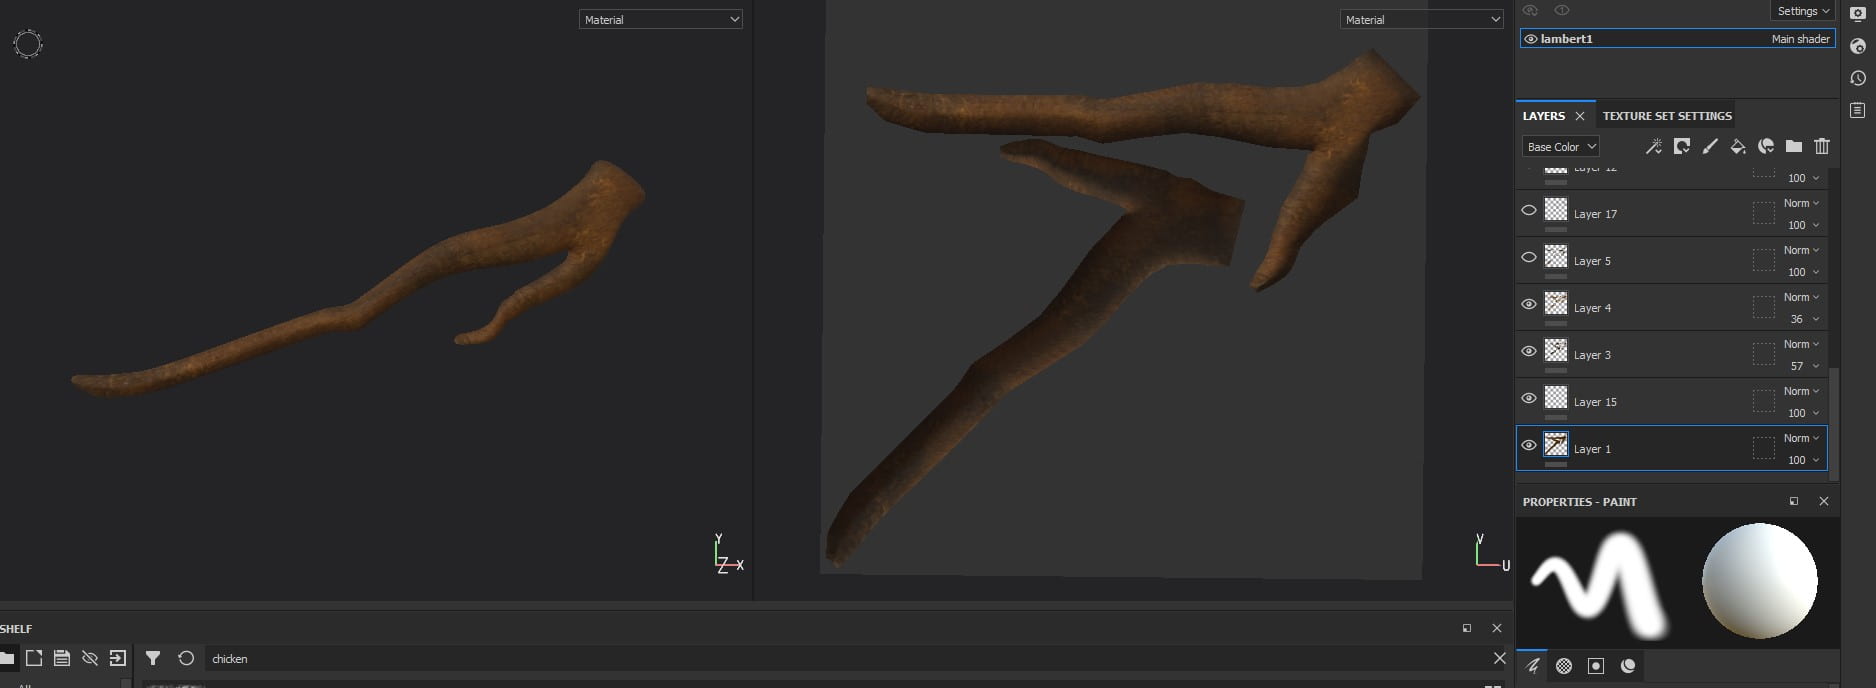
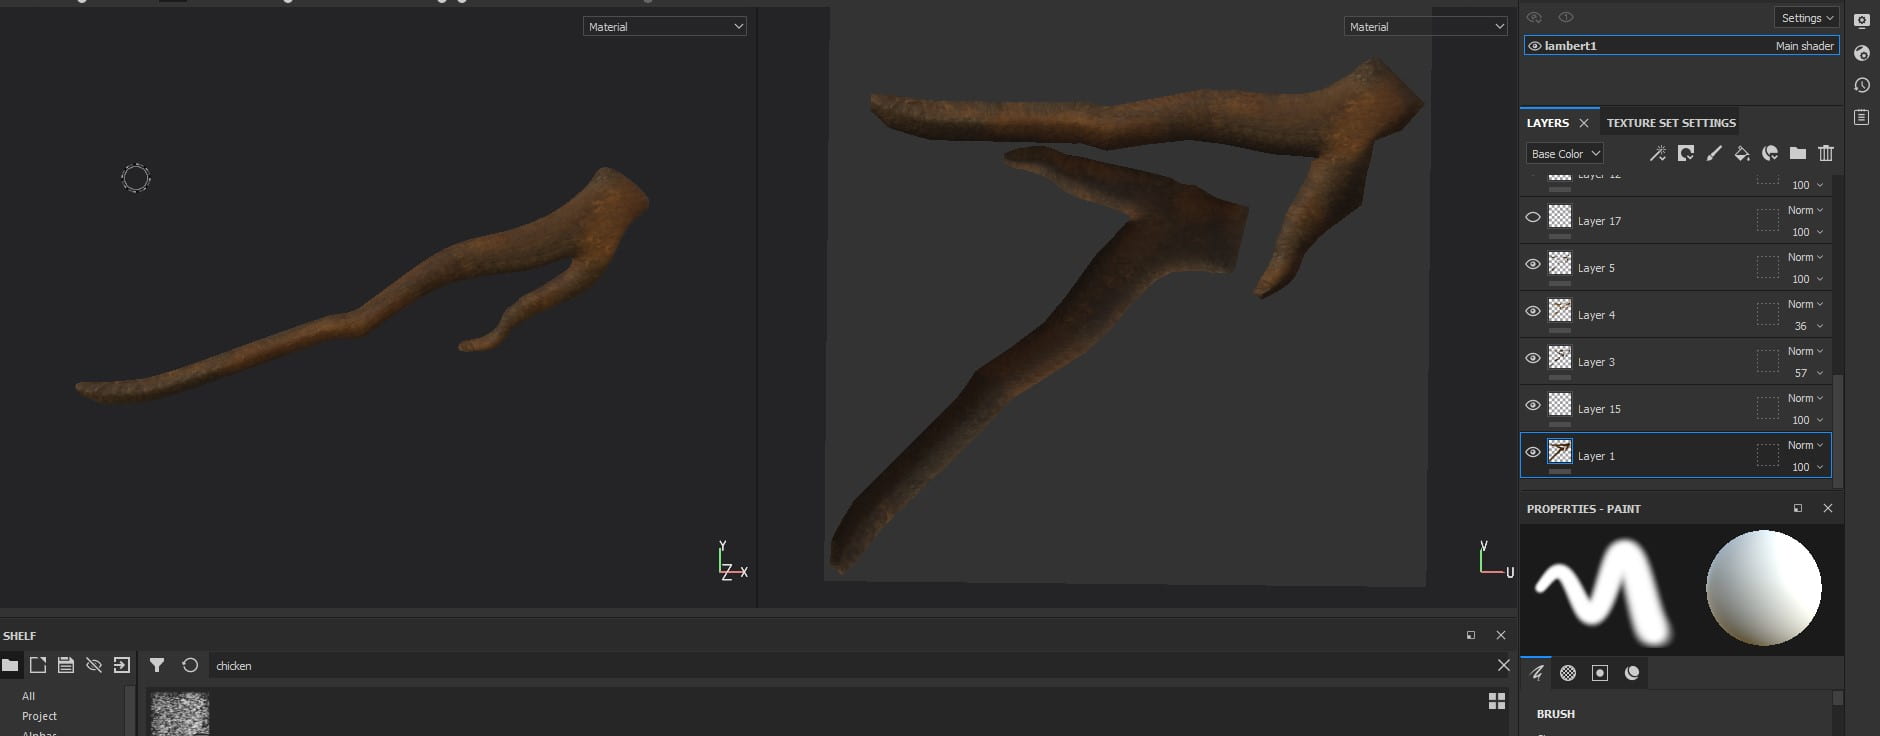
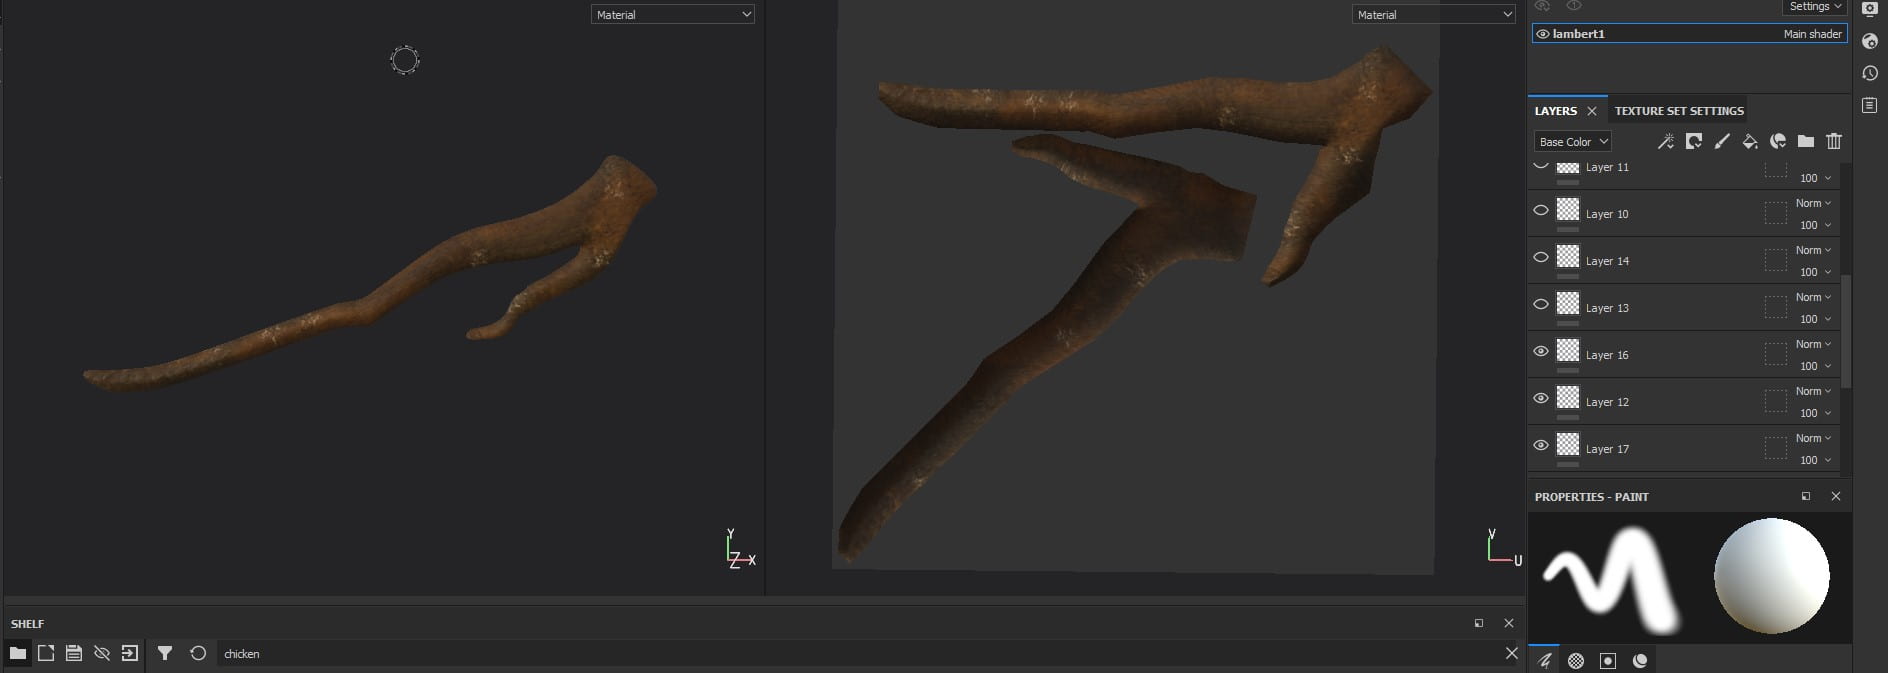
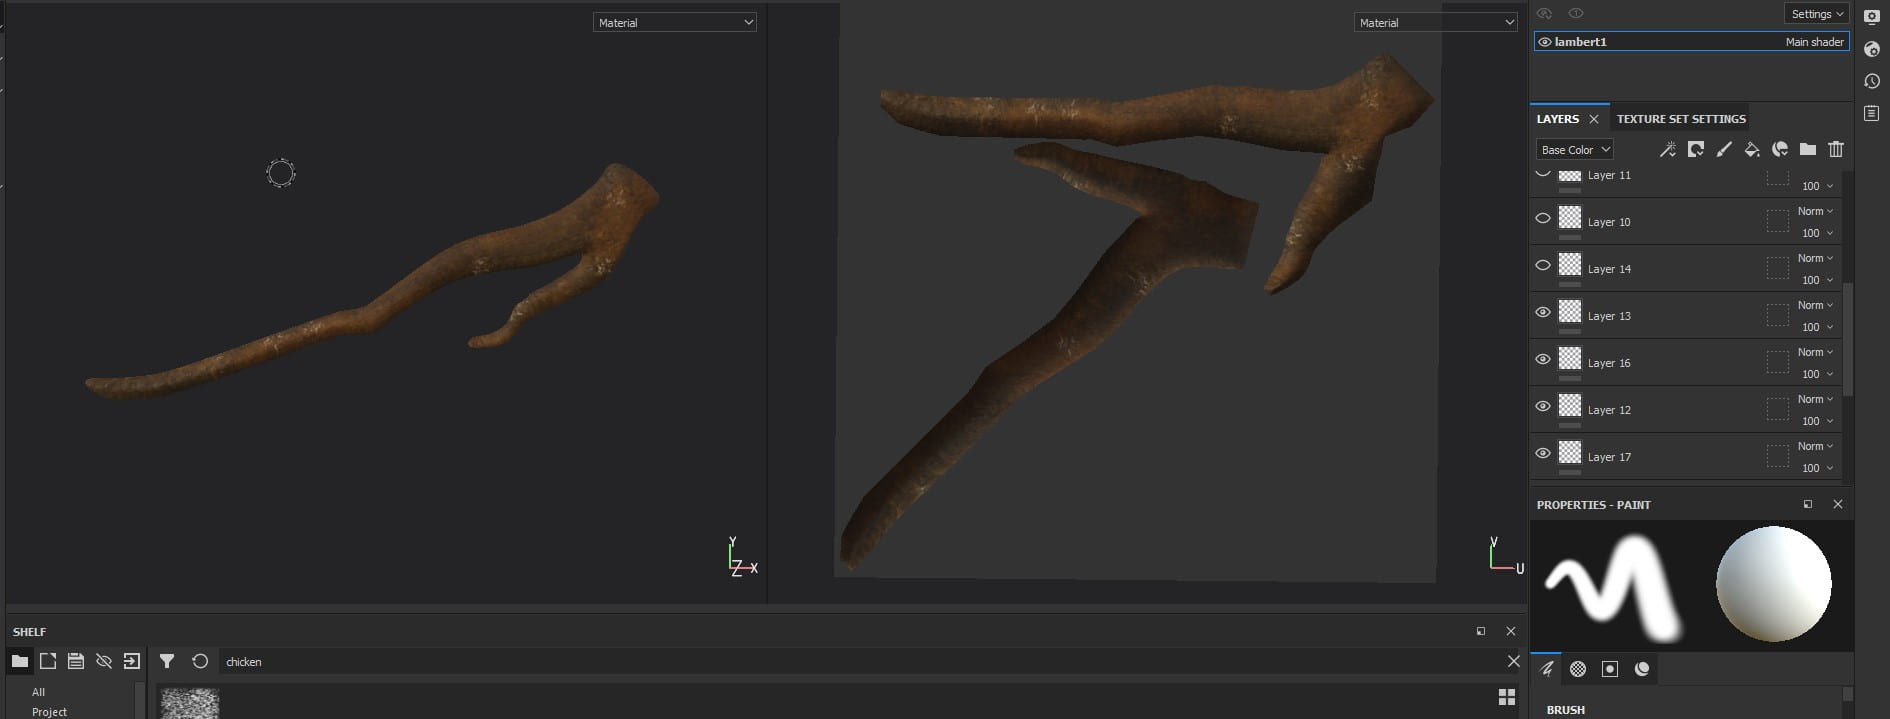
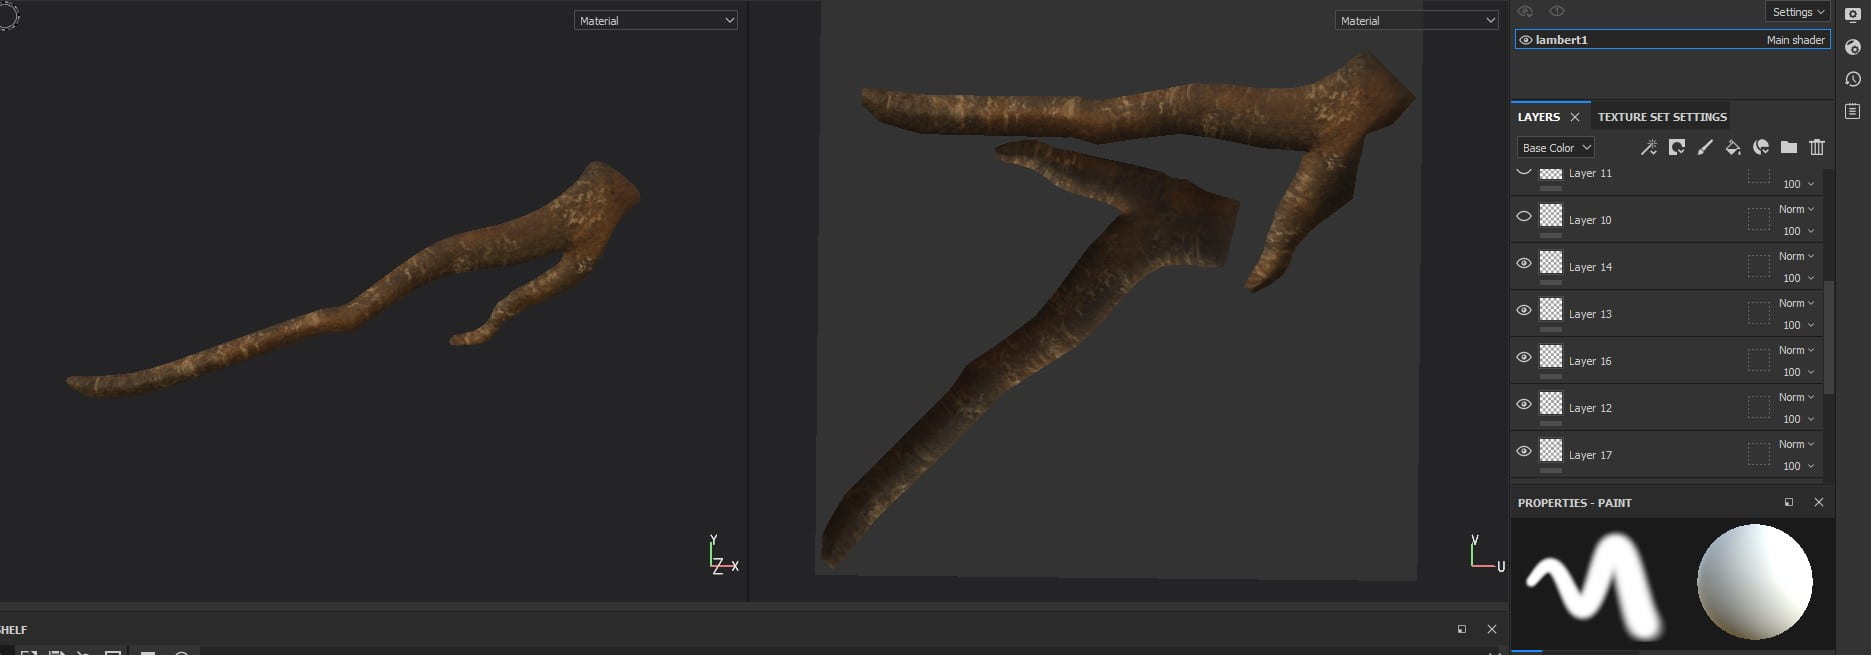
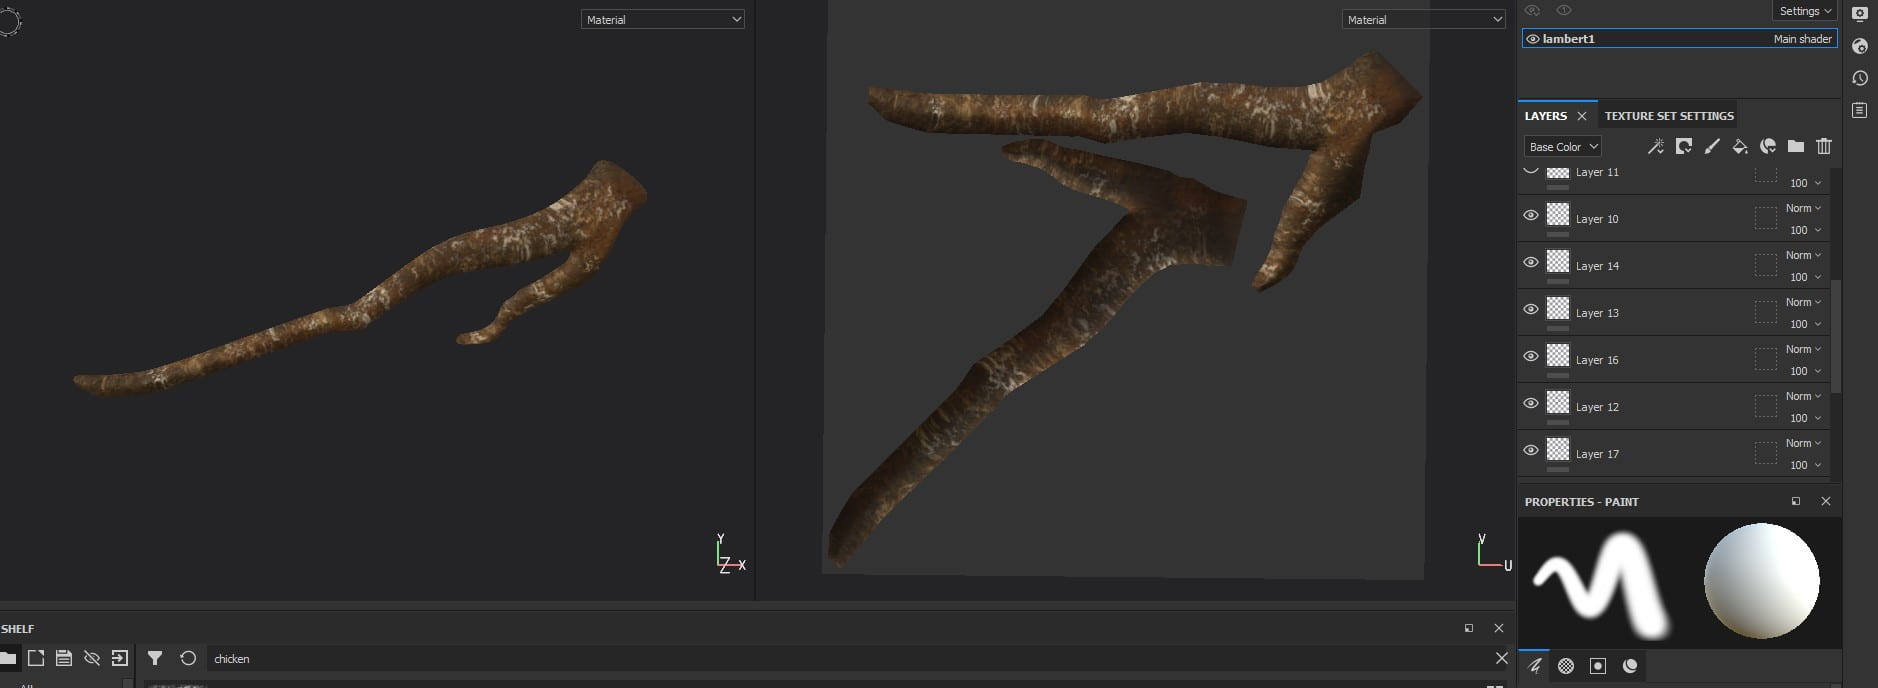
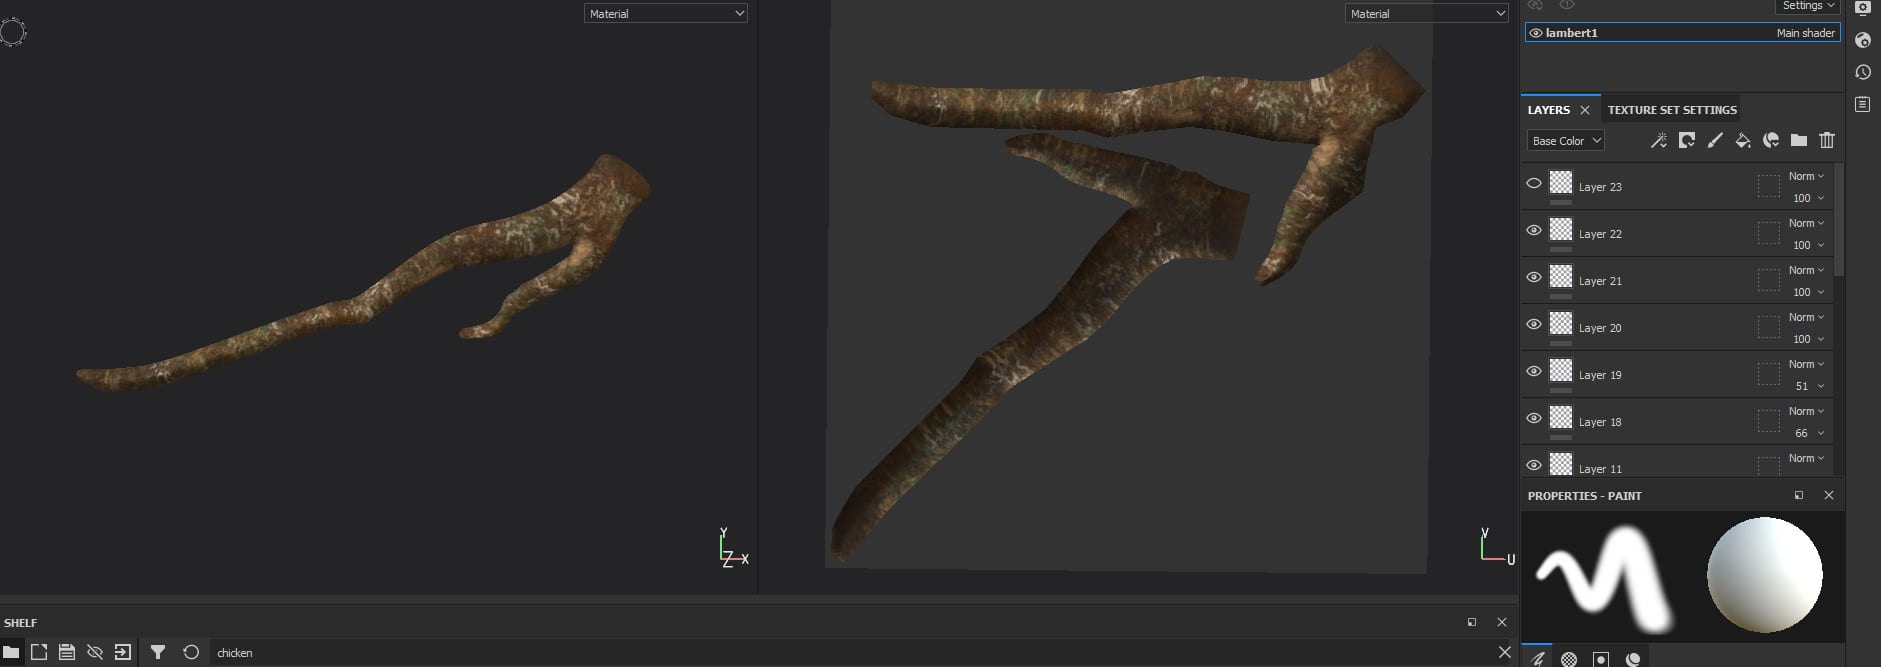
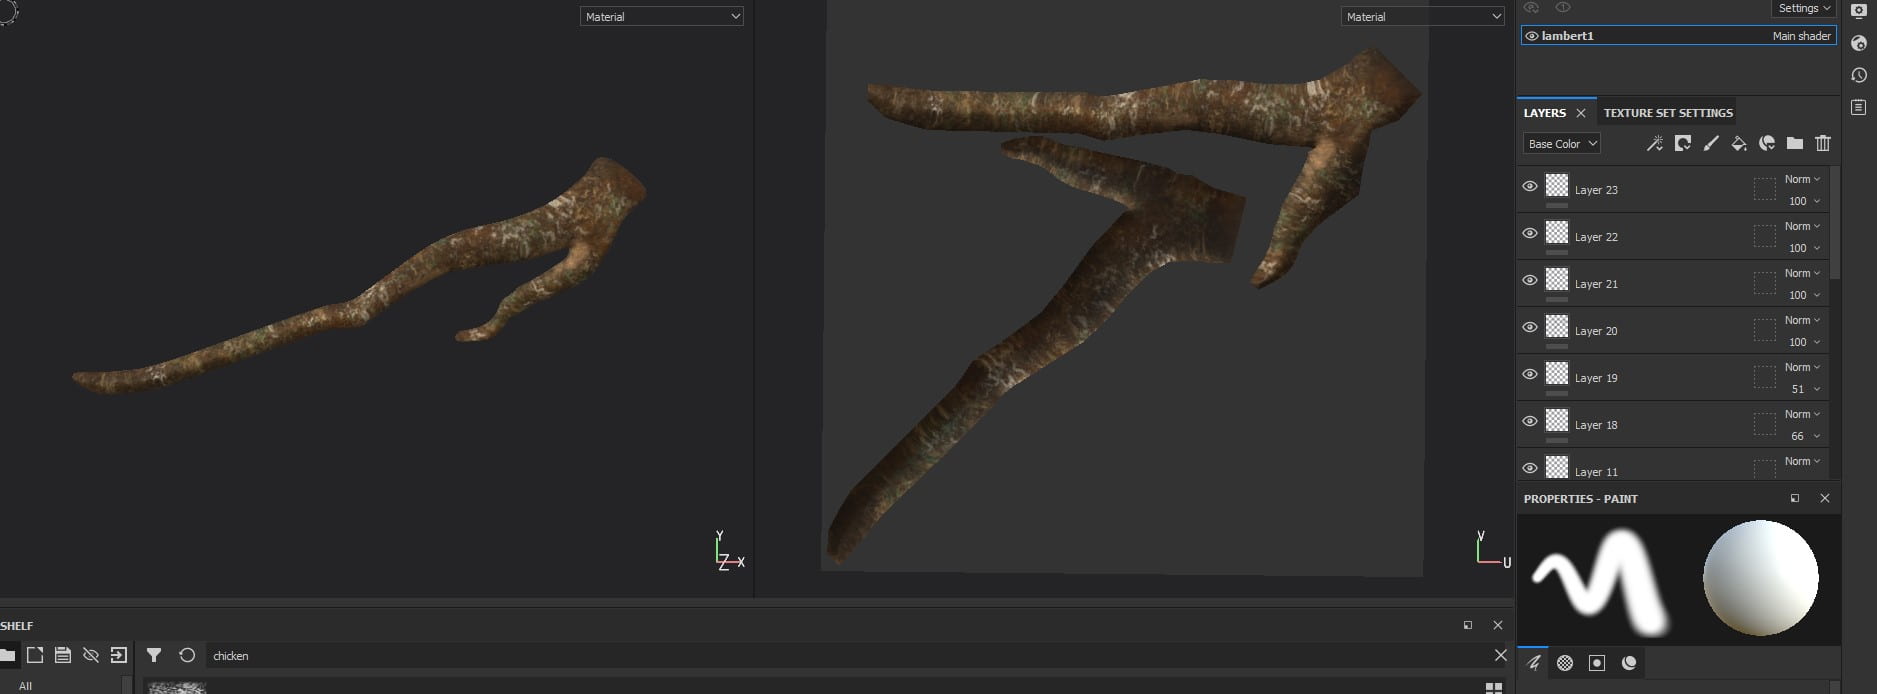
Exporting my branch as an FBX by going to file, export selection and selecting FBX in the dropdown menu then giving my object a name, I was now ready to import it to Substance Painter and give it a texture. I found a really great brush called “dirt spots” and used that for my whole model, layering up the colours like i did on the bird model, just making random dabbles of colour where i thought appropriate while also looking at a reference of course. The darker patches and white patches were meant to represent the odd colouring trees get as they get older and their bark starts to peel away and fall off, as seen in the reference image below. Using a light green and layering it up with darker and slightly lighter tones of green, I selected a new brush called “dirt moss” and painted some moss on the branch, constantly trying to maintain and aim for that realistic look. Once done, I exported the textures through the Arnold setup and brought them back into Maya to plug in, ready to be used for a model.

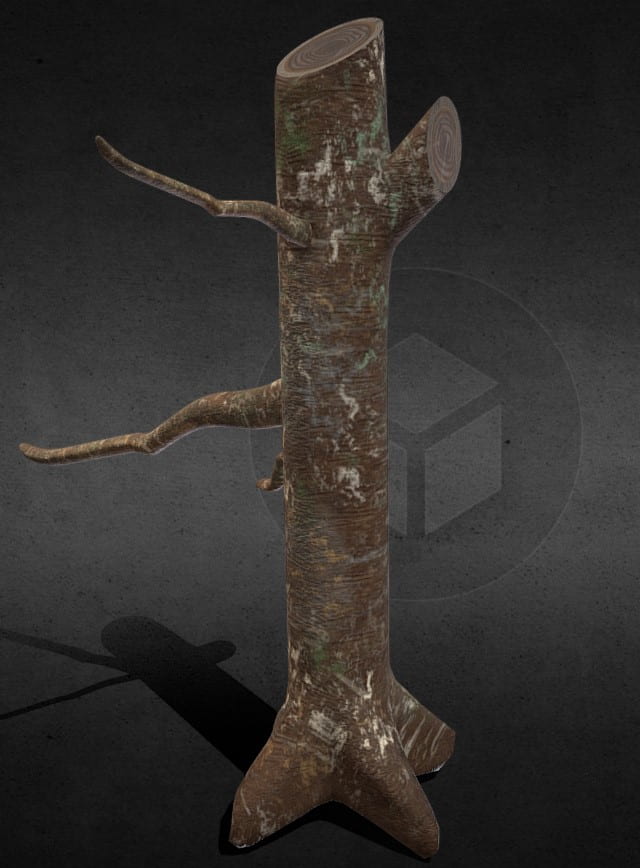
I uploaded this model as well as the feather to my Sketch Fab so you can take a closer look at it. I also have the “whole tree” model up which my classmate, Chloe Bowman designed and modelled the tree, I just textured it with the same technique as my branch, added a few more branches and made it a little taller. The reason for the tree is that we forgot all about the trunk that the branch would be connected to, so Chloe took the opportunity and modelled it for us, texturing it as well. We realised it didn’t fit the texture of my branch so instead of throwing her off, we decided we’d both have a go at texturing each others model and letting the rest of the group pick their favourite, and that would go in the animation. We both agreed on this and knew that even if our design wasn’t chosen, it still made us stronger as a group to make decisions and help us grow in our design skills. Below you’ll find my version of the tree.

Animating

With everyone’s pieces modelled, textured and in some cases rigged, we were now ready to start animating our scenes.

Rhys kindly set up a scene for us that he’d uploaded onto our One drive project folder where we uploaded our textures, models and Maya files for importing. This meant we could easily maintain continuity within our animations.

Before I could do any kind of animation, I had to plug in the textures manually for each piece of the models, since the file I was sent was working with Lambert and Blinn materials i got a little confused and changed them all to Ai Standard Surfaces as this was the material I was used to working with and it allowed me to plug in the metallic and normals of the texture.

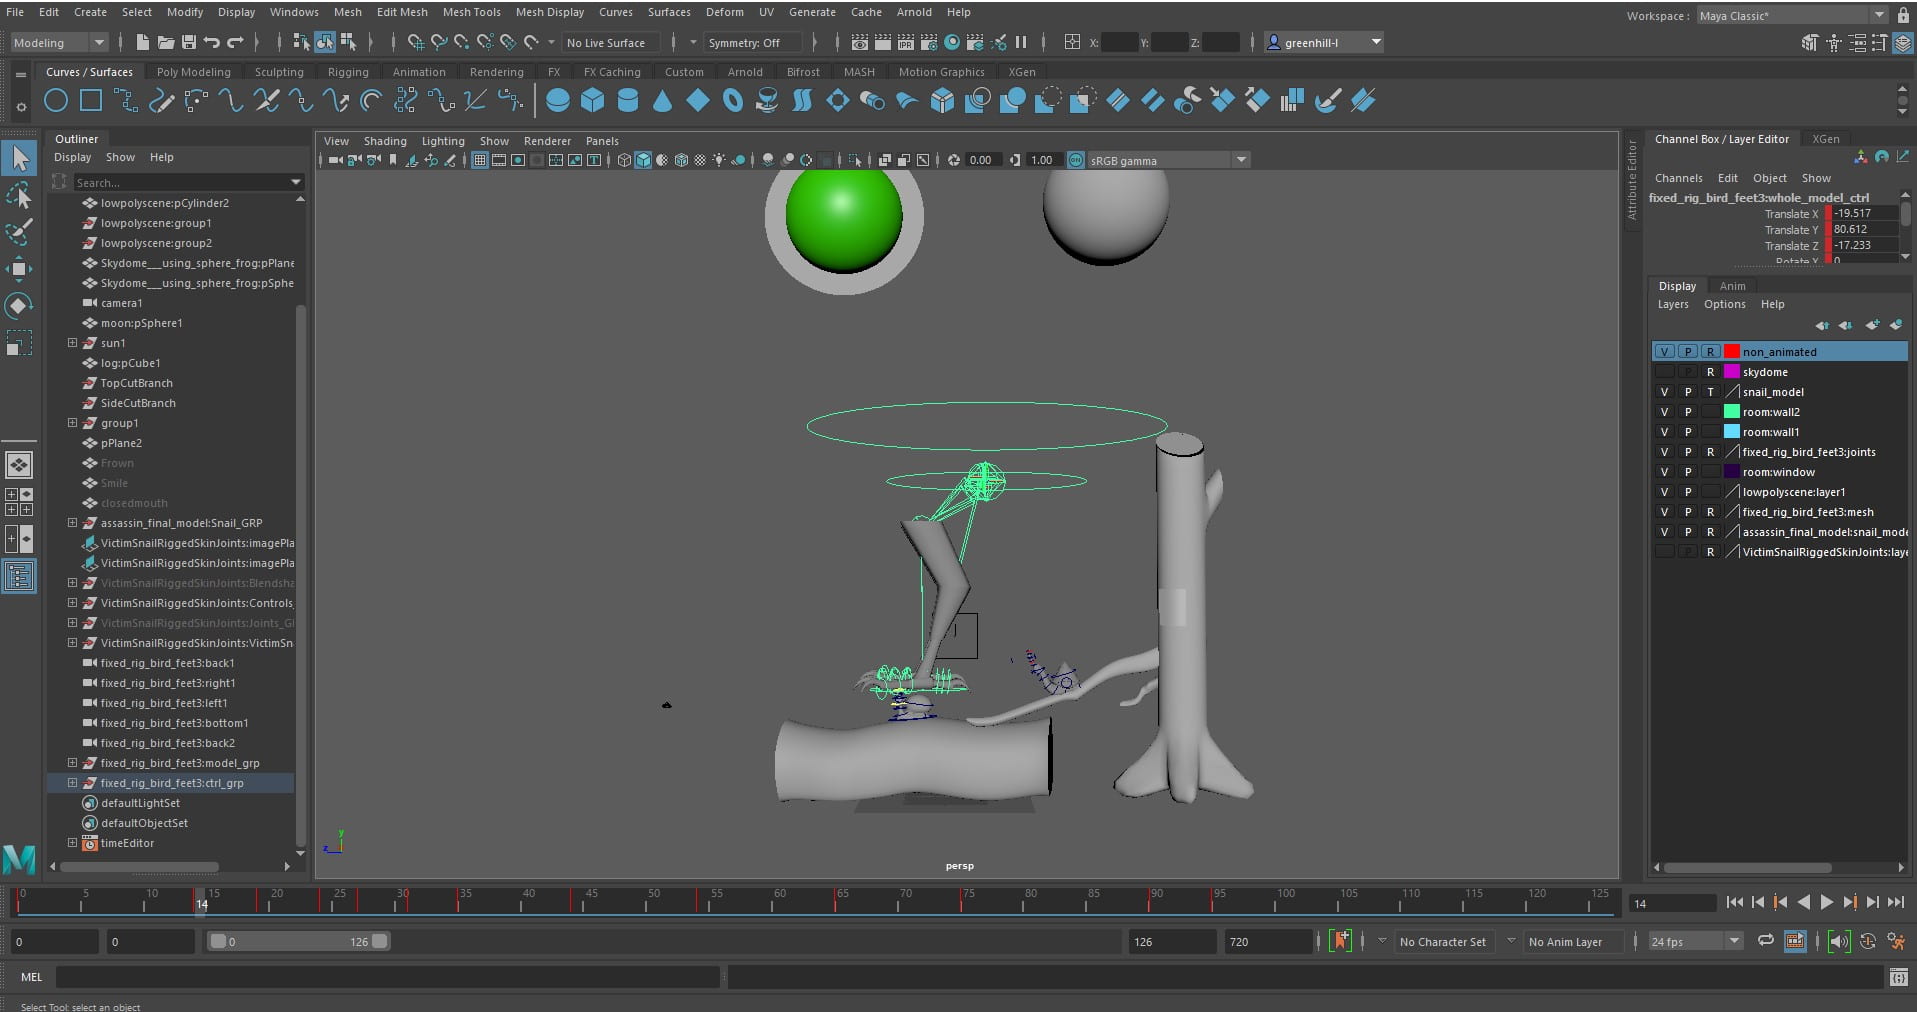
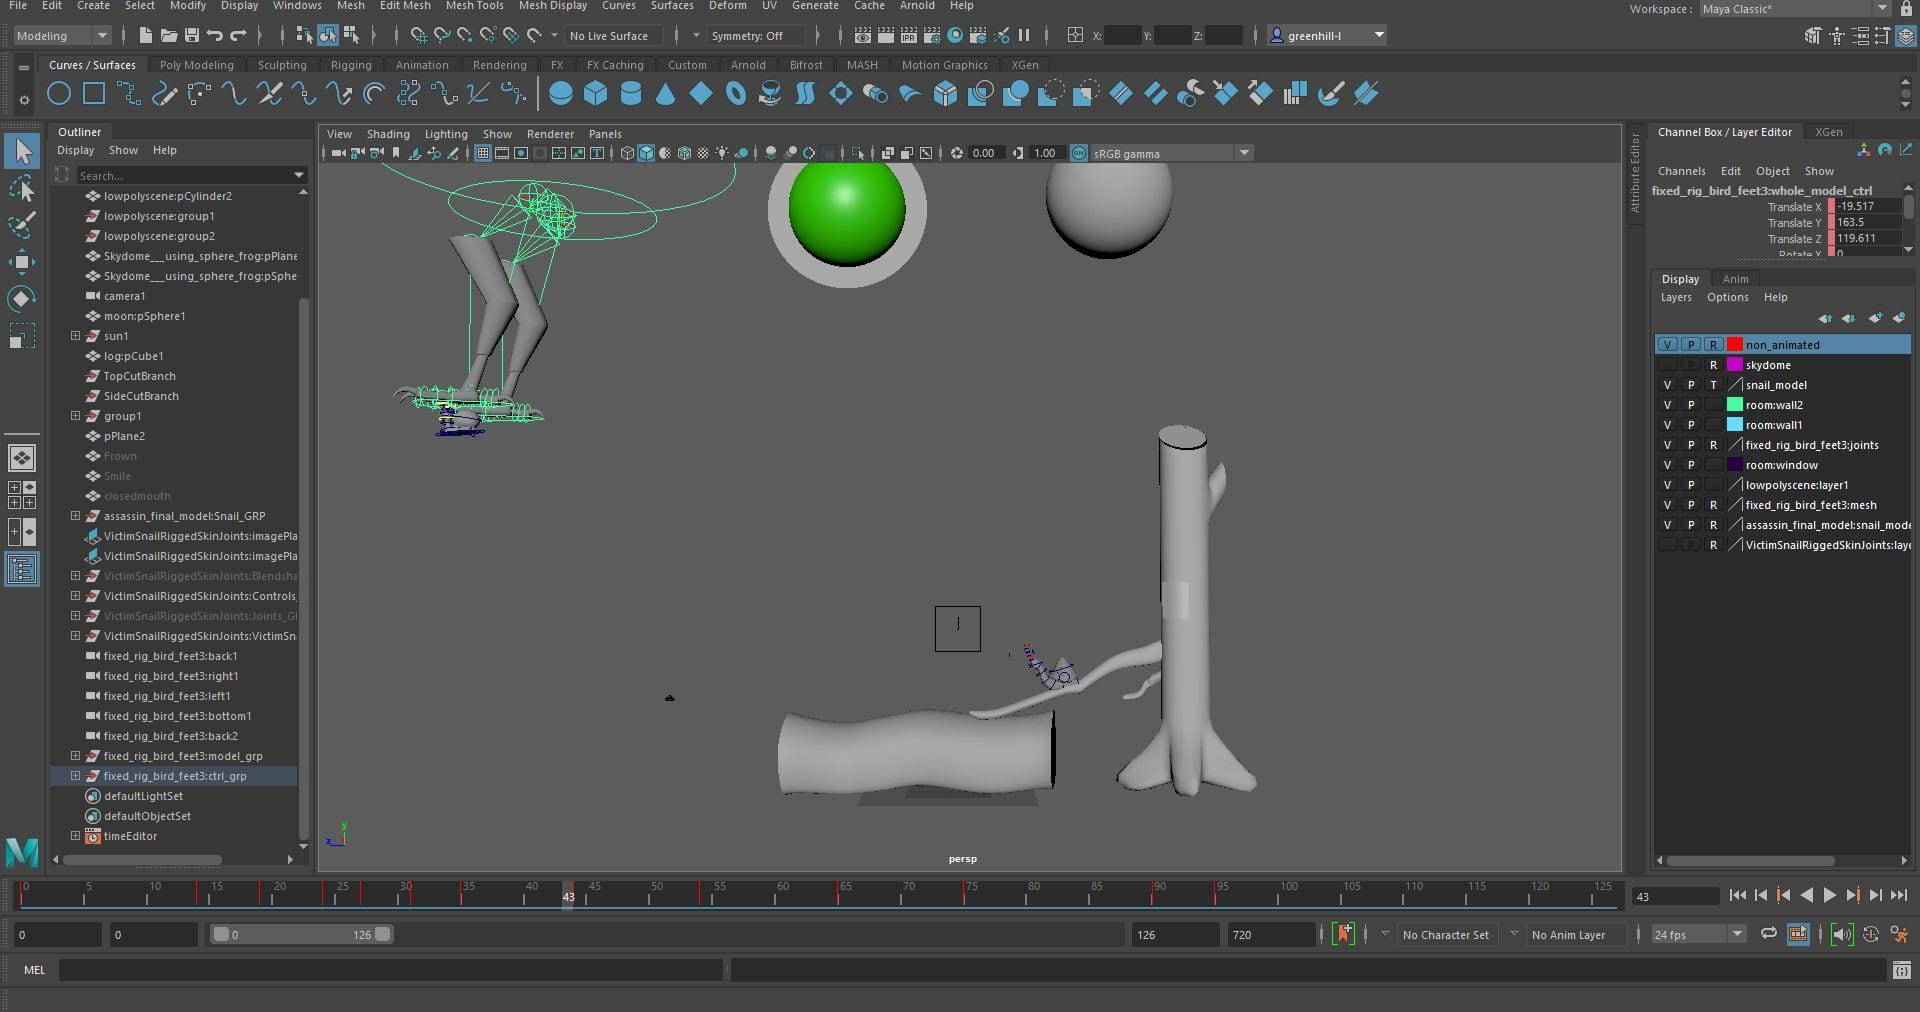
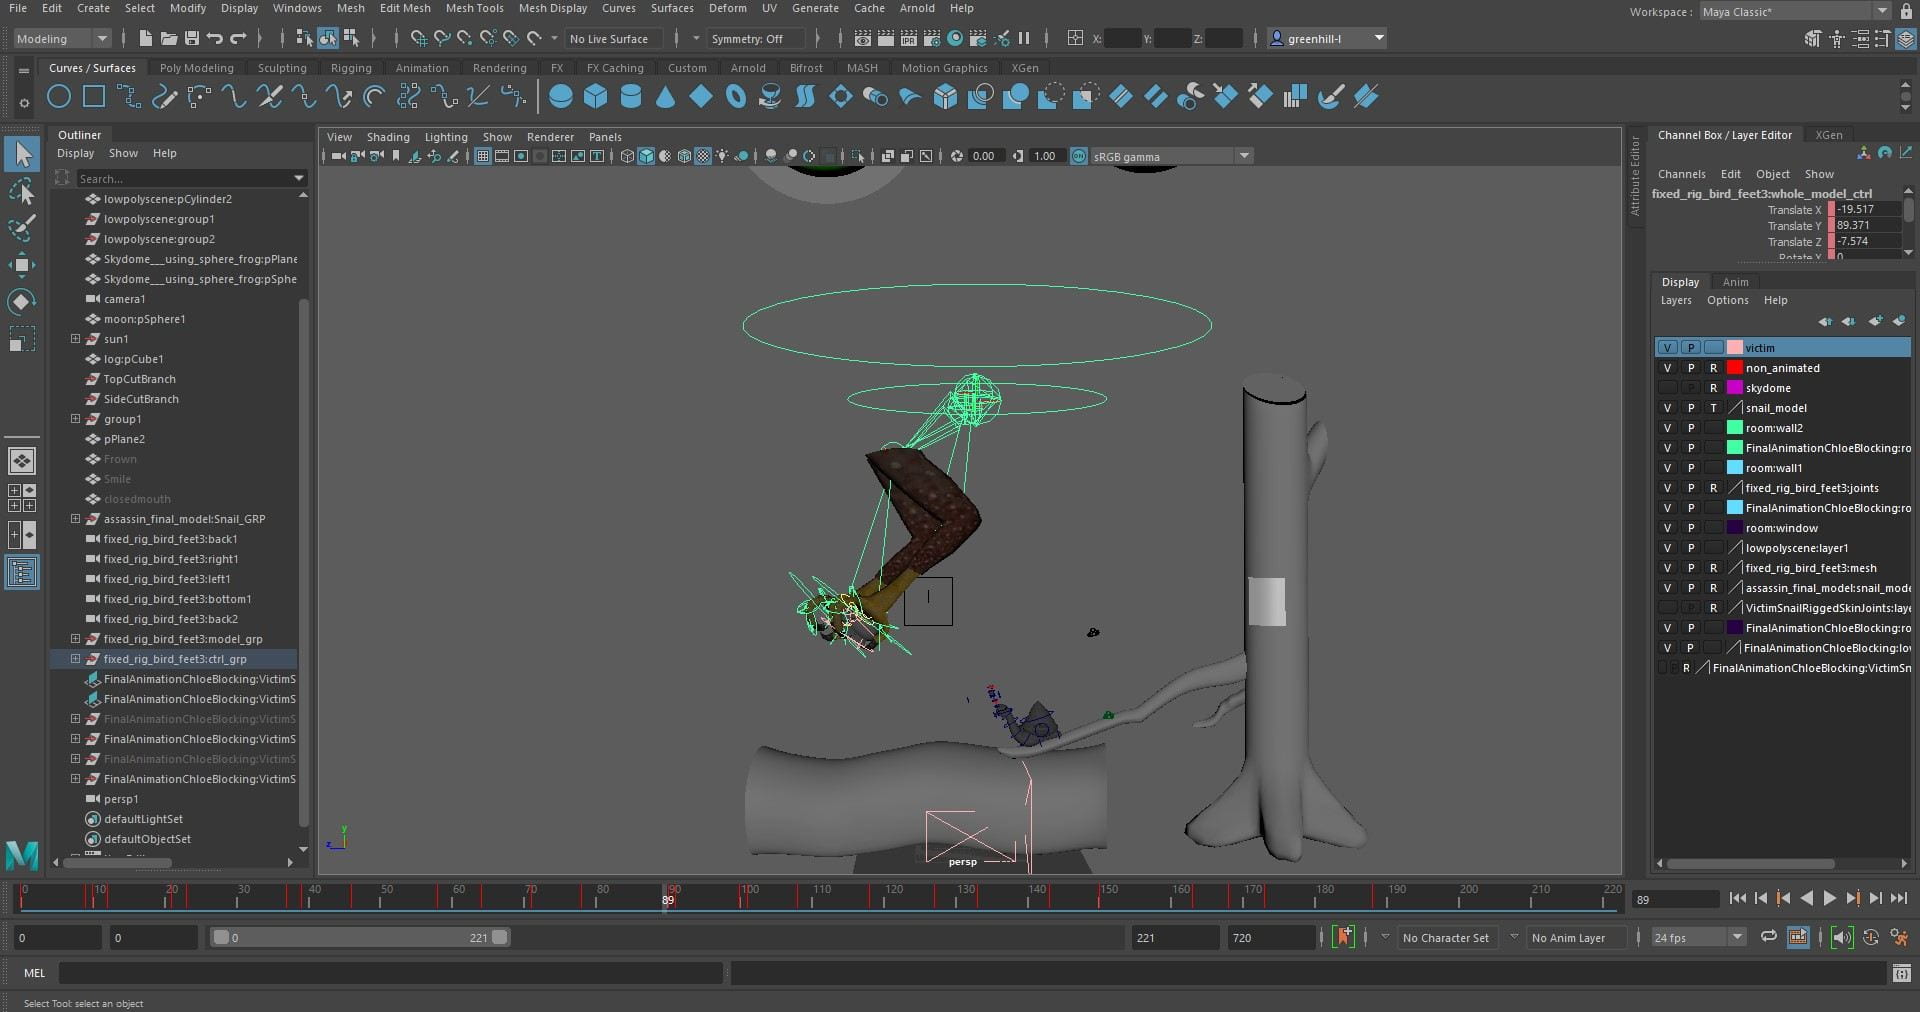
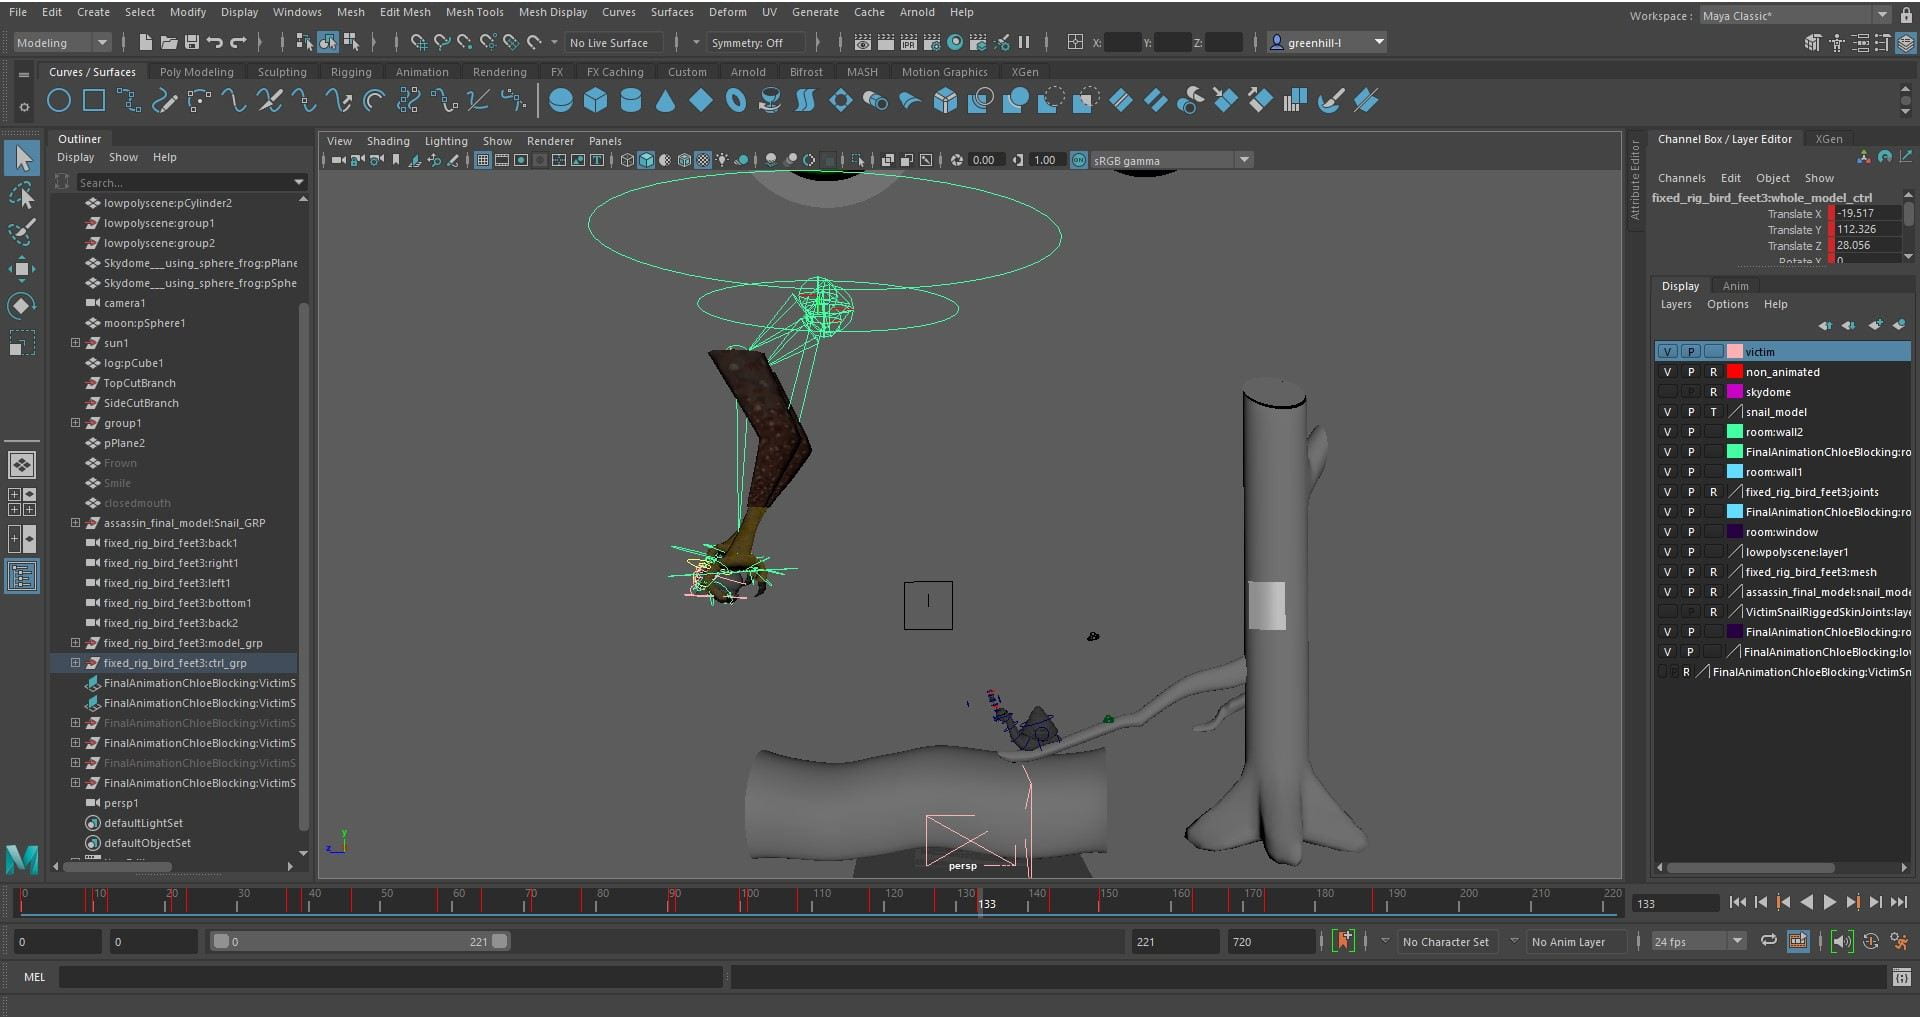
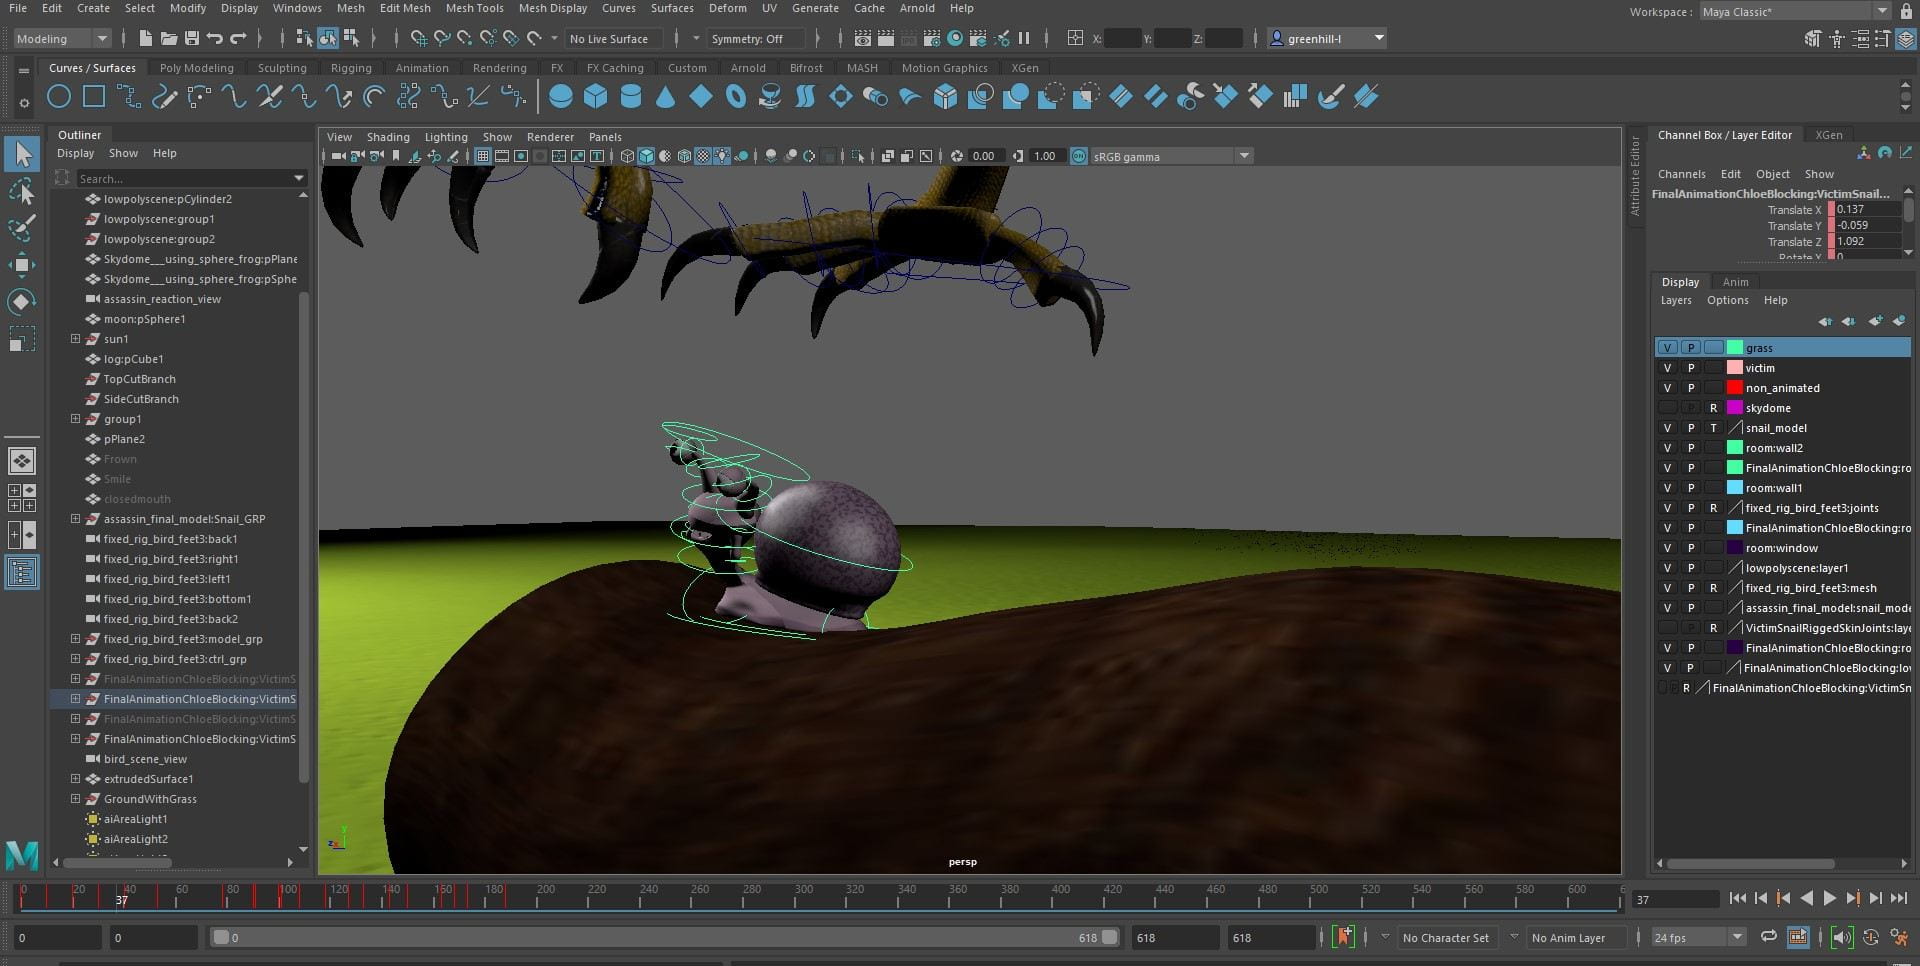
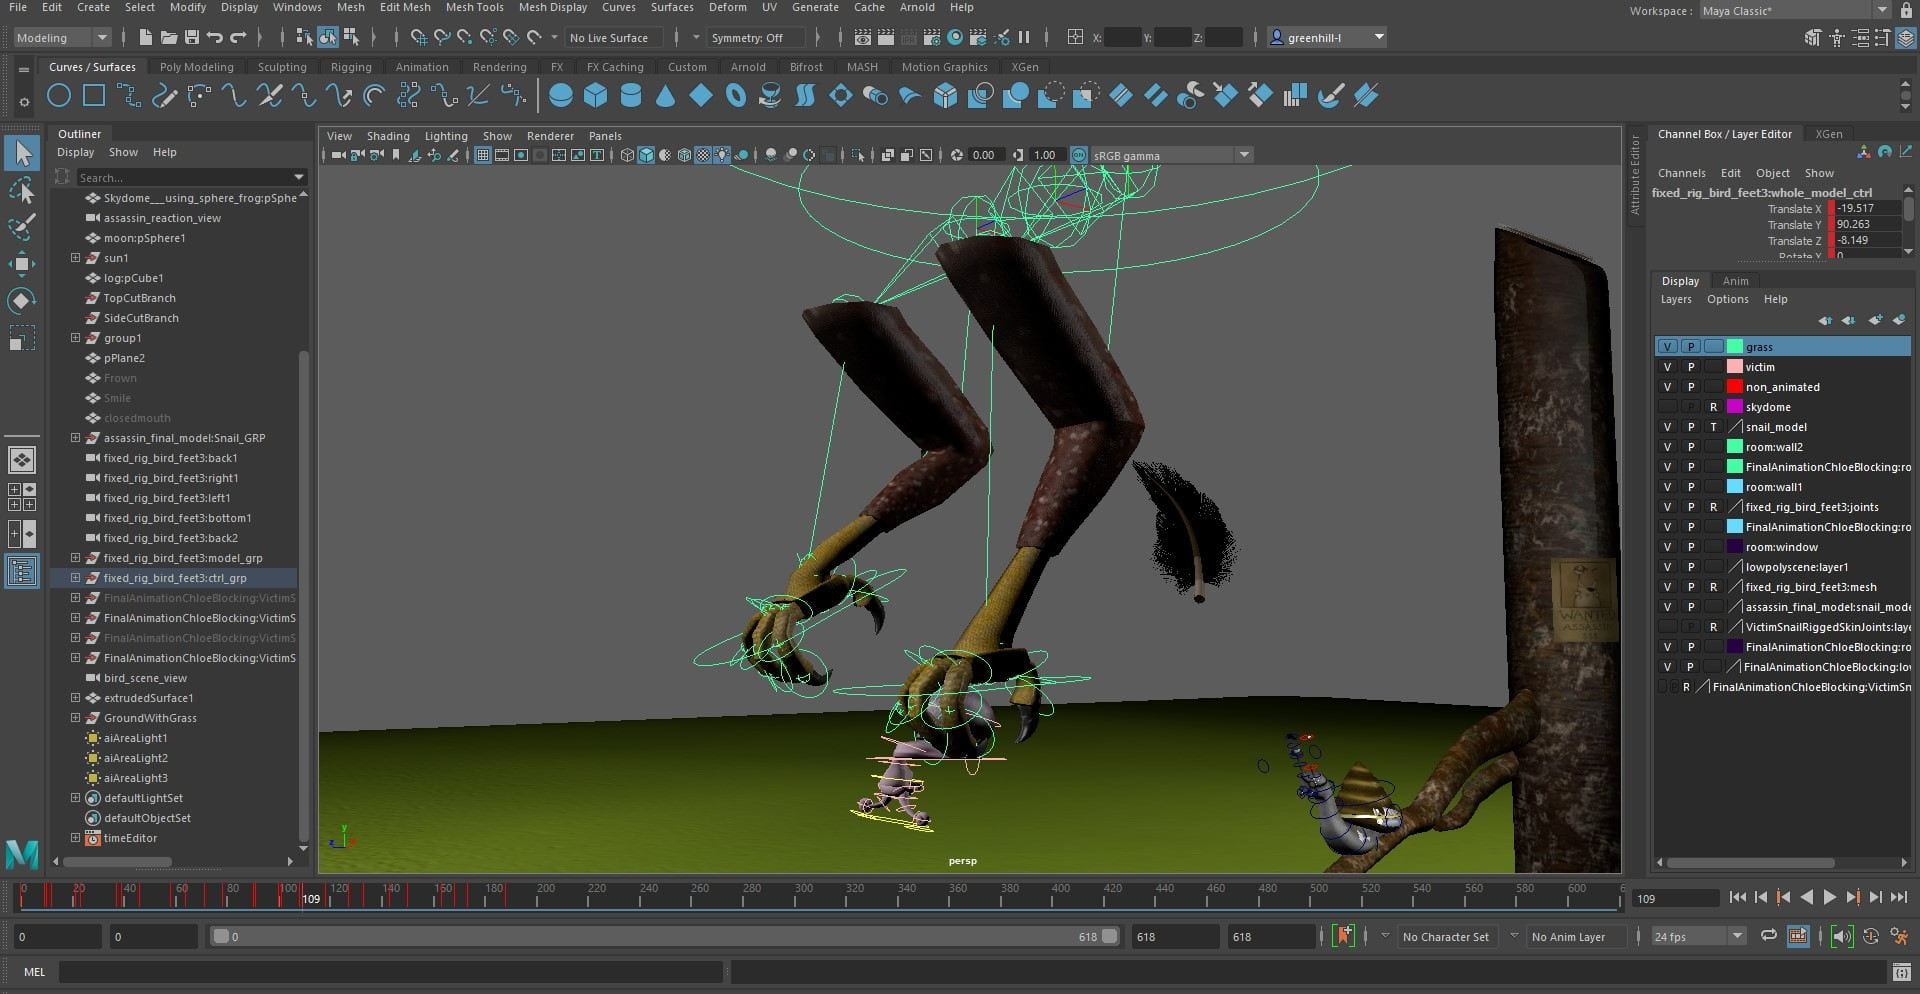
I started by blocking out the rough animation of the bird, simply moving it A-B-C to start off with, allowing me to get a rough idea of the path i wanted it to take. Progressing further on the animation of the bird, since i knew this was definitely the actions I wanted it to make, I gave it a more complicated flying cycle, having it swoop down with open talons then making a swipe and missing the snail, I then made it a little more realistic by having it hover over the snail to make a precise grab and readjusting itself before flying off. I tried to make every movement seem realistic, adding the rise and drop of when the eagle flapped its wings and the secondary animation of the feet drag caused by gravity.

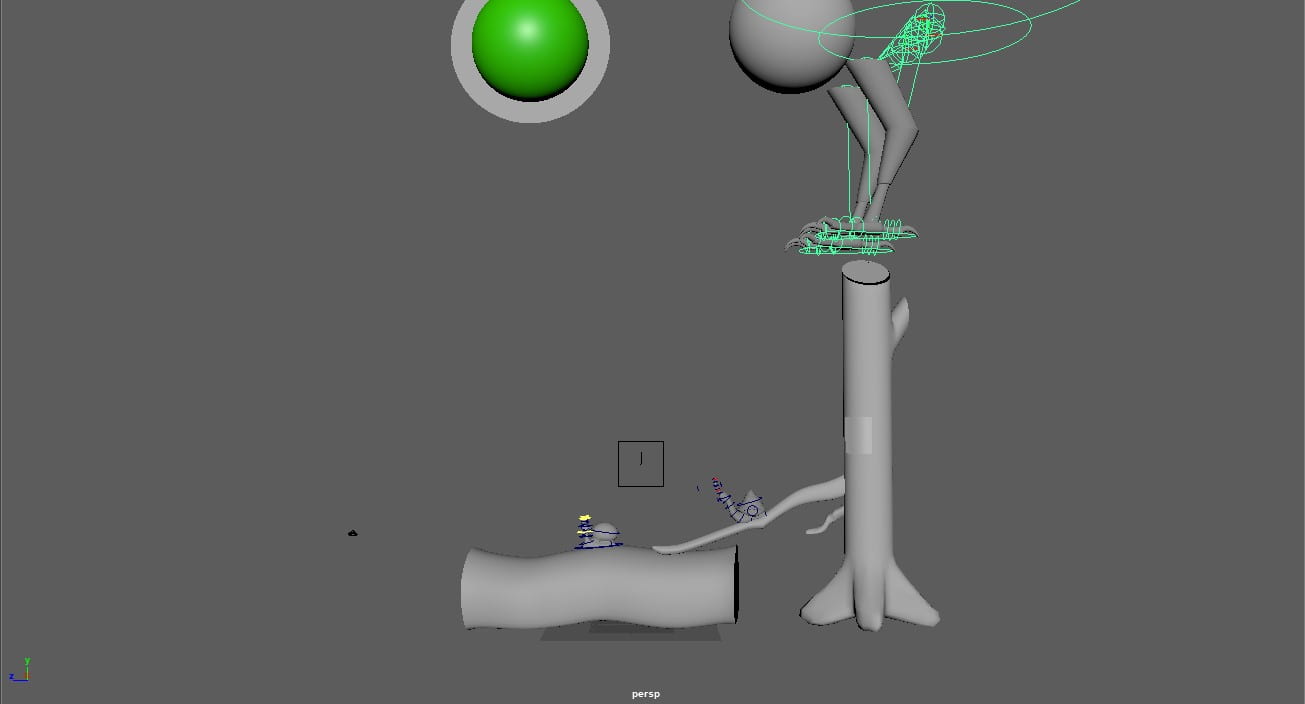
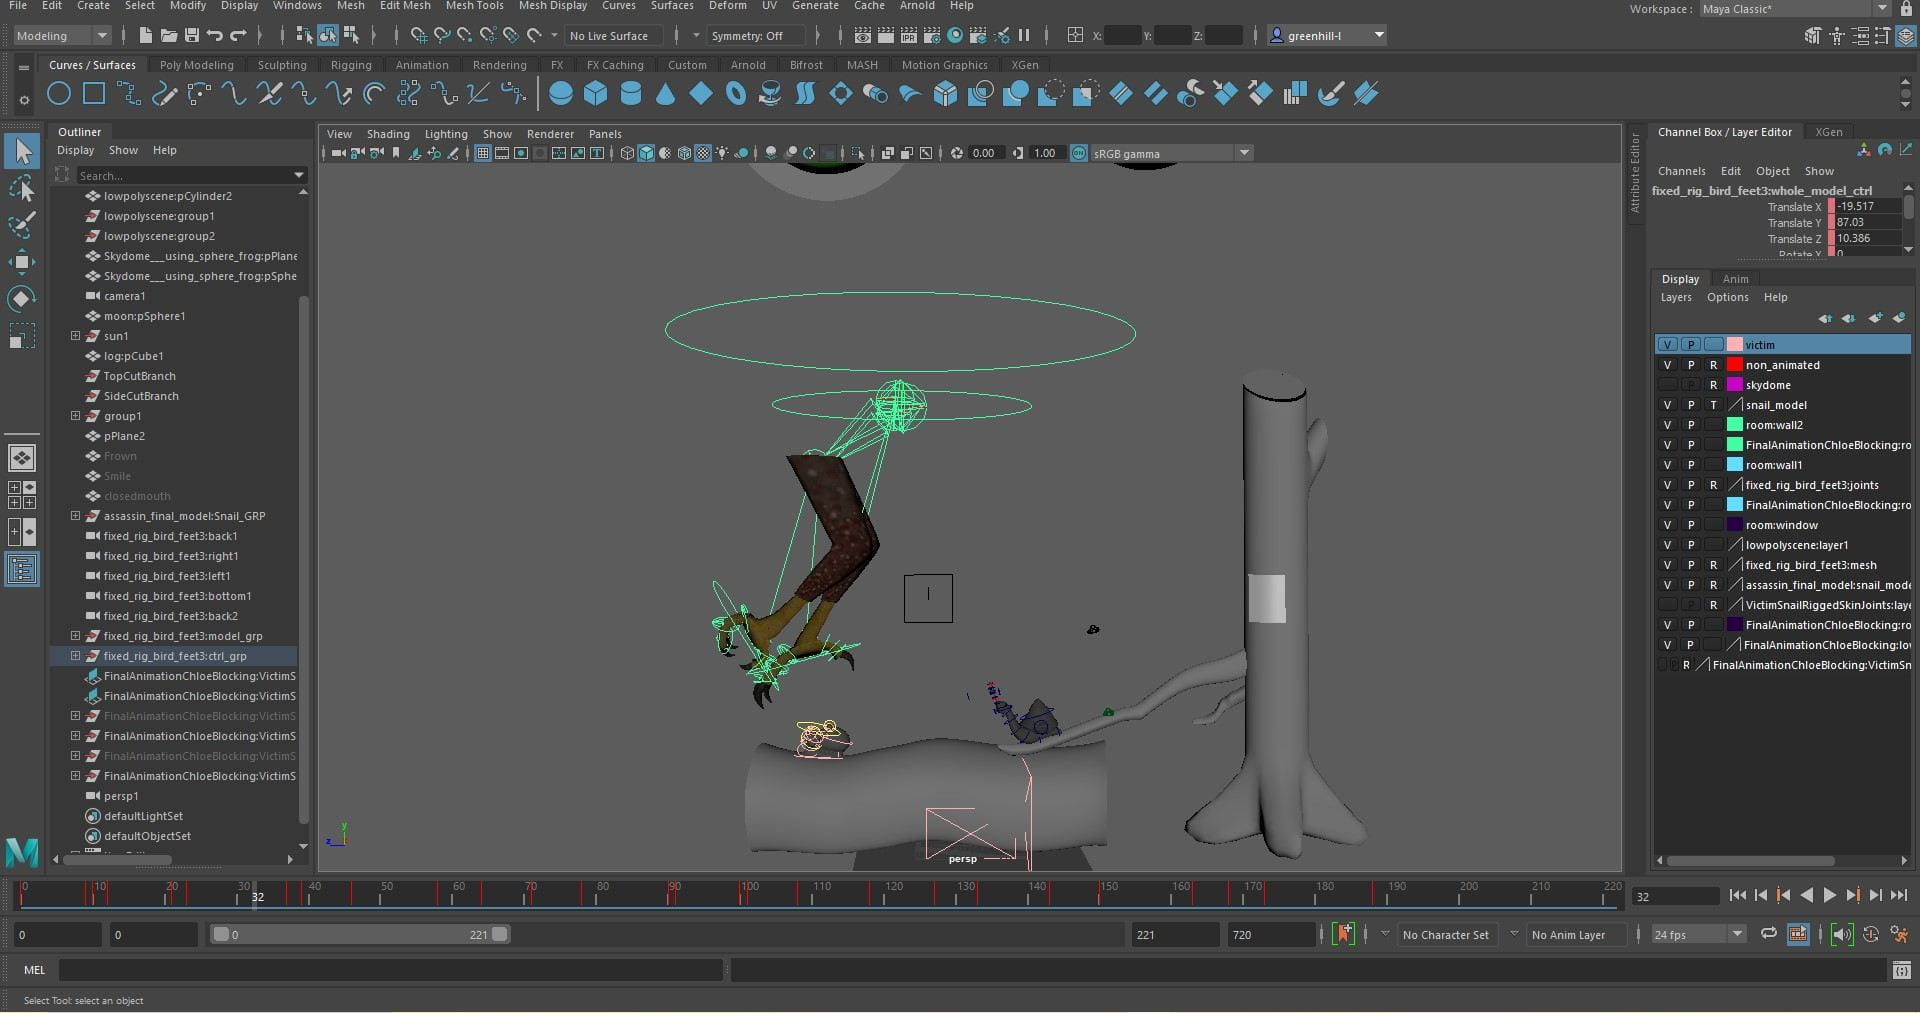
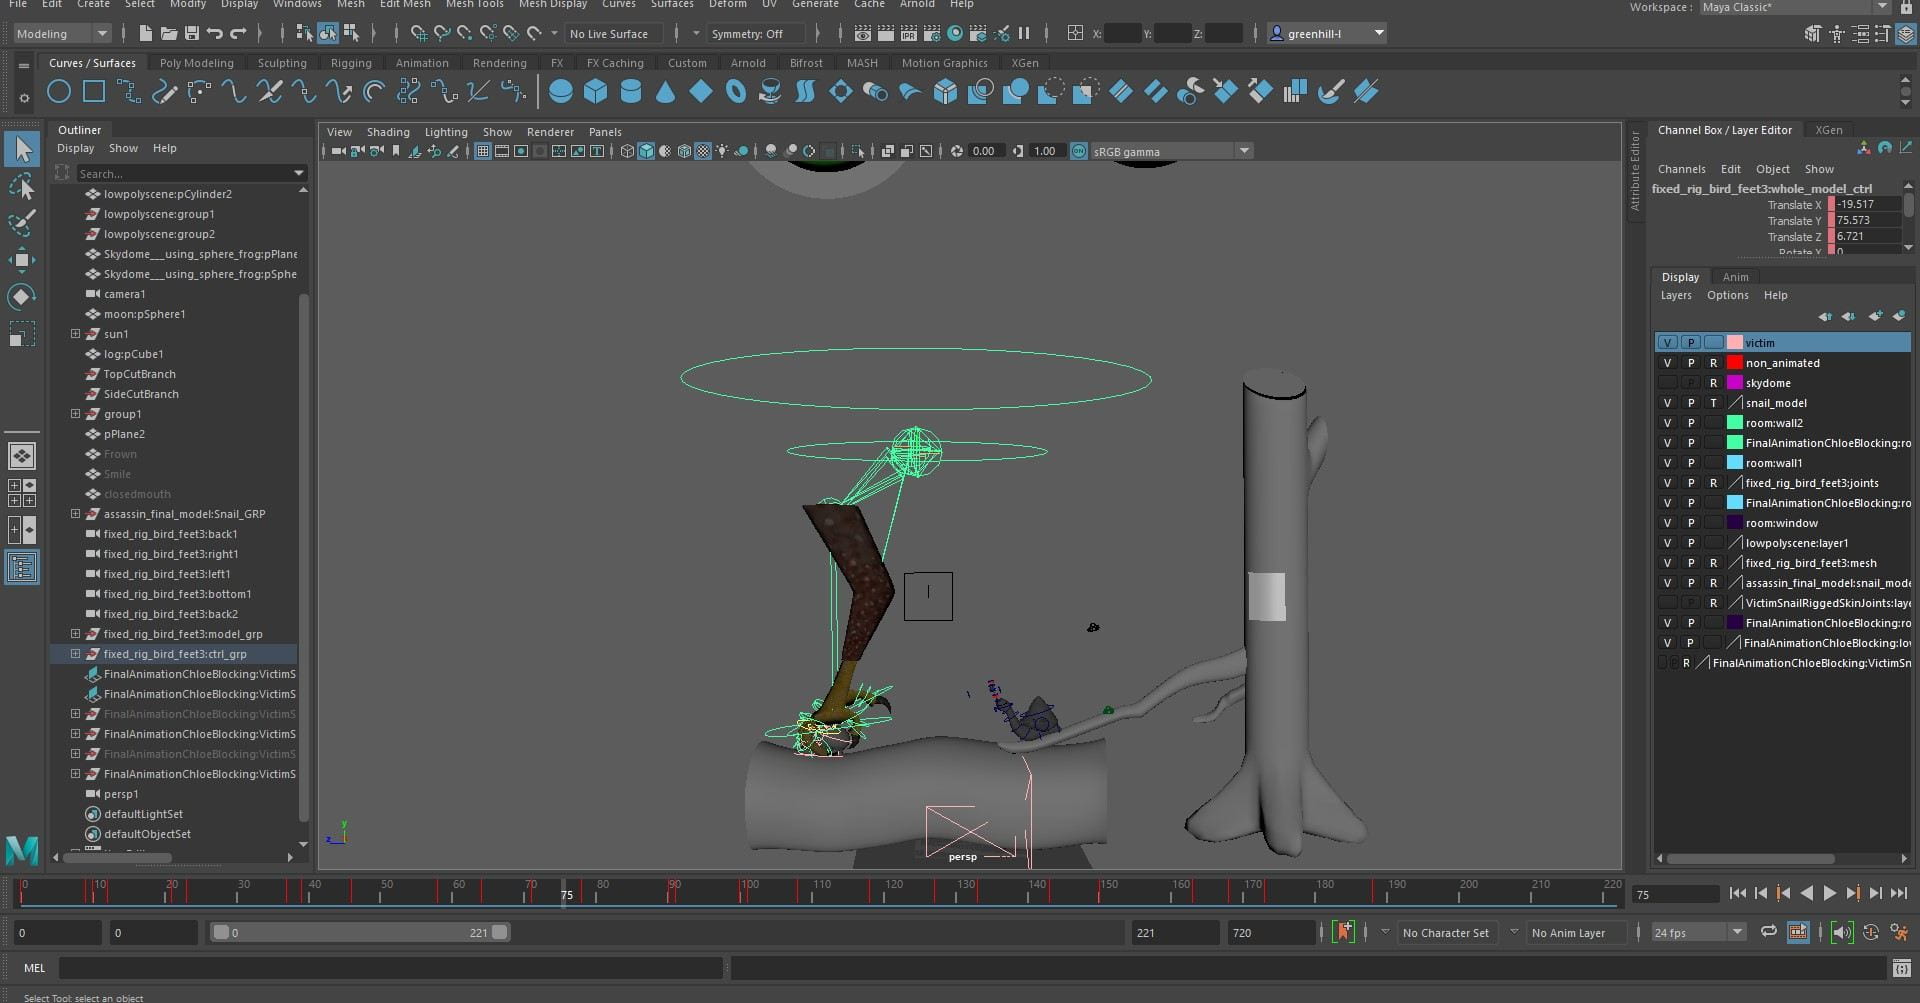
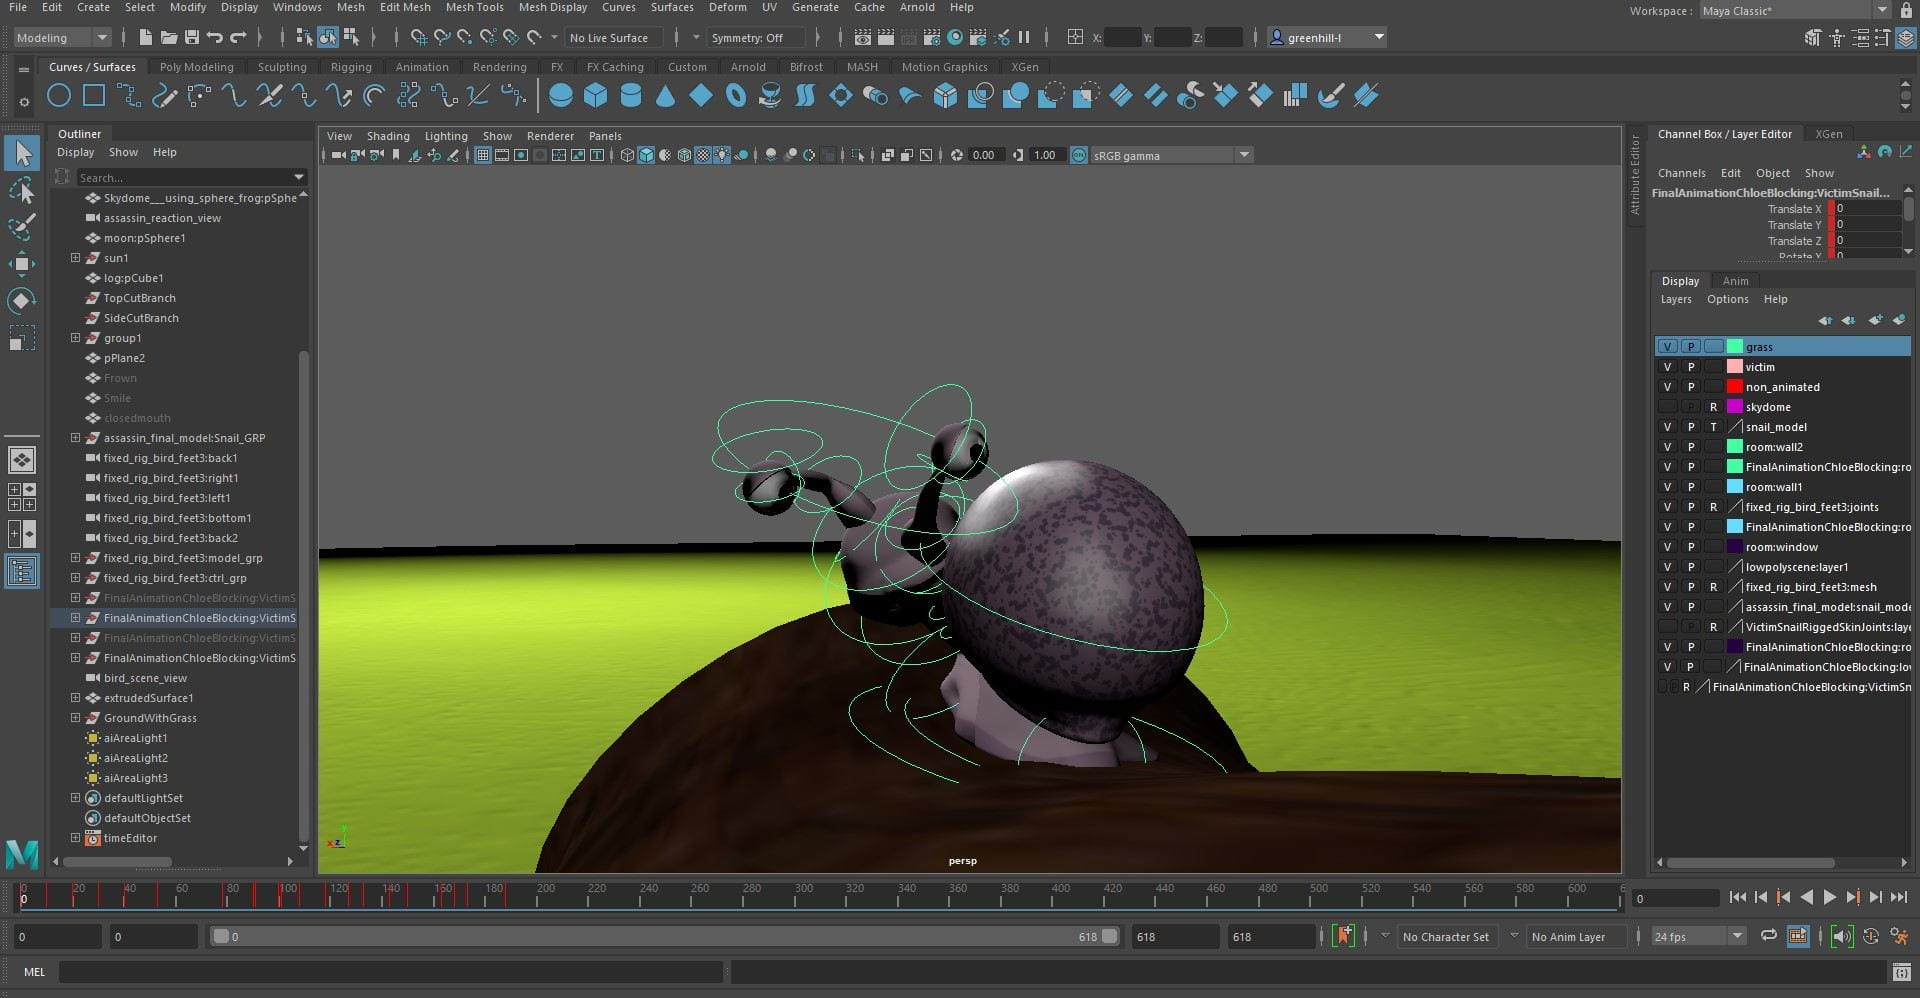
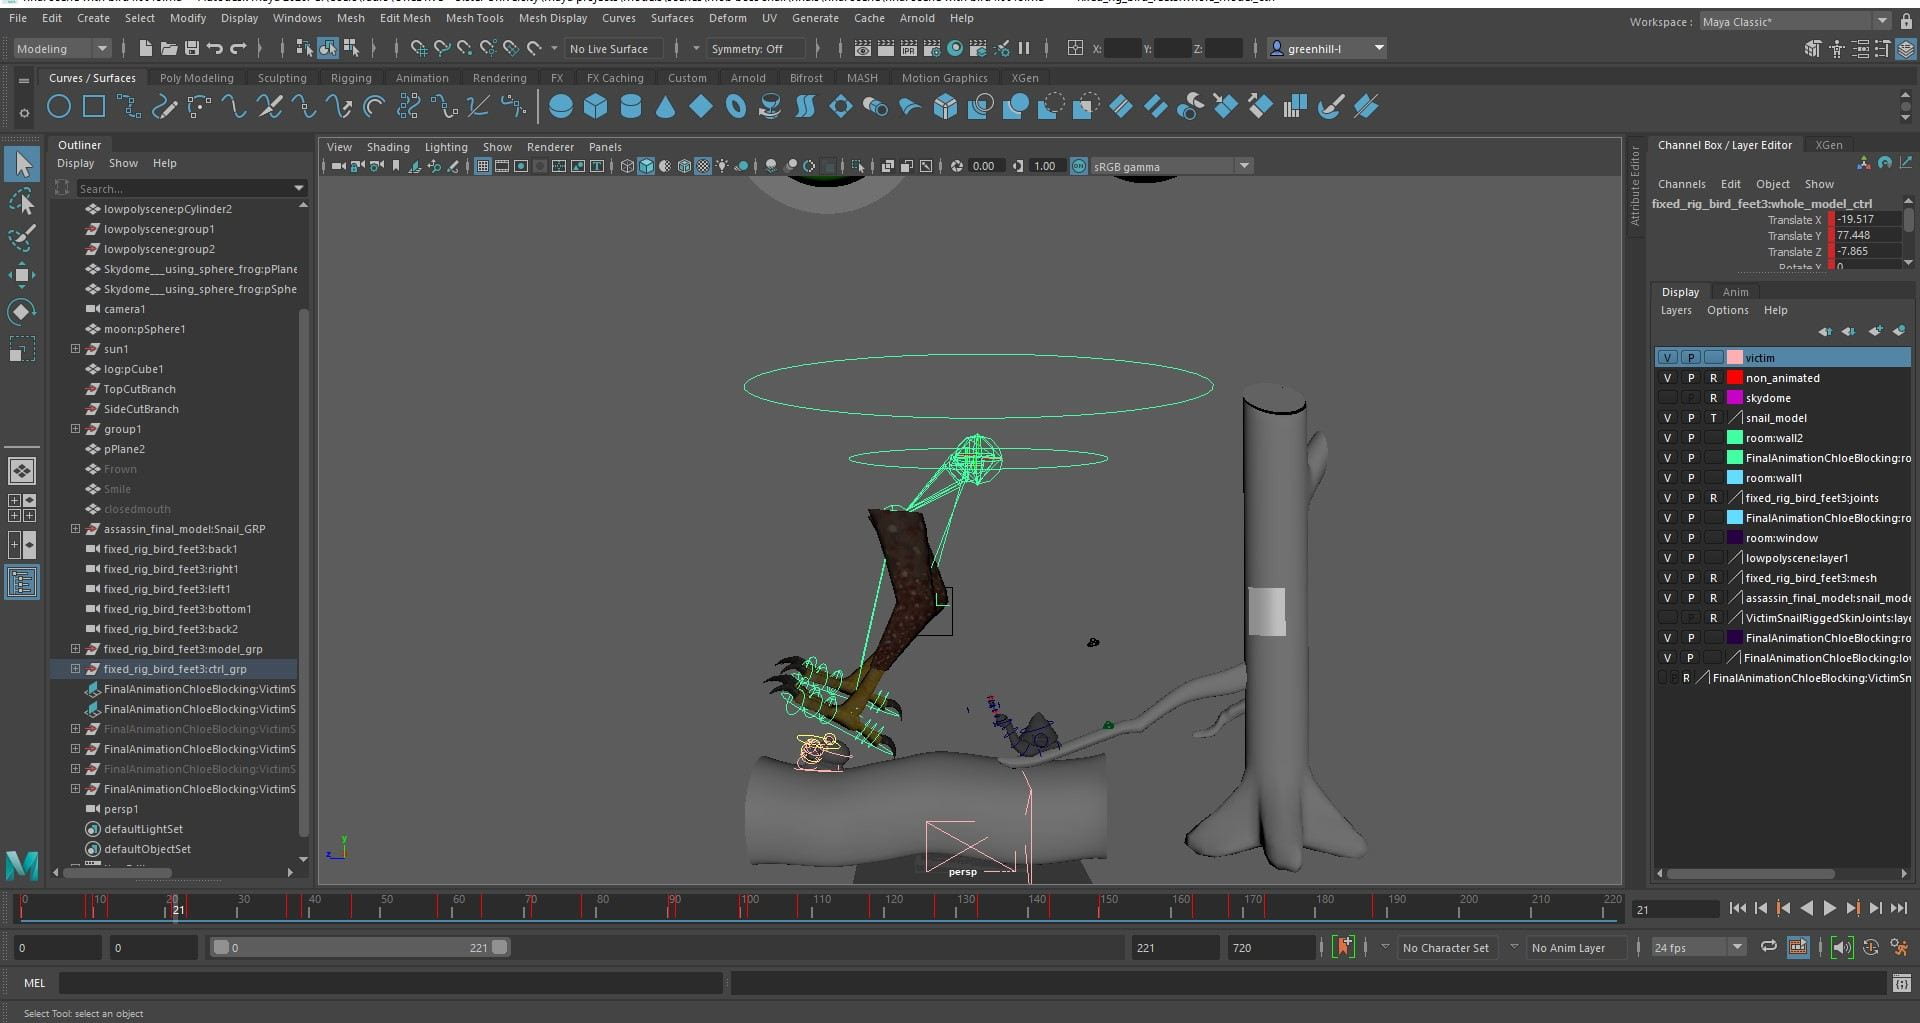
Continuing on to the victim snail, I got a lend of Chloe’s scene as she was the scene before mine. I deleted all of the keyframes from her scene except the very last one where the victim snail was positioned on the log, looking back in horror as he notices the bird. This was going to be the starting point of my animation as to keep continuity. From here I animated the snail getting grabbed by the bird by selecting both rigs and moving them back into the air and re-keyframing their positions. I then repeated this process for the bird carrying the snail away off screen. Going in to the finer details now, I had the victim snail show signs of panic in his facial expressions and body movements such as turning round and trying to get away, screaming. It sounds a little grim but it’s all for comedic purposes. My mum laughed at it, so I think it did the job.

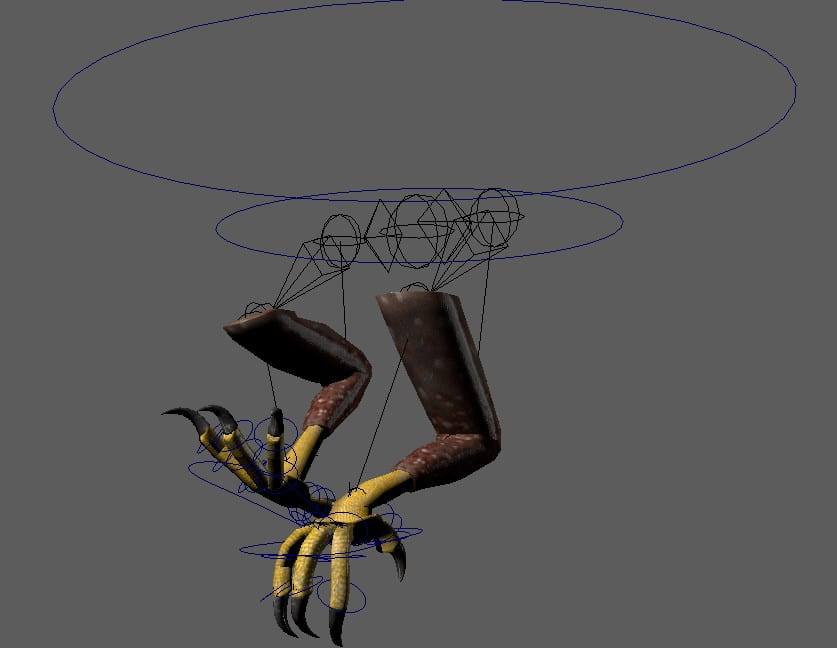
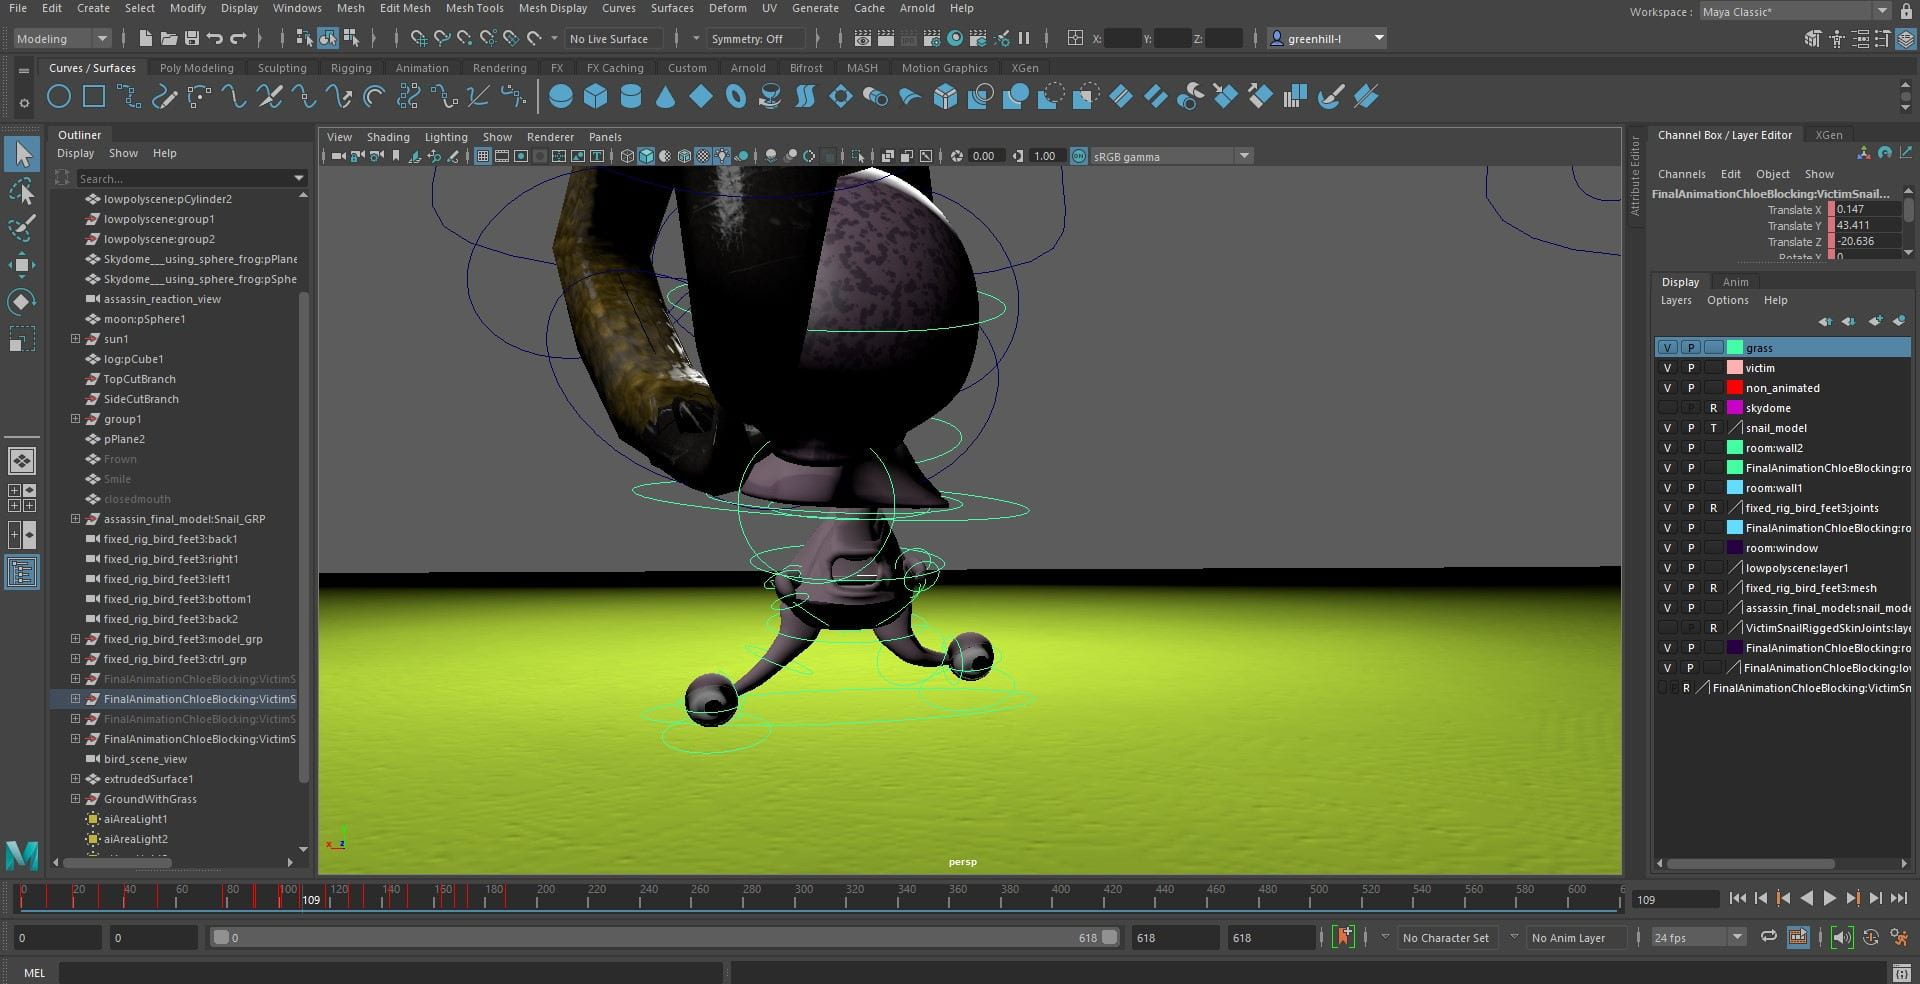
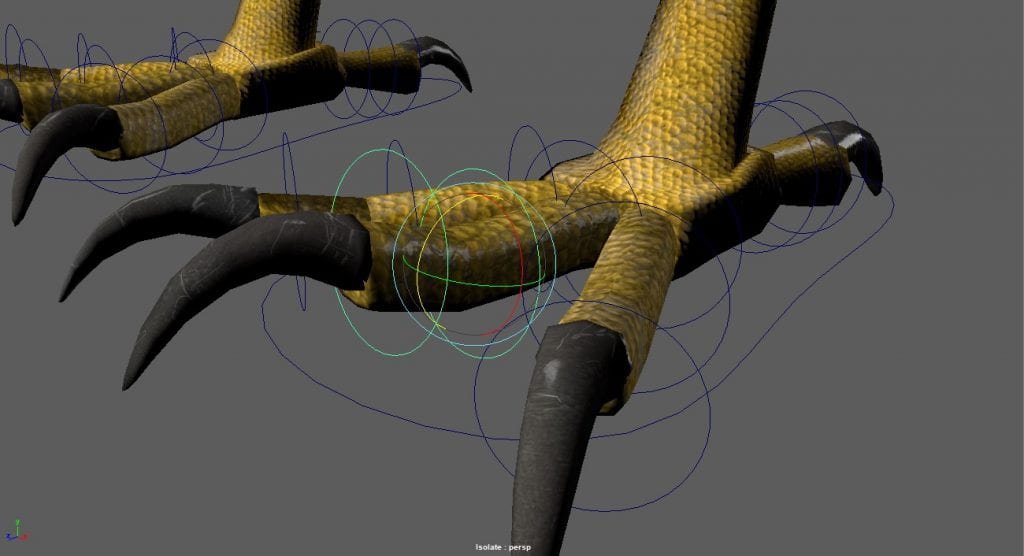
Coming back to the bird, I moved the toes and talons into place with their respective controls each time the bird was trying to grip the snail, and when he took off flying away. The skin weights still weren’t exactly perfect and from the side you could see the talons start to deform, but it wasn’t as visible from the camera angle so I think i got away with it. This was also my first time modelling and rigging something so complex so it’s understandable that there’d be room for improvement. Everything comes with practice. In this stage I also refined the movements of the rise and fall from the wings flapping such as moving the legs to look like they were getting affected by gravity as well as the feet, which i also had to change to look more relaxed by rotating them backwards and uncurling the toes a little.

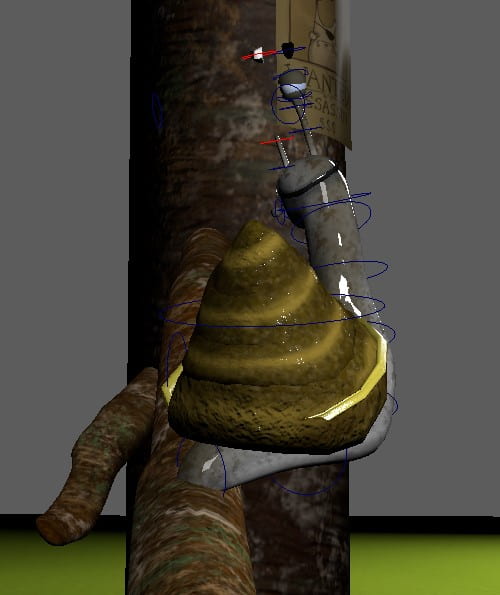
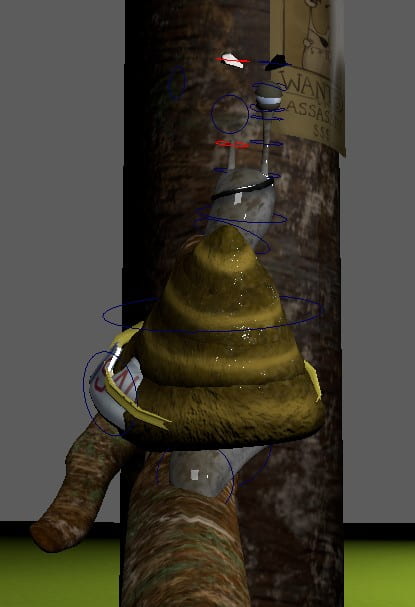
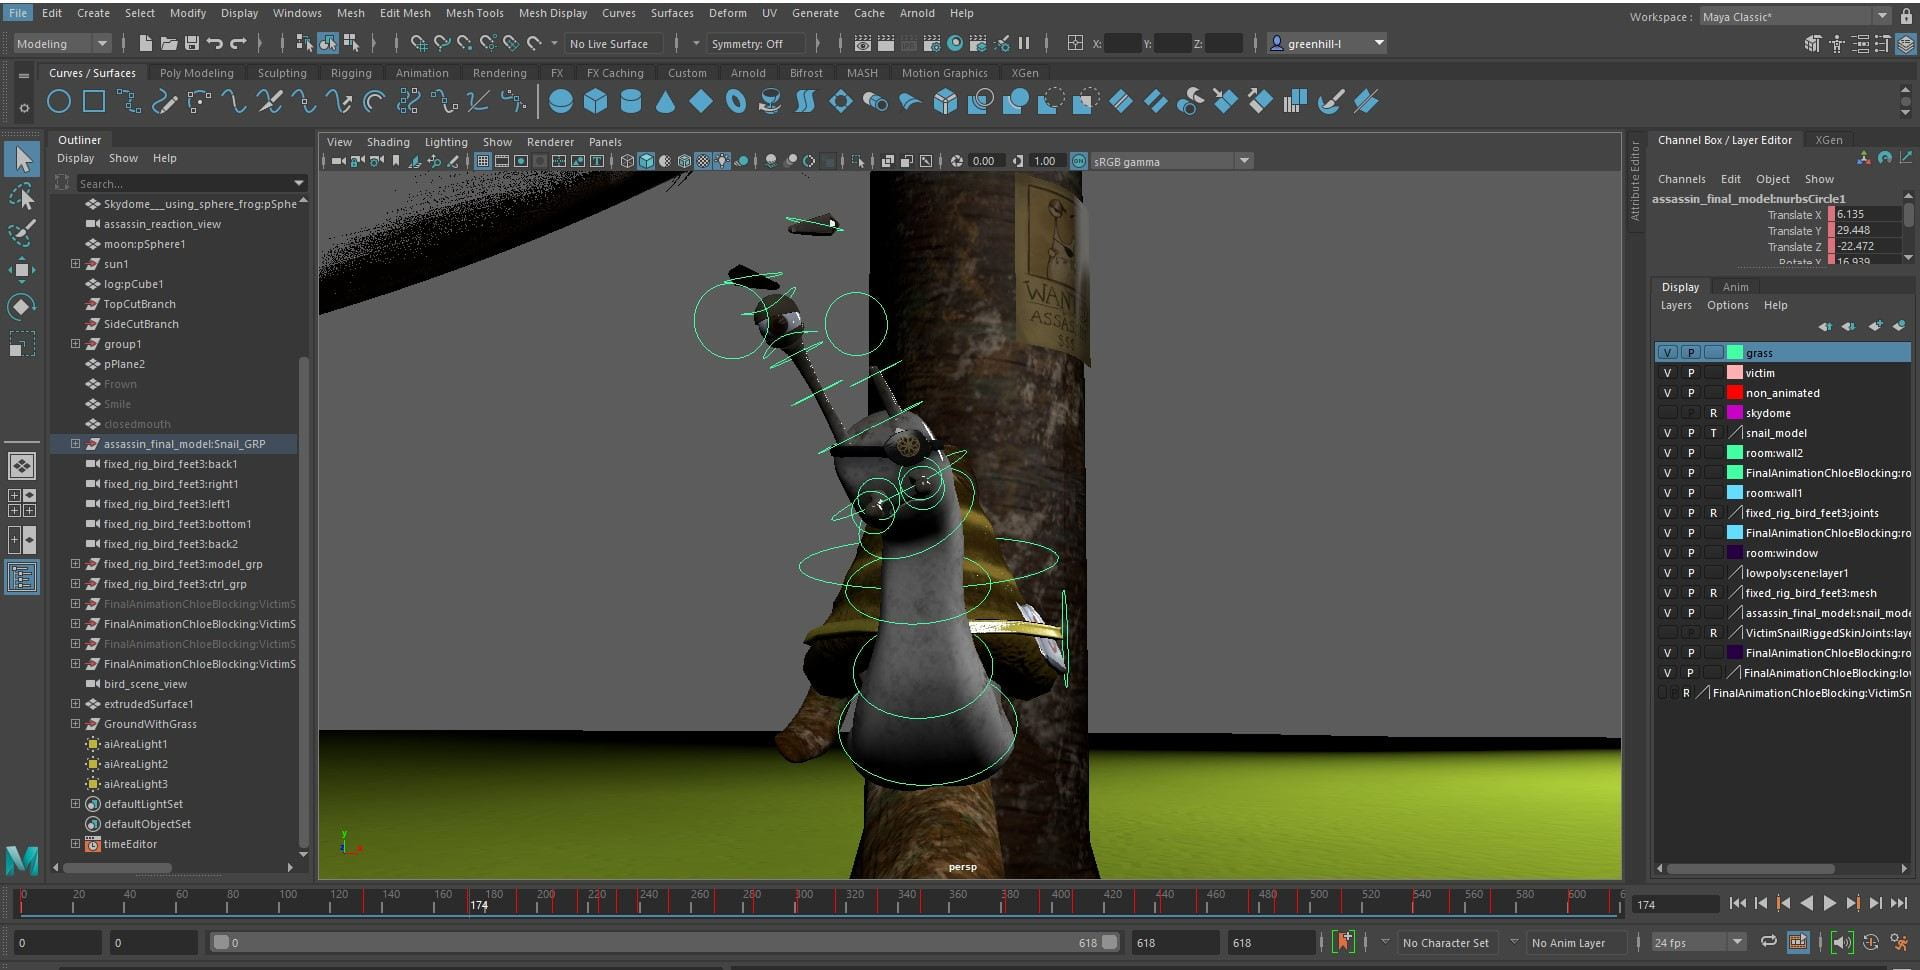
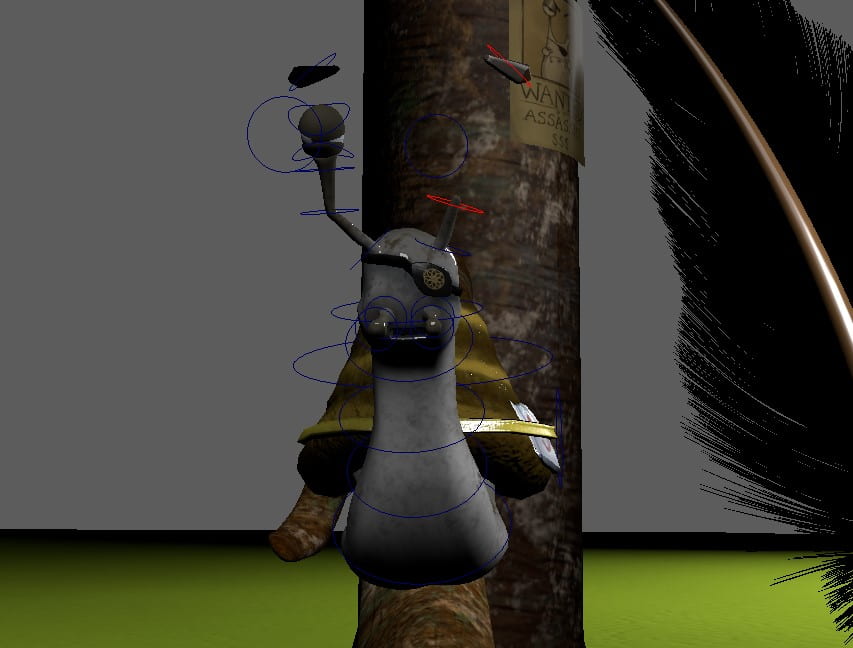
Animating the snail assassin, I did the same as the other two rigs and blocked out his basic actions first of all. I had him tilt his head, shrug and turn around before going any further. After blocking these out, I keyframed his position on the branch and got to work on animating his head movements for the head tilt and shrug. The head tilt was easy enough as it was just two keyframes of the neck being moved and a keyframe of the last position copied so it’d hold. The shrug is made up of two keyframes as well, as I moved the rest of the head with the neck and thought a shorter shrug would look less empathetic.

The turn of the assassin snail was done by rotating his main control which everything is parented to, and giving it about 2-3 keyframes so I could tell the program how I wanted him to rotate and where to. I then used the transform tools to select his parent joint and move him forward slightly, moving his head along with his body and keyframing it, making it look like a typical movement of a cartoon snail. Going up the branch, i had to rotate him a little to make it look as if he were physically on the branch and crawling across its surface. I used the dope sheet to spread these crawls out to make it slow like the movement of a real snail, also adding a bit of delay to the head when he’s just started and finished moving.

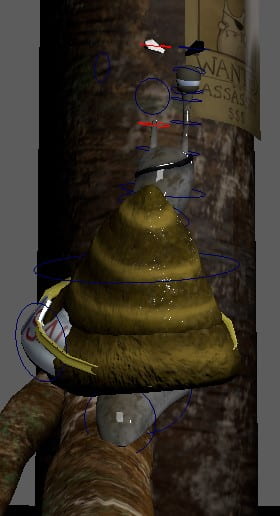
Facial expressions and the victim snail hanging from the talons were now the last things i had to animate. I started off by finishing the assassin snail by giving him reactions to the scene that’s just unfolded before him. I use the controls on his eyebrows to rotate them in a questioning manner, taking the left one and dragging it down a little bit to make it a more believable movement. I do the same to the right eyebrow but move it up slightly, this gave the snail more character rather than a static, lifeless rotation of the eyebrow. Coming down to the mouth, EJ had made a blend shape which would control the base expression of the character, smiling, frowning and neutral. These were very useful when it came to combining different expression poses to make a new expression, for example to make the assassin sigh i first had him smile with the “mouth closed” option turned all the way to 10 which was the maximum, then had it keyframed to open slowly as the character sighed. The eye controls were also very useful as they let me rotate the eyelids to seem as if they were closing over as he was shrugging, giving more emphasis to how he didn’t care and a “not my problem” type of reaction.

The victim snail was a matter of correcting the line-up of the controls, as they were still in the shape that Chloe had left them in her last frame, as id accidentally keyframed that as the key pose for each movement of the character, meaning every time i wanted to move the victim snail, i had to readjust his pose and facial expressions. I found an easy way around it for this part though, since i wanted the same position of the snail for this part of the scene, i just copied the keyframes and pasted them, making slight adjustments where i wanted such as to show the effect of gravity as the snail is bounced around by the eagle.

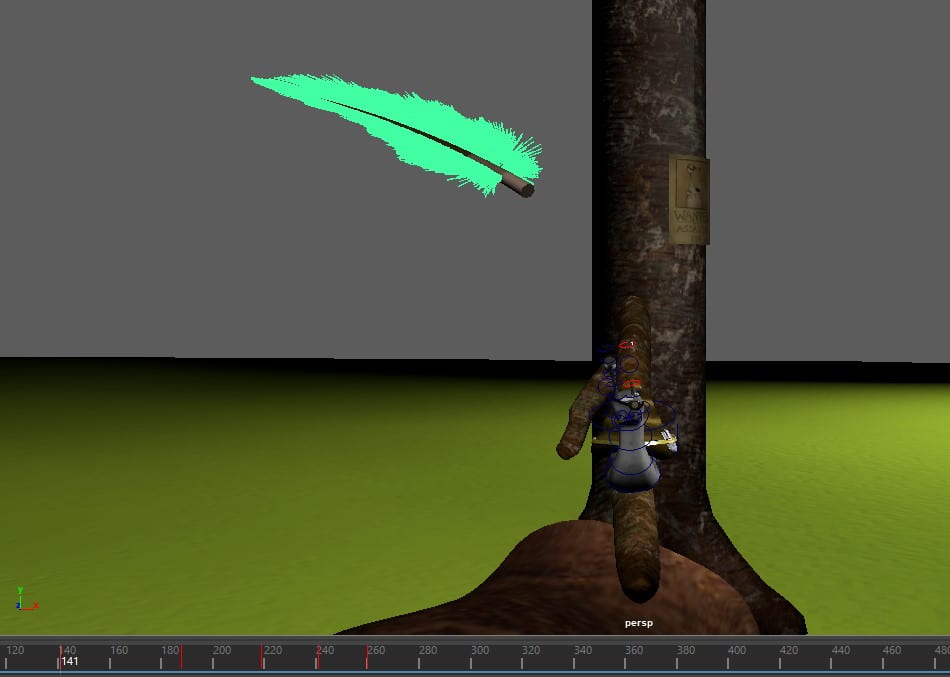
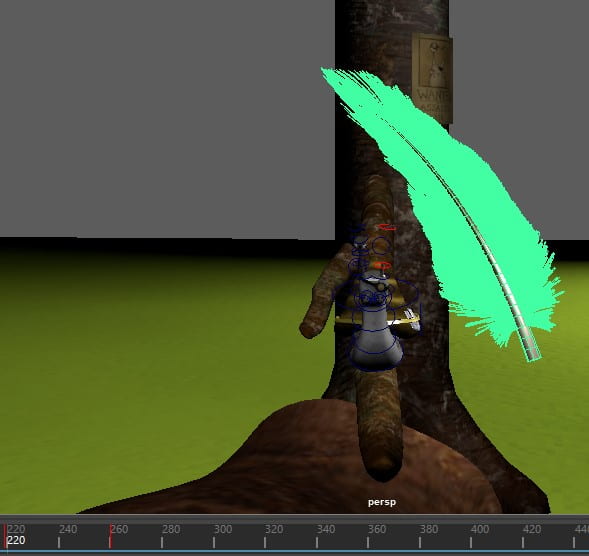
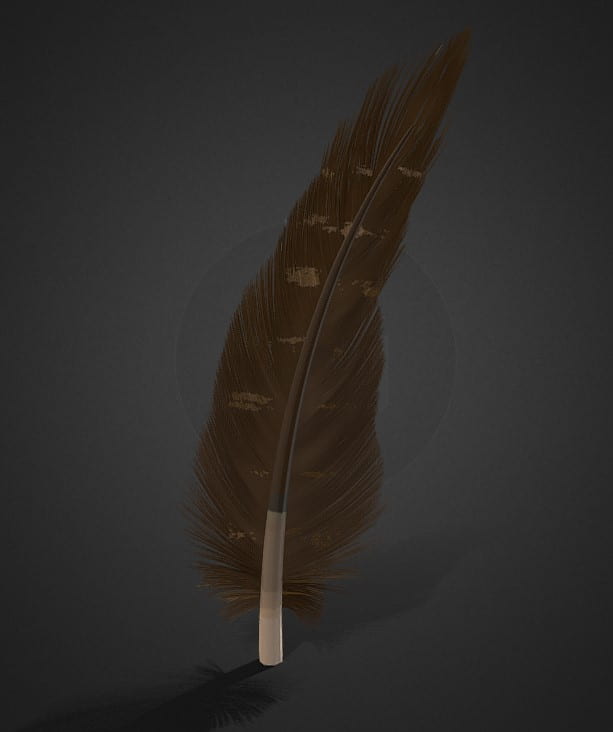
The final part of my animation was to animate the feather, i gave it a few keyframes, rotating it and moving it with the translation tool for each keyframe until it was off screen. I used the dope sheet editor to made the feather slow and smooth to seem like it was drifting down from the sky after falling off the bird.


modelling the bird feet – assignment 3

Our animation required a model of either a birds beak or feet, and since i was assigned to this task I talked amongst the team and we decided on bird feet, though looking back on it now, the beak probably would’ve made more sense for picking up a snail looking at it from size difference, as the beak could easily grasp the shell and get a closer shot of the snail.

To begin, i got a few references to work off of eagle’s foot bones and their general skeletal structure to help give me an idea of how the legs would bend and function in relation to the hips and how that would then affect the feet.
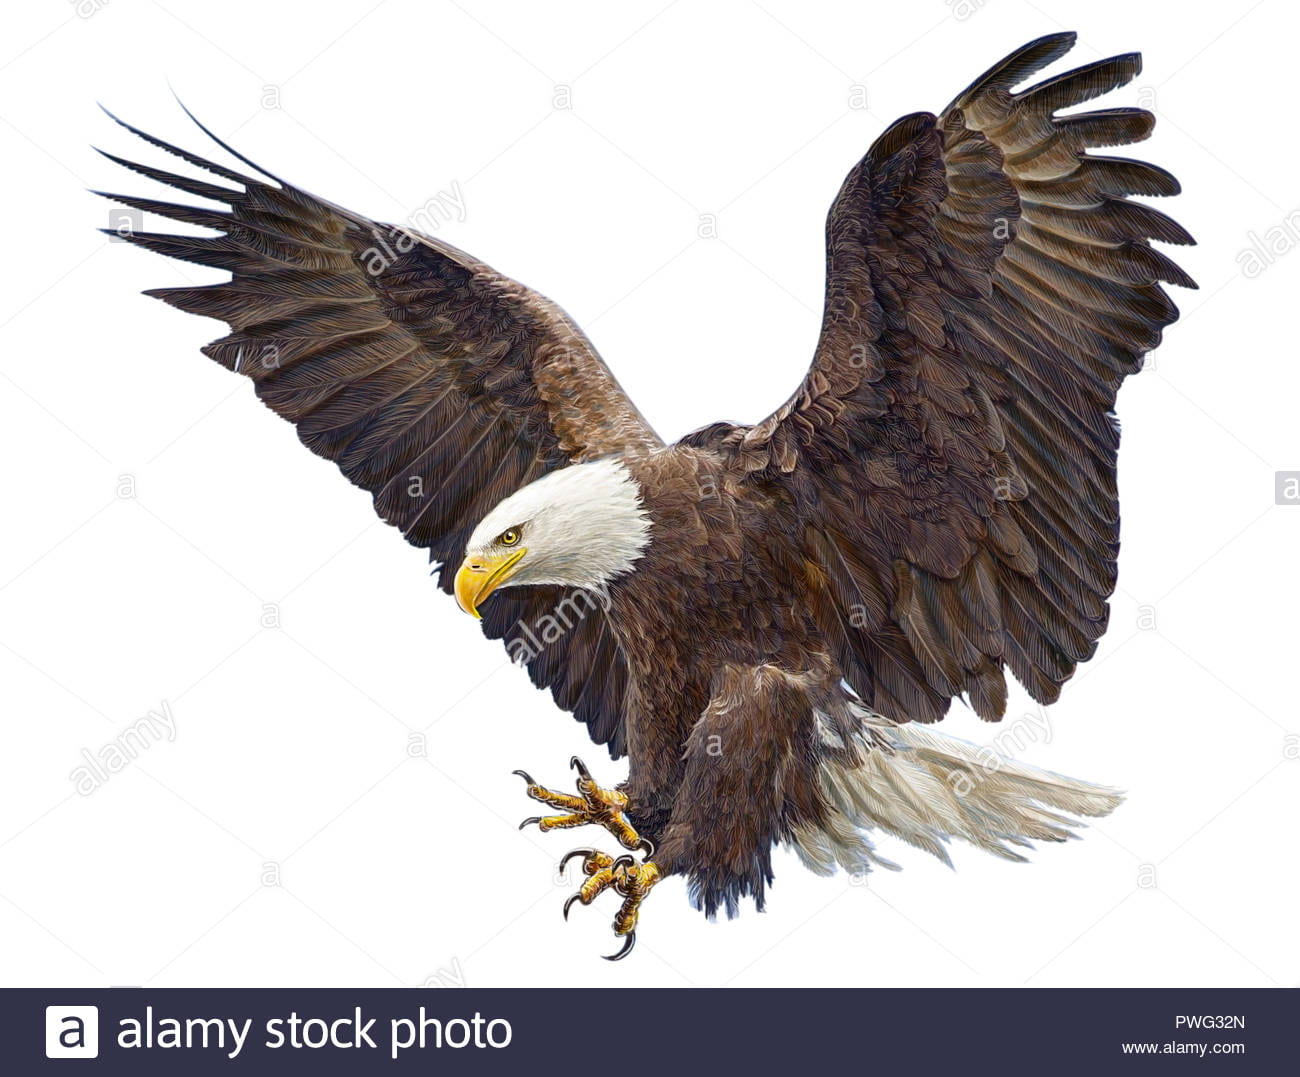
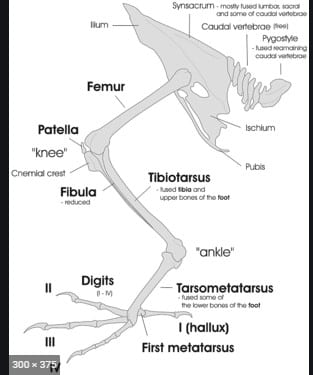
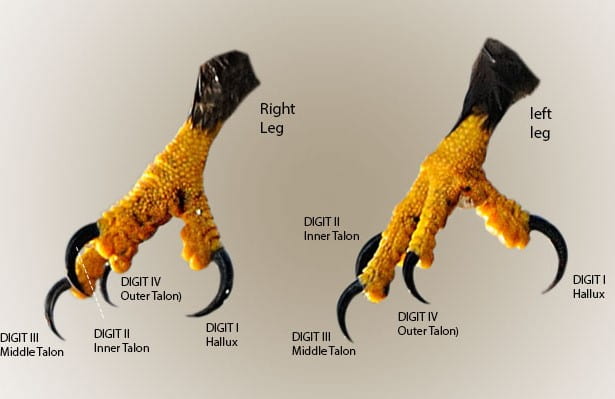
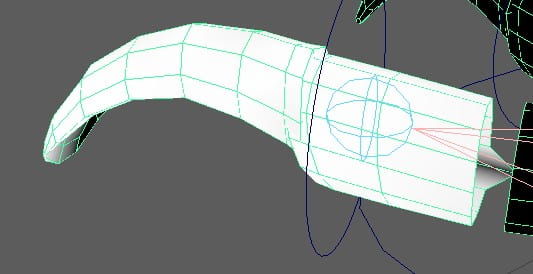
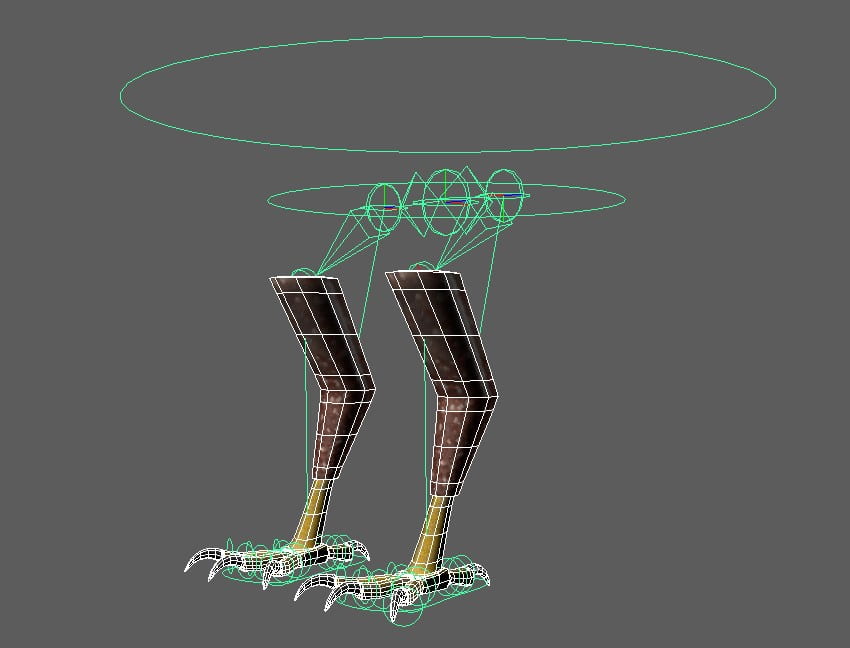
I started off by using a cube and shaping that into a small, slanted block, this would be the main anchor of the foot where the toes would sprout, and the leg would be attached. For the back toe, I selected the back face of the cube and used a scaled down extrusion to create a smaller quad, then selecting that face, extruded again to make the back toe. It was a little more complicated for the front toes as i had to try section each toe off to the side a little to get the desired effect of a real bird’s foot, but after numerous attempts and failing i decided to just make 2 edges using the multi-cut tool, creating 3 separate faces. From these faces I made extrusions and scaled them down then extruded those new faces to make 3 toes, extracting the faces to make them separate objects and putting them on a slight rotation. Going back to the main cube that is acting as the foot, i selected the top face and extruded it, scaling it down to make a smaller face and extruding that face to make the lower leg of the bird, extruding the top face of this shape to then make the thigh. Finally, I got a cube, used the scale tool to pull it out on the x axis making it a long cuboid and used the multi-cut tool to give it 3 loop cuts. Using the vertex selection tool, i took the middle vertexes and moved them up on the y axis, making an arch shape, before selecting the end vertexes and pulling them down on the y axis. This was going to be the claw that was attached to the end of each toe. Pressing 3 on the keyboard while my object was selected, I previewed what this claw would look like when smoothed and made appropriate adjustments until i was happy.

Before exporting my model, I had to configure the UV maps so I had an even workspace when texturing and to ensure the texture sat correctly on the UVs. To start with, I opened the UV editor from my toolbar, and with my model faces selected, created a planar on the Z axis to begin working from. Switching to edge selection mode, I located the edge where the UVs were red as this is an indication that the UVs are flipped and selected it, navigating back to my UV editor window and using the “cut” tool allowing my UVs to relax which enables me to unfold them then use the layout option to fit them in the box neatly, making adjustments if necessary to get my UVs looking correct. This process was basically the same for each piece of my model as they were all cylindrical shapes except the foot. The foot has four toes sprouting from it which meant there was a bit more of a complication when it came to UV mapping this object. Locating the edge was easy but trying to select the edge wasn’t, i had to keep isolating and pulling it back from isolation when trying to go round the edge loop and select it all since there were breaks in the front and back where the toes sat. From there it was the same process as the rest, using the cut tool and then unfolding the UVs and laying them out. An important step i had to remember whilst sorting out the UVs was to freeze the transforms on my object before unfolding, as this would give me a cleaner unfold and fit the model more accurately.

Once i thought everything in my model was as good as i could get it and looking like the structure of an eagles leg, i selected it all and smoothed it 2 times. I now had the model for my eagle’s feet, which i would then go on to texture and rig since we need it to move. I exported it as an FBX ready to take into Substance Painter and texture.

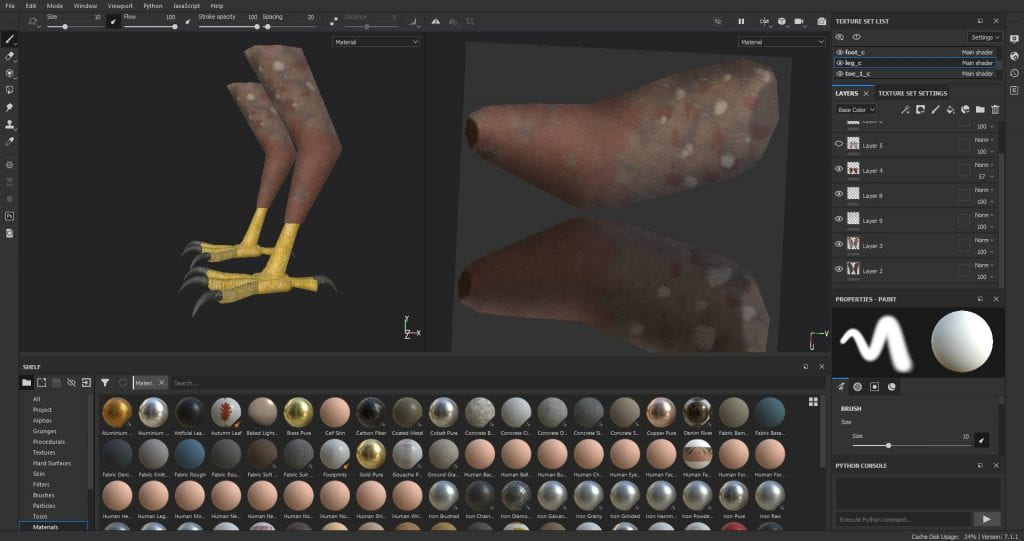
Opening Substance Painter, I started a new project and imported my bird feet FBX and got to work giving them textures. I’d named every part of my model in Maya with a separate AI standard surface material so i knew which surface i was texturing, as well as making it easier to texture individual parts like the claws with different appearances.

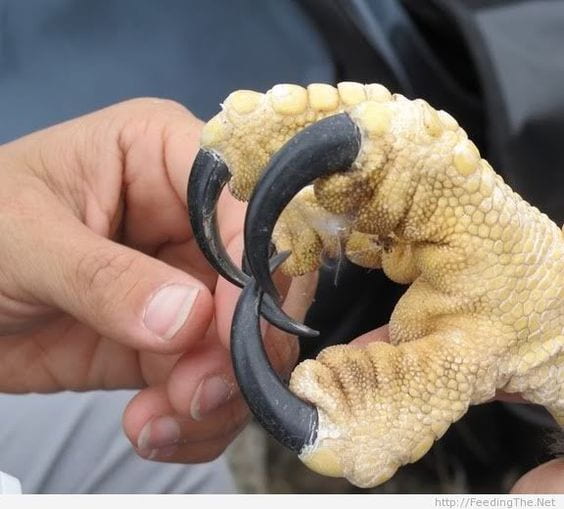
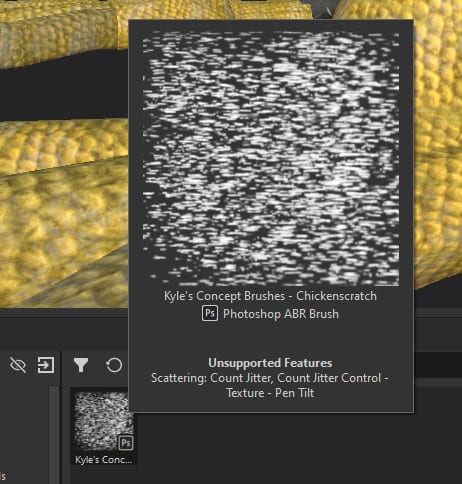
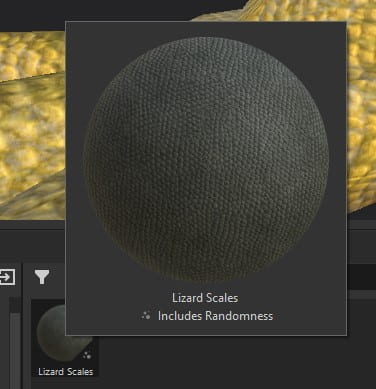
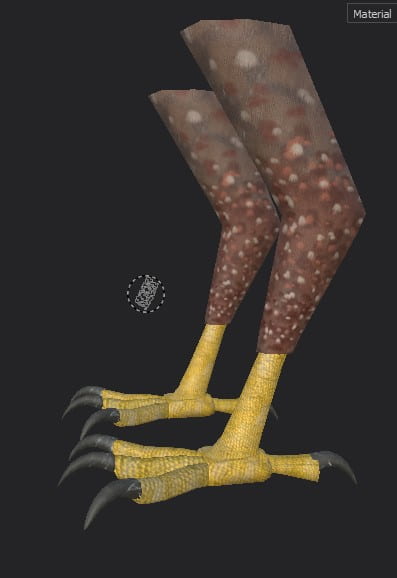
I started with the feet, finding a good texture brush called “lizard scales” and making them slightly bigger to fit the texture of an eagles skin then painting it onto the foot layer, later adding a layer of light grey with a normal brush and a decreased opacity to make the foot look more natural with dry skin on certain toe joints and the ankle. I found a brush called chicken scratch and decided to use it randomly around the skin of the foot and toes for detail. I spaced it out and increased the brush size to get the desired effect.
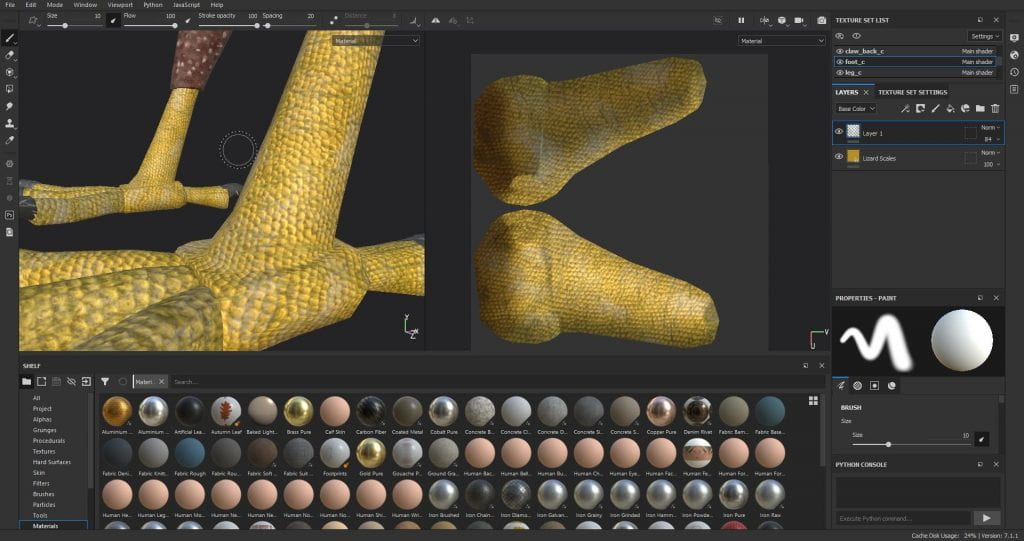
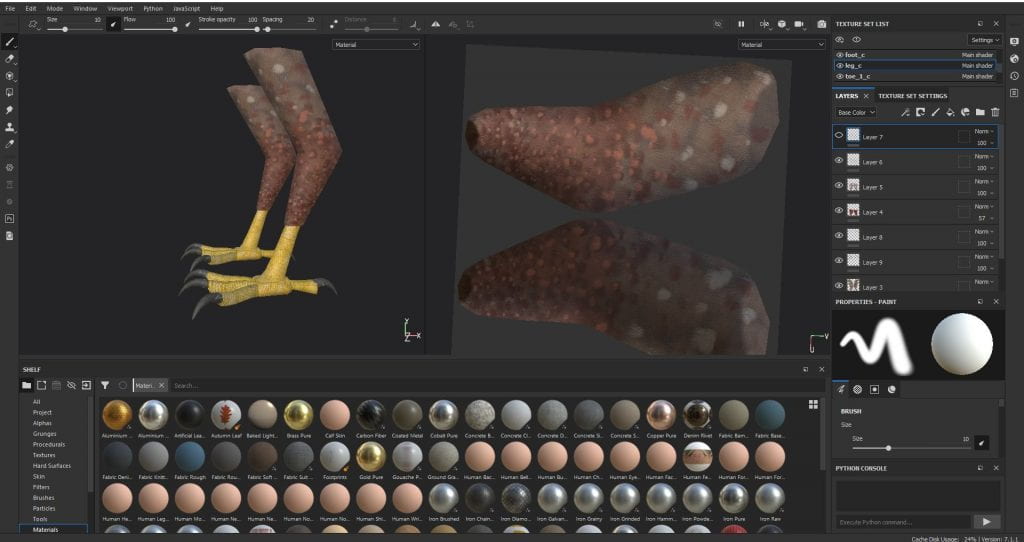
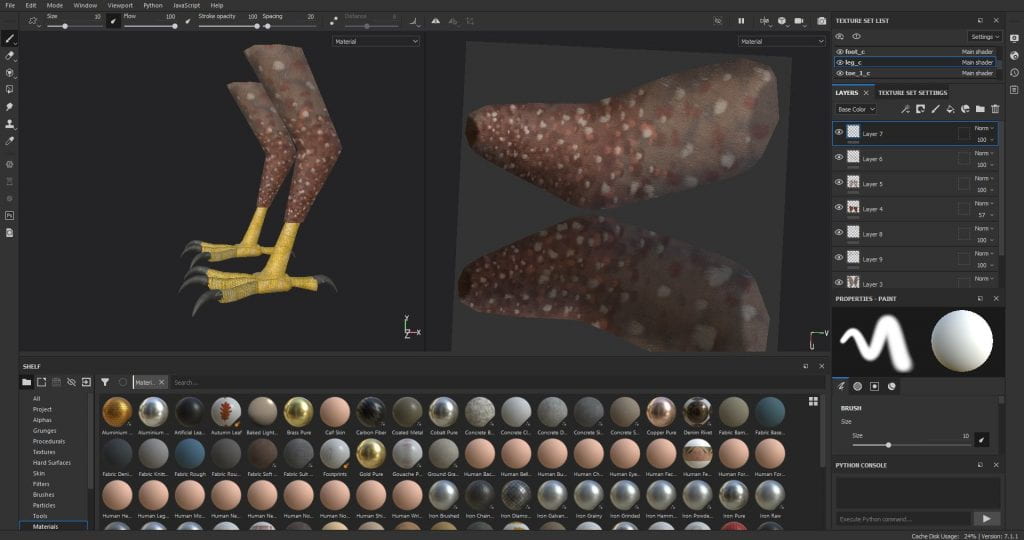
Moving up to the feathered part of the leg, using a fibre feather brush, i got a brown that i thought suited nicely in a natural muted tone and painted it onto the leg as a bottom layer, then adding another layer of a reddish brown on top on the bottom of the leg to give an interesting colour difference pattern before adding another three layers of different coloured speckles.
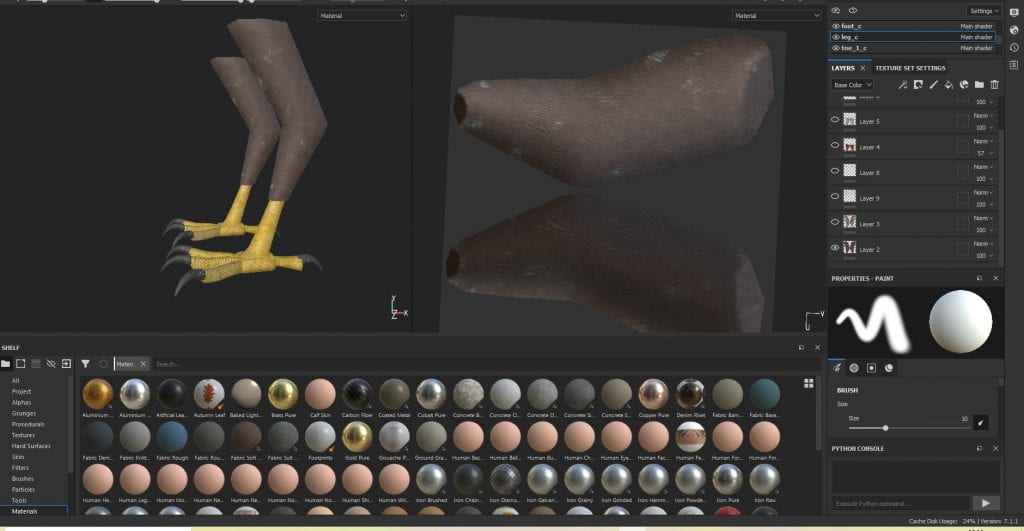
For the first layer of speckles, i used a brush size slightly smaller than what I’d been using previously and chose another nice red-brown which was darker than the section of leg id be texturing to make sure it stood out and looked natural, i then dotted it in random places along the bottom of the leg making sure they varied in size and shape. I then went in with a similar technique with a lighter brown and a slightly smaller brush size and painted on top of the previous speckles as well as randomly dotting around them creating a layered effect of feathers which i finished off with another smaller size of cream coloured speckles using the same technique. I did this another two times for another two sections of the leg, getting bigger and more sparse as i approached the top of the leg.
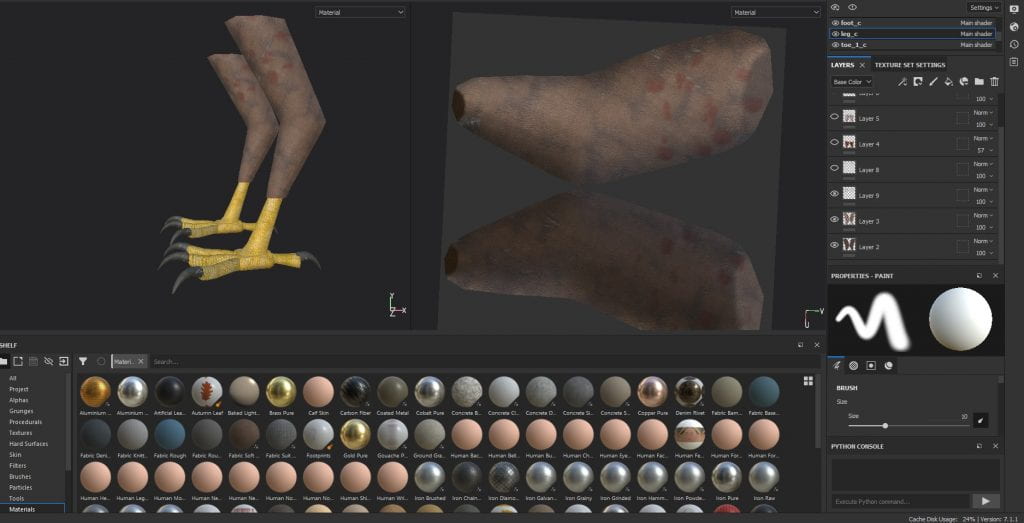
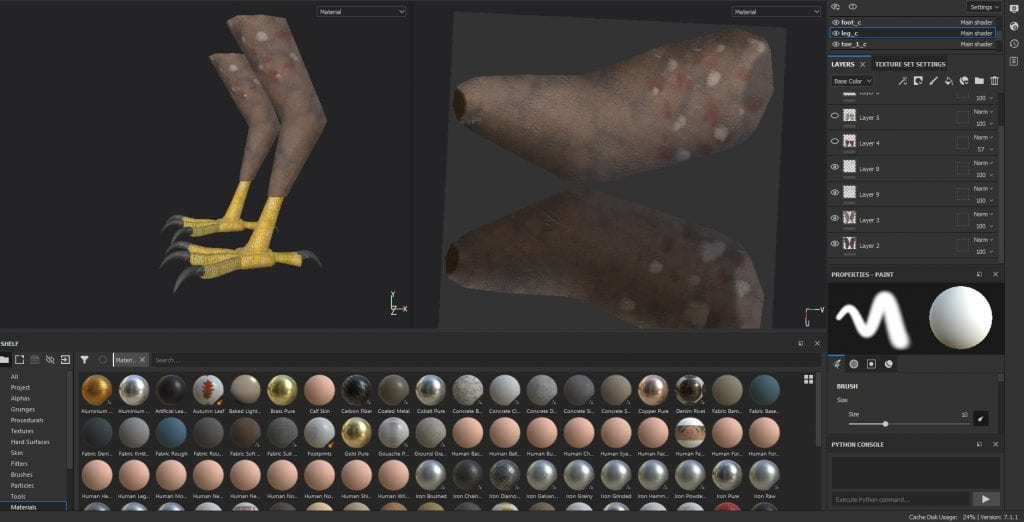
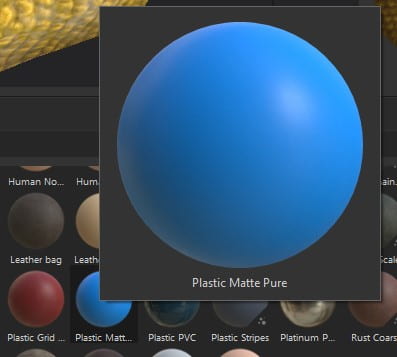
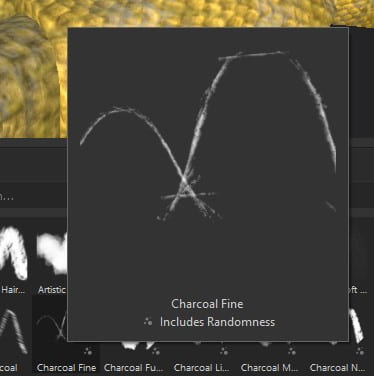
Once finished with the speckles, i added a layer above the base layer and with a dark almost greyed out brown, added in colours at the top of the leg in random strokes to give another layered appearance to the feathers, making it more realistic and moved onto detailing the talons. Using a slate grey, i painted the talons after applying a matte plastic material to give them a reflective surface. I used the fine charcoal brush in a white colour along the tops of the talons where they connect to the toes as i felt this made them more realistic to the references i was using where the eagles talons where streaked white at the top where they grew from the toe.
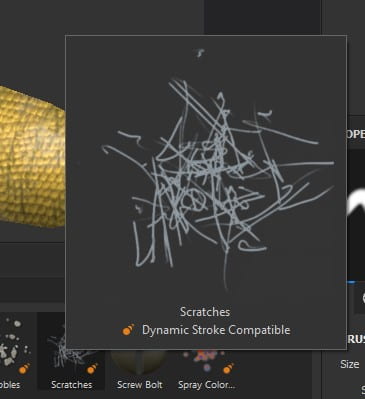
Navigating to the effects panel, i chose the scratches brush and proceeded to randomly paint them onto the talons to give them a more worn out look making them seem more natural than fabricated. I also added some scratches to the tip of the toes where the claw starts to grow as this is where flaky, dried skin appears on eagles feet.
Once finished with the textures on my model, i exported them using the PBR metalness setting, changing a few other settings alongside it, taking out the height and emission textures as i had no need for them and this would result in a cleaner export folder. My model was now ready to take back into Maya to plug in the textures and start rigging.
Being honest, rigging was probably the biggest difficulty i had with this whole project. There were a lot of issues along the way which left me feeling really lost and disheartened, but i persevered and got through it.

Importing my model back into Maya, I opened Chrome and headed to YouTube to find a bird rigging tutorial that might be able to help or at least guide me in the right direction. It took quite a few refinements to my search and very specific requests in the search bar but eventually i found someone showing us how to rig bird models to make game ready. Of course since I was only rigging legs, i didn’t need the first part of the video where he was rigging the wings and body of the bird but decided to watch it anyways as it was knowledge that wouldn’t hurt me if i had it.

Nearing the end of the video, he explains how to rig a birds legs with “joints” and “IK handles” which before now I’d only heard very little of these two mechanics, using an FK and IK mechanics plug in called Duik in After effects for my tech animation course about a year ago. Following the video made it a lot easier to figure out and understand, as I knew now the joints are located in the places the real animals joints are placed, and the IK handles are similar to the bones, but instead of being connected directly to the next joint after it, it’s connected to every other joint in the chain. For this specific rig, I added my first IK handle to the “end leg” joint and connected it to the 2nd joint in the chain, then doing a similar technique with another IK handle and connecting the foot joint to the 3rd joint in the chain. I now had an IK system, which after grabbing and moving it around seemed to work. I added a hip joint in, parenting the two end leg joints to it, to give a universal point where I could grab and move the whole bird.
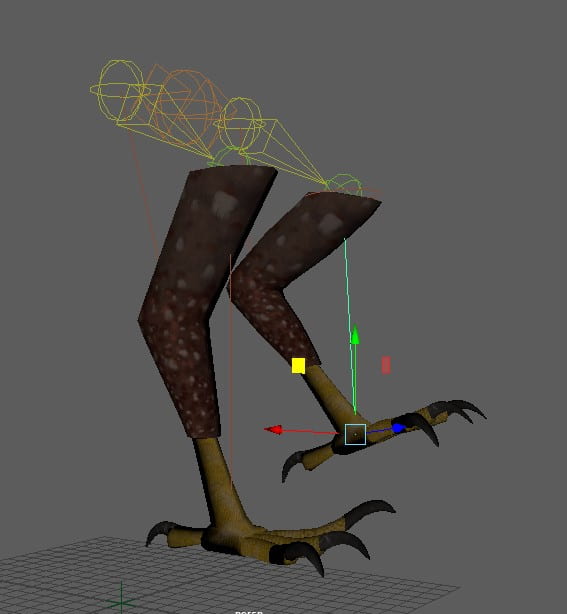
(i forgot to take pictures at this part so i just showed the rigs IK working)

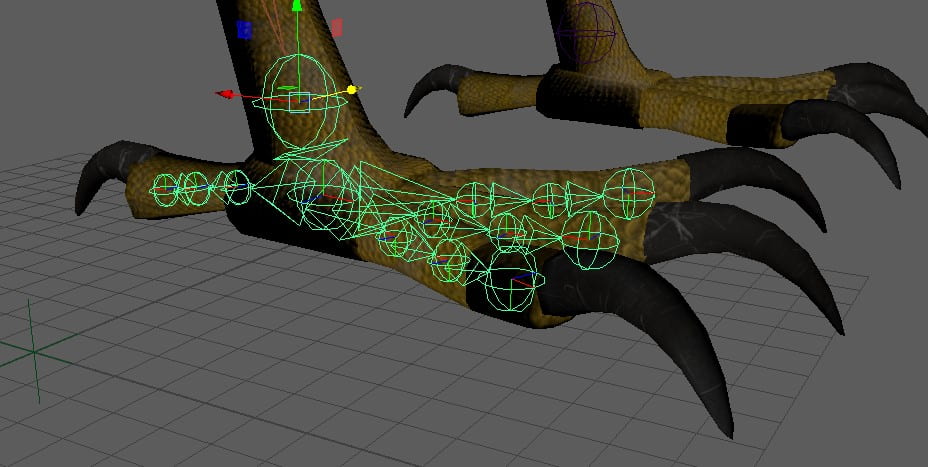
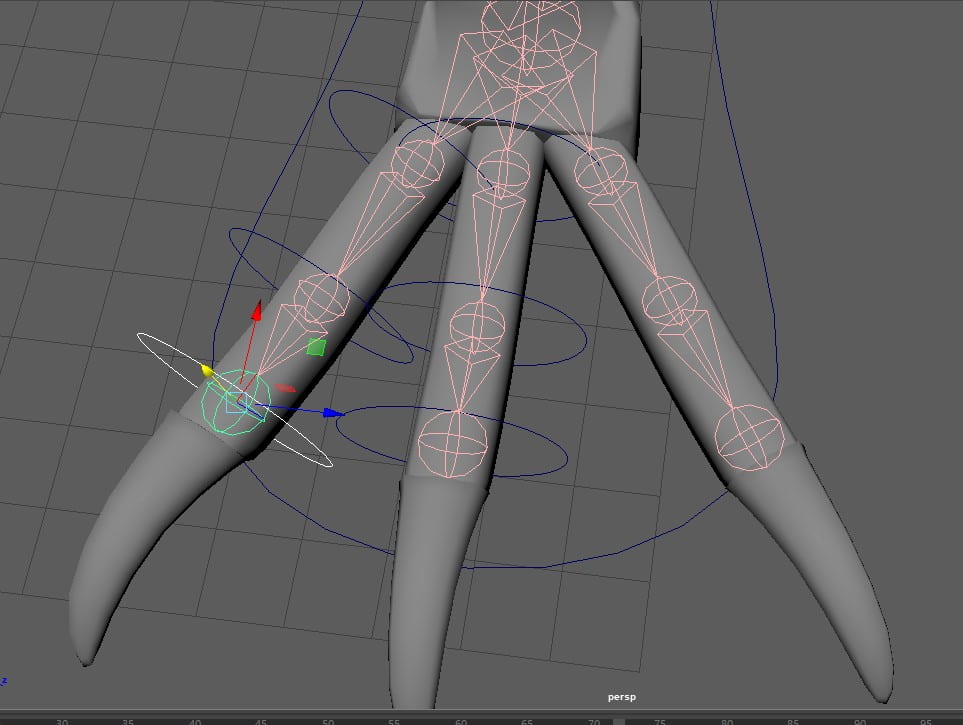
Rigging the toes was a bit of a mess as I’d used an IK method at first, which worked fine until i had to bind the skin to my joints. The whole model started twisting and deforming, making it very hard and finicky to try and fix. After sending my file to my tutor Alec and getting some feedback in the form of a video file and an example Maya file, I then trashed this method and went with a simpler Forward Kinematics mechanic, which would allow me to move all the toes in a chain like manner with a control rather than an attribute. This was much easier and user friendly as it could be done straight from the viewport compared to having to locate the attribute editor and move it from there.
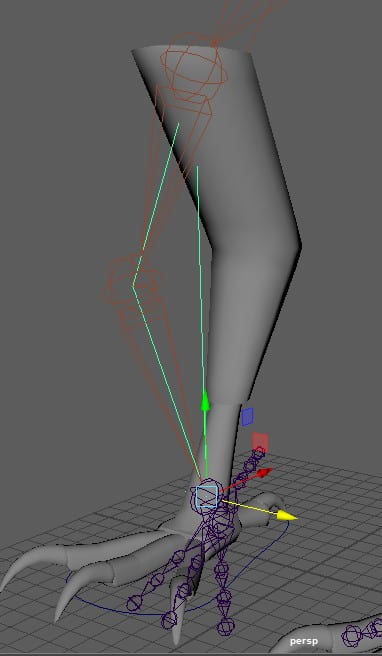
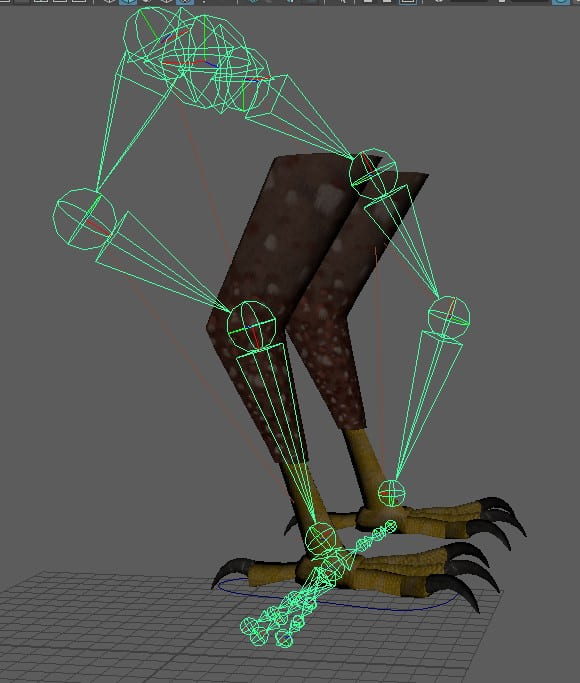
 

Having now completely finished my rig and tested it, I went to the toolbar up at the top in the “rigging” workspace and clicked on “skin”. Selecting my joints from the hip, then selecting my model I then used “bind skin”, this meant that whenever i moved my rig my model now moved with it.
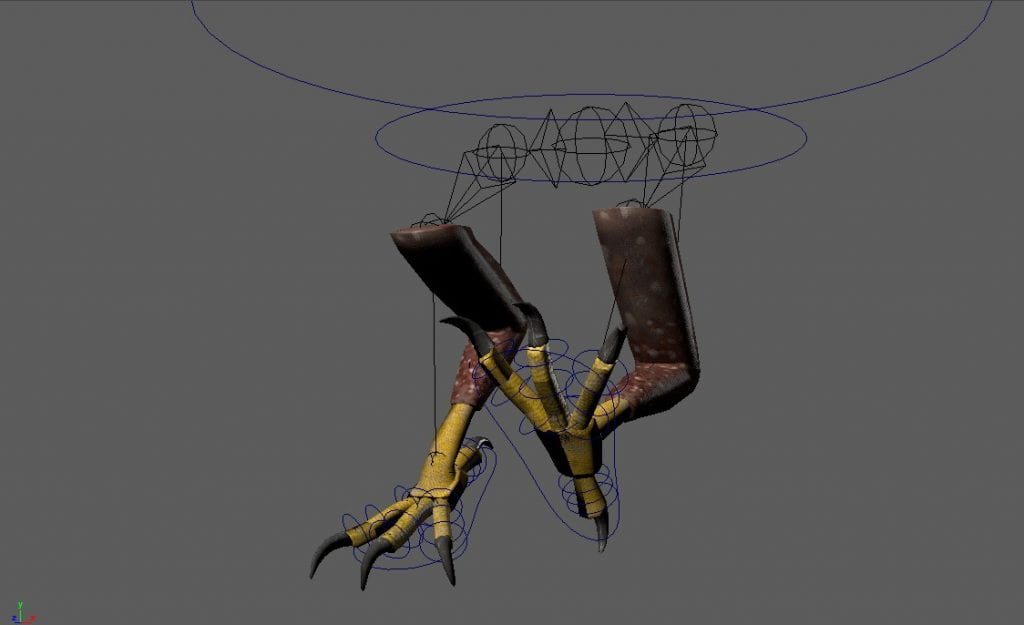
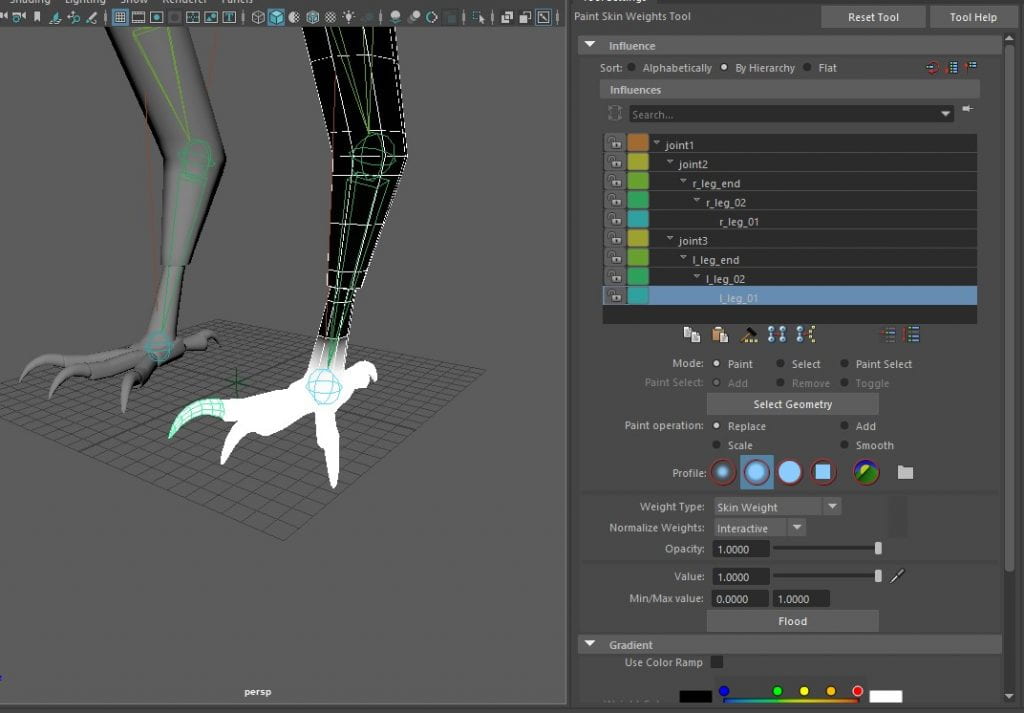
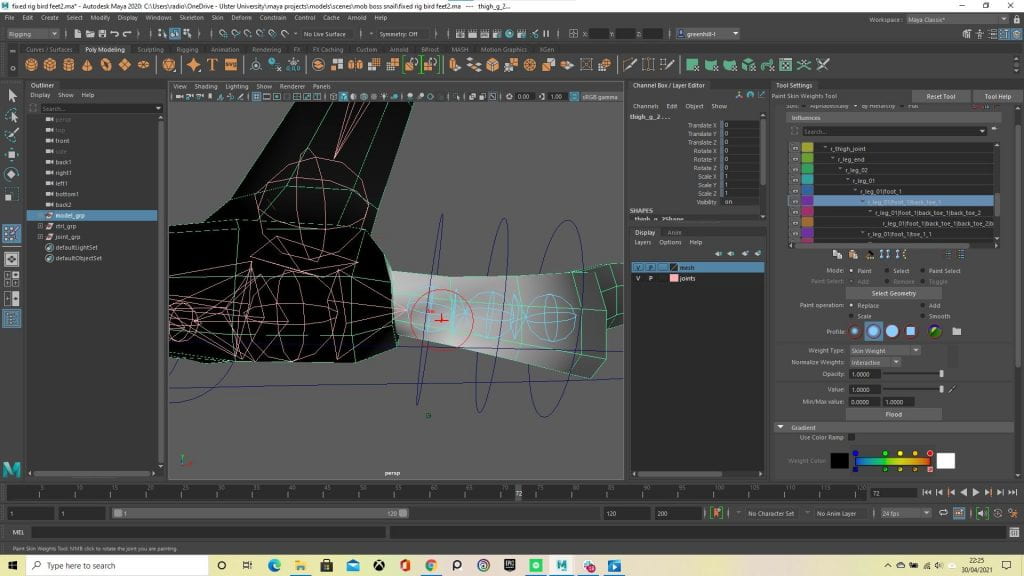
Skin weights was my next go to on the list as I had to now make sure everything moved as I wanted, and not as the program felt it should. I used my tutor’s tutorial on Blackboard to help me gain an understanding of what skin weights were and how to fix them before diving in and trying it myself. I learned that the whiter the area around an object is, the more of that object is going to be controlled whereas the blacker it got, the less influenced it was until you got to 100% black and it didn’t move at all. This was very helpful as my model had a lot of places influenced that made no sense, such as when i moved the left foot, the right claws would move with it.
I found out after a few trial and errors that in order to keep your changes to the weights, you have to go through the hierarchy and do them in order, otherwise it’ll discard your changes and reset to default. I spent about half a day or longer doing this step as I didn’t know this at first and had to resort to Google to solve my problem, but even then there was so much to fix, thankfully the “flood” option made it easier as I didn’t have to hunt for the mistakes and could just paint the white on where i needed.
I now have a completely finished and fully functional model ready to animate.
Refining our ideas – assignment 3

Now we had our final animatic ready to be presented, we had to start thinking of 3D assets we had to create and how we’d go about doing that. We knew that we had the option of making our 3D objects in Maya as that’s what we’ve been using throughout the learning year and we’ve recently been learning how to sculpt in blender in another class, so we thought these would go well together and help us create more organic shapes for our animation. So with our “how” decided, we moved onto “what” and started making a list of what we actually needed to model or design according to what would be appropriate for our animation.

Since the whole idea of our animation revolves around snails, we knew straight away we had to make an assassin snail character, the victim snail character, and a mob boss snail which would be the main cause the assassin is going after the victim in the first place. We also knew a bird would have to be modelled for when the victim gets picked up, but for now details on this asset were very vague and we didn’t really know how to go about it.

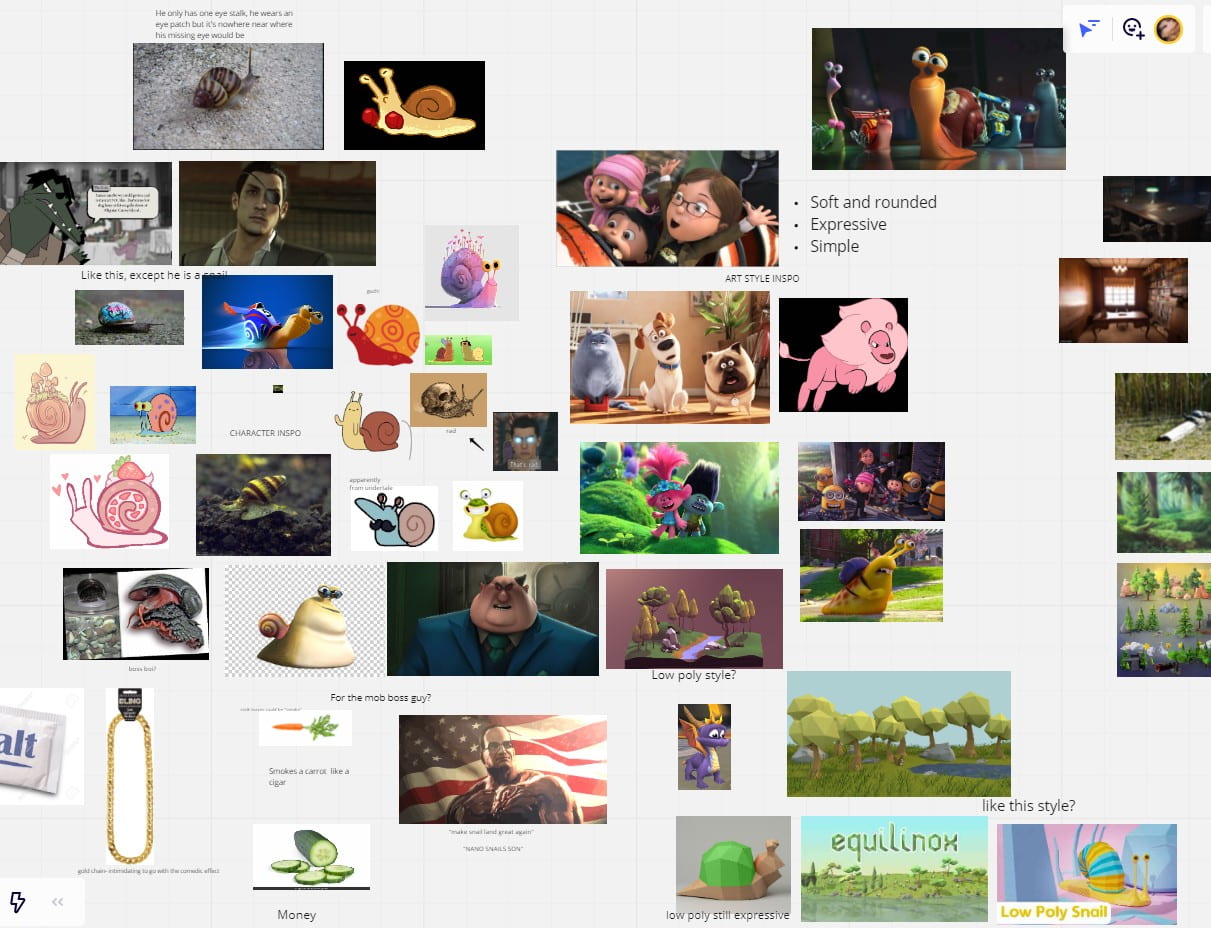
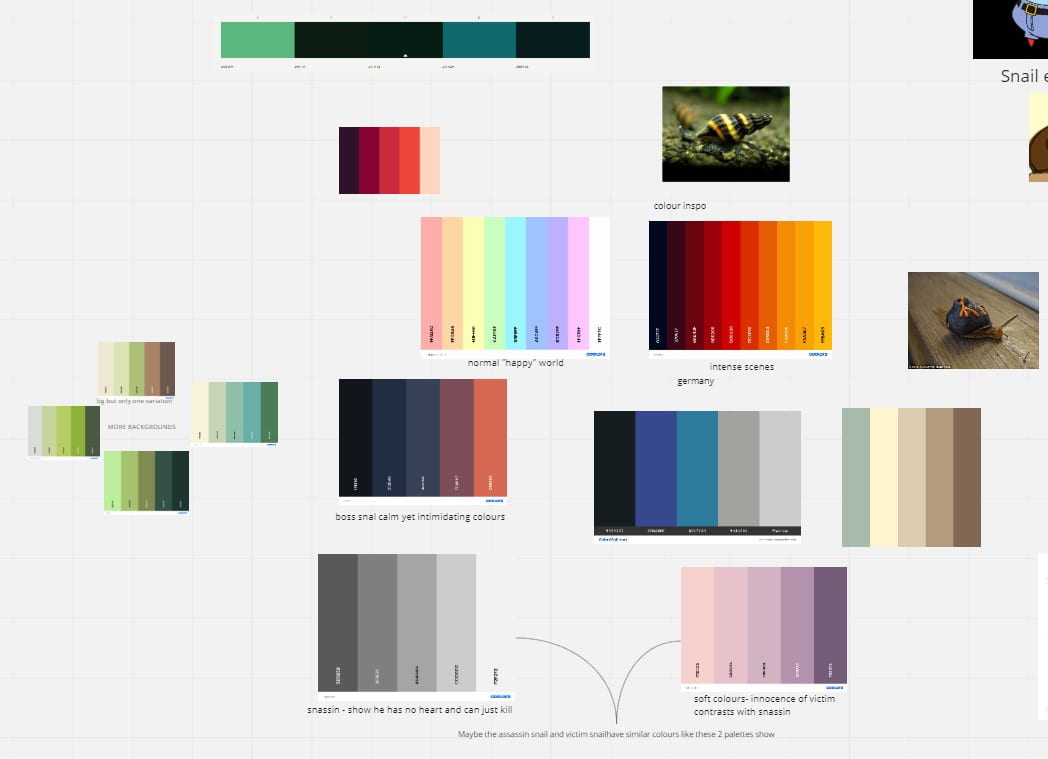
The three snails were given out to three people as a design task, i took the opportunity to design the mob boss, EJ asked for the assassin and Chloe said she’d do the victim. Our ideas for these characters and their personalities, colour schemes and appearances were drawn from an idea board we all contributed on a website called Miro which allows you to make a board and collaborate with team members by sending them an invite through email. On this board, id mainly been contributing to the idea of the mob boss, the art style inspirations of the whole animation, and the colour schemes for the characters and environment around them. Whenever choosing a colour pallet and pasting it up on the board, id give a short description as to why i chose each one and how it suited the character, for example when choosing the colour pallet for the victim snail, i commented that it was bright and colourful, showing the innocence of the victim snail and how it had no clue it was being hunted, contrasting with the cold lifeless colours of the assassin snail.

Yes we were working when in the miro board, but we also put a few silly things in to keep the work fun and make sure everyone was in a good mood to encourage them to keep going. This also made group work a lot easier, as this was our first time working together and being able to make jokes and laugh with each other made it a lot less isolating and confronting as we were then able to break the ice and get to know each other on a human level rather than just class mates.

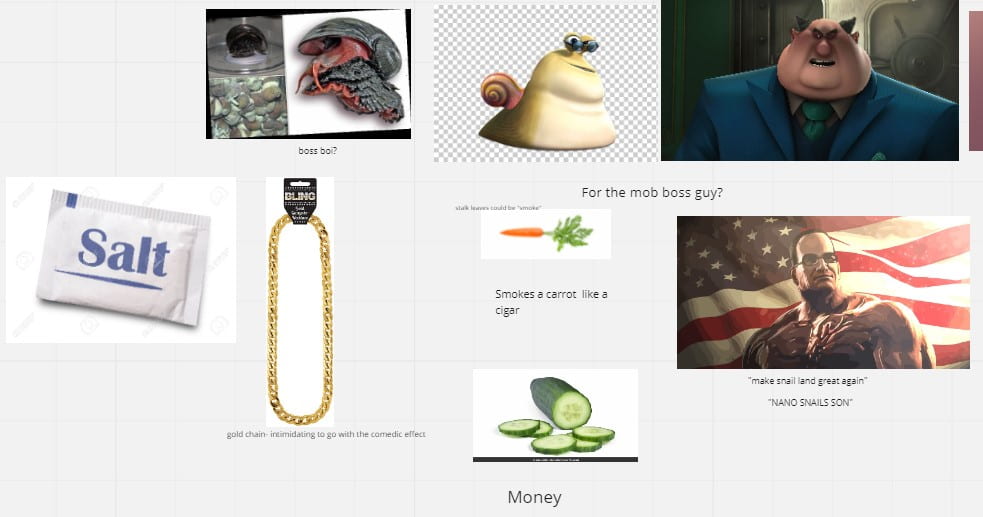
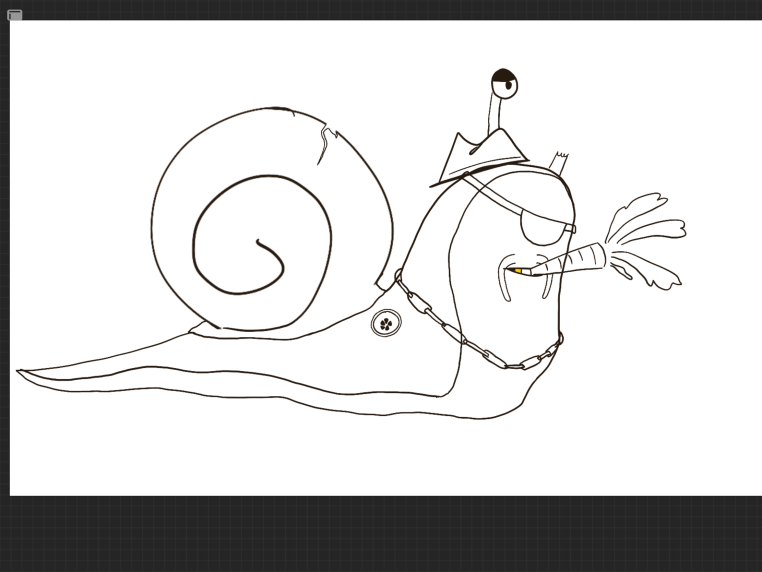
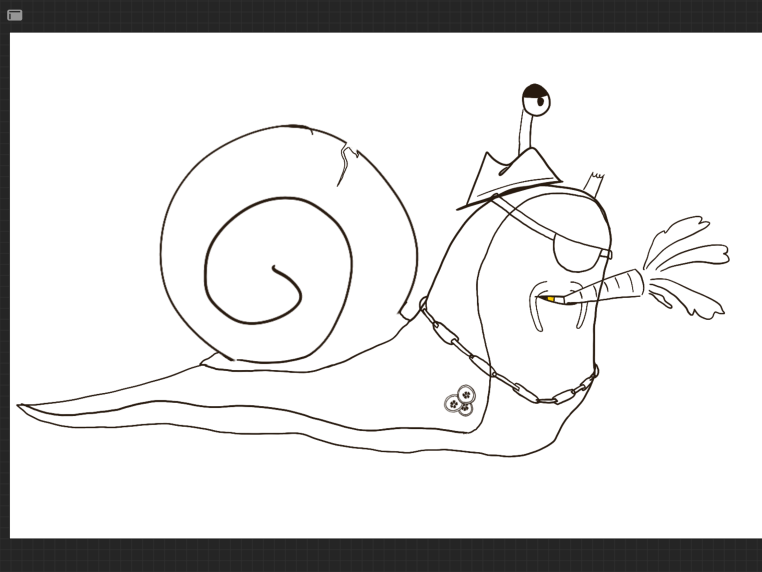
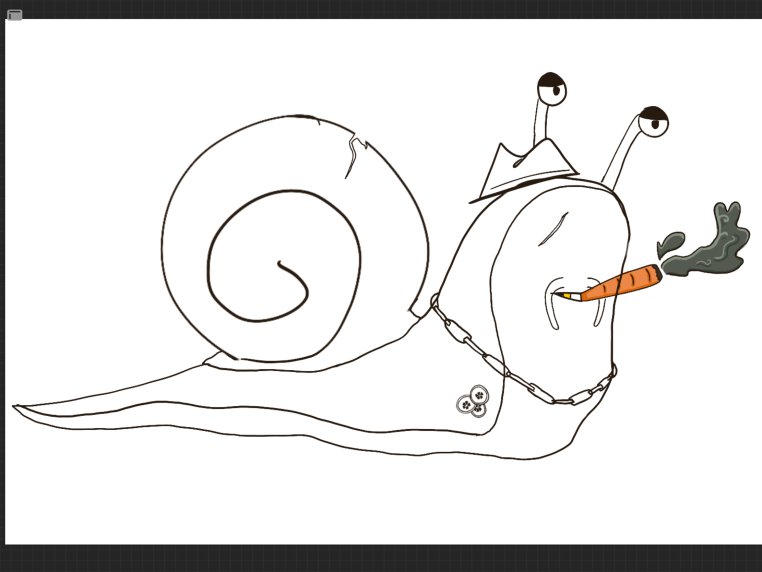
Moving along to the actual designing, i used Procreate on my iPad to draw out a sketch of what the mob boss would look like. I went with the typical “big, burly and lazy” stereotype so he’d be recognised straight away as a mob boss and not some random snail. I gave him a cigar in the appearance of a carrot, with the stem and leaves acting as the smoke, fitting in with the snail universe and how they’d adapt things to be more organic rather than smoking tobacco cigarettes like in the real world. Money is a big thing when it comes to mob boss designs, they usually have gold teeth, guns and money everywhere in either a physical or metaphorical form, so for my snail i decided to give him it in a metaphorical form and gave him a tattoo of money, which in their universe is cucumber since snails view it as a delicacy we thought we’d make it the currency. Again with the stereotype of mob boss’s, i also gave him a gold chain necklace and a moustache made from his antennae, these helped him look intimidating but along with his droopy eyes, balanced it out to fit the light hearted nature of the animation. Of course his design went through a few minor changes, such as when i accidentally gave him the assassins features and then i decided to move and alter his tattoo.

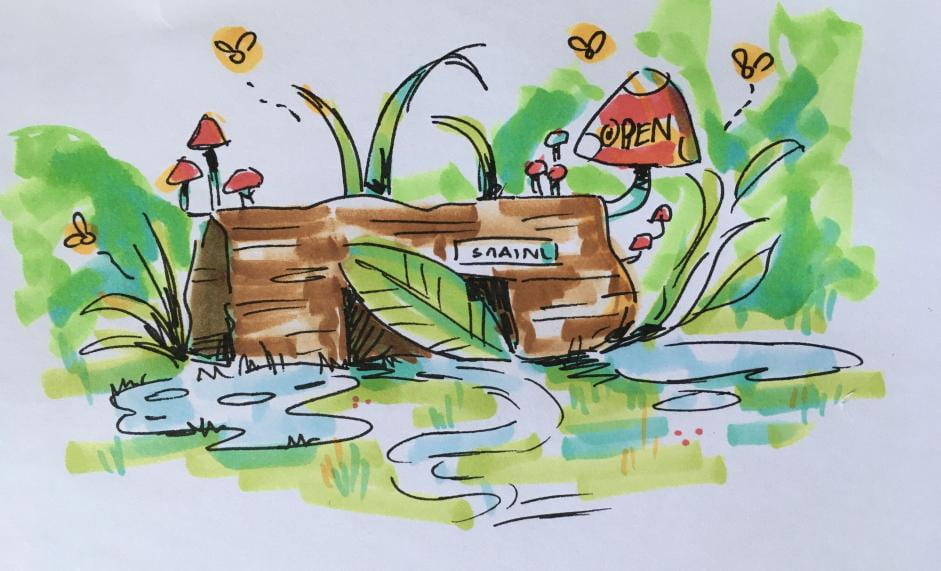
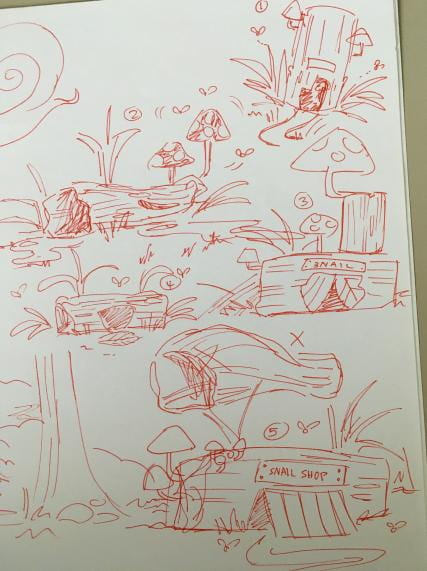
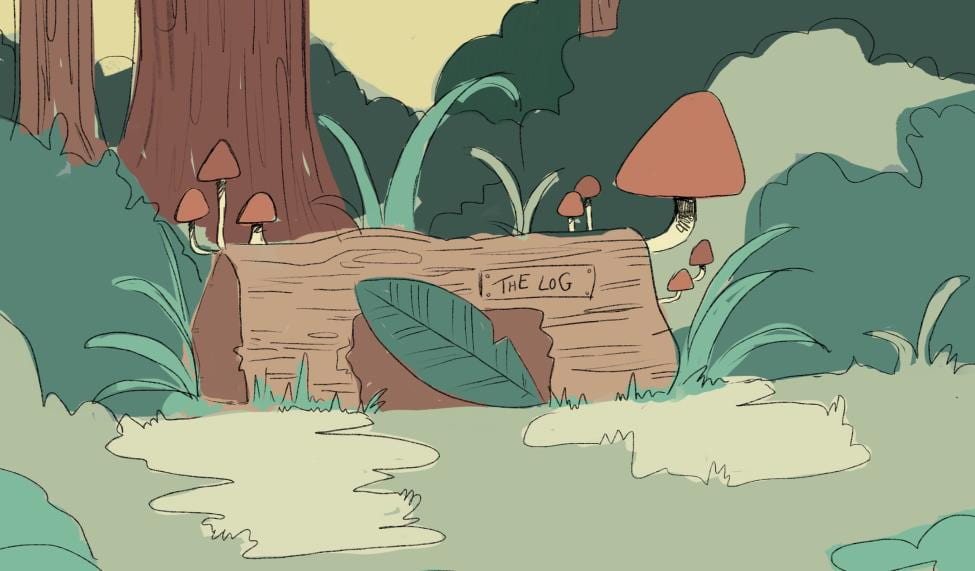
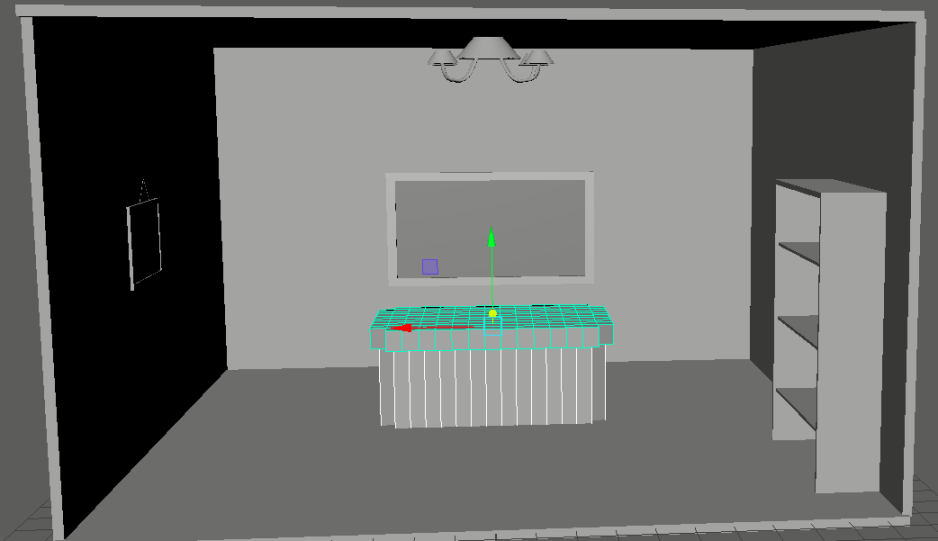
For the environment side of things, we already knew it obvious that we’d have a tree and a log, as well as a low hanging branch that the assassin crawls down. At this time we also designed an office for the mob boss and the area surrounding his office which would be shown in the opening scene. Katie designed an area of organic life surrounding the log office and gave it a name tag before giving it colour on paper. Rhys designed a room for the mob boss’s office where he and the assassin would sit and make his contract. It was later found out after a progression presentation that this scene was irrelevant to the animation, and we were advised to remove it to keep the animation on track. Below you’ll find Katie’s artwork of he log and its surroundings followed by the progress of Rhys’s room.

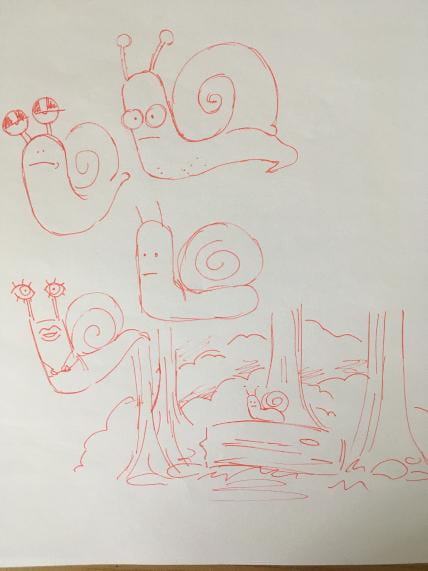
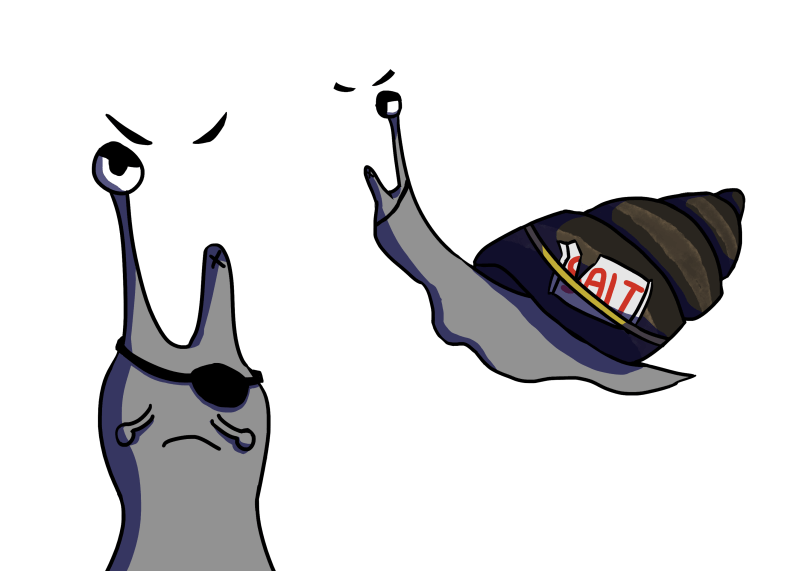
EJ took the job of designing the assassin snail with a cold, muted colour scheme to fit the characters personality and his title of assassin, giving him a comedic look of one eye stalk and an eyepatch in a completely unnecessary place.

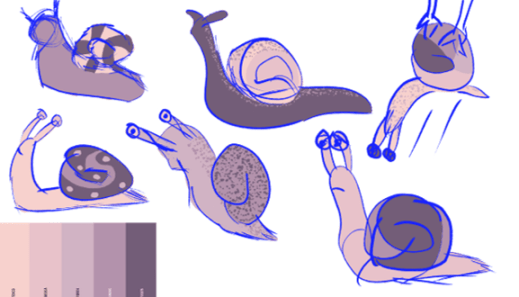
Chloe had the job of designing the victim snail which had cheerful colours to reflect his personality and how he had no idea he was going to get murdered. She decided to keep his design simple and not to give him anything eye catching as to sell the point he was just a normal everyday snail which poses the question, why was he then being assassinated?

Of course since the office and outside weren’t needed, neither was the mob boss. I didn’t mind as i didn’t get far and this was still an opportunity to work on my design and 3D modelling skills as well as learn how to work better in a team, and adjust to change which is quite frequent in this industry.

After the presentation week where we were given feedback on our progress and what we intended to do next, we changed the opening scene of our animation to introduce the assassin and his victim. This is also the week we took to think about the bird. I was going to try do a whole bird model and rig it, but i thought that sounded a bit too extreme for the simple scene and that it would take priority over too many other tasks i still needed to get done, ultimately ending in me either rushing things and not getting them done to my full potential, or spending too much time on some things and having little to no time to work on others. This resulted in us choosing to go with bird feet as a beak would work, but i felt for our level of education was too simple and it felt like an easy shortcut which is why for this reason i opted on the feet rig, this would give me an opportunity to progress in my 3D modelling skills for organic creatures rather than just simple shapes and objects. It also made for a more interesting visual than the beak, as the feet have a lot of potential for movement in all the individual toes and parts of the leg rather than an open and closing of a beak.

feather creation – assignment 3

Our animation required feathers falling from the bird and around the assassin snail whenever the victim snail is snatched up by the eagle and i was the one appointed to this task.

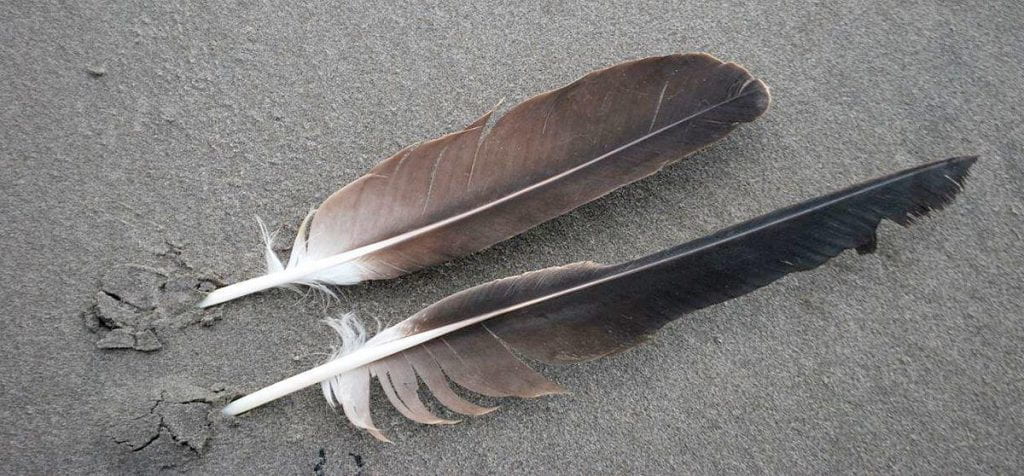
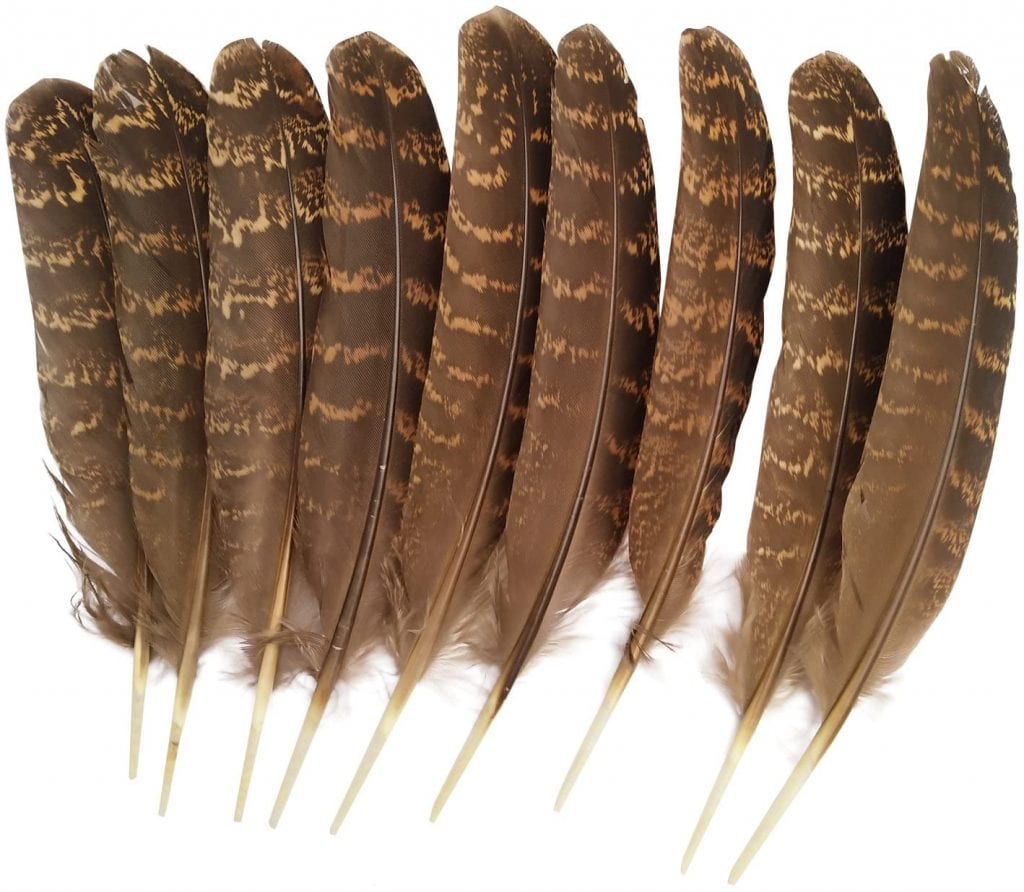
I started by finding a reference on google of an eagle feather i thought suited the shape i was aiming for which you’ll find below and found a tutorial video on YouTube by YellowDog (his channel link: https://www.youtube.com/channel/UCzltCx-JIQ9U0MHo4uhybfg) who was very helpful in explaining how xgen worked, and as it was my first time using it, id say it came out pretty good. Here is the YouTube video https://youtu.be/rgj8AoZpGPw

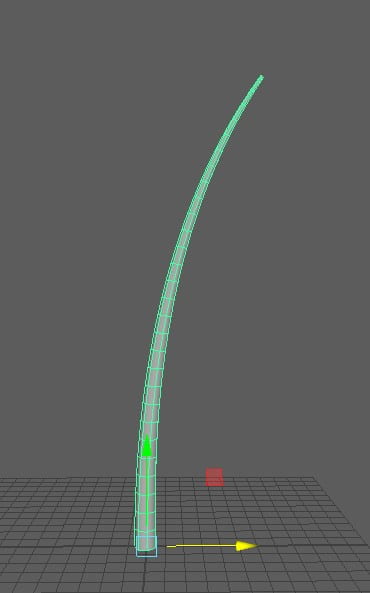
To begin modelling the feather, I opened my 3D program, Maya, and created a CV curve in the shape of the middle spine of the feather, followed by a NURBs curve which I scaled down on all axis until i found a suitable size for the feathers spine. At this stage though, all i had were two 2D objects which obviously isnt very useful, so to make a 3D object i selected both objects and using the surfaces tab in the toolbar in modelling mode, went to “extrude options” and followed the video, selecting polygons and quads then hitting apply, now i had a 3D object to work with.

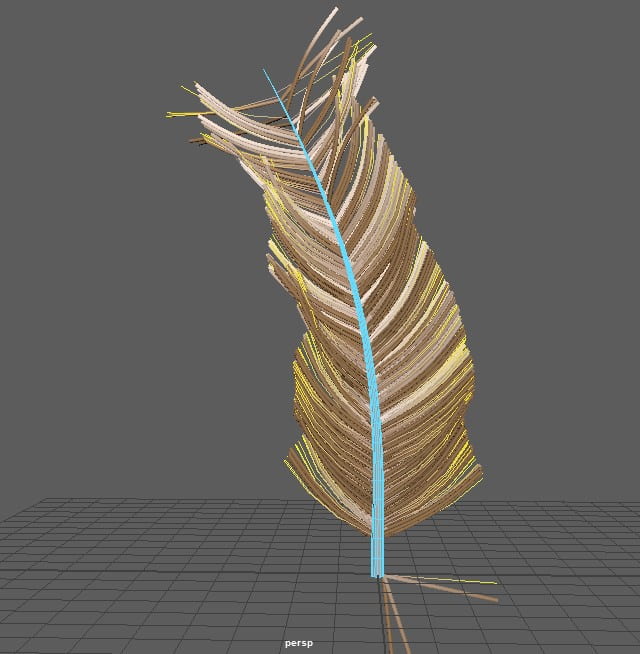
To get my tube to the conditions it’s in in the above image, I had to locate the extrude history and tick the “fixed path” box, this made my shape curve along the NURBs curve instead of just alongside it. Next i used the “scale” button slider to taper the end of my tube to be more appropriate to the shape i was trying to create. Moving to the tessellation tab, i changed the  format of my curve from fit to general, allowing me to add more subdivisions and give my feathers a place to sprout from. I then deleted the history of my shape and deleted the NURBs curve and CV curve, giving me free reign of my shape.

Starting to create the feathers now, i selected a vertical loop from both sides and navigated to the “xgen” button in my toolbar, pulling up a menu with 3 different options. Selecting “create new description” and entering the name “feathersmain” as seen in the video before heading down to “collection name” and typing “feathers”, I’m not too sure what these options are for but I’m going to guess its about the save name on the Maya file so Maya knows what to locate. Following along the video and selecting the groom option, i then hit “create” and watched as small lines sprouted out of my model, these were the soon to be feathers.

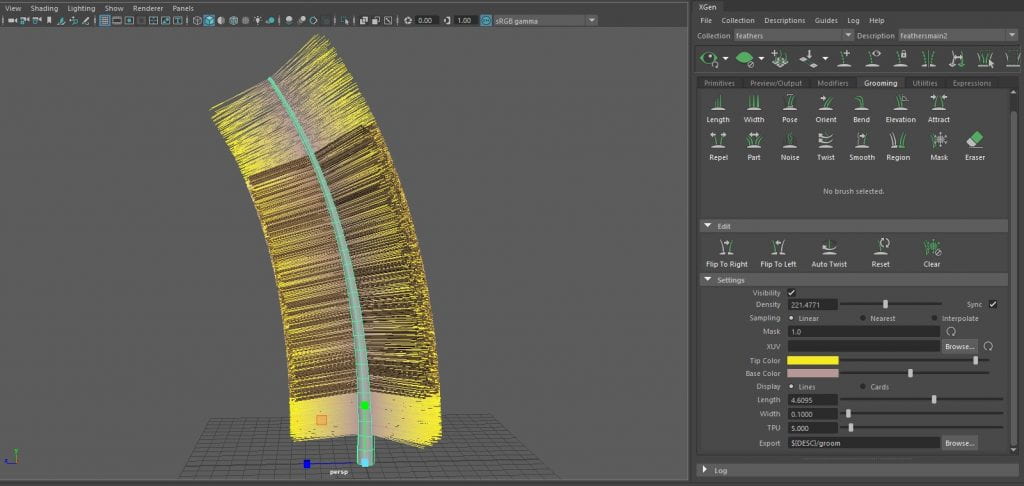
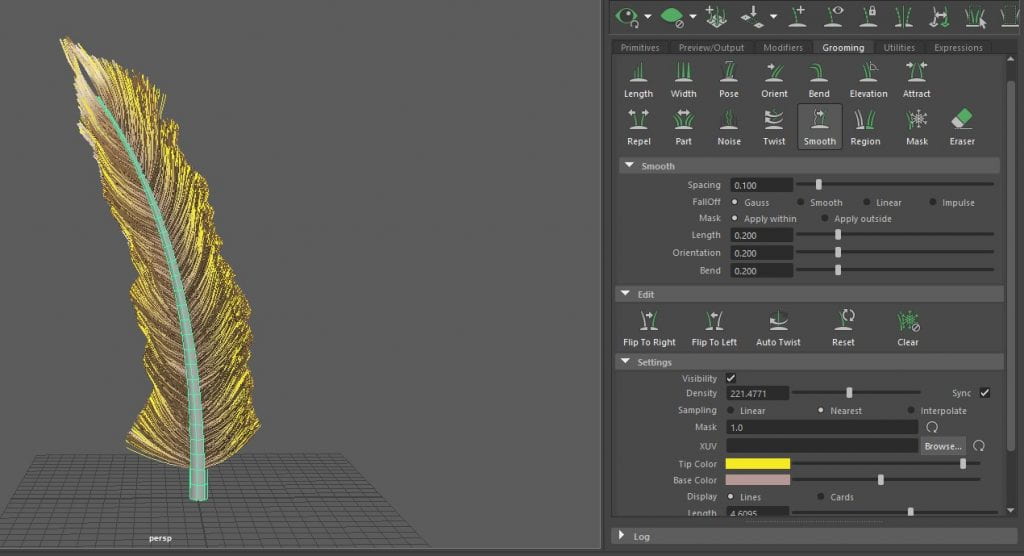
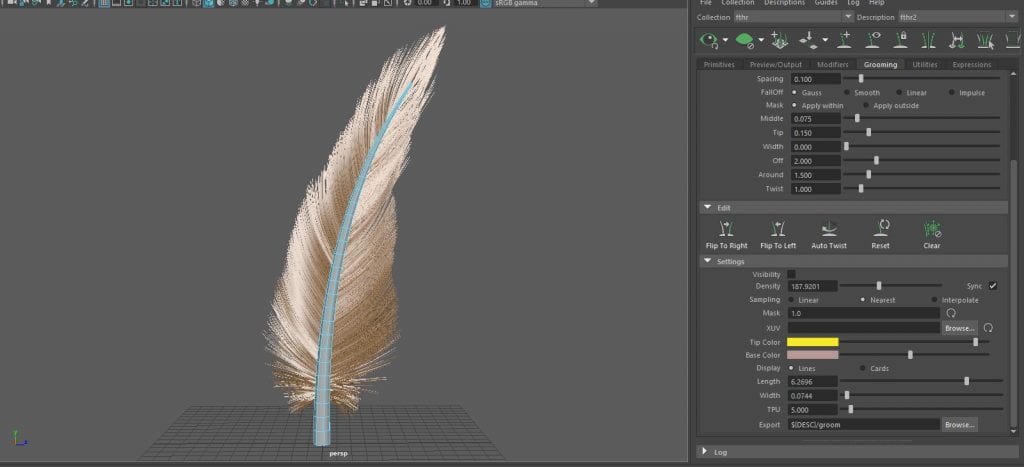
Adjusting the length and switching from sample to linear, i chose the pose brush and started posing my feathers in an upwards direction, using my images as reference to how a birds feathers are shaped. Once happy with the direction of my feather barbs, i used the smooth brush to make my shape sharper and neater before using the “attract” brush to pull the barbs at the top of my feather together, closing the awkward gap and creating a nice smoothed shape like a real feather. After a long while of messing around with the brushes to get my final shape as seen below, i then converted my xgen grooming to primitives and parented them to the spine of the feather and added a hair shader to give it its colour, giving me my final feather ready to be animated.

After the model was finished, i decided to take it into substance painter to give it a more natural feel. I took reference from the same images and painted a natural tone of browns onto the shaft, then using a shade of brown close to the one on the eagles legs, i painted the feathers barbs, giving it a few horizontal streaks along the way to make it interesting. These streaks however sadly don’t show up in the Arnold renderer, so i can only show them off on my sketch fab profile, which you can find here: https://skfb.ly/onSXt

Storyboarding and animatic – assignment 3

After deciding upon our script and making some additions to the details of the setting and characters, we started to plan the storyboards for our animation, keeping the camera angle and composition in mind, as well as relevance and importance.

We wanted the main point of the animation to be the joke of a snail which was hired as an assassin but failing to actually do anything since snails move so slow. We had to keep this in mind when storyboarding so we could deliver the punchline efficiently, ensuring the audience would understand and get the whole idea behind the animation.

Having the animation start with a wide angle shot of an office in the form of a log then slowly zooming in, we thought this would be a great opportunity to show where this world took place and gently ease the audience into the animation with a starting scene of how the assassin got hired as well as why. The log also tied in with the small world of the snails, showing how they live and connecting it back to reality so the audience feel like they could relate to this fictional universe, keeping them focused on the animation.

The mob boss then comes onto screen and we can see him giving an amount of money to the assassin snail, which later increases in small increments for a comedic effect of giving the victim snail, such a weak and unimportant character compared to these two, a sort of value to his death even though he’s a normal snail who hasn’t done anything. This is important to the storyline, as this will set the playful tone of the animation that it’s not actually serious.

The salt packet is then given to the assassin after we see a photo of the victim snail and he nods in agreement before the screen fades to black. This scene is to add more comedic effect, with the salt being a common thing known to fend off pests in gardens this could help the viewer relate to the animation again, and the silly smile of the victim shows the audience not only what this character looks like, but also gives them a glimpse into his personality and how normal and non-threatening he actually is.

Fading back in from the black, we see the victim snail in a close up camera view, seeing him happy and smiling, unexpectant of what’s about to happen. We thought it’d be a great idea to show the actual victim, giving the audience a chance to glimpse into his life before returning to the assassin, desperately trying to get down the branch to the victim. This part was for comedic effect since snails are slow animals, it takes the assassin around 3 day/night cycles trying his hardest to run to the victim before he’s spotted. A bird then swoops down out of nowhere and takes the victim snail away, leaving the assassin to turn round and go home having done his job.

We used this rough storyboard to put together an animatic during the week, as we had a presentation to pitch our ideas coming up within the next week. I was assigned to do this using Adobe Aftereffects. Not having much experience with editing it didn’t come out as the best thing ever made, but it still looked alright and got the point across. I tried to make the scenes flow together by using the opacity timer, but that actually just made it a little bit of a mess so i tried to space out the timing, but we only have 30 seconds for the full animation and the animatic is meant to represent the pacing as well as the story so i just settled with opacity in the end. I went to a royalty free sounds website and got an eagle sound effect, then added it to the animatic for when the bird swoops down and picks up the eagle, though in the future animation we’ll definitely add more than this one sound, such as background music and sound effects to get across the effort the assassin is making to get to the victim, as this will make the animation seem more interesting and appropriate to university standards. In the end though, we used the animatic that Rhys made, as it was more put together.

Here is a google document with the rough idea of the storyboard followed by the animatic

1615568816910_Organised_Slime_Storyboard_images


Above is Rhy’s animatic, below you’ll find mine.


Starting to plan – assignment 2

For this assignment, we are tasked on creating a 30 second short  group animation of any topic of our choosing. Similar to how groups worked last time in the “Build a World” project, we got to choose who we’d like to group with, 5 being the maximum amount of people allowed in one group. I got into group 8 with Chloe, EJ, Rhys and Katie, having previously worked with Katie and Chloe and already knowing Rhys and EJ i was in a pretty comfortable environment, helping me work together easier with my group.

After being split off into groups, we had to start brainstorming ideas for the script of our animation including things like the setting, a brief idea of the characters, their goals and the challenges they have to overcome to get there, and what tone we wanted to set with the animation. Our group made a google document for everyone to share their ideas whenever they came up with one, allowing them to write any amount of ideas, and encouraging them that the more ideas we have the more we have to work off and refine. Though when brainstorming our group felt a little overwhelmed and didn’t get too much i still think our ideas were good and everyone made a contribution.

For communication, our group decided to just use the designated “group 8” channel in our university discord server. This made it easy to either post our ideas individually for everyone to view in their own time, as well as share useful links and images or hop onto a voice call and discuss our progress and concerns.

emotion – assignment 2

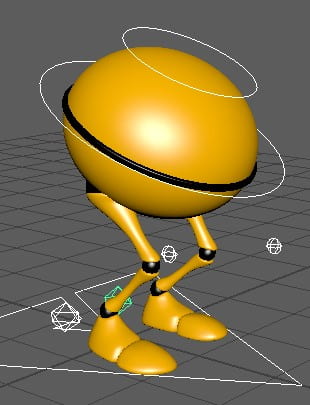
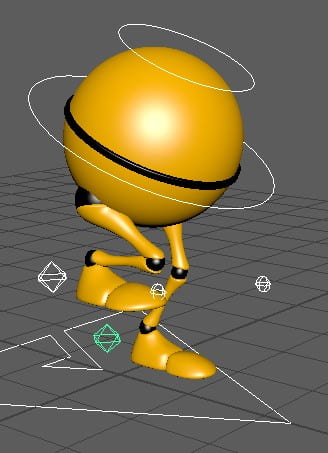
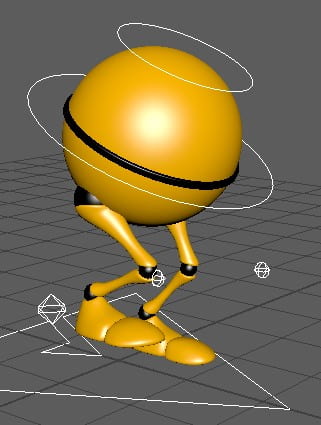
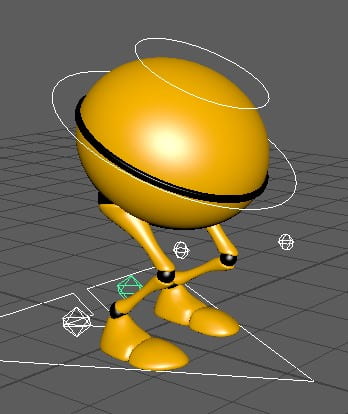
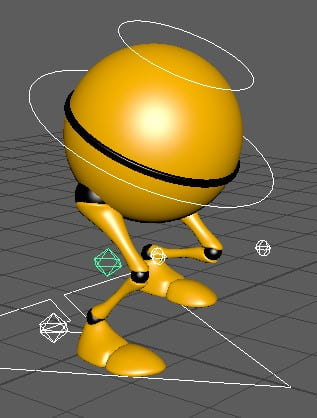
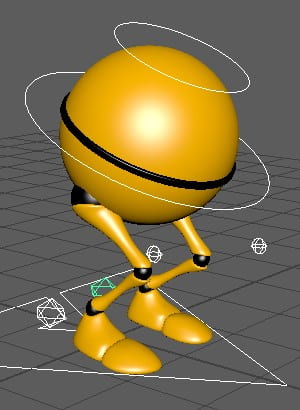
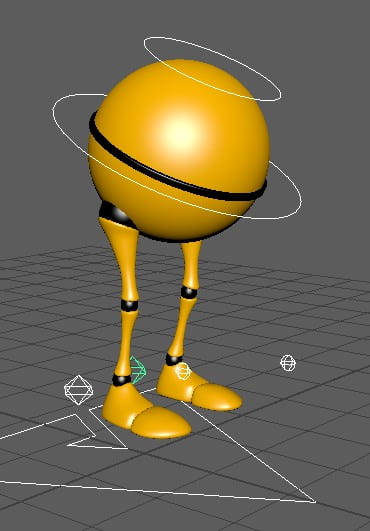
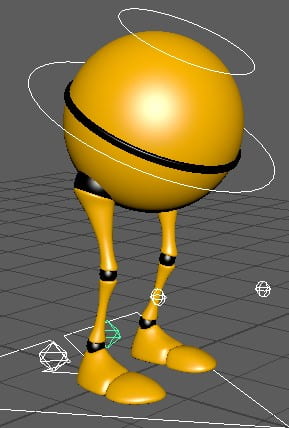
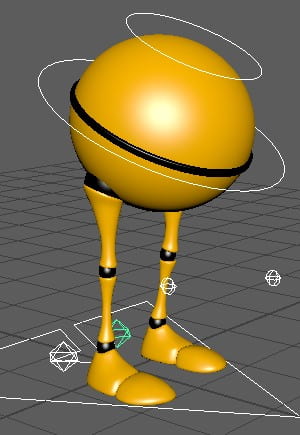
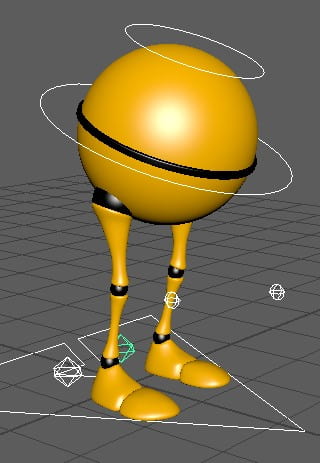
For this assignment i chose to use the ultimate walker rig as it looked to be very good for stomping and giving attitude through movements instead of facial language. I’m going to go with a child-like angry foot stomping as if it were throwing a tantrum before dropping down to the ground in a huff. As this rig has leg and body control and rotation, this will hopefully be realistic to achieve.

Research

I did some research on the movements first with this video from YouTube on children splashing in puddles as they stomp their feet when splashing the water, i used 0:21 to 0:26 for my stomping reference. https://youtu.be/LqCn6NfuSmg

When studying my reference I noticed that in a child because their legs are so short, the time taken to raise their foot and stomp it back down are about the same, but it still had an impact on the body making it jerk about when their feet made contact with the ground. I already know that animation is more interesting if you exaggerate it and that the legs of my rig are longer than this child’s so that gives me room to exaggerate the impact of the foot on the ground and show the weight whenever the character drops down in a huff. Since the legs are longer this also lets me slow into the leg lift and stomp down hard and fast as i have room to do so. This reference also helped me come up with my ideas for this animation that would help give me a better understanding of what i was hoping to achieve with my rig and how to better plan it out with timing and movements.

Another part of my research was looking into the 12 principles of animation which i found at this website https://www.creativebloq.com/advice/understand-the-12-principles-of-animation. It helped me understand things such as how to exaggerate an objects movement whilst still retaining believability through timing and how anticipation is key to an interesting animation as it gives time for the viewer to take in the scene and draws them in wondering what’s going to happen next. I’m going to keep this website in mind as i animate and keep flipping back to it throughout my animation process to make my animation as interesting and believable as possible.

Animation

Moving on to animating, I imported the rig files into Maya 2020 and moved to my perspective viewport using my spacebar hot key. To start making movement happen i grabbed the leg controller of the rig and moved it to position using the move and rotation tools, then pressing S on my keyboard after moving my frame in the timeline to something suitable. This sets what is known as a “keyframe” and will be used to tell the computer what i want certain controls to do, when i want them to do that thing and the distance of movement i want to happen. Below are examples of a keyframe marked as a red line on the timeline.

When trying to make the rig look like it was stomping I had to give the foot more than 2 keyframes per stomp as this would animate the foot preparing to lift, the foot actually lifting off the ground, the foot moving the leg up as it lifts higher, then coming back down to the ground with 2-3 frames adding in foot rotation before finally hitting the ground again and repeat for the other side. The first few frames of this process are going to be spread out to give the feel of a slow drag as the action starts, then gaining momentum as the frames are closer together through the middle to the end of the stomp to give the illusion of weight in a heavy foot stomp. An important step so that this action looks continuous and believable is to make sure whenever one foot hits the floor, the other is already rotated in a “preparation” to lift, giving the action more emotion.

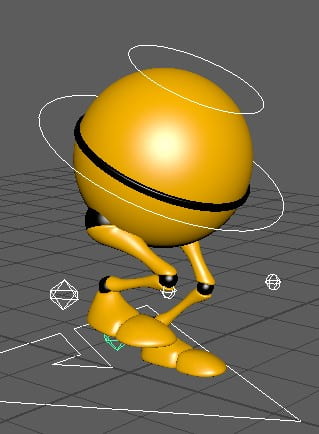
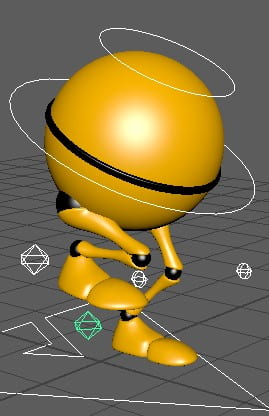
After finishing the first three stomps, I decided I didn’t want the rig to drop down cross legged anymore, as being honest I’d actually forgot about it and already started heading to a direction of what if the angry stomping of the rig lead to a consequence? So i went with this option instead as it’d then convey two emotions that follow each other seamlessly. Anger and fear. I started working on the body and trying to imagine how it’d react to the footwork of the character, getting up myself a few times and trying to imitate what i wanted to recreate. I used recordings of myself at points, but I don’t want to include them here. I found that crouching over when stomping your feet gives much more character than standing up with your legs straightened as you start to look really worked up and as if you could explode with anger at any second, though it still looked childlike so it was keeping some essence of my original idea. My head also bobbed whenever my foot hit the ground due to the heavy impact so i also wanted to include this in my animation to give my character more life.

Using the body controller, I keyframed in rotation and movements where I thought appropriate such as when the character first stomps then leans forward as it stomps more aggressively. The timing on this part took me a few tries to get right but i eventually settled with something that I thought looked believable and interesting. Once i got the body moving, I started thinking about how the squash and stretch would come into play and decided that to show the impact of the stomps, i could squash the character as if it were being pulled down by gravity, just as my head was when I tried out the action. To do this, i used the controller above the whole rig at the top of the head and just pulled it down, set a keyframe and let it immediately pop back up in the next keyframe so it was a quick action in time to the movements.

Thinking I was finished i adjusted the keyframes timing in the dope sheet, shift selecting all the keyframes i wanted to move and using the middle mouse button to drag them to position. After reviewing my animation though and getting feedback off classmates, I felt i could still add more. I felt a jump in between the stomps would be more effective in showing attitude, and adding a sigh before a pause could show the frustration the character is feeling.

Here is a screenshot of the dope sheet i used to space out my keyframes followed by the keyframes of the jump below.

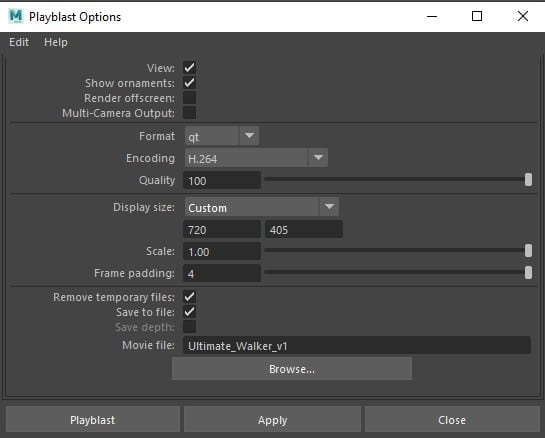
I moved everything further up the timeline using the dope sheet and added these actions in before reviewing the animation again but it still felt as if it were lacking something. This is where i remembered the consequence of the characters action and decided to make it look up curiously before taking a hesitant step and pulling its leg back, reeling in in terror. I decided to not add anything visual of what the character was afraid of and left that up to the viewer. Once i added these movements in, i adjusted the timings again and reviewed my animation. Happy with the final product, i found a suitable camera angle and right clicked on my timeline to make a play blast. I hit the little box beside “play blast” which brought me to settings, here i configured everything, setting my output to QuickTime and fixing a few additional settings before hitting “play blast” and creating a finished product.

Above is a keyframe of the character sighing, done by looking down slowly and holding that keyframe for a short duration, and below you will find the mid-point of the character taking a cautious step forward.

Now all that’s left to do is upload my video onto Sync sketch for marking. I’m very happy with how this animation turned out and I think i brought out the emotions well in my character.

Below is a playblast of my animation:

Ultimate_Walker_v1 


Monty rig body mechanics animation – assignment 2

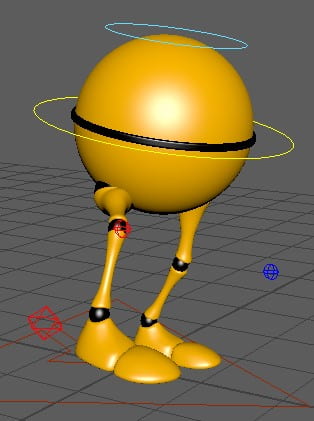
For this assignment, we were told to take our choice of two rigs, the Monty rig or the ultimate walker rig. I chose the Monty rig because it has eyes which gives me more to work with along with the fact i just liked its shape and feel overall.

To begin, I imported the rig file into Maya 2020, my 3D software where i can animate and model in 3D. This rig I’m using was provided by the tutors this time, but i don’t know if in the future we have to make our own rigs and models. Once i got the rig imported, i had to turn my camera the right way round as it was defaulted to staring at the bottom of the rigs feet, and then switch to perspective mode to add in my ground and wall the rig was going to jump on and fall off. My ground is made from a plane that i then extruded to give a 3D surface, though i realise now it would’ve been quicker to just use a cube and scale it up like i did with the wall.

Research

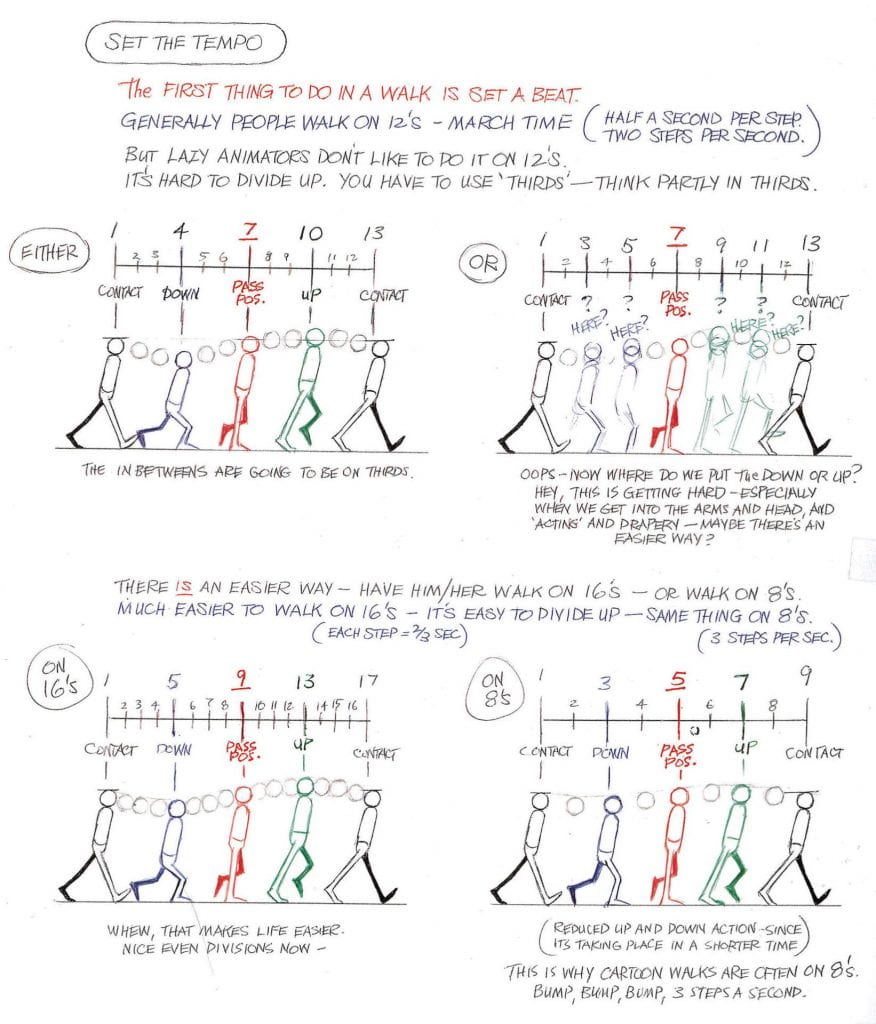
Before getting into the animation, i need to know what exactly I’m trying to create, how to do so and gather some references to understand movement believability and how to convey weight appropriately in animation. Keeping all this in mind, i first went to google to help me find walking references in the form of images and video, these are some of the things i found most helpful. The image helped give me a good insight into the movement of a professional animator and how to use timing properly whilst the video gave me a real life reference of all sorts of different walk styles, helping me understand how secondary movement worked and how emotions can have an impact on how much or how little the rest of the body moved and in what way.

The image above came from “the animators survival kit” by Richard E. Williams

With these references now at hand, I hopped onto my iPad to start thumbnailing my animation in Procreate, a drawing and animation app for apple. Here i used my favourite brush, the Studio pen as it has tapering and pressure sensitivity which helps me achieve smoother and cleaner linework, helping me stay focused on my work rather than fussing over small mistakes. I used the references i gathered to help me create an animation of my character walking up to the brick wall, falling over it’s own weight then getting back up to hop onto the top of the wall, just to topple over and fall off onto the ground. From my thumbnailing this already seemed pretty complicated for my first time animating a rig and showing weight but i was happy with the challenge and decided it was time to take my idea into Maya and make it a fleshed out animation.

Animating

Starting to animate, I had to bring up the walking reference of both my thumbnails and the original image i referenced to help give myself a better understanding of the action. Grabbing the foot controller, i moved it forward and rotated it up a little as if the foot were about to lift of the ground to start off my animation. I took this process frame by frame, positioning all the joints and controls in the appropriate place for each movement before pressing S on my keyboard to create a keyframe. I followed the reference i had created and the already existing references to help me create a walk cycle from a stand still, so of course along with making the feet move i had to also take the body into account. I noticed that when we walk, we tend to “bob” up and down as we take each step and our body moves forward along with the actions, i now had to animate these movements so my character would actually be moving and not just simply walking on the spot. To do this i took the very bottom controller that controls the position of the entire model and moved it slightly forward by about half a square on the grid for each keyframe of the walk cycle, up until he reaches his stand still beside the wall.

Moving on from the walking, my character trips over his own weight whilst looking up too far and falls on the ground. I wanted to show the weight in this action and did so by delaying the fall of his legs slightly to look like his body was the heaviest weight that pulled him down, and the impact caused his legs to fly up before coming back down and hitting the ground. I also wanted to give the legs themselves a bit of life so I timed them slightly apart, letting one fall faster than the other as this also made the animation less static and more interesting to look at.

After the fall, the character jumps back up again as i tried to recreate a technique I use in real life to get up off the floor since my back hurts. I try to lay curled in a loose ball then roll back and use my leg to kick at the air, propelling myself forward into a squat which i can then just stand up from, and I’m hoping this has been achieved in my animation. To me it looks about the same and I’m pretty happy with it as it took a lot of correcting and redoing and fixing the pace and posing to get it to look similar to what I was after. Following this action was another two steps up to the wall before the character shows anticipation in a “wiggle” action as it crouches down ready to jump, before actually jumping.

The jumping part of this animation was honestly very challenging for me, as a lot of the time my character just felt as if it were floating and with the only references i could find being about parkour, I was quickly getting fed up and ready to give up. I tried looking for simple ball animations at first, seeing how they react with squash and stretch when jumping and making an impact, then animated characters with legs, and at my wits end i started looking for real human reference. The parkour would be ok if it weren’t for the fact my animation isn’t possible in the real world and that most parkour tends to be jumping off of other objects to then climb to get to their destination, which to me at that point didn’t seem like something i was going to animate. This guy doesn’t even have arms so how would he climb in the first place? Eventually I found a video with a 5 second section which helped me immensely when trying to solve my “floating” problem: https://youtu.be/tn0lqMuGguw. This video showed me how the man tucks his legs up, preparing for the impact, then quickly setting them down on his object before standing up, and I’d say this video is what helped ground my character and make my animation more believable. With this information now at hand, i was able to correct my jump. I started by easing the rig into a jump stance with his toes just touching the ground to look like he’s springing up and spaced it evenly with a keyframe of the character now in the air, with another frame following of the character mid-air before he starts his descend to land. Before moving onto the decent, i had to fix the legs as they awkwardly crossed over one another and made the action confusing. I took the left leg of the character and chose that as the “leading” leg in the jump, meaning at all points this leg would be higher than the other to show character in the jump and keep everything fluid and continuous. Now moving onto the descent, I led this time with the right leg as it was the closest to the ground and tried give the rig a little bounce of impact as it landed by using the squash technique.
Now comes the wobble and the fall. After landing, the character is meant to show as unbalanced and struggling to stay on the wall. I tried doing this by slightly moving the position of the characters body forwards and back, slowly moving the positioning of its feet as if it were rocking from its heel to its toes in an attempt to correct itself, this was done by using the rotation tool and rotating the foot to an angle where it was grounded by one part whilst the rest was in the air. When the character trips I wanted his foot to slip off the edge rather than just losing balance and tumbling backwards as this was a more interesting pose with his leg leading the start of his fall, followed by the rest of his body as it quickly turns round and takes lead, followed by the feet. This action helped me again shoe that his body was the heavy weight and his legs were lighter, therefore sticking out and catching wind as he fell. I made this fall look more believable by spacing out the keyframes at the start of his descent to ease him into it, quickly picking up speed as he fell toward the ground which was done by gradually moving the keyframes closer to one another and having less keyframes to seem like a faster movement.
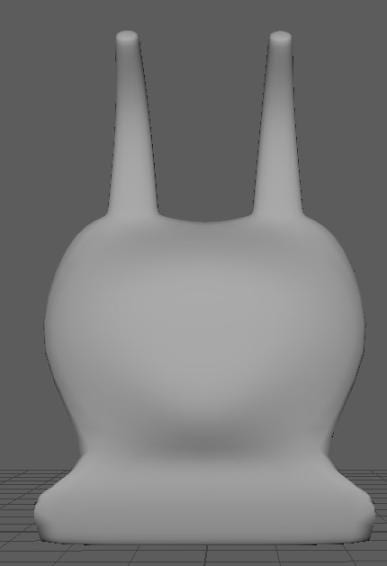
Finally, he hits off the ground with impact shown using squash and stretch before his feet fall onto the wall and slowly slide down it, pushing his body away from the wall as his legs straighten out, ending up with a comedic effect of defeat. To get the legs to look right there was a lot of messing about with the knee controller, i had to keep dragging it back in front of the knee and rotating the foot the right way round then setting a keyframe so the leg wouldn’t contort out of shape and mess up my animation. I did this for every keyframe of the feet as I’d somehow messed them up when i tried to show the character falling. It was a bit tedious but once i realised how to do it and why i had to, it wasn’t so bad. Moving on to the legs, I gave them another slight bit of delay as they slumped down on the wall as well as when they’re sliding, as nothing naturally happens in exact symmetry. The only time the feet resemble symmetry is when they’ve finishing falling and the character is pushed away from the wall for a final time, as both feet have now come to rest under their natural body weight.

Looking back on this animation, I’m pretty happy with it and I think I’ve done a good job at showing the weight of the character and the comedic effect in my story, though if I were to go back and change anything I think I’d make the walk a little more interesting and give it emotion rather than just a regular walk. Maybe something happy and joyful as he walks along only to then have his path blocked by a huge wall, as that would then further emphasise the defeat he feels at the end as we see all his happiness fade as he just gives up and lays there.