Reflection – Animation strategies

This module was quite fun and i really enjoyed being able to create our own assets within a group as it was interesting to see how everybody went around their own way of modelling things and the concept art was inspiring to look at. Though the groupwork could have been a little better in my personal opinion, I feel we achieved strong models and environments in the end, building our teamwork and problem solving skills as we had to improvise where others were unable to get work done due to personal reasons. All in all, it was still amazing to get to develop an environment with the support of others and offer feedback as well as receive it to then implement it into my work.

The tutors were really helpful and friendly again in this module and they’ve helped me slowly overcome the anxiety of asking for help and the fear of messaging people to get feedback or ask questions. Thank you.

If i had to go back and do this project over again, I think I’d make more of my own models and make my environment slightly bigger or make at least one big asset so i could use it as a secondary interesting focus point rather than scavenging around the small assets for something to put in my shots.

Fairy Realm Environment

Below you will find my finished cinematic which I worked on with 5 classmates, followed by a few screenshots and renders of my textures and props.

Assets credits in my scene:

Tree, mushroom houses, tiny brown mushrooms, mushroom steps on tree, fence, mirror shard by tree  models and textures – Thomas

Pond with rocks model and textures – Amber

Grass, Pebbles, Ground, Ivy, Creeping Thyme, models and textures – Me

Background trees, red mushrooms, swaying flowers, stump, debris – Unreal Marketplace


Unreal Engine screenshots:

3D asset substance painter renders:

Creeping thyme

Ivy – Heart

Ivy – Star

Grass tall

Pebble

Shrub

Grass medium

Maya Arnold renders:

Creeping thyme

Vines

My vines on a tree model made by teammate Thomas

Tall grass

Shrub

Medium grass

Ivy – Star

Ivy – Heart


Cinematic creation

Creating the cinematic was done by use of Unreal Engine where the shots were created and rendered, Adobe After Effects where i put all the shots together and ordered them then Adobe Premiere Pro where i added the music.


Creating the environment

Once all the assets were modelled, textured and sent round to everyone we had to start working on creating our individual environments in Unreal Engine.

Starting off with simple block shapes as placeholders, I created a cube for the ground and stretched it out to roughly the size i wanted the environment to cover, I then created cylinders for the shapes of the tree trunk and it’s branches, and created another thinner cylinder for the shape of where i wanted to position the pond. With the basics now laid out, i realised i forgot to actually create the landscape as the cube for the ground wasn’t able to be sculpted or textured for believability, so heading over to the landscape tab, i spawned the ground for which i could shape variation into.

Before going any further, I opened photoshop and got to work with the ground texture which i already knew i wanted to resemble Irish Moss, so i went in with a grass brush and layered different shades of green on top one another then dotted small blobs of white on the canvas to make it look like the small white flowers. Finding a tutorial on YouTube, I followed it and created a seamless texture using the offset tool and the spot healing brush so it wouldn’t look as industrial and tiled when used as a texture in my environment. The tutorial can be found here: https://youtu.be/YNdbxEEQ9no

With my ground texture now finished, I loaded it into Unreal Engine with the import tool and made it into a material which i then plugged into the landscape using the following tutorial: https://youtu.be/X0MN9xWr-iI

Happy with the texture and the scene layout, I opened the Discord group chat where we sent all our folder links and gathered the assets and textures that were needed for my scene and got to work replacing the placeholders with the real assets, starting with the tree and the pond, then using the foliage mode to place in my grass and creeping thyme. At this point the scene looked too empty so i checked with my tutor before going to the unreal marketplace and downloading and importing free and appropriate assets such as the pinecones and mushrooms on the ground, and some animated flowers along with other assets to which will be a full reference list at the bottom of this post for credit. Before moving onto camera sequences, i messed around with the default materials and decided i like the moss and gravel texture enough to put them in my scene so i set them at a low opacity and flow and painted them onto my environment to create a pathway leading up to the tree and little scatterings of moss around the path and the outside of the path, placing my pebbles and other assets to make it look more incorporated in the environment.

Moving onto the lighting and camera creation of the scene, I watched some videos on blackboard that were uploaded by our tutor to gain a better understanding of the options that were available to me and how i could improve my cinematic through use of colour and camera focus. Being a fairy realm, the environment had to have an air of magic to it so i created fireflies with the particle effects following this tutorial https://youtu.be/WFMQf-STGaU and rotated the sky light upside down to make a night environment (using this tutorial https://youtu.be/yLY7shd0ugs) then placed a post volume effect and turned up the intensity to make a thick fog over the scene, changing the colour to a purply pink to fit with the purple fireflies/sparkles. I wanted the environment to look magical yet mysterious so i kept with the one directional light to create a quiet looking lighting over the whole scene, then adding in a spot light and positioning it over the tree to act as a kind of god ray lighting, helping to show that the main focus of the scene was the tree. I did try a few other lights previously such as a spot light above the pond to help it glow, but felt it took too much focus off the tree and made the scene a bit cluttered with no main focus so i removed it. At this point, i added in trees from the marketplace with the foliage tool to help make them look less uniform. These trees served as a key asset to help set the scene of a special place in the middle of a forest and helped scatter light better for a magical atmosphere.

When creating the camera sequences, I was just trying to find interesting features in my environment and show off the assets that me and my team had created such as the pond Amber had created, or the tree that Thomas made and assets that i had made like the pebbles and the grass and creeping thyme. I messed around with this quite a bit and have many drafts and unused shots in my files as i really wanted to try capture the tranquil atmosphere and push the fact that this place is hidden and safe. The camera pacing i tried to keep quite slow to give the audience time to admire the scene but also to enforce the atmosphere of tranquillity as if the pacing was quick, it’d feel more like a dangerous environment or more suited to an action scene.

Below are a few test environments i created at the start whenever i was trying to find an atmosphere that i felt fit with the mood i was trying to create for my environment.

Whenever I was brainstorming how to layout the tree and creeping thyme, i draw a very rough plan in photoshop of two different angles to help give me a better idea, this is also where i knew i wanted hopscotch like pebbles and purple sparkles/fireflies.


Assets

https://drive.google.com/drive/folders/1hkuQ1UOQ7VNXEl3DR-LvFVdepGkowtQm?usp=sharing

References:

Marketplace assets:

temperate Vegetation: Meadow Flowers – Project Nature – Props https://marketplace-website-node-launcher-prod.ol.epicgames.com/ue/marketplace/en-US/product/dynamic-meadow-flowers

Megascans – Stump – Quixel Megascans – Megascans          https://marketplace-website-node-launcher-prod.ol.epicgames.com/ue/marketplace/en-US/product/a4fc2c99427647f6ae56d5815fd031f5

Megascans – Debris Nature Vol. 1 – Quixel Megascans – Megascans https://marketplace-website-node-launcher-prod.ol.epicgames.com/ue/marketplace/en-US/product/8b89a22c6e854b11bd3eb5c0ab9c6b6c

Megascans – Nordic Forest Vol. 2 – Quixel Megascans – Megascans https://marketplace-website-node-launcher-prod.ol.epicgames.com/ue/marketplace/en-US/product/2cbdd7a1c33648458349376e16b146cc

Megascans – Natural Scatter Debris – Quixel Megascans – Megascans https://marketplace-website-node-launcher-prod.ol.epicgames.com/ue/marketplace/en-US/product/0a653a928d5c4e7396fea02f488b4956

pictures refs:

Above are a few inspirations for how to layout the scene and give it the atmosphere i wanted. I really liked the night scenes as they gave the chance for strong glow which i felt was important to capture the magic of the fairies, i also really liked the idea of surrounding trees with lots of foliage and big mushrooms.

These images gave me inspiration as to how to not only lay out the pebbles in my scene but also how to shape the actual model itself, as i liked the big flat rocks but i also liked the more natural shapes and volume the rocks on the bottom image had so i made my rocks a nice oval shape and flattened the bottom and smoothed out the top a little so it looked neat but still had the volume.


Cover letter

A cover letter is pretty similar to a CV, but you’re not allowed to copy and paste. This is essentially your first impression to your employer, letting them know you’re interested in the job, company and that they’re going to gain something from hiring you over other people. Things like complimenting their company’s work and showing you know what you’re talking about are big points when it comes to creating a cover letter, as it’ll help the employer see you’ve doe your research and had interest in the company beyond seeing a job offer post on LinkedIn.

I used a word document template for my cover letter, filling in the blanks following a PowerPoint presentation uploaded onto Blackboard by my tutors, helping me understand the importance of the contents and their hierarchy. Putting my contact details and name on the left hand side of my document rather than the top right was done as i was following the document template but i also feel it made it more obvious who i was and made my letter more memorable. I started my letter with addressing the CEOs of the company i was applying for, in this case, Taunt Studios, followed by my representation of research with naming a few of their projects such as green beans and Tot, complimenting their style and naming a few more projects then moving onto why i was applying and what i could bring to the company if they hired me. The second paragraph i talked about the skills i had that are beneficial for a 3d animator that i had then finished it up by thanking them for reading the letter and considering me for the position as this shows you’re not just demanding the job and its just a nice thing to do.

Feedback

On Thursday, I contacted my tutor and asked for a feedback tutorial for that day to help me gain an understanding of how my CV should look, but we ended up talking about all of my work which I’m really thankful for as it let me know what i needed to do to move forward in my work and improve.

We started with my CV where I had to share my screen, my first question being whether the example template I switched to on Vmock was better than or more appropriate than my own CV I made in word with my own layout, which I was immediately told not to worry because the Vmock site used a science layout and it was just there to help with words in sentences. We then looked at my original CV in word and went over it piece by piece, pointing out which sections were strong and how to fix the others such as my personal statement as I told him I was struggling with how to phrase my last sentence.

Starting with the background colours, I was advised to get rid of the little box I put my name in as 3 different shades of green was too overwhelming in a CV so i deleted it and pulled up the colour beneath it so there were now two solid colours. Next i had to change the colour of the writing on the left as i didn’t have a reason why it was in a different colour from everything else, and it attracted unnecessary attention towards itself before the important information, breaking the crucial hierarchy. Sorting through the fonts, sizing of fonts and their layouts i then deleted unnecessary words that made my bullet points too long, switched round the chronological order of my experiences so it went from most recent to earliest and fixed my personal statement.

Below is the finished version of my CV updated from all the feedback from this session. The leaf is just an icon from Word that I’m using as a placeholder until i create my own logo as i know i want it to incorporate a leaf, but I’m not sure how.

Next we had a look at my showreel where I was given advice on how to lay out the order of my work and the reasons as to why. There was a section where my animation wasn’t too strong so was advised to remove it as your showreel is only as strong as the weakest piece. There wasn’t much to talk about at this point as I hadn’t been able to develop my reel too far but I was given recommendations on what to put in my showreel and what order.

Lastly, we talked about my environment and I was given tips on how to more accurately control the lighting in my scene, including the use of Photoshop. I went through a lot of different settings, just messing around with colours, exposure and fog features to create an environment closest to what i had imagined.

Building my showreel

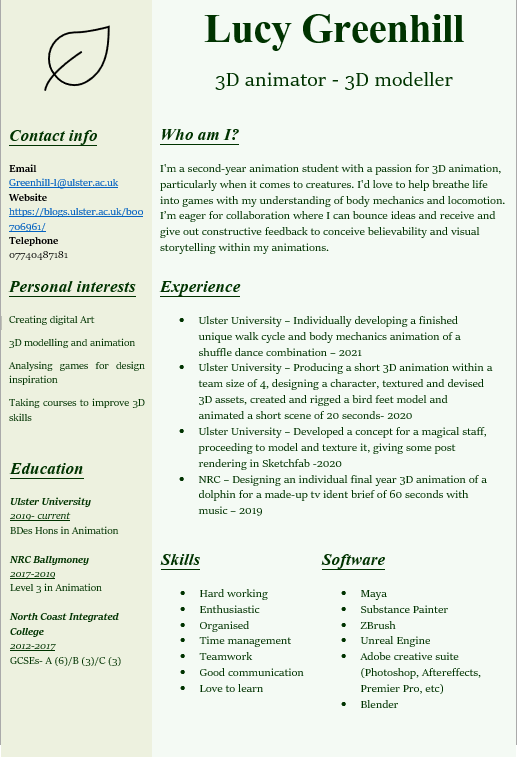
Alongside a CV and cover letter, another important part of your identity as an animator is your showreel. This is a short demonstration of your strongest animations, 3D models or designs as still shots, to show your client, potential employer or just anyone who’s interested, what you’re capable of.

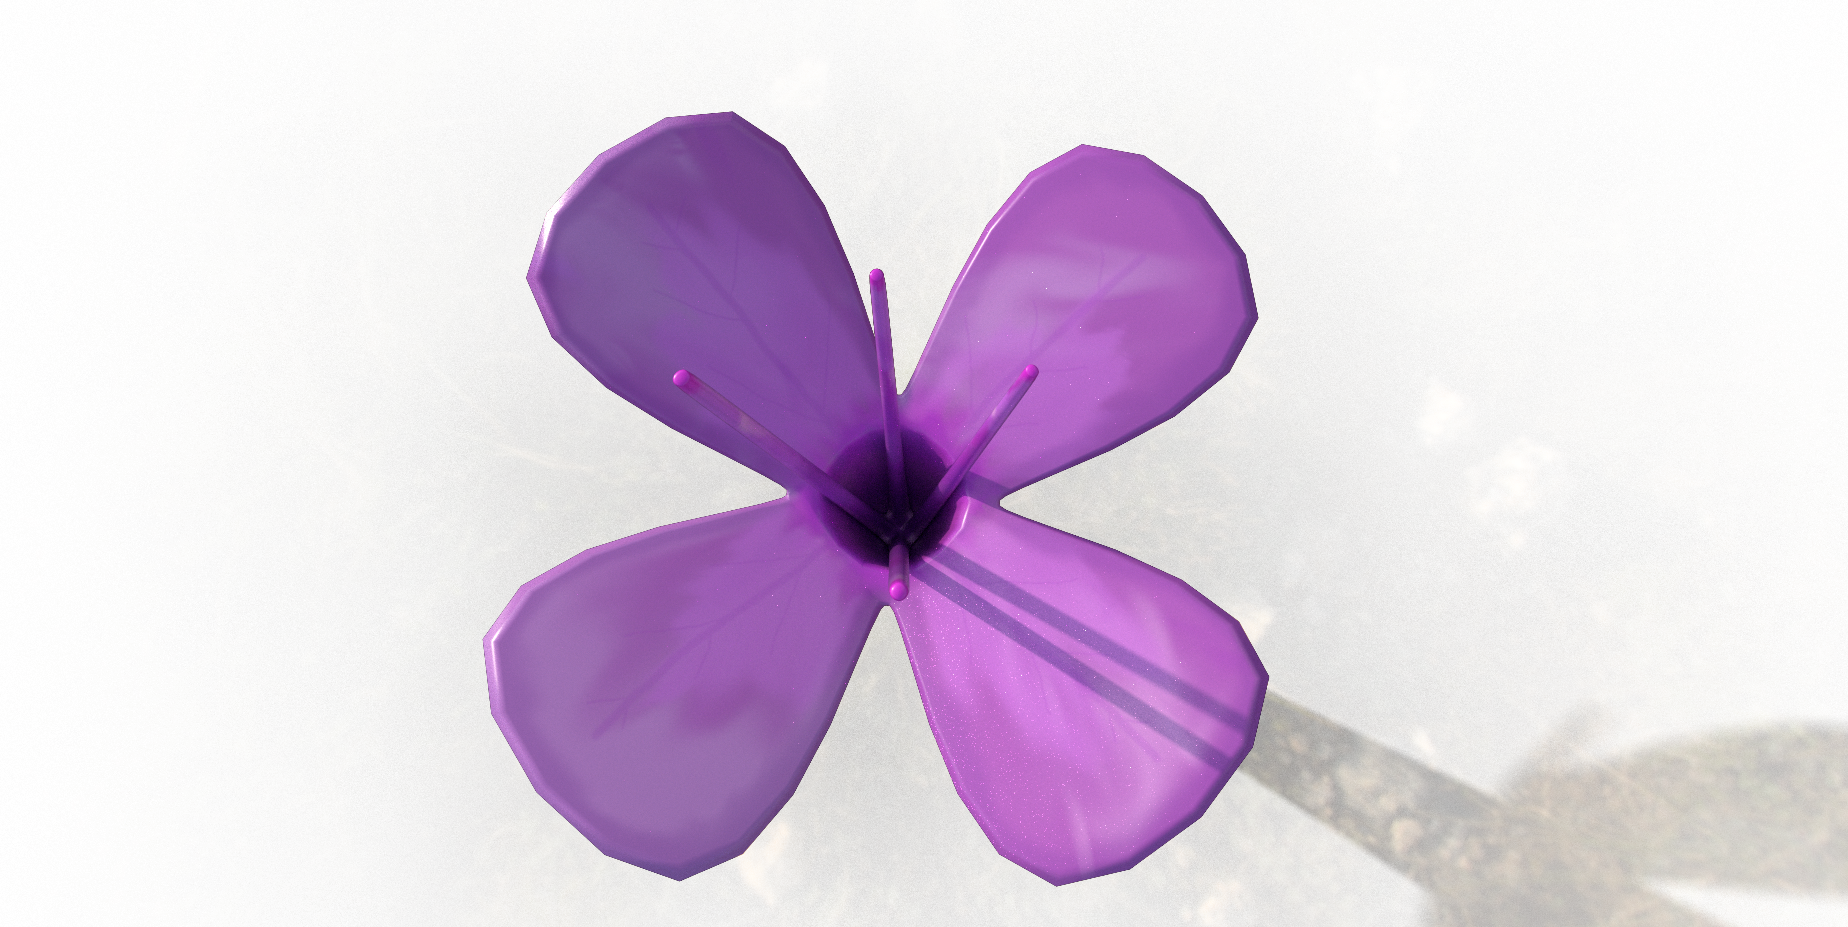
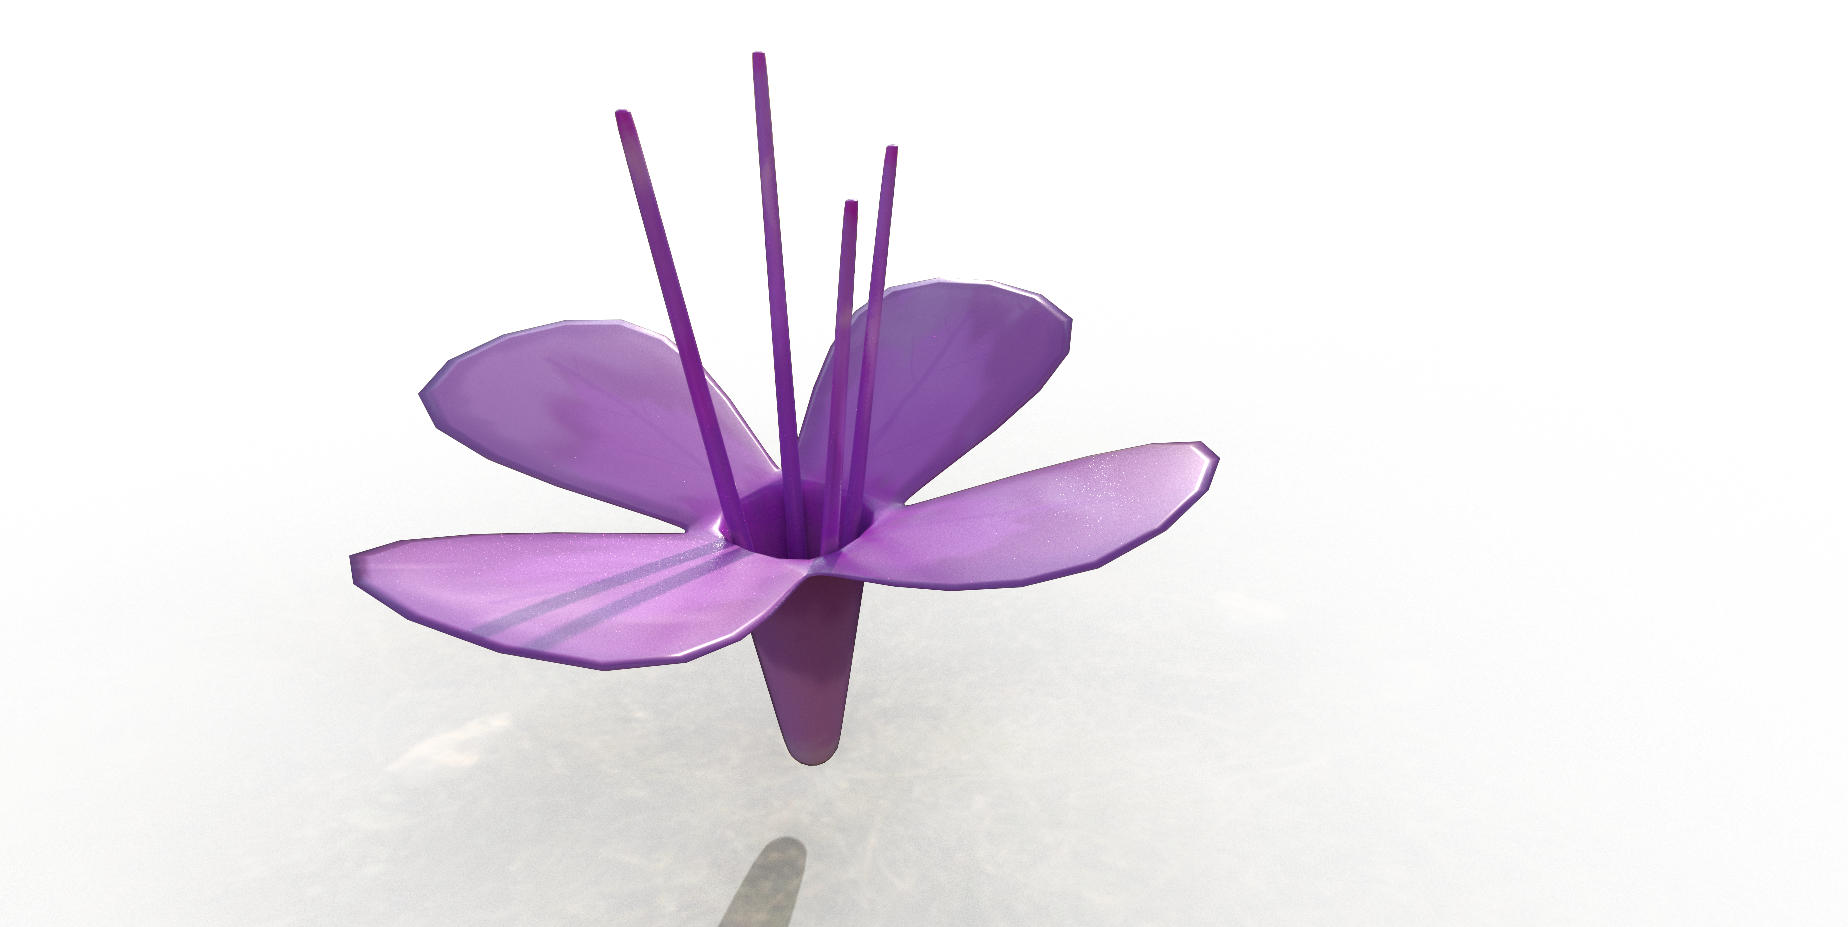
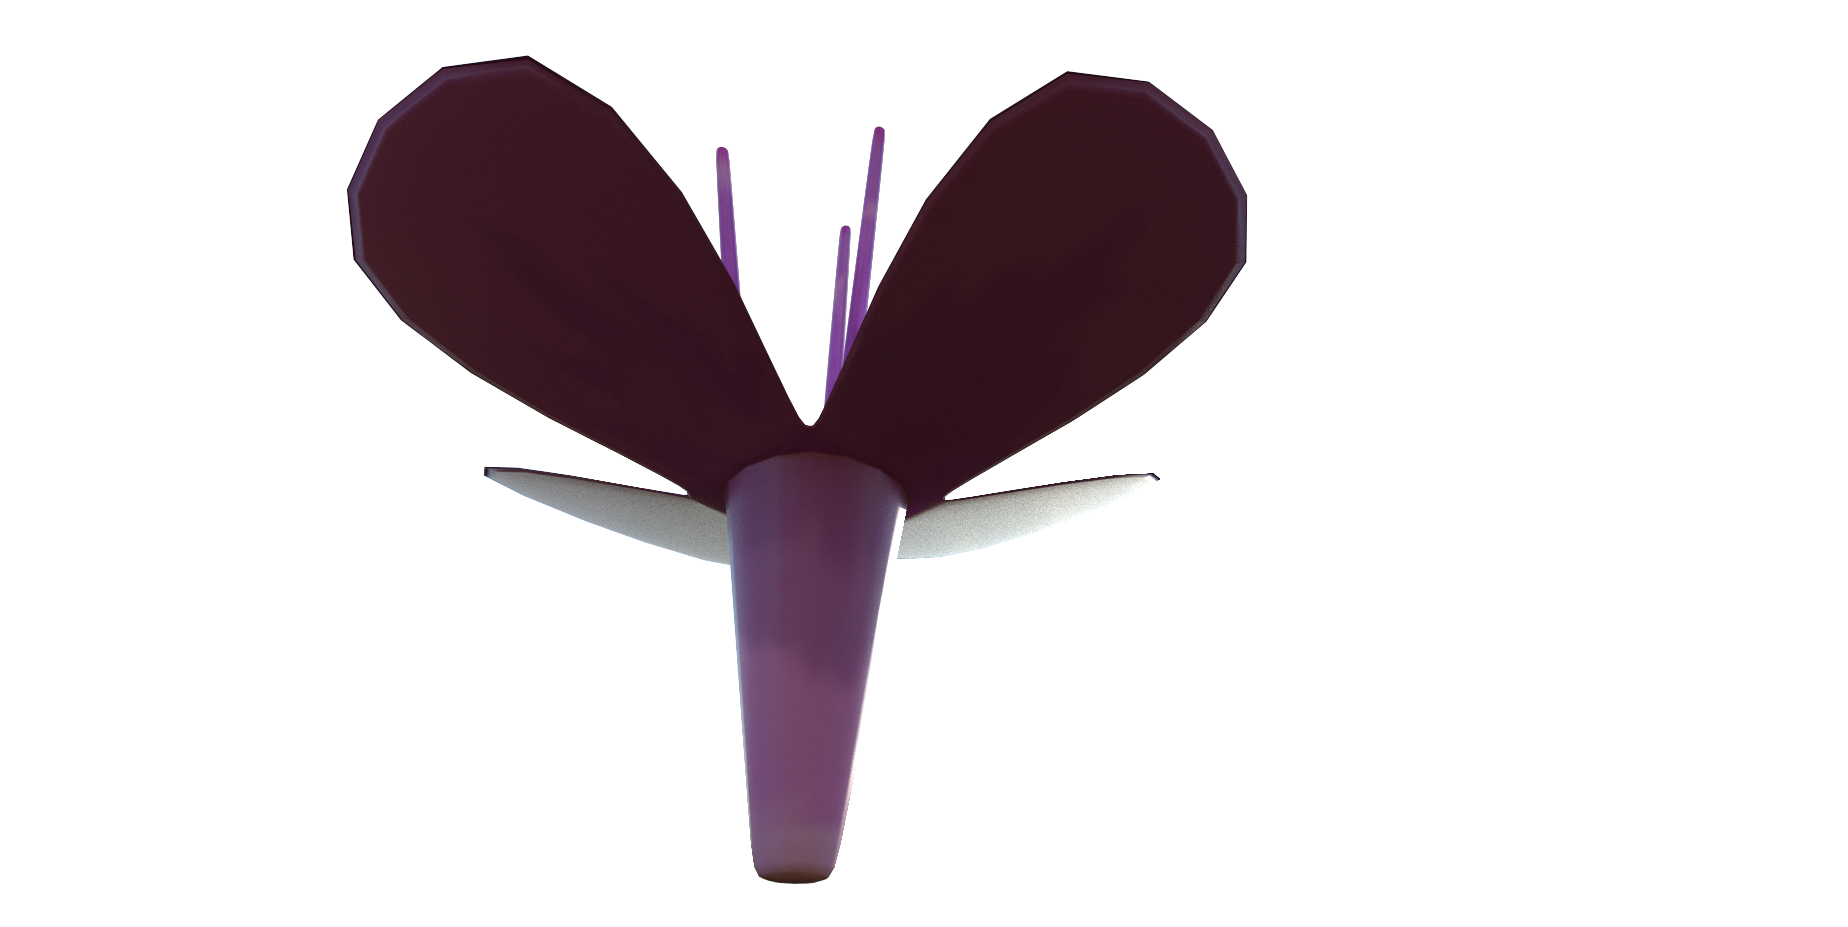
Most times when creating a showreel, it’s probably going to be because you’re trying to get hired so you need to keep your work relevant to the job position you’re trying to achieve. For example, if you’re applying for a 3D animator, you’d be putting your strongest FINISHED 3D animations, it helps sometimes to even breakdown shots to show your audience how you work through an animation from start to finish but only if you feel the piece is strong enough. Often if your potential employer is looking for a 3D animator I’ve noticed they also advertise that skills with 3D modelling will give you a better chance and stand you out from other applicants, so if this is the case you should add some turn tables (around 1 or 2) of your strongest 3D models relating to that job, e.g if its a video game company and you have swords or monsters, include them but if you you’re applying for a children’s tv show, you obviously don’t want to send that in as its irrelevant to the company and makes it look like you haven’t researched the company enough to actually care if you get the job or not.

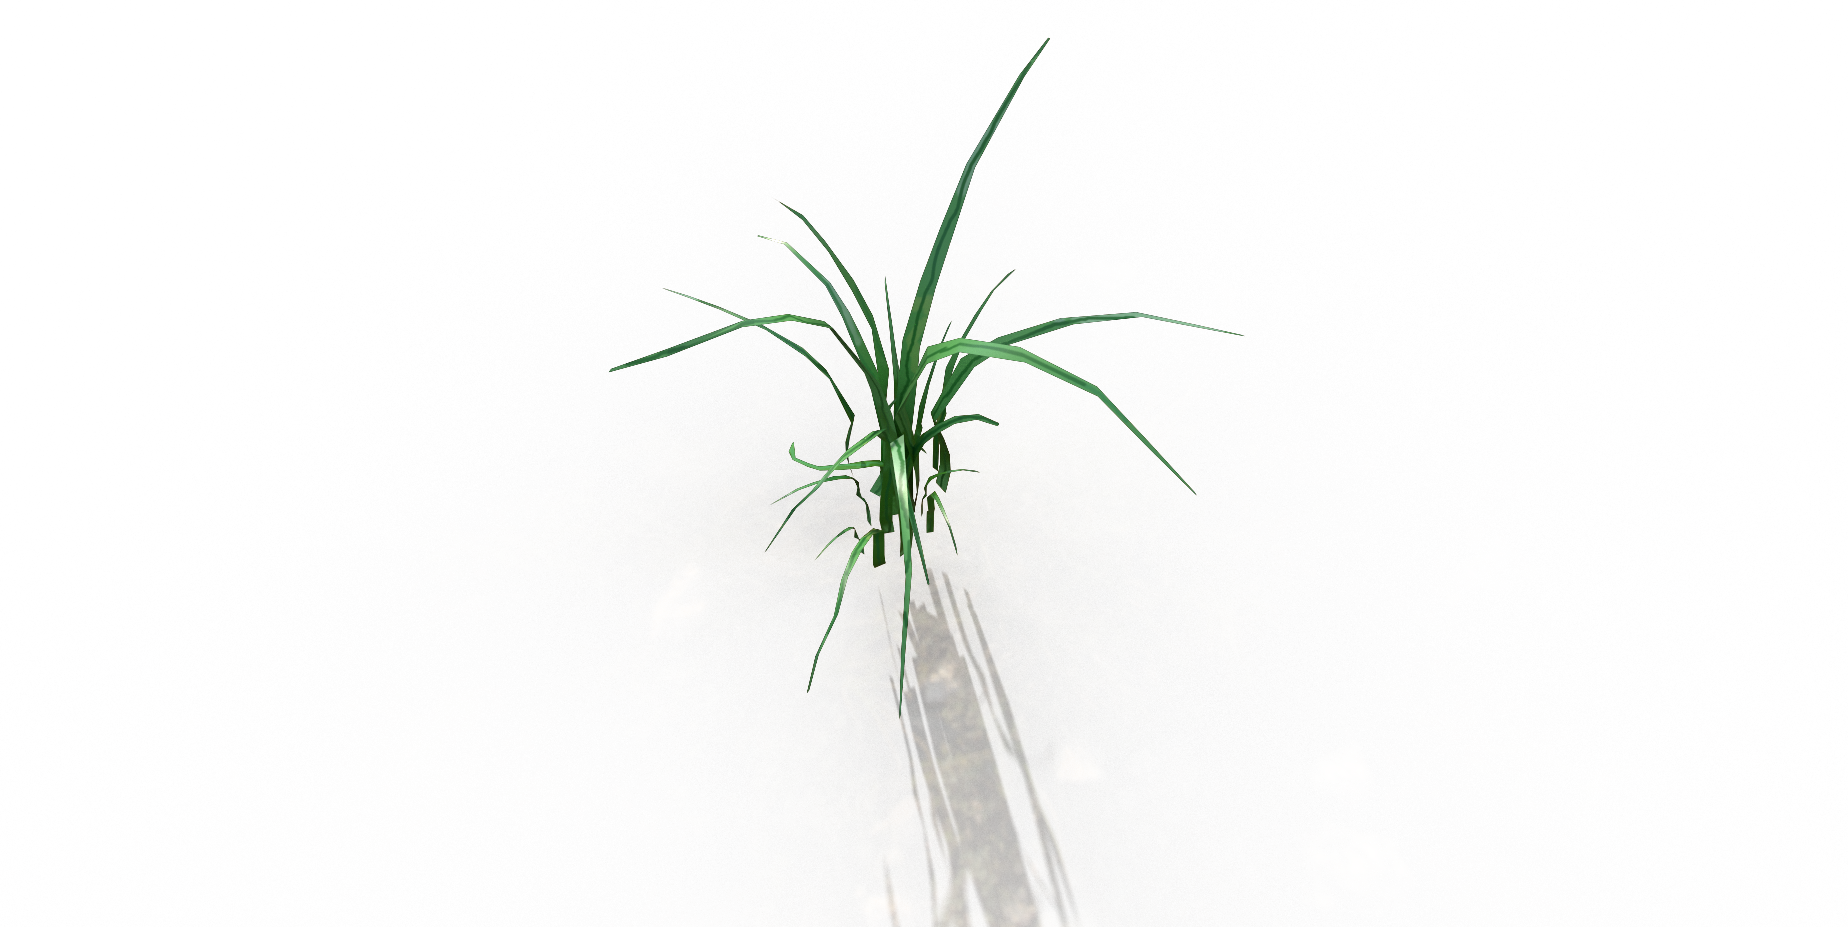
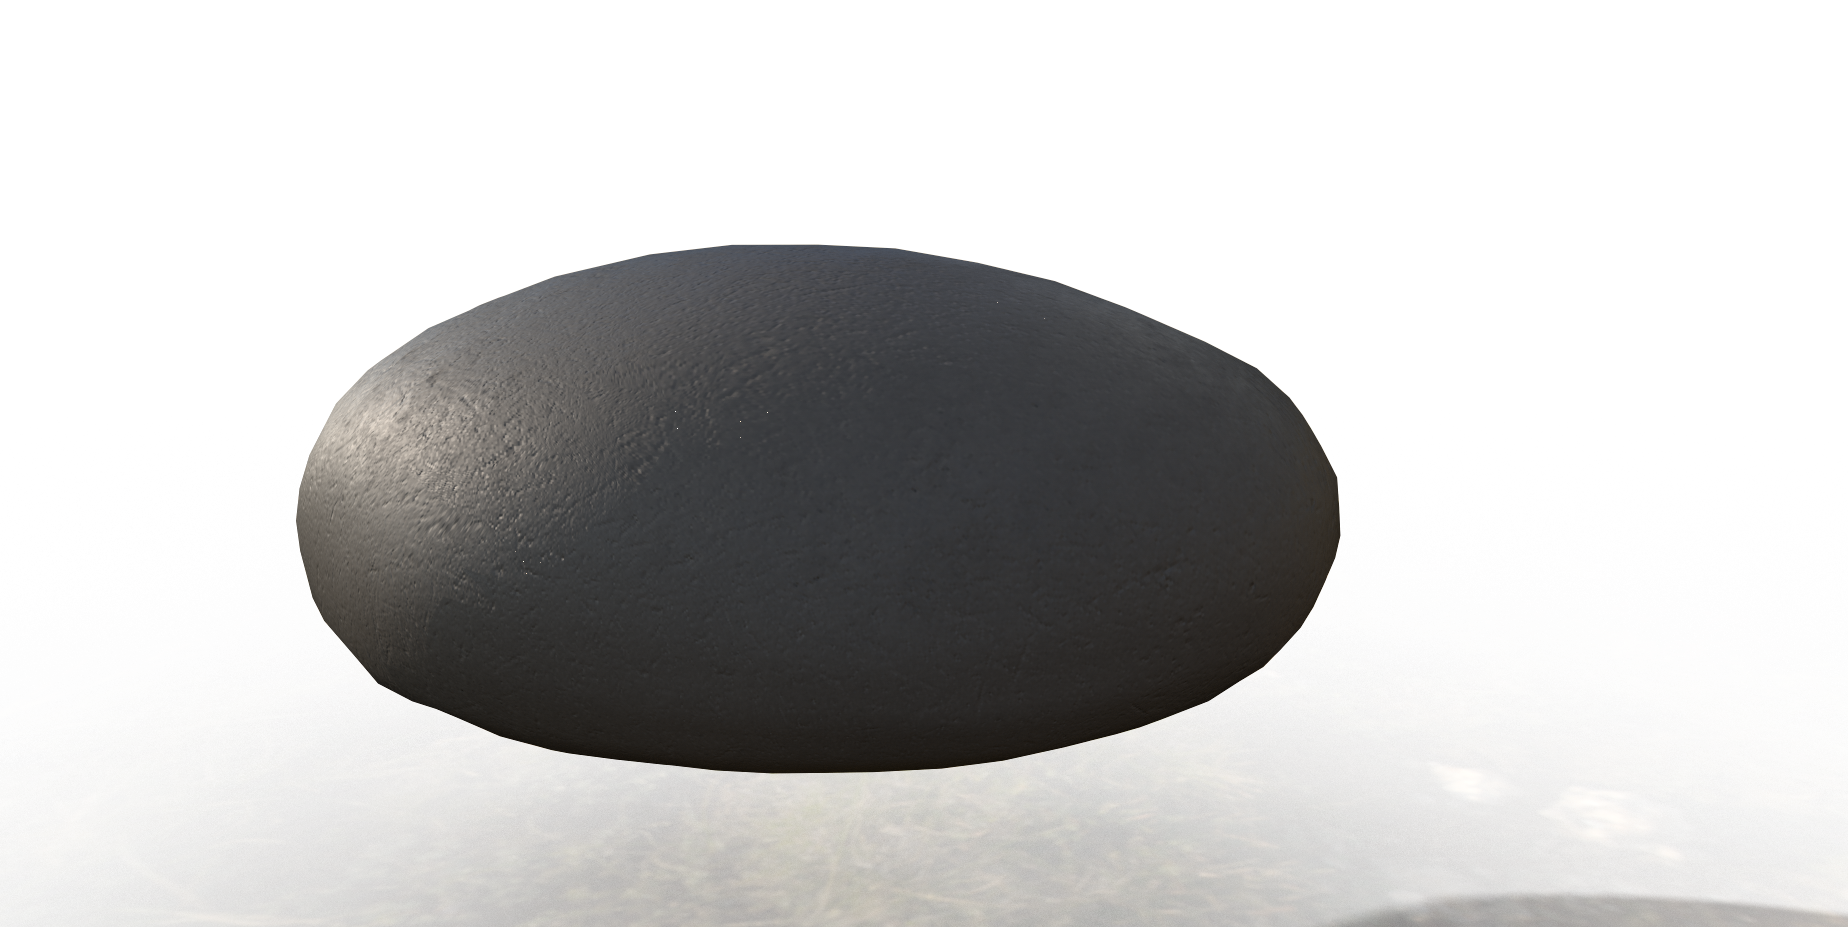
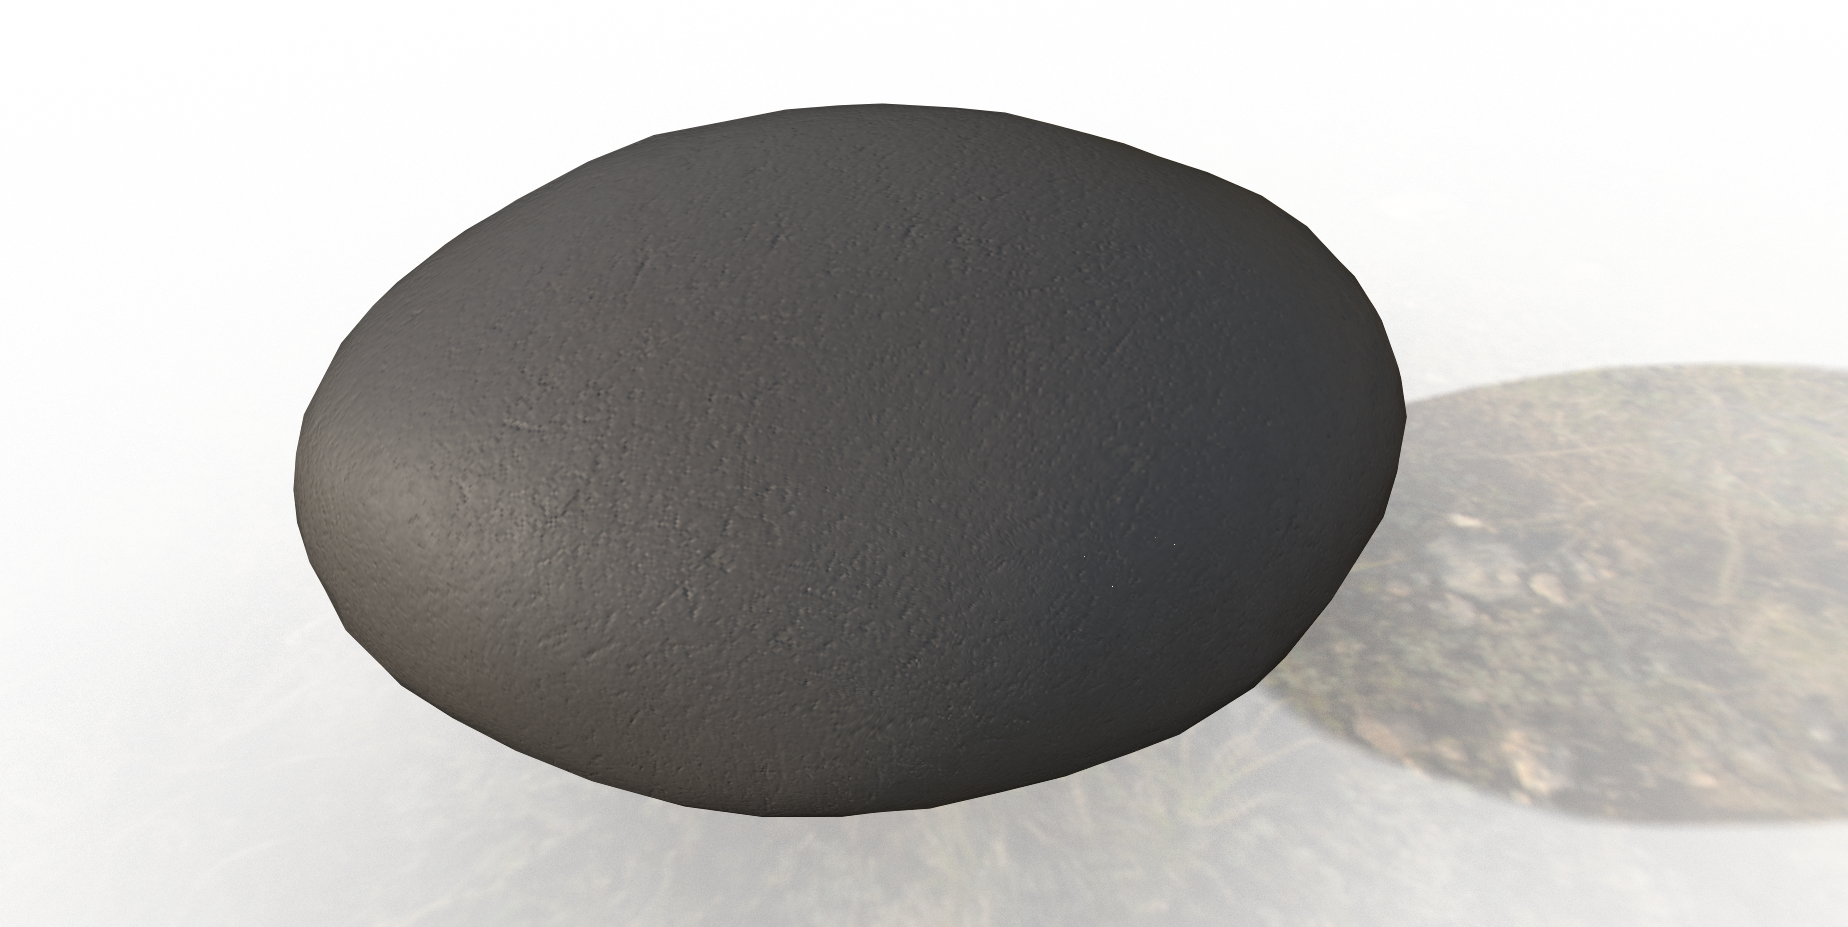
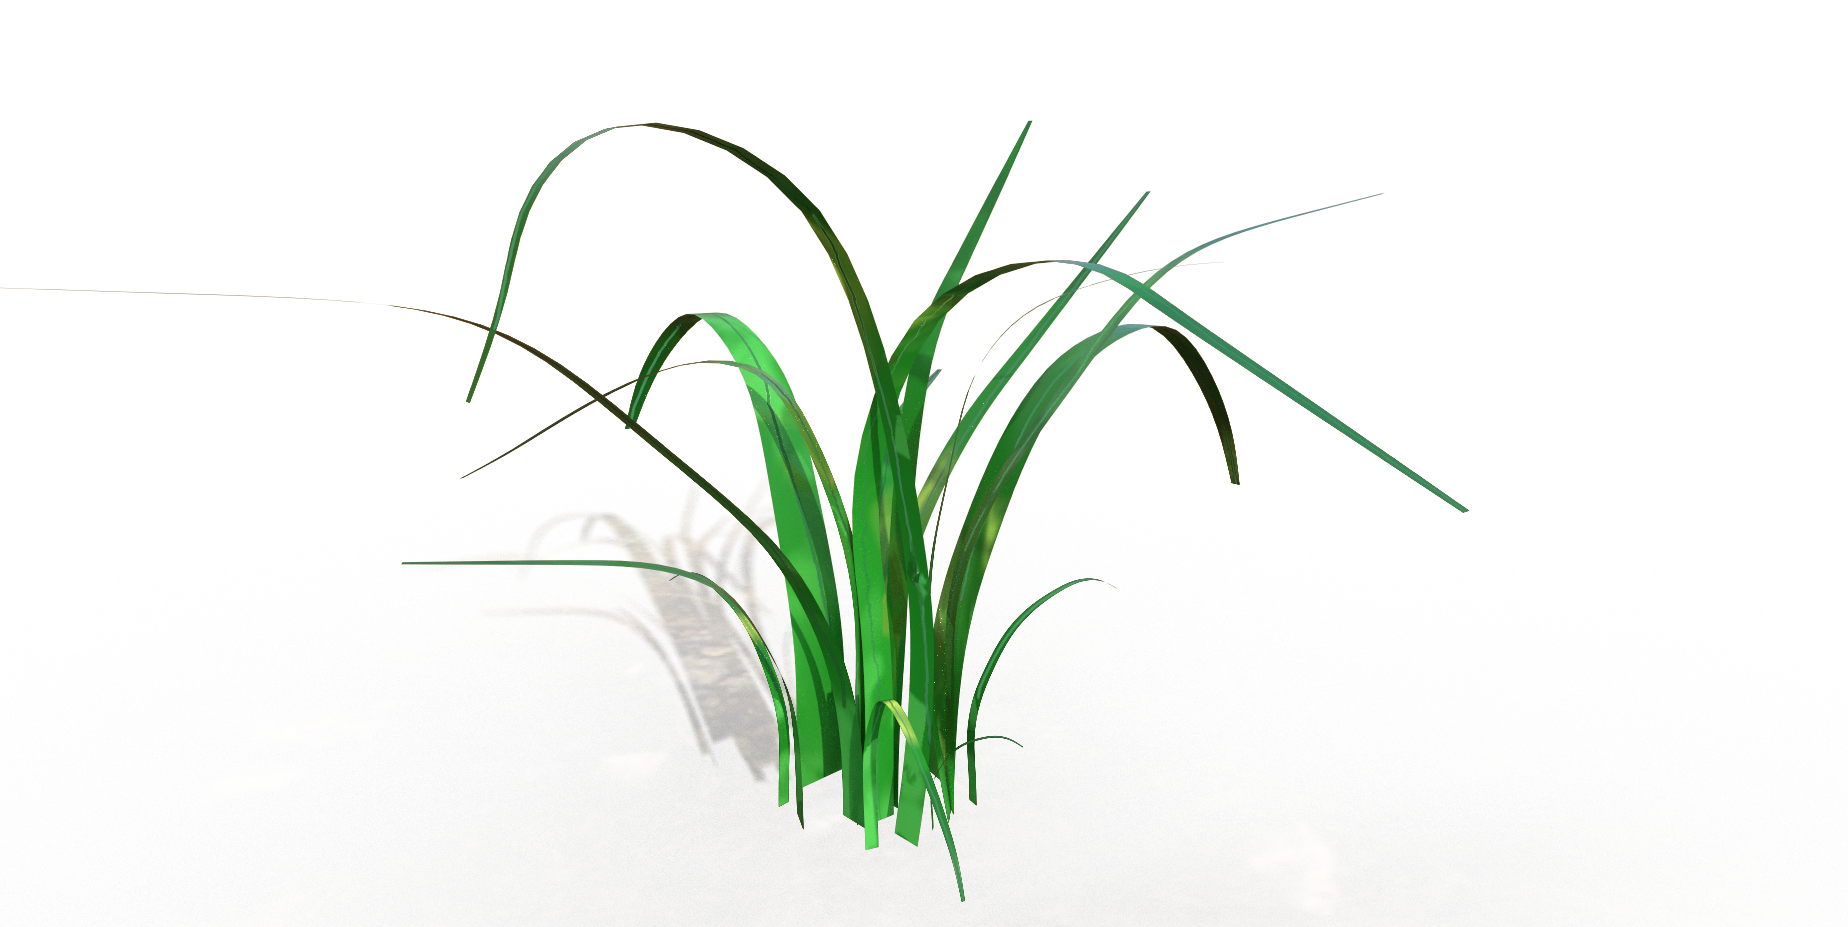
To start developing my showreel, I opened Maya, making playblasts of animations I felt were relevent to my job role of “3D animator” since we’re marked on the showreel and not the content inside, I made sure to render out each animation in the same aspect ratio of 1920×1080 so they fit nicely in the frame and had good continuity. Once I had rendered all the clips, I organised them all into a folder to easily find them later and installed Adobe Premiere Pro, using this time to go back over the learning content on blackboard from my lecturers.

Now Premiere had been installed, I opened it and created a new project, titling it appropriately with “Showreel” and dragging my animations into the project, switching to “edit” tab at the top. When I was on Blackboard, I saw a folder with “how to edit to the beat in premiere pro” and navigated to this link to watch through and follow along. I already had my clips in my project, so I just needed to add “mark in” and “mark out” to my clips to tell the software where I wanted my clip to start playing and where to end, though I found out later after automating them to the sequence, it didn’t matter much because they switched at the next marker to stay on beat with the song. Speaking of song, I still had to insert it so I found a few songs on a royalty free website (link here) and chose the song I felt suited my reel best. I wanted the song to be upbeat and be able to hold interest of my audience yet not be overwhelming or annoying as this wouldn’t leave a great impression.

Back to the video, I dragged and dropped my song into my project and dragged it onto my sequence timeline, making sure it started at 0 so it’d be heard from the very start. Moving back to my clips, I dragged them individually into the top left preview window and set the mark in and outs with keyboard shortcuts I and O. With my marks set, I clicked back onto my sequence timeline and hit keyboard shortcut spacebar to start playing my video, listening to the beat and deciding which beat I wanted to follow and what the pattern was going to be. I heard a solid drum beat happening every second or so, so i used M to place a marker at every other beat to give my clips time to play out. After a while of trial and error, I got the clips to how I wanted them and inserted them in an order of what I thought was my strongest piece first, followed by a clip of animation I did for last years 3D animation project, then another walking cycle and finishing with another clip from last years project. I felt this helped break up the content and mix it up instead of showing two walk cycles back to back and two snail animations back to back, making it more interesting. I inserted them by going to the “clip” tab at the top left, scrolling down to “automate to sequence” then changing a drop down box to “sequence to unmarked” and hitting ok, now all my clips were in time to the beat and switched seamlessly from one animation to the next.

My next move is to watch a few title sequence tutorials to make an interesting title card, as this is important for the start and end of my showreel to introduce who I am, how to contact me and the position I’m applying for.

I ended up not following a tutorial and making my own background with inspiration from the cloud filter in Photoshop. I created 3 different coloured cloud filter layers and stacked them, lowering the opacity as it continued to create a nice 3 coloured sky. I then created a new layer and painted tiny white dots, varying in size with a few bigger ones with a low opacity bigger dot on top, these were my stars which i then duplicated and turned the layer around randomly for more variation. Creating another new layer, I used the ellipse shape tool to create a white circle, taking the ellipse selection tool to select a circle of this shape and rasterise the shape layer so i could erase a part of it to make it resemble a moon. I created another new layer and made some clouds out of the ellipse shape, merging them together and rasterising the layer so i could move the clouds bout, duplicating them and placing them for variation. Finally, i duplicated the moon layer and gave it an outer glow then made a big cloud which i turned the opacity down to 27 to create a barely visible fog and then exported all my layers separately to be taken into after effects.

When in after effects, I dropped all the PNGs into my composition and found a tutorial for infinite backgrounds which i followed to create the moving stars in the back of my showreel title cards https://youtu.be/mQZRuViuT_w. I placed all the images in the same order as the layers appeared in photoshop so it’d look as similar as possible then exported it as a media file to be imported into my premiere pro project. Below is the looped animation.

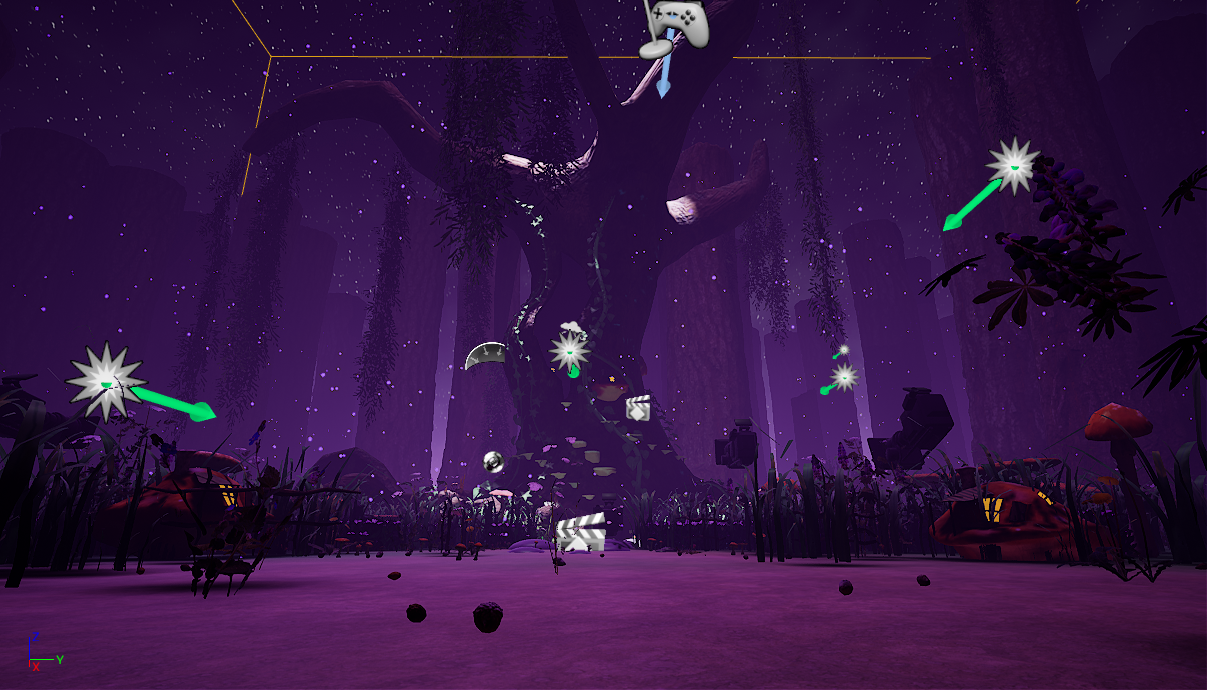
Once in premiere pro, i edited all my clips together by using the sequence markers to time my reel to the beat of my song, creating a graphics layer for text on each clip to explain what the clip was and where it was made e.g maya or unreal engine, and I chose a cute font i felt matched my simple background animation along with an appropriate colour, though for the explanations on my clips, i used an easy to read white font so as not to distract from the animations.

I exported my reel as an mp4 and uploaded it to YouTube where it can be found here and below: https://youtu.be/wbBuzHrFbRQ