Our animation required feathers falling from the bird and around the assassin snail whenever the victim snail is snatched up by the eagle and i was the one appointed to this task.
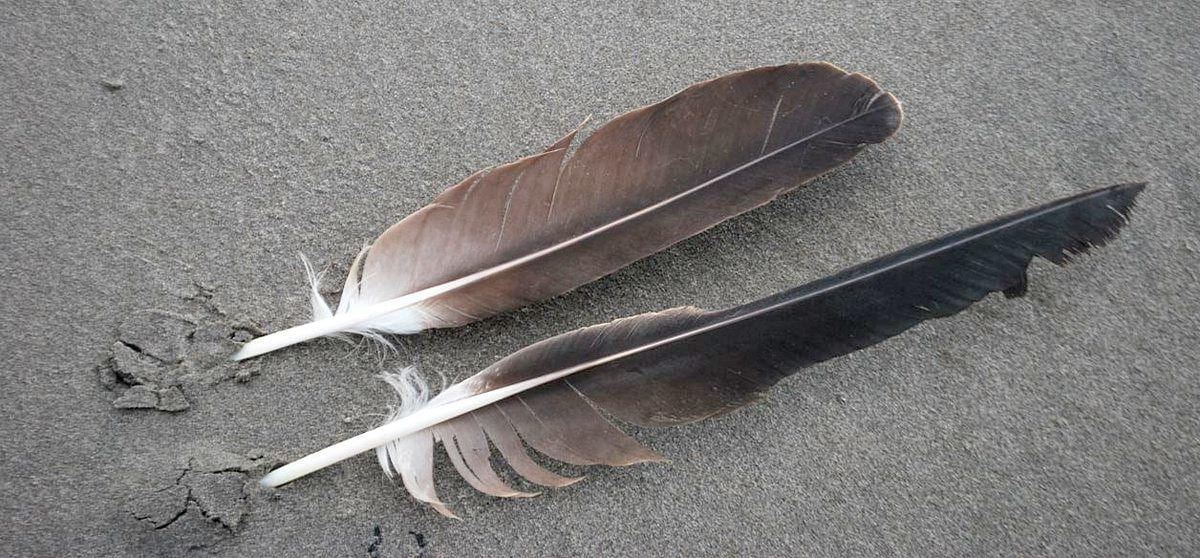
I started by finding a reference on google of an eagle feather i thought suited the shape i was aiming for which you’ll find below and found a tutorial video on YouTube by YellowDog (his channel link: https://www.youtube.com/channel/UCzltCx-JIQ9U0MHo4uhybfg) who was very helpful in explaining how xgen worked, and as it was my first time using it, id say it came out pretty good. Here is the YouTube video https://youtu.be/rgj8AoZpGPw

To begin modelling the feather, I opened my 3D program, Maya, and created a CV curve in the shape of the middle spine of the feather, followed by a NURBs curve which I scaled down on all axis until i found a suitable size for the feathers spine. At this stage though, all i had were two 2D objects which obviously isnt very useful, so to make a 3D object i selected both objects and using the surfaces tab in the toolbar in modelling mode, went to “extrude options” and followed the video, selecting polygons and quads then hitting apply, now i had a 3D object to work with.
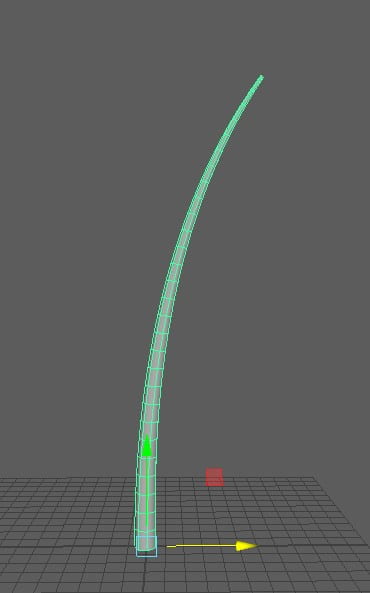
To get my tube to the conditions it’s in in the above image, I had to locate the extrude history and tick the “fixed path” box, this made my shape curve along the NURBs curve instead of just alongside it. Next i used the “scale” button slider to taper the end of my tube to be more appropriate to the shape i was trying to create. Moving to the tessellation tab, i changed the format of my curve from fit to general, allowing me to add more subdivisions and give my feathers a place to sprout from. I then deleted the history of my shape and deleted the NURBs curve and CV curve, giving me free reign of my shape.
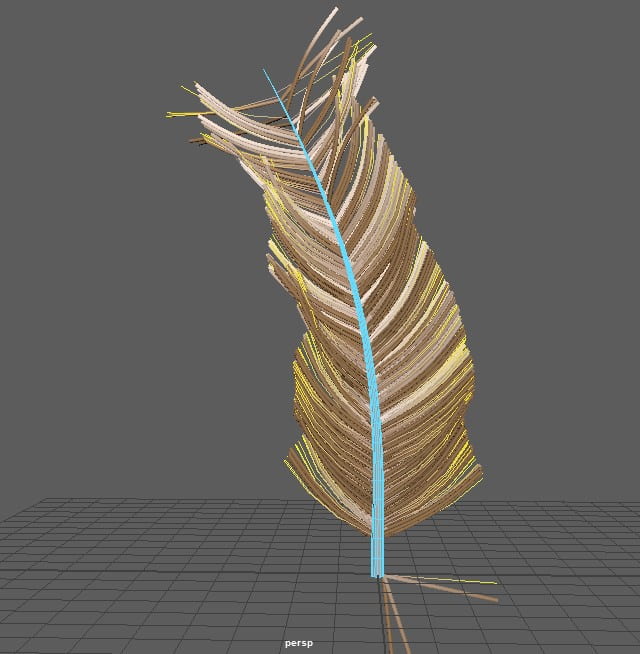
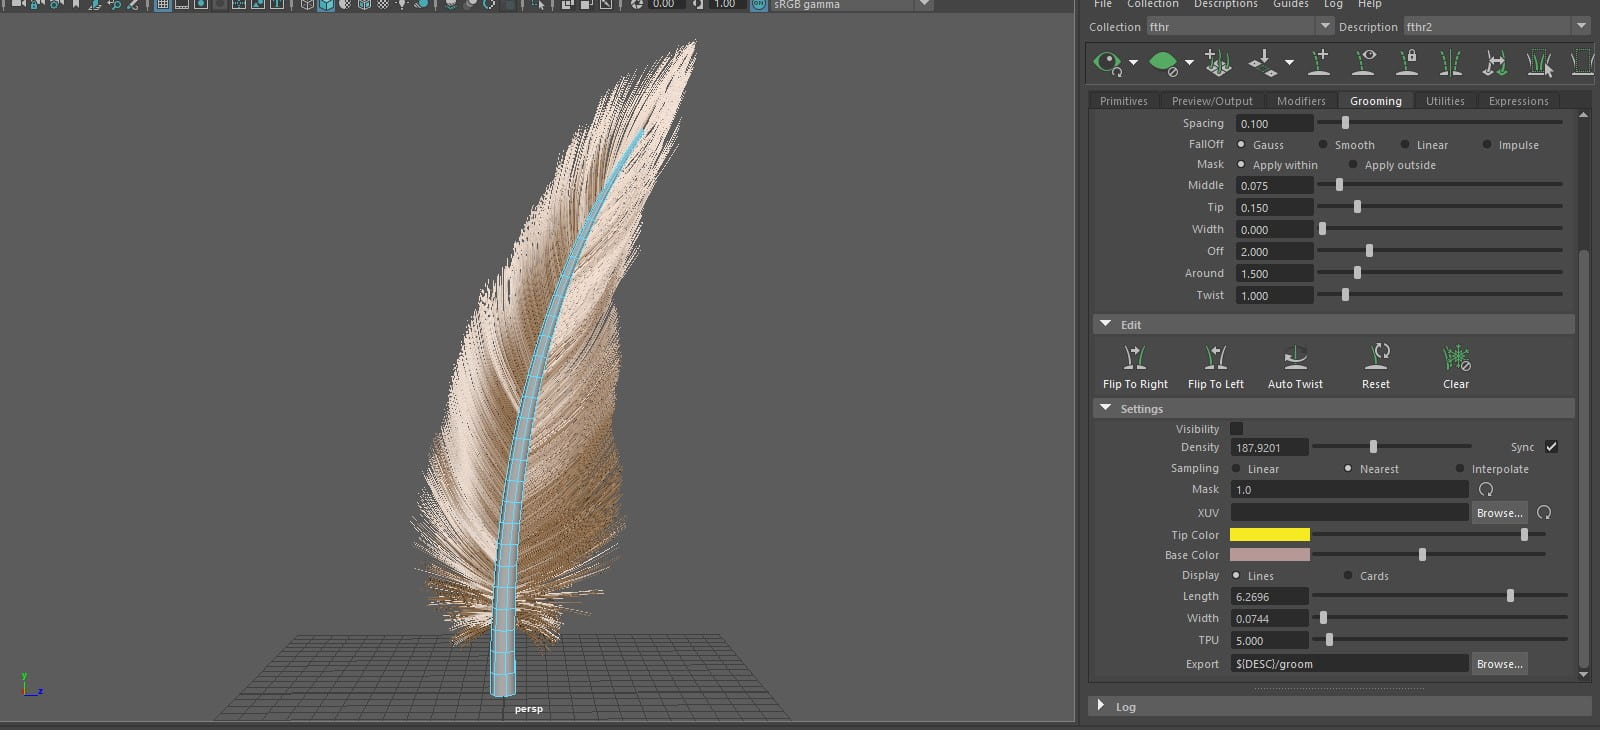
Starting to create the feathers now, i selected a vertical loop from both sides and navigated to the “xgen” button in my toolbar, pulling up a menu with 3 different options. Selecting “create new description” and entering the name “feathersmain” as seen in the video before heading down to “collection name” and typing “feathers”, I’m not too sure what these options are for but I’m going to guess its about the save name on the Maya file so Maya knows what to locate. Following along the video and selecting the groom option, i then hit “create” and watched as small lines sprouted out of my model, these were the soon to be feathers.

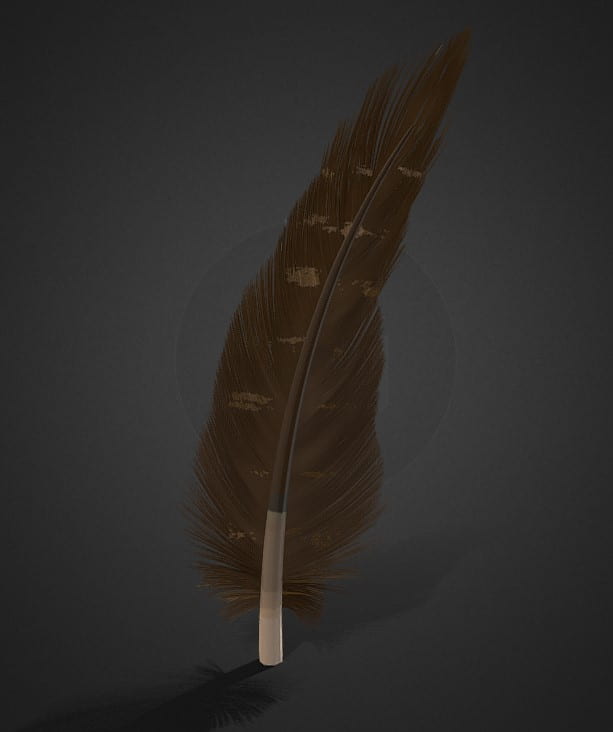
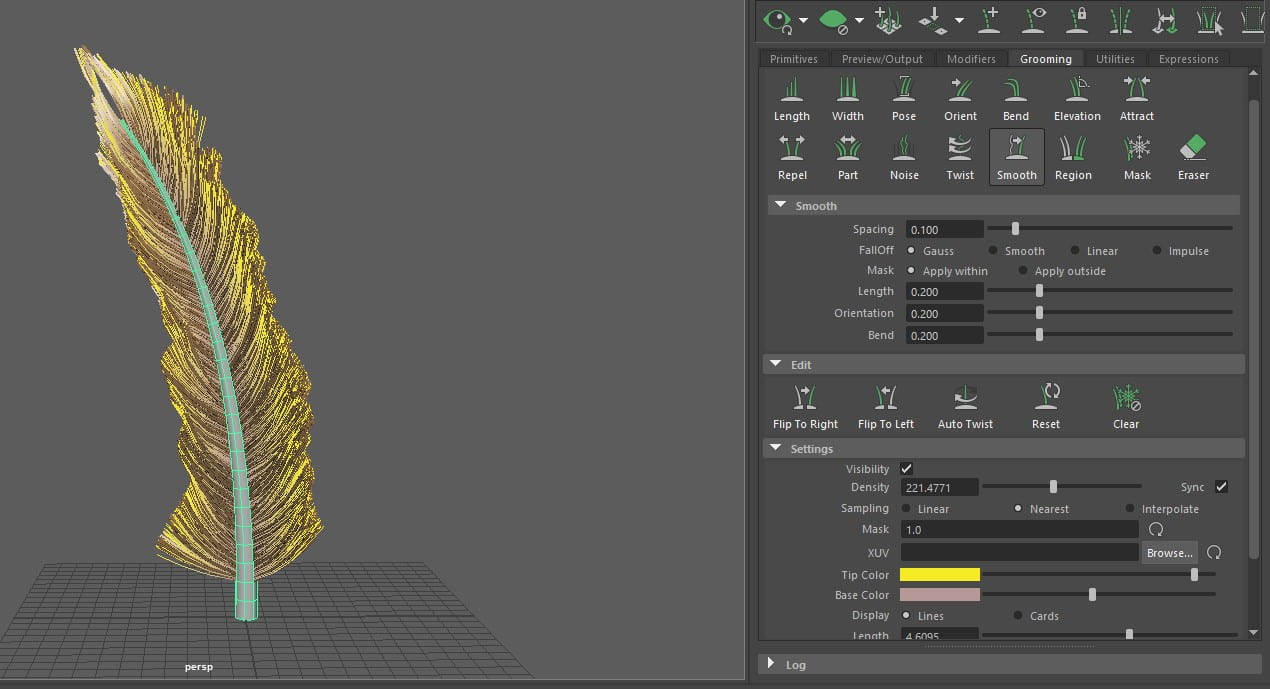
Adjusting the length and switching from sample to linear, i chose the pose brush and started posing my feathers in an upwards direction, using my images as reference to how a birds feathers are shaped. Once happy with the direction of my feather barbs, i used the smooth brush to make my shape sharper and neater before using the “attract” brush to pull the barbs at the top of my feather together, closing the awkward gap and creating a nice smoothed shape like a real feather. After a long while of messing around with the brushes to get my final shape as seen below, i then converted my xgen grooming to primitives and parented them to the spine of the feather and added a hair shader to give it its colour, giving me my final feather ready to be animated.


After the model was finished, i decided to take it into substance painter to give it a more natural feel. I took reference from the same images and painted a natural tone of browns onto the shaft, then using a shade of brown close to the one on the eagles legs, i painted the feathers barbs, giving it a few horizontal streaks along the way to make it interesting. These streaks however sadly don’t show up in the Arnold renderer, so i can only show them off on my sketch fab profile, which you can find here: https://skfb.ly/onSXt