With my cow model all textured and ready to go, i now had to set up a small scene to ft him into. My initial plan was to set him in a paddock with two hay bales and a bucket with a fence to his left, but the hay bale was a bit too complicated to try and make. I looked for tutorials on YouTube for blender and Maya but i couldn’t find any that suited my project since if i used xgen or particles in blender, it’d create too many polygons and i could risk going over the limit for the assignment. This doesn’t mean i didn’t have a go though, i tried out both and found out blenders particle system is a lot easier to use than Mayas xgen as you can “comb” the hair instead of just “posing” it. The result in blender did look like hay but i couldn’t find a way to export it and i was scared of converted it to polygons for the reason stated above so i just deleted it and made a cube in Maya, slapping a hay texture onto it.


(i forgot to take a screenshot of the finished hair combed)
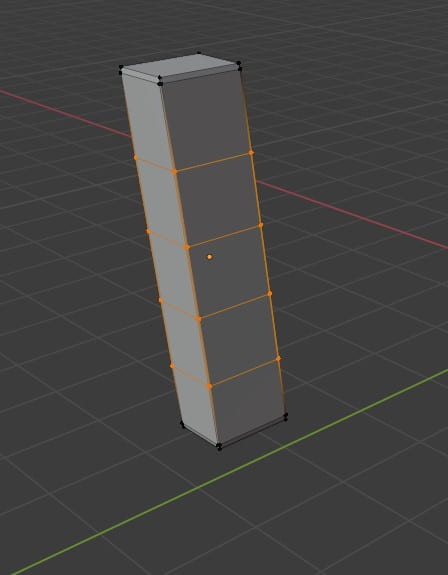
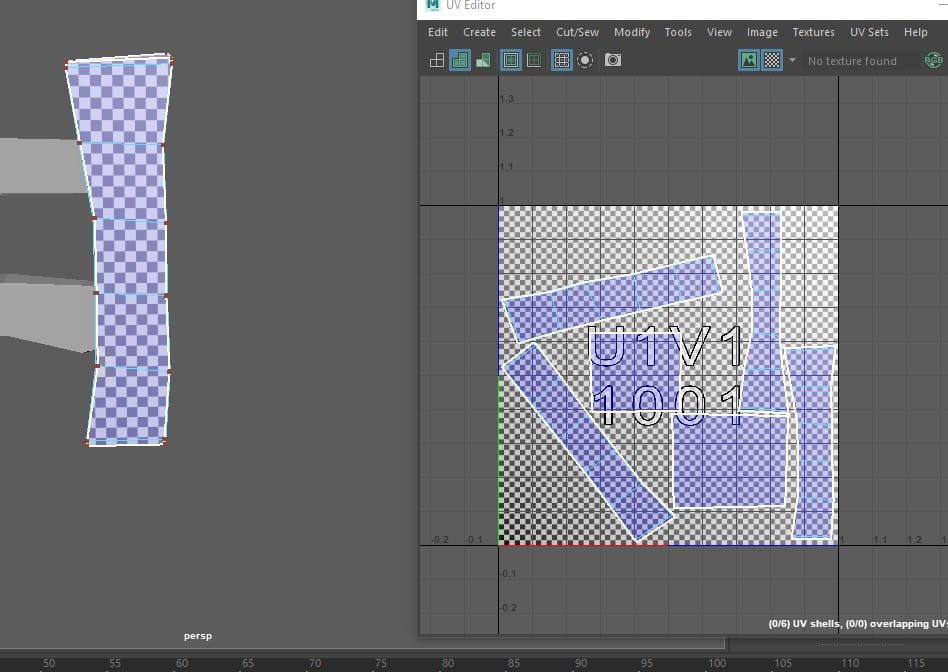
For the grass, i did want to try and model some 3d grass instead of just using a plane, but i felt like that could take too long as this is my last day to do anything before handing my work in. For this reason after following up until the curved blade of grass in this video (which i also couldn’t find out how to do so i was already lost at the beginning steps) i decided to just make a plane in Maya and put a texture on it after extruding it to make a cube (should’ve just replaced it with a cube but i wasn’t thinking apparently) and then smoothing it and cutting the edge in the UV editor to make sure the texture sat properly. I decided not to even put the texture on it and just use a flat colour in sketchfab as it looked better anyways.

The fence actually took some modelling and sculpt mode editing in blender to create. I found a tutorial for a stylised fence on YouTube and followed along with it https://youtu.be/SYHWWLYXo2E. I’ve not used blender to model something before as i always use Maya so this was a nice fresh opportunity and change of environment. I started with a cube and scaled it up to the height i wanted, scaling it in on the sides to make it thinner. I then duplicated this shape and pulled it to the right of my other fence post. Going into edit mode, i gave both of these shapes bevels and loop cuts before switching to sculpt mode to fix up the shape and make them more unique and stylised. Once this was done, i went back into object mode and created a cube, scaling it up along the x axis to make it longer, placing it in-between the two existing fence posts, this would be my pallet. I added a bevel to this shape and gave it some loop cuts using the scroll wheel on my mouse to control how many i gave it, then duplicated this object and moved it down below my previous one to make a fence. Using sculpt mode again, I deformed these wooden planks until i was happy with my fence and exported it as an FBX.


I took my fence into Maya to UV it, allowing me to later and texture in substance painter. I cut around the loops on the outside of each object before freezing their transforms and unfolding them, using the layout tool to then straighten up the UVs and pack them neatly in a singular tile. Opening the material editor, i gave each object a separate aistandardsurface material and named them appropriately. Once i had this done, i then exported this as a new FBX and took it into substance painter.


In substance painter, since i had a material for each object all i had to do was select the name of the object i wanted to paint from the top right hand corner and add either a fill or a paint layer. Starting off i added a paint layer to each object and coloured it brown manually which looking back now is a bit stupid because i could’ve just used the fill layer to save time but its fine. Adding a new fill layer, i found out how to add grunge (using this video https://youtu.be/-7F5evcCdyE) and used one i thought suited the fence, slotting it into the greyscale area of the fill layer in my black mask, adjusting the balance slider until i was happy. I copied this effect and pasted it onto my other objects, meaning they’d all have the exact same effect applied with all the value in tact so i didn’t have to keep hopping back and forth.

Adding a paint layer to each object on a low opacity, i took a dark brown and used the soft brush then started painting random dark blotches onto the wood so it didn’t look so stale and flat. It helped to use the grunge effectively here and paint the dark brown in the areas where the grunge was tight together and very visible.

After doing this, i added another paint layer to each object on a low opacity and took another dark, almost black brown and painted shadow onto my fence where the wood planks joined together and round the back and bottom where i thought no light would hit. To follow this up, i made another paint layer with a darker colour again and enhanced the shadows closer to the wood where there’d be harsh shadows using a hard brush.
My last paint layers were highlight the difference in colour on the bevels from the wooden fence itself, as usually seen in real life as the wood on the corners are usually sanded down therefor shiny and smooth. I took a light cream colour and used the soft brush again, painting along the bevel seams of the fence. Once done, i lowered the opacity of the layer until it looked good and saved my file then exported my textures back into Maya.


In Maya, i placed everything in the scene and saved it, making a few adjustments to position and scale before adding textures to everything and adjusting the specular values so they weren’t too shiny. Selecting everything i then exported my selection as an FBX and uploaded my work to sketch fab.


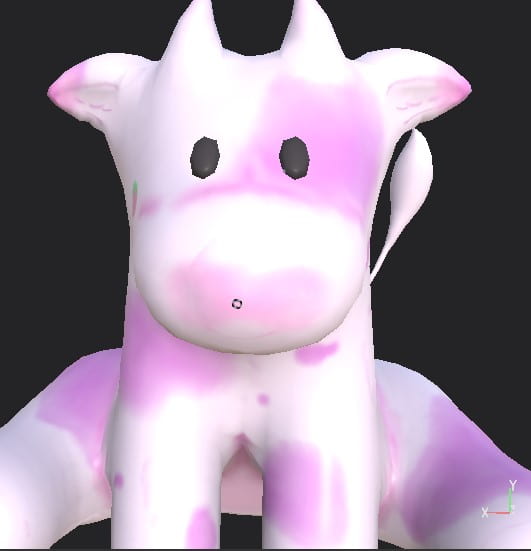
Fun fact: I was going to call my cow Falafel because it sounded cute but after speaking to my boyfriend he called him Moomi and I thought it was adorable as well as relating to the character so i kept it 🙂