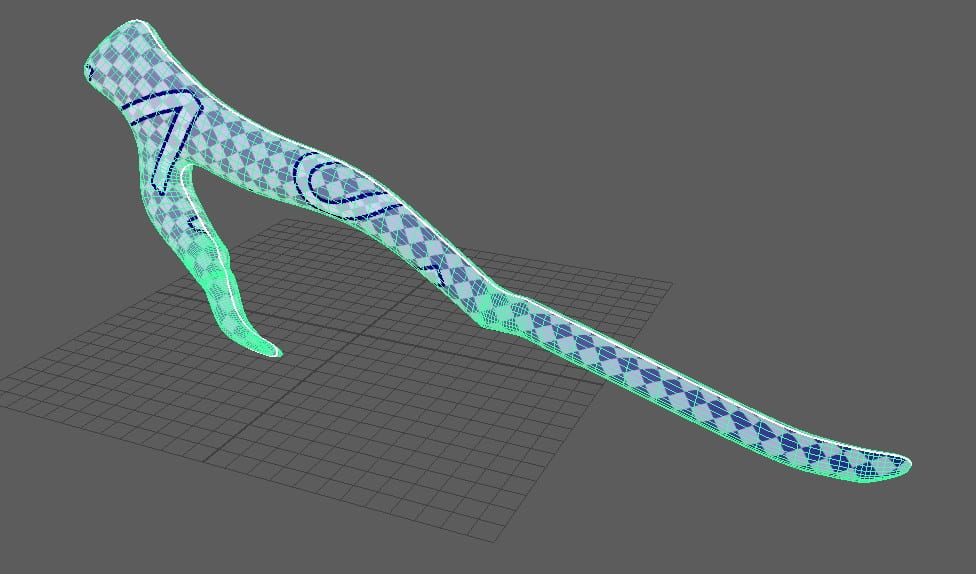
This was quite difficult for me to achieve and i had to get quite a lot of help off my tutor Henry, as i couldn’t figure out how to sort all types of errors that kept arising with my mesh, as well as having hardware issues when trying to unfold my UVs.
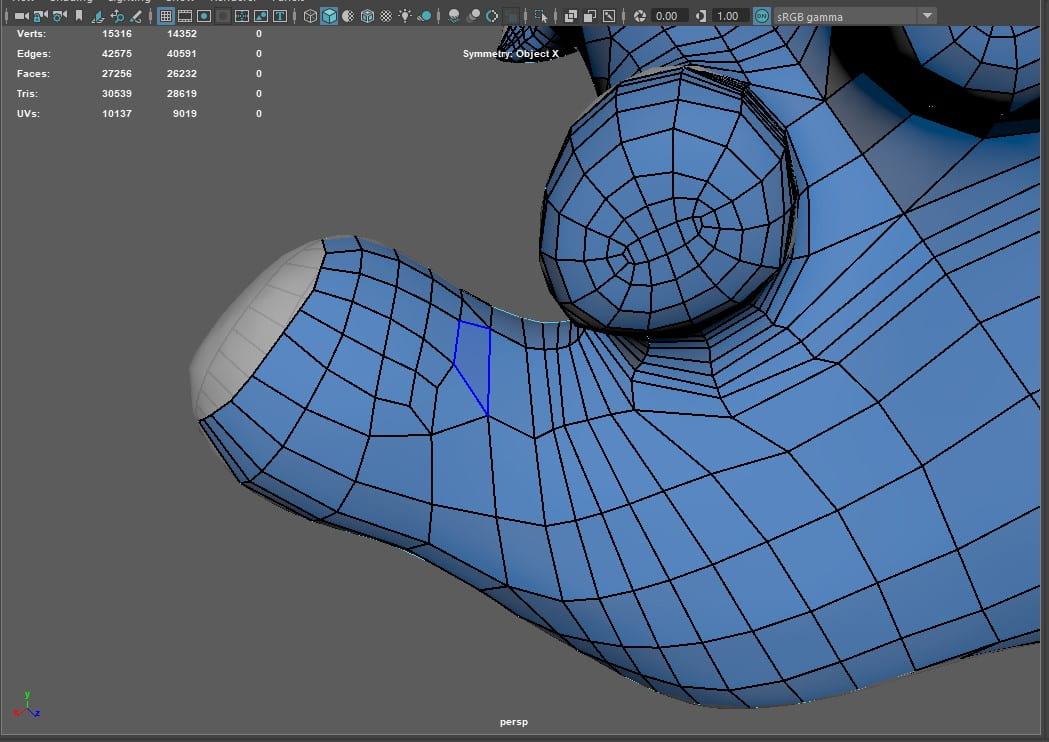
Bringing in my FBX model from blender to maya, i had to make the surface live and use the “quad draw” tool to manually draw on polygons to make my high poly blender sculpt a low poly mesh which was then suitable for UV unwrapping and texturing in substance painter. To make things easier for myself, i turned on the symmetry on “object x”, this meant whenever i made a quad on one side of the model, as long as it had a symmetrical mirror of the model on the other side of my symmetry line, it’d mirror what i was doing on the other side including when i placed quads or made adjustments to my mesh y relaxing my polygons and edges. This tool really cut down a lot of modelling time which I’m thankful for, but when it came to the ears of my model i was very confused on how to place my quads as the polygons id placed previously didn’t match up with the ones i placed around the base of the ears. My base from blender was also messing up my polygons, as i didn’t smooth everything down correctly which was causing my quads to sit awkwardly, trying to place themselves on all the bumps and corners of the base.


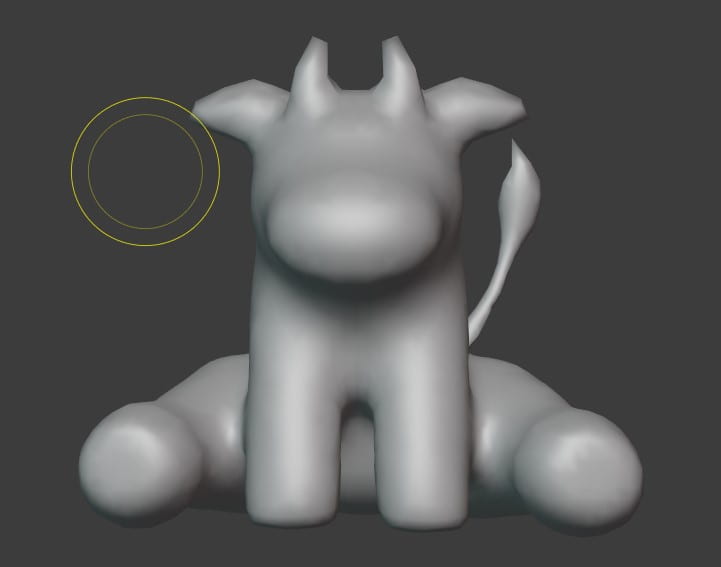
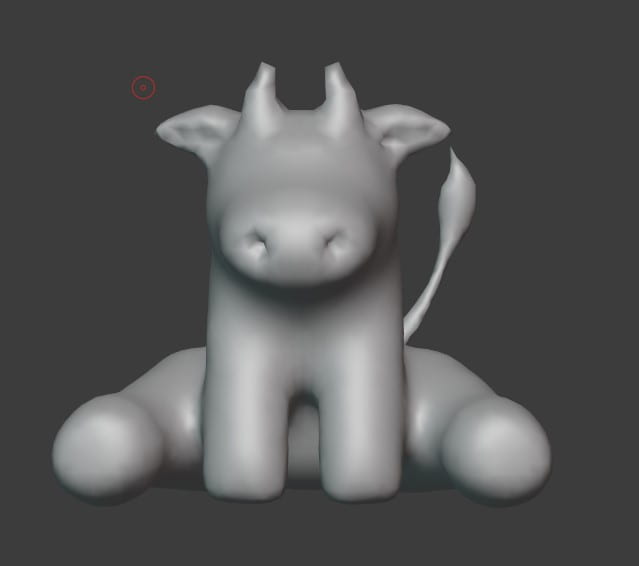
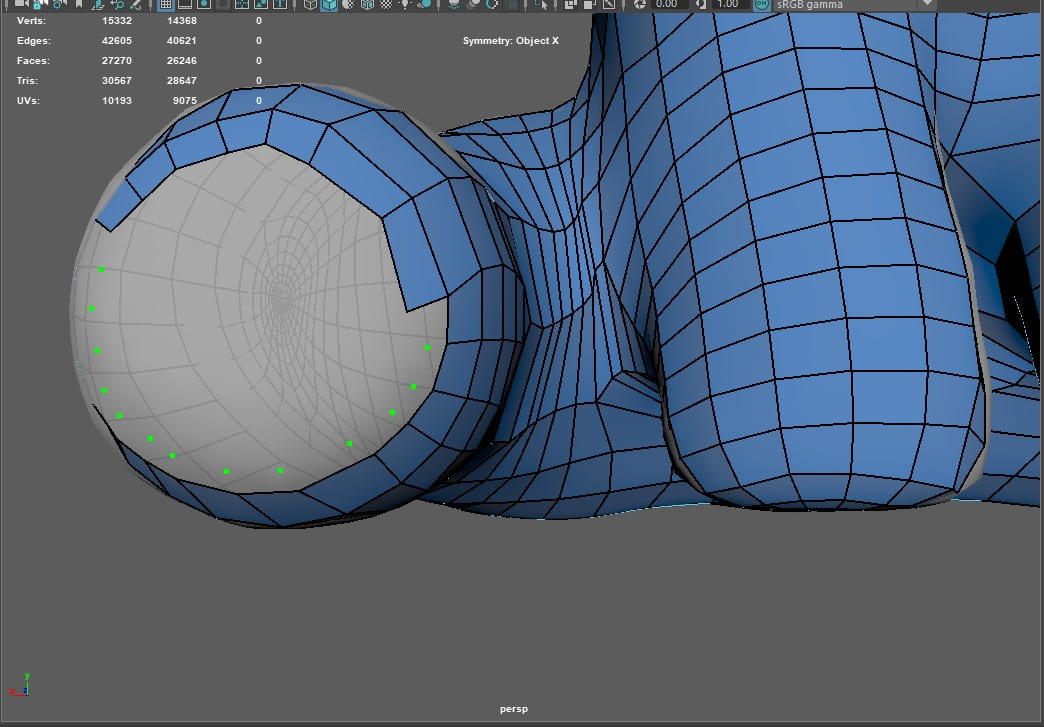
Going back into blender, i used the smooth brush to smooth the areas on my model that were causing me trouble, using different perspectives to ensure i did it properly then exported it as an FBX, over righting my previous model. From here, i deleted my mesh and asked my tutor Alec for help in a 1 to 1 tutorial on blackboard. He showed me how to start my mesh, by drawing quads on the nose of my cow and working up to the eyes, placing a rough circle for the eye as i was using a flat sphere placed on top of my model for the eyes. I asked him a couple of questions about how to do the ears and the tufts of hair on top of my characters head, both of which i got a detailed answer to so i went off after this tutorial and used my newly gained knowledge to create my retopology.
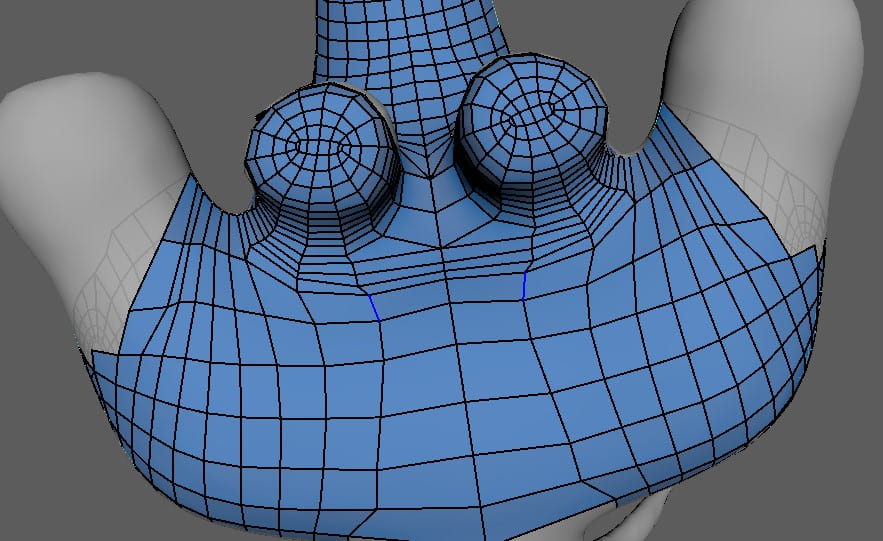
Even following the tutorials on blackboard, i had some issues when it came to creating loops for my retopology, and my mesh came out a little messed up around the ears which i tried a few times to fix as there were problems with non-manifold geometry, floating vertexes and other strange happenings. I ignored it for now and moved on with the rest of my retopology, creating quads that ran down the back and into the legs i had placed quads around as to frame the foot where after a few tries, i managed to get a loop around the curves of the thighs, but the quads leading down the legs still didn’t look correct and made awkward loops going from the bottom of my model to a new loop on the thigh. This was quite infuriating as it meant i wouldn’t have a clean cut for my UVs later, but i was running out of time at this point so i just left it and continued on with the rest of my model, relaxing the polygons as i went and holding down control to check if the loops were circular. Around the face area, my polygons were perfect, but when i came to the chest, horns and ears, i started struggling as they went off on their own path instead of in loops. So from this, i know that over the summer I’m going to work on my retopology and teach myself how to do it correctly with loops.


Now came the awkward part of trying to get the stomach of my model to line up with the legs and bottom. Since the symmetry tool was active, i couldn’t create extra dots in the middle to try add more polygons, so when i created quads down the stomach and chest, i took the vertexes and merged them together so they were sharing an edge and created two polygons running down the centre, which i then used to create quads leading off of to the legs, tying everything together. From these quads, i added more dots and used the shift button to place a quad from these dots continuing on down the legs to create a bottom. There were some weird shapes along the way, but i know triangles if in a small quantity wont ruin a mesh and the other shapes were just oddly shaped quads so that was also fine. It wasn’t until i got to the legs that i realised the shapes weren’t even with the rest of my mesh and i had to start removing edges and replacing quads, even deleting whole chunks of my meh to try rebuild it in a neater form but i was getting stressed and confused so i had to take a break and come back with a new perspective.

Relaxing the polygons around the bottom and thighs of my model as much as appropriate, i started creating the bottoms of the feet for the hooves of my cow by following the loop of quads and placing new loops until it was too small to go any further where i then just capped it off with whatever shapes would fit inside the hole. I went around the foot and leg relaxing the polygons again as i wanted to make sure my mesh fit nicely with the shape of my base as well as trying to evenly space my quads to give a somewhat neat presentation for my mesh.
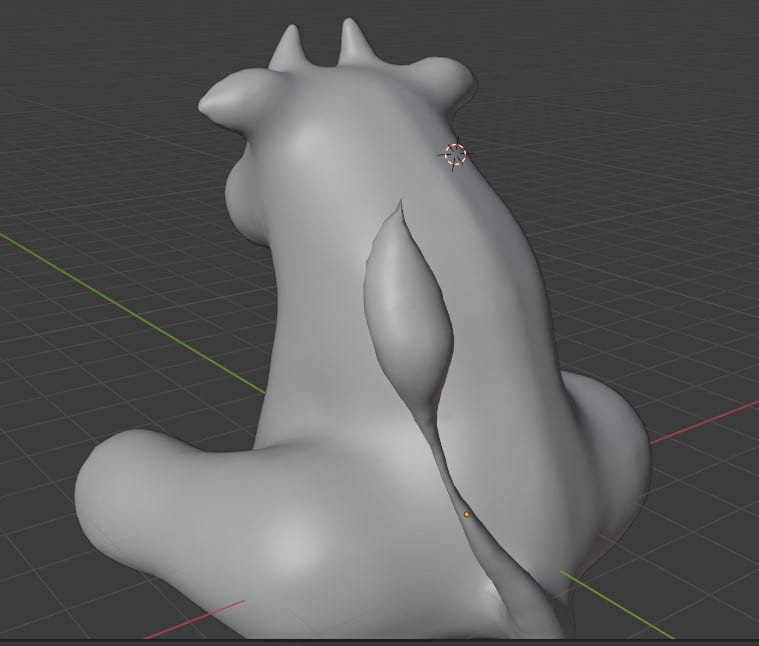
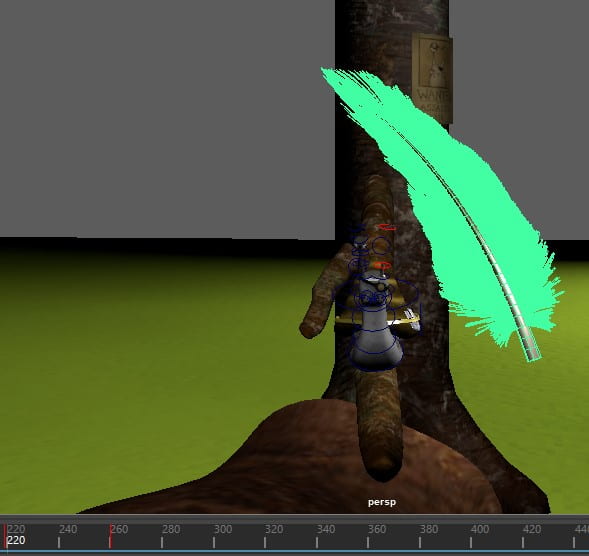
Now comes the tail again. Tuning off symmetry as there was nothing symmetrical about this part of my model, i started by creating a ring of quads around the base of the tail, not really realising this later would cause problems as it didn’t match up with the rest of my polygons. The only reason i made this many small quads was because i was concentrating on getting the smooth curve around the base and i couldn’t capture that with big chunky quads. A few rings in, i tried to connect them to my main quads by creating another quad or two between them and relaxing them a little to let them sit more tightly to the base. I continued around the base of the tail with this method until i had to start creating extra quads and edges to accommodate the curve of the tail, additionally creating problems for me where i had to try figure out how to join polygons together with quads and in some places triangle so i could get the whole way round my base sculpt. Admittedly, it did result in a bit of a mess but it worked so with my limited knowledge, I figured after spending so much time on it, it was time to move on a to meet the deadline, it also meant i wouldn’t create new issues in case i messed with too many polygons and edges and made it worse.
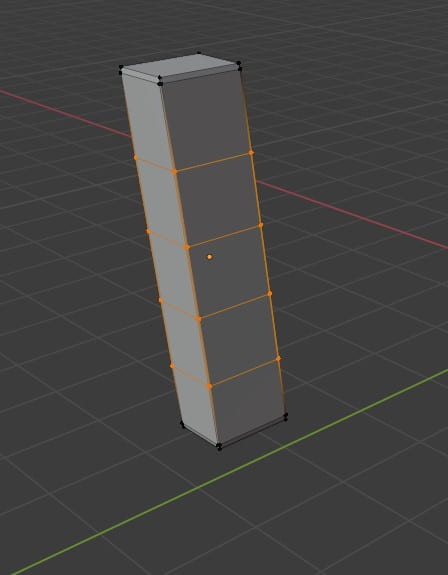
Starting from a thin place on the tail, I created quads in a ring around the shape trying to make them small yet long enough to capture the curve but also so I didn’t have to overload the tail with quads. I continued up the tail to the tuft of fur on the tip and placed big quads around this as i wanted to emphasise it was a tuft of fur and not just a weird point on the end of the tail. I had to readjust and relax these polygons quite a bit until i was happy with it and moved on to the rest of the tail. I made the quads longer as i worked my way down the tail, relaxing and readjusting as I went. These quads fit pretty alright with the quads at the base of the tail so I relaxed the polygons some more going up the tail and manually dragging any vertexes or edges into place where the relax tool wasn’t helping.
Closing up the whole back of the model was a bit of a pain as there were a lot of edges that had to be removed and at the start i was getting a lot of oddly shaped and awkwardly stretched out quads, so i decided to do another two loops around the tail base to make the quads join a bit easier, which took a while but after settling for a couple of triangular shapes and not so perfect squares, I’d finished my retopology for now.


This is where I started really having problems and had to consult my tutor Henry, where we tried for a good 15 minutes to try solving a problem which in the end we found was most likely caused by my processor being an AMD Ryzen.
Going through and making a cut in my model around the neck and to the forehead, following a blackboard tutorial on how to manage UVs, I tried to use the unfold tool in the UV editor and kept getting errors such as “Unfold3D process error” and non-manifold geometry being found in my mesh so to go clean it up first. Getting help from Henry, we managed to locate the non-manifold geometry and fix it, he sent me a YouTube video and tried going over a few other solutions with me but after i tried them I still couldn’t fix the problem. I sent the file to him and he sent me back a recording of how to fix it, which was as easy as pressing 3 to smooth preview my mesh and viewing it in different perspectives to try find anything that looked off. I didn’t see this when i tried it but it probably was in connection to my lack of sleep and the stress i was under with having so many errors, nevertheless I went in and fixed it on my file and tried to unfold my UVs again, but still got an error.


Going back to Henry, he got me to take screenshots, read articles, go into the plug-in manager and check for Unfold3D and to enable it, but even after all this we still couldn’t find an answer to my problem. He was very helpful and in the end we found a workaround which was to unfold using the legacy algorithm instead of unfold3D as my laptop had no problem running that, but the Unfold3D error still remains a mystery. He offered to unfold all my UVs and send them to me before i told him about the legacy unfold method though which I really appreciated. He had made a few edits to my model and sent me the files to help me take examples from so I could better understand what to look for if my model was going wrong as I went back to my fixed version and continued to work on it.


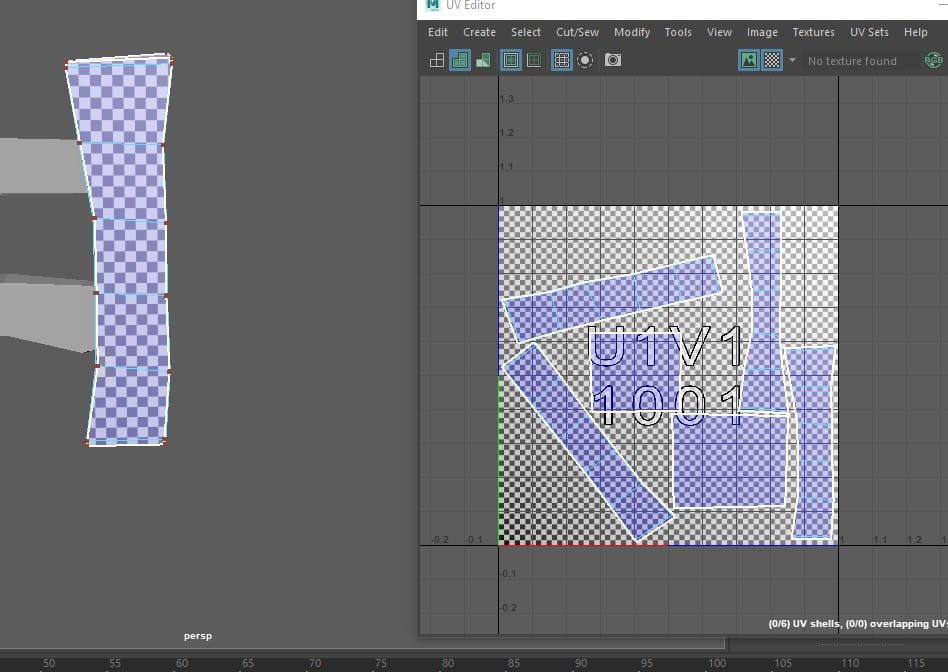
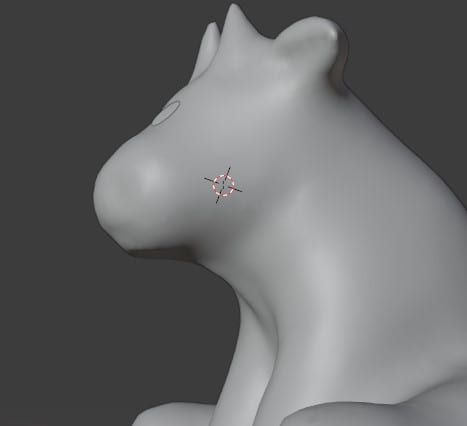
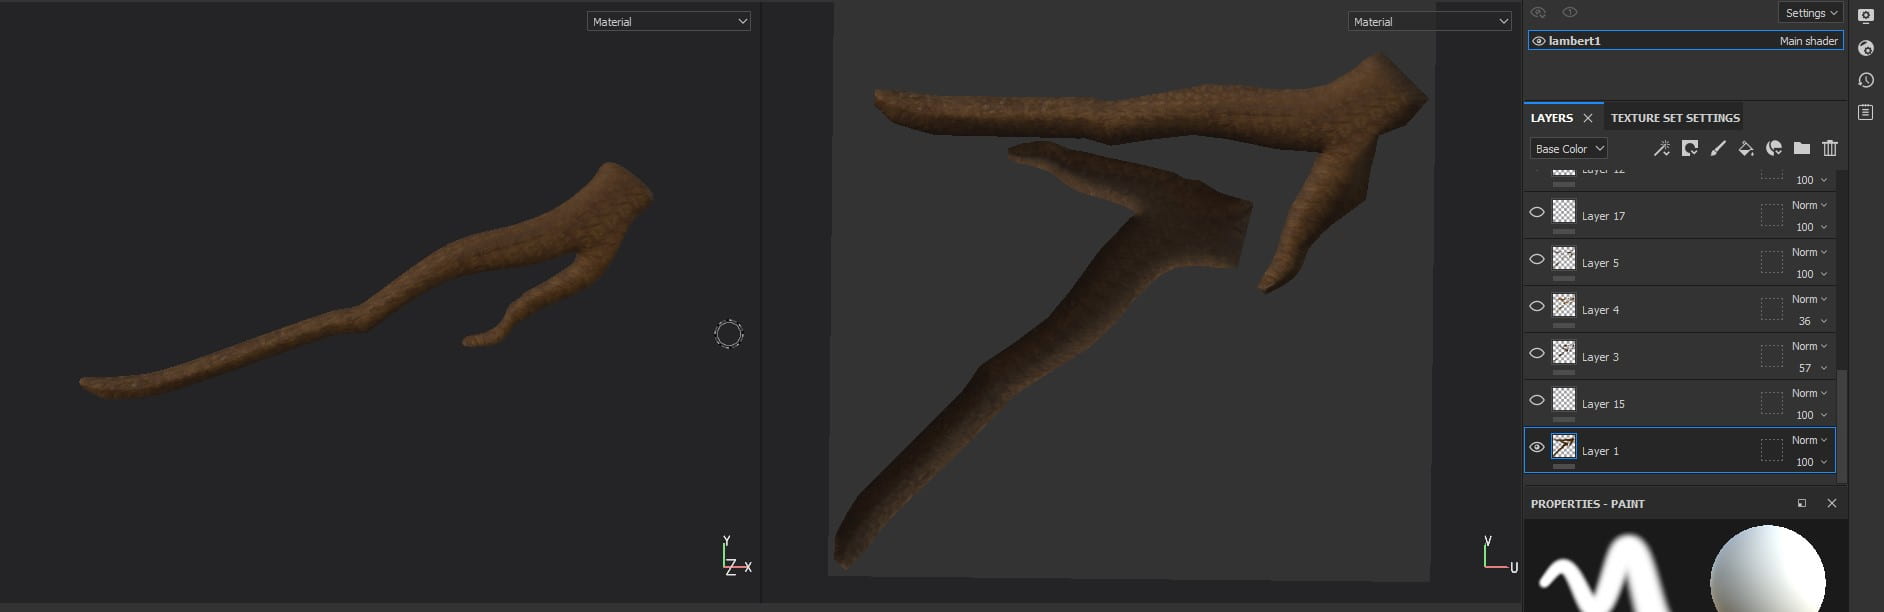
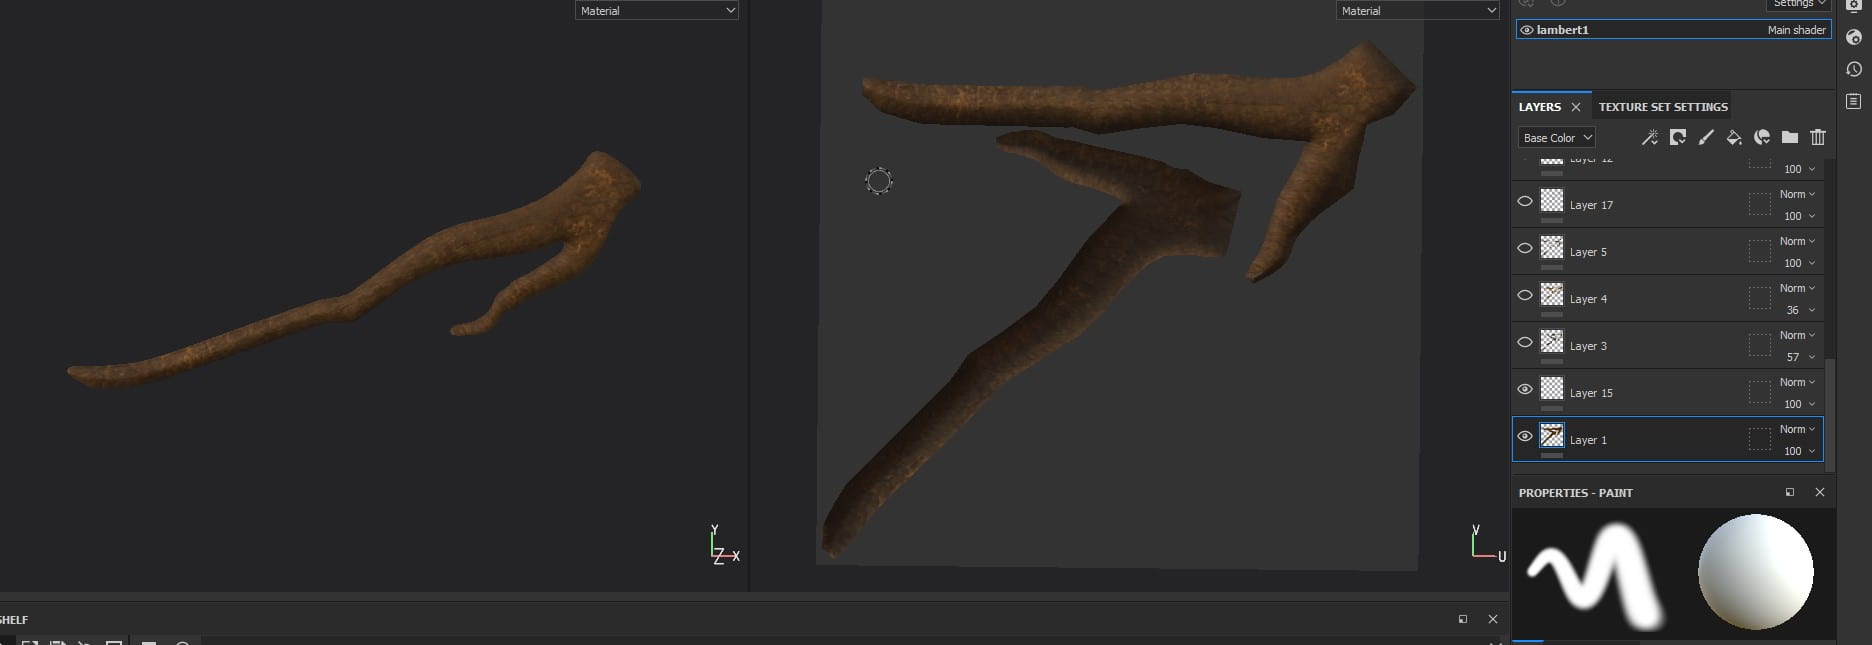
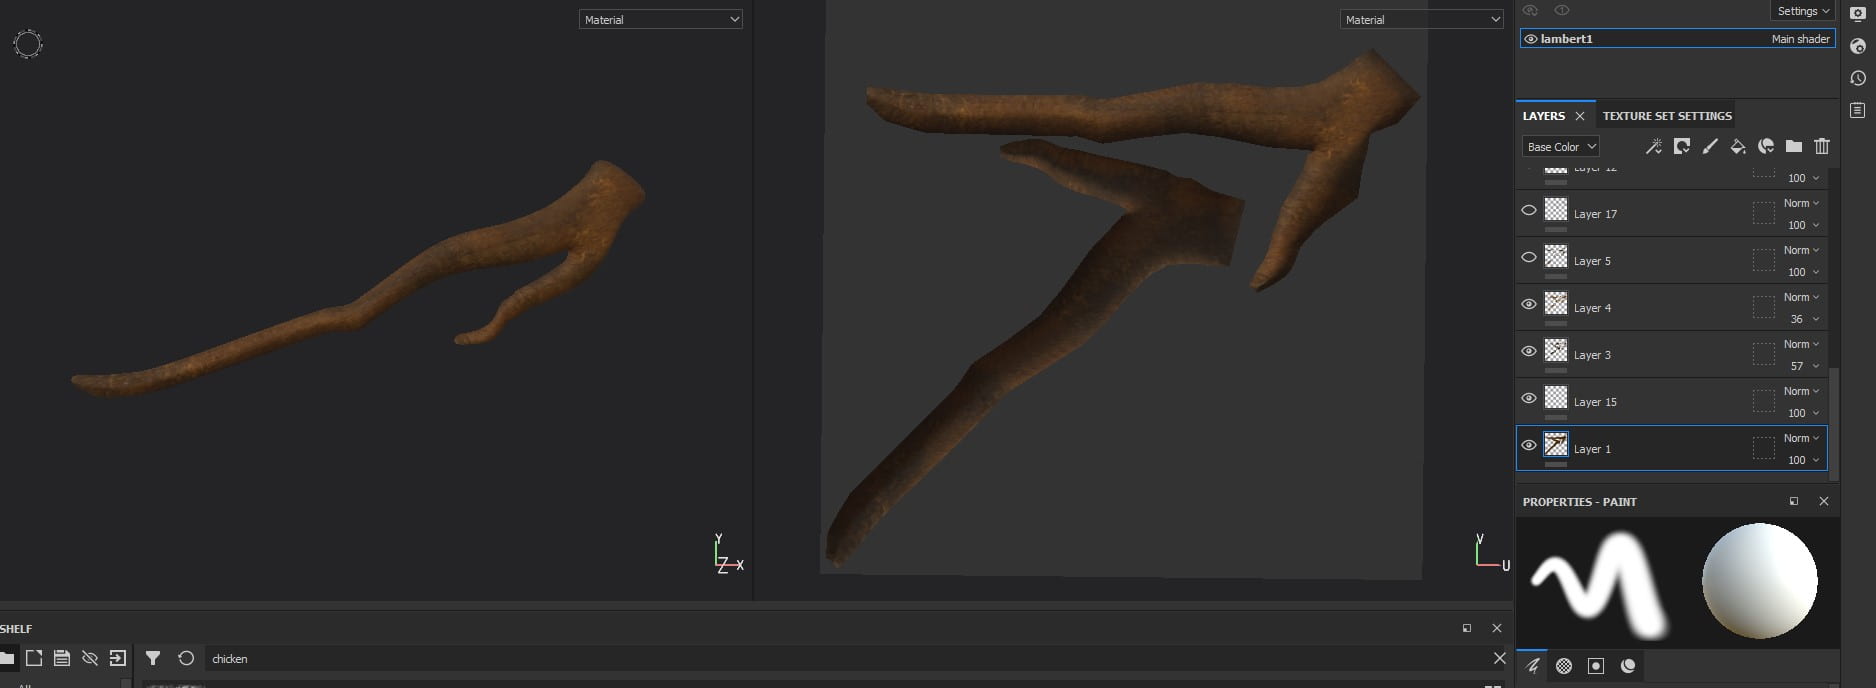
Selecting all of my UVs, I used the legacy unfold and unfolded all my UVs after freezing their transforms, clicking the layout tool button to neatly arrange all my UVs on a single tile. Now that the cow was UVed, i created a cube and scaled it down, pulling it in on the x axis and pulling it up on the y axis to make a thin oval shape for the eyes. Holding shift down and dragging on the arrow, i duplicated this shape for the other eye and put them in place on the cows face so they had the cute chibi vibe i was going for with the small simple eyes. Going back into the UV editor with my eyes selected, i used planar mapping on them and cut the edge loop along the side of each eye, taking the UVs and spreading them out before unfolding them and using the layout tool to make everything tidy and presentable. My model was now ready to export as an FBX and take into substance painter.