Storyboarding and animatic – assignment 3

After deciding upon our script and making some additions to the details of the setting and characters, we started to plan the storyboards for our animation, keeping the camera angle and composition in mind, as well as relevance and importance.

We wanted the main point of the animation to be the joke of a snail which was hired as an assassin but failing to actually do anything since snails move so slow. We had to keep this in mind when storyboarding so we could deliver the punchline efficiently, ensuring the audience would understand and get the whole idea behind the animation.

Having the animation start with a wide angle shot of an office in the form of a log then slowly zooming in, we thought this would be a great opportunity to show where this world took place and gently ease the audience into the animation with a starting scene of how the assassin got hired as well as why. The log also tied in with the small world of the snails, showing how they live and connecting it back to reality so the audience feel like they could relate to this fictional universe, keeping them focused on the animation.

The mob boss then comes onto screen and we can see him giving an amount of money to the assassin snail, which later increases in small increments for a comedic effect of giving the victim snail, such a weak and unimportant character compared to these two, a sort of value to his death even though he’s a normal snail who hasn’t done anything. This is important to the storyline, as this will set the playful tone of the animation that it’s not actually serious.

The salt packet is then given to the assassin after we see a photo of the victim snail and he nods in agreement before the screen fades to black. This scene is to add more comedic effect, with the salt being a common thing known to fend off pests in gardens this could help the viewer relate to the animation again, and the silly smile of the victim shows the audience not only what this character looks like, but also gives them a glimpse into his personality and how normal and non-threatening he actually is.

Fading back in from the black, we see the victim snail in a close up camera view, seeing him happy and smiling, unexpectant of what’s about to happen. We thought it’d be a great idea to show the actual victim, giving the audience a chance to glimpse into his life before returning to the assassin, desperately trying to get down the branch to the victim. This part was for comedic effect since snails are slow animals, it takes the assassin around 3 day/night cycles trying his hardest to run to the victim before he’s spotted. A bird then swoops down out of nowhere and takes the victim snail away, leaving the assassin to turn round and go home having done his job.

We used this rough storyboard to put together an animatic during the week, as we had a presentation to pitch our ideas coming up within the next week. I was assigned to do this using Adobe Aftereffects. Not having much experience with editing it didn’t come out as the best thing ever made, but it still looked alright and got the point across. I tried to make the scenes flow together by using the opacity timer, but that actually just made it a little bit of a mess so i tried to space out the timing, but we only have 30 seconds for the full animation and the animatic is meant to represent the pacing as well as the story so i just settled with opacity in the end. I went to a royalty free sounds website and got an eagle sound effect, then added it to the animatic for when the bird swoops down and picks up the eagle, though in the future animation we’ll definitely add more than this one sound, such as background music and sound effects to get across the effort the assassin is making to get to the victim, as this will make the animation seem more interesting and appropriate to university standards. In the end though, we used the animatic that Rhys made, as it was more put together.

Here is a google document with the rough idea of the storyboard followed by the animatic

1615568816910_Organised_Slime_Storyboard_images


Above is Rhy’s animatic, below you’ll find mine.


Starting to plan – assignment 2

For this assignment, we are tasked on creating a 30 second short  group animation of any topic of our choosing. Similar to how groups worked last time in the “Build a World” project, we got to choose who we’d like to group with, 5 being the maximum amount of people allowed in one group. I got into group 8 with Chloe, EJ, Rhys and Katie, having previously worked with Katie and Chloe and already knowing Rhys and EJ i was in a pretty comfortable environment, helping me work together easier with my group.

After being split off into groups, we had to start brainstorming ideas for the script of our animation including things like the setting, a brief idea of the characters, their goals and the challenges they have to overcome to get there, and what tone we wanted to set with the animation. Our group made a google document for everyone to share their ideas whenever they came up with one, allowing them to write any amount of ideas, and encouraging them that the more ideas we have the more we have to work off and refine. Though when brainstorming our group felt a little overwhelmed and didn’t get too much i still think our ideas were good and everyone made a contribution.

For communication, our group decided to just use the designated “group 8” channel in our university discord server. This made it easy to either post our ideas individually for everyone to view in their own time, as well as share useful links and images or hop onto a voice call and discuss our progress and concerns.

Animated narratives – animation studies

Below you will find a google drive folder with both of my finished play blasts and Maya files as well as a sync sketch link

https://drive.google.com/drive/folders/14ZSE1txbxP9xwt4RStcYPqHj2BBxGGza?usp=sharing

https://syncsketch.com/sketch/be2484c0e4e2/?offlineMode=1#/4580005/5241030/f_0

Below are the finished animation play blasts separately. First if the body mechanics animation, followed by the emotion studies.

Monty_Rig_v1_1(2)

Ultimate_Walker_v1

emotion – assignment 2

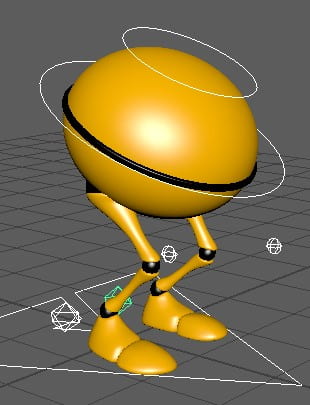
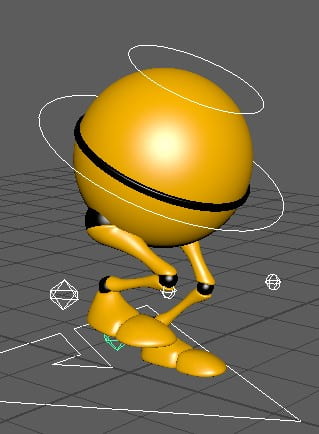
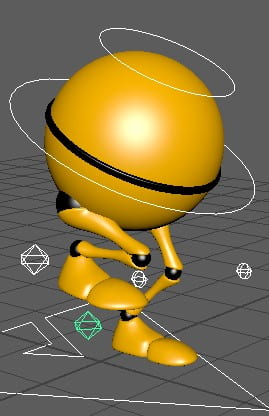
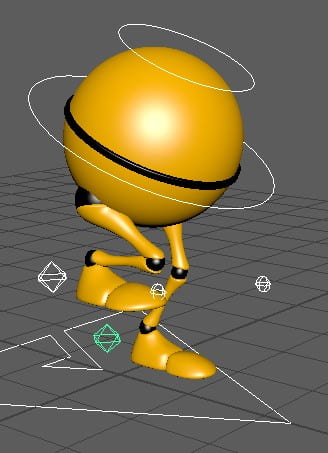
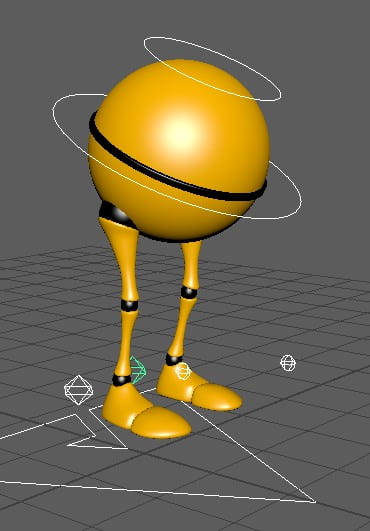
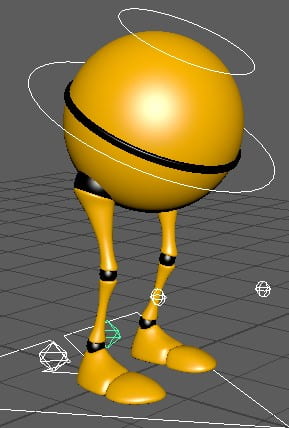
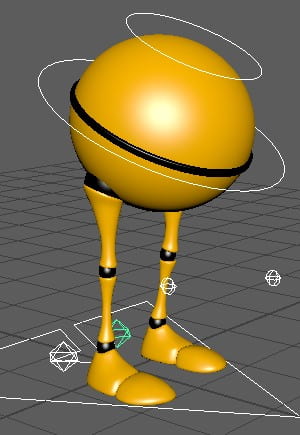
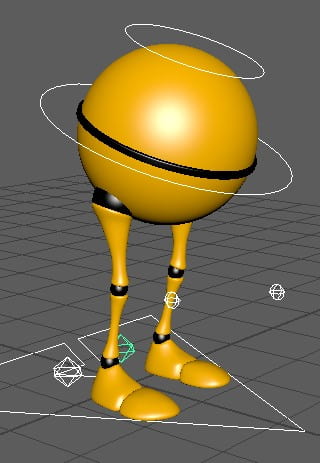
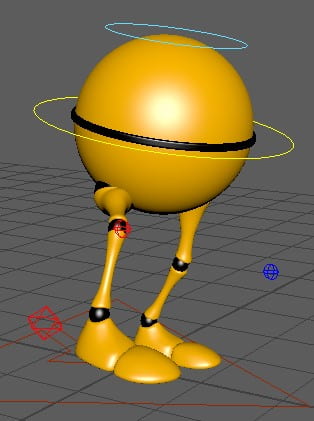
For this assignment i chose to use the ultimate walker rig as it looked to be very good for stomping and giving attitude through movements instead of facial language. I’m going to go with a child-like angry foot stomping as if it were throwing a tantrum before dropping down to the ground in a huff. As this rig has leg and body control and rotation, this will hopefully be realistic to achieve.

Research

I did some research on the movements first with this video from YouTube on children splashing in puddles as they stomp their feet when splashing the water, i used 0:21 to 0:26 for my stomping reference. https://youtu.be/LqCn6NfuSmg

When studying my reference I noticed that in a child because their legs are so short, the time taken to raise their foot and stomp it back down are about the same, but it still had an impact on the body making it jerk about when their feet made contact with the ground. I already know that animation is more interesting if you exaggerate it and that the legs of my rig are longer than this child’s so that gives me room to exaggerate the impact of the foot on the ground and show the weight whenever the character drops down in a huff. Since the legs are longer this also lets me slow into the leg lift and stomp down hard and fast as i have room to do so. This reference also helped me come up with my ideas for this animation that would help give me a better understanding of what i was hoping to achieve with my rig and how to better plan it out with timing and movements.

Another part of my research was looking into the 12 principles of animation which i found at this website https://www.creativebloq.com/advice/understand-the-12-principles-of-animation. It helped me understand things such as how to exaggerate an objects movement whilst still retaining believability through timing and how anticipation is key to an interesting animation as it gives time for the viewer to take in the scene and draws them in wondering what’s going to happen next. I’m going to keep this website in mind as i animate and keep flipping back to it throughout my animation process to make my animation as interesting and believable as possible.

Animation

Moving on to animating, I imported the rig files into Maya 2020 and moved to my perspective viewport using my spacebar hot key. To start making movement happen i grabbed the leg controller of the rig and moved it to position using the move and rotation tools, then pressing S on my keyboard after moving my frame in the timeline to something suitable. This sets what is known as a “keyframe” and will be used to tell the computer what i want certain controls to do, when i want them to do that thing and the distance of movement i want to happen. Below are examples of a keyframe marked as a red line on the timeline.

When trying to make the rig look like it was stomping I had to give the foot more than 2 keyframes per stomp as this would animate the foot preparing to lift, the foot actually lifting off the ground, the foot moving the leg up as it lifts higher, then coming back down to the ground with 2-3 frames adding in foot rotation before finally hitting the ground again and repeat for the other side. The first few frames of this process are going to be spread out to give the feel of a slow drag as the action starts, then gaining momentum as the frames are closer together through the middle to the end of the stomp to give the illusion of weight in a heavy foot stomp. An important step so that this action looks continuous and believable is to make sure whenever one foot hits the floor, the other is already rotated in a “preparation” to lift, giving the action more emotion.

After finishing the first three stomps, I decided I didn’t want the rig to drop down cross legged anymore, as being honest I’d actually forgot about it and already started heading to a direction of what if the angry stomping of the rig lead to a consequence? So i went with this option instead as it’d then convey two emotions that follow each other seamlessly. Anger and fear. I started working on the body and trying to imagine how it’d react to the footwork of the character, getting up myself a few times and trying to imitate what i wanted to recreate. I used recordings of myself at points, but I don’t want to include them here. I found that crouching over when stomping your feet gives much more character than standing up with your legs straightened as you start to look really worked up and as if you could explode with anger at any second, though it still looked childlike so it was keeping some essence of my original idea. My head also bobbed whenever my foot hit the ground due to the heavy impact so i also wanted to include this in my animation to give my character more life.

Using the body controller, I keyframed in rotation and movements where I thought appropriate such as when the character first stomps then leans forward as it stomps more aggressively. The timing on this part took me a few tries to get right but i eventually settled with something that I thought looked believable and interesting. Once i got the body moving, I started thinking about how the squash and stretch would come into play and decided that to show the impact of the stomps, i could squash the character as if it were being pulled down by gravity, just as my head was when I tried out the action. To do this, i used the controller above the whole rig at the top of the head and just pulled it down, set a keyframe and let it immediately pop back up in the next keyframe so it was a quick action in time to the movements.

Thinking I was finished i adjusted the keyframes timing in the dope sheet, shift selecting all the keyframes i wanted to move and using the middle mouse button to drag them to position. After reviewing my animation though and getting feedback off classmates, I felt i could still add more. I felt a jump in between the stomps would be more effective in showing attitude, and adding a sigh before a pause could show the frustration the character is feeling.

Here is a screenshot of the dope sheet i used to space out my keyframes followed by the keyframes of the jump below.

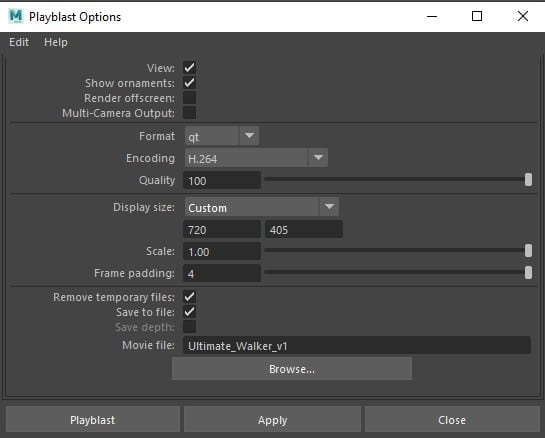
I moved everything further up the timeline using the dope sheet and added these actions in before reviewing the animation again but it still felt as if it were lacking something. This is where i remembered the consequence of the characters action and decided to make it look up curiously before taking a hesitant step and pulling its leg back, reeling in in terror. I decided to not add anything visual of what the character was afraid of and left that up to the viewer. Once i added these movements in, i adjusted the timings again and reviewed my animation. Happy with the final product, i found a suitable camera angle and right clicked on my timeline to make a play blast. I hit the little box beside “play blast” which brought me to settings, here i configured everything, setting my output to QuickTime and fixing a few additional settings before hitting “play blast” and creating a finished product.

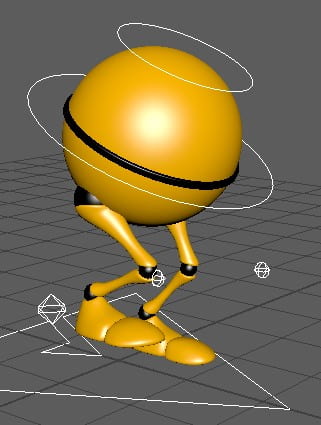
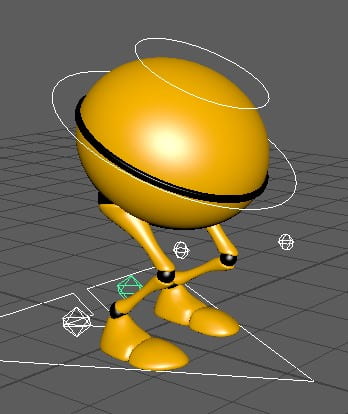
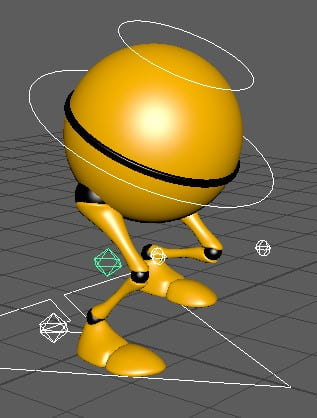
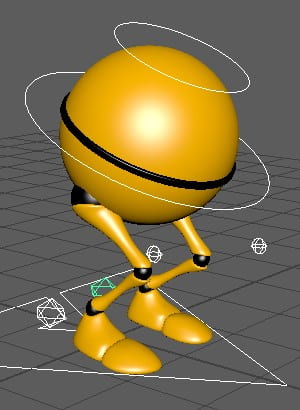
Above is a keyframe of the character sighing, done by looking down slowly and holding that keyframe for a short duration, and below you will find the mid-point of the character taking a cautious step forward.

Now all that’s left to do is upload my video onto Sync sketch for marking. I’m very happy with how this animation turned out and I think i brought out the emotions well in my character.

Below is a playblast of my animation:

Ultimate_Walker_v1