
Below you can find my personal development lip sync animation created in Maya with rigs found online.
Personal development
For this assignment, we had to take a piece of audio, be it a song, voice clip or a part from a movie, and animate a short 8-12 seconds scene.
I was watching quite a lot of impractical jokers before doing this project, so it gave me a lot of inspiration from this certain clip that i like a lot where one of the jokers, Sal, is in a chair being controlled by his friends and he has to do/say whatever they tell him or he loses the challenge. The specific part i chose was when they drive him up to a random man and he has to tell them to come with him if they want to live, as there isn’t a lot of time. 00:25-00:34
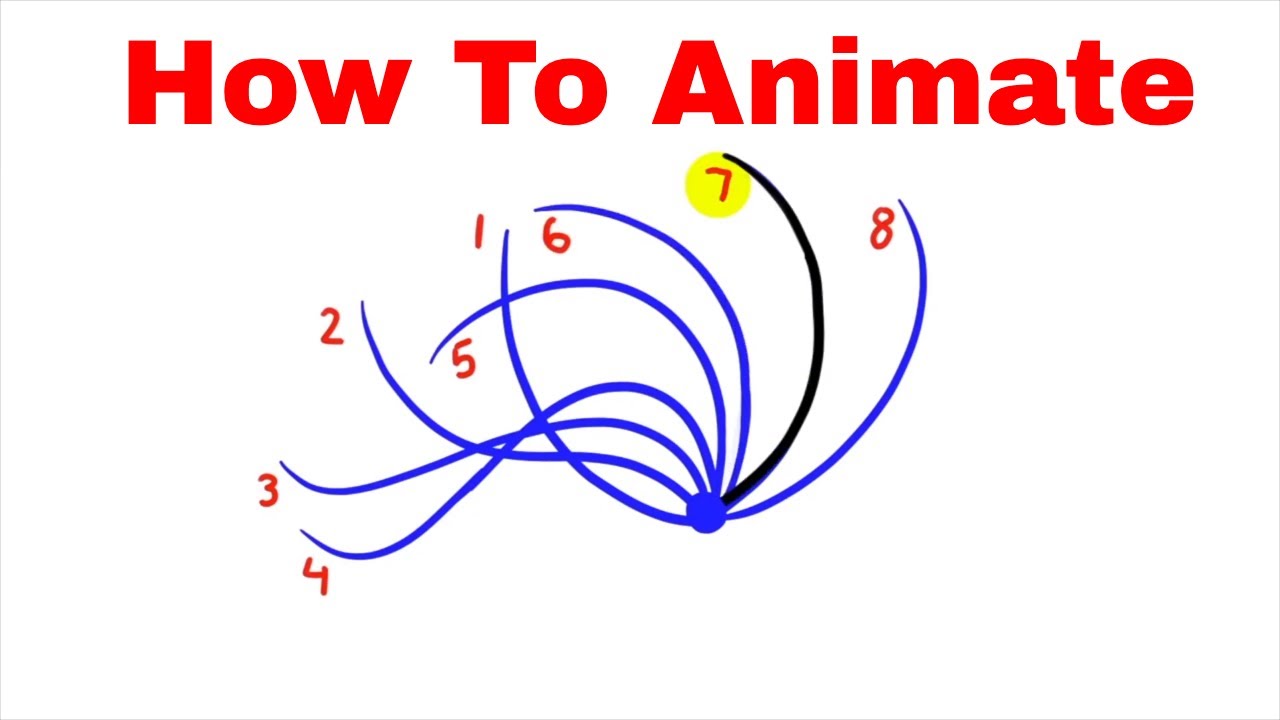
I also found this YouTube video to help me with the zombie shuffle movement
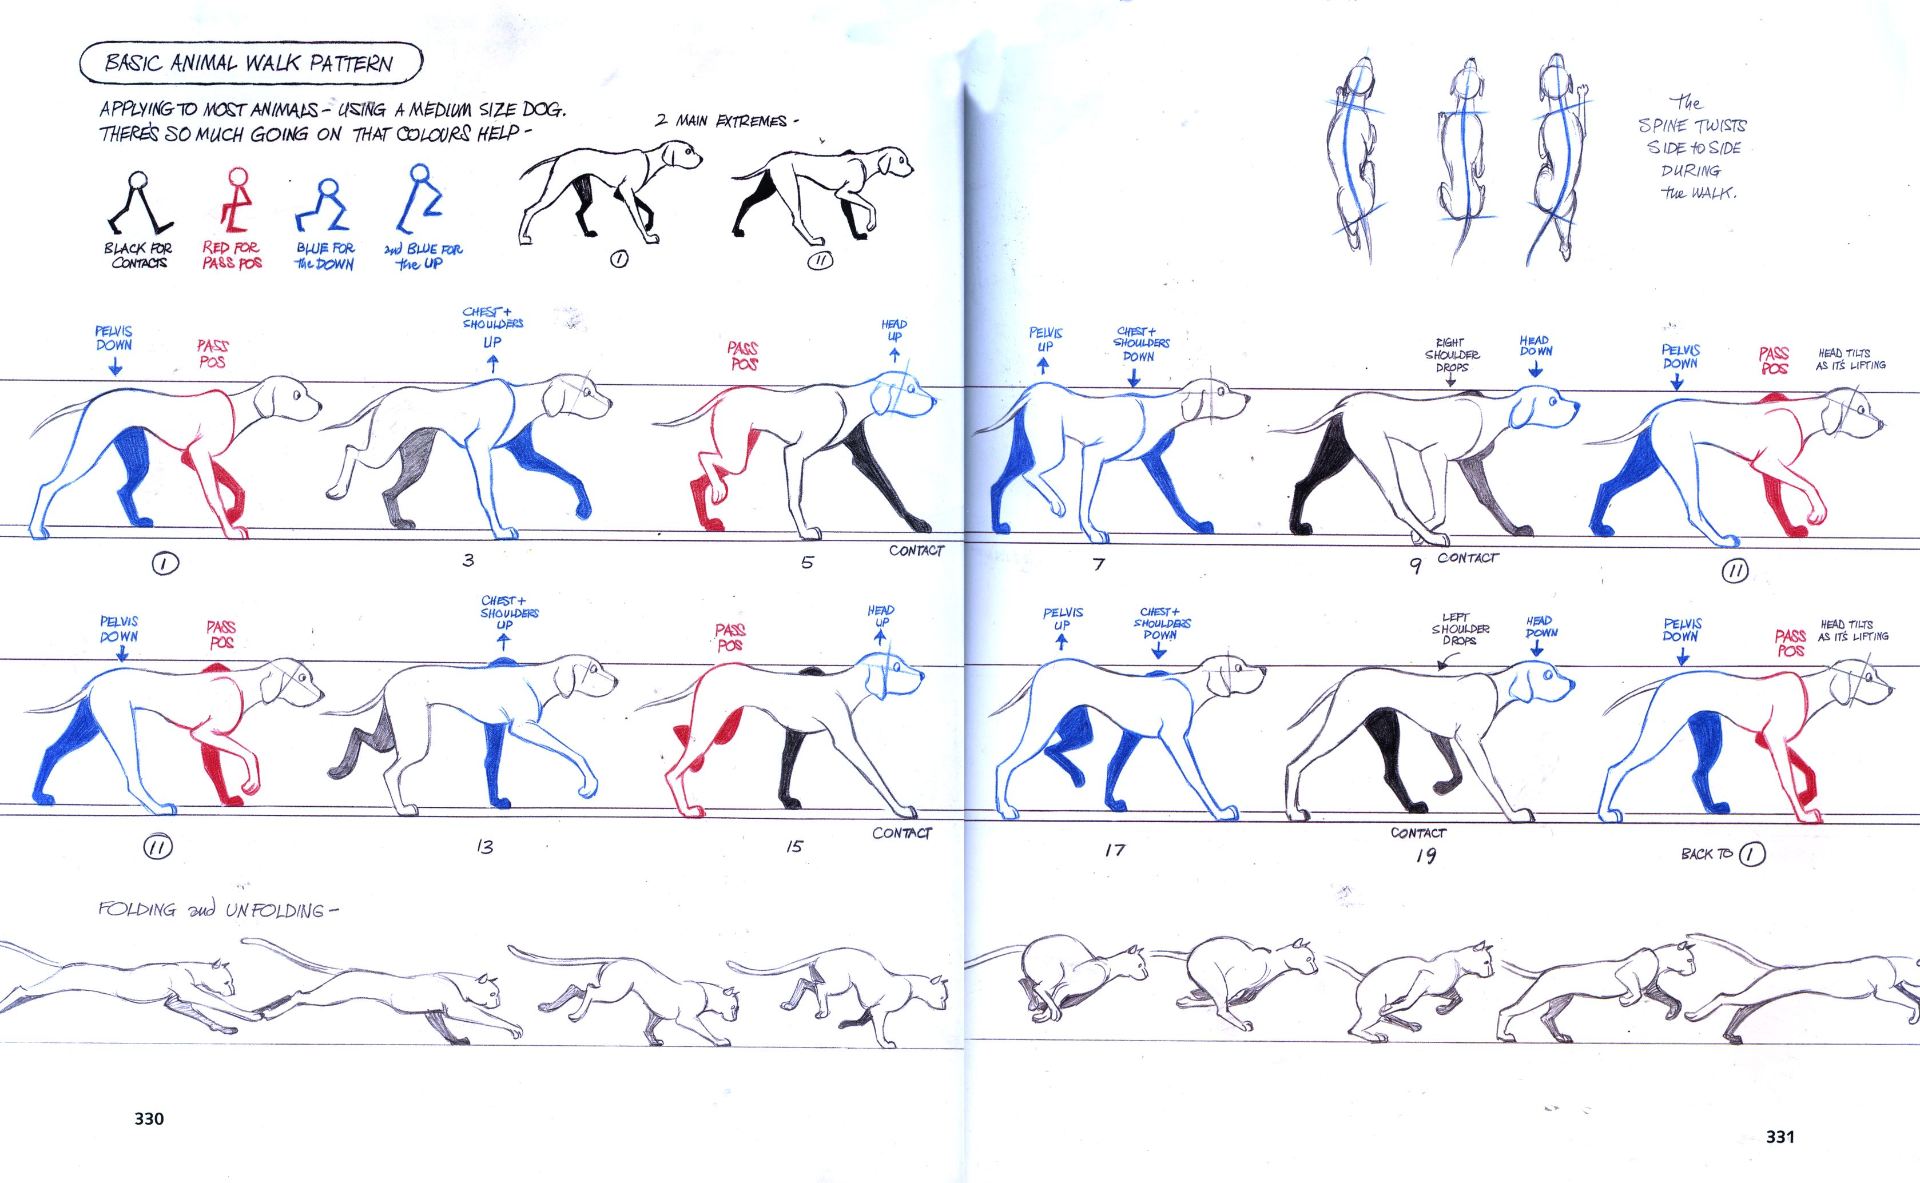
To help with a majority of the movement, i had recorded myself acting out the scene and had gone over it in syncsketch, but I’m not comfortable with sharing the footage here. I also used these images to help with the dogs walk and tail movement, as well as feedback from friends and family.
Below is a playblast of the animation i created for this assignment, I used two different rigs from here: https://animationmethods.com/rigs.html and here are the individual links: https://www.squigglyrigs.com/product/thep/ https://brandonschaal.gumroad.com/l/Douglas
This was a little tasking to work on, as i had a few other assignments to focus on as well as this, and with the deadlines all so close together, and the games project needing so much attention all the way through to the end, i found it hard to make time for this.
Being my first time animating lip syncing, i think i did alright but there’s parts I tried to fix, such as the dog sliding along the ground at the start, that i just couldn’t figure out no matter what.
Despite having a few problems, i still found this fun to work on and i think its encouraged me to try more lip syncing in the future to familiarise myself with it and hopefully improve. My knowledge of camera angles could also be improved, as i couldn’t find a better angle than a side view, though the characters do have more movement that can be better seen from other angles, I feel this is the best looking angle.
Portfolio – Sciophobia
For the assignment, I was grouped with 7 other people from both Animation and Games Design to create a game, which we called Sciophobia, which is about a reporter in the 2000’s exploring an abandoned underwater facility and the experiments that went on within.
My part within this project was to make some of the assets that went into the game, as well as texture a few of them in Substance Painter.
Final game playthrough made by Joe Burnett:
Crocodile light: modelled and textured by me


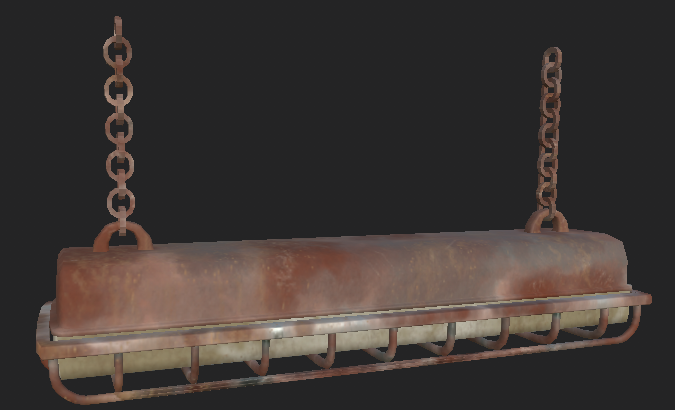
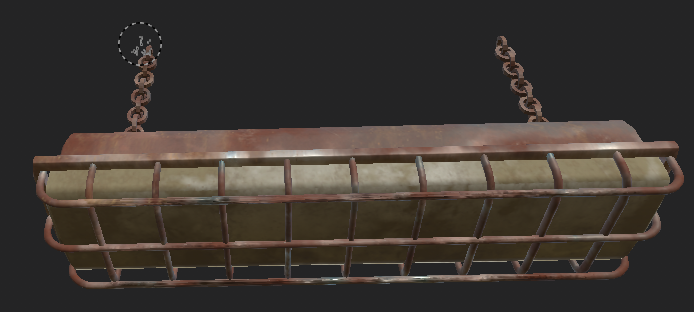
Old Soviet fluorescent light: modelled and textured by me


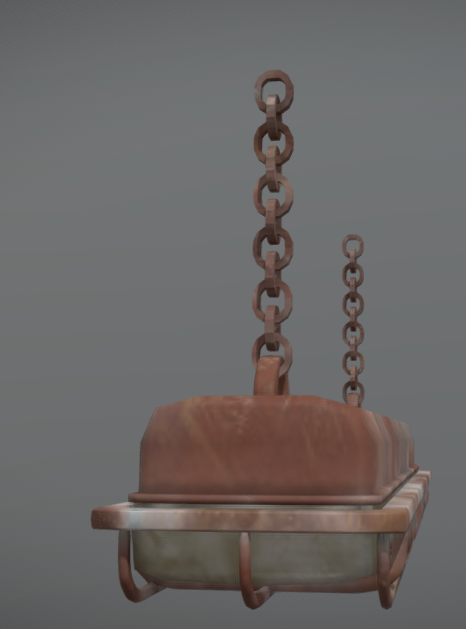
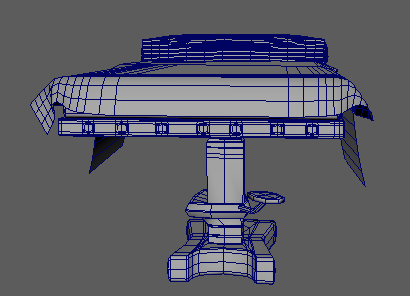
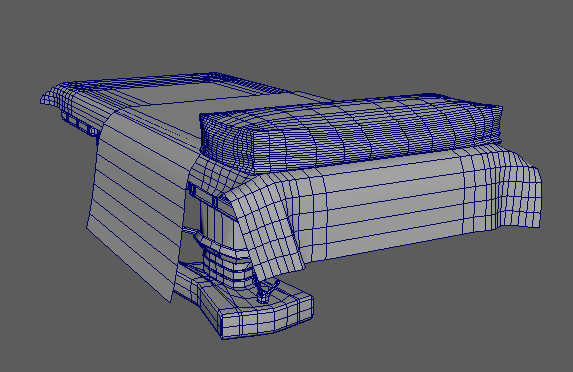
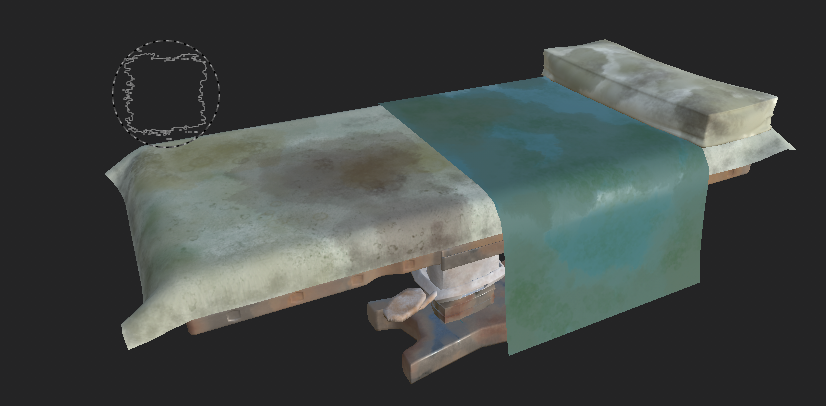
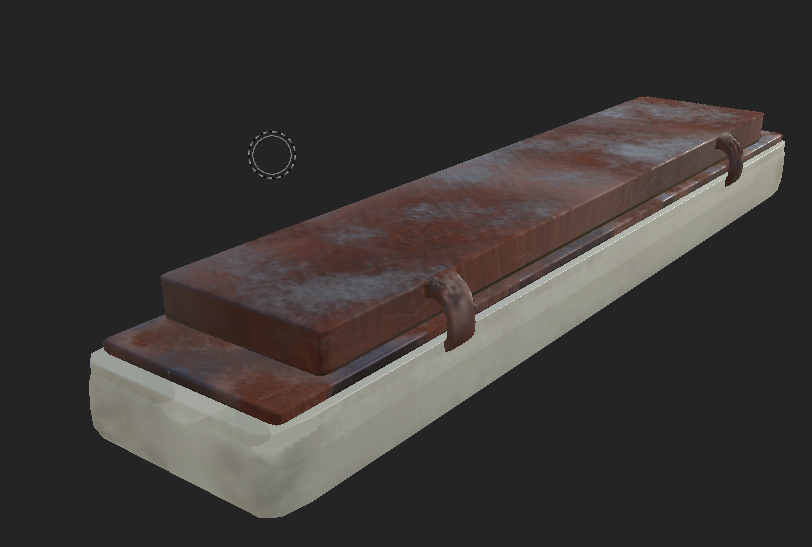
Theatre operation table modelled and textured by me


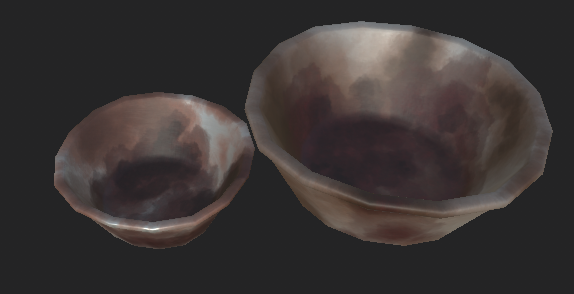
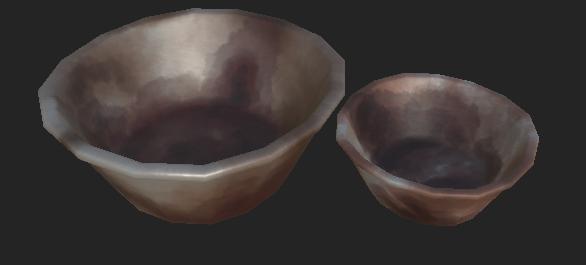
Operation dishes and scalpels by me


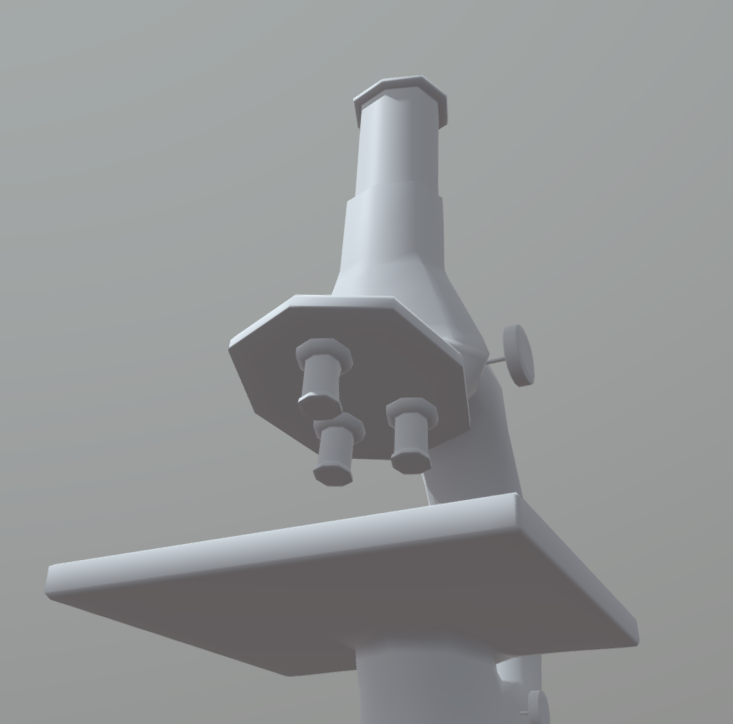
Microscope: Modelled by me, Darren textured it for the game


Blackboard with chalk and eraser: modelled by me, textured by Darren for the game


Bunsen burner modelled by me


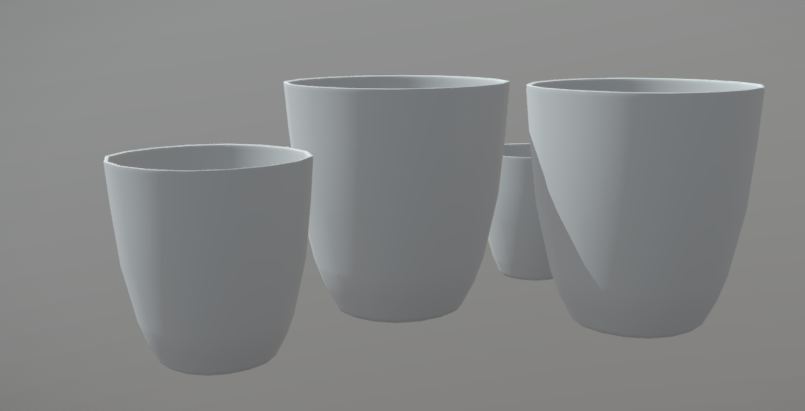
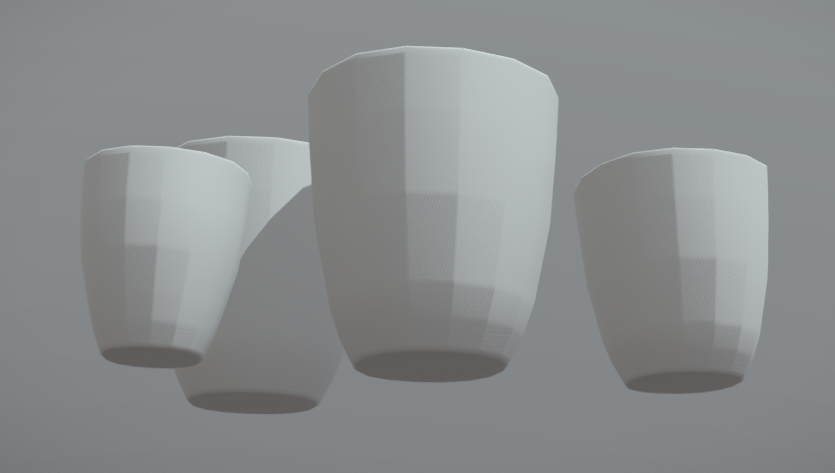
Crucibles modelled by me


Desk variation 1 modelled by me


Desk variation 2 modelled by me


Desk variation 3 modelled by me


Desk variation 4 modelled by me
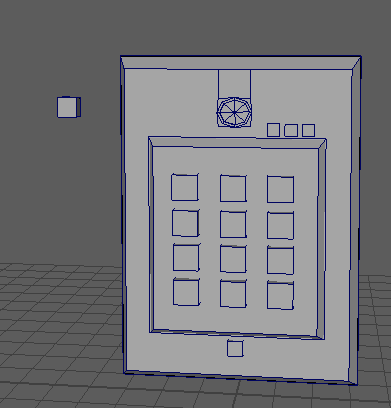
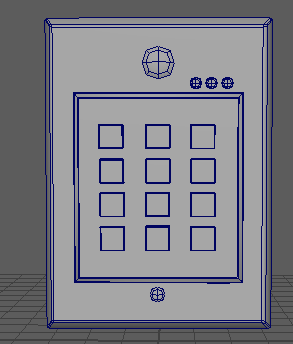
Keypad modelled by me


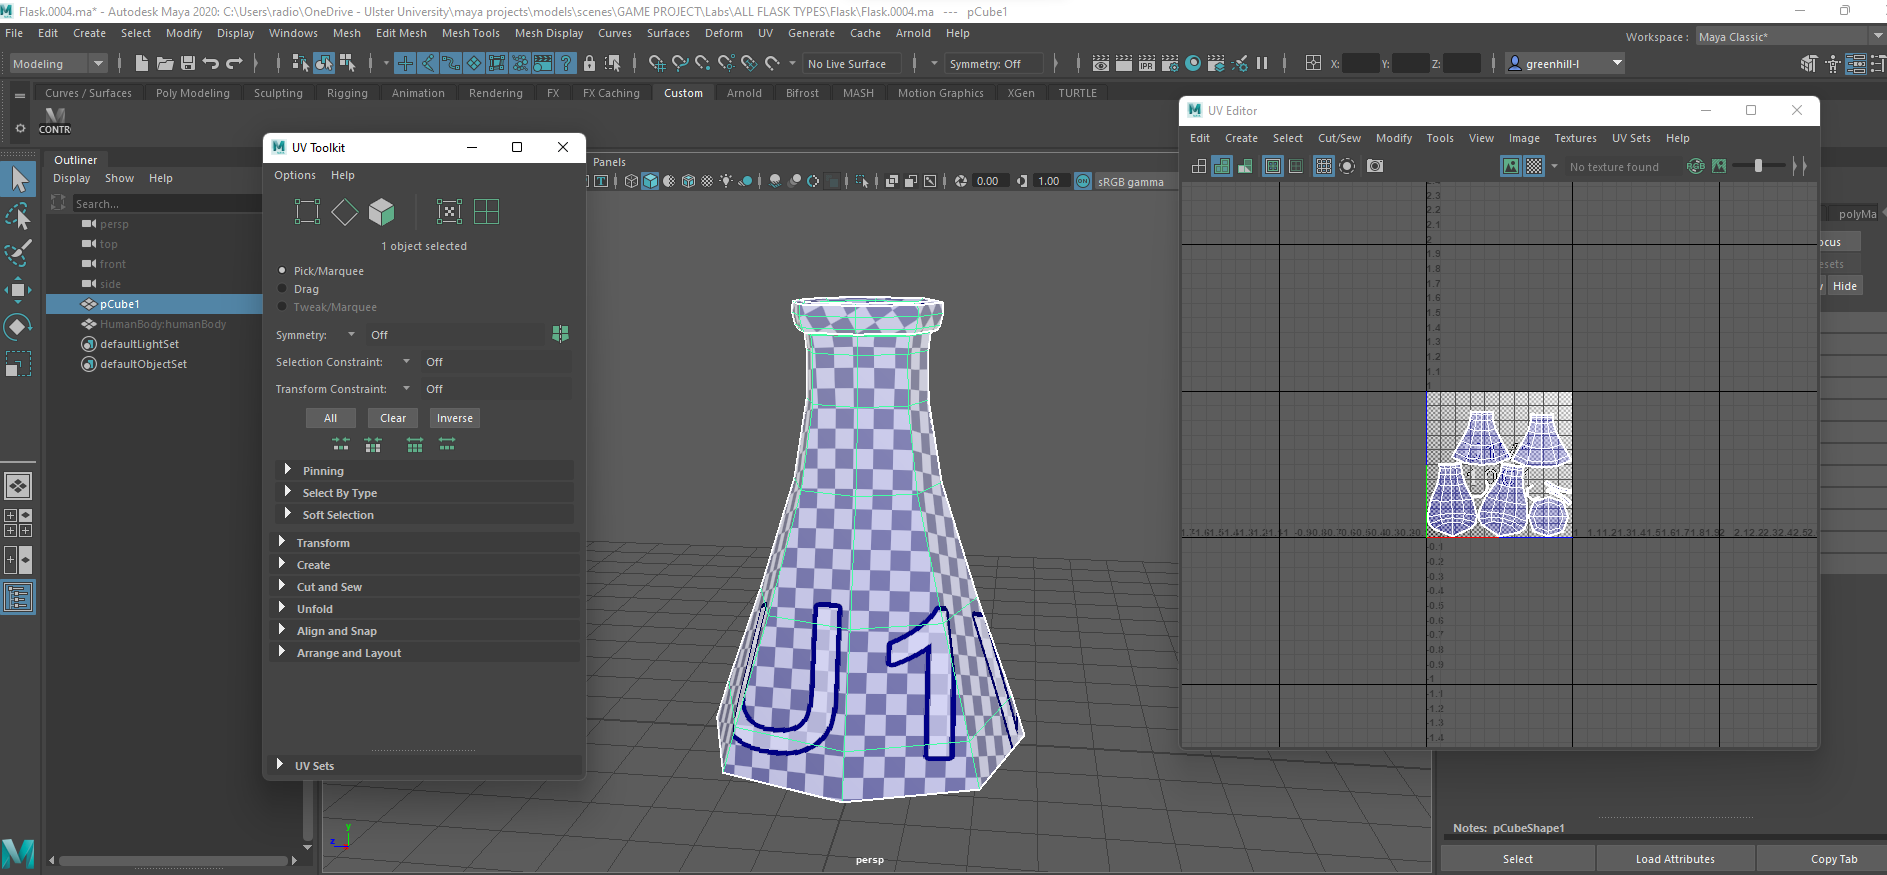
Flask variation 1 by me


Flask variation 2 by me


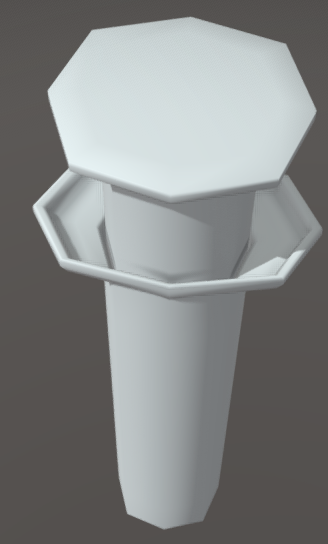
Filter funnel by me


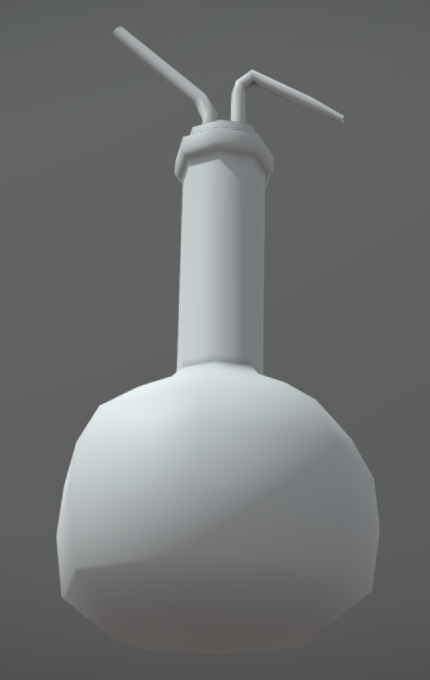
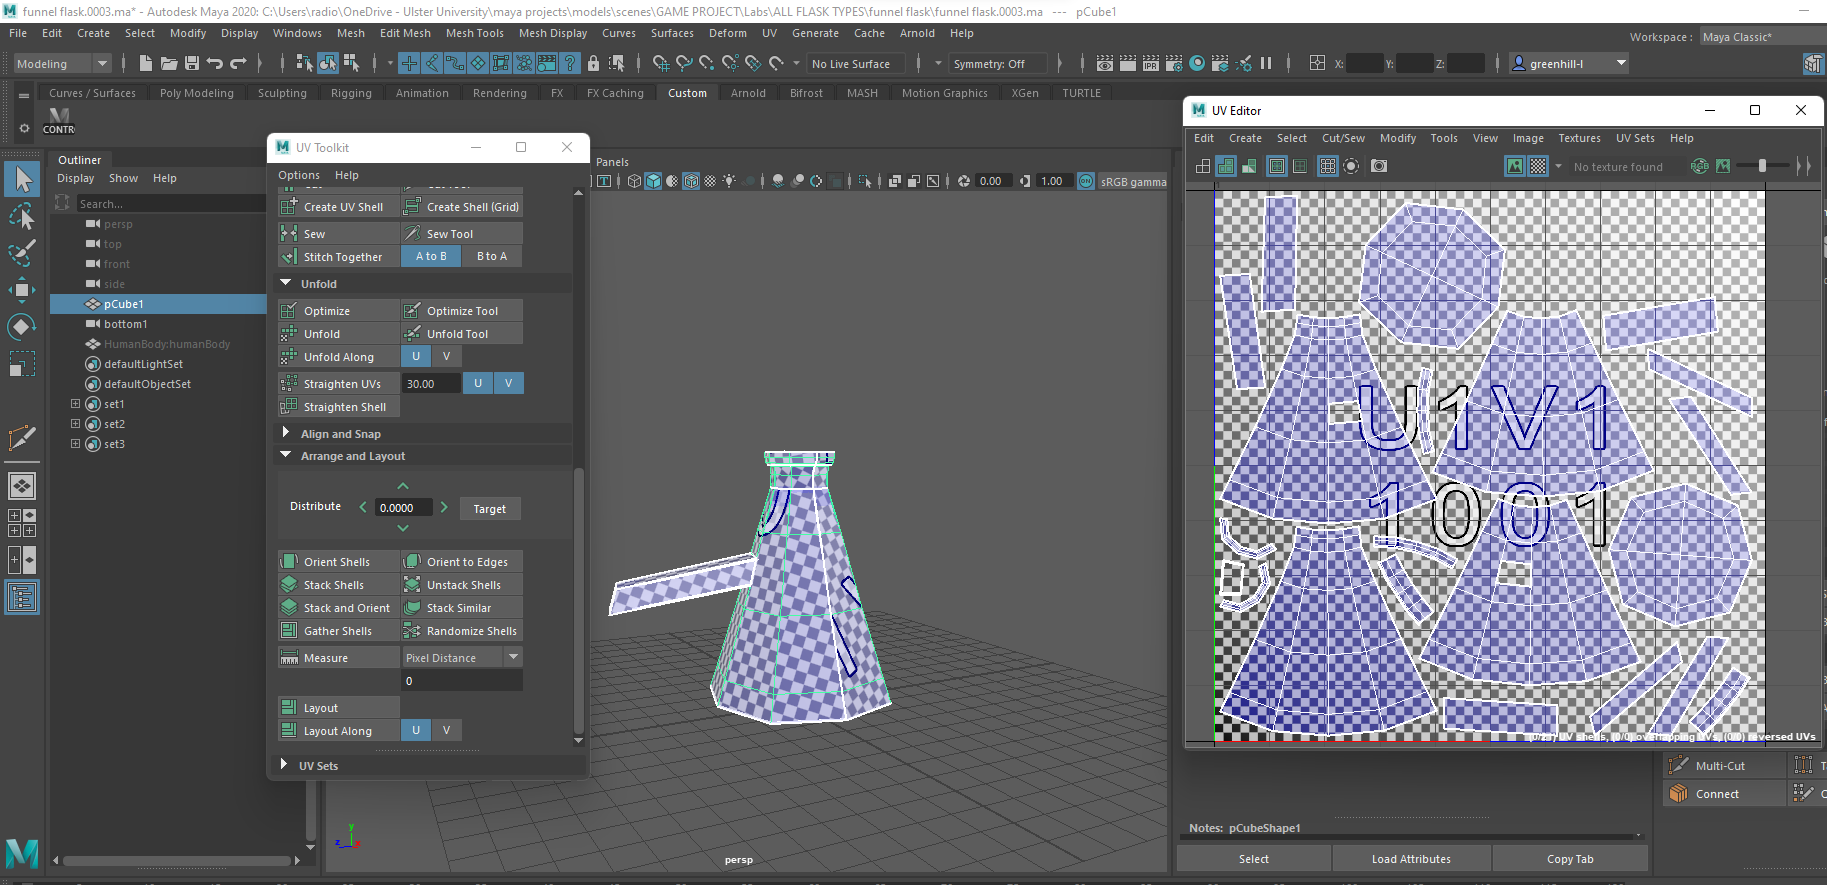
Funnel flask by me


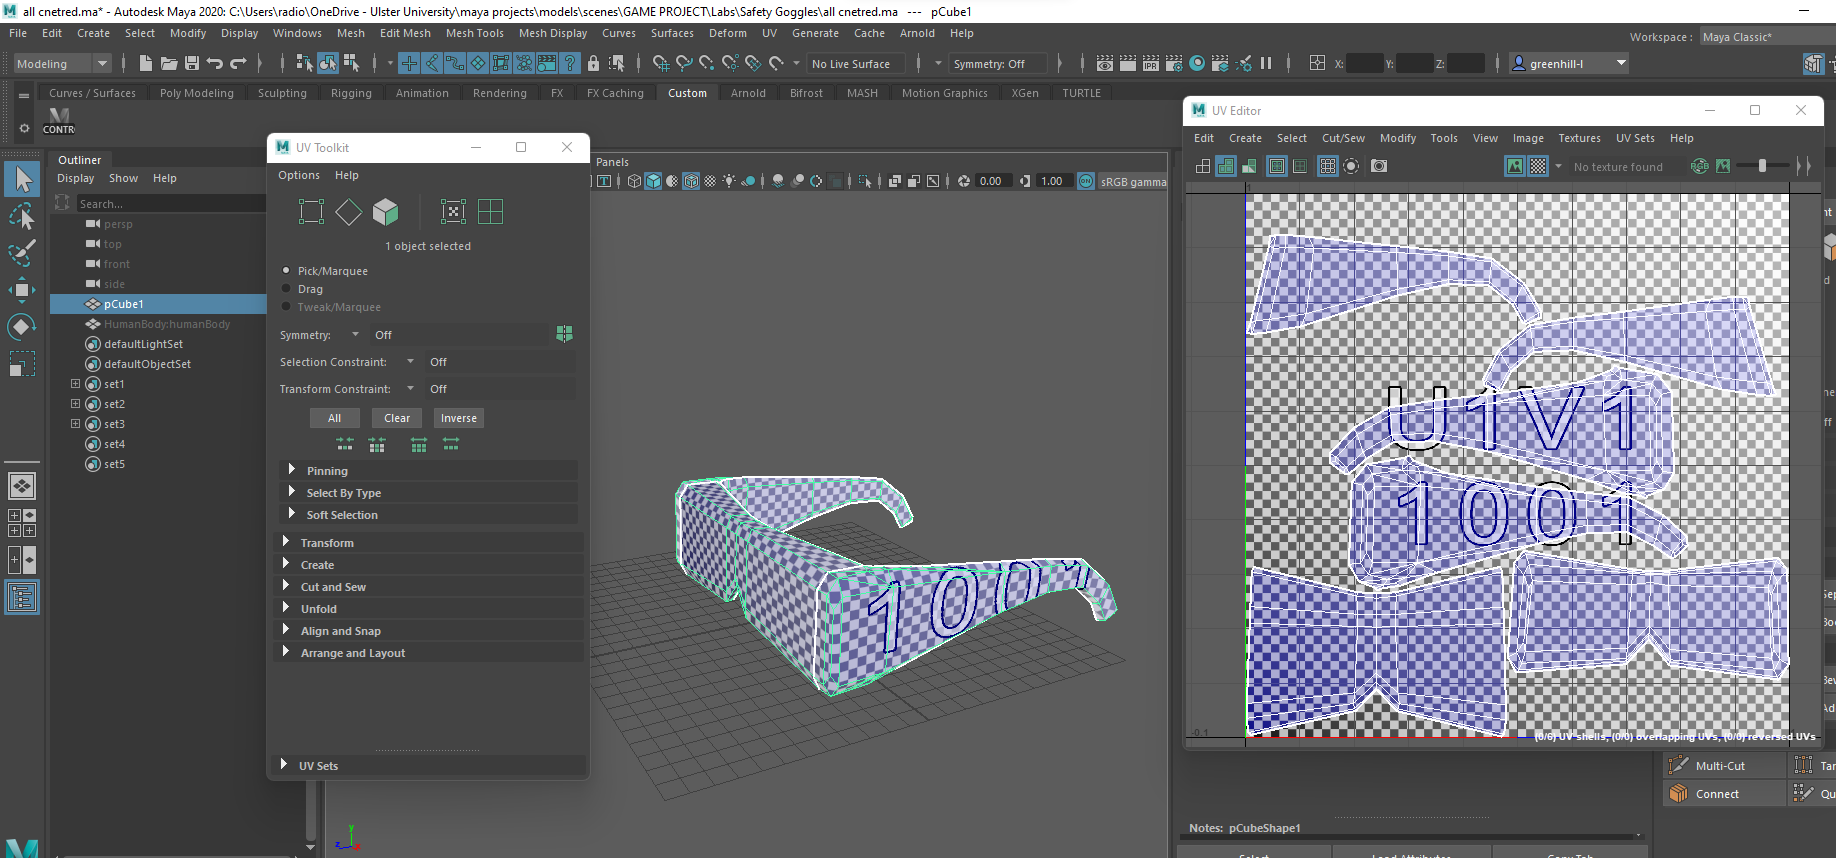
Safety goggles by me


Spatula by me


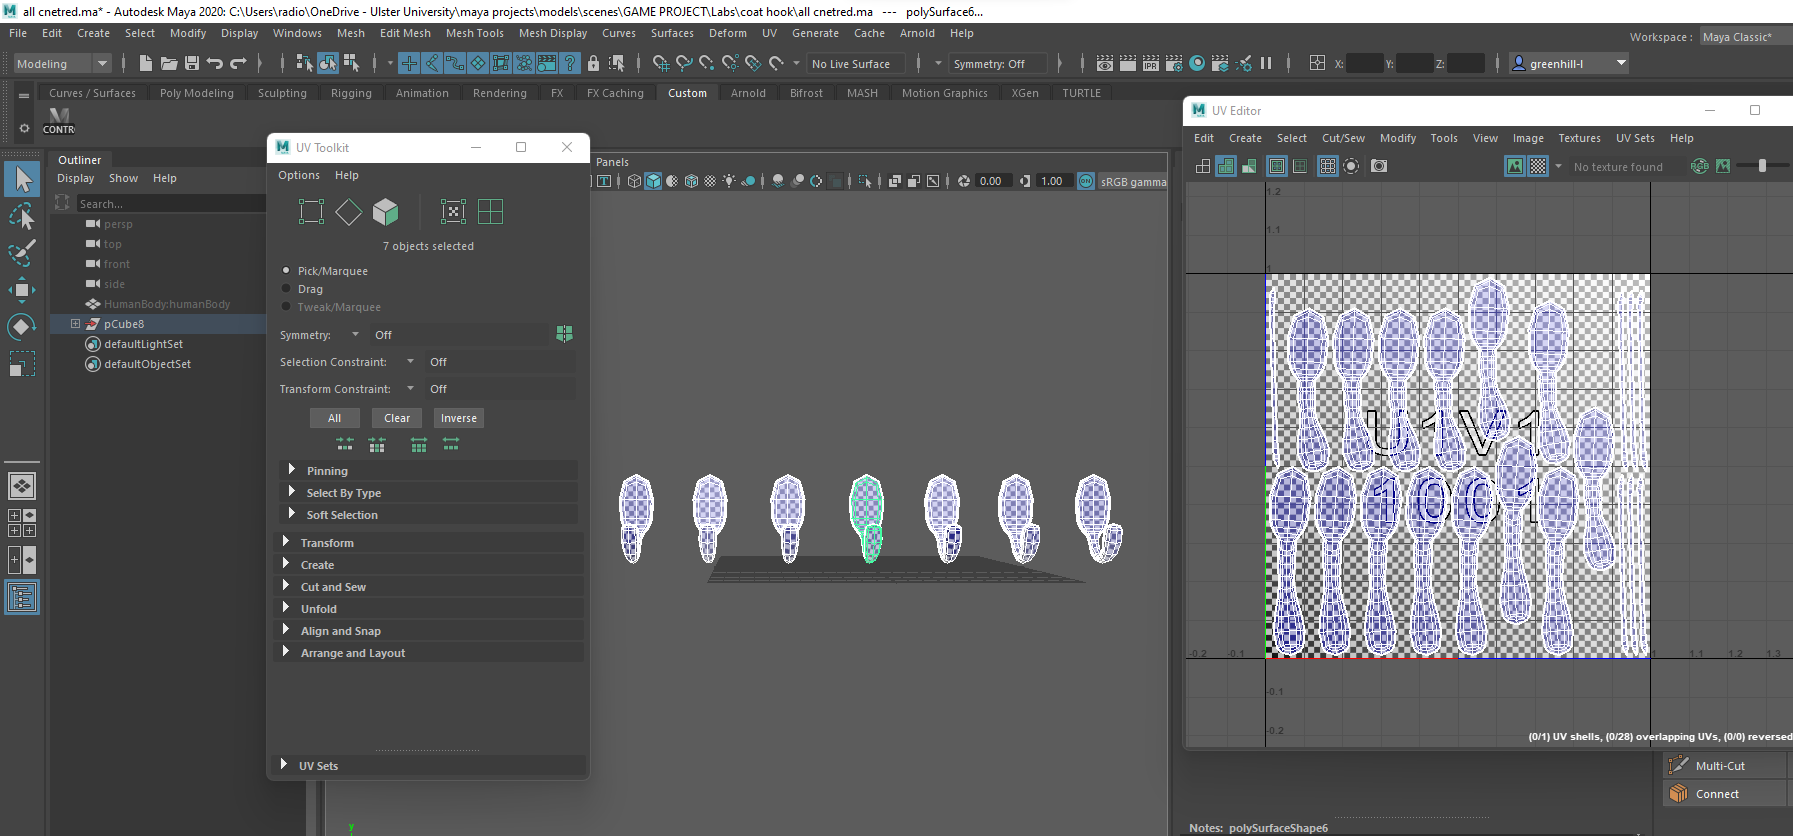
Coat hooks by me


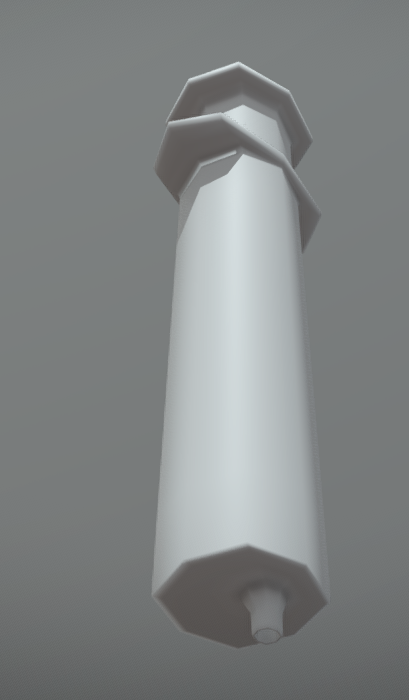
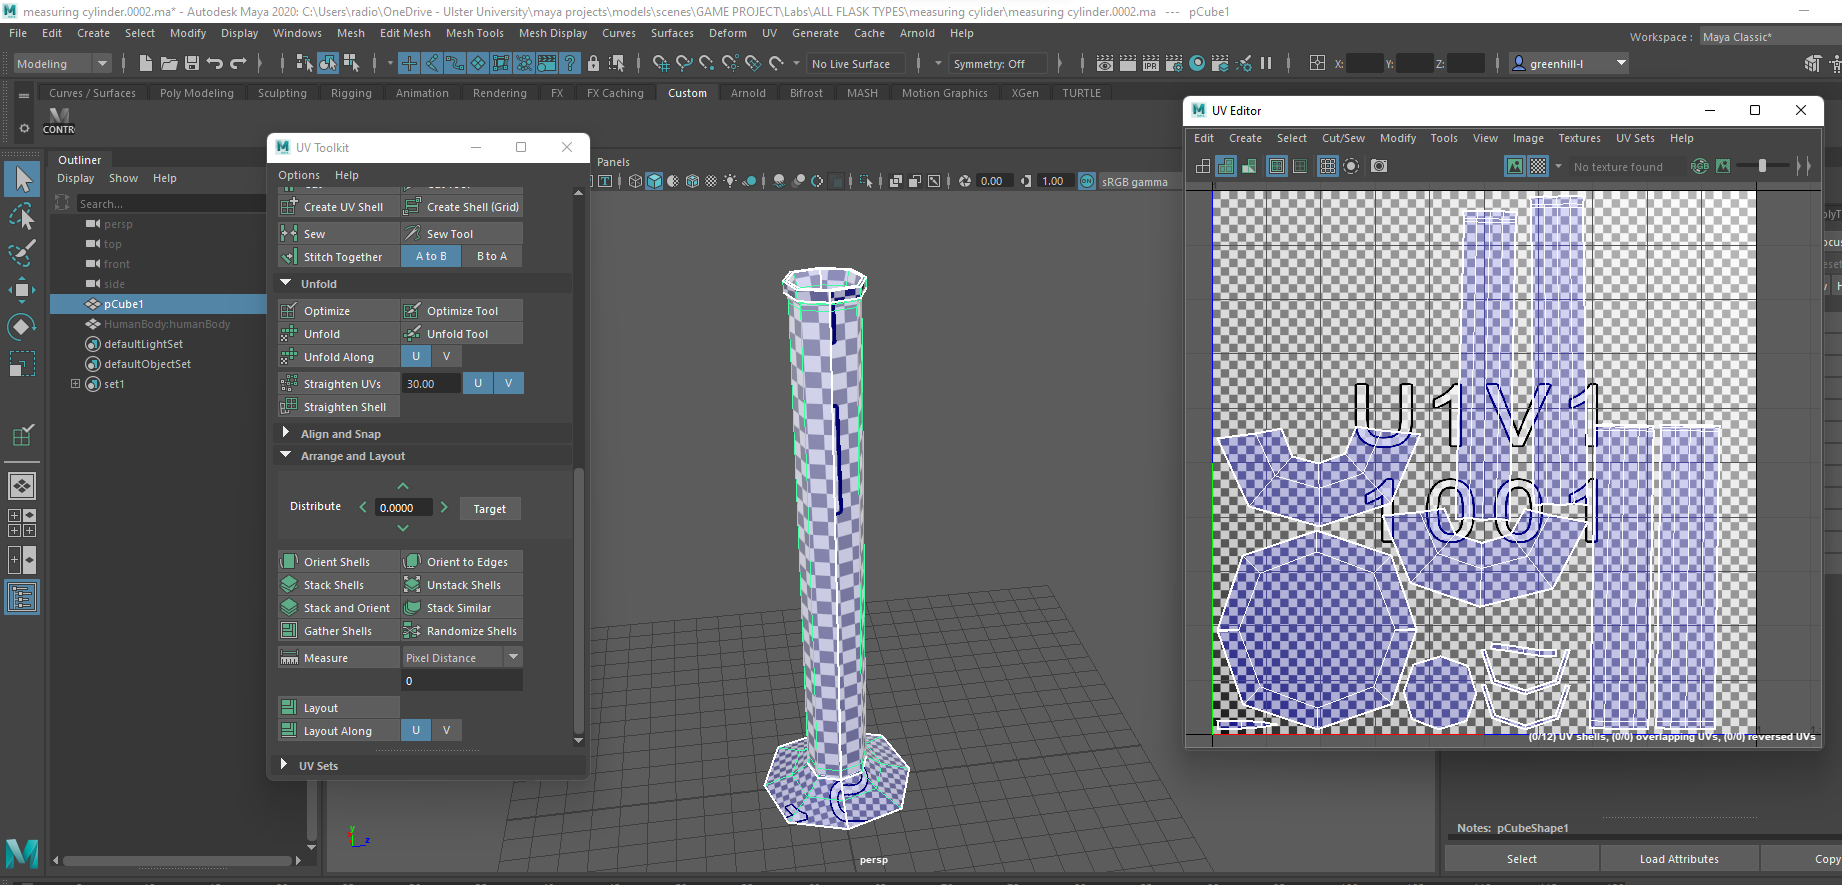
Measuring cylinder by me


Box of needles by me


Petri dish variation 1 and 2 by me


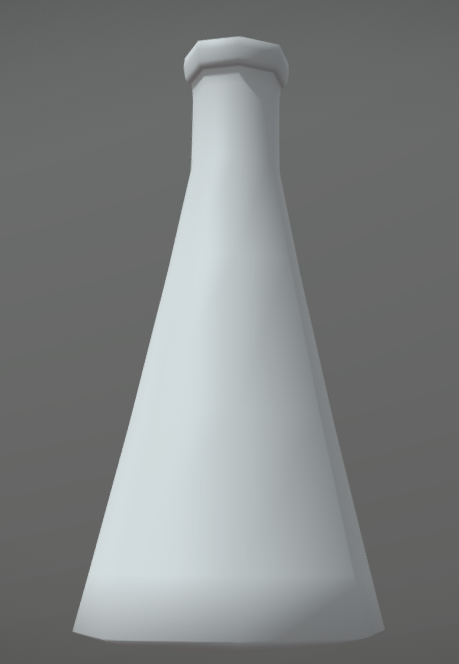
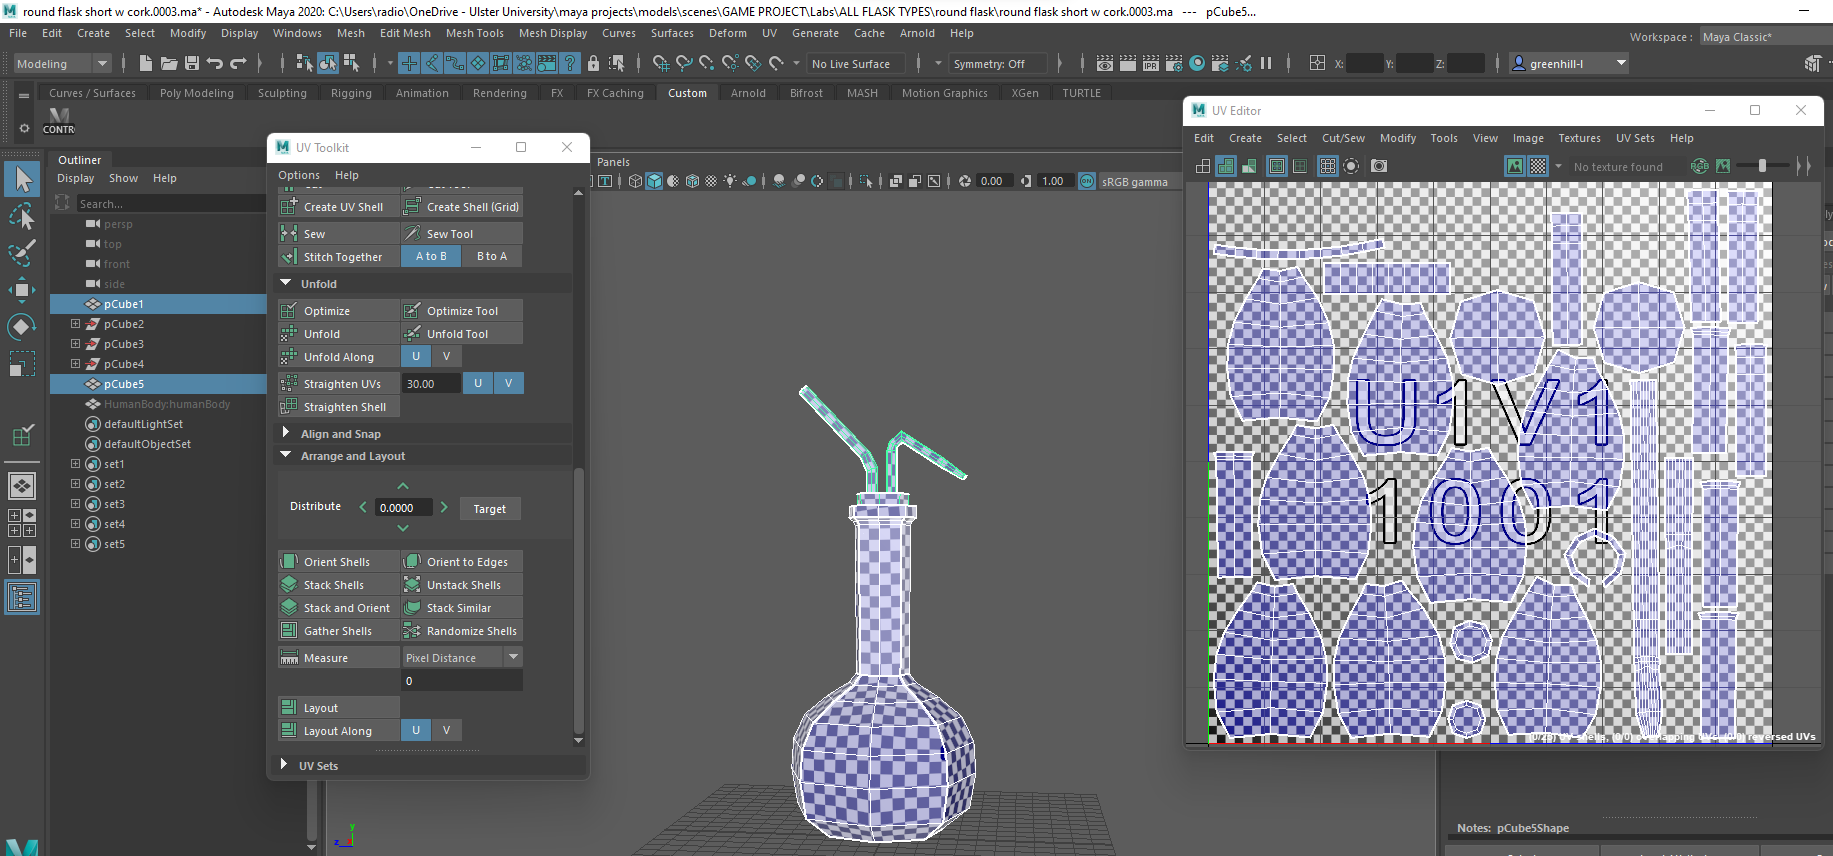
Short round flask by me


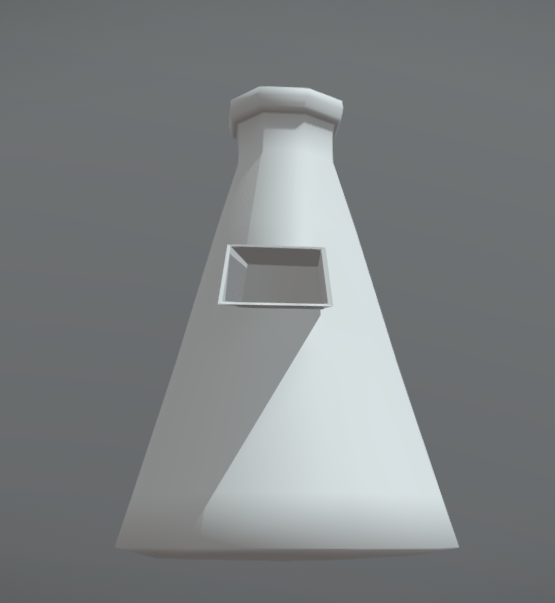
Tall round flask by me


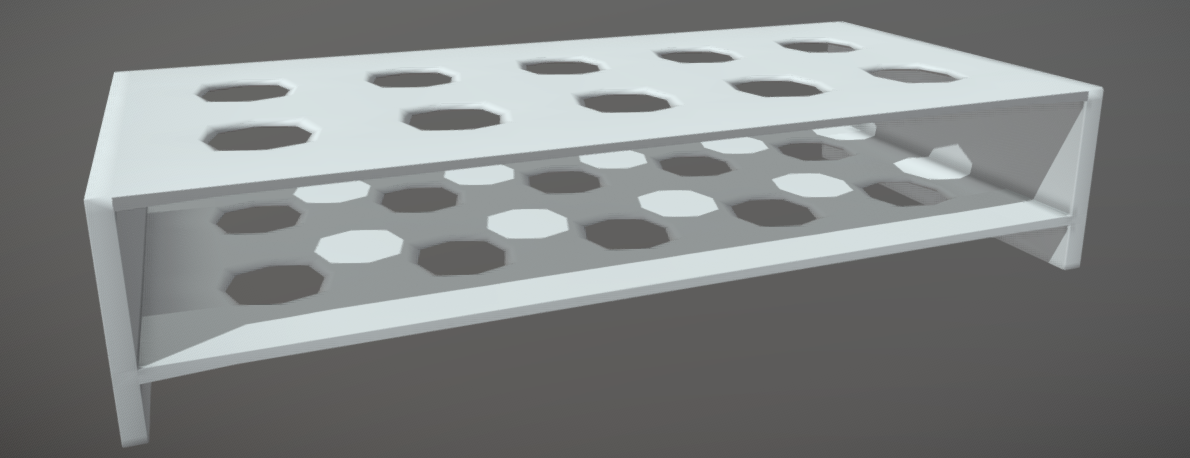
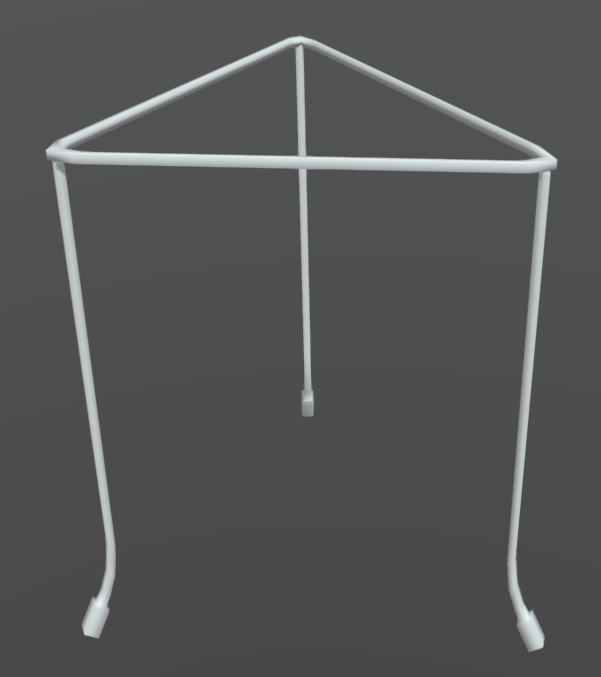
Test tube stand by me


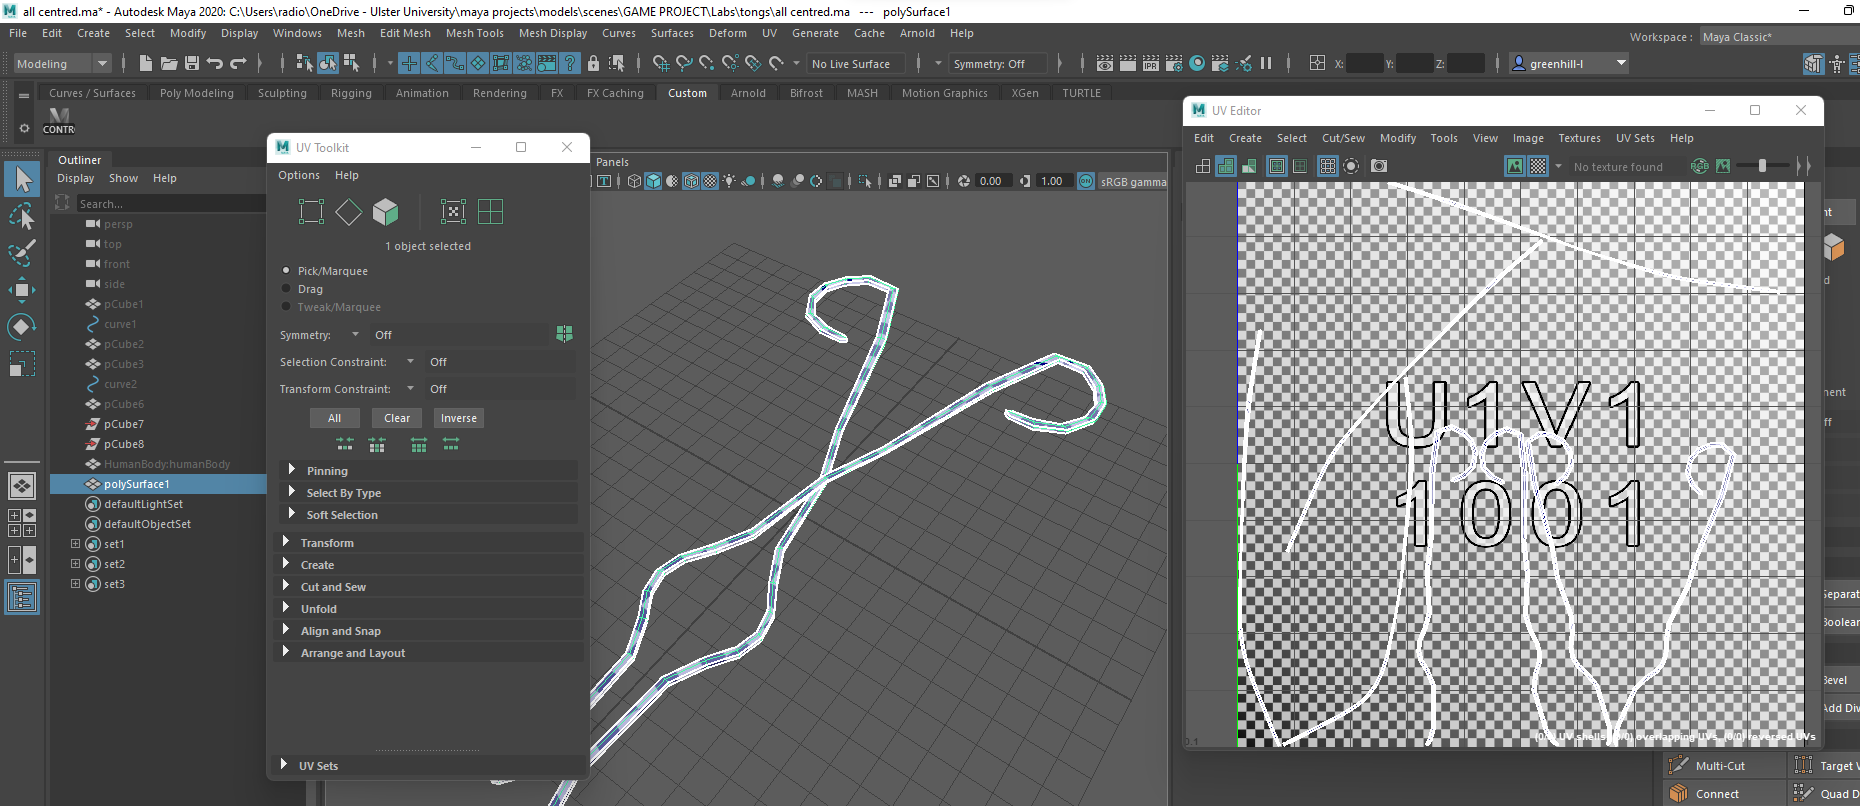
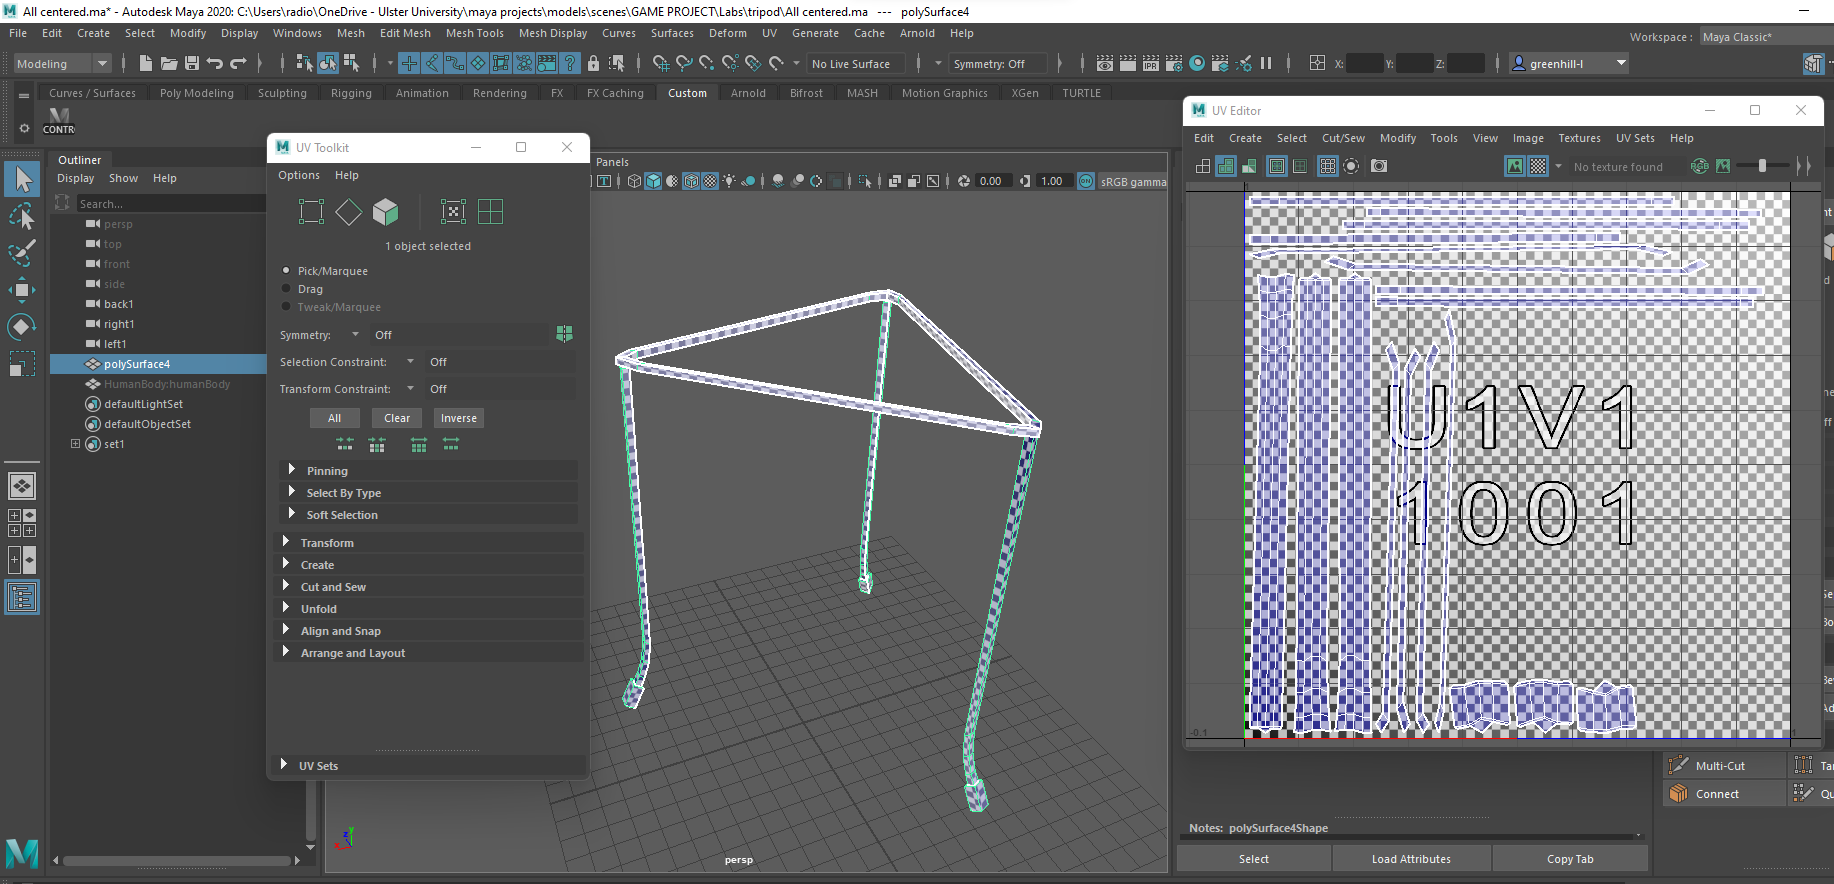
Thermometer, tongs and tripod by me


Syringe and test tube by me


Vertical Slice Project – Starting on the theatre
At this point, I forgot to keep track of anything ive been writing down in my note pad as everything was starting to get stressful with multiple assignments coming up so unfortunately i cant go week by week anymore.
Starting to gather reference images for the operation room, i talked to team mate Tori about who was doing what for the theatre and got in contact with Darren who offered to texture everything we’d modelled and our future models to speed up the pace of everything.


For the pillow, blanket and sheet on top of the blanket i used ncloths.


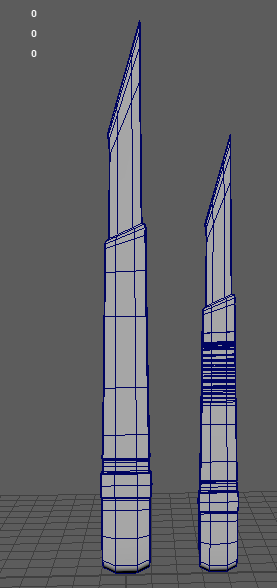
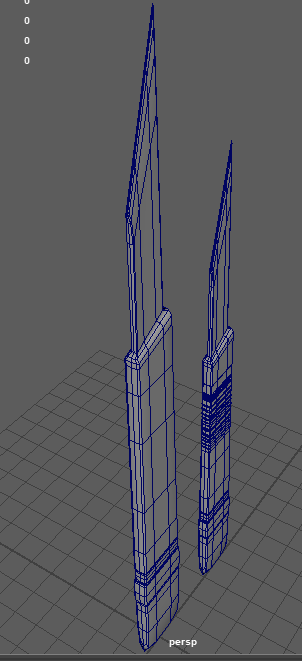
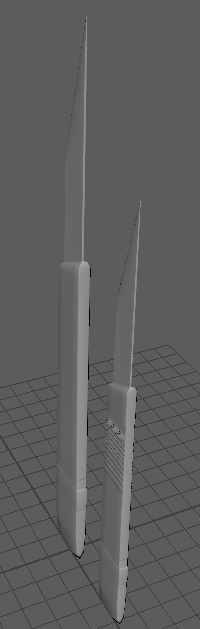
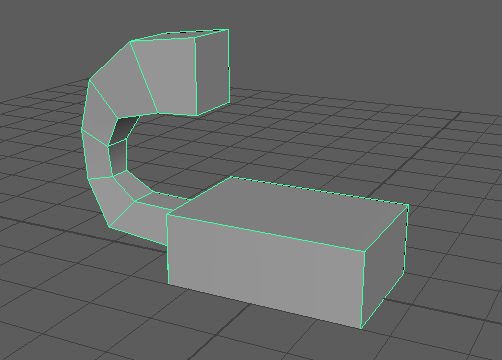
Next i worked on a scalpel which was done within 5 minutes:


I duplicated the original, scaled it down a little and gave it some ridges like in the reference above.

I did want to work on more tools but level designer Joe told me we ha more than enough models for labs and the theatre, since models from the labs could also be used here such as the crucibles, tongs, syringe, etc.
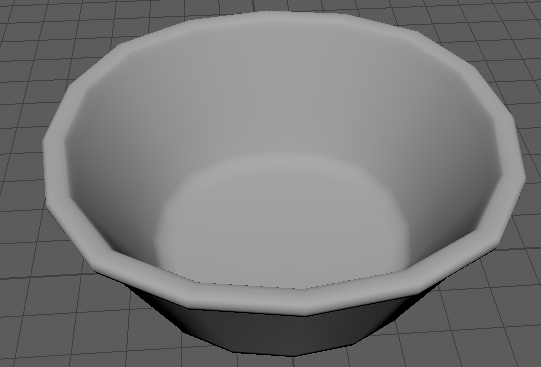
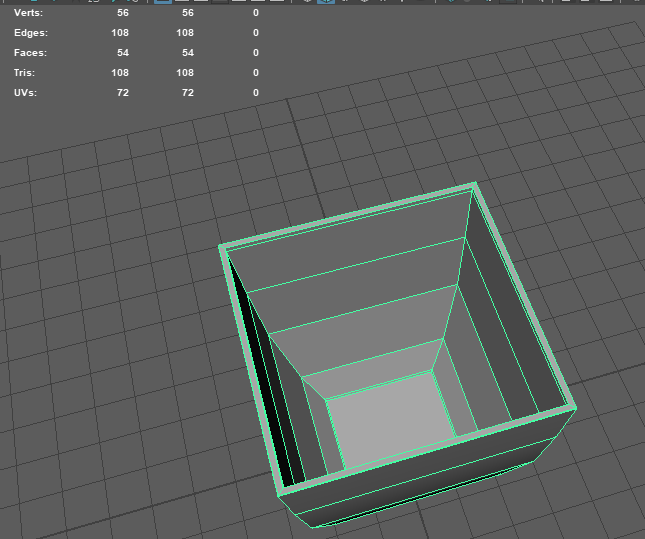
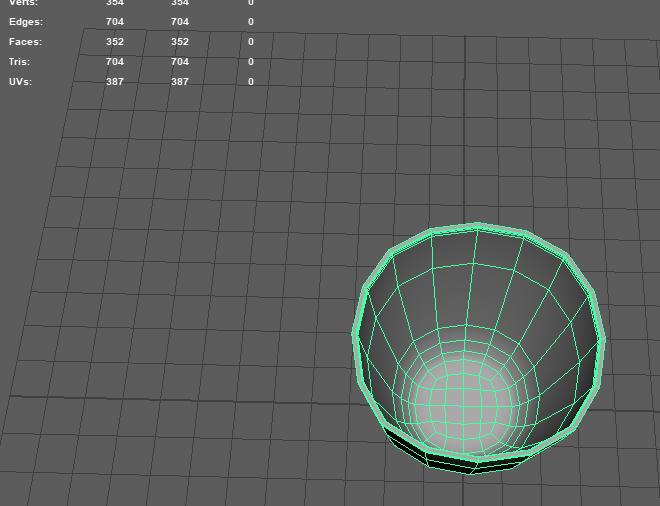
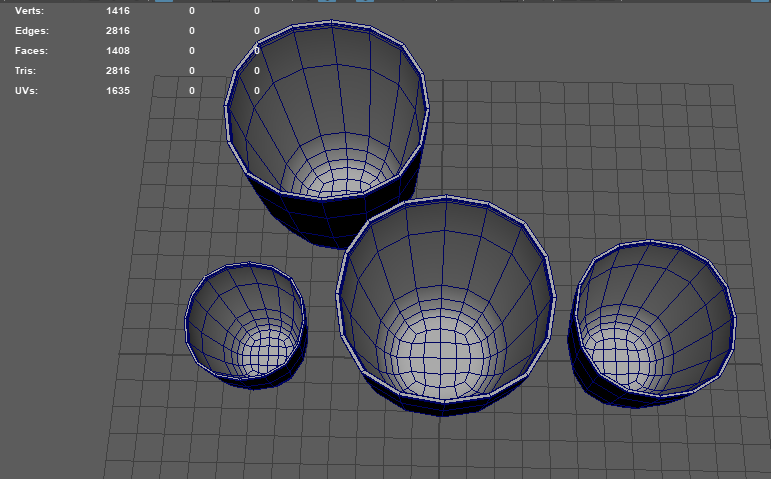
My final model was an operation dish which once again, i duplicated and scaled down for variation:


I had to texture a few of my models myself as Darren was running out of time and had a lot on his plate already, but I didn’t mind, things happen all the time in the industry so you have to expect the unexpected and be ready for anything. Luckily i was able to get my Substance account up and running again after signing up for a new student licence.
Since everything is years old and underwater, I tried to make all the metal rusted and dirty, and i put old dried blood on things in the theatre such as the dishes, scalpels and the operating table. I also tried my best to add mould and sweat stains on the tables mattress, sheet and blanket.


Vertical Slice Project – Week 6 last of the labs
This week, I made a keypad for the labs before moving onto the theatre later on in the week.


Vertical Slice Project – Week 5
This week i created 10 more models and UV unwrapped most of what i had made.
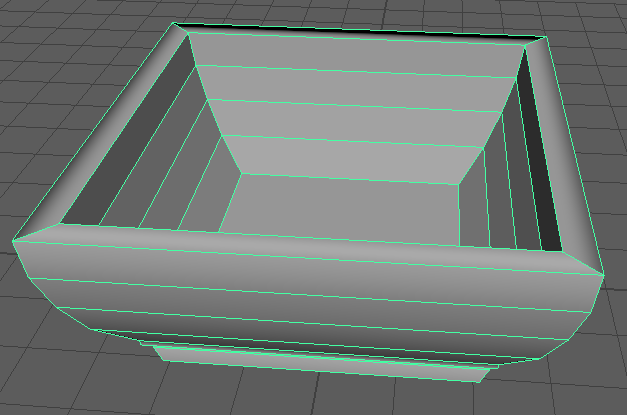
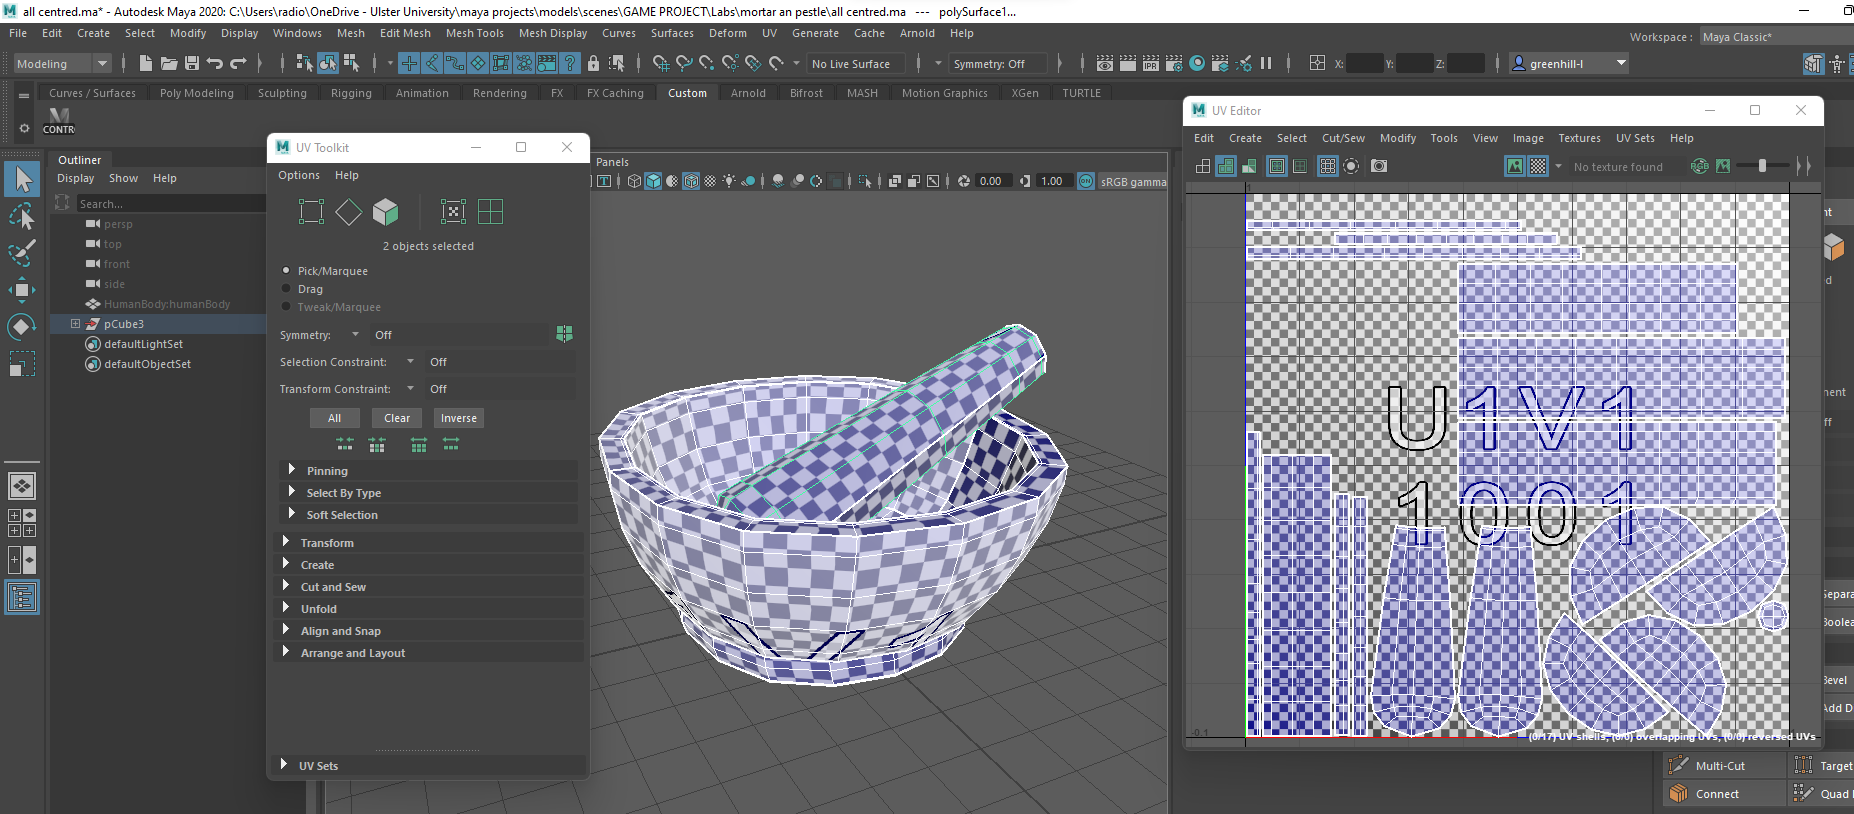
First i made a mortar an pestle which i also UV unwrapped:


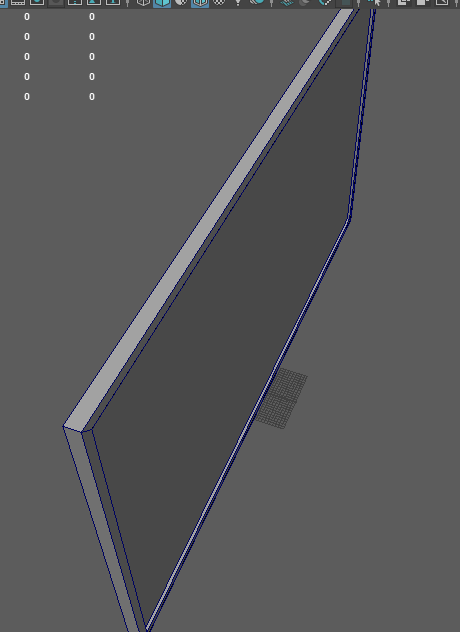
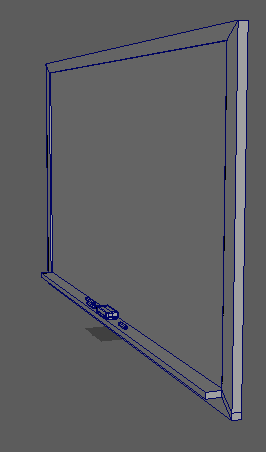
Then i made and UV unwrapped a blackboard and the chalk and eraser to go with it:


From here, I just UV unwrapped everything as i made it, but next I made a crucible and duplicated it for variation:


Next i made a coat hook and duplicated it a few times to create a place for where the scientists used to hang their lab coats:


Next i made two variations of a box of needles, one open and one closed:


This week i also UV unwrapped models id made earlier in the assignment:


Vertical Slice Project – Week 4
This week, I did some more modelling, with a total of 3 models made and then tested out the sizing of everything together in Unreal Engine 4 and how well they all looked beside one another.
Starting off, I did some safety goggles as the scientists in the lab would obviously need to be taking precautions for their health when working. I got references of the front and 3/4 so i better understood what I was working with.

![]()
I started from a simple blockout of the shape, as you can see below, I only paid attention to one of the legs at this stage, making sure i could create an accurate shape.

Trying to copy the other side cut by cut, it looks alright from this angle but when you turn to the front you can see how off centred it was, so i decided to do the usual mirroring later on to get everything symmetrical to keep it realistic and good enough to display.


After deleting one half and mirroring it, I smoothed the whole model but it was looking a bit chunky and had far too many edges all around, so i had to clean it up a little.


Below is the model cleaned up and flattened where need be, as when you look at the references, it isn’t all rounded and there are parts that curve into others, so i wanted to capture that at this stage.


Once i was finished, i used the clean up tool again creating the awful triangle geometry you see below, but again, i didn’t know this was bad until around week 5/6. Regardless, i was happy with the overall shape and design of this model and ready to move on to the next.

To go along with the goggles, I made a microscope as the scientists would have needed something to examine all the molecules etc going into their formulas. I gathered some references of some pretty interesting microscopes from the 60s and started modelling.

 unfortunately this photo wasn’t great resolution but it did the job.
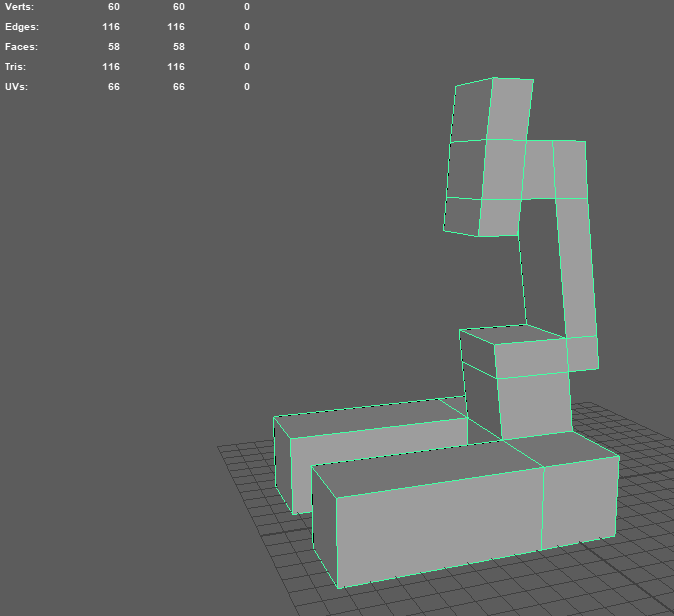
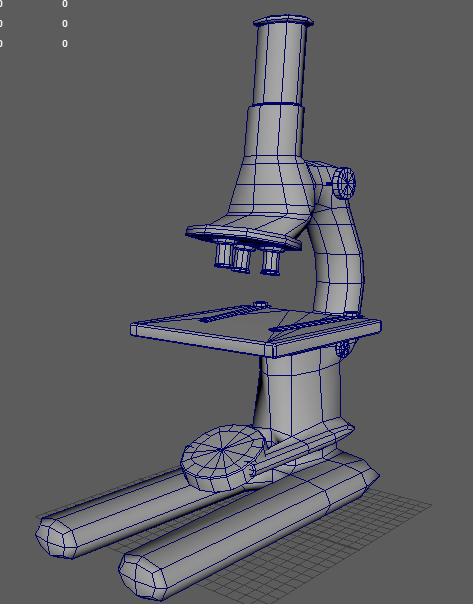
I started out by blocking in the shapes of the main body with the legs, neck and the head that’d hold the scopes.

Next i added the platform where the glass slide goes and blocked out the scopes on the head. I also tuned the legs and body so they were thinner and more accurate to the reference.

Fixing the width of everything a bit more, i then added multi-cuts where i needed the object to hold its shape after being smoothed such as the scopes, neck, leg ends, glass slide platform, etc.
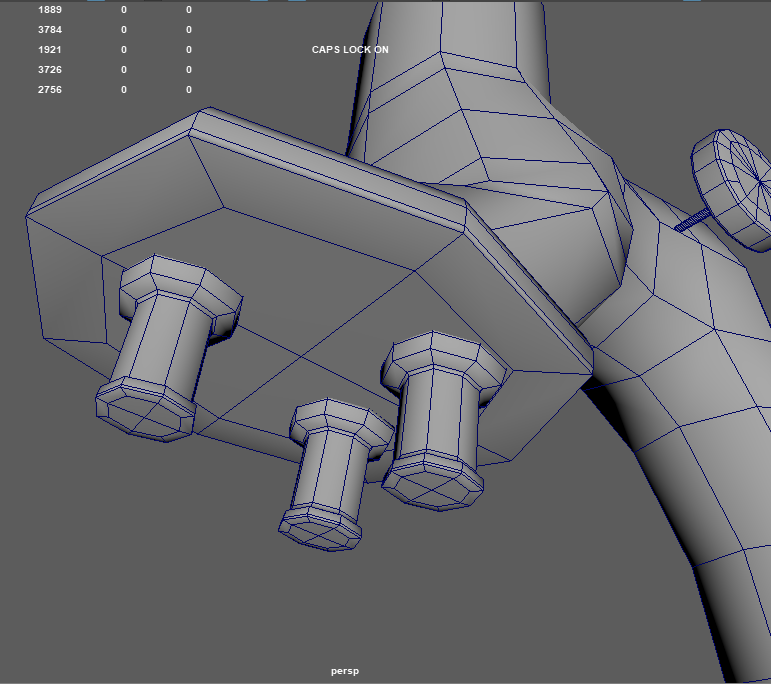
Looking at the reference, i noticed there were little knobs on the sides that were used to adjust different things on the microscope, so i made on of those next which i later duplicated for the other side and duplicated it again two more times for the two smaller ones lower down.

Here you can slightly see that smaller knob lower down as previously mentioned, but i also made the slide clips that’d hold the glass slide for the scientists to keep it steady and study whats on it. I also made one of the scopes more detailed, giving it a rim and the chunky connector bit at the top that’d attach it to the head of the microscope. I also changed the scope head so it was a on a slight angle.

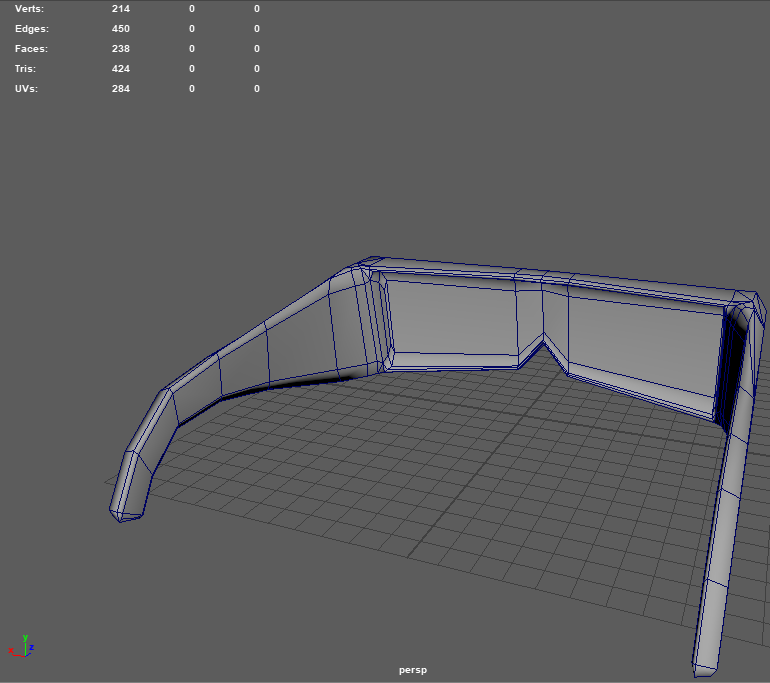
I extruded two little limbs from the main body that’d hold the circular glass and provided a close up of the glass slide platform.


Here i blocked out the circular glass with a cube and extended the arms that were holding it.
At this point i decided the legs need to be slightly longer so pulled the vertexes out on the z axis.

I added more multi-cuts to the neck and pulled them out with the translate tool so it looked more rounded and would smooth out more accurately.


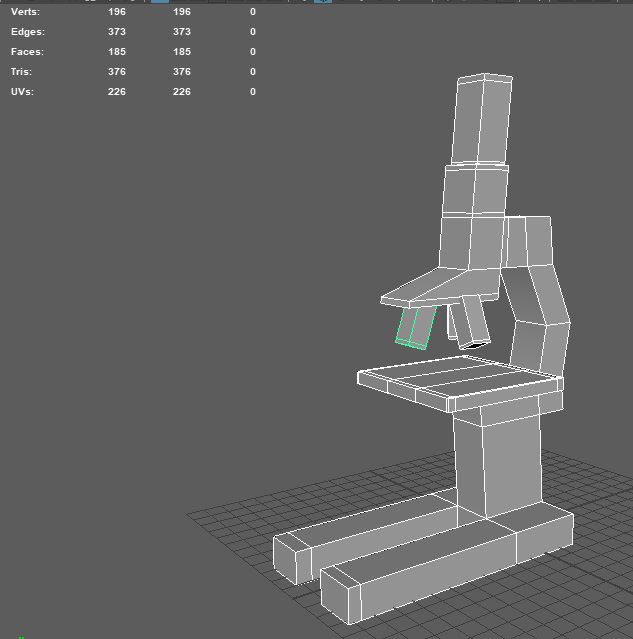
Once happy, i smoothed everything and reduced the poly count as low as possible, though unfortunately yet again, i used the cleanup tool and it made messy geometry. There were a total of 43 iteration saves on this model, so to save time I’m going to throw in a few close ups of the finished thing and the smoothed model before it was cleaned up.
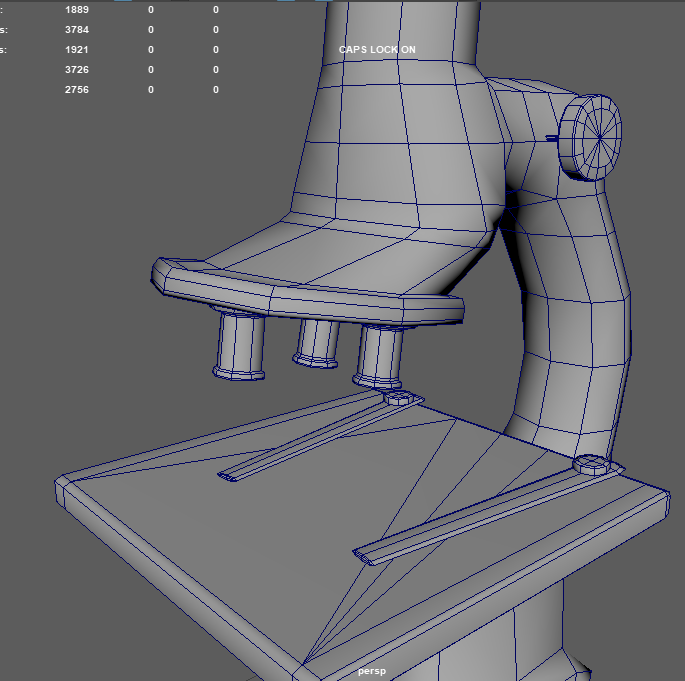
This is the smoothed model before cleanup.

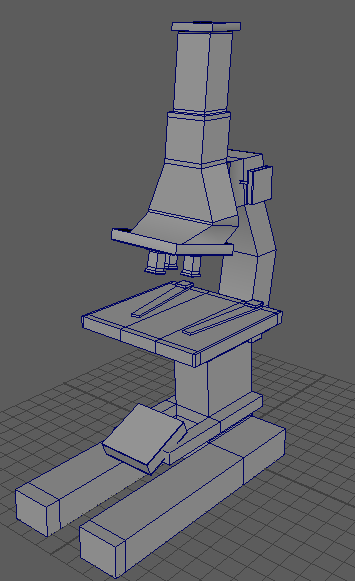
The following images are the final smoothed and cleaned model.

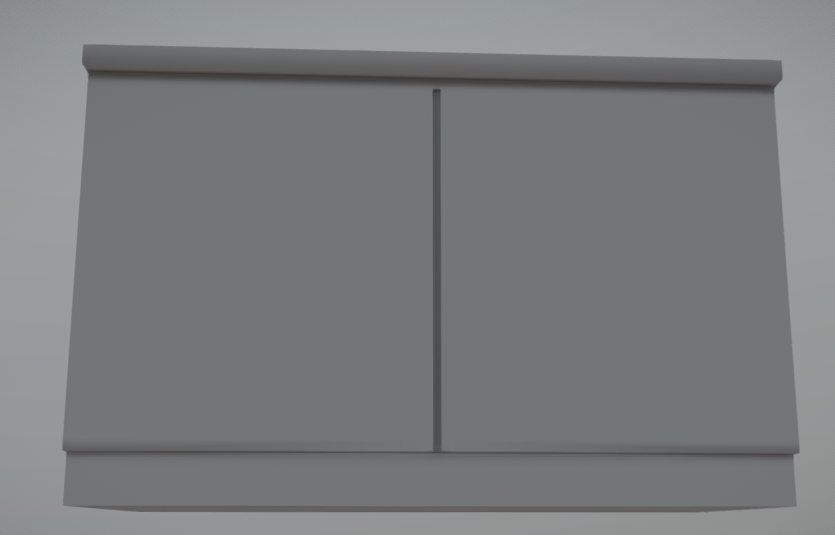
Lastly, we needed something for all the lab equipment to sit on, so i made a desk in the likeness of the school science labs desks with the cupboards on the front. I had to make 4 different variations as we needed one that would be in the middle, a left end, a right end and one with no ends.
Starting with my favourite shape, the cube, I added multi-cuts and used the scale tool on the top faces to create the bench top.
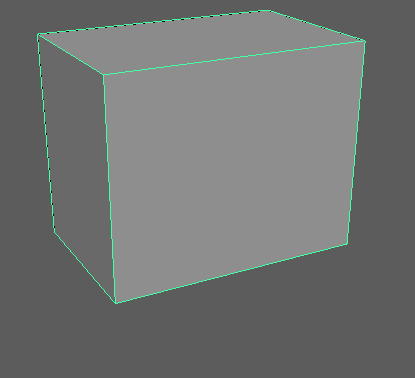

Adding more multi-cuts, i then created a dip down at the bottom and a little indent for where the two cupboard doors would meet.


This is the model with the left hang.

This one has no hang.

This one has a right hang.

After all these models, i took them into unreal engine and tested them for size comparison an how well they showed up in the game engine.


