Major Project – Production

With all my rigs set up, it was time to start animating. I gathered references from Youtube such as bulls walking and running, studying their movement in syncsketch by drawing over their body with a marker in simple stick figures of their bones and joints to help me understand all the poses and what body parts influence what, where does all the weight shift to and where is it mainly carried, basically anything to help me animate these creatures in thr most realistic way possible. I used videos of wolves running beside a car and a skittish wolf in a sanctuary running and shying away from a camera in order to get the proper exaggerated movements of a canines run, walk and stop, and for the poses at the end I looked up images of animals in action as well as figure drawings of animals in dynamic poses to help me frame and come up with interesting movement throughout my poses in my animation.

I mainly worked pose by pose when animating, making small adjustments where necessary to make the movements flow better and make them seem more realistic, but also still interesting to look at. I think my favourite pieces of animation in this short were the wolf trotting along as it feels nice and free and bouncy, and the bulls movement whenever it goes to check on the small star, the ear flicks and head dips and tilts make it feel more alive and genuinely have a personality rather than being an animated model on a screen. Speaking of personality, since the star is really limited in movement because the rig i tried to make for it didnt really do much other than deform it, I tried to rotate it or use the squash and stretch method to make it feel more alive like whenever its running, it turns to the direction its running and has a little bouncing movement as well as moving ever so slightly up and down to appear as if its effortless floating through space. To convey emotions such as fear before the meteroite hits it, I used the squash and stretch techniques to make it look as if it were quivering before taking a second to peek up then regain its posture again fully after it deemed it safe to do so.

Since 3D animation feels eerie and jarring when its standing completely still, even the seemingly static shots have tiny bits of movement added such as the wolfs leg very slowly and subtly moving backwards or its head moving a little to simulate breathing, or the bull flicking its tail when its standing watching the small star speed away while the wolf is sniffing the ground and shifting its weight slightly. These also make the characters feel like they have individual personalities and that they dont all just exist because they have a goal in the animation.

I got feedback from my tutor to save each shot individually as whenever I was doing them initially,  I was just importing all the models into one scene via Maya files and moving them around as needed. This however, really badly messed up the keyframes as I would forget what was where and move them around accidentally and end up with models flying across the screen when theyre uneeded, or completely disappearing whenever they were supposed to be animated on screen. This meant I had to go in and reanimate and fix wuite a lot of things which made it stressfully close to the deadline while still only being on the animating stage  resulting in me needing to cut some things later on in production such as fire effects on the meteor or making the words in the animation seem like they were being written by hand, which is quite unfortunate but it had to be done to meet the deadline.

Rendering took around a week as I had to render with 3 lights and then do two passes of each render to get the colour and the outline as previously mentioned in another blog post. This gave me time to start putting some things together in After Effects as the first 2 shots rendered pretty quickly and allowed me to start working on the post production of VFX such as the star dust running across the screen, the movement of the nebula and cameras, and the writing for the title. As each shot rendered I took them individually into After Effects and added star dust and camera movement as needed. I tried to add particles to the running of the constellations but it just felt a bit cheesy so i decided to leave it out and let the camera movement speak for itself.  I followed a tutorial for the star dust particles to get used to the particle system, then followed another tutorial for the explosion of the star turning into the bear whoch required me to get a free trial of Trap Code for After Effects. I made around 3 saves of each shot as I went along, trying to keep consistency in the background environment between shots and getting timing right with the particle effects and such so it looked like they were alive and fitting in this universe of the animation.

I exported each After Effects file through media encoder and saved them as mp4 files in the original formatting of media encoder before taking all the shots and putting them together with a little finishing touches in Premier Pro.

Unfortunately this project really isn’t up to my usual standards and I’m a bit disappointed with it as I struggled quite a bit with things I didnt know how to do before asking for help, and finding motivation a lot of the time was quite hard to do since I was working individually and just felt a bit stuck with creativity and as time ticked on I was becoming more stressed to the point I couldn’t work as efficiently. If I did this again, I’d like to try find at leadt one other person to work with so we could share the work load and focus on our preferred areas of knowledge and to give me another person to bounce ideas off of and ask and offer feedback. If I had more time I would’ve like to make my own bear model and add stars to the models like originally planned so they actually look like constellations, and maybe add soundeffects and possibly even voice actors to better get across the communication between the animals and the star.

All in all I’m glad to have a finished project even if the end result is not how I wanted it to be, because I also learned a lot of new techniques and tools and tips along the way such as how to use the particle system in After Effects, downloading trapcode for after effects and learning to use that to make a particle explosion, and getting better acquainted with camera in both Maya and After Effects to create illusions of movement and the part with the telescope lens zooming out from space to the book was an interesting way to use the camera and textures as well.

Within Stars animation and branding

Here is my finished animation with credits to the artists whose assets I have used to help this idea come to life.

Below are photos of my models:


Credits:

Bear model: https://sketchfab.com/3d-models/grizzly-bear-95baabcbc8634f6dace4376767a6024e

Obsidian material: https://substance3d.adobe.com/community-assets/assets/3e39347e67dab9815087c232f74f78f1adaf7282

Crystal material: https://substance3d.adobe.com/community-assets/assets/b5782afd92efbfa80ed826212e88a7ca4229d362

Crystal material 2:https://substance3d.adobe.com/community-assets/assets/810116d8ff22d11d210c5e744c04b5b2bc9c4479

Business cards and promotional posters


Major project – Story concepts

As with the start of any project, I had to start with some planning of how I wanted the overall outcome to appear, such as what kind of genre i wanted to go for, what was the story going to be, what is my target audience, etc. I started with a few story concepts by jotting down brief plots in a sentence or two of what i would base the story around before developing them a bit more to then decide between them which i wanted to pursue for my animation.

My first story concept was brought around with the help of my sister who suggested I animate the life cycle of a dog and give it a sad ending, but i suggested a bitter-sweet one might be more engaging and thought provoking. I took this concept and decided I’d make it an old dog that gets sick with an owner who is also old, showing how long they’ve been together and grown alongside one another, metaphorically in the humans case, so they have a close bond. The dog starts off cuddling the owner on the sofa then gets up to go outside where it lays down under a tree and closes its eyes in preparation for death. The owner notices the dog has been gone for a while and goes outside to investigate, finding their dog dead, they go over and hold it, gently petting its head as the spirit of the dog watches and sits beside the owner with a Luna Moth on its head or shoulder or just somewhere nearby. Whether the owner would also die or not was a big decision, because on one hand, it could seem too predictable that they both died and make the animation sort of cringey, but on the other hand it could help make the animation not be too depressing and have a happy ending where they’re reunited. The idea of having a Luna Moth specifically is that they are a representation of new beginnings and rebirth, which I thought fit in quite well with the afterlife as it is a new beginning of a new life.

Further into development, I was starting to think of ways the environment could be tied into the story so that everything in my animation had a place and purpose. Since having the pair just die of old age would give it a nice satisfied end to life kind of situation,  I thought that was too easy and didn’t have as big of an impact as if I were too have them suffer with starvation, frostbite or even taking away the house and have them be homeless, holding and confiding in eachother until they died. Continuing on with the idea of the environment telling a story, colour pallets sprung to mind as I know colour has a huge role in emotions. Tones and shades of colours can have all sorts of different connotations, but the most universal language in colours are hot and cold, where hot colours such as orange, yellow, red, are happy colours and would make people think of warmth like the sun or a nice warm fire or a day at the beach, whereas cold colours such as blue, green, purple, seem more depressing and people would associate them with ice, death and loads of other negative things. Taking all this colour research into mind, I started playing around with colours and their place in the environment, imagining the two characters as cold colours to represent their sickness, with everything around them in the house -if I was going with the house idea- as warm colours to signify that this is their well loved and secure home, and then whenever they step outside its all cold colours to show that the world outside is unforgiving and that it puts more pressure on the characters illnesses making them worse.

The idea of the afterlife was that it’d blend in with the real world but have spirits majestically running around as glowing colourful outlines with magical trails of sparkles as they moved, making death not seem so bad, and pointing to the fact that all souls get reunited after death to live another life together for the rest of time.

Mid-way through this idea, I was talking to tutors and some classmates and we all decided that this idea might be a bit too depressing to work on for the whole year and it could be hard to find motivation to continue producing something so upsetting, so I made a second concept of a happier storyline which better suited my interests and reflected what I actually wanted to animate.

My second concept was about constellations in space helping a small star to become a constellation. My first run through of this idea was that there were two animal constellations in the sky who meet at night and are asleep during the day. A smaller star shows up one night, possibly after watching them for a few nights, before finding the courage to go up to them and ask for help with becoming a constellation. They all meet-up the next night and run around, gathering up stars for the small star to consume and grow into a constellation. The star then becomes a full constellation seen in the view of a telescope, and is recorded as a newly recognised constellation.

Building off of this idea I changed a few bits but kept a similar story, as doing a whole day/night cycle would be tedious and make the animation too complicated as I’d need to do something to fill in the space of the daytime and make it coherent that they’re asleep before coming back out each night. To replace this bit, I took a different angle and set the animation in space itself which would let me concentrate fully on the constellations and the stars, making it easier and more realistic of a goal within my timeframe. My final pass ended up with two strong and noble creatures, a bull and a wolf, helping a small star gather star dust to become a strong constellation like them. They see a planet that the star dust resides around, and chase the dust through the crystal rings, herding it to the small star who grows bigger until it explodes and becomes a bear constellation.  The final scene shows a telescope view zooming out from the sky and down to a book, recording the new constellation, then we see all 3 of the constellations together and the screen slowly fades to black.

Major Project – pre-production

After getting the main story ideas for my animation, I started thinking about how the characters would look and  drew up a few sketches of them, adding a background to try and figure out colour pallets. For this stage I used a drawing app on my phone and took inspiration from images online of things like the zodiac signs, and used an AI image generator in Discord with the prompt “glowing constellation animals” to give me some idea of how I wanted to show these are constellations but also give them a unique feel rather than just stars.

The AI came up with some weird images but they helped me figure out that I wanted to have a yellow outline with bright glowing stars running throughout the inside of each animal to give them a classic constellation feel but also help them stand out against their background and be easily told apart from one another.

Here are the concepts of the characters I drew in my drawing app, I gave them all yellow outlines with a desaturated dark blue to help the outlines stand out and make the characters blend in a bit with the nightsky, but still give them enough colour to be recognisable. I turned down the opacity as I felt that gave them a more ethereal feeling like in a dream or a storybook, and I drew on features such as fluff, eyes and noses to help the characters pop out even more and give them a higher range of expression rather than just movement.

For the background, I knew I was setting everything in space so I wanted to try draw a sort of nebula in the background to help make the environment interesting and realistic. I found the colours pink and purple worked well against the blue and yellow of my characters so I went with those colours and then lay my characters on top to see how everything looked together. At this point I was also drawing doodles of the planet I want in the background, including little sketchovers of a model in Maya. See below for these images.

Obviously, these are all just concepts and everything will look much better in 3D space when I get to actually make my models and create a nicer background, but these help me get a good idea of what I’m trying to achieve. Now all that’s left is drawing up the storyboard and start transferring my ideas to 3D with Maya.

In Maya I started off by making two low-poly models of a bull and a wolf, using multiple reference images to help me and keeping mostly in orthographic view to make sure everything was lined up and looked as close to their real-life counterpart as possible. I started making a few low-poly models as tests before starting this stage by making a deer and a crocodile following a blend of two tutorials I found on youtube for Blender. The deer was an easy enough animal to model as most animals are tall four legged creatures, though the horns were a bit awkward it helped me learn how to make curves and tapers within my models. Whereas the crocodile helped me get to grips with making more unusual shapes in my models such as an animal with a body so low down, its feet are at its belly and I needed to find a way to make that look as natural as possible, thinking about folds and geometry shape. Using this knowledge, I translated everything into Maya as best I could, as they’re similar programs with slightly different interfaces and tools, and created the low-poly bull and wolf, then going in and using the retopology tool to individually place each quad over the low-poly mesh to make a higher quality realistic model of each animal, using the smooth mesh tool at least once per mesh. Once I had my models, I used the UV editor to cut around the edge loops of the legs, tail, ears, horns, and head of each animal to create a pelt for each of them, ensuring the textures will fit properly onto each model without any complications or pulling.

With both models made and UV unwrapped, it was time to outline them using the toon shader material for Arnold, following an online tutorial article to get the right width. Here I learned you have to chabge your render filter settings to contour to get the lines to render, but I’d have to do two passes for each shot to get both the colour of the outline and the full of each animal, for which I’d have to change back to the gaussian filter. I had attempted to make a starry texture in Substance Painter for these models, but I was advised to just make them blue and add the stars in post as the texture wouldnt be able to sit right since i want a low opacity on the base colour of the blue, which would also turn the stars opacity down. To use the outline and the base colour, I had to plug the toon shader into the transmission for the base colour material.

https://www.en.techgaku.com/render-toon-like-with-aitoon-shader/

Moving on from the animals for the time being, I needed to model my planet that was in the background, and a few crystals to float around it. I did the planet in maya just using simpke shapes such as a sphere for the main planet and its 4 moons, modified pipe shapes for the two diagonal metal rings hugging the planet, and out of shape cubes squished into diamond shapes for the crystals on the top and bottom of the long staff going through the planet. I used a cone and the multicut tool to create the big spikey staff going through the centre of the planet, and finally an out of shape cube with a smooth modifier added to it for the arch. As for the ring of crystals surrounding it all, I made most of them in Blender then exported them into Maya until i realised I could just make a low-poly cube in Maya and distort it a bit with the multicut tool and navigate tool to make cool looking crystals. I also used these models for the crystals that the characters will be running through in the later scenes after they find the planet. I looked at images of crystals shards and fantasy crystals on Google to help me get an idea of the shape and jaggedness of crystals, as well as having drawn a little scene sketch on my phone to try picture what the crystals will look like beside the characters.

I took each crystal into Substance Painter after UV unwrapping them, along with the rest of the planet, and downloaded materials from the Adobe Asset Store to use with colour overlays and slight imperfections to make the crystals look as real as possible. As for the planet and its moons, I used a textured brush to give them some colour with a light colour on the top and a darker on the bottom with a midtone to make them all more interesting than a single plain colour. I gave the moons little bumps and craters to look more like moons and i applied a smartmaterial of stylised sand with a blue overlay to the planet to make it look more interesting and to tie it all together with the fantasy vibe of my animation. However, once i took these textures back into Maya there was a bit of a problem as they didnt quite come out how I expected even though i used the Substance Painter plug-in to help me attach all the right textures in the right places, even then manually going in and fixing them afterwards.  Unfortunately there wasnt enough time to fix everything so I did what i could with fixing the UVs and then retexturing the crystals but they still look a little odd.

Coming back to the models, I sent them away to my tutor Alec so he could help me rig them, as I had tried and followed many tutorials but since I’ve only ever done a rig of a bird foot once before in second year, I was very lost and quickly running out of time so I had to ask for help. He returned the models to me rigged and skinned and told me I had to paint the skin weights, which I had to then ask Henry for help with because, again, i was clueless, so after about half an hour of sitting with him explaining things to me, I was able to grasp that the black parts on the model meant there was 0 influence, whereas white meant 100% influence, and all the light grey parts in between meant the influence of that area of skin would be shared between bones, so to avoid complications it was best not to use grey areas unless it was something that needed to bend and fold the skin such as a leg or neck joint. Once I had set the skin weights for both models, I realised I needed a bear model, so I downloaded one off Sketch Fab and sent that away to Alec with permission after another failed attempt at rigging as I just dont understand how the hierarchies are supposed to work and how to keep everything neatly organised but still functioning properly. Once I got that model back, there was no need to adjust the paint weights because this bear wouldnt be animated and is only shown in two static poses.

For the background I wanted to use a realistic looking space environment so I was looking up tutorials online and found that after effects was the best way to do this. So I had to use a tutorial which showed me how to use multiple layers of solids and nulls and cameras, to create stars as particles which you can adjust the depth of to look real, create two nebulas with displacement maps and turbluence and masks to find the nebula shapes of wispy clouds, then animating everything together to make them look like theyre slowly pulling one into the other. I like how realistic it looked and decided I would set up a camera to use to navigate my environment as I coulnt use the whole scene static all the time as itd make the animation feel stale.


Rough Designs

For this module i have been tasked with coming up with rough ideas and concepts for materials that will help me push my project and my personal brand to potential employers through the use of things such as a new C.V design, Poster mock ups and a business card. To follow up on exploring ways to put my name out there as an animator, I have researched potential career routes and made plans for how to reach the roles I’m aspiring to work as one day after graduation.

Research for my career

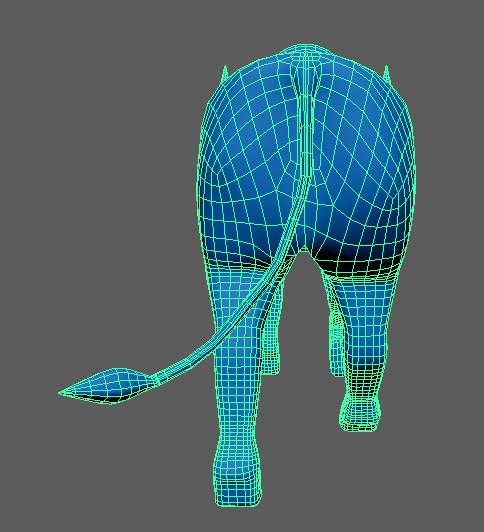
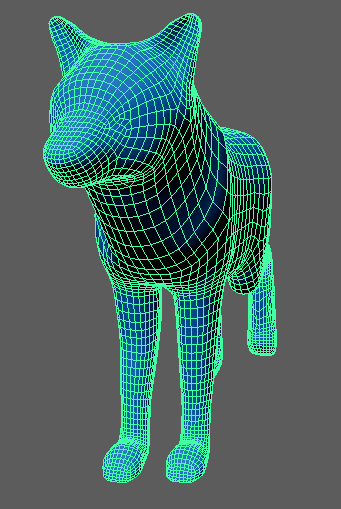
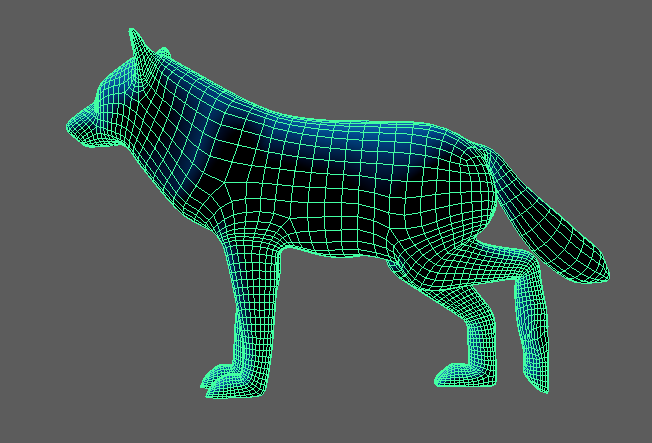
Once I graduate university I’d like to try find a job in 3D character and creature animation where i take rigs that have been built by riggers and give realistic life to their movements and behaviour.  Ideally I’d like to make it into the games industry as I love videogames and having my work in a game would be a dream come true, as to me videogames feel more alive than a short film or the likes as you’re physically controlling the player and the environment is living alongside you in the form of creatures like horses which you can control, dogs and cats you can pet or other character NPCs you can interact with.

3D Creature Animator

This job role requires animating creatures as suggested which include real life creatures such as common land dwelling animals like dogs, horses or cats, sea life including fish, dolphins, sharks, etc and even as far as the fantastical dragons, fearsome werewolves and everything in-between. If there’s a creature to animate, this is the job for it. Creature animators give realistic and believable locomotion and behaviours to these creatures to make their animations feel as immersive as possible while also keeping them interesting and exaggerating some aspects to give them certain personalities, as with all animator roles, acting plays a huge part here alongside appropriate and efficient references. Team work and communication is also key for this role as you will be working as part of a pipeline and with other departments to help meet deadlines and deliver work to industry standards.

So what are the tasks set out for a 3d creature animator?

According to the website cgspectrum.com, “Creature animators create animations of non-human characters. These could be from the natural world such as animals, reptiles, bugs, dinosaurs, etc., or they could be fantasy, myth, or alien creatures. While these creatures are not human they may sometimes need to be imbued with human traits, in these cases the creature animator must be able to give ‘personality’ to imagined beings while rendering their non-human physical characteristics.” These tasks include:

Taking storyboards done by the storyboard artists and thinking creatively to generate ways to best convey the motions and emotions to the creature on the screen.

Conducting individual research into references of particular creatures for their movements and behavioural habits, how their skin moves over their bones and where weight falls, and sometimes combine different creatures attributes together to create something completely original.

Using motion capture footage to help improve the movements and believability then fixing up that motion capture by tweaking it with your own animations to make the creature more interesting and original or give it the intended personality, as raw motion capture footage can be jarring and not perform as smoothly as its real life counterpart.

Working with 3D models of creatures which have been previously rigged as part of the animation pipeline. Each rig could have slight differences in controls and moveability.

Creating animation to sync with specific audio files such as voice lines, sound effects or music which will require a lot more planning and precise timing. Creature animators will also be required to add sound to their animation files in editing.

Each creature will have its own way of moving whether that be very subtle differences or exaggerated wing movements compared to a normal quadruped walk cycle, this means that the techniques and methods of animating previously used might not be adequate for the next creature.

No matter if you stay working in the same studio, you will have a number of projects to work on which may include style, genre and atmosphere changes so while one project is working with a horrifying creature, you will want to keep some of their movements snappy and erratic and create a lot of anticipation whereas if you’re working on a realistic videogame you’ll need to keep the creatures as close to their real-life counterparts as possible. Always keep this in mind.

Now we know the tasks a 3D creature animator has to fulfil in their job, what requirements are expected to get into the job role?

Since this job role involves creating realistic movement of four-legged creatures you are expected to understand the locomotion of an animal with their timings and weight influences on different skins and their coverages, e.g., scales, feathers, fur, as these can be influenced by forces such as wind, water, how they move and rub against each other, etc. Obviously since this is 3D working with 3D models, you’re going to need to be proficient in 3D software and rigs and know your way around, able to adapt to new tools you’re likely to be given by your team.

As previously mentioned, knowledge of 3D software is a guaranteed must as this is the medium you will be working with the whole time. Bonus software such as editing, pre-production, texturing and games engines will help get you in the run for being hired as it gives you the opportunity to do extra work yourself and easing workload from the team. It also shows you’re interested professionally and dedicated to your practice.

Looking at all of this and being sure i want to start pursuing this job role, I’m aware that i will need to gather more finished animations such as walk cycles, run cycles, and action shots of creatures (and characters), practice more techniques and possibly even look at investing in other courses geared specifically towards creature animation such as Ianimate.com, though that will be a huge dedication as they’re quite pricey at 1,698 quid, which is understandable as they get industry professionals in to teach live workshops and give feedback. Even free options such as YouTube or less pricey sales on sites such as Udemy, Domestika, etc can help me advance my skills. I enjoy animating quadrupeds, though a bit challenging, the end result makes it all worth it to see my creature moving and behaving realistically so I could possibly find something cheaper, I’m happy enough to go in the direction i need to in order to improve my work.

Design process for my branding and promotion

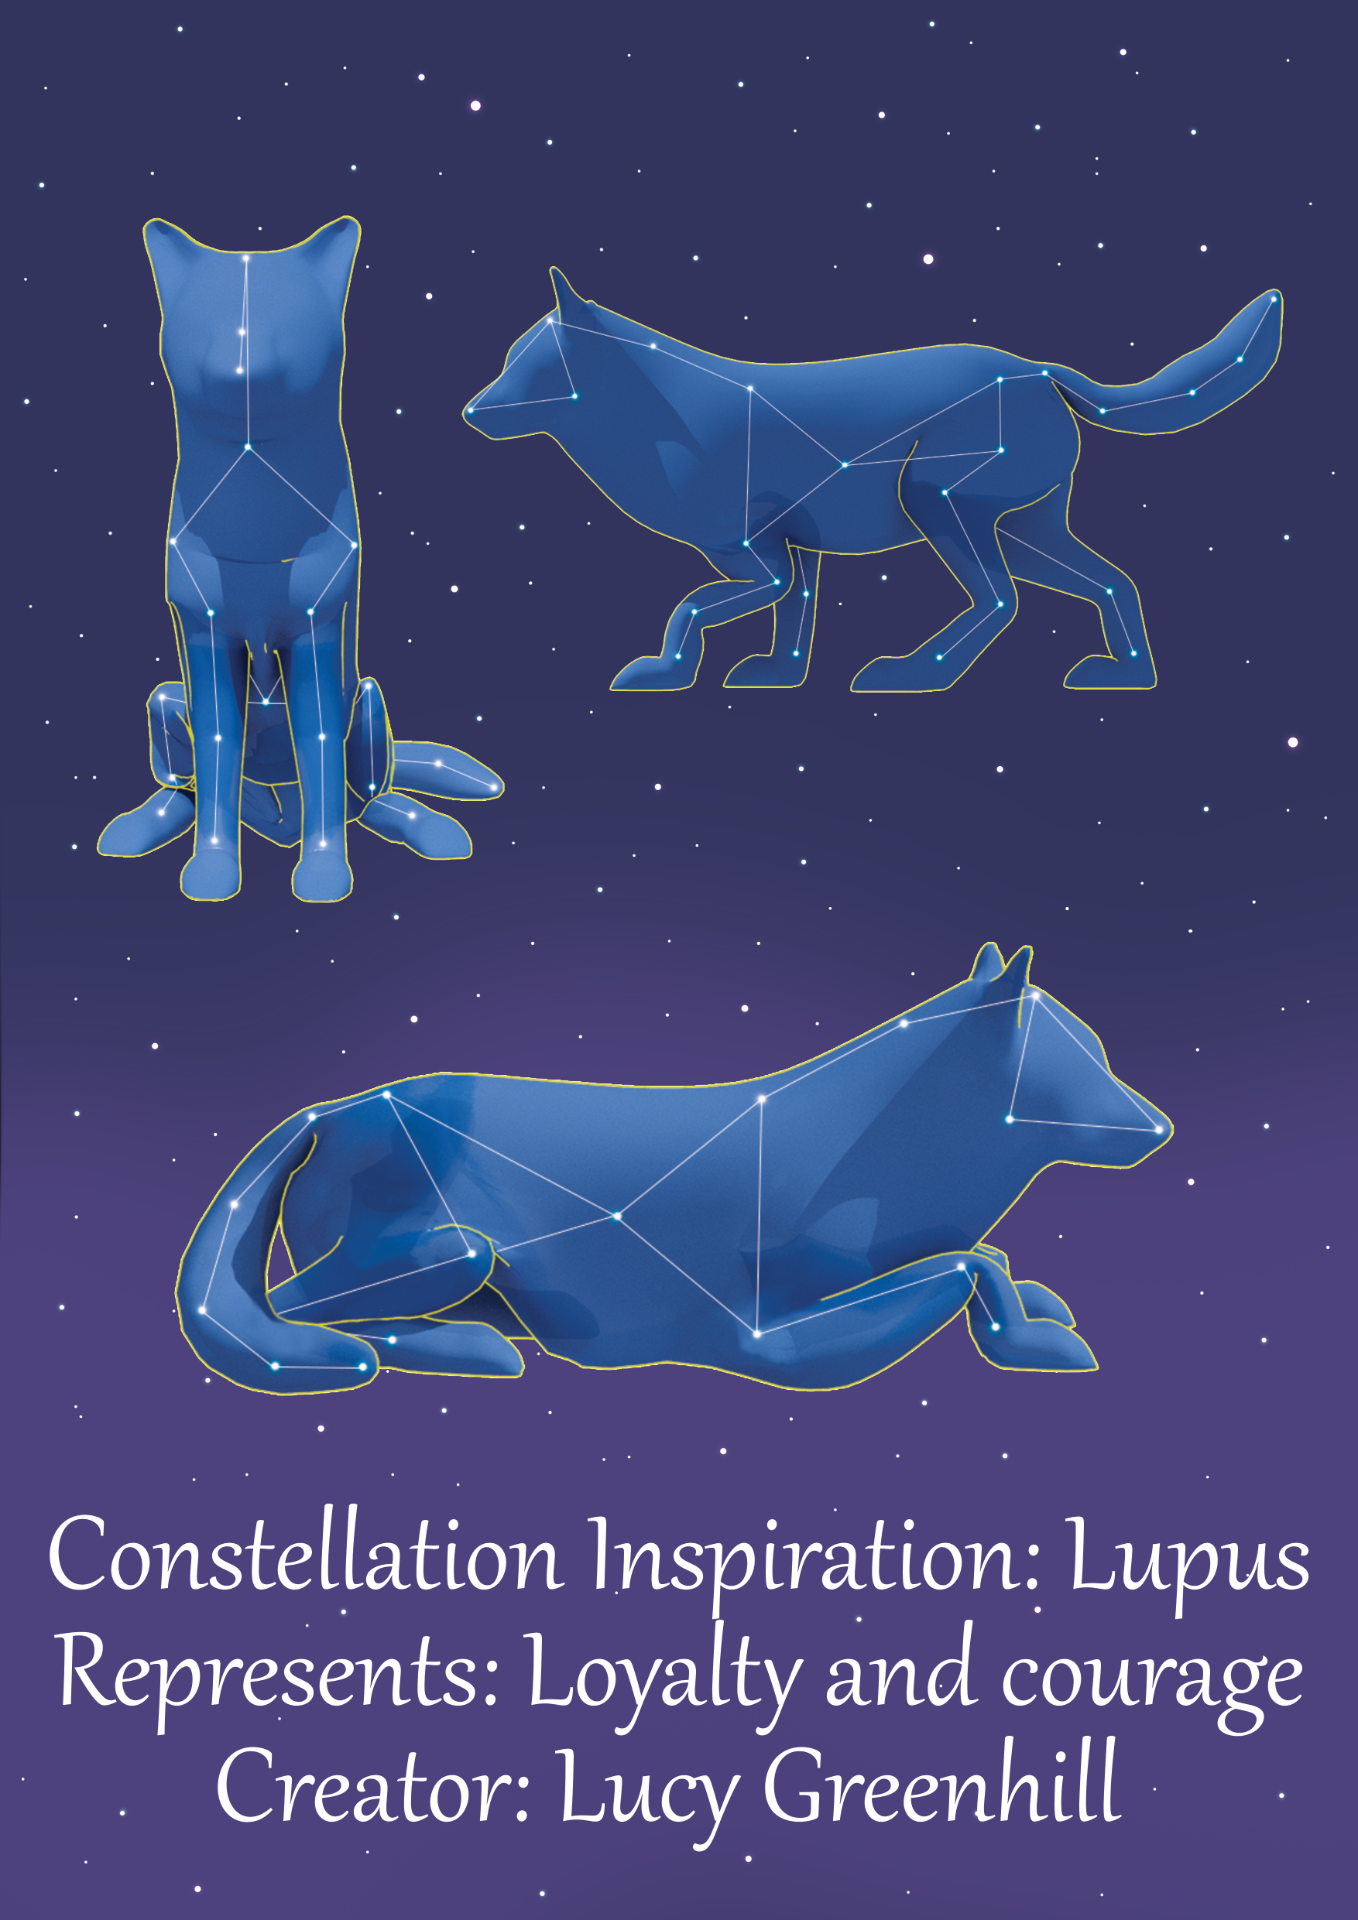
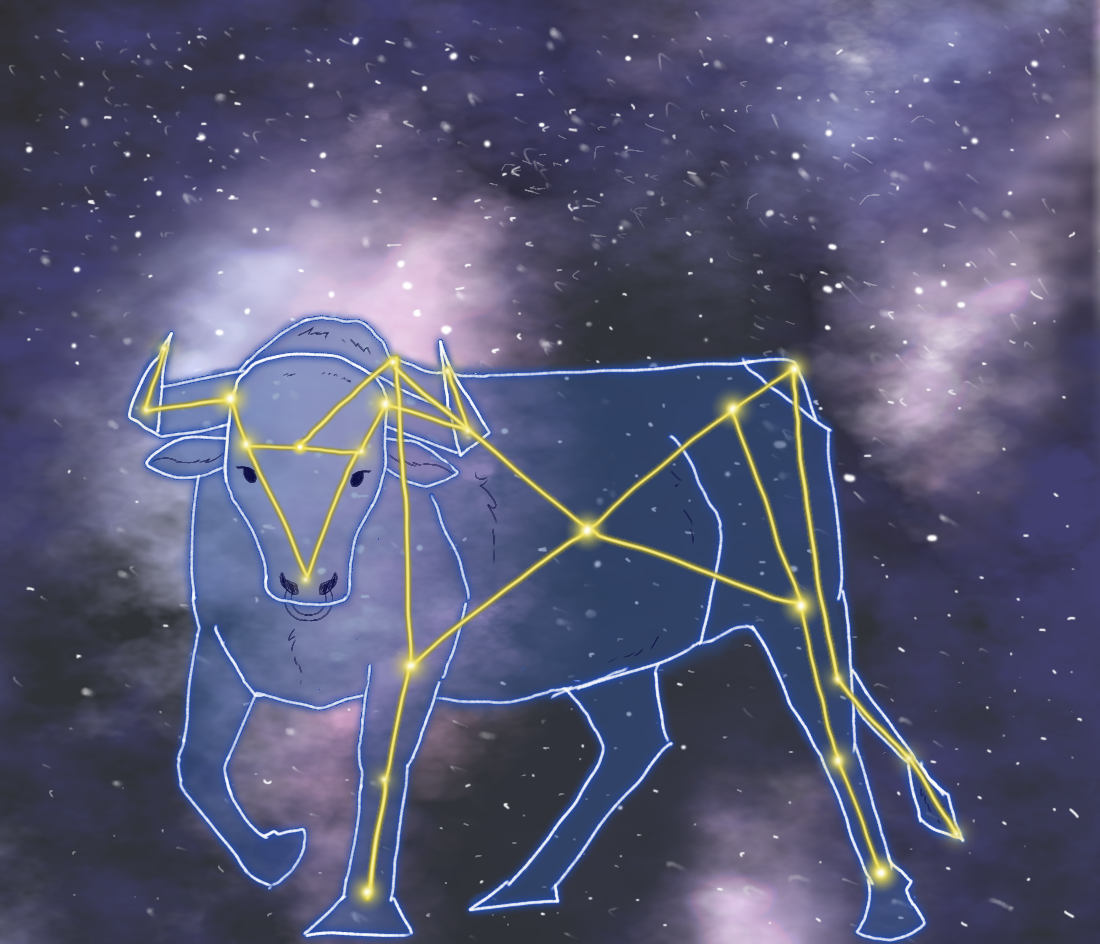
When creating my poster, I first had an initial idea in my mind of using the constellations of the 3 animals as large figures around the smaller star character to symbolise how great powerful things can come from something so small and seemingly useless. I had thought of using a bright coloured nebula in the background with transparent colouring on the animals at low opacity to not overshadow the star too much and drown it out as this would feel more threatening than inspiring. Since the planet is involved in most of the animation, i decided to add it to the poster too but wasn’t sure how to do this at first as i originally had it show its size by being a huge object behind everything but decided it fit better in the corner. It looks transparent here but that’s a mistake on my behalf, I was wanting it to look further away and less visible but still fully opaque which i will have to fix for the final version. Below you can see a few poster iterations i had trying to decide where to place everything, what the background should be like and the eventual decision to tie it all together with stars, then the current design where i moved two of the animals according to feedback.

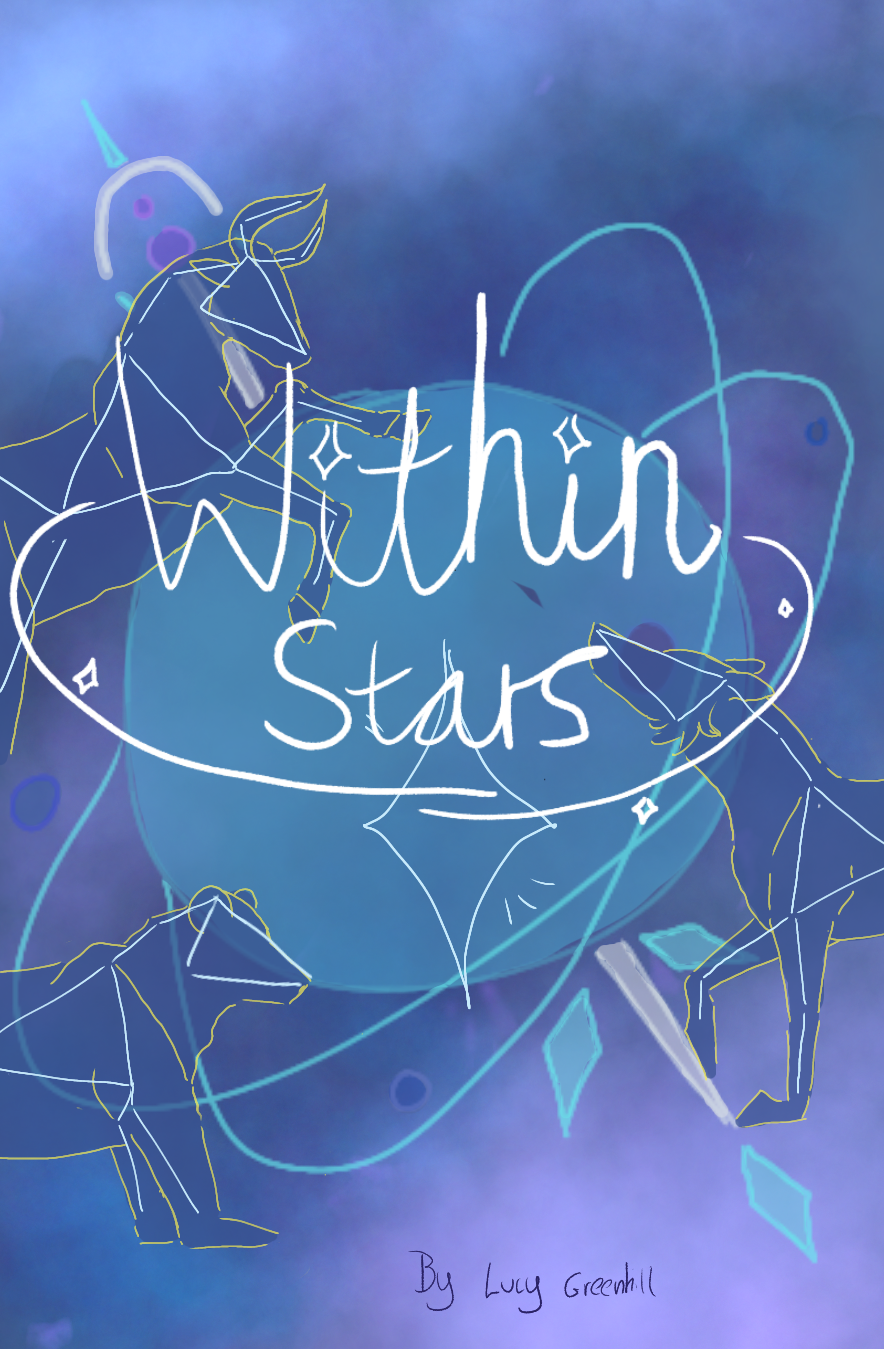
The title shape idea came from my very first storyboard pass, as I liked the idea of the movement lines of the stars going round the words of the title which i will animate sparkling in the actual short animation. As for the actual wording of the title itself, I was trying to think of something simple and fairly obvious to fit with my light-hearted storybook like genre, which was originally “Within the Stars” but thought that didn’t really roll off the tongue and it was a bit long for such a simplistic animation with too literal of a meaning, so i switched to a shorter version which is my current title, “Within Stars” as it could either stand for the constellations already there, the fact theyre in the sky with stars, or it could be talking about the actual star character.

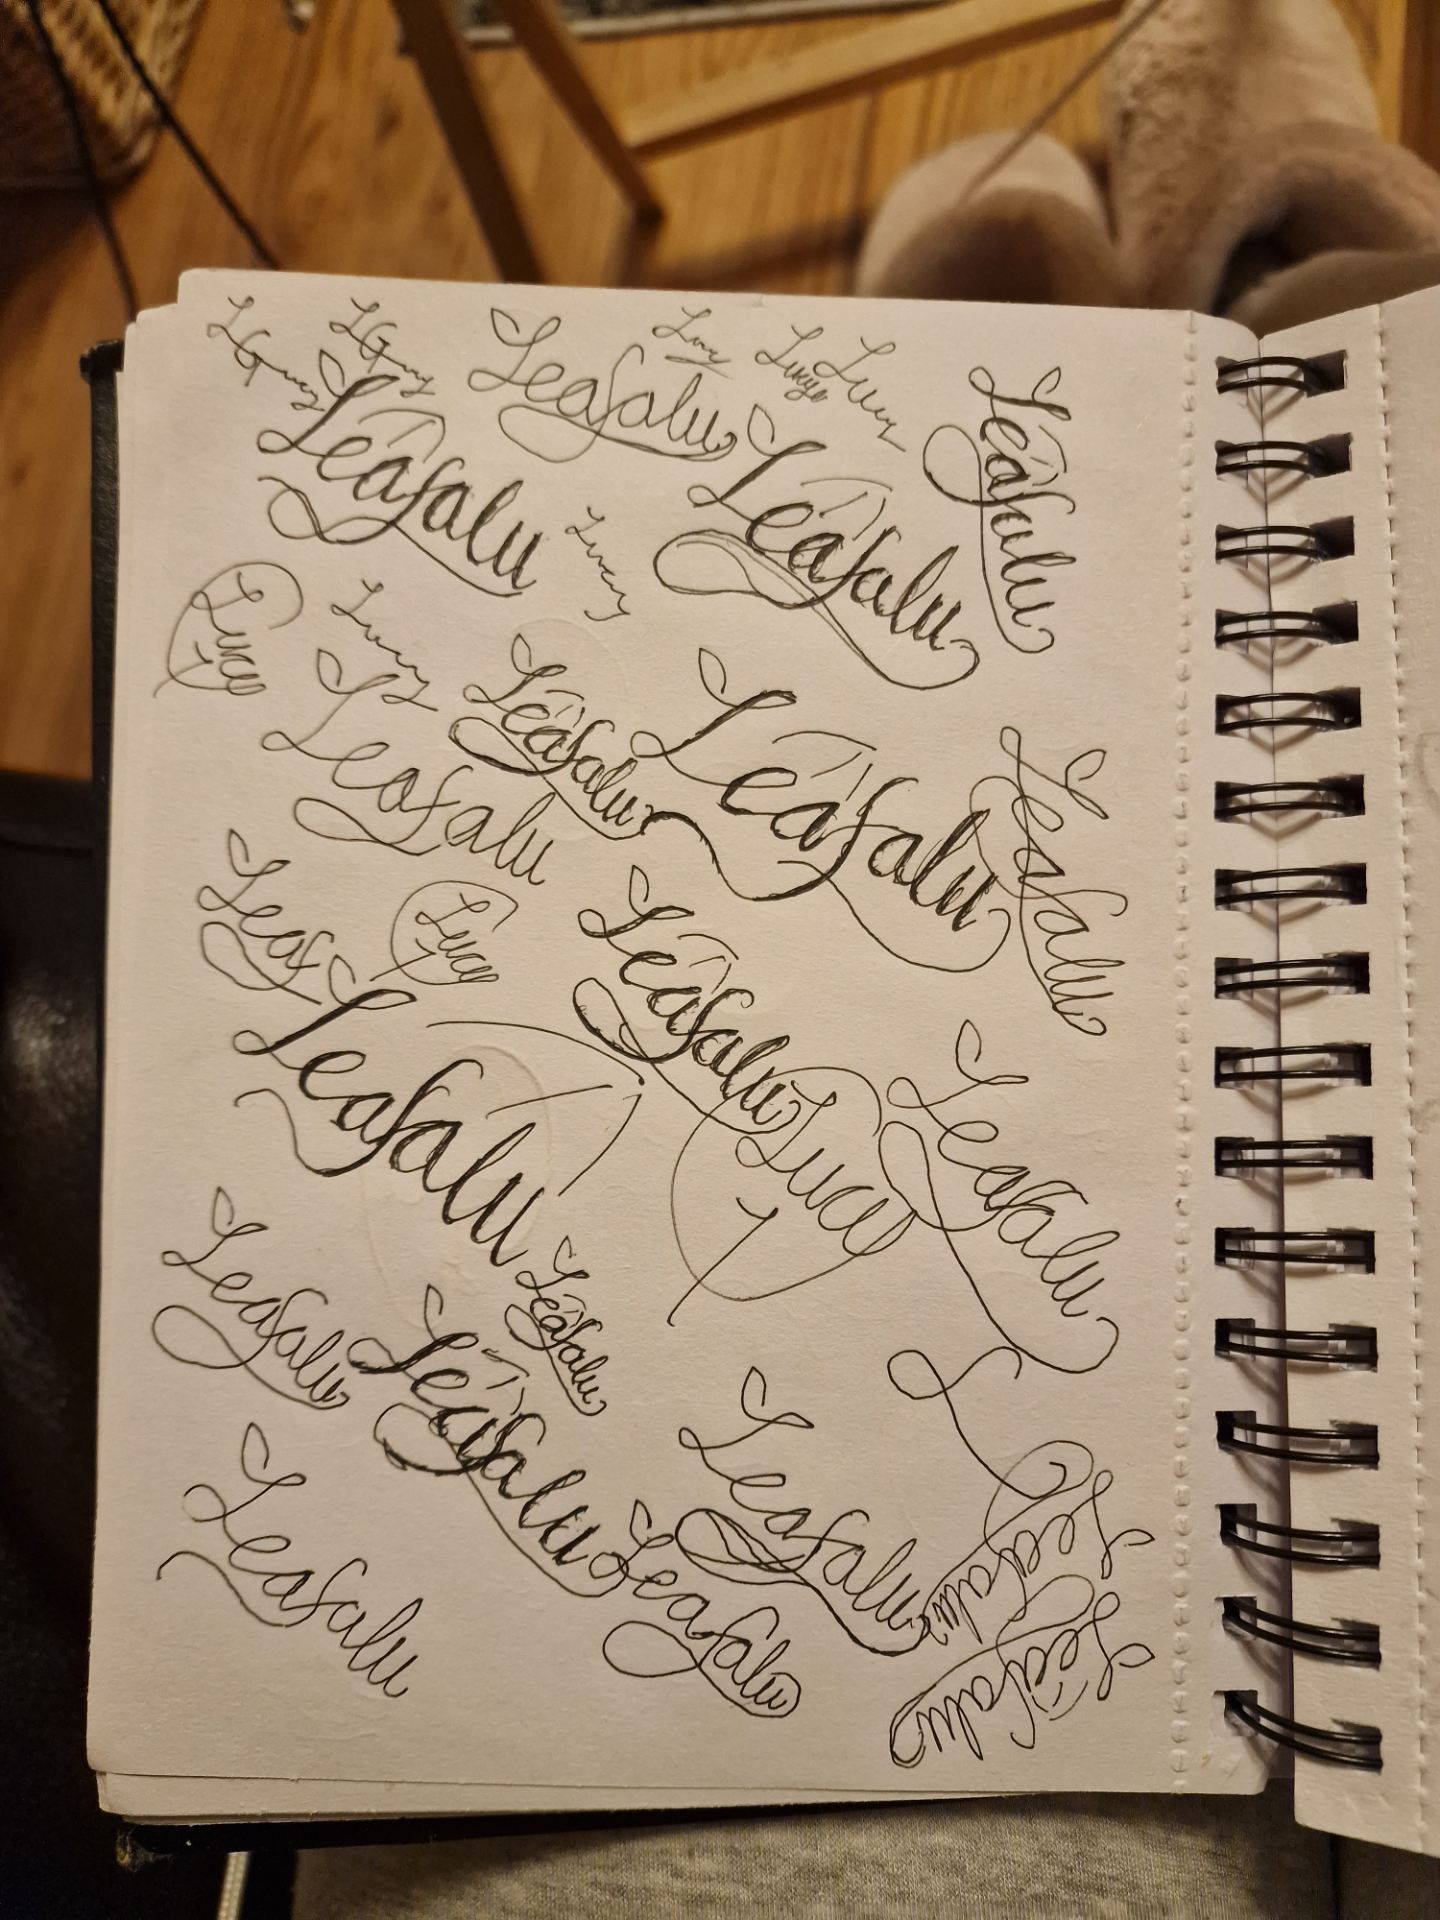
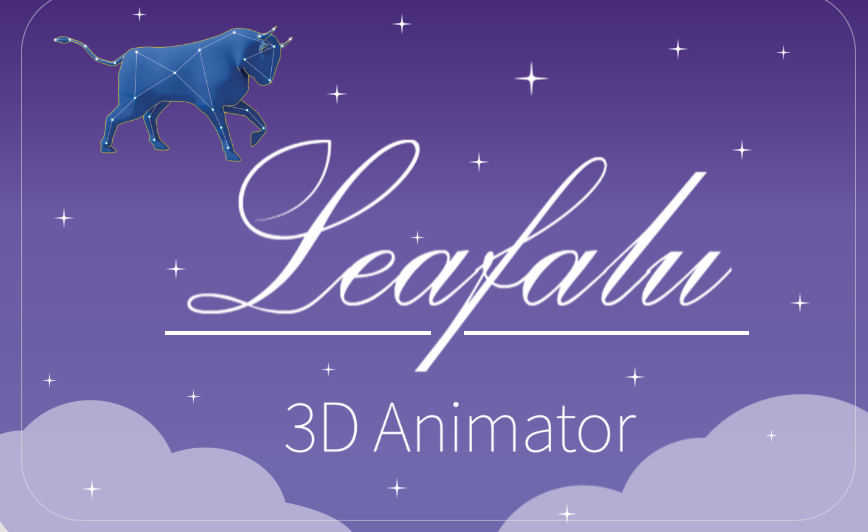
My C.V. hasn’t really changed much as i didn’t get a placement job and moved straight to final year which only gives me the opportunity to update it with things ive since done for my major project such as modelling the animal characters and rigging one of them -though the bones were already there- and modelling the background props. I have decided however to change the colouring as last year i was told that the colour green might throw some employers off as its more of a sickly colour, so i decided to change it to purple keeping the paler shades and mess around with coloured writing to make it feel more fun and pop easier. My branding is a bit of a tough decision to go along with this as I dont know whether to use my real name or the name i created for myself known as “Leafalu” which can be shortened to Leaf and i already have a unique signature for this name with a leaf design as seen below, though i feel like it’d limit me to light-hearted things as if i put something like a horror out under this name it’d feel a bit misplaced and odd.

Since I’m a little unsure of what name to brand myself under, if either of these at all, ive made two designs for a business card to fit each name and personality i want to convey. I’m not exactly the best designer so they’re both simplistic and a bit underwhelming but this is something i can work on over the next few weeks.

Made in illustrator, I had used a script typeface for the name Leafalu then used the pen curvature tool with stroke options to create the leaf on the start of the L and taper it off at the end. I like the colour purple and pastel colours seem more appealing than saturated colours so i chose a nice shade and decided that white would pop yet kept it to just simple outlines. The stars relate to my major project too so i thought it was a nice subtle touch.


For the LG i used illustrators brush tool with 5pt oval settings and drew the letters with my mouse which converted into vectors I could freely edit and move around.

I’ve been practicing making logos with my two chosen names and using my initials, also starting to learn calligraphy so i can make them look elegant and clean without the use of a computer. I like the little leaf at the start of the L though it fits with the elegancy, and the way letters can intertwine with one another to make a seamless design.

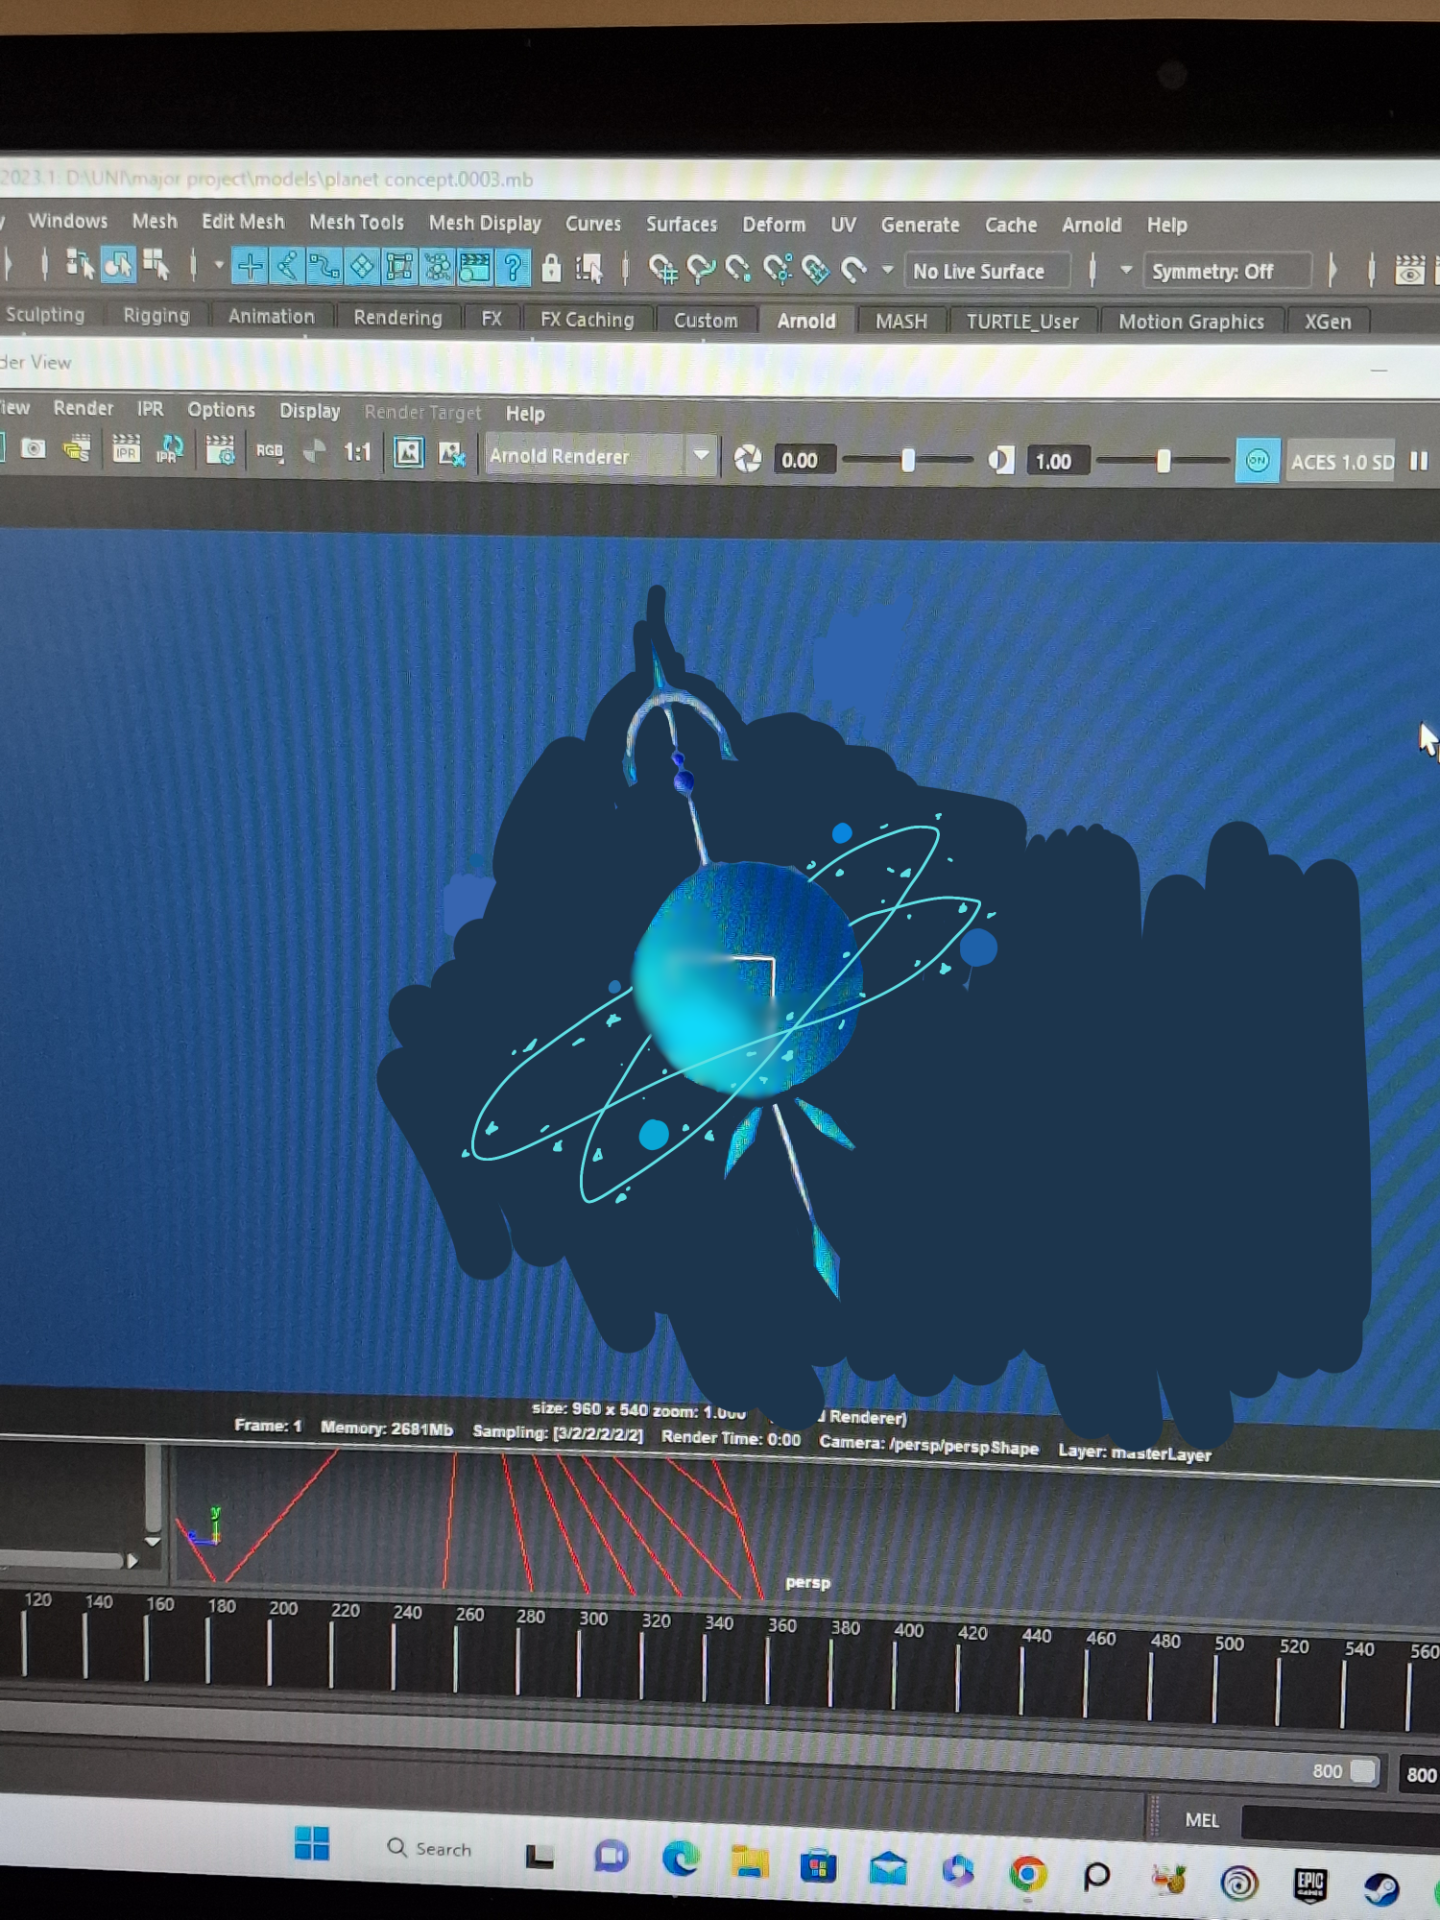
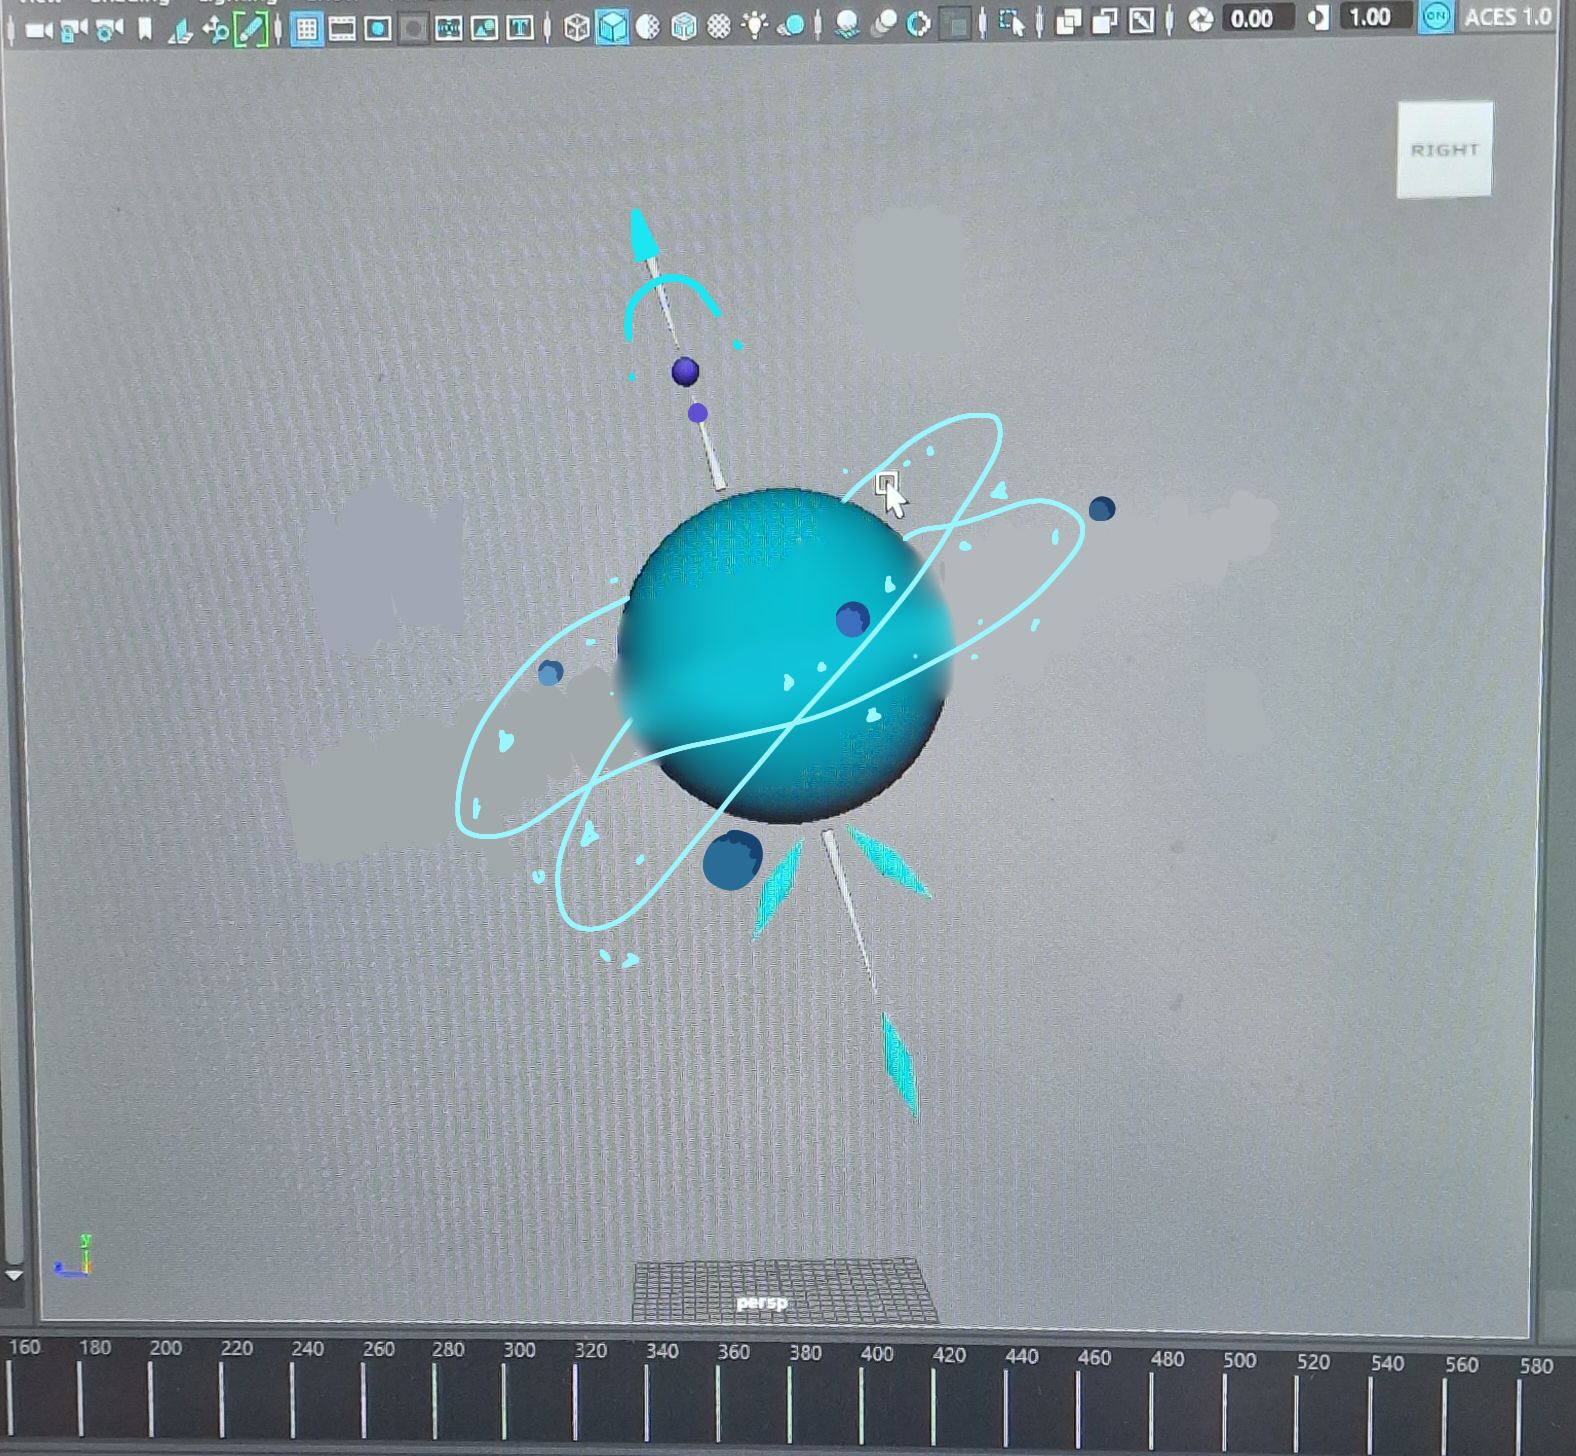
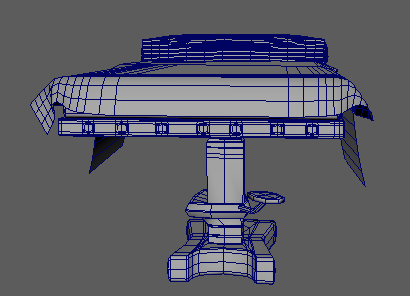
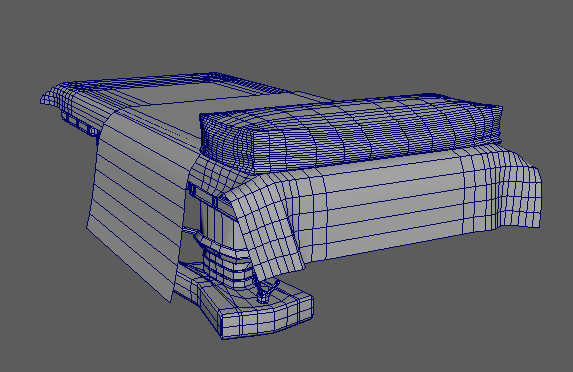
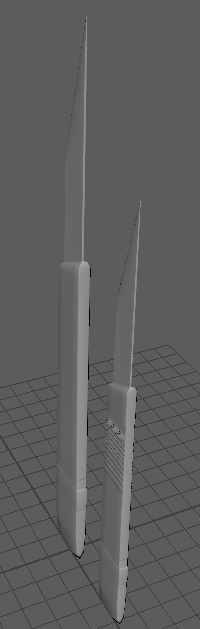
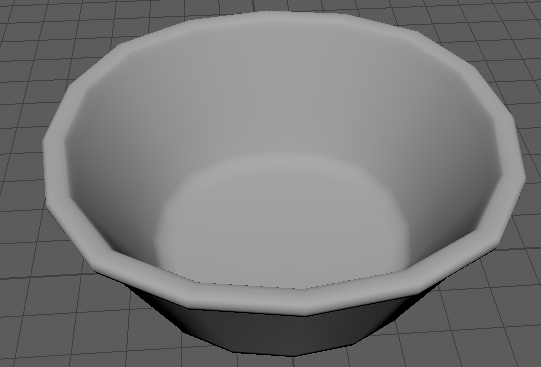
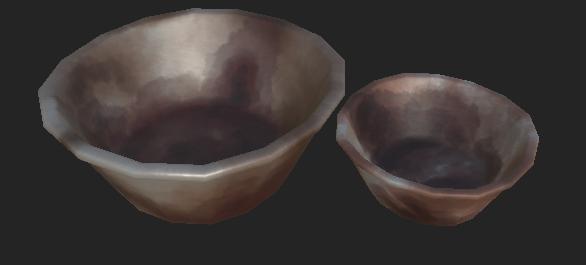
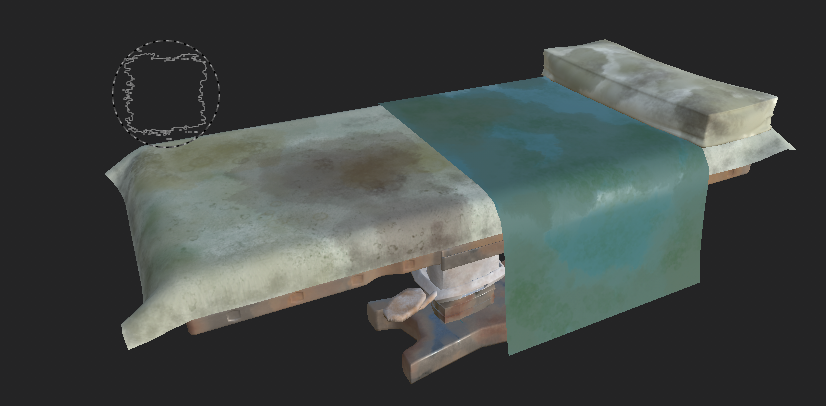
I’m not sure if design decks are mandatory but I dont really completely understand what they are. They seem like a kind of art book to show your progress and i dont really have anything done right now besides the animal models and rigs which took me ages as i couldn’t get my head around how to paint skin weights to get realistic movements, and a planet concept design so I cant exactly make one of these at the minute as i dont have enough material to put in it.

As for promoting my work, I’ve noticed that the easiest way to get your name out there nowadays is making use of social media and the reach you can get through use of appropriate hashtags and topic tagging. Networking to other people in your area politely explaining that you’re making an animation, or have made one and you would like to get your name out there, letting them know exactly who you are, what you do and what you’re hoping to achieve with your degree, as a good word with people can give your potential employers good impressions and show you’re keen to work. Making a website specifically for your work or your project and the behind the scenes could also help generate an audience.

After receiving feedback from tutors, peers and family members, I decided to make my poster in 3D space with the characters and assets I had created for my major project animation. I used photoshop to clean up some lines that were cramped and messy from the contour outline renders, added stars and constellation lines by first going in with a hard brush on in size 14, then using a colour dodge layer above, using a soft brush with a size of 18 as this would make the stars look like they are glowing softly. I only used lines with a thickness of 1 as I thought this nicely complimented my designs and made them seem more elegant with fine lines rather than big heavy lines that might overshadow the characters and draw too much attention. I chose a regal looking font that looks nice and is easily legible, and added some little arcs and stars surrounding it to make it seem more alive. It didn’t quite achieve the effect I was going for like in the 2D concept, but it still looks nice. I chose the white fonts as they contrast well with all the colours in the background, as well as the characters, and made it easier noticed by turning down the opacity of the nebula, planet, and characters individually until I reached the desired look.

For my business cards, I went onto Vistaprint and used their design place to import images I had made in illustrator and arranged them to make a nice background with contrasting white stars and lettering, adding in my contact information, my brand name and of course my profession, added some complimentary clouds and some of my characters to tie it all back to my animation. These photos are a little bad quality and have an unwanted ring around them as Vistaprint wouldn’t let me download my designs, even though i paid for them, so i had to screenshot them.

I then changed it slightly as I want to put my design onto a hoodie, keyring and pen for display to seem more professional, as it shows ive put thought into promotional materials.

As for my display, I am going to put a light purple tablecloth over my half, and I have bought 3 wooden stars i am going to spray paint gold to set my stuff ontop of as this will make it stand out. I have made a cardboard bear and a clay bear to set on my dispay on these stars beside my mug of pens and business card holder. The clay bear is going to be painted like my character, and will hold a business card to show off the back of the design, while the rest sit in a card holder. I have also bought a book I am planning to paint like the one in my animation and give it some turnable pages about made up constellations.

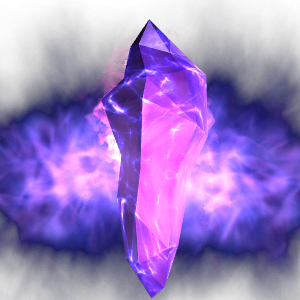
Over all, I am pretty happy with how my designs have turned out, especially my business card and the nebula i created in after effects as seen on my portfolio. I’m not too great at designing so my table wont be anything too special, but i have tried to think of promotional materials to push my brand out there.

As for my career path, I don’t know if its something you usually get on these blogs, but I don’t think I want to pursue animation anymore, as I find it very stressful when the software plays up and things don’t go as planned, taking days to fix. I think I might continue it as a hobby until I get to where i want to be but I think for now I might look into coding apprenticeships, as that is a more logical side of things and will always have a “right” and a “wrong”. However, I did really enjoy this course and the last few years have given me a lot of knowledge and insight needed to continue to grow and learn.

Personal development

For this assignment, we had to take a piece of audio, be it a song, voice clip or a part from a movie, and animate a short 8-12 seconds scene.

I was watching quite a lot of impractical jokers before doing  this project, so it gave me a lot of inspiration from this certain clip that i like a lot where one of the jokers, Sal, is in a chair being controlled by his friends and he has to do/say whatever they tell him or he loses the challenge. The specific part i chose was when they drive him up to a random man and he has to tell them to come with him if they want to live, as there isn’t a lot of time. 00:25-00:34

I also found this YouTube video to help me with the zombie shuffle movement

To help with a majority of the movement, i had recorded myself acting out the scene and had gone over it in syncsketch, but I’m not comfortable with sharing the footage here. I also used these images to help with the dogs walk and tail movement, as well as feedback from friends and family.

Below is a playblast of the animation i created for this assignment, I used two different rigs from here: https://animationmethods.com/rigs.html and here are the individual links: https://www.squigglyrigs.com/product/thep/ https://brandonschaal.gumroad.com/l/Douglas

This was a little tasking to work on, as i had a few other assignments to focus on as well as this, and with the deadlines all so close together, and the games project needing so much attention all the way through to the end, i found it hard to make time for this.

Being my first time animating lip syncing, i think i did alright but there’s parts I tried to fix, such as the dog sliding along the ground at the start, that i just couldn’t figure out no matter what.

Despite having a few problems, i still found this fun to work on and i think its encouraged me to try more lip syncing in the future to familiarise myself with it and hopefully improve. My knowledge of camera angles could also be improved, as i couldn’t find a better angle than a side view, though the characters do have more movement that can be better seen from other angles, I feel this is the best looking angle.

Portfolio – Sciophobia

For the assignment, I was grouped with 7 other people from both Animation and Games Design to create a game, which we called Sciophobia, which is about a reporter in the 2000’s exploring an abandoned underwater facility and the experiments that went on within.

My part within this project was to make some of the assets that went into the game, as well as texture a few of them in Substance Painter.

Final game playthrough made by Joe Burnett:

Crocodile light: modelled and textured by me

Old Soviet fluorescent light: modelled and textured by me

Theatre operation table modelled and textured by me

Operation dishes and scalpels by me

Microscope: Modelled by me, Darren textured it for the game

Blackboard with chalk and eraser: modelled by me, textured by Darren for the game

Bunsen burner modelled by me

Crucibles modelled by me

Desk variation 1 modelled by me

Desk variation 2 modelled by me

Desk variation 3 modelled by me

Desk variation 4 modelled by me

Keypad modelled by me

Flask variation 1 by me

Flask variation 2 by me

Filter funnel by me

Funnel flask by me

Safety goggles by me

Spatula by me

Coat hooks by me

Measuring cylinder by me

Box of needles by me

Petri dish variation 1 and 2 by me

Short round flask by me

Tall round flask by me

Test tube stand by me

Thermometer, tongs and tripod by me

Syringe and test tube by me

Vertical Slice Project – Starting on the theatre

At this point, I forgot to keep track of anything ive been writing down in my note pad as everything was starting to get stressful with multiple assignments coming up  so unfortunately i cant go week by week anymore.

Starting to gather reference images for the operation room, i talked to team mate Tori about who was doing what for the theatre and got in contact with Darren who offered to texture everything we’d modelled and our future models to speed up the pace of everything.

For the pillow, blanket and sheet on top of the blanket i used ncloths.

Next i worked on a scalpel which was done within 5 minutes:

I duplicated the original, scaled it down a little and gave it some ridges like in the reference above.

I did want to work on more tools but level designer Joe told me we ha more than enough models for labs and the theatre, since models from the labs could also be used here such as the crucibles, tongs, syringe, etc.

My final model was an operation dish which once again, i duplicated and scaled down for variation:

I had to texture a few of my models myself as Darren was running out of time and had a lot on his plate already, but I didn’t mind, things happen all the time in the industry so you have to expect the unexpected and be ready for anything. Luckily i was able to get my Substance account up and running again after signing up for a new student licence.

Since everything is years old and underwater, I tried to make all the metal rusted and dirty, and i put old dried blood on things in the theatre such as the dishes, scalpels and the operating table. I also tried my best to add mould and sweat stains on the tables mattress, sheet and blanket.