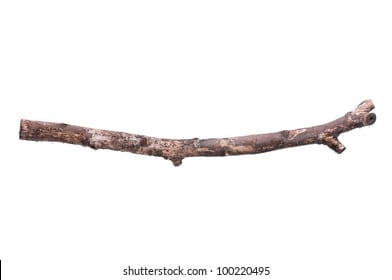
The final thing on my list was making a branch for the assassin to crawl down. I found a nicely shaped branch image on Google and imported it into my Maya scene file. Starting with a cube, I went into front view and sized it down to roughly the same width as my reference image, rotating it and pulling the vertexes down to the first tweak in the branch. Using the multi-cut tool I then added in loop cuts where i thought appropriate to give bend to the branch, using the extrude tool to extrude from the end face and create another section to the branch, aiming it downwards to fit the idea of our animation. Adding more edge loops all the way down the branch, I adjusted each edge and vertex to make sure the branch looked as organic as possible, adding in a little part off at the top to make it feel more dynamic and realistic.
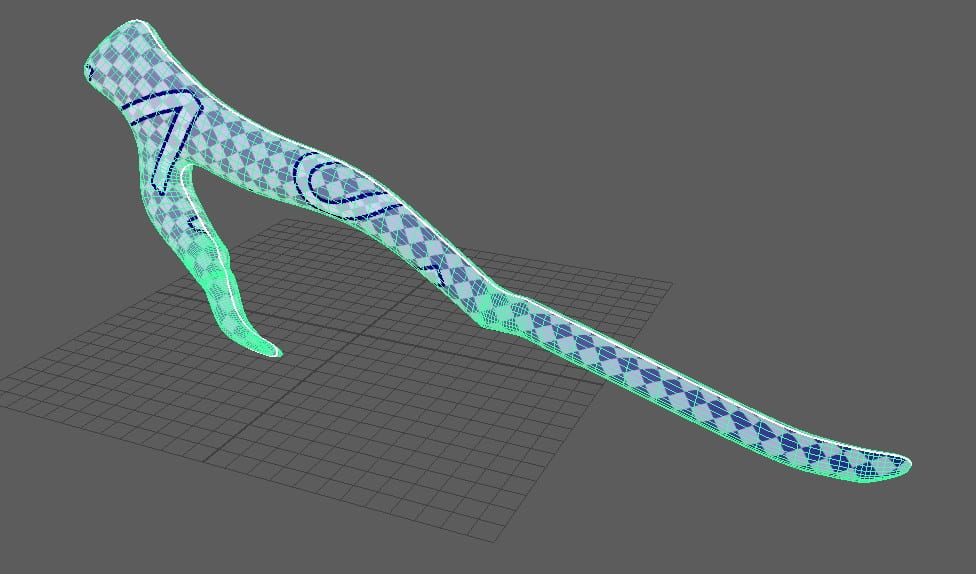
Moving on to UV mapping, it was fairly simple, I opened the UV editor and projected my branch as a planar on the Z axis, located the edge where the UVs started to flip and selected it. I had to do this in two parts so my UVs were evenly split and not all messed up. Selecting the top edges, i made a cut then did the same for each end of the branch and the bottom. Basically I just selected the edge loop that ran through the exact middle of my model and made a cut, pulling the UVs off each other and unfolding them before using the layout tool to make everything neat and proper.
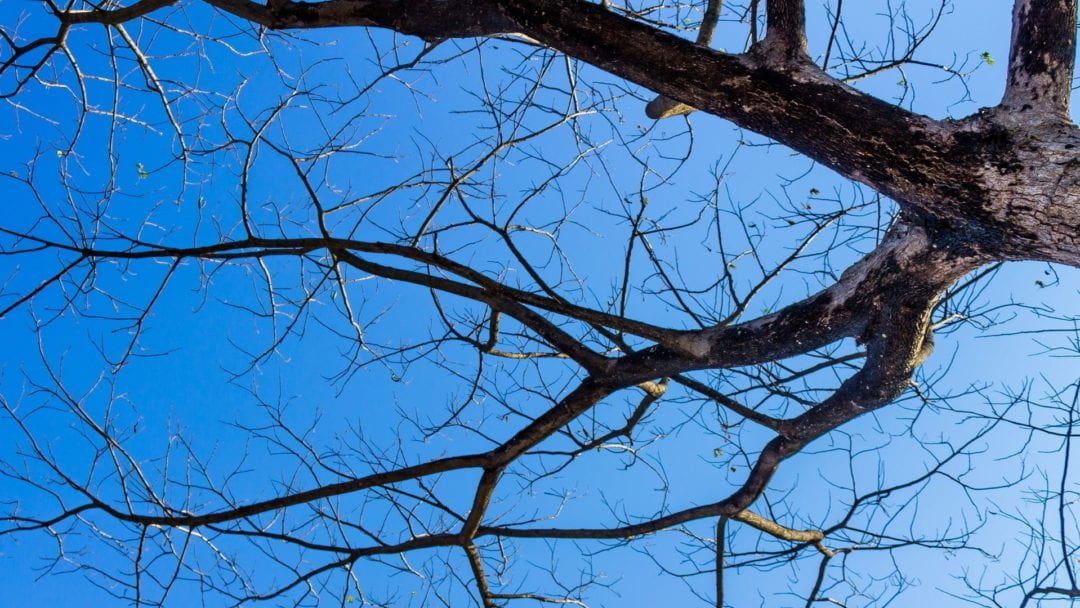
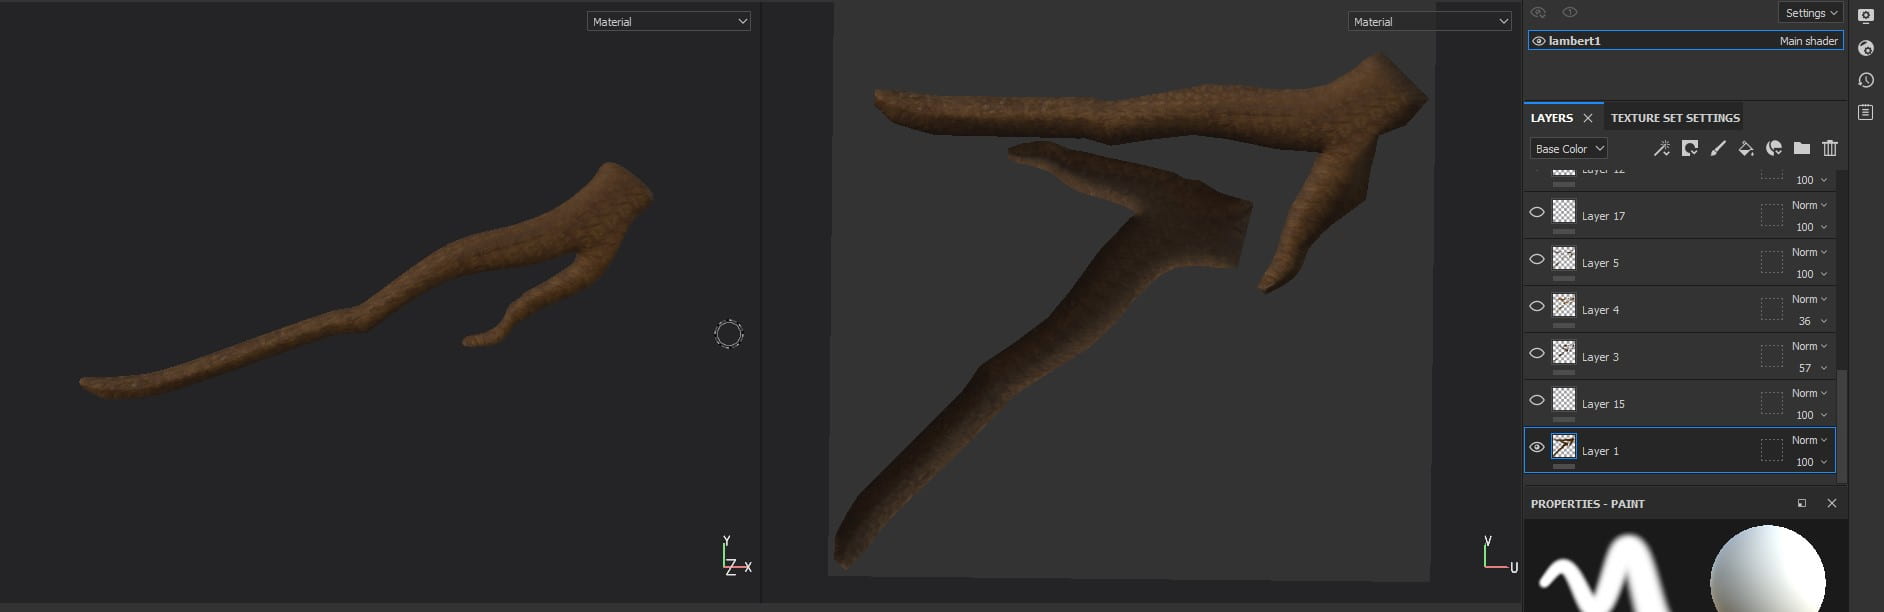
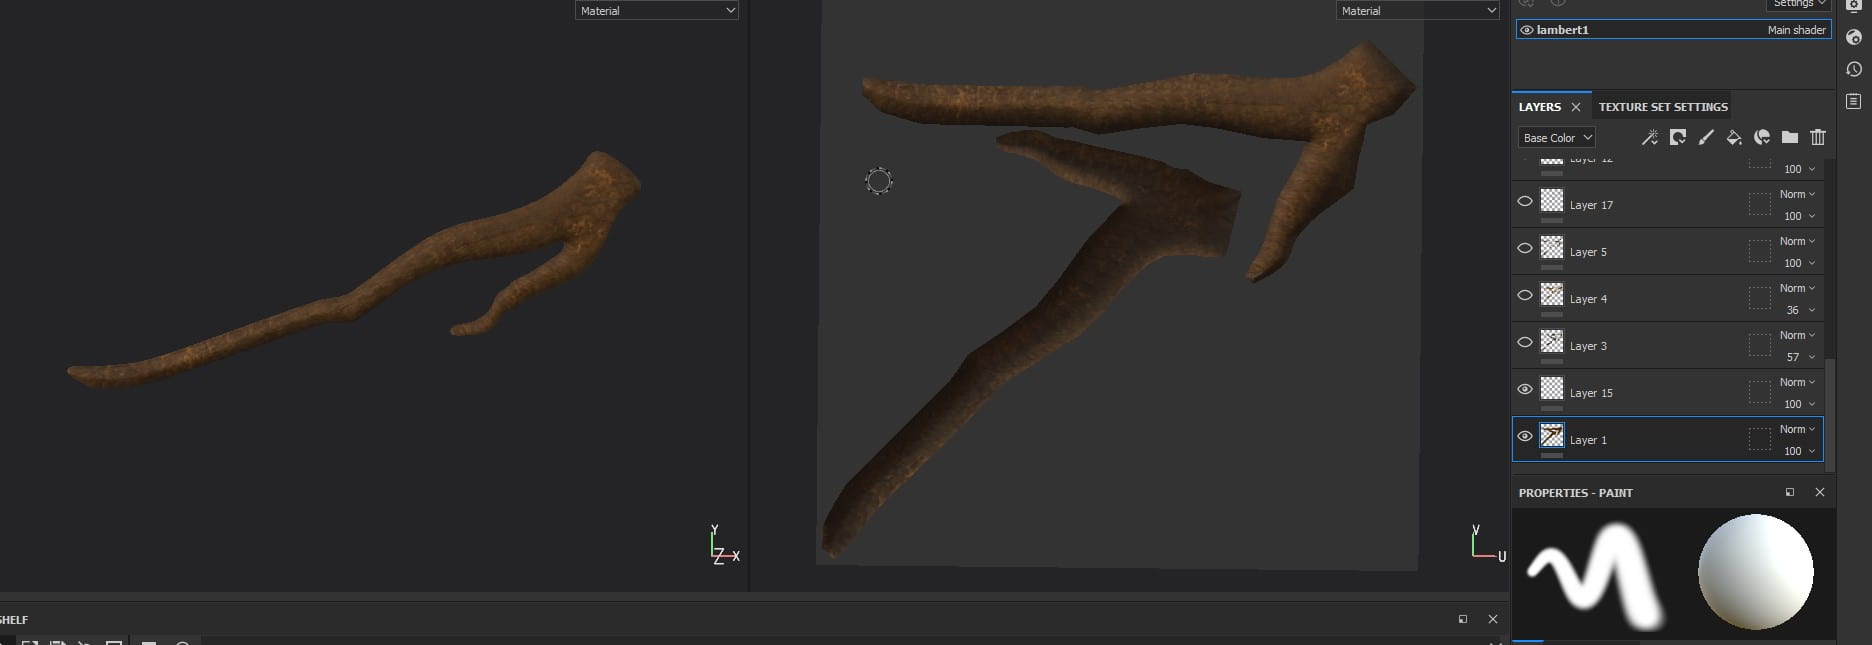
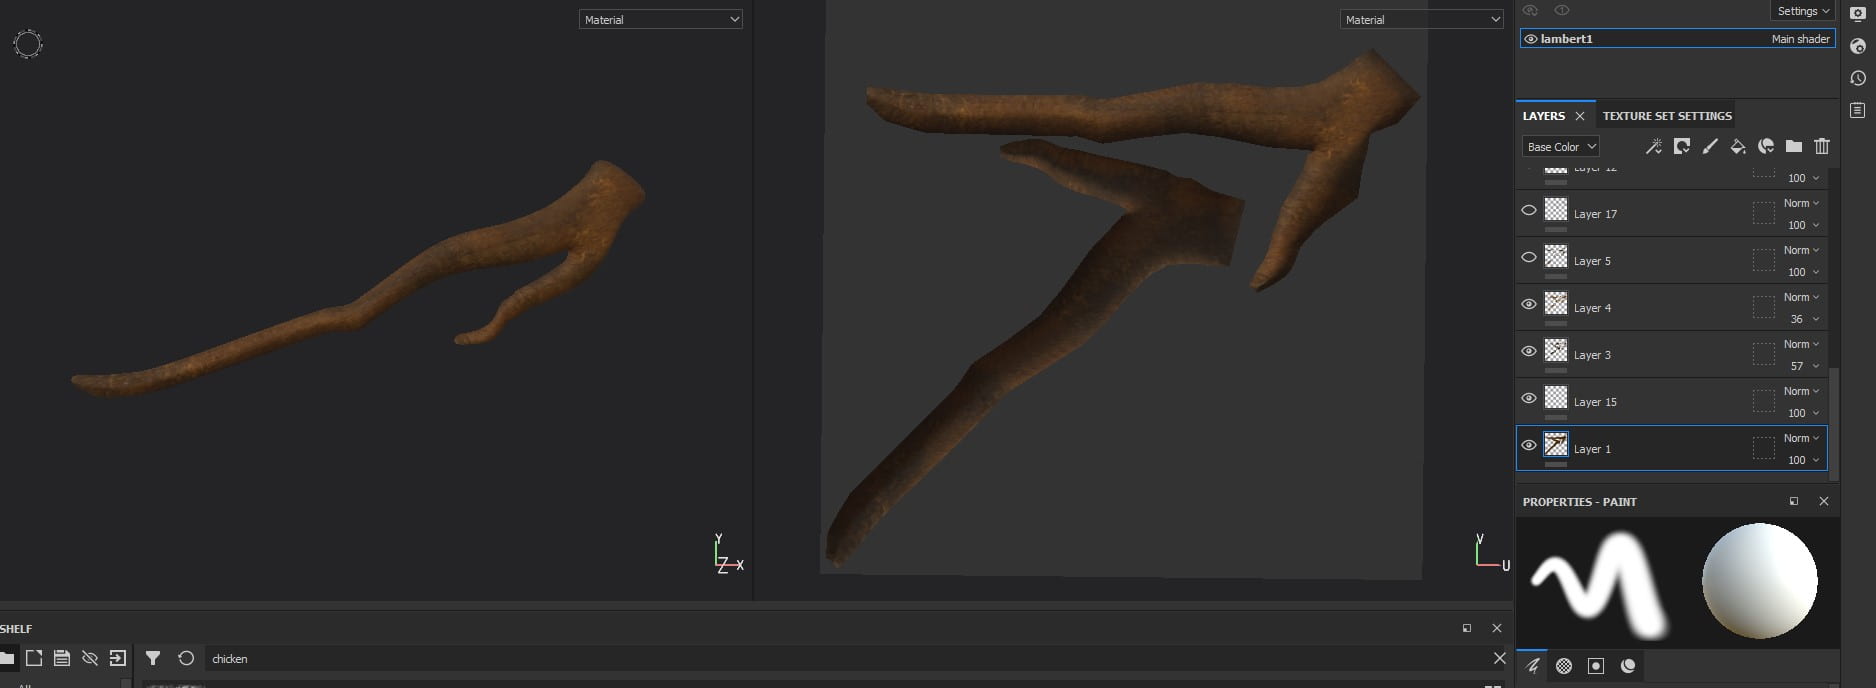
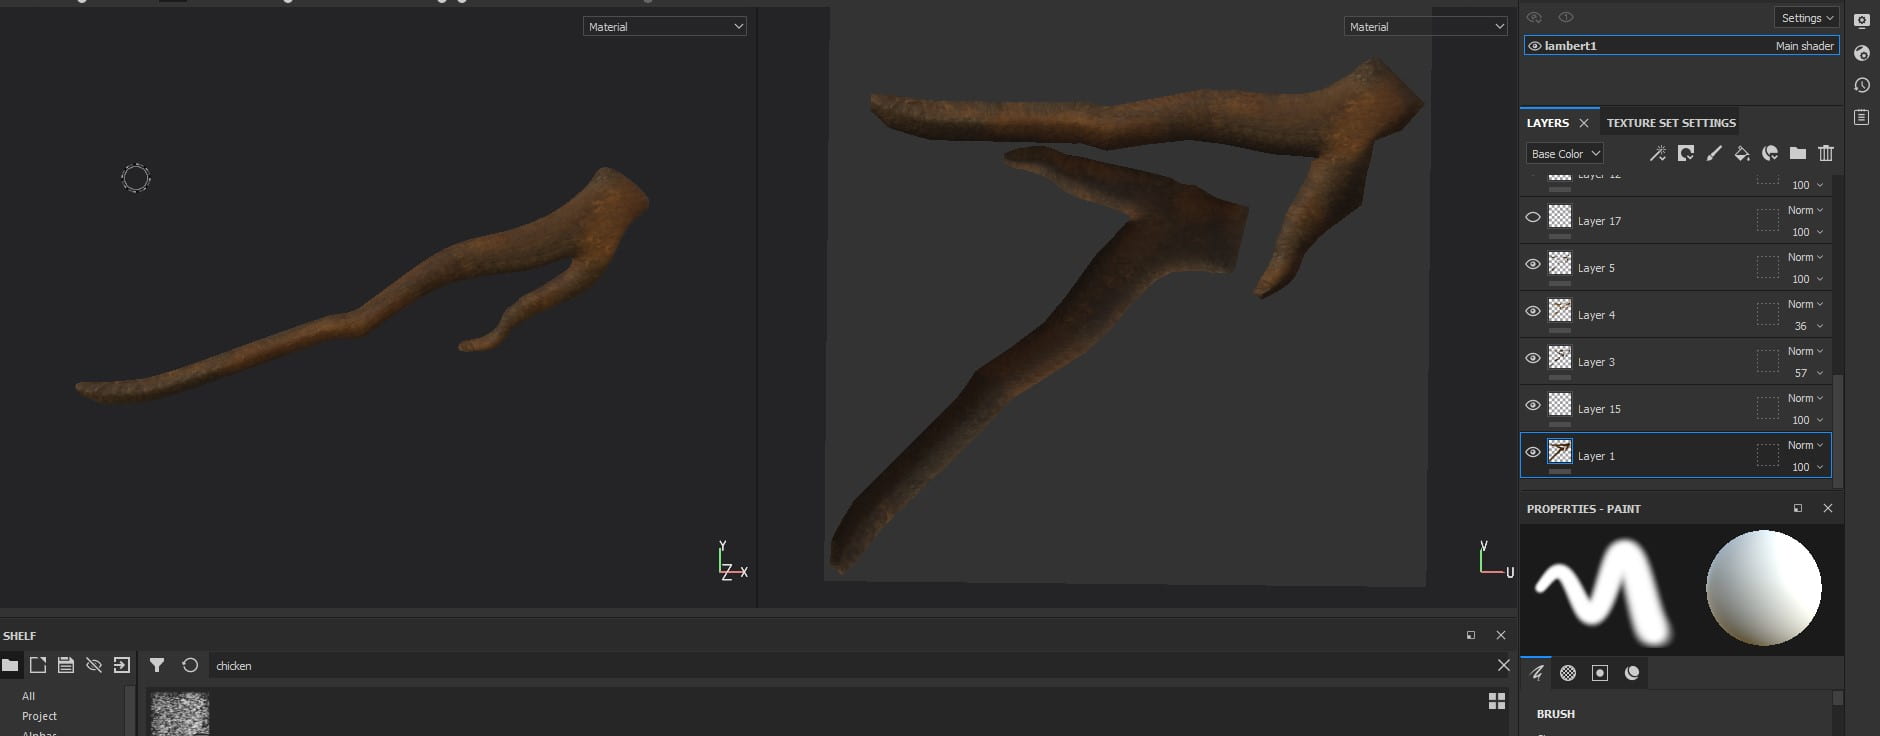
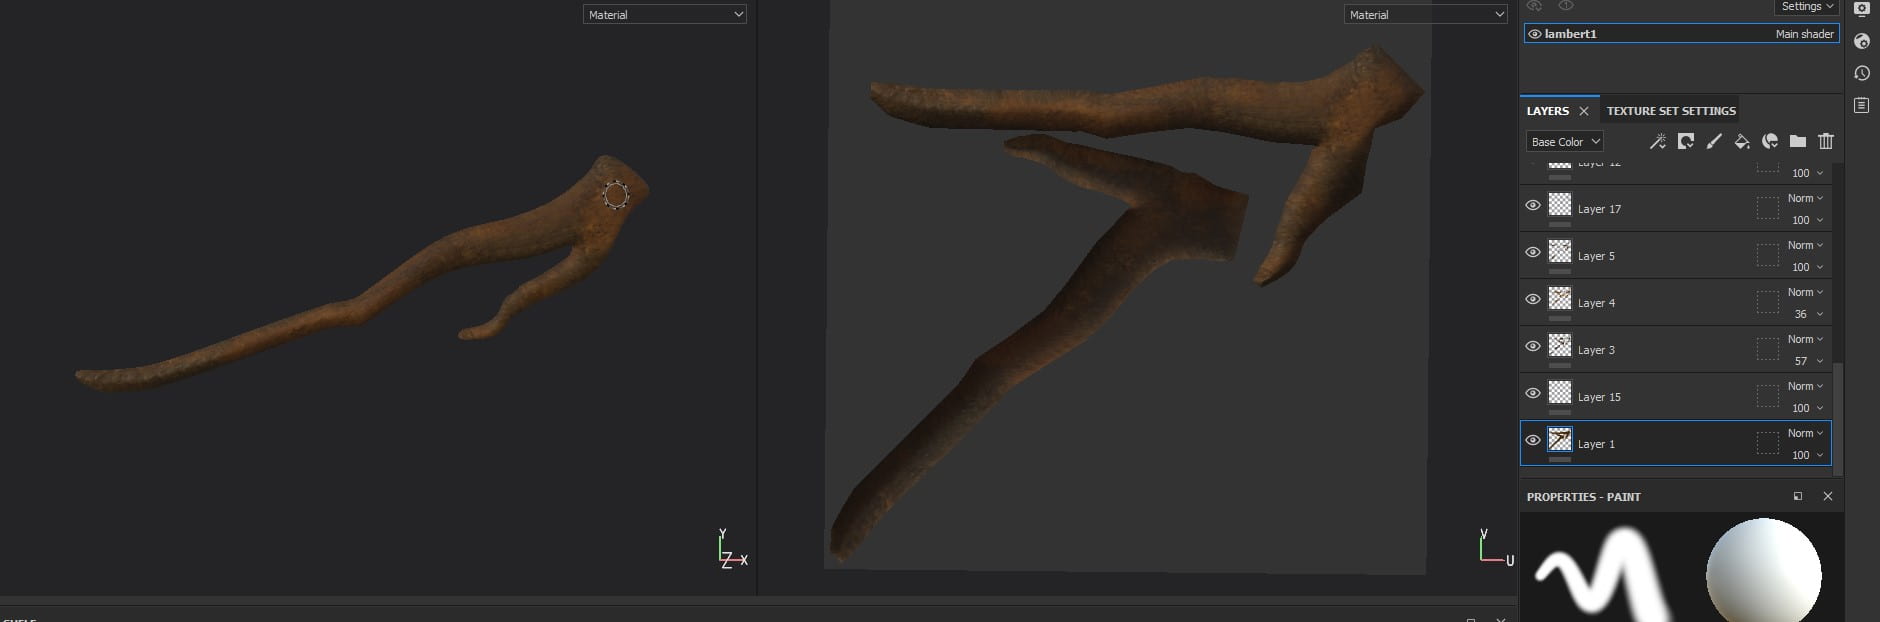
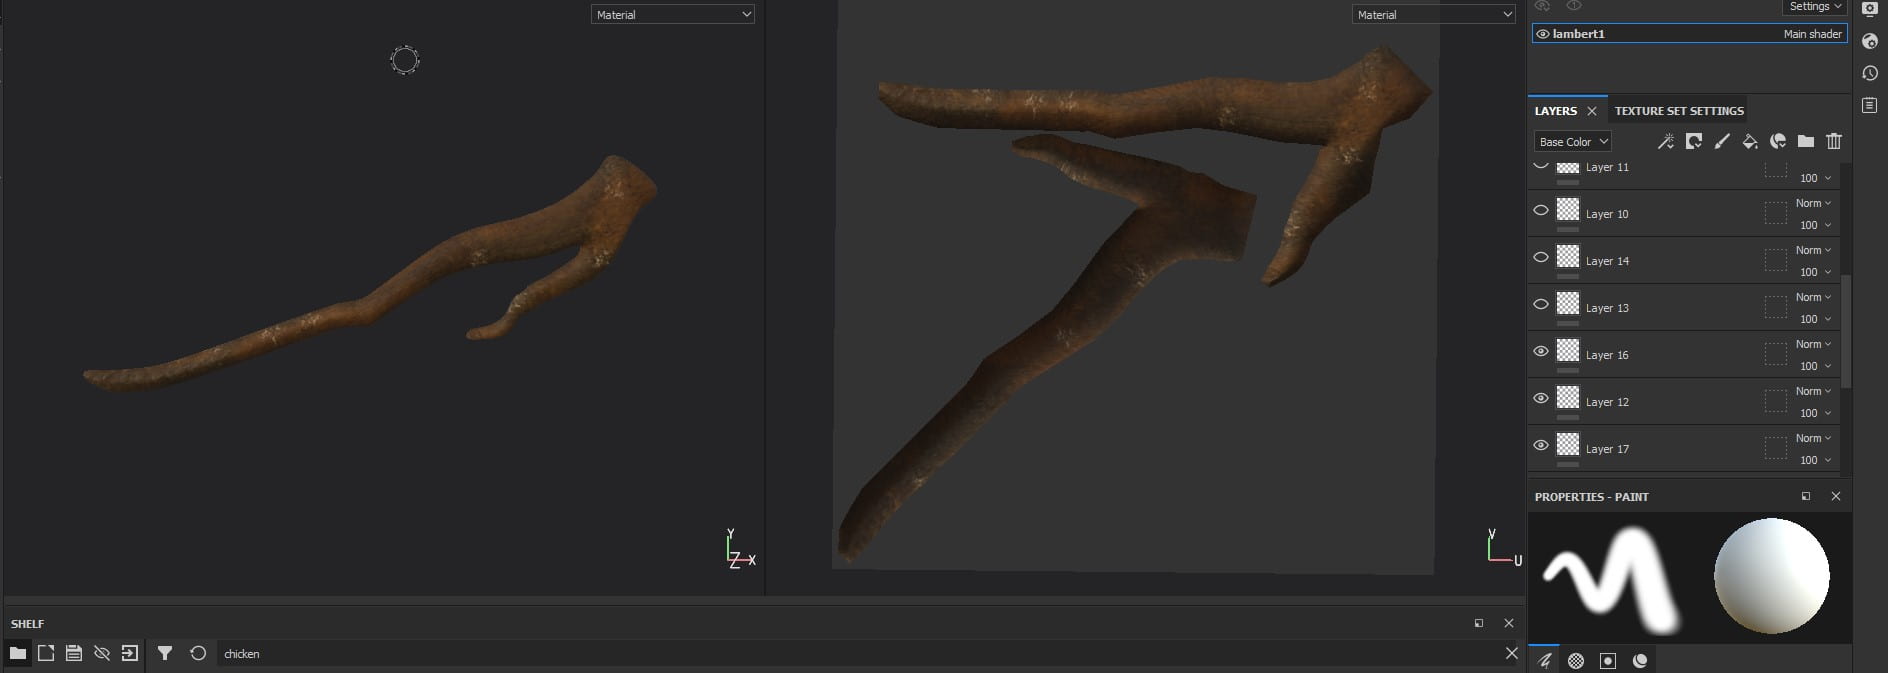
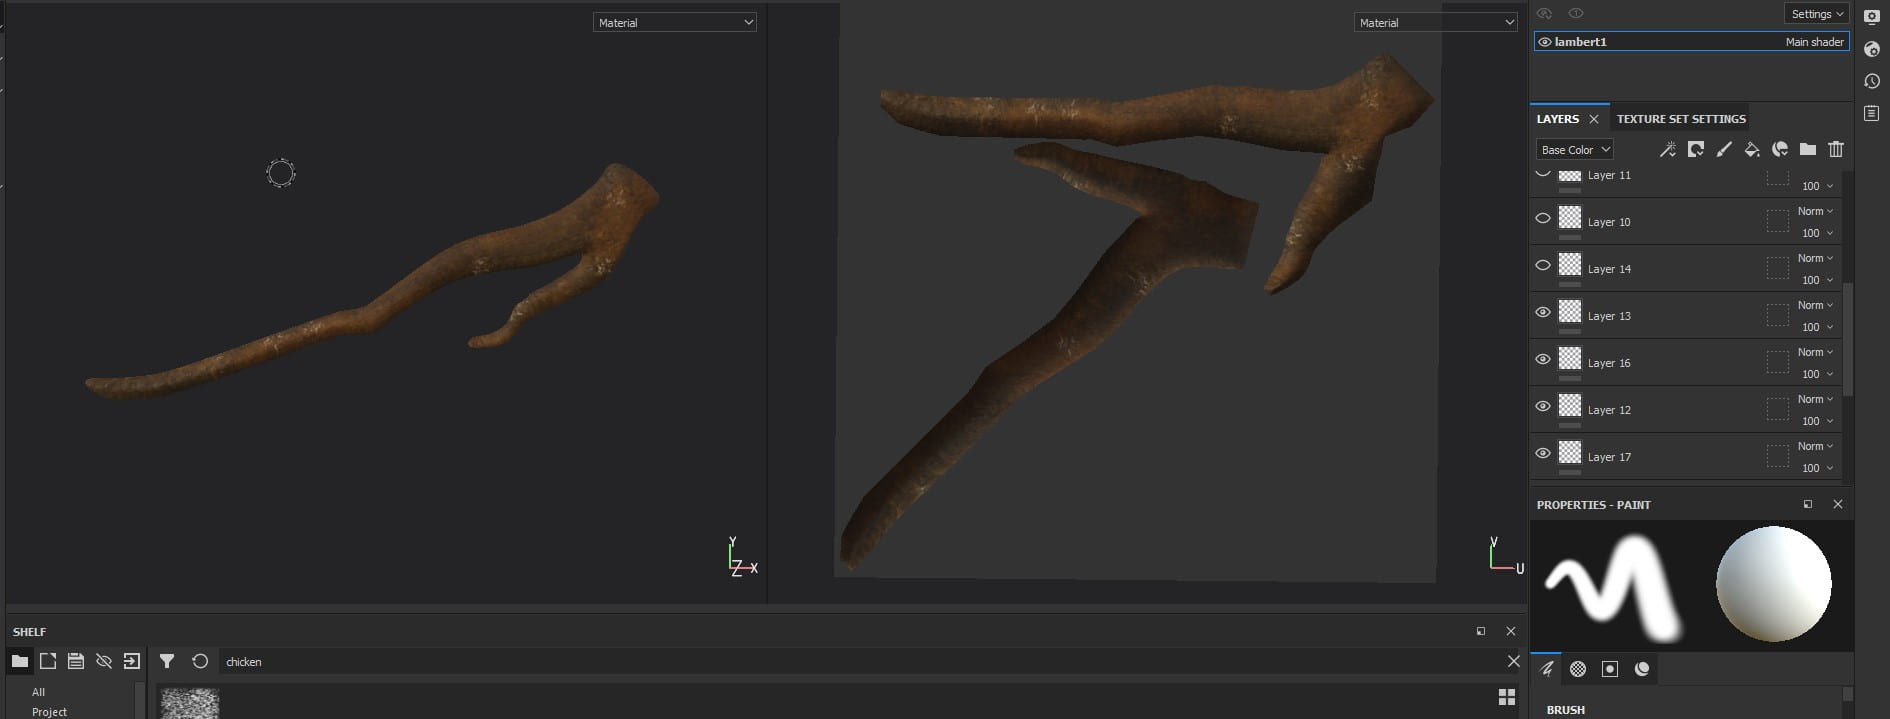
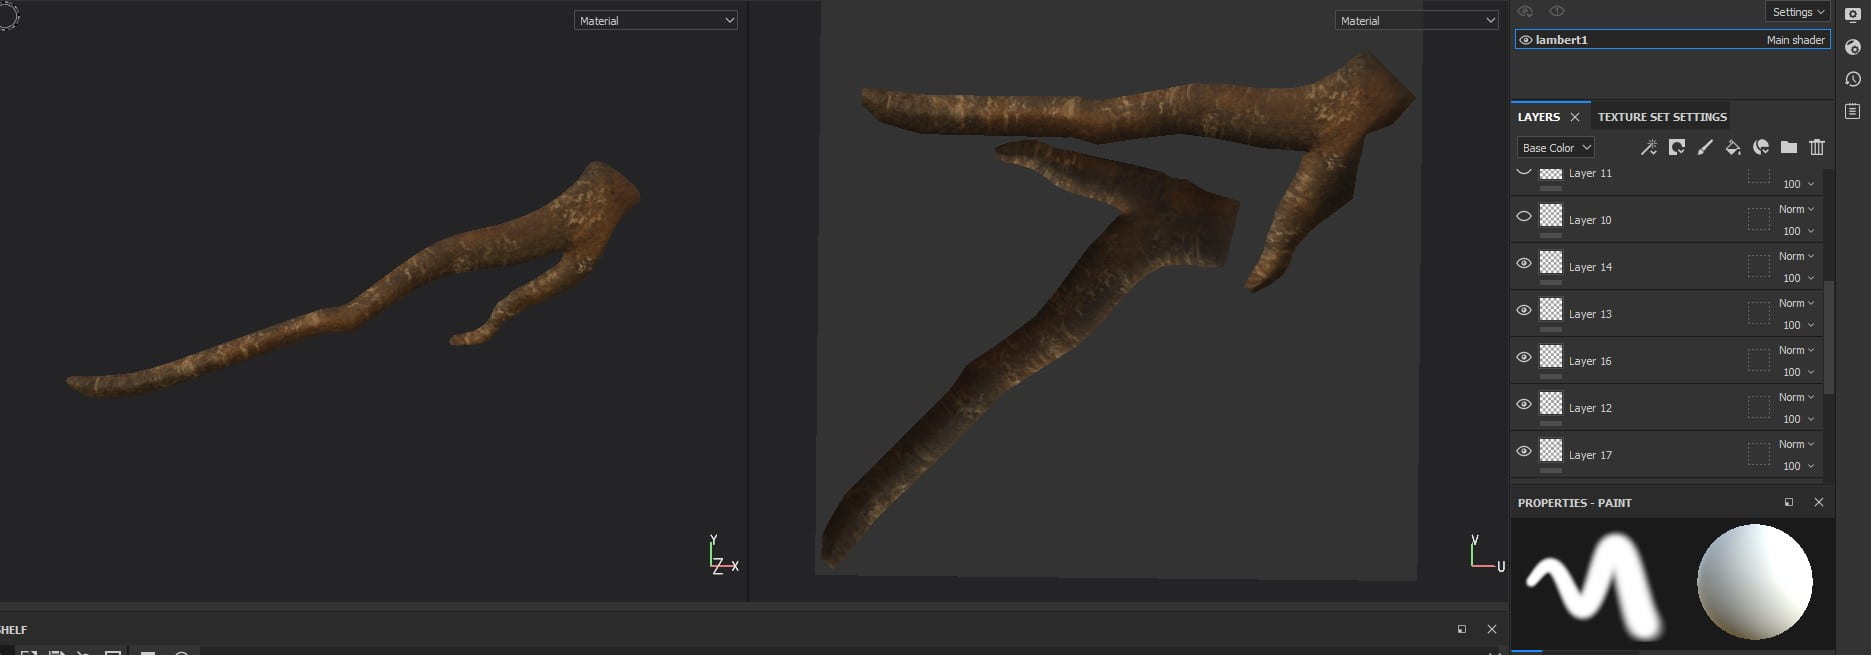
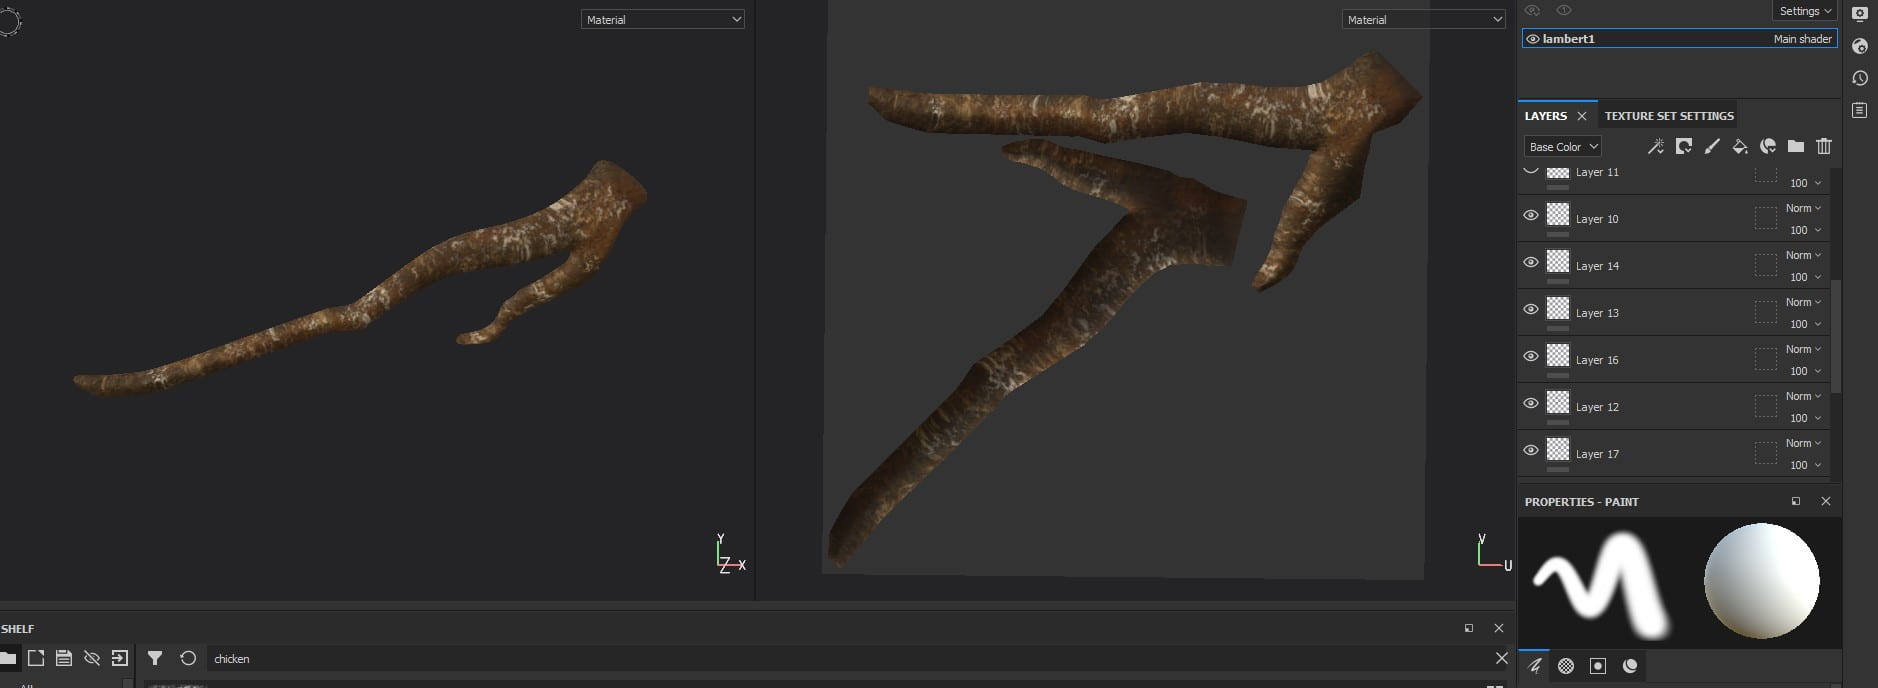
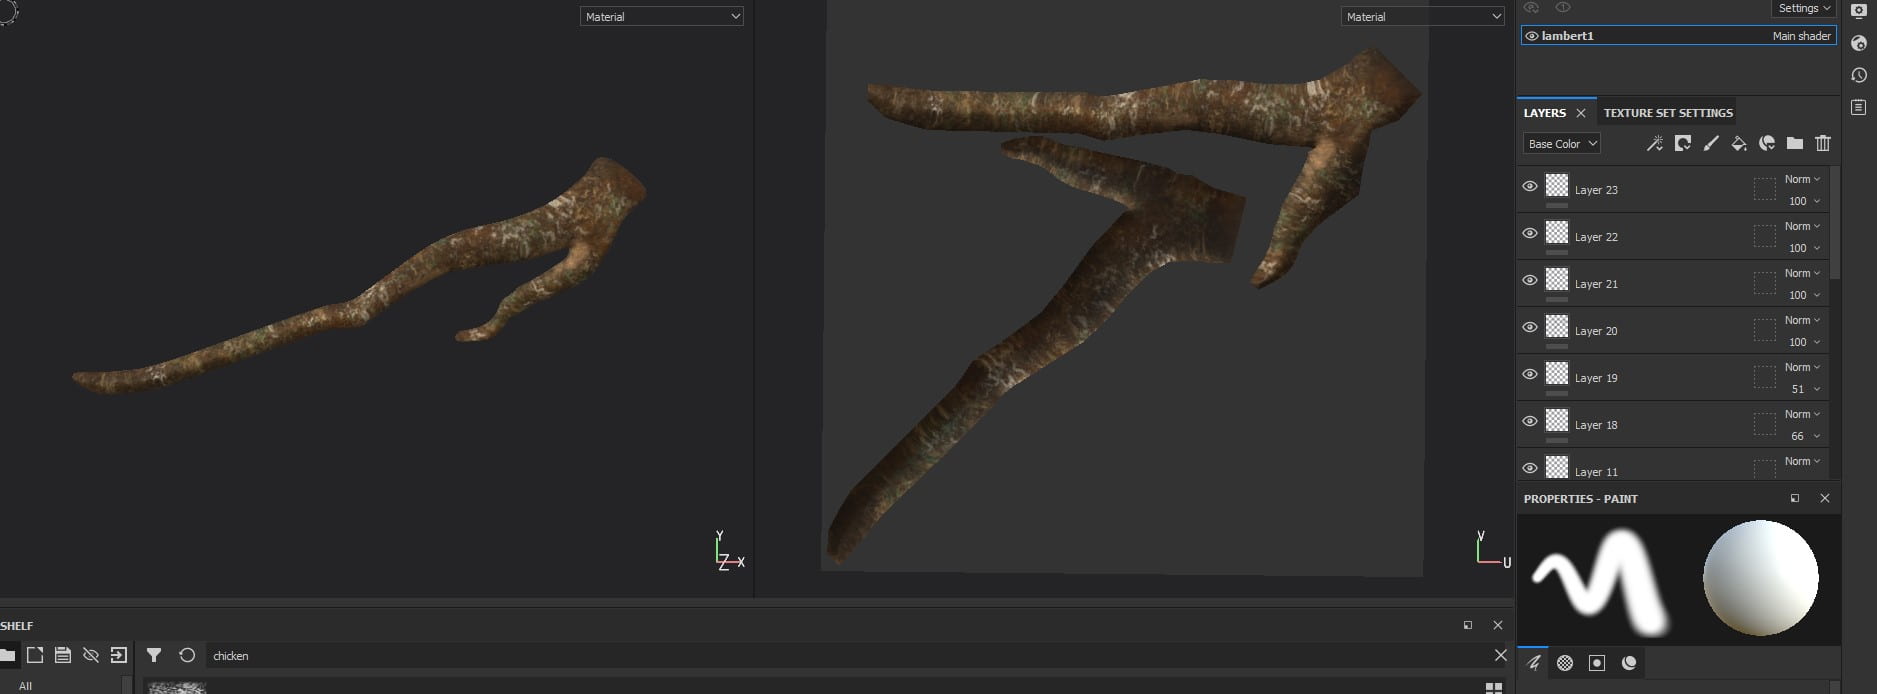
Exporting my branch as an FBX by going to file, export selection and selecting FBX in the dropdown menu then giving my object a name, I was now ready to import it to Substance Painter and give it a texture. I found a really great brush called “dirt spots” and used that for my whole model, layering up the colours like i did on the bird model, just making random dabbles of colour where i thought appropriate while also looking at a reference of course. The darker patches and white patches were meant to represent the odd colouring trees get as they get older and their bark starts to peel away and fall off, as seen in the reference image below. Using a light green and layering it up with darker and slightly lighter tones of green, I selected a new brush called “dirt moss” and painted some moss on the branch, constantly trying to maintain and aim for that realistic look. Once done, I exported the textures through the Arnold setup and brought them back into Maya to plug in, ready to be used for a model.


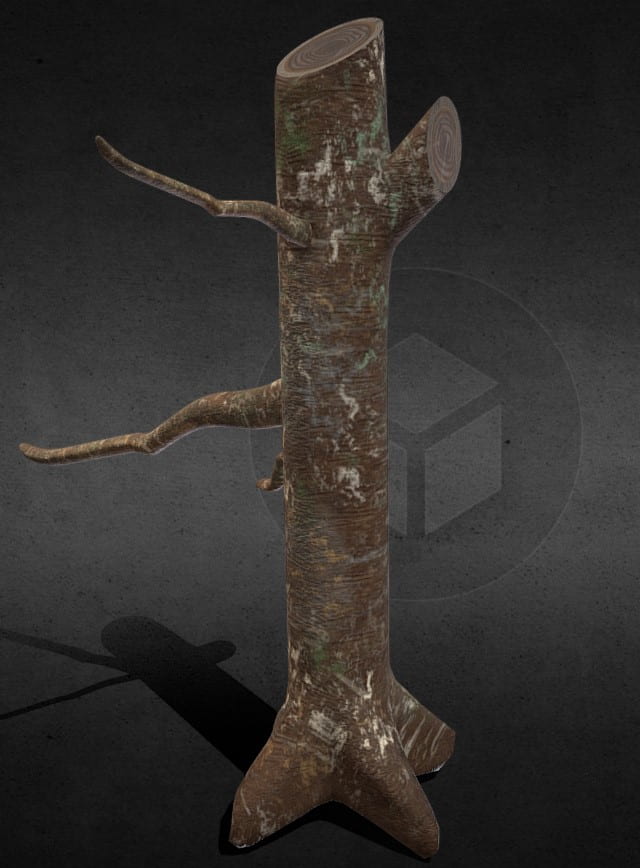
I uploaded this model as well as the feather to my Sketch Fab so you can take a closer look at it. I also have the “whole tree” model up which my classmate, Chloe Bowman designed and modelled the tree, I just textured it with the same technique as my branch, added a few more branches and made it a little taller. The reason for the tree is that we forgot all about the trunk that the branch would be connected to, so Chloe took the opportunity and modelled it for us, texturing it as well. We realised it didn’t fit the texture of my branch so instead of throwing her off, we decided we’d both have a go at texturing each others model and letting the rest of the group pick their favourite, and that would go in the animation. We both agreed on this and knew that even if our design wasn’t chosen, it still made us stronger as a group to make decisions and help us grow in our design skills. Below you’ll find my version of the tree.