Our animation required a model of either a birds beak or feet, and since i was assigned to this task I talked amongst the team and we decided on bird feet, though looking back on it now, the beak probably would’ve made more sense for picking up a snail looking at it from size difference, as the beak could easily grasp the shell and get a closer shot of the snail.
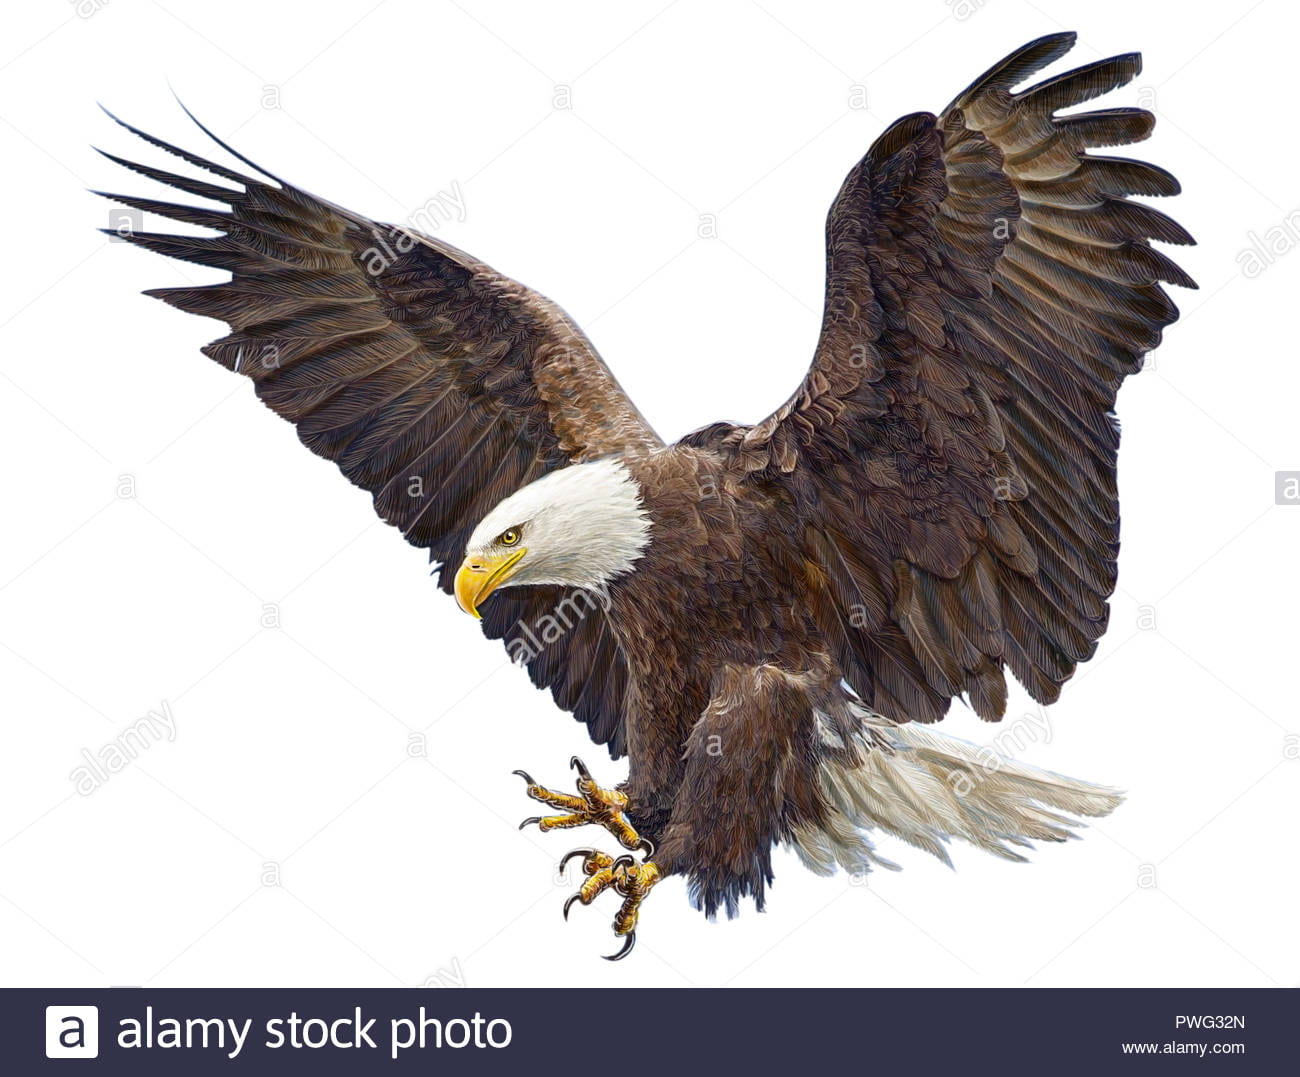
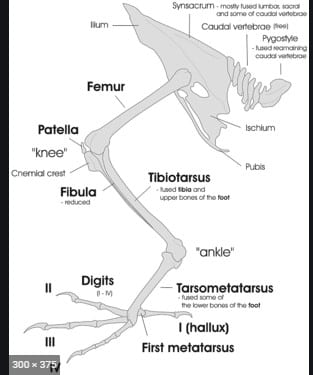
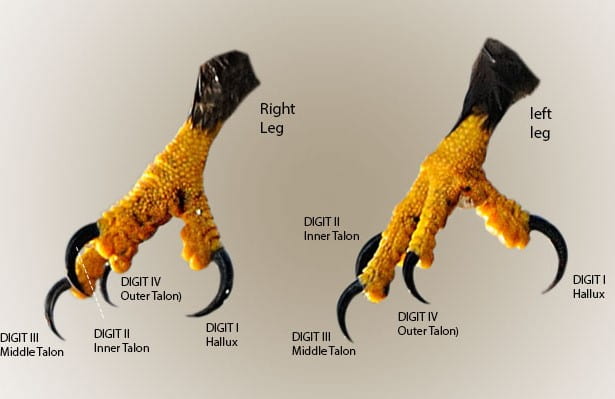
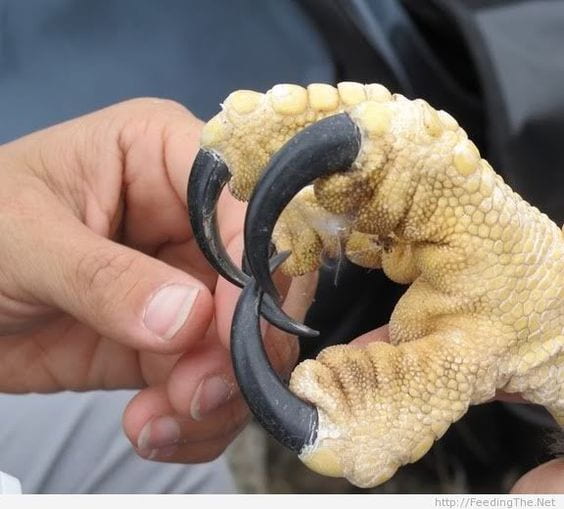
To begin, i got a few references to work off of eagle’s foot bones and their general skeletal structure to help give me an idea of how the legs would bend and function in relation to the hips and how that would then affect the feet.
I started off by using a cube and shaping that into a small, slanted block, this would be the main anchor of the foot where the toes would sprout, and the leg would be attached. For the back toe, I selected the back face of the cube and used a scaled down extrusion to create a smaller quad, then selecting that face, extruded again to make the back toe. It was a little more complicated for the front toes as i had to try section each toe off to the side a little to get the desired effect of a real bird’s foot, but after numerous attempts and failing i decided to just make 2 edges using the multi-cut tool, creating 3 separate faces. From these faces I made extrusions and scaled them down then extruded those new faces to make 3 toes, extracting the faces to make them separate objects and putting them on a slight rotation. Going back to the main cube that is acting as the foot, i selected the top face and extruded it, scaling it down to make a smaller face and extruding that face to make the lower leg of the bird, extruding the top face of this shape to then make the thigh. Finally, I got a cube, used the scale tool to pull it out on the x axis making it a long cuboid and used the multi-cut tool to give it 3 loop cuts. Using the vertex selection tool, i took the middle vertexes and moved them up on the y axis, making an arch shape, before selecting the end vertexes and pulling them down on the y axis. This was going to be the claw that was attached to the end of each toe. Pressing 3 on the keyboard while my object was selected, I previewed what this claw would look like when smoothed and made appropriate adjustments until i was happy.

Before exporting my model, I had to configure the UV maps so I had an even workspace when texturing and to ensure the texture sat correctly on the UVs. To start with, I opened the UV editor from my toolbar, and with my model faces selected, created a planar on the Z axis to begin working from. Switching to edge selection mode, I located the edge where the UVs were red as this is an indication that the UVs are flipped and selected it, navigating back to my UV editor window and using the “cut” tool allowing my UVs to relax which enables me to unfold them then use the layout option to fit them in the box neatly, making adjustments if necessary to get my UVs looking correct. This process was basically the same for each piece of my model as they were all cylindrical shapes except the foot. The foot has four toes sprouting from it which meant there was a bit more of a complication when it came to UV mapping this object. Locating the edge was easy but trying to select the edge wasn’t, i had to keep isolating and pulling it back from isolation when trying to go round the edge loop and select it all since there were breaks in the front and back where the toes sat. From there it was the same process as the rest, using the cut tool and then unfolding the UVs and laying them out. An important step i had to remember whilst sorting out the UVs was to freeze the transforms on my object before unfolding, as this would give me a cleaner unfold and fit the model more accurately.

Once i thought everything in my model was as good as i could get it and looking like the structure of an eagles leg, i selected it all and smoothed it 2 times. I now had the model for my eagle’s feet, which i would then go on to texture and rig since we need it to move. I exported it as an FBX ready to take into Substance Painter and texture.
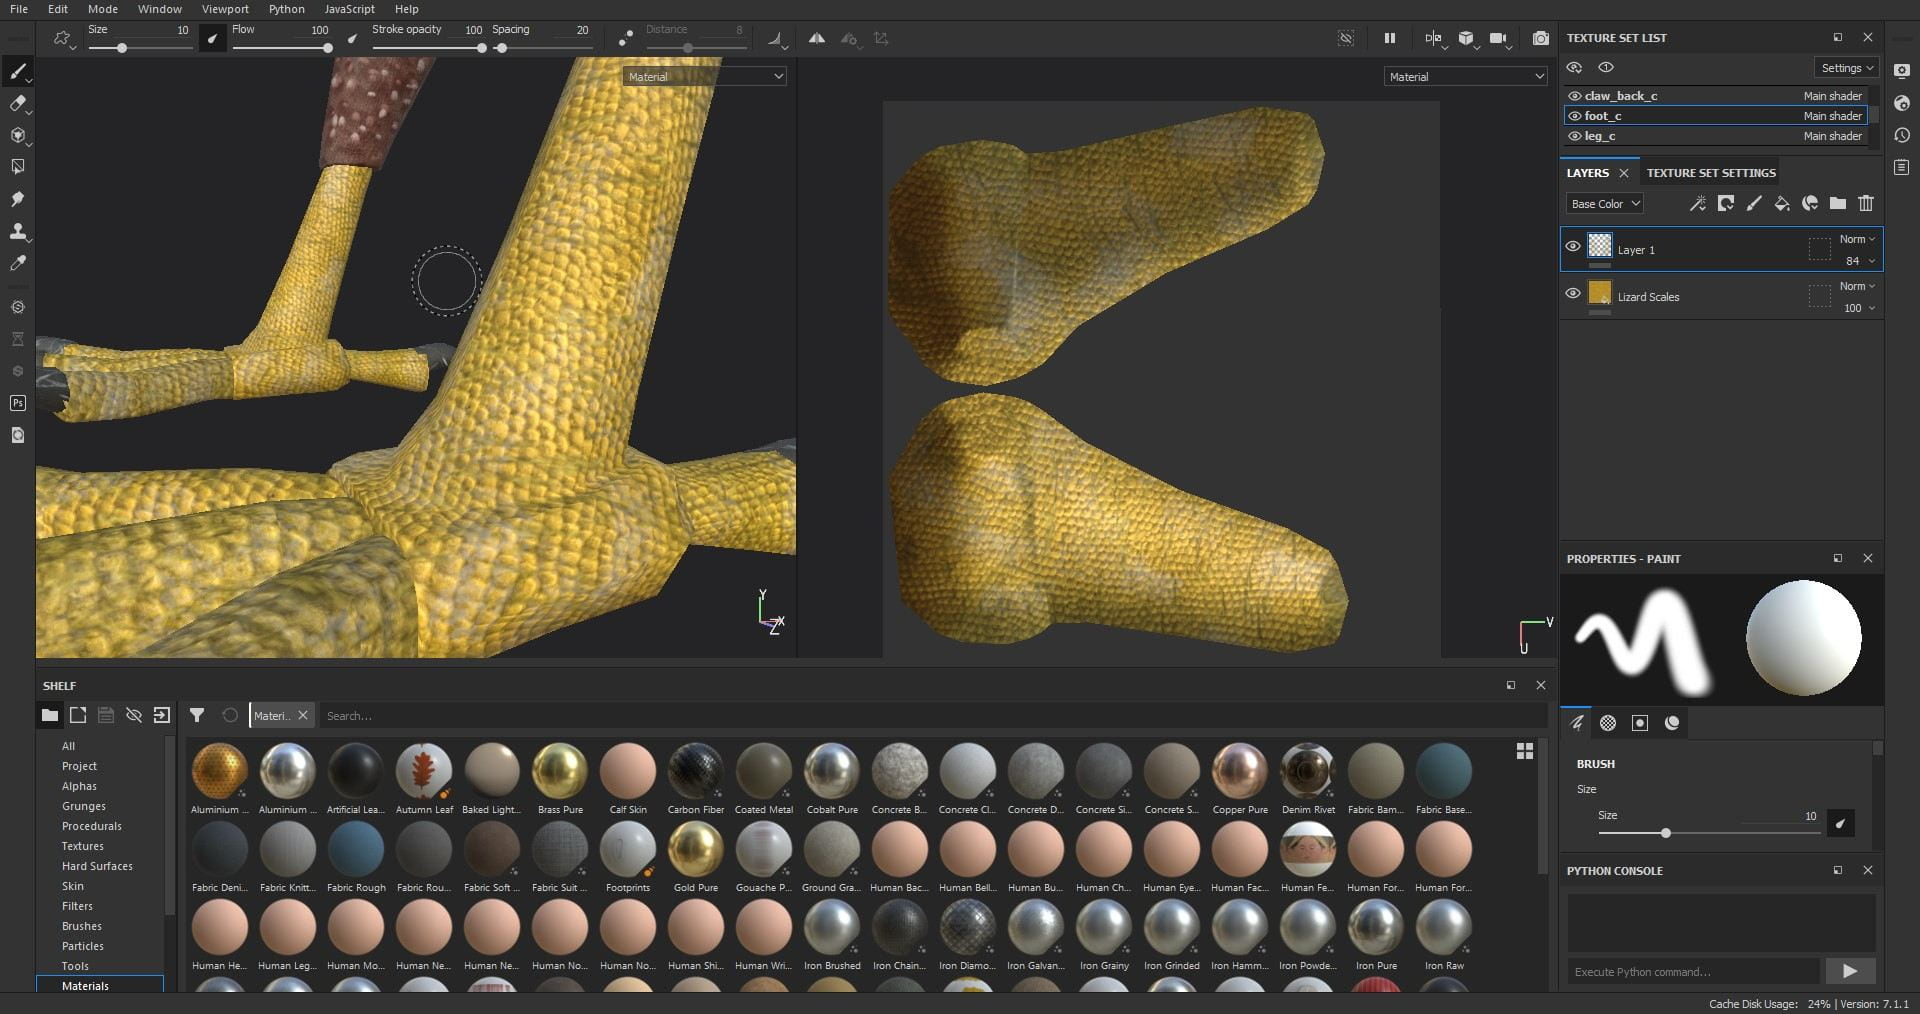
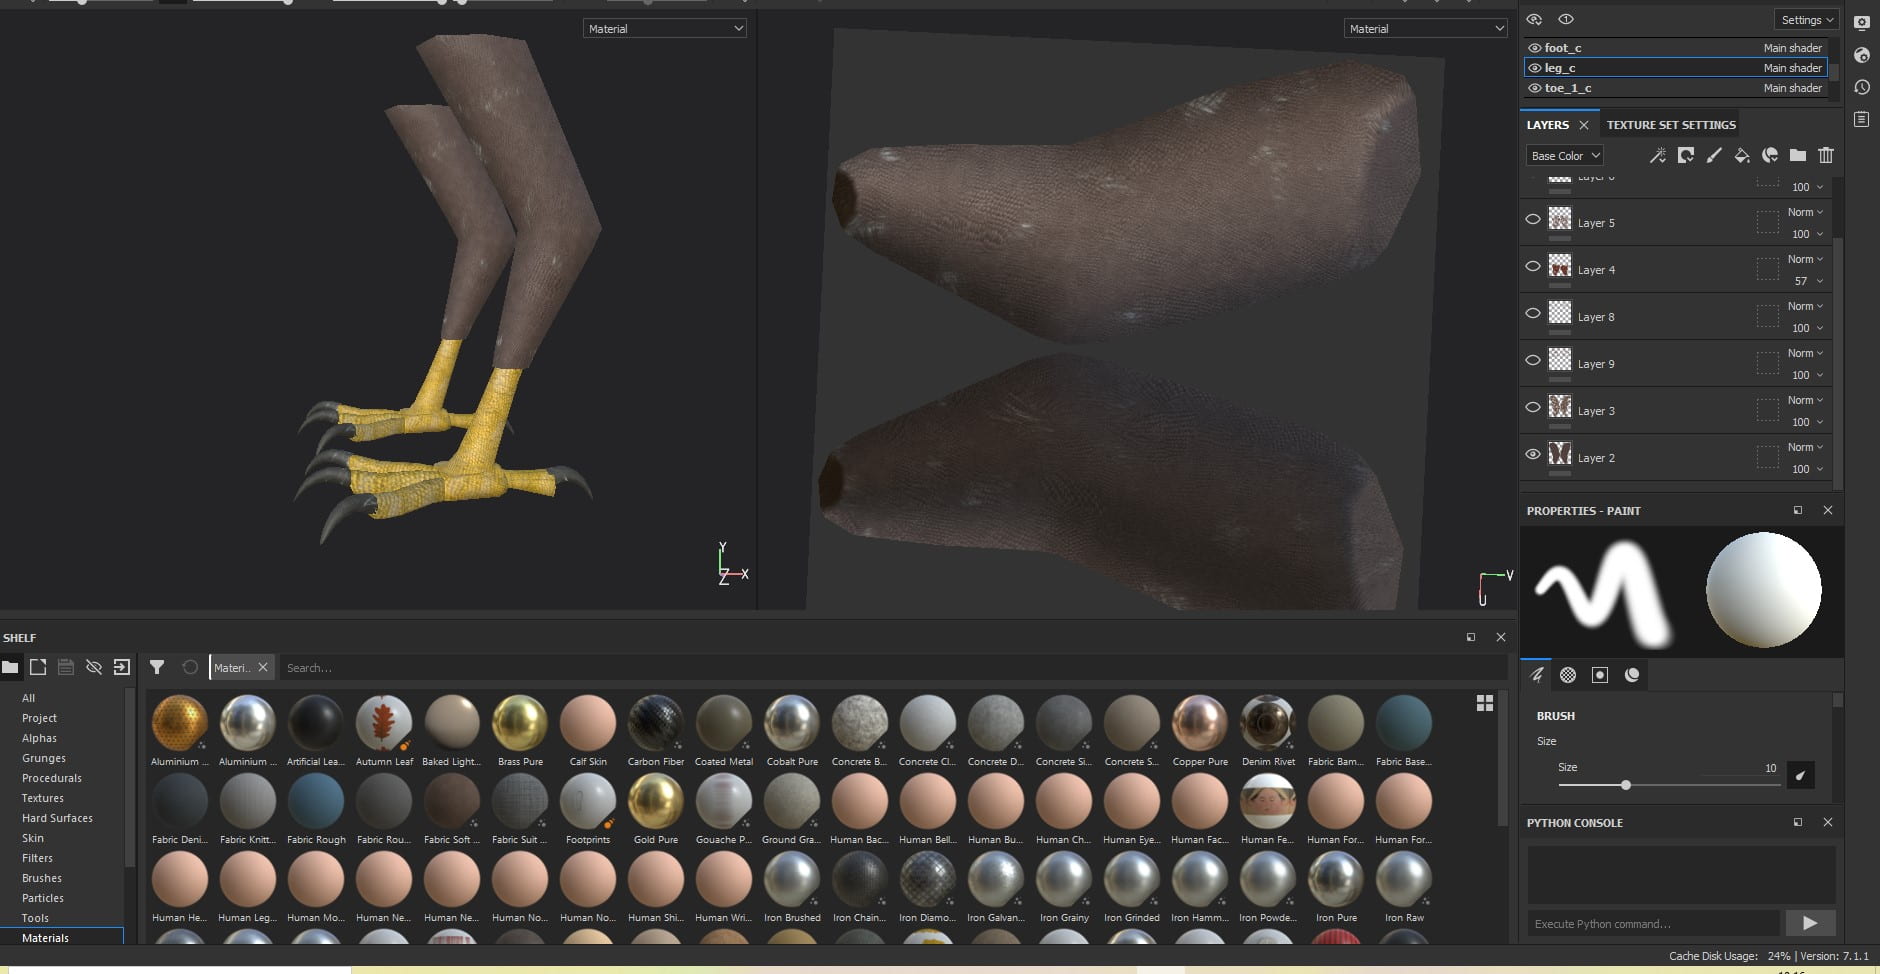
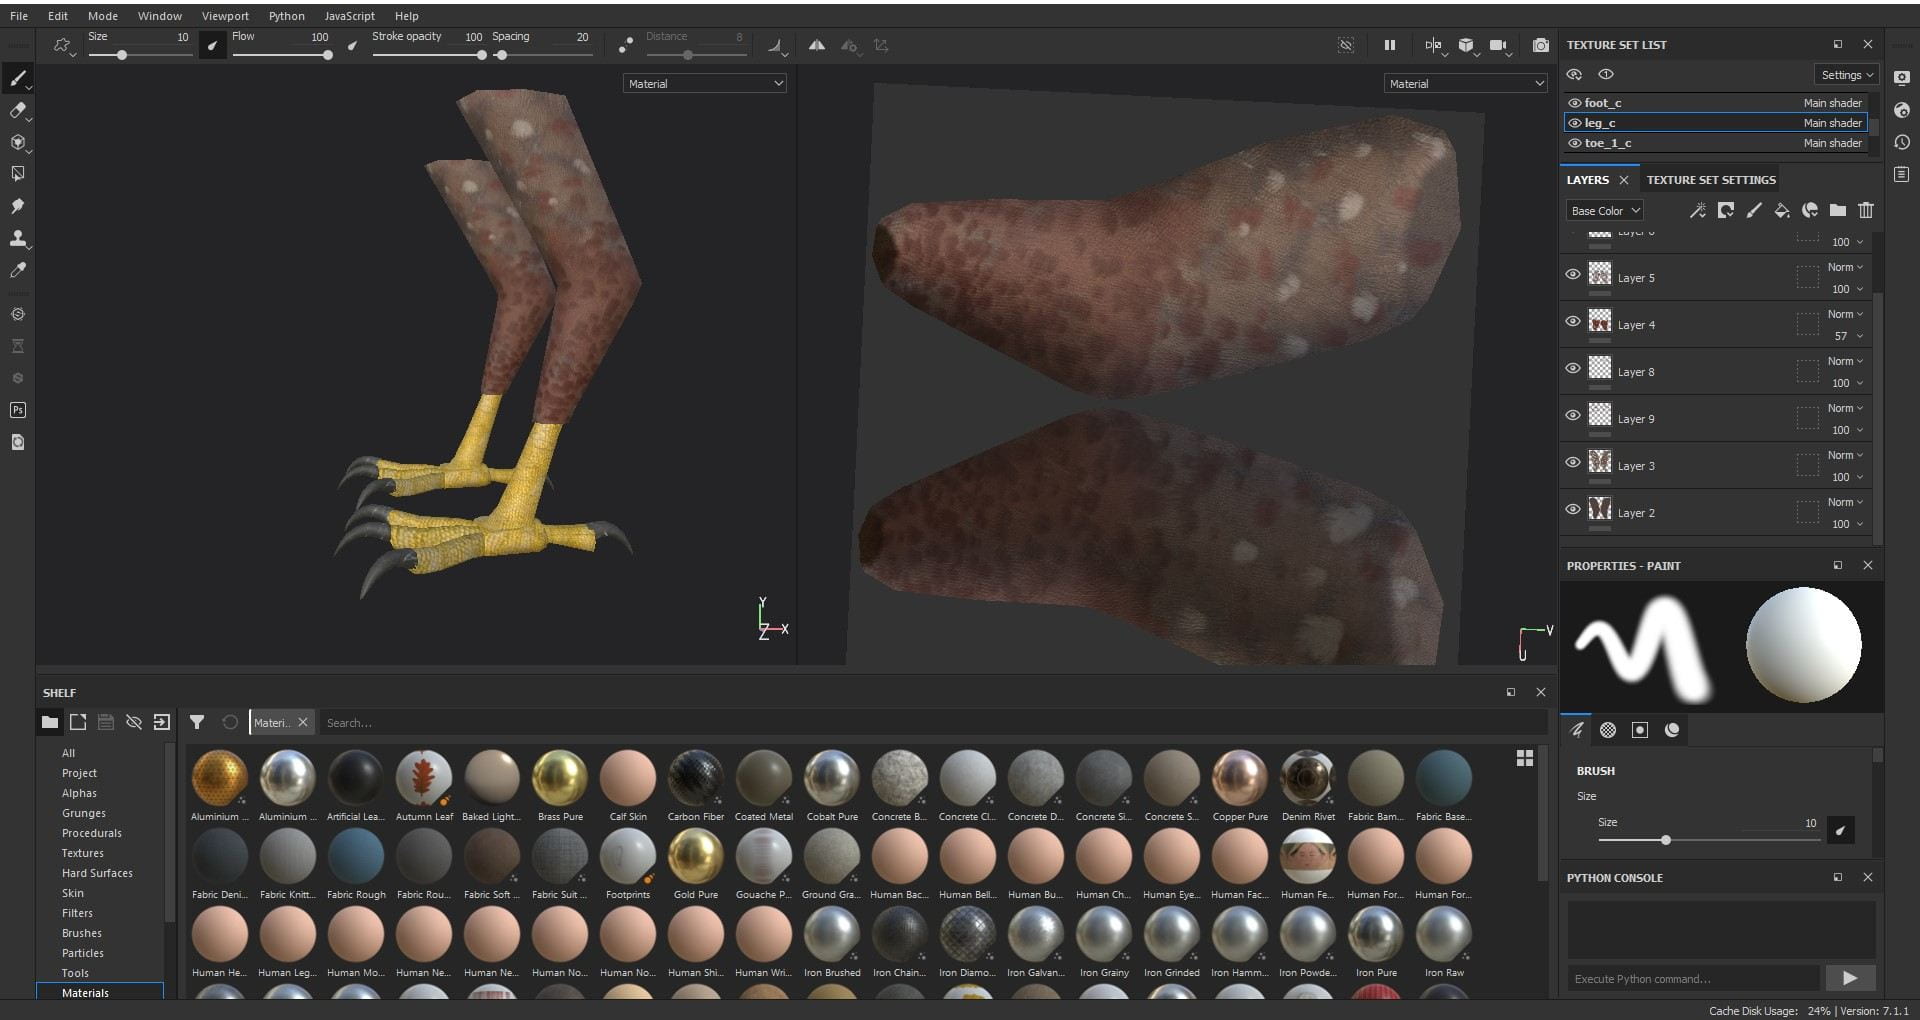
Opening Substance Painter, I started a new project and imported my bird feet FBX and got to work giving them textures. I’d named every part of my model in Maya with a separate AI standard surface material so i knew which surface i was texturing, as well as making it easier to texture individual parts like the claws with different appearances.
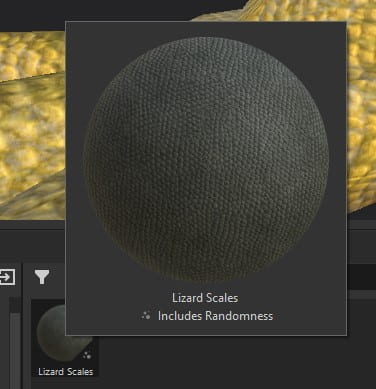
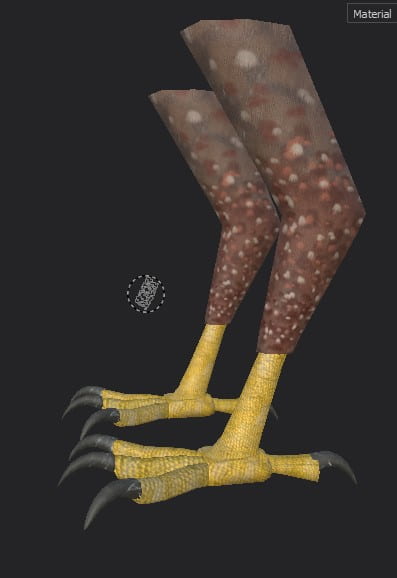
I started with the feet, finding a good texture brush called “lizard scales” and making them slightly bigger to fit the texture of an eagles skin then painting it onto the foot layer, later adding a layer of light grey with a normal brush and a decreased opacity to make the foot look more natural with dry skin on certain toe joints and the ankle. I found a brush called chicken scratch and decided to use it randomly around the skin of the foot and toes for detail. I spaced it out and increased the brush size to get the desired effect.

Moving up to the feathered part of the leg, using a fibre feather brush, i got a brown that i thought suited nicely in a natural muted tone and painted it onto the leg as a bottom layer, then adding another layer of a reddish brown on top on the bottom of the leg to give an interesting colour difference pattern before adding another three layers of different coloured speckles.
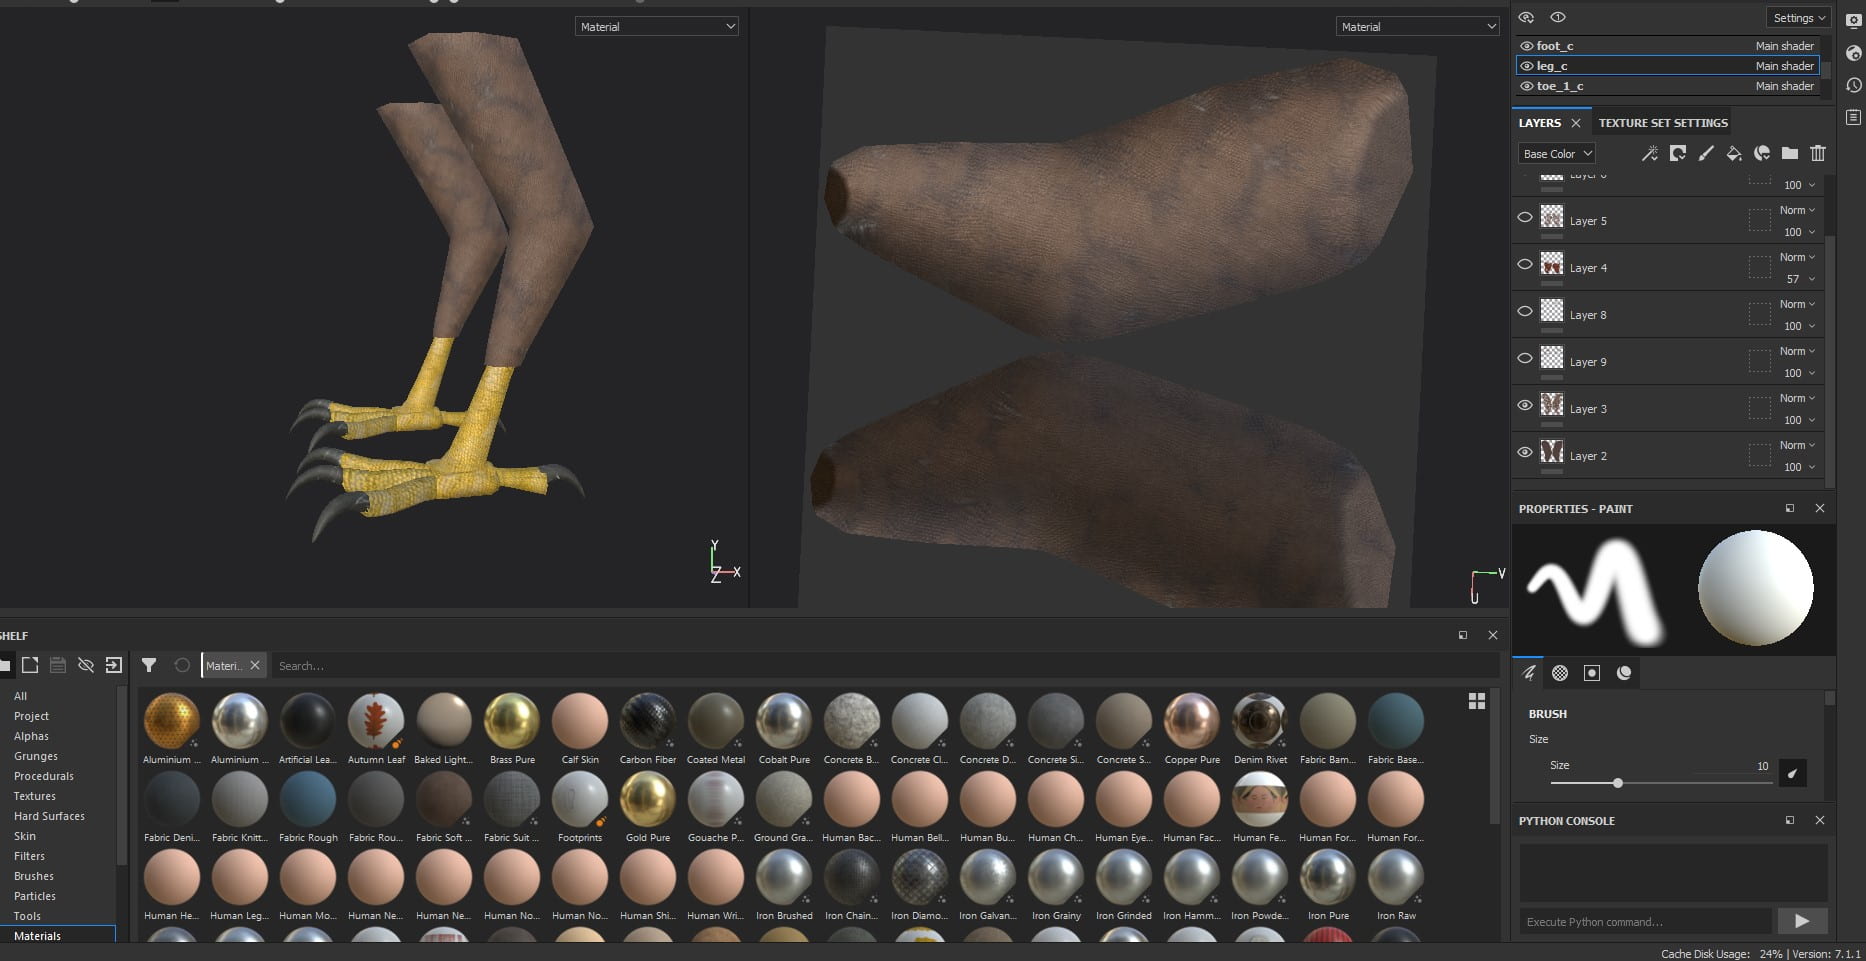
For the first layer of speckles, i used a brush size slightly smaller than what I’d been using previously and chose another nice red-brown which was darker than the section of leg id be texturing to make sure it stood out and looked natural, i then dotted it in random places along the bottom of the leg making sure they varied in size and shape. I then went in with a similar technique with a lighter brown and a slightly smaller brush size and painted on top of the previous speckles as well as randomly dotting around them creating a layered effect of feathers which i finished off with another smaller size of cream coloured speckles using the same technique. I did this another two times for another two sections of the leg, getting bigger and more sparse as i approached the top of the leg.
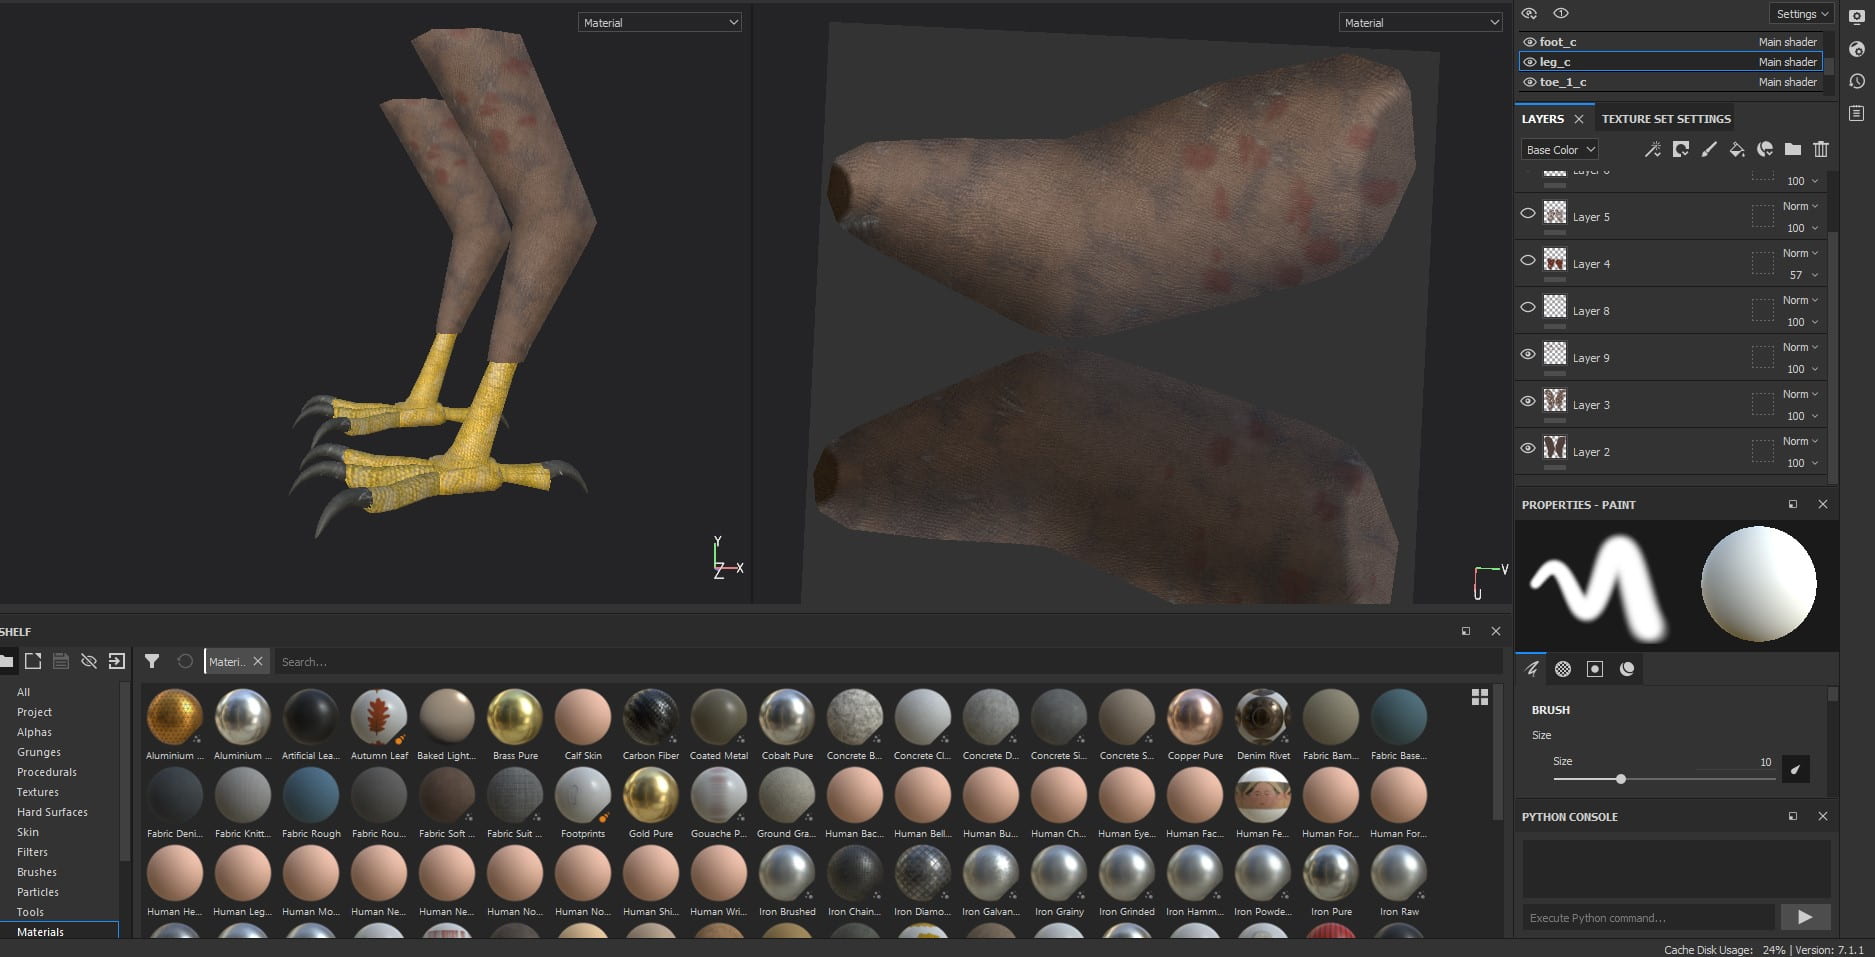

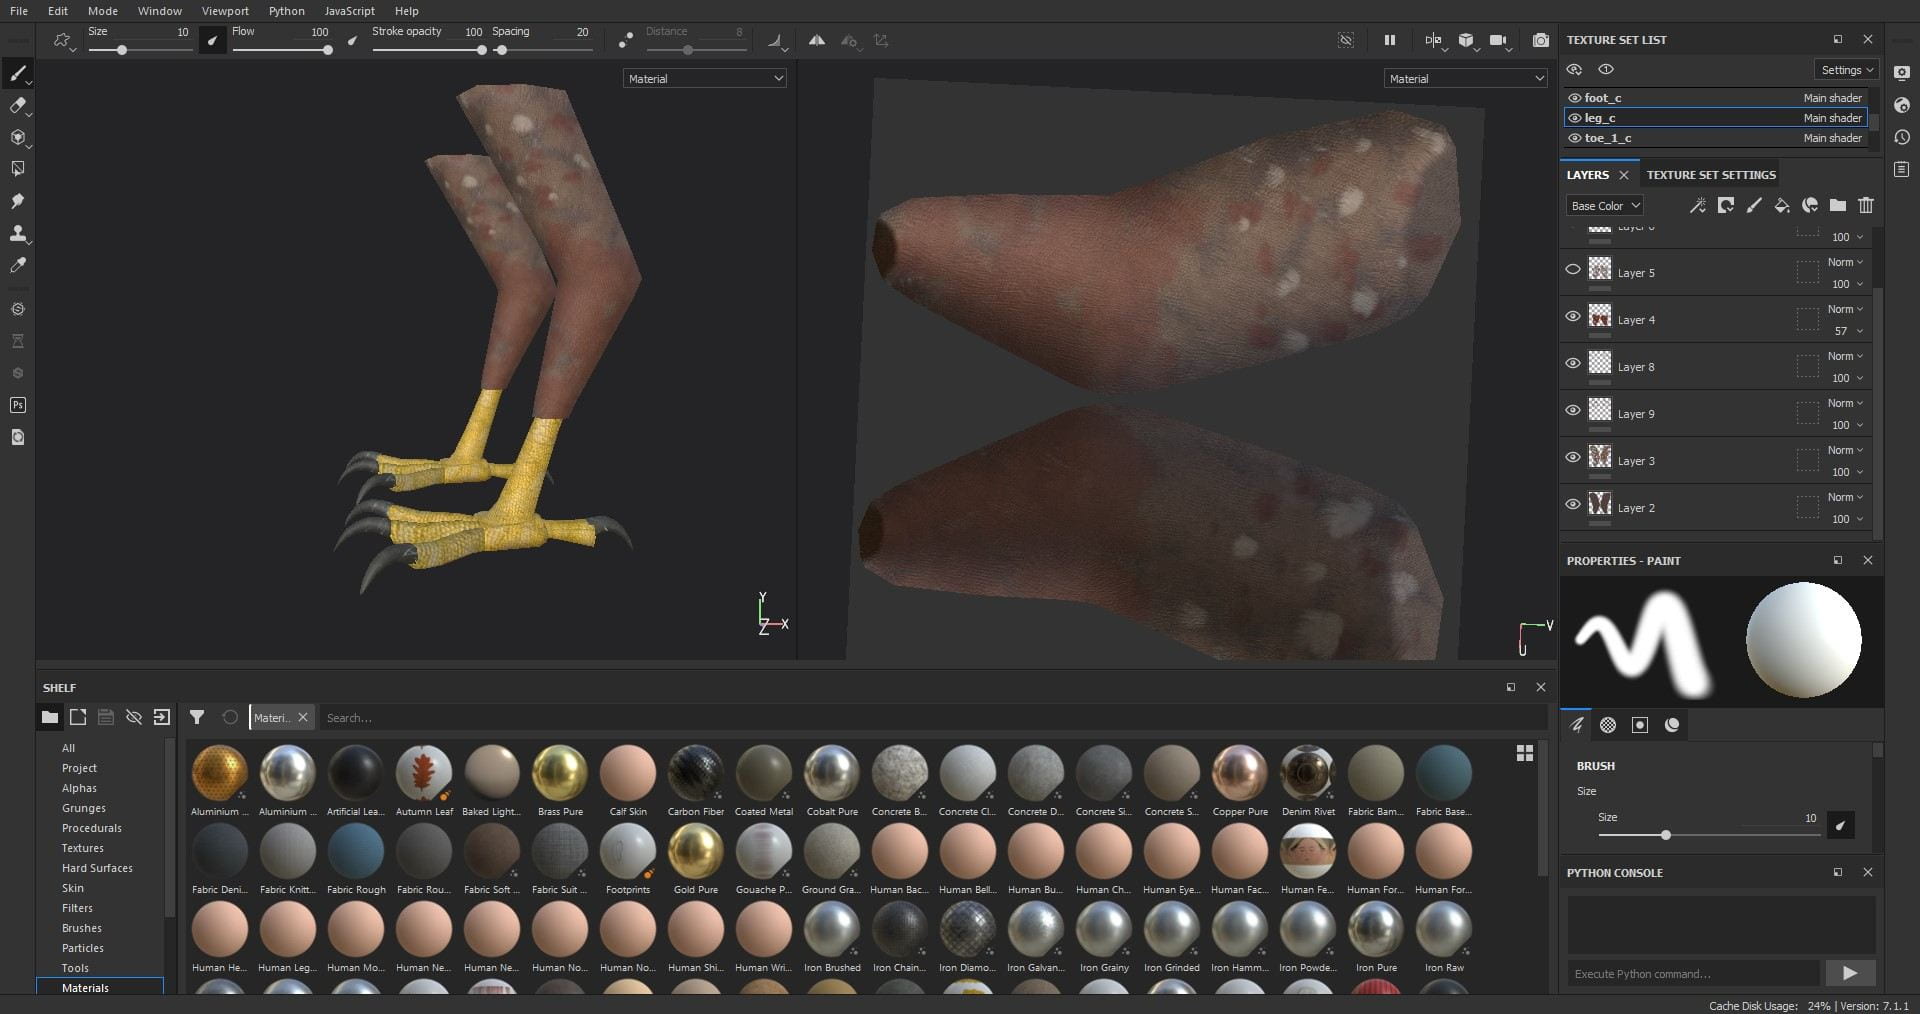


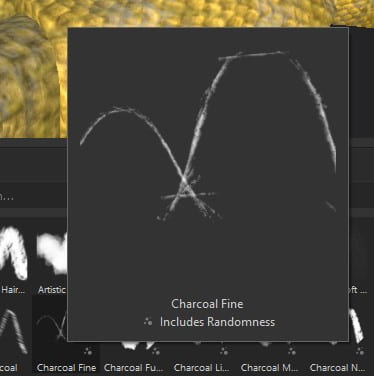
Once finished with the speckles, i added a layer above the base layer and with a dark almost greyed out brown, added in colours at the top of the leg in random strokes to give another layered appearance to the feathers, making it more realistic and moved onto detailing the talons. Using a slate grey, i painted the talons after applying a matte plastic material to give them a reflective surface. I used the fine charcoal brush in a white colour along the tops of the talons where they connect to the toes as i felt this made them more realistic to the references i was using where the eagles talons where streaked white at the top where they grew from the toe.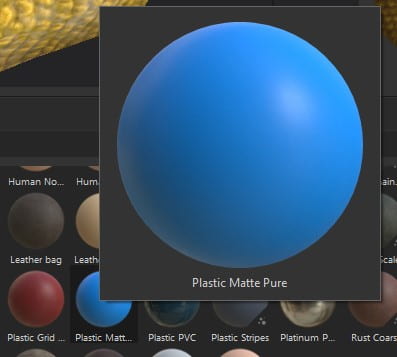
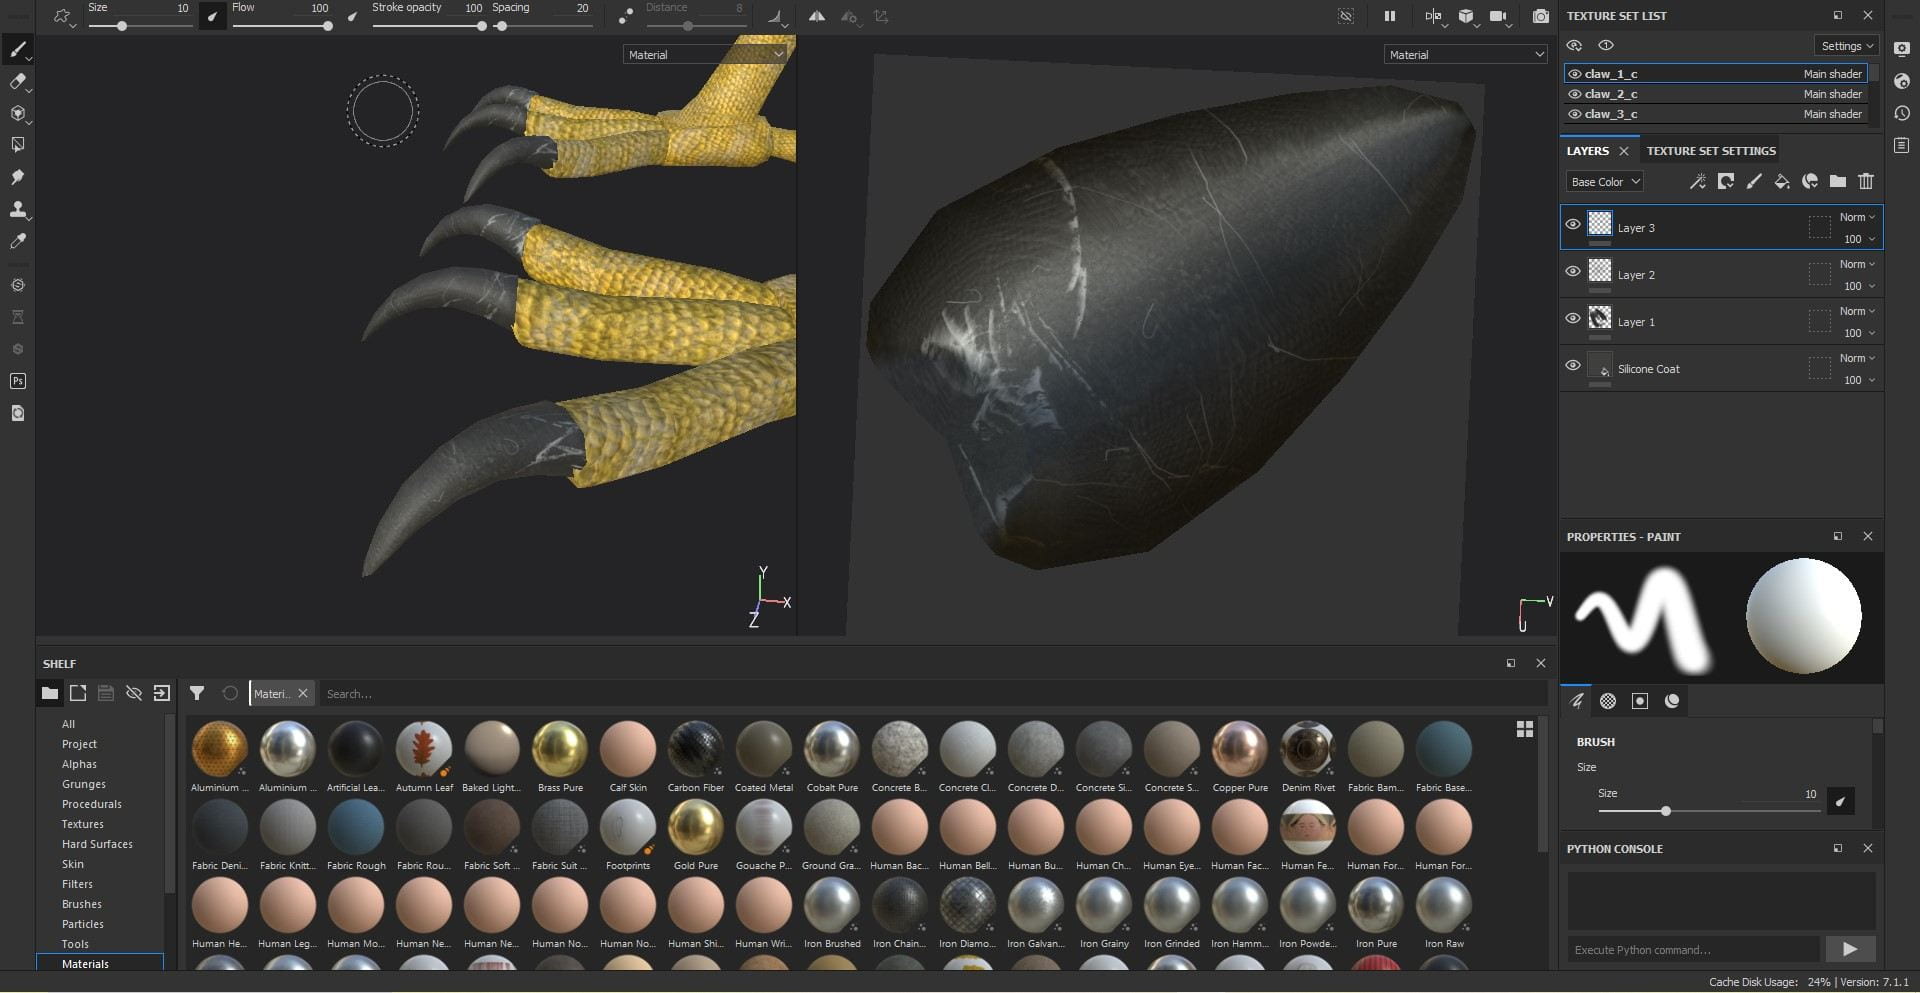
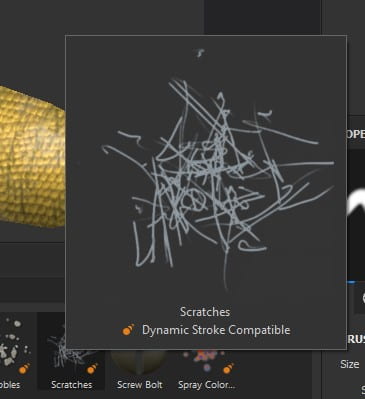
Navigating to the effects panel, i chose the scratches brush and proceeded to randomly paint them onto the talons to give them a more worn out look making them seem more natural than fabricated. I also added some scratches to the tip of the toes where the claw starts to grow as this is where flaky, dried skin appears on eagles feet.
Once finished with the textures on my model, i exported them using the PBR metalness setting, changing a few other settings alongside it, taking out the height and emission textures as i had no need for them and this would result in a cleaner export folder. My model was now ready to take back into Maya to plug in the textures and start rigging.
Being honest, rigging was probably the biggest difficulty i had with this whole project. There were a lot of issues along the way which left me feeling really lost and disheartened, but i persevered and got through it.
Importing my model back into Maya, I opened Chrome and headed to YouTube to find a bird rigging tutorial that might be able to help or at least guide me in the right direction. It took quite a few refinements to my search and very specific requests in the search bar but eventually i found someone showing us how to rig bird models to make game ready. Of course since I was only rigging legs, i didn’t need the first part of the video where he was rigging the wings and body of the bird but decided to watch it anyways as it was knowledge that wouldn’t hurt me if i had it.
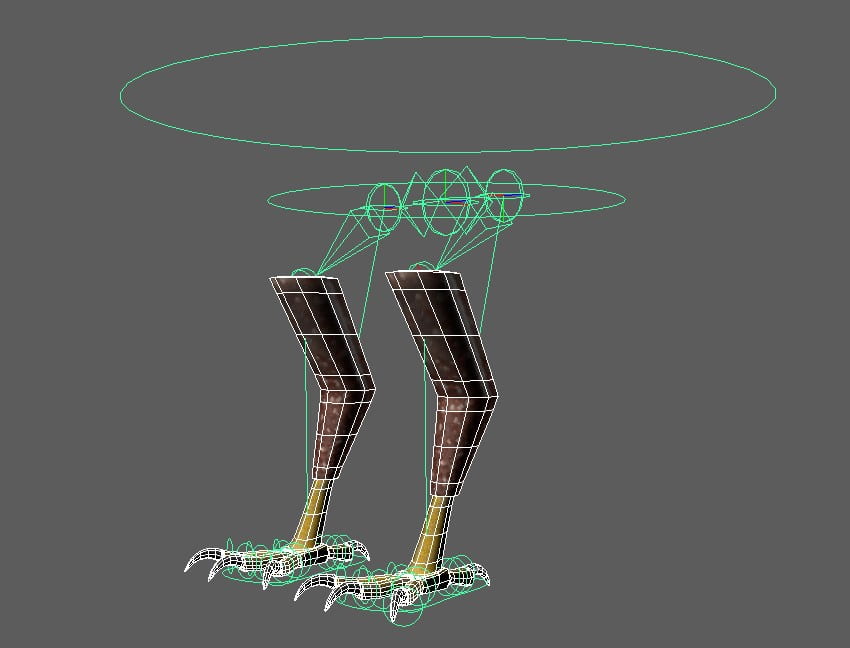
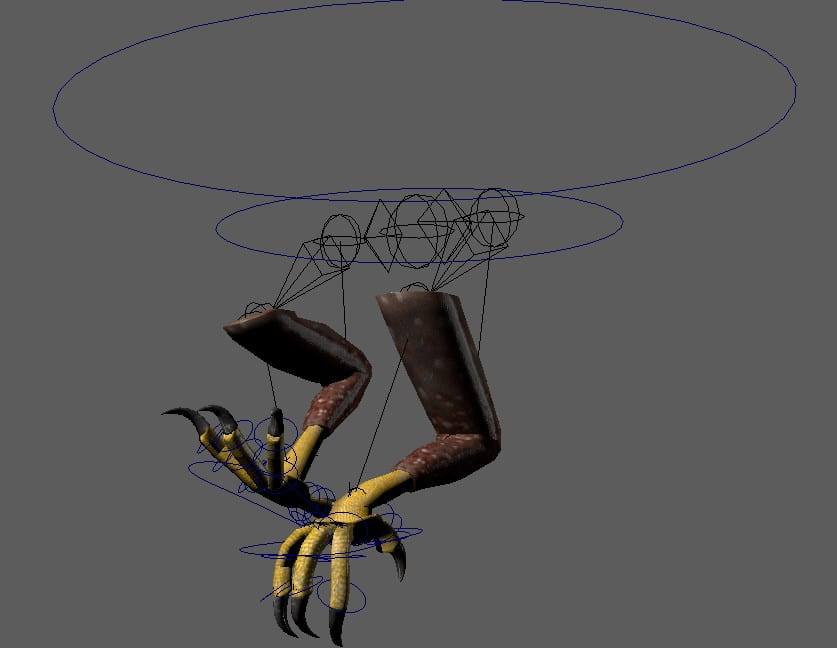
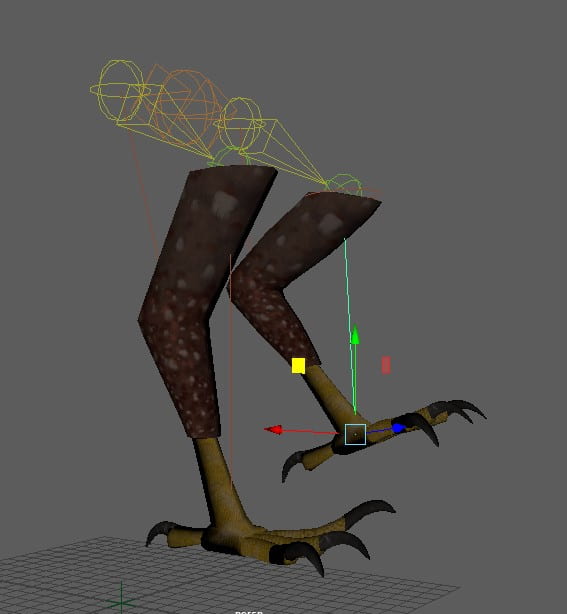
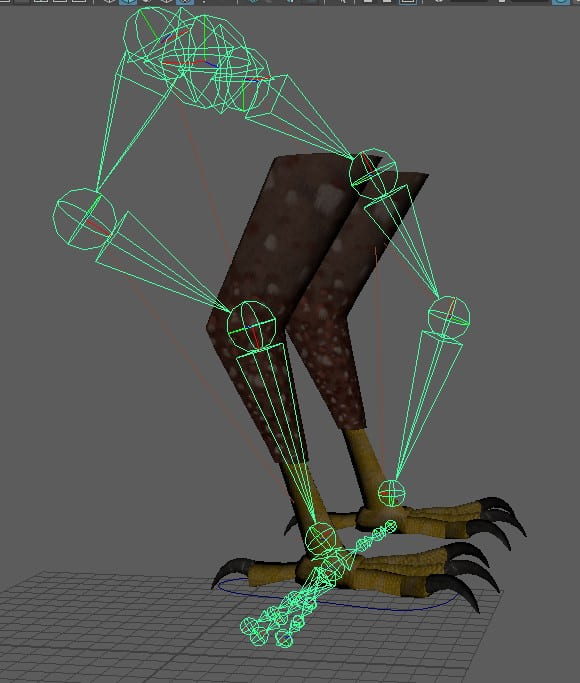
Nearing the end of the video, he explains how to rig a birds legs with “joints” and “IK handles” which before now I’d only heard very little of these two mechanics, using an FK and IK mechanics plug in called Duik in After effects for my tech animation course about a year ago. Following the video made it a lot easier to figure out and understand, as I knew now the joints are located in the places the real animals joints are placed, and the IK handles are similar to the bones, but instead of being connected directly to the next joint after it, it’s connected to every other joint in the chain. For this specific rig, I added my first IK handle to the “end leg” joint and connected it to the 2nd joint in the chain, then doing a similar technique with another IK handle and connecting the foot joint to the 3rd joint in the chain. I now had an IK system, which after grabbing and moving it around seemed to work. I added a hip joint in, parenting the two end leg joints to it, to give a universal point where I could grab and move the whole bird.
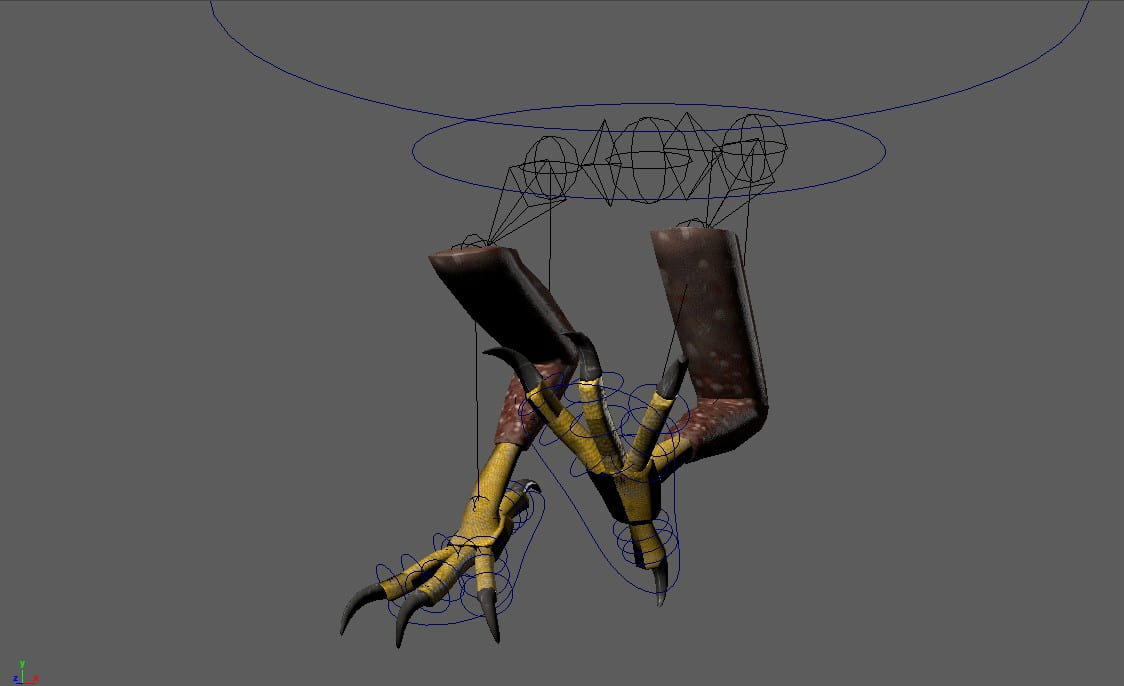
(i forgot to take pictures at this part so i just showed the rigs IK working)
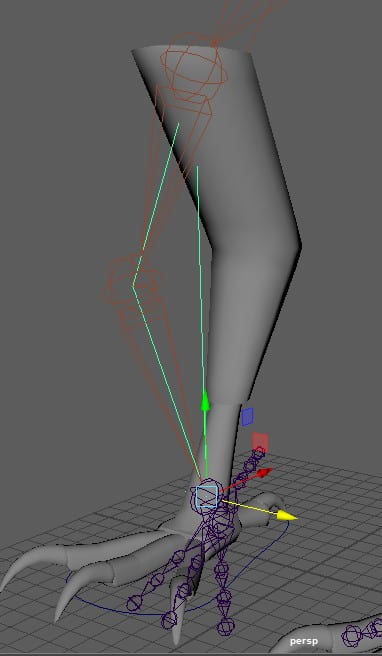
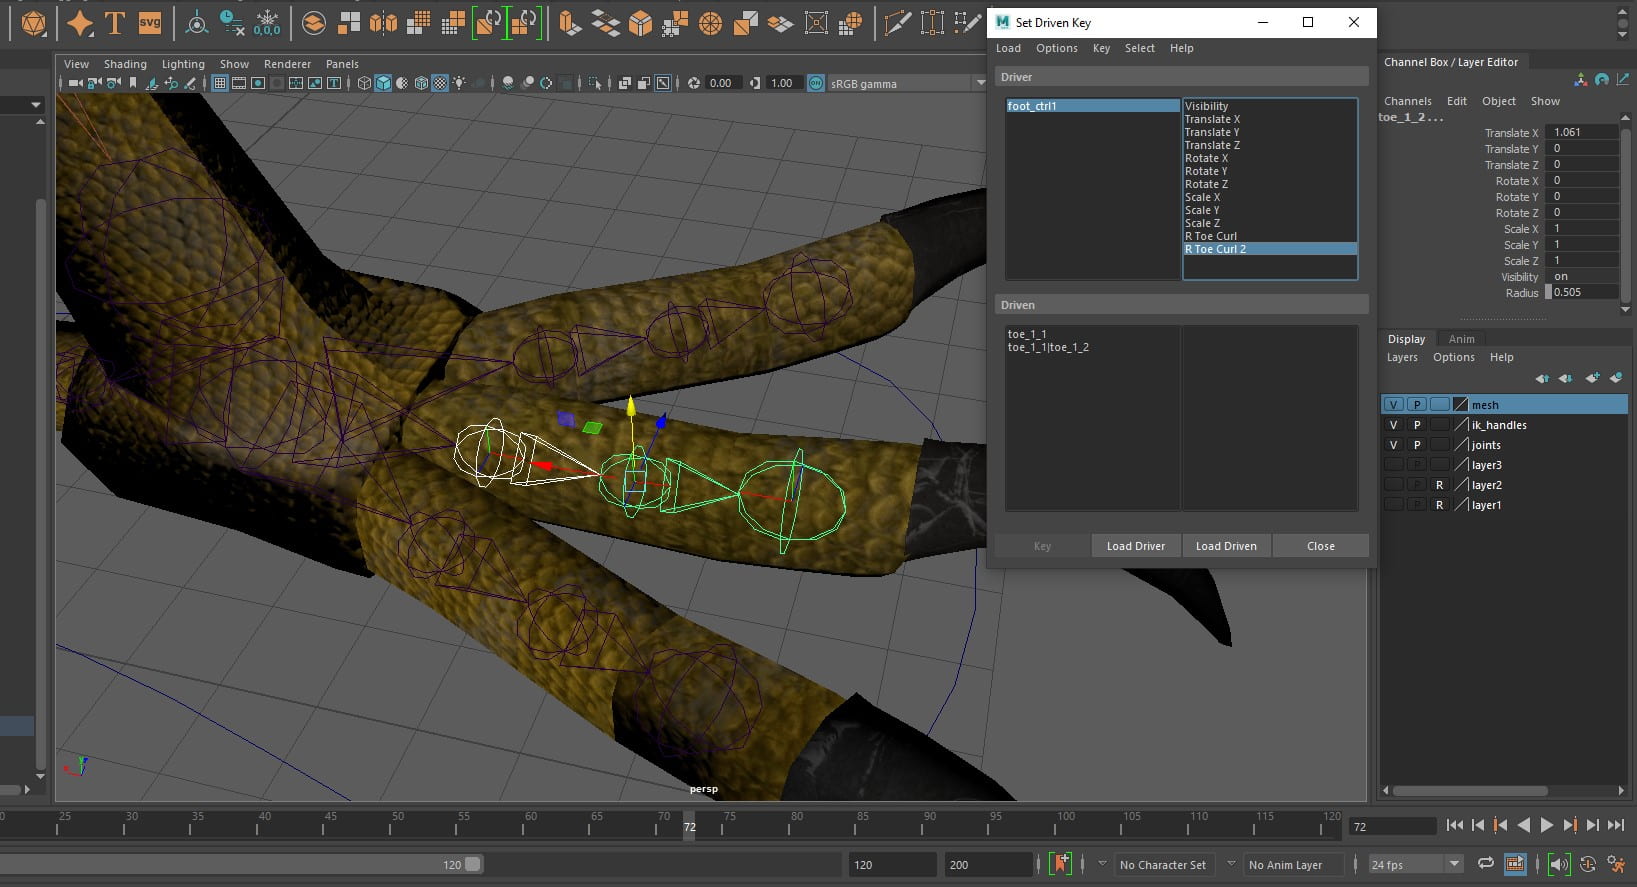
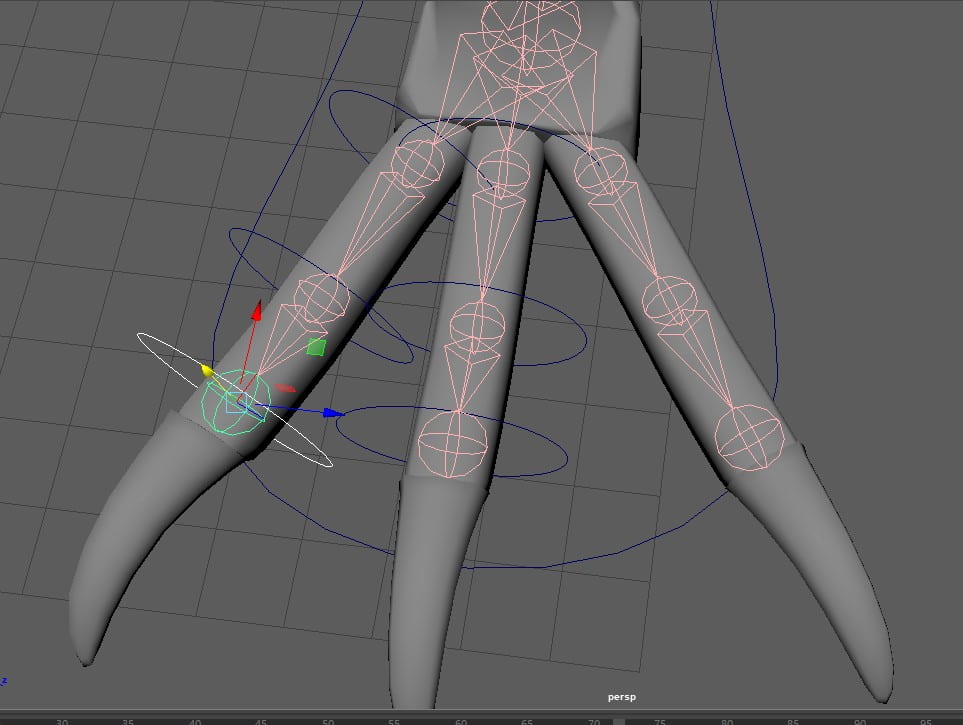
Rigging the toes was a bit of a mess as I’d used an IK method at first, which worked fine until i had to bind the skin to my joints. The whole model started twisting and deforming, making it very hard and finicky to try and fix. After sending my file to my tutor Alec and getting some feedback in the form of a video file and an example Maya file, I then trashed this method and went with a simpler Forward Kinematics mechanic, which would allow me to move all the toes in a chain like manner with a control rather than an attribute. This was much easier and user friendly as it could be done straight from the viewport compared to having to locate the attribute editor and move it from there.


Having now completely finished my rig and tested it, I went to the toolbar up at the top in the “rigging” workspace and clicked on “skin”. Selecting my joints from the hip, then selecting my model I then used “bind skin”, this meant that whenever i moved my rig my model now moved with it.

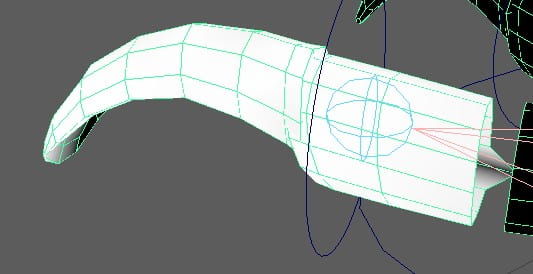
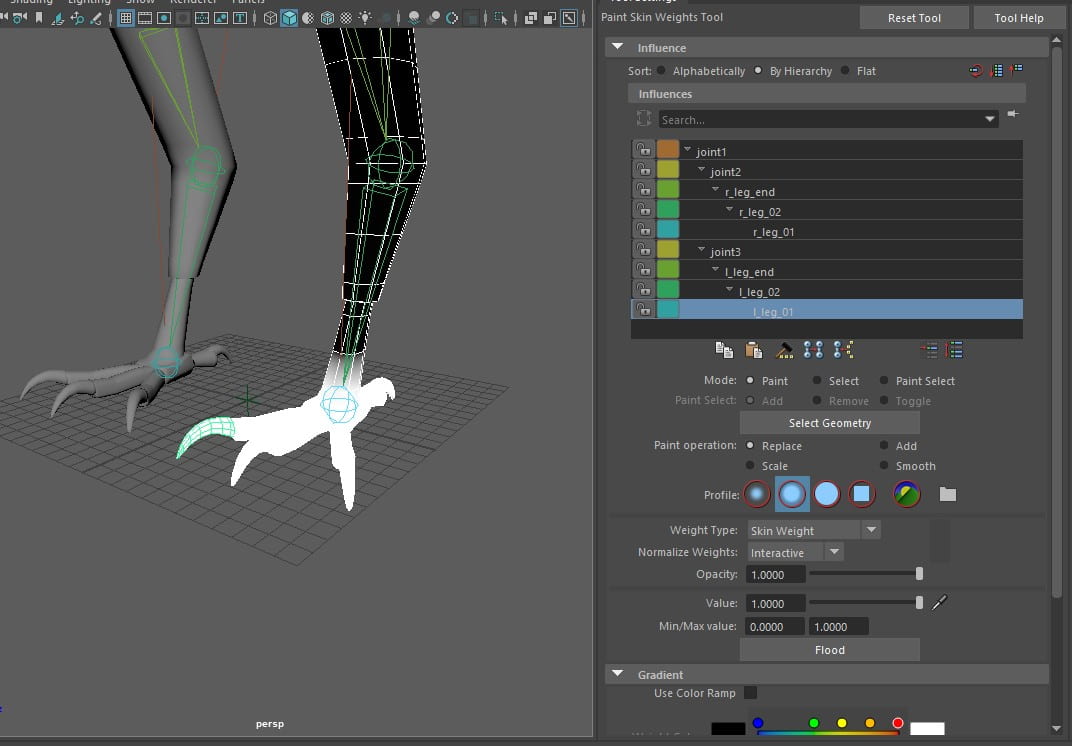
Skin weights was my next go to on the list as I had to now make sure everything moved as I wanted, and not as the program felt it should. I used my tutor’s tutorial on Blackboard to help me gain an understanding of what skin weights were and how to fix them before diving in and trying it myself. I learned that the whiter the area around an object is, the more of that object is going to be controlled whereas the blacker it got, the less influenced it was until you got to 100% black and it didn’t move at all. This was very helpful as my model had a lot of places influenced that made no sense, such as when i moved the left foot, the right claws would move with it.
I found out after a few trial and errors that in order to keep your changes to the weights, you have to go through the hierarchy and do them in order, otherwise it’ll discard your changes and reset to default. I spent about half a day or longer doing this step as I didn’t know this at first and had to resort to Google to solve my problem, but even then there was so much to fix, thankfully the “flood” option made it easier as I didn’t have to hunt for the mistakes and could just paint the white on where i needed.

I now have a completely finished and fully functional model ready to animate.