
After our room showcase, the tutors gave us the go ahead to start planning a list of assets we’d need for the real thing, start dealing with roles and get together with our group to discuss our plans for creatues/monsters and how we wanted the game to work.
In Discord, we set up a few different channels so we could easier find the corresponding information under the channel name, e.g reference ideas and designs went into “references”, game narrative went into “ideas”, etc. This made trying to plan everything a lot easier as we were encouraging group members to use the appropriate channels when discussing ideas and topics. We also had roles that each member could assign themselves, so the other group members would know who was responsible for what and it was easier to contact a certain role.

We began thinking about the outline of the narrative, using the Miro board to pin down some loose ideas, we all seemed to agree on the player character being a reporter/journalist in the early 2000’s who was sent to investigate the remains of an underwater experimental facility, led by the Russians in the 60s. We had talked about hallucinations that where shown by having the player see things that weren’t showing up on the camera, though there was a bit of a worry about how we were going to achieve this, and monsters that could potentially be chasing or hunting you down, unsure of whether we wanted them to actually physically hurt the player or not. Karl came up with the idea of a gasmask that the player could equip due to a toxic gas tainting the air which is what made the reporter start to see things in the first place, and that when the gasmask was on, the player slowly stopped seeing the hallucinations for a while, kind of similar to the fredbear mask in Five Nights at Freddys. On the topic of the gas, we started to question whether it should be the thing that ultimately kills the player in the end and whether ee should give a whole death cutscene, which then brought and in the idea of a little girl killing you with a jumpscare.


Another idea we had was adding a “sanity bar” to the corner so that you had a goal to work towards but also had limitations. Branching off this idea, we added a pill bottle and thought something like a torch would be cool to shine at the monsters and scare them away or kill them. We talked for a bit longer about how the bar would work and the Game Design students were chatting about how they’d go about actually creating it and making it run, discussing a “wheel selection” toggle to store and select the items you have, which then also led on to brainstorming ideas for items to pick up along the way such as notes, key cards, letters, etc to help piece the story together and also help the player navigate through the levels.

As for the asset list, we managed to scrounge up a small one for each modeller, I had to restart my light and make it look more 60s as the group thought the cage and iron on my light didn’t fit well, so I found a few reference images by searching up “60s school lab” as I know they had some pretty cool lights back then, and found a cool fluorescent hanging light, sort of like my first attempt but lighter and more exposed. Halfway through modelling though I realised I didn’t like it and went back to looking for references, finding an old iron soviet Russia fluorescent light, which of course fit perfectly with everything we were going for, so I decided to get as many references of that as I could find (not many ._.) and restart the model again.
Below are my references, the first two are for the light i scrapped followed by a soviet fluorescent light i went with in the end.


Same as the last light, I started off with a cube and just built on that, using the toolkit that came with maya and a few shortcut keys I’d learned throughout my own research and the assignment from last year. I followed the details in the reference as best as I could, giving the light a flat surface on the top to easily mount to the ceiling, curving down into the case over the two bulbs that were connected to the main body. The light tubes were made exactly the same way as last time, only I added in the “joint” that connects them to the body so they didn’t look like they were floating. After I added clasps to the sides with some really awkward polygon manoeuvring and bridging, I was ready to separate my model into different materials and export it for substance painter.
Created the two main body parts: the light casing and the metal part that connects to the ceiling.

Created a cylinder polygon primitive, scaled it to fit the light casing, and reduced it’s subdivisions to get a lowpoly cylinder, duplicated it and moved it over, which I later smooth to become round tubes for the lights.
I used a cube to make the rim of the light which would go between the light casing and the metal ceiling connector.
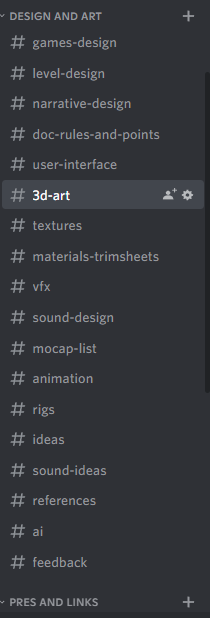
Here i put it all together to see how well it fit and where everything needed to be placed in accordance to one another.

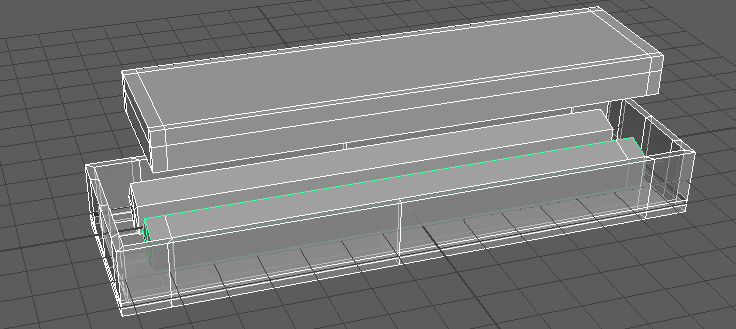
Next, i added a clasp which i created from extruding the faces on the metal ceiling connector and the light casing, which was a bit confusing at first but i think it turned out alright.

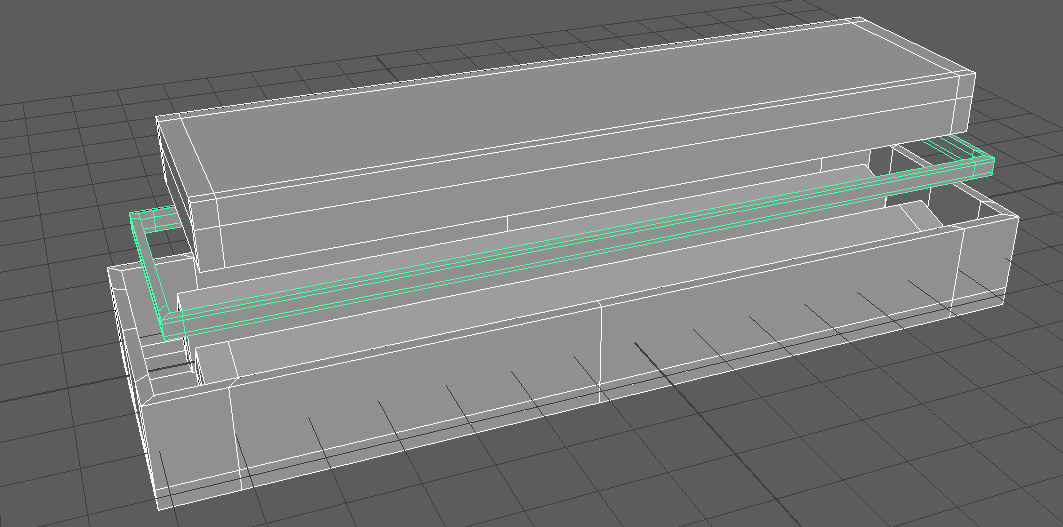
Selecting half the model and hiding the lid, i deleted it and mirrored the side with the finished clasp so it was identical on both sides.

Creating a vertical loop cut through the middle of the model, i selected one half and deleted it again, then mirroring the half with the finished clasps. Now i have all four clasps in identical places and i unhide the lid.

Here is my model before smoothed with a material applied to the light casing to appear more glassy as in real life.

Below is my model now smoothed and reduced, it’s a bit messy but I didn’t know back then that was the case and thought it was ok since the poly count was low.

The following images are when i created the joints for the lights to connect to the body of the light, followed by materials applied in Maya and different angles of the finished model.


Below is the model UV unwrapped by selecting edges and cutting where i ant the seams to go, which is usually on the top and bottom of each shape so each side has its own shell as this will help the texture display better and less contorted.

Texturing:
Bringing my model into Substance Painter, I started like last time, laying down all the base colours and adding a new layer for each new texture such as the iron, glass and plastic for the body, lights and casing and then another 4 or 5 for the rust, grime and scratches as I like the work in layers, I find it easier to correct a mistake this way as it wont affect anything above or below what I’ve already painted, or what the industry likes to call “non destructive editing”. I wanted to sell the look that this light had been underwater, corroding away with rust and dirt in the air and later, barely working as I planned to animate a flicker effect.

