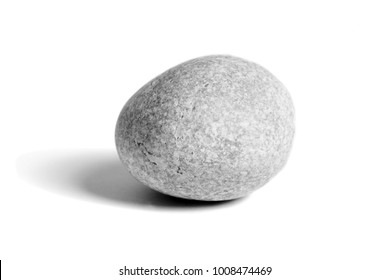
This was obviously quite an easy thing to make so i wasn’t sure if it even needed a blog but were told to record all our progress so i figured i might as well.
To start with, i gathered a few references of pebbles i liked after drawing a very rough concept sketch of what i wanted my scene layout to be, then opened Blender and created a UV sphere, scaling it down to the basic shape of a pebble by squishing it and making it a bit wider, then taking it into sculpting mode I flattened the bottom with the flatten brush at a high radius, using the smooth brush to give it back some shape so it looked more natural than an oval with a flat bottom. This was pretty much my model finished so i exported it as an FBX and imported it to Maya where i had to use the auto retopo tool so i could make my UVs. I had to ask my tutor Henry for some help gain here though, as i wasn’t sure if the triangular mesh was ok and then if the lopsided quad mesh was alright and he was very helpful in explaining to me -finish this part-
Moving onto the UVs, i just created a planar in the Z axis same as most other assets, then selected an edge at the bottom of the rock to hide the seam, cut it and unfolded and laid out the UV, having to adjust a few UVs manually but aside from that it was easy as. I used this UV to then go into substance painter and use the clean concreate texture to give my pebble a realistic look.
Moving it into Maya to apply the material for my new texture and exporting it with game exporter as an FBX, i opened it in my unreal test project scene and placed it on the ground to make sure it was ok, and it looked quite nice and fit well into the environment.
refs:


These pictures helped me figure out how to shape my pebble and whether i wanted the path to made of big slabs of stone or multiple small stones.
