
Throughout these two weeks, with everything lined and fixed up, i started colouring my drawings and adding small bits of details such as the hair bobble on the child and the gradients on the Nyxer.
To make things easier on myself, i wanted to get down the flat base colours on everything before diving into the detail. This meant i could at least have everything coloured if i started running out of time and wouldn’t have half finished, half still being a work in progress which would result in a horrible discontinuous and strange animation, ruining the believability.
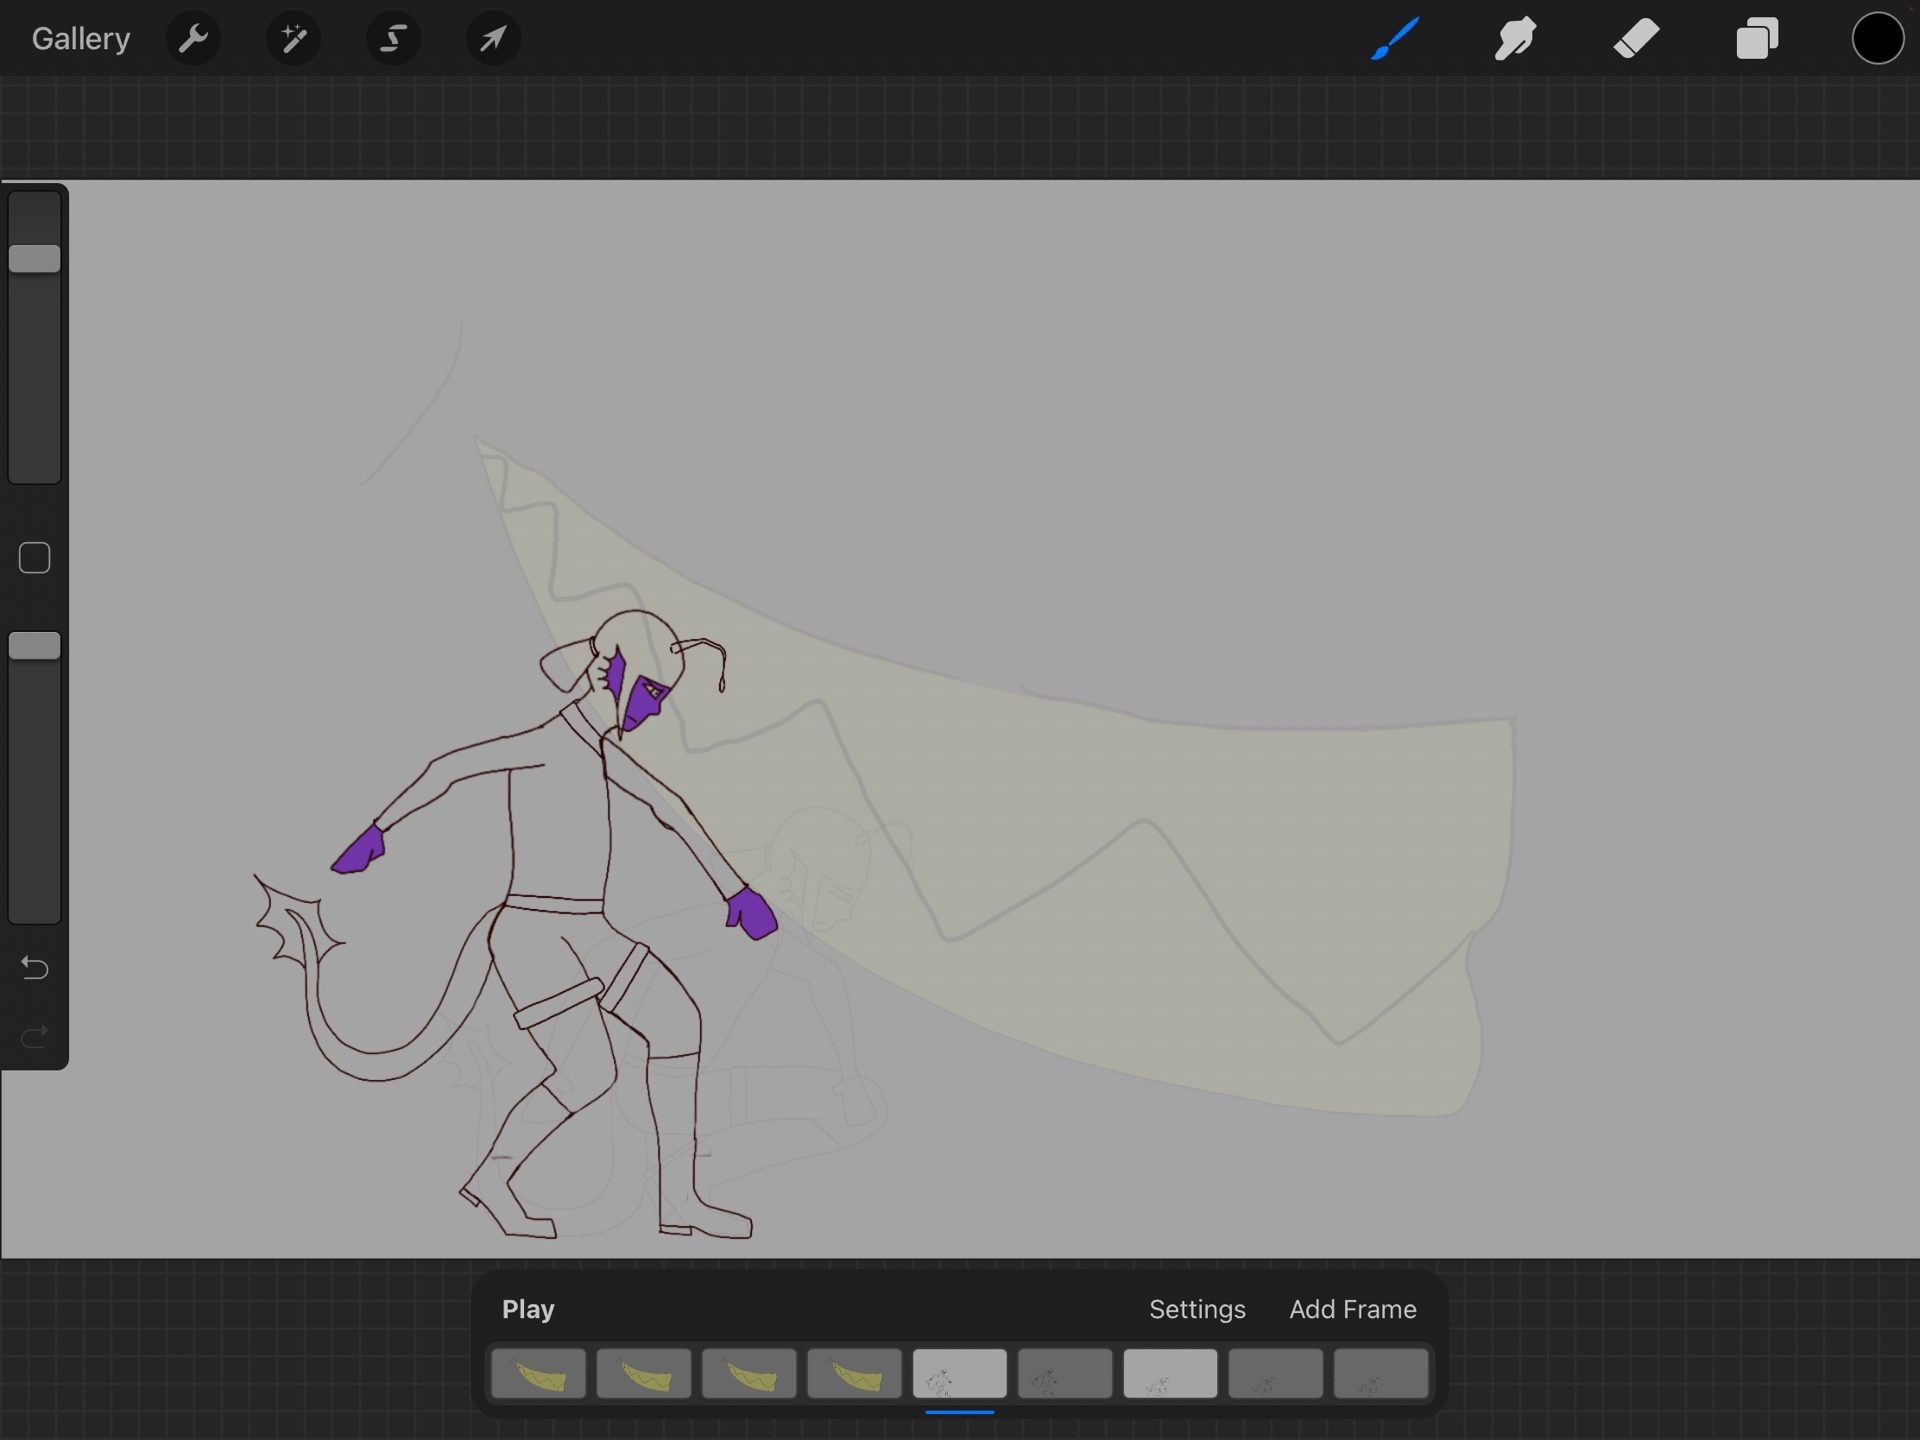

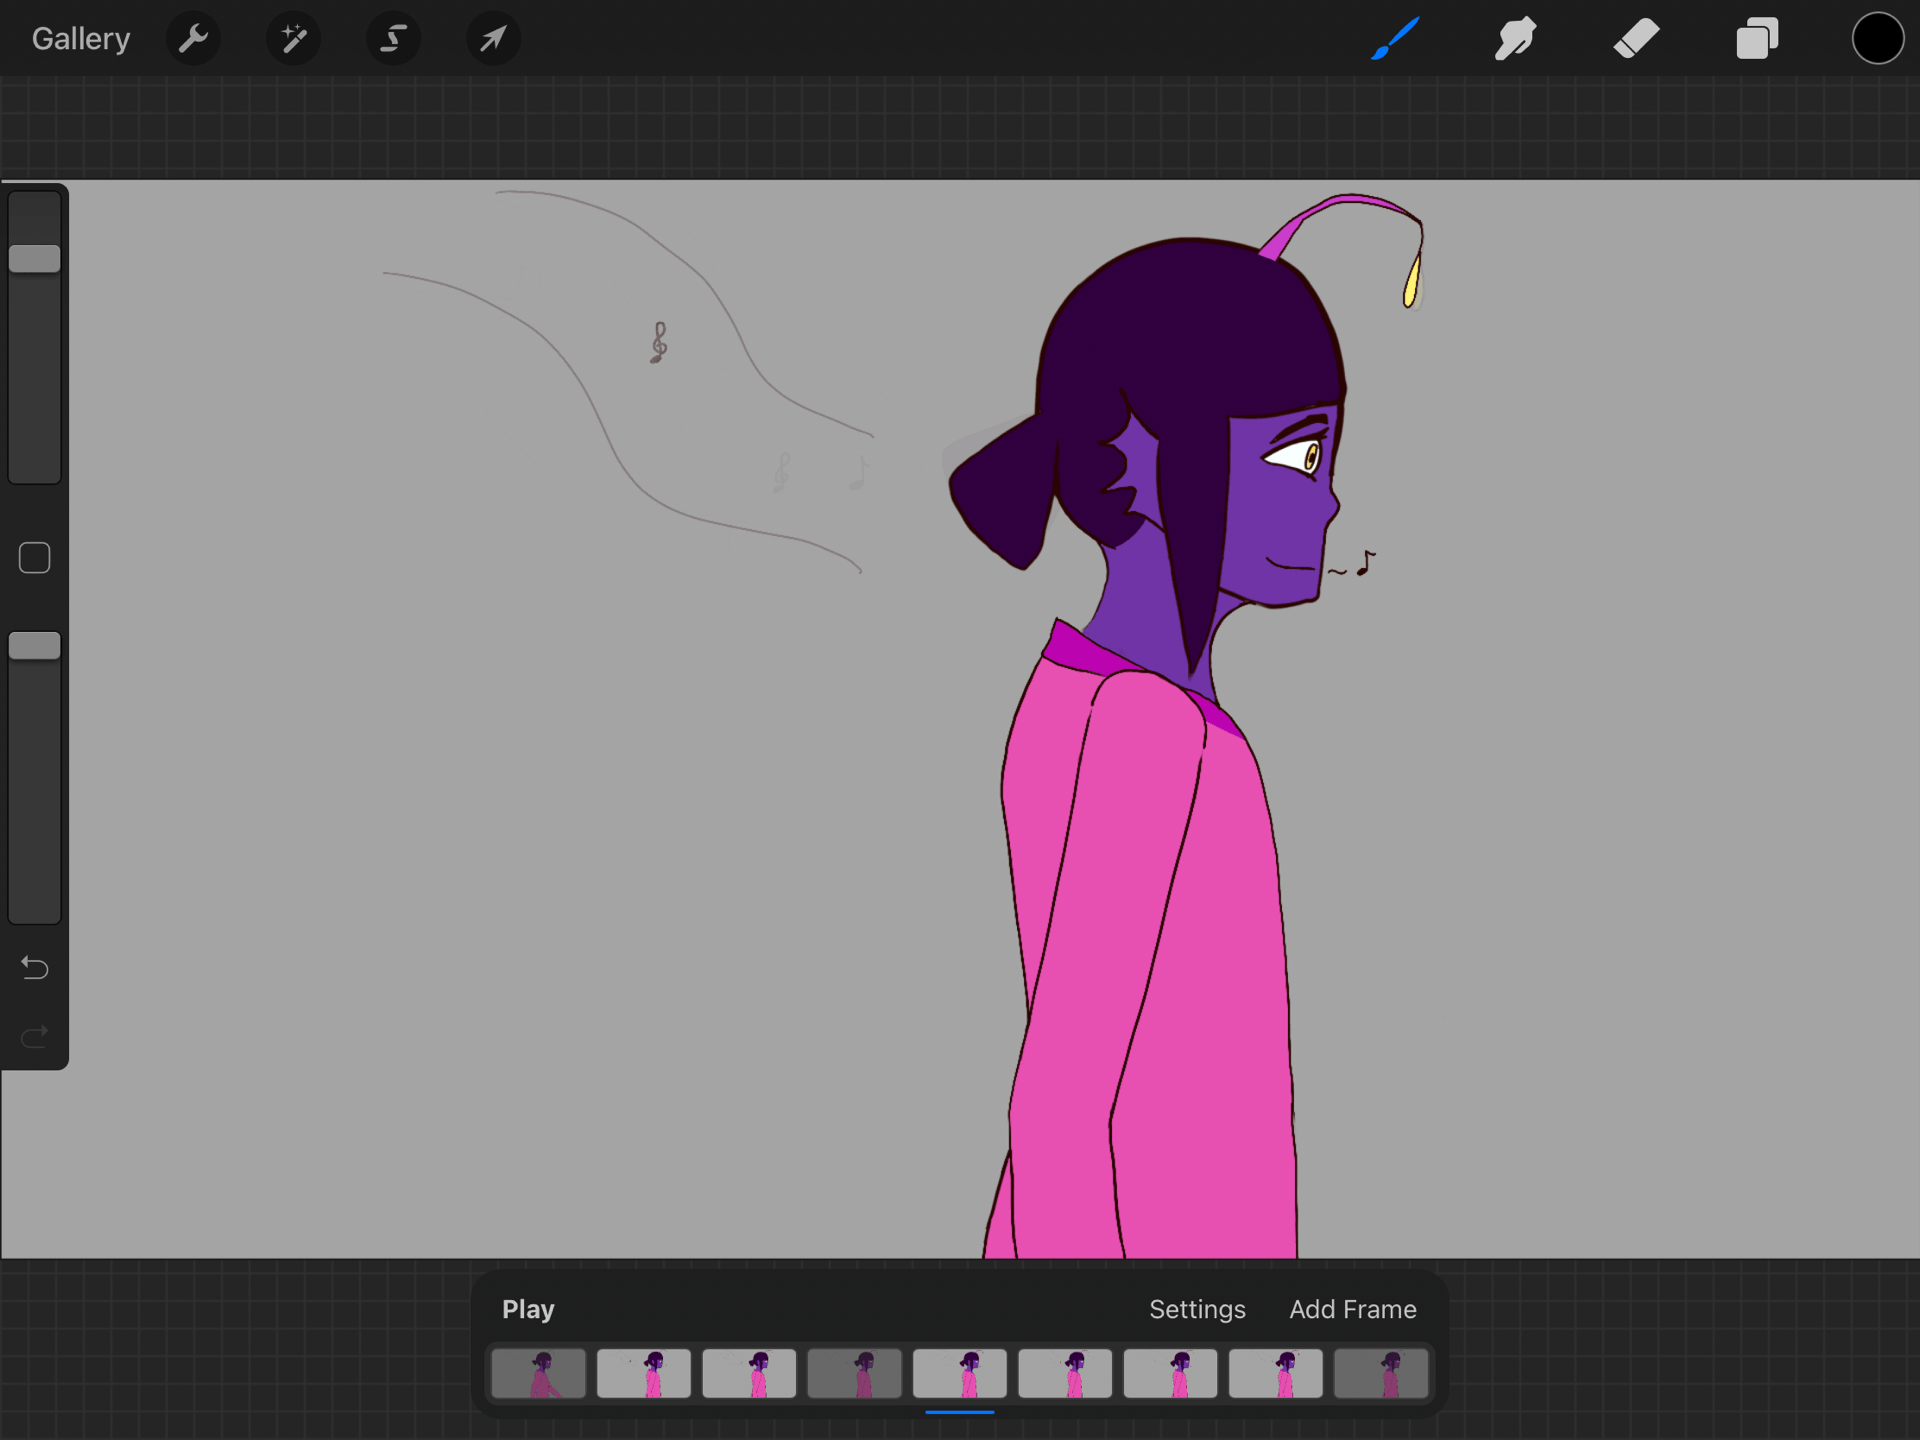


After the base colours were down, i coloured in the orange dye in the fringe and loose hair parting of the Anglerfish child, smudging it a few times to give it more of a “dye” effect rather than just a straight line blatantly separating the two hair colours. The freckles and little fin ear also had detail added at this stage, it was easy enough to just draw every frame rather than copy and pasting it as each fin was slightly different and it would’ve looked strange.

After detailing the Anglerfish child, i then moved on to the Nyxer. I honestly found this a nightmare because I didn’t think it’d be such a pain to draw the gradients every frame whenever I was making the character design. The teeth and claws were easy so I decided to do those first, then the eyes and nose before finally getting onto the body gradients. I also chose the wrong colour for the bottom layer of the gradient, but by the time I realised I was about 3 frames in and I didn’t think I’d have enough time or the will to go and change everything, as it was all on one layer.


I had the idea to give the Nyxer’s glow an extra layer of glow by adding small highlights of colour onto each frame in the areas i wanted to glow brighter for when he roared to make it seem more threatening. I built this effect up from around the 4th frame of the creature as it started to growl and let it shine fully as it roared, although it’s barely visible but at least i can say i tried. I also wasn’t able to find the same brush i used previously in the original design file for its markings but I think what i used suffices.


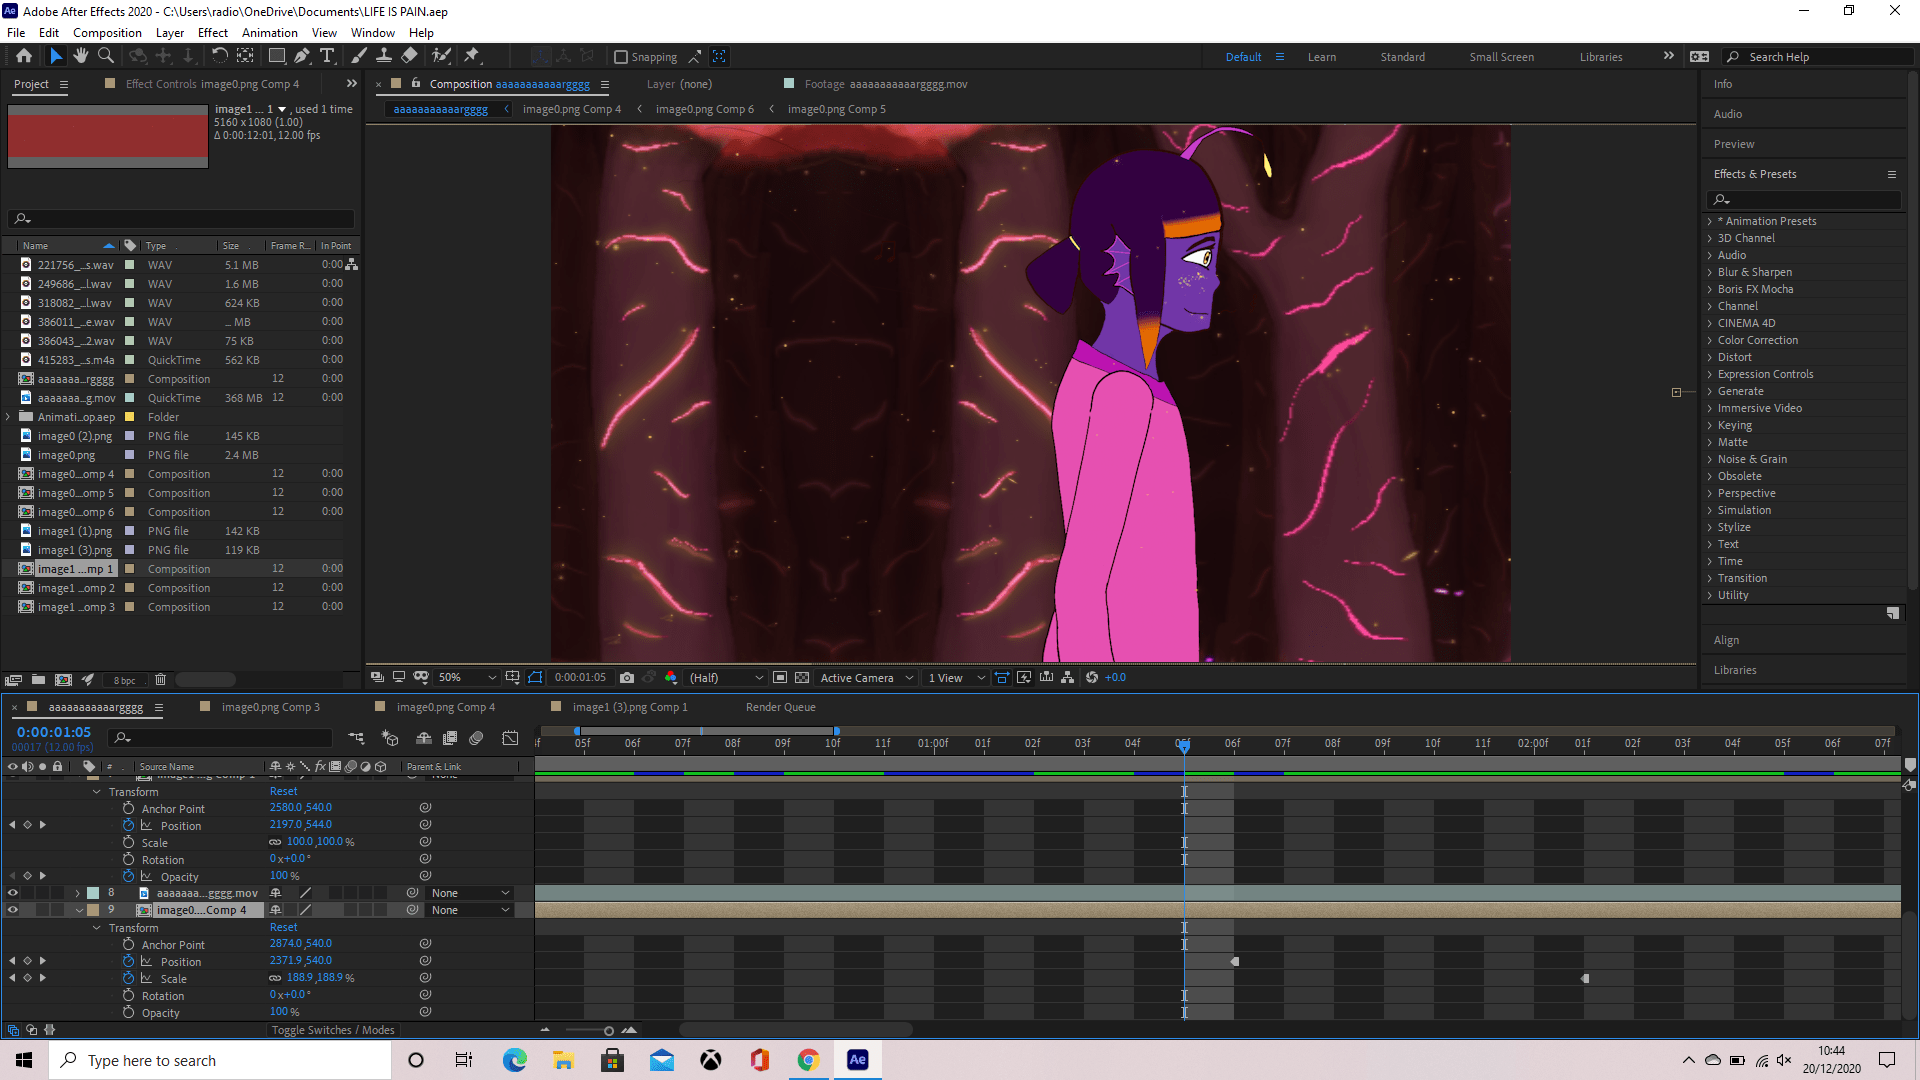
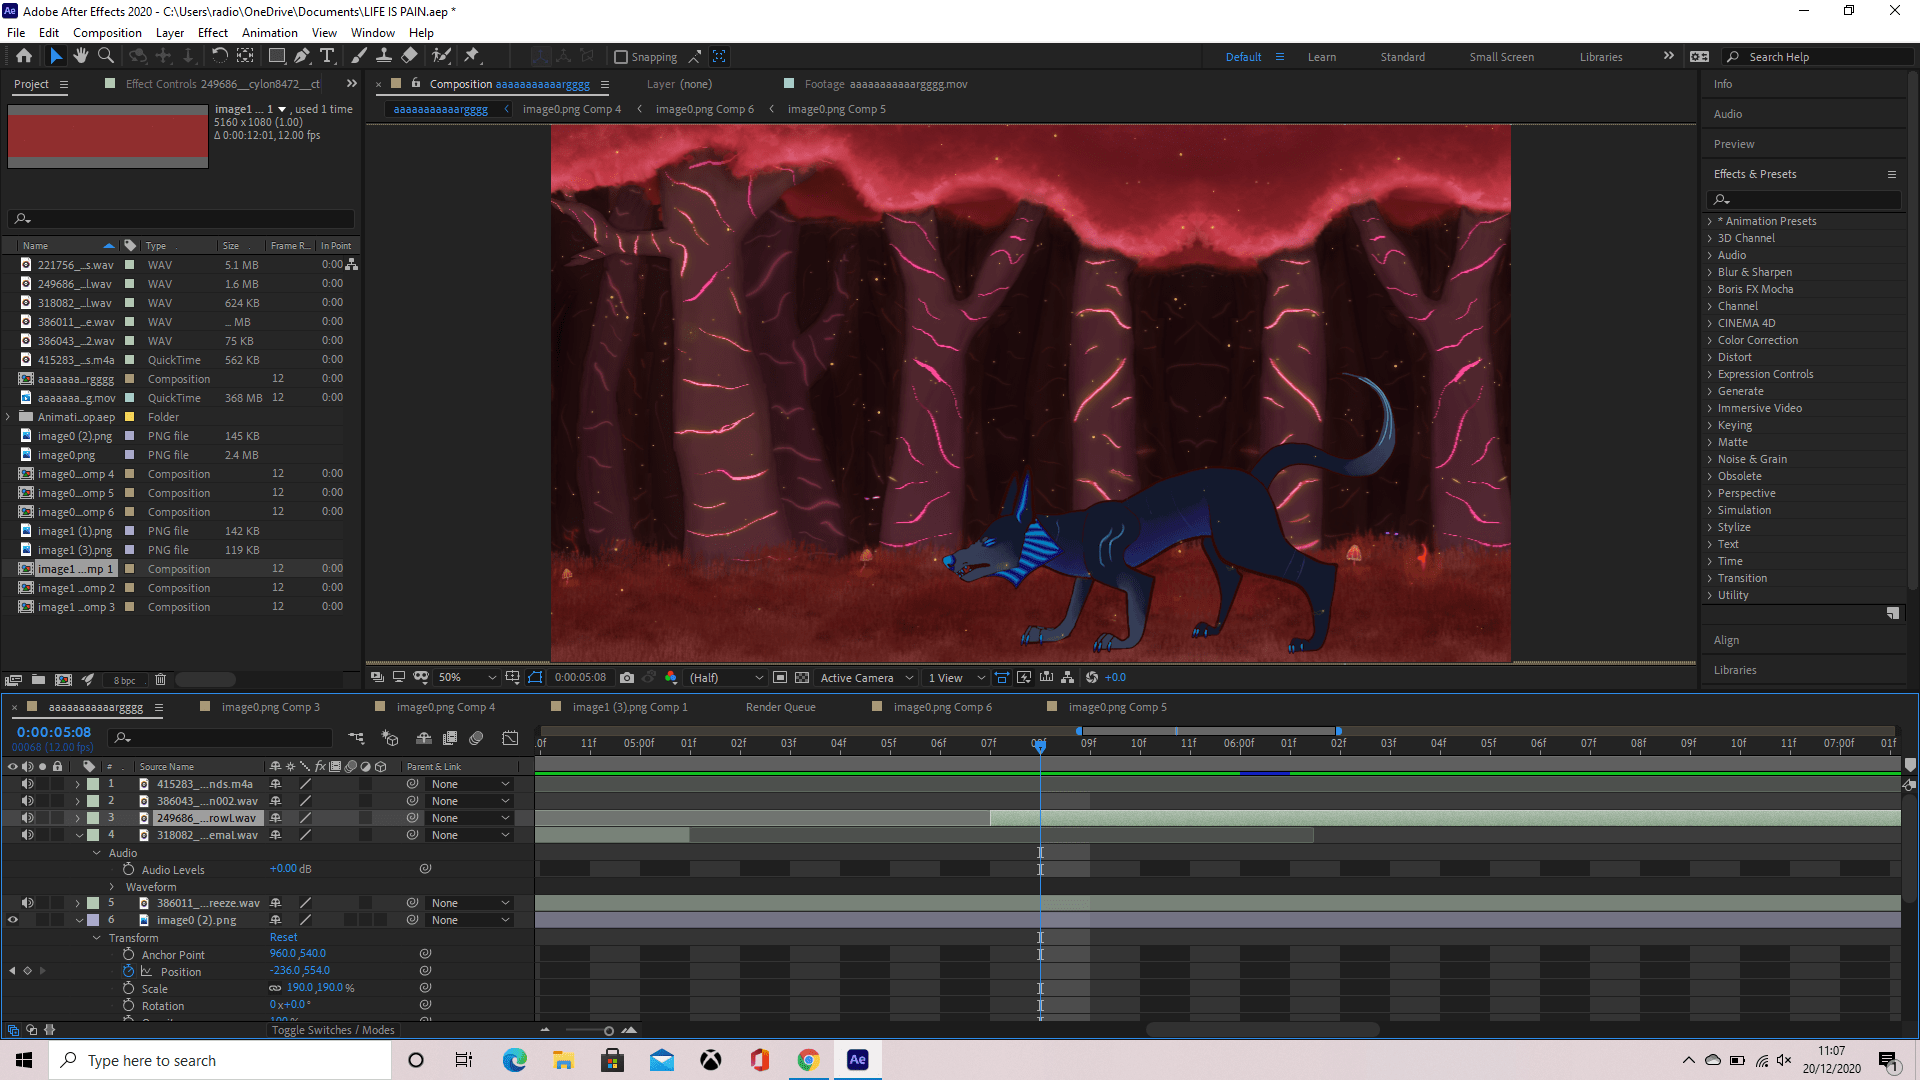
Now finished with the colouring and the details and happy with my outcome, I had to import my layers into Photoshop from procreate then make the layers into frames there before exporting it as an MP4 and importing that into Adobe After Effects. Unfortunately none of this went as smooth as I would have hoped so I spent quite a lot of time just trying to download the animation from Google drive as Photoshop just wouldn’t co-operate with me. Eventually though when everything was uploaded, downloaded and actually just working I was able to start animating in After Effects. Or.. so I thought, but it appears I used the wrong formatting when exporting my animation and I almost lost my head trying to figure out why I couldn’t add a background to my video. It’s because the video wasn’t transparent at all so it was an easy enough fix, but very frustrating to figure out what was wrong.
With my transparent background now acquired, I started my journey of adding keyframes to things such as the position of the background. I followed a tutorial listed below to help get my background moving and long enough so it could loop without any noticeable jumps, however I had to change up the dimensions to fit my drawing 3 times in succession, I also didn’t actually loop it as it wasn’t necessary.
After getting the background and main animation down, I began adding little details in the foreground such as the tree at the start that moves across to the left, making it seem as though the girl walks out from behind it, and the little yellow particles that flow throughout the whole animation. These both needed opacity and position keyframes which by doing this I found an option called “toggle hold keyframe” and i found very useful.


At this point in time, I had no sound but I did have an idea of what I wanted to add, so I hopped onto Google and searched up “royalty free sound effects” for a website with sounds I could use. Finding a good one, I started searching key words of sounds I wanted and went through sampling each until I found one I deemed appropriate, downloading the file and dragging it into my composition then playing it back to make sure it fits.

Once everything was in place and I was happy with my animation, I saved and exported my video as an MP4 then played it back to make sure it ran smoothly. You can find my animation below.
Above is my individual contribution to the animation and below is where you can find the group animation, with everyone’s piece put together.
If I had more time to work on my animation, I would have loved to add a camera shake effect for when the Nyxer growls and a few more sound effects that i forgot to add such as the humming and a surprised gasp whenever the Anglerfish child sees the Nyxer creature.
Tutorials used: