Second Animation Short Portfolio

My portfolio for the Second Animation Short assignment

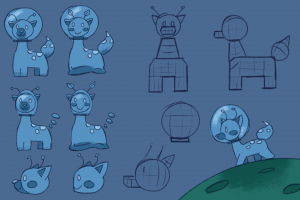
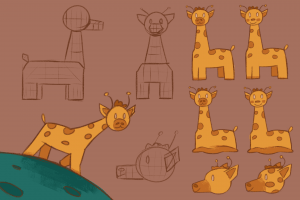
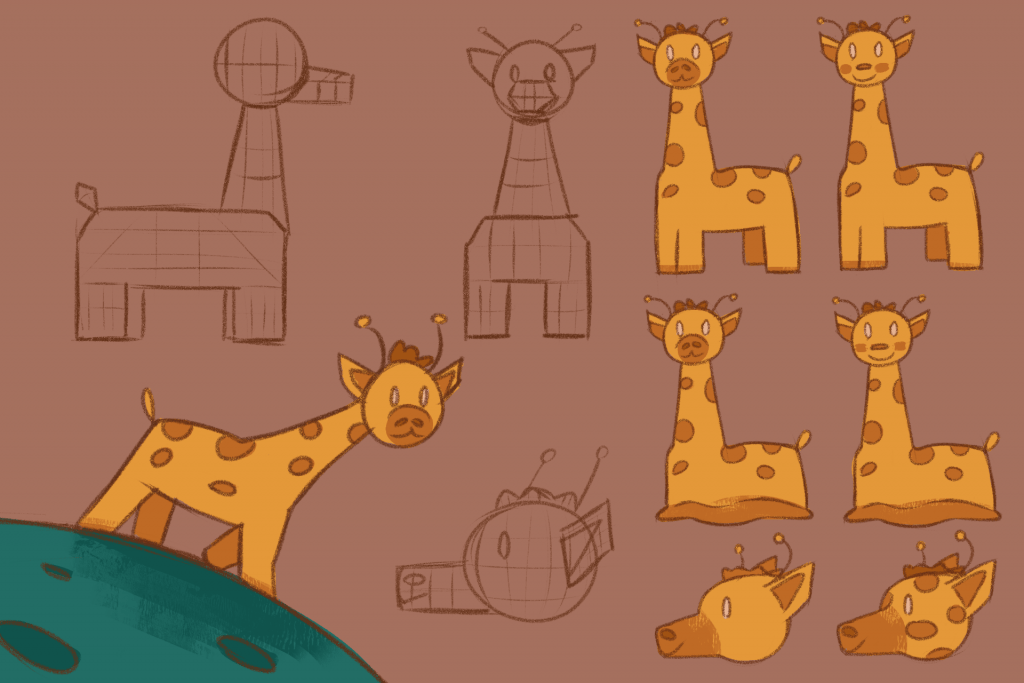
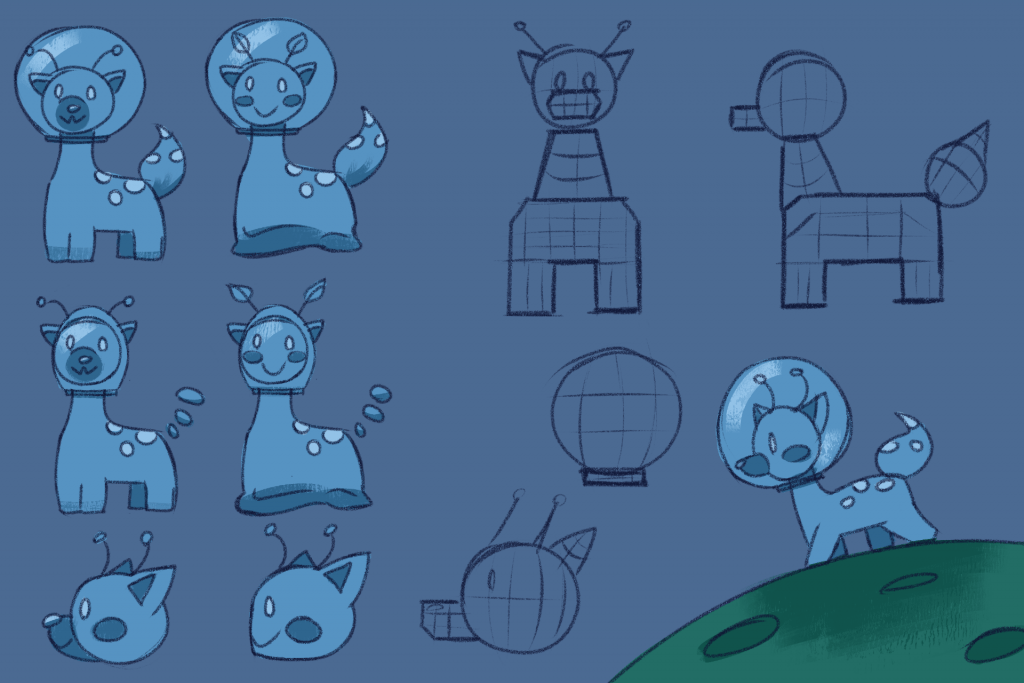
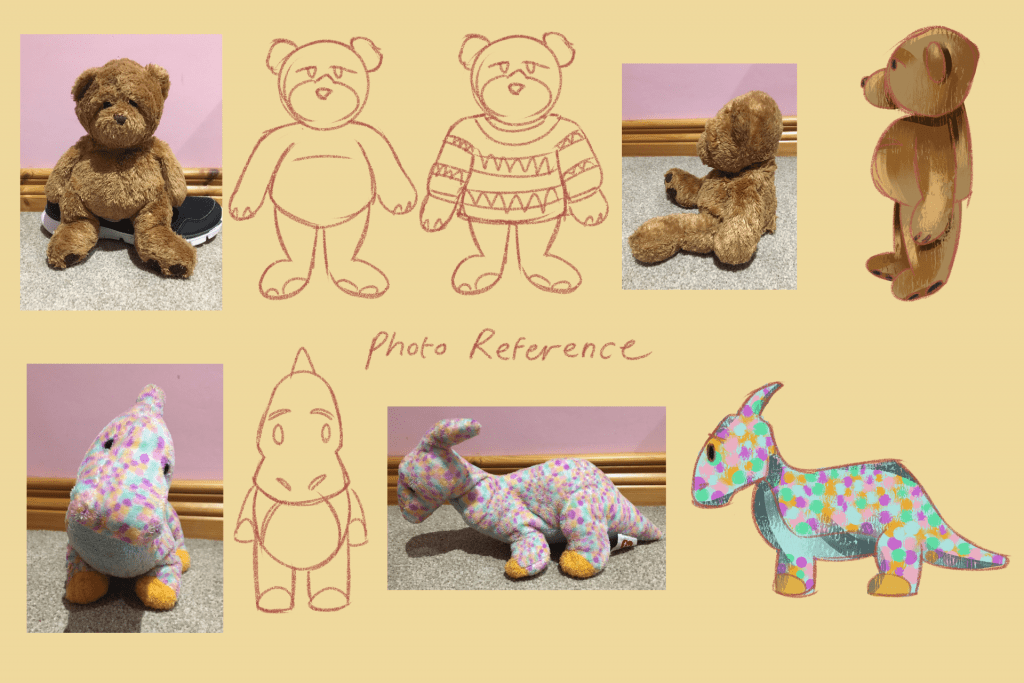
Character design

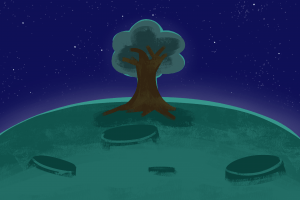
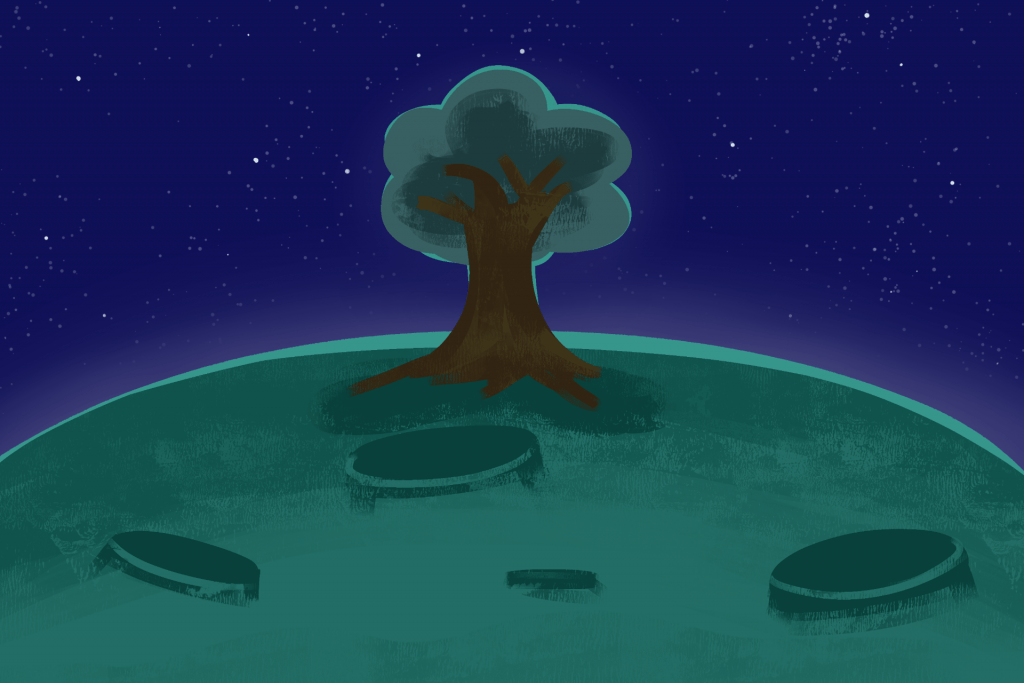
Environment studies


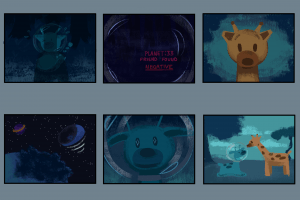
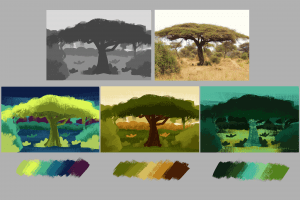
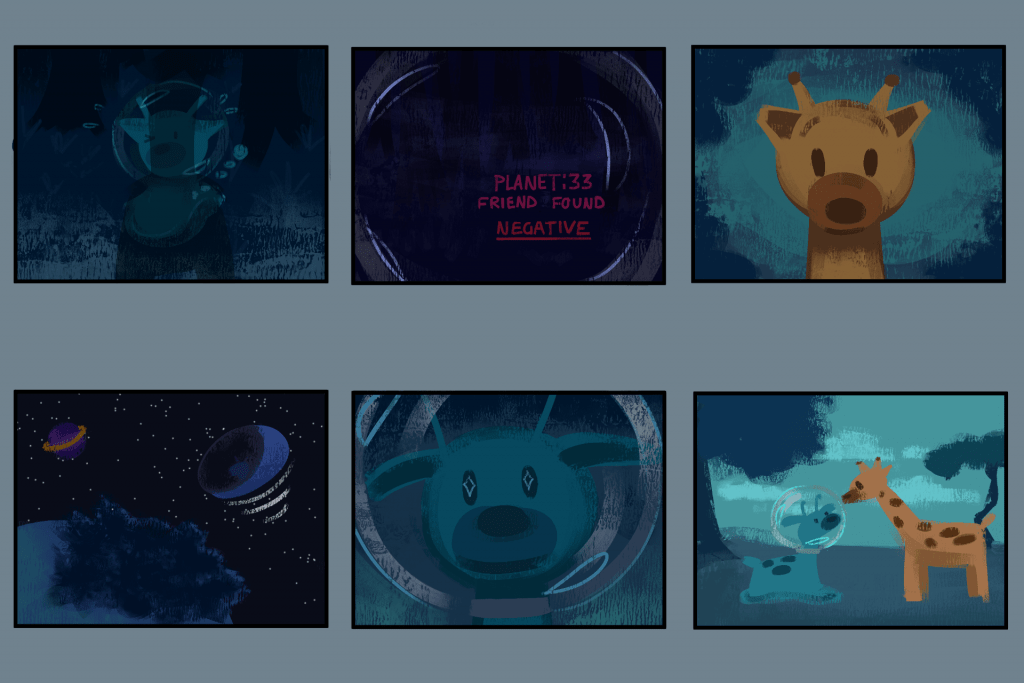
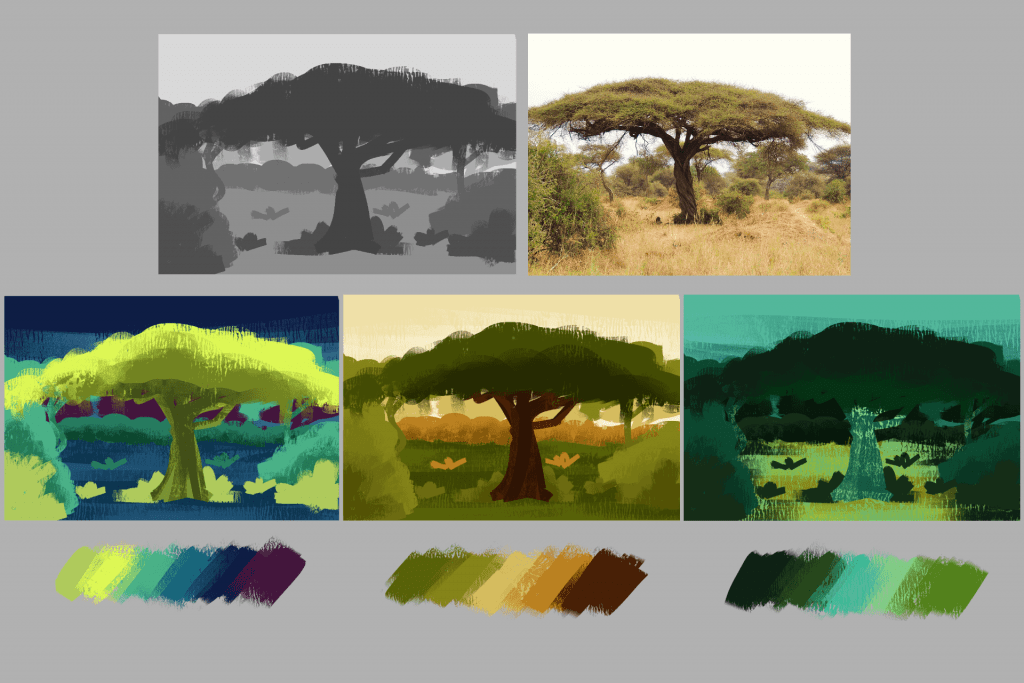
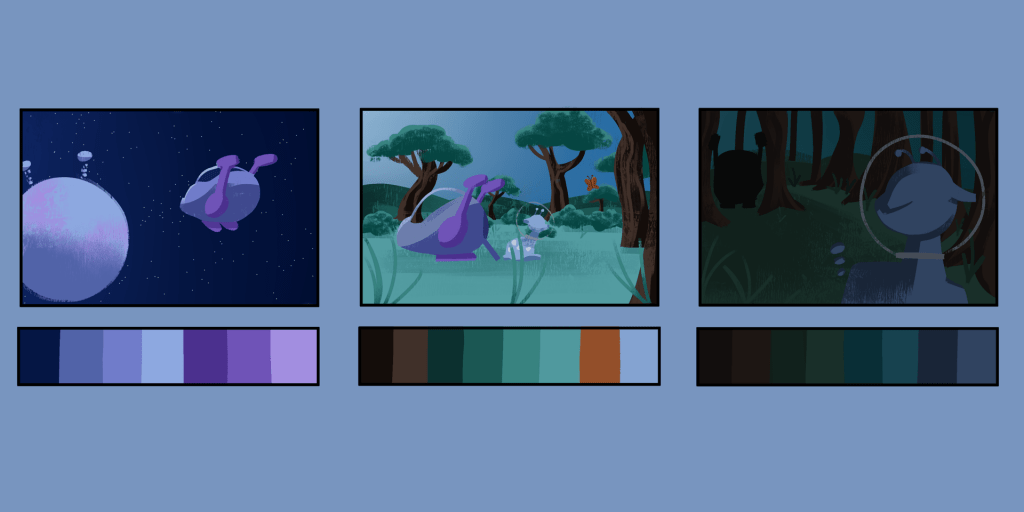
Thumbnails and colour studies

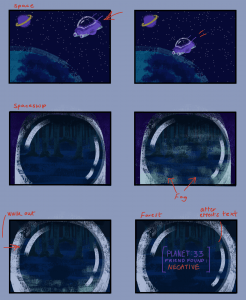
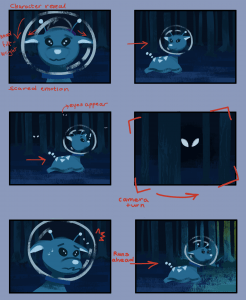
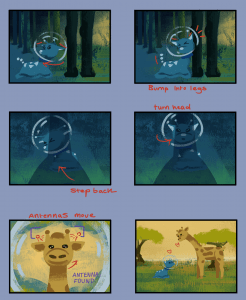
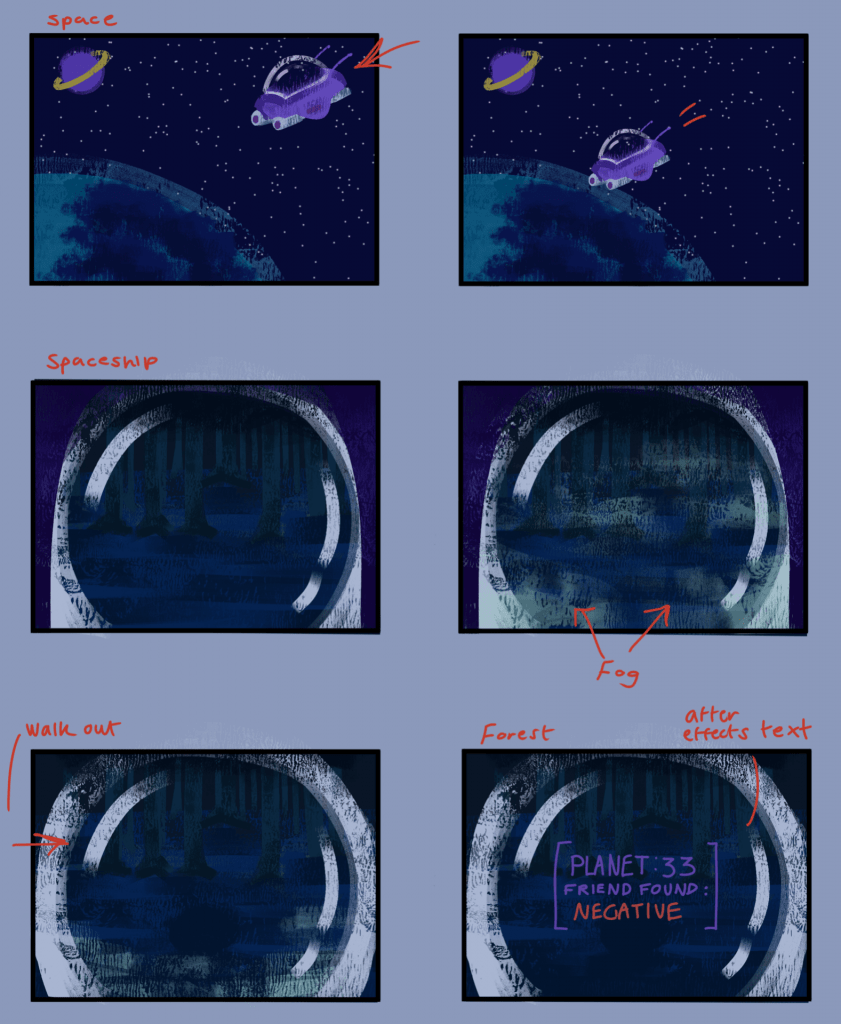
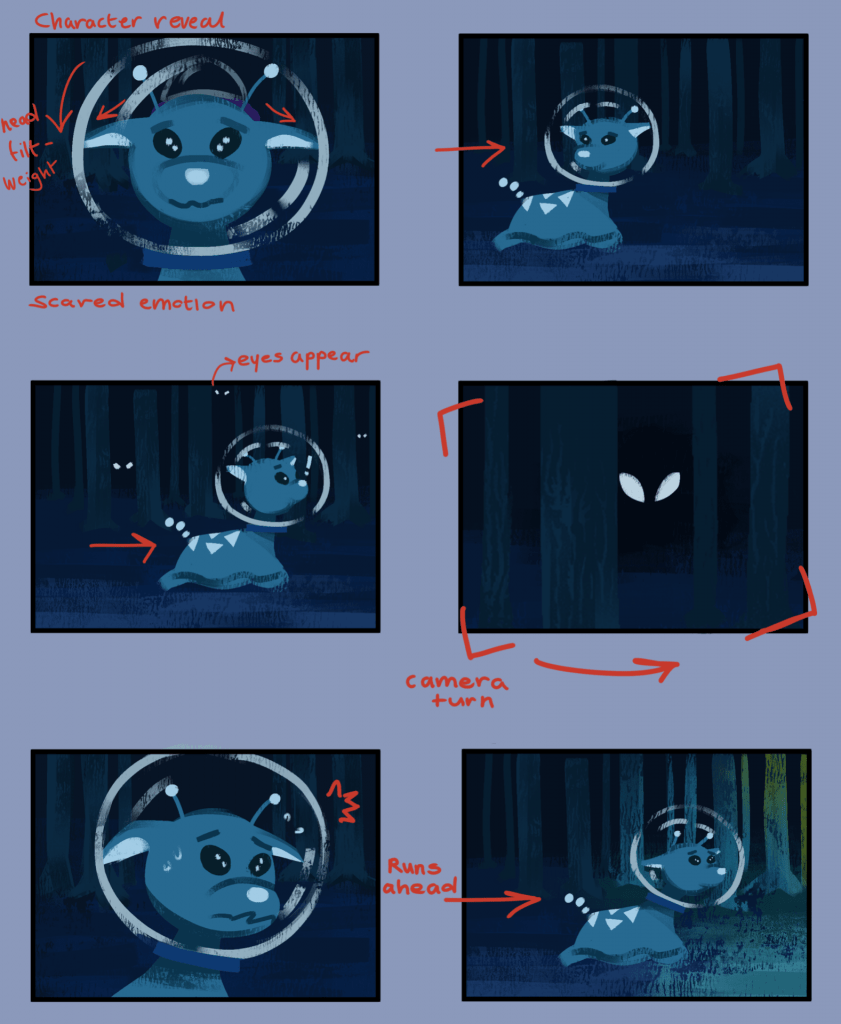
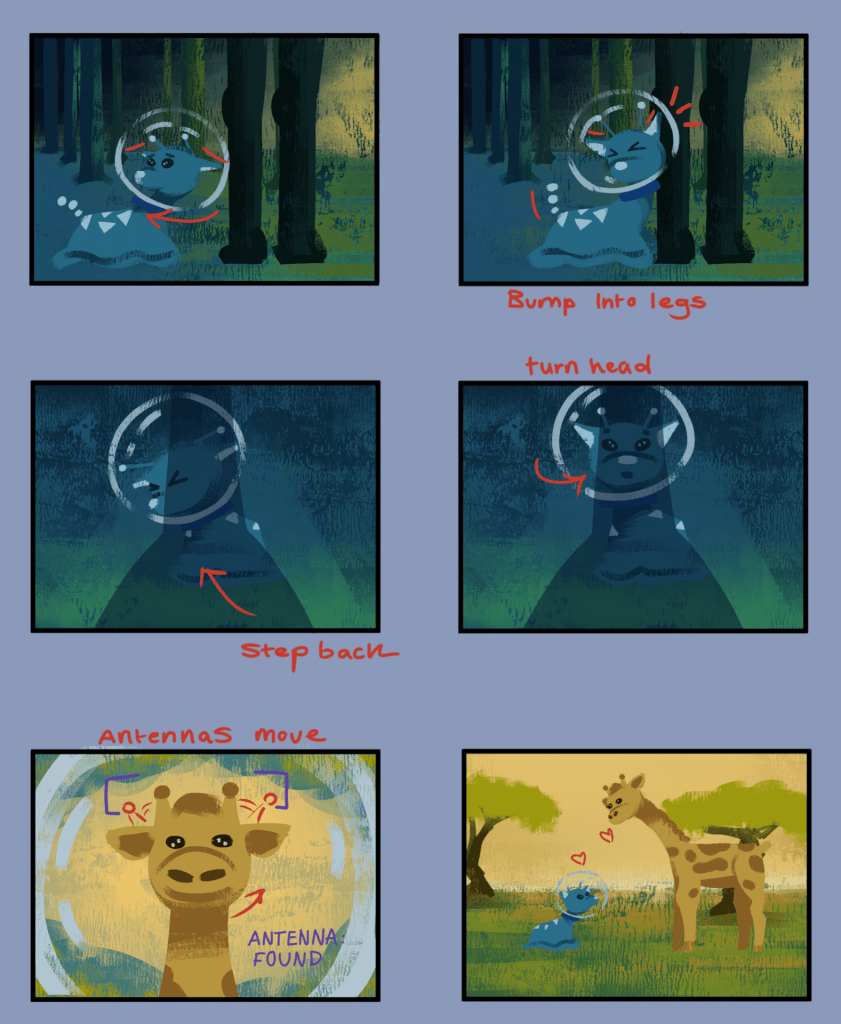
Storyboards

3D Previs Character assets

3D Previs shot 4

3D Previs shot 5

Toon shader experiments


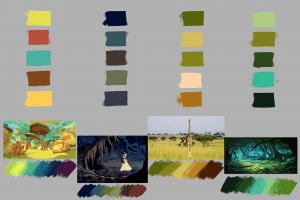
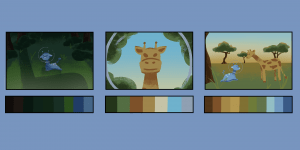
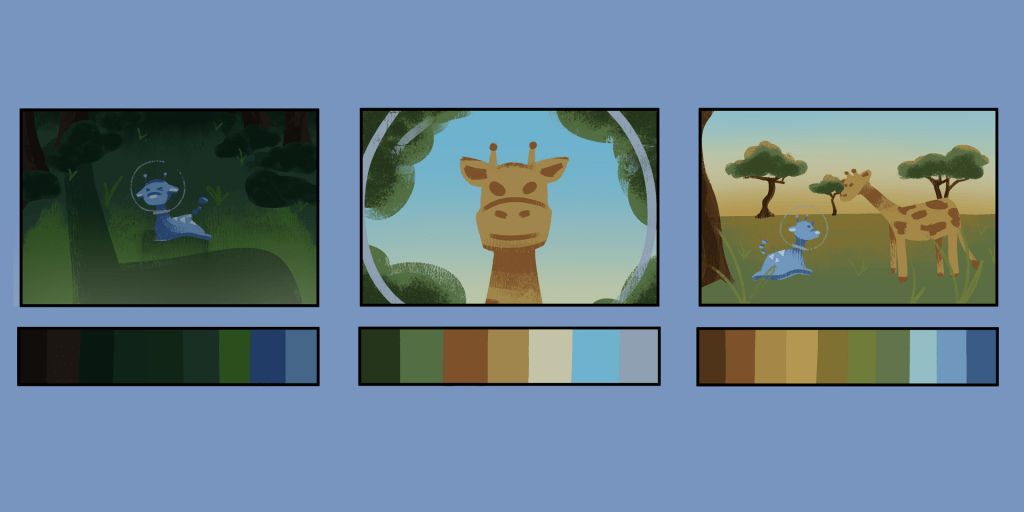
Final colour palette

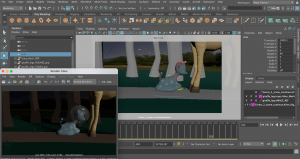
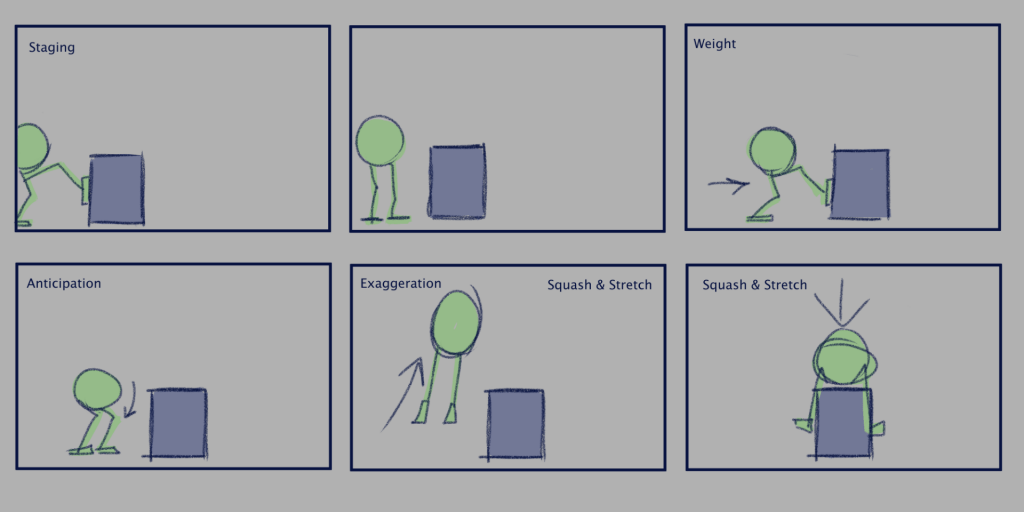
Animation process

Animation shot 5 & 6 Playblast

Animation shot 7 Playblast

Animation shot 5 & 6 final render

Animation shot 7 final render

Circle loading animation

Final Animation

https://drive.google.com/file/d/1YSqn5RoCed4nl4jCd0GEZ-a1zl5dDCea/view?usp=sharing

Reflecting first year

Reflecting first year

This past year attending university through my computer screen wasn’t the way I thought I would be attending, but it was definitely something new and interesting to do. I really did enjoy learning animation this year. I have learnt lots from the basics of drawing, to producing 2D animation, and from learning new software, to 3D modelling and animating.

 The people in this class have been so lovely and friendly to me and I hope I appear nice to them too. Although we haven’t all met in person yet, I still appreciate the time I have spent with them so far. 

I will admit this year has been tough for us all to carefully focus on work from home, to be isolated for a long time, not getting the full university experience and to try to connect with others. Apart from all that, I still really enjoyed the year! We had many class calls that turned out fun. The modules were very interesting and I have made projects I never thought I’d be able to make!

Thank you to the staff for working hard especially this year to teach us animation. I am excited for next year and what is to come next 🙂

Cute Character – Reflection

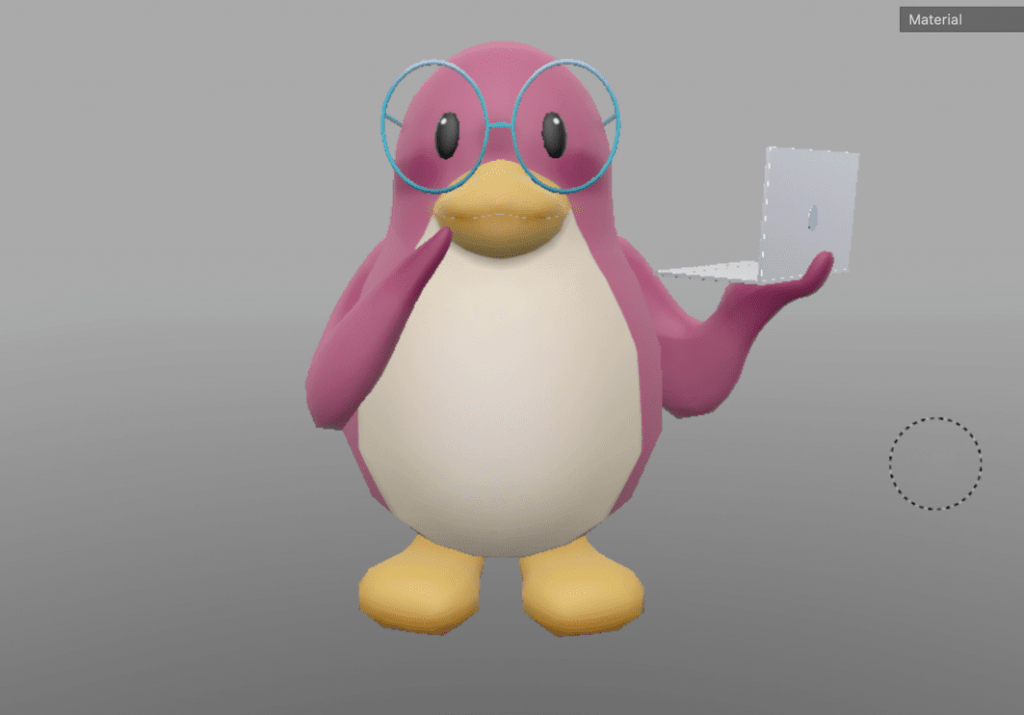
Here is my finished Cute character model uploaded onto sketchfab.


Model on its own: https://skfb.ly/o6oqy

Model with scene: https://skfb.ly/o6rp6


Reflection: 

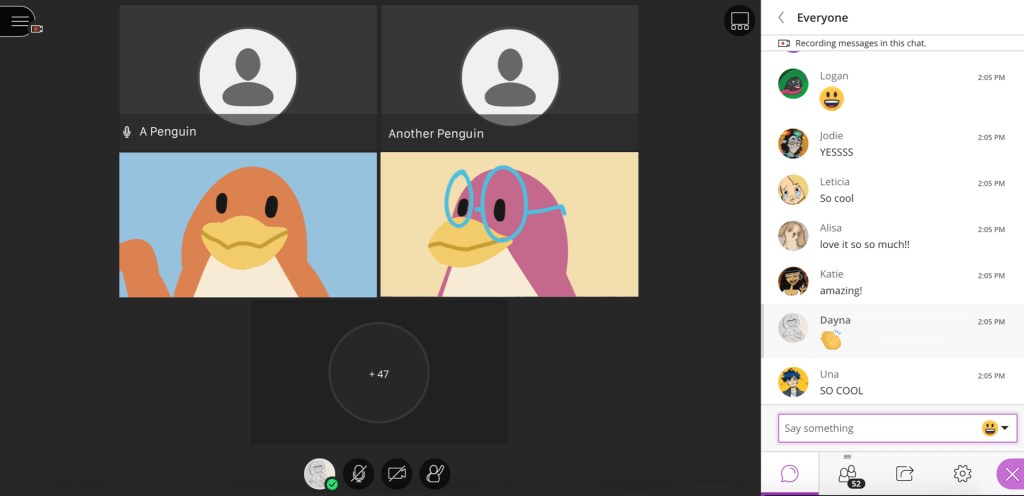
This was a fun assignment to work on, and one of the many assignments that taught me a lot about 3D. I had only started 3D (for the first time) in January, and I am surprised at how much I have learnt and improved since then. etc. modelling/sculpting, Maya/blender tools and settings, texturing, and more.

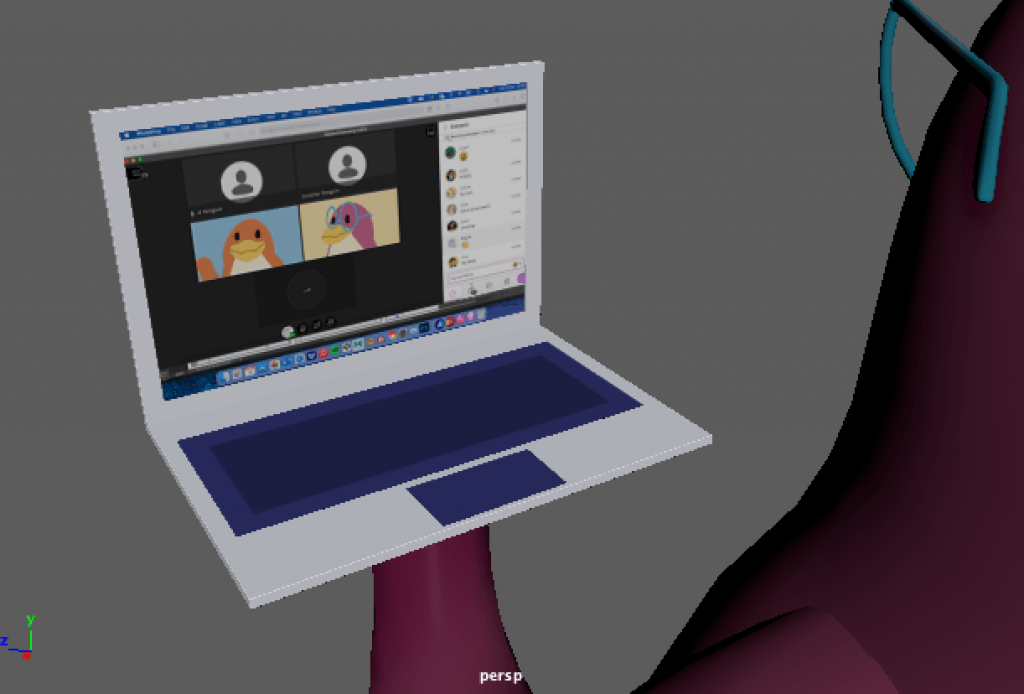
I am happy with the outcome of this project. I feel I did great in providing a context/purpose for the character I created, and added accessories, posing and expression to enhance the purpose and presentation. I also feel I did great during the modelling process. I made sure I went through each task and did them the best I could. Lastly, I appreciate the time I took to add a nice scene as it looks a lot more interesting and unique. However, there are also parts I could have done better in. I should have checked through the scene UV maps once more as they gave me a small problem. I could have experimented more with texture design and shading if I had more time to learn about it. Lastly, a part of me thinks I could have been more original in my character design.

Other than this, I had a great experience with this project and I now know how to model a character, texture a character, and present it in a nice way.


Year 1 – Semester 2

Semester 2 of first year

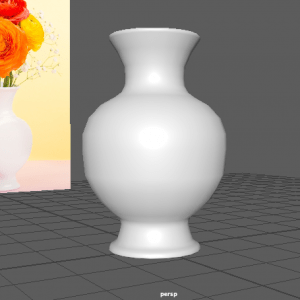
Vase – Weekly Modelling Challenge


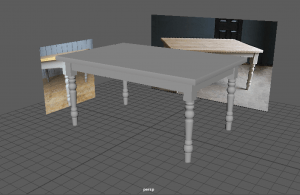
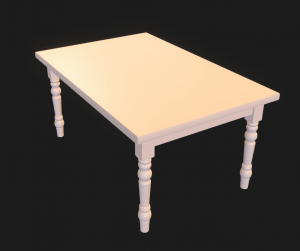
Table – Weekly Modelling Challenge

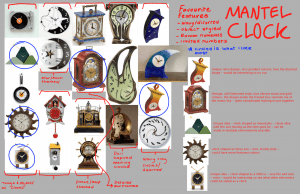
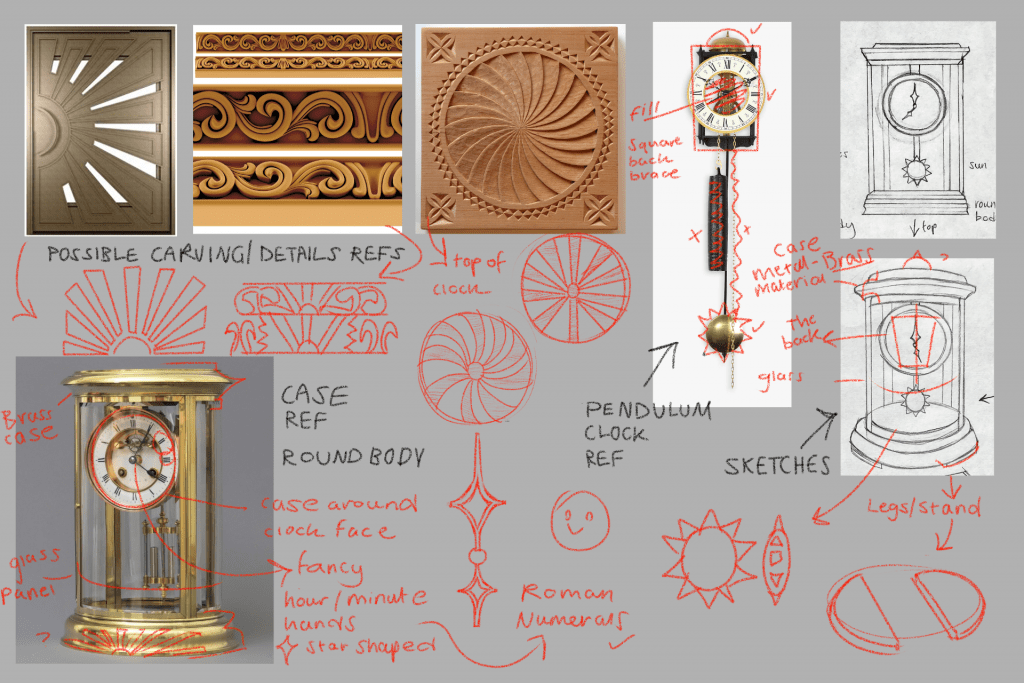
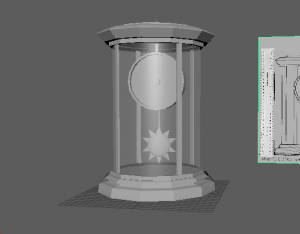
Mantel Clock references – Intro to 3D Modelling

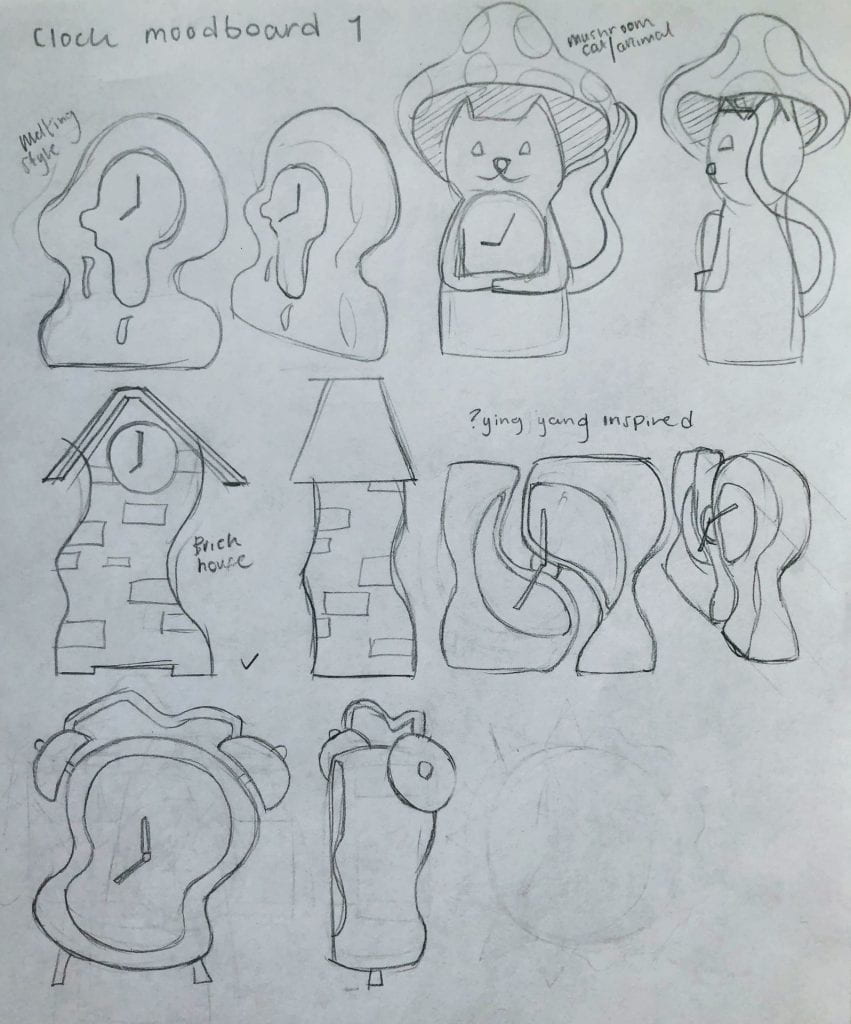
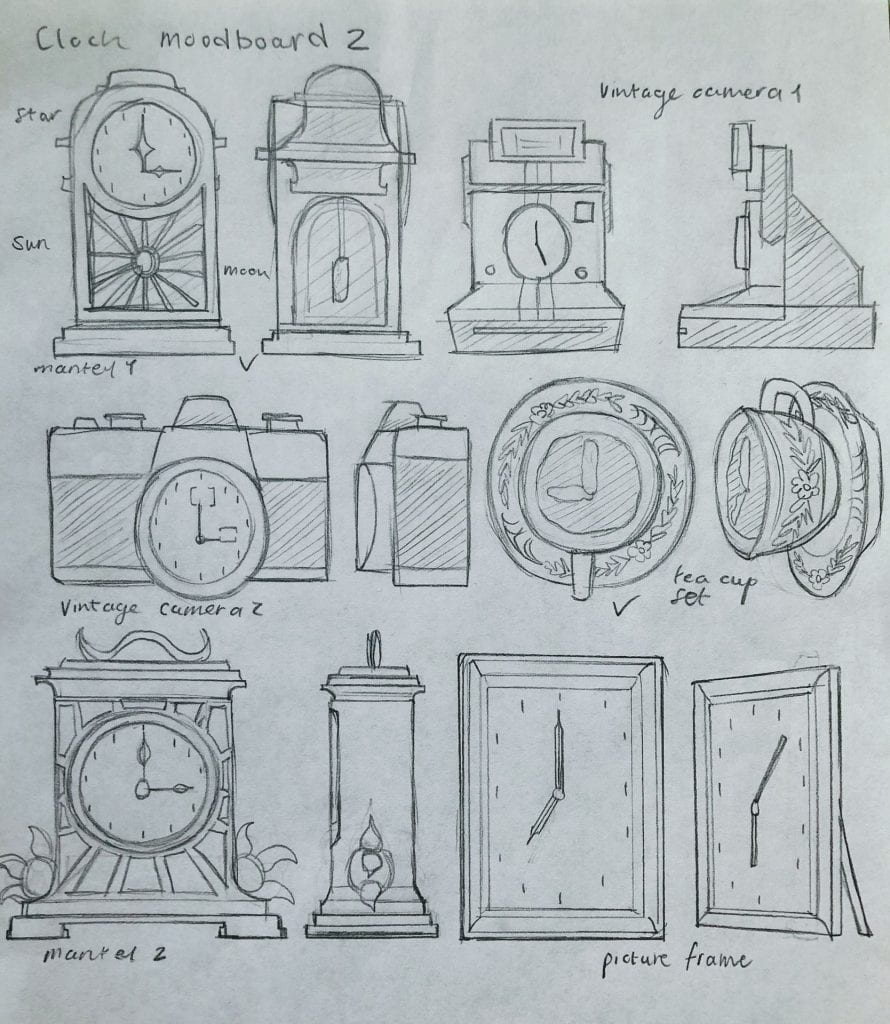
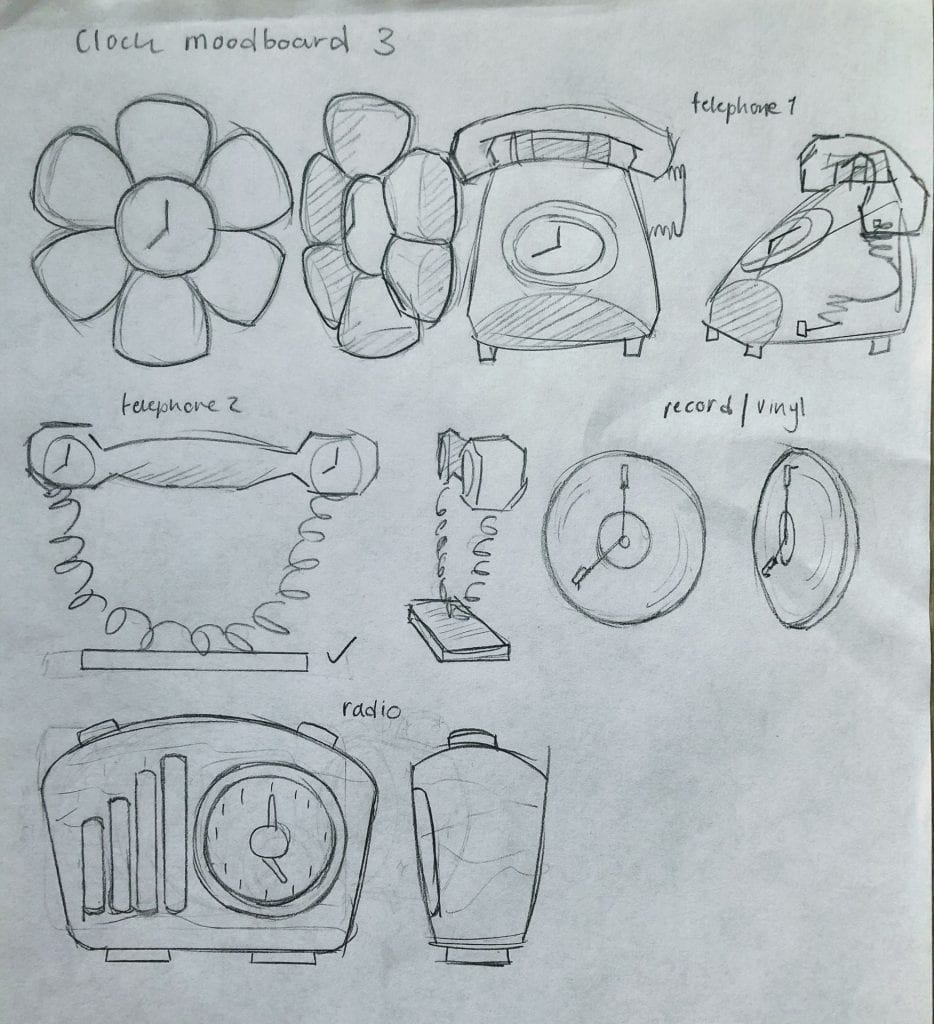
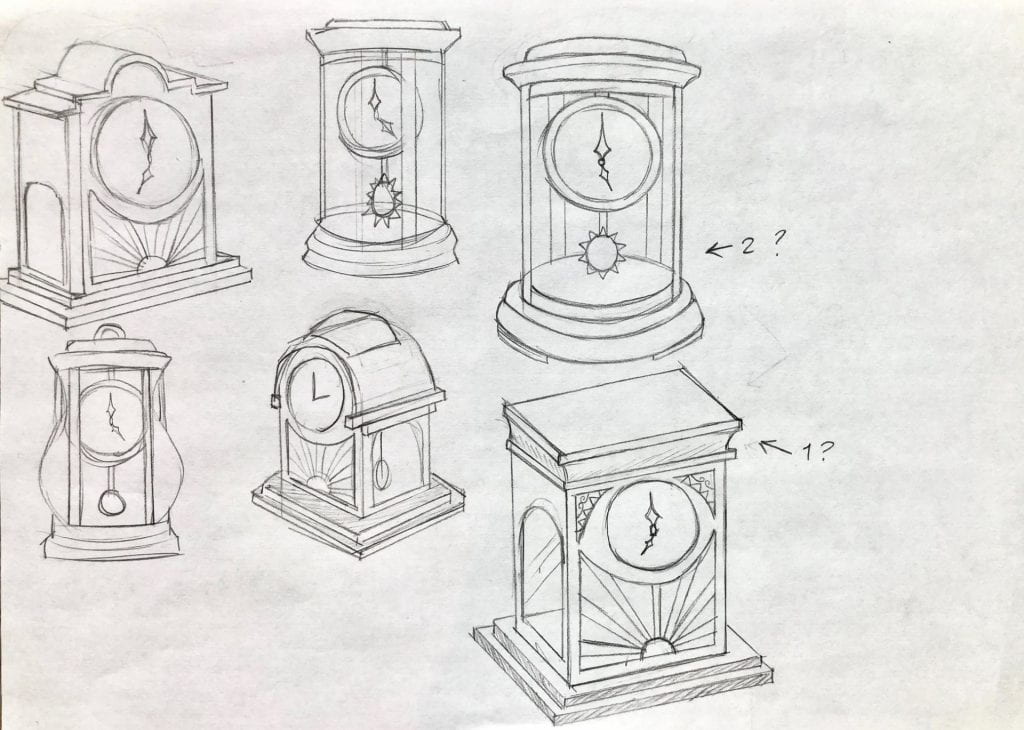
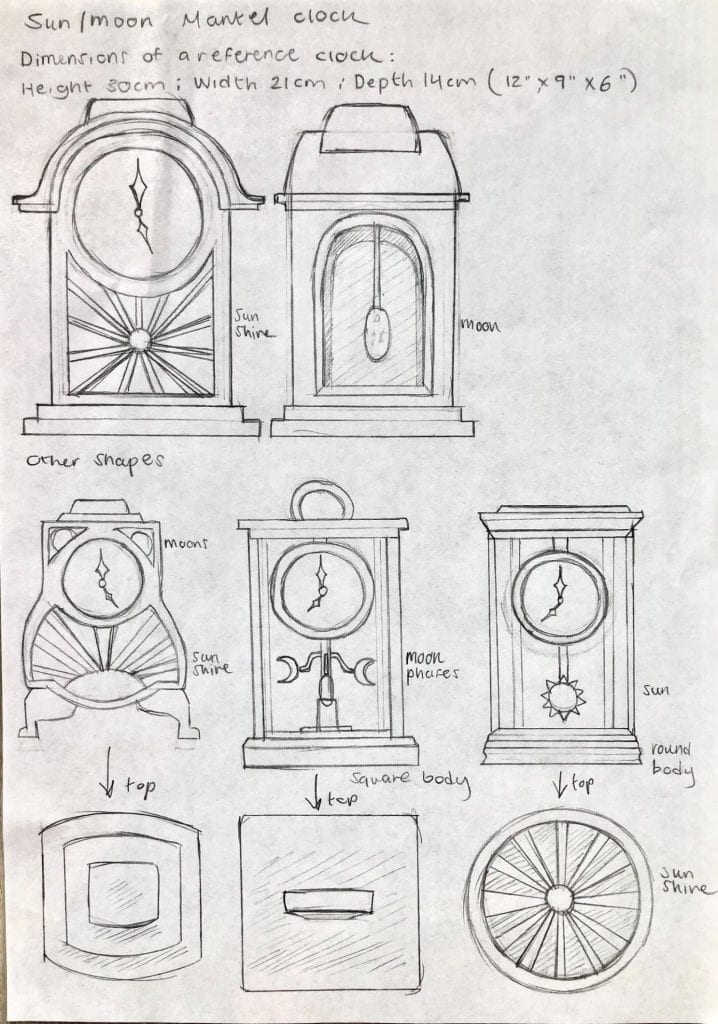
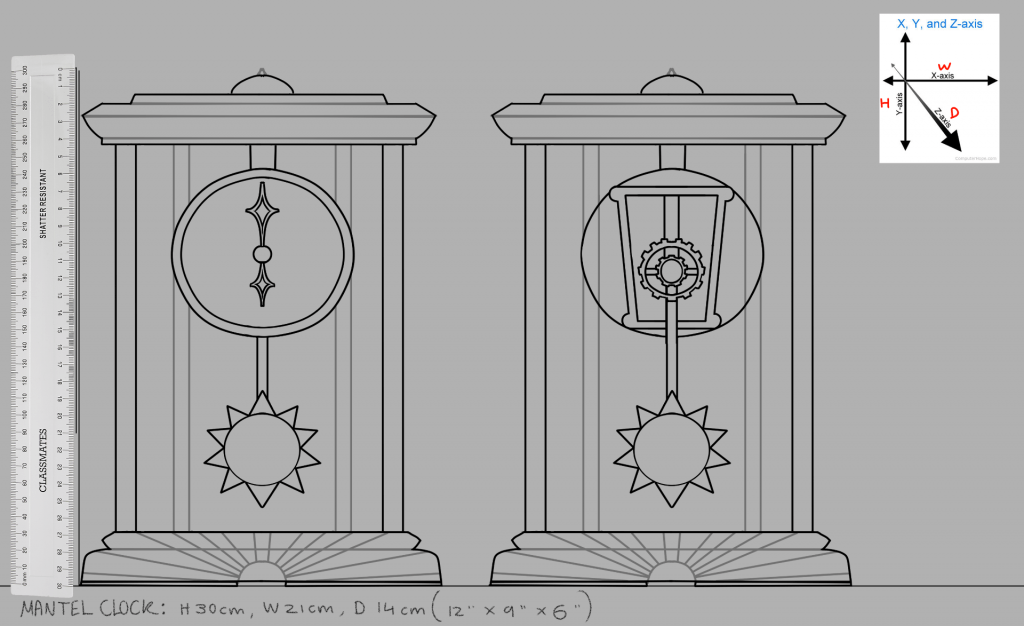
Mantel Clock concept designs – Intro to 3D Modelling

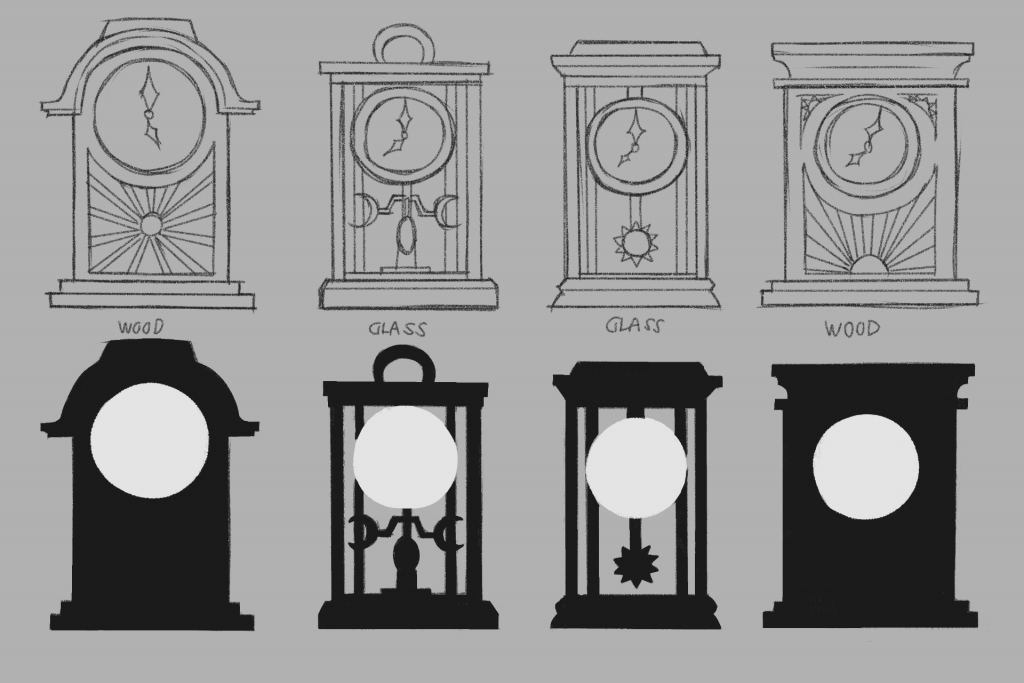
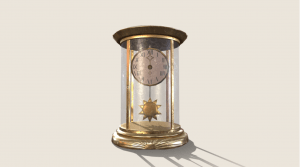
Mantel Clock final design – Intro to 3D Modelling

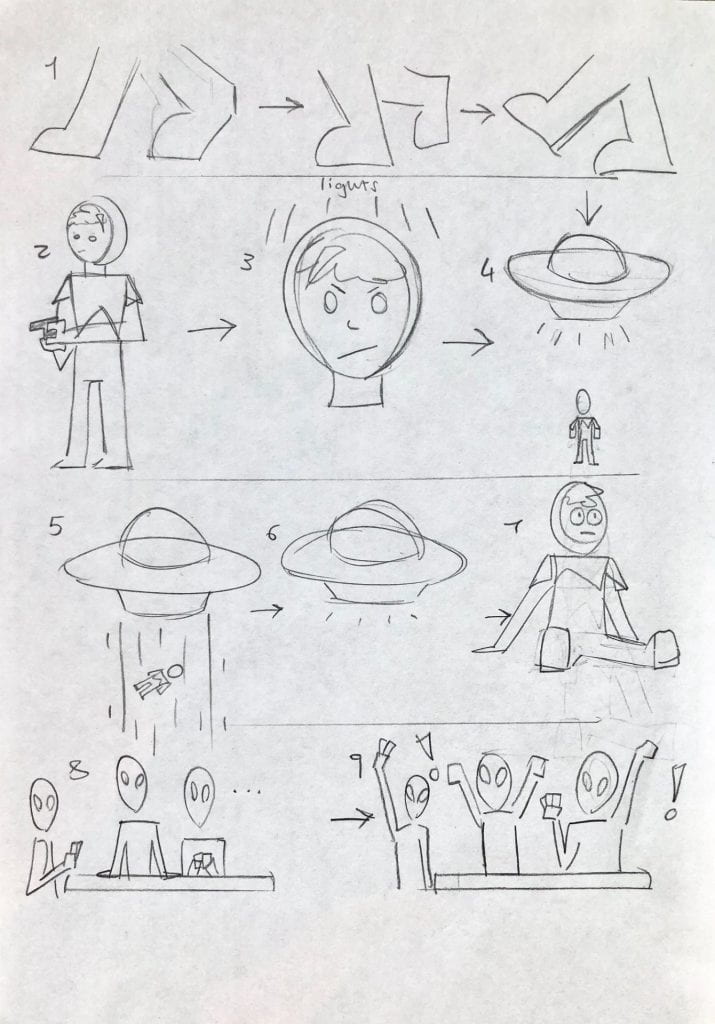
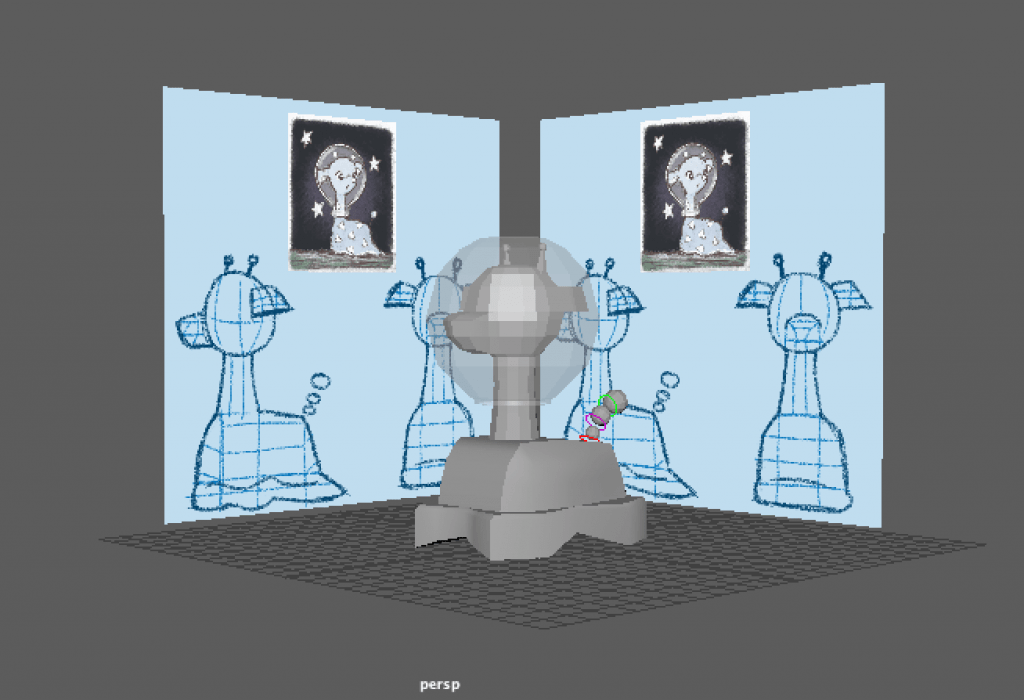
Alien Poker story idea – storyboards and thumbnails – Second Animation Short

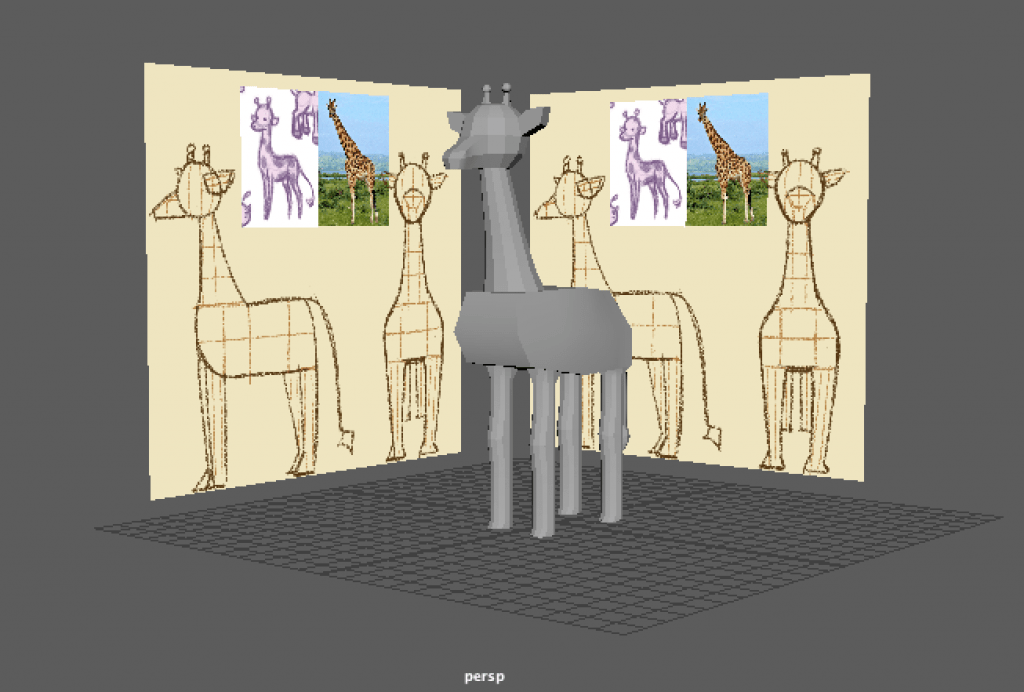
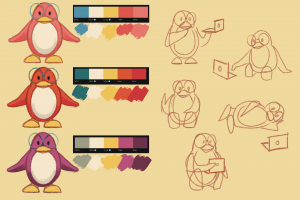
Alien Giraffe story idea – Character design – Second Animation Short

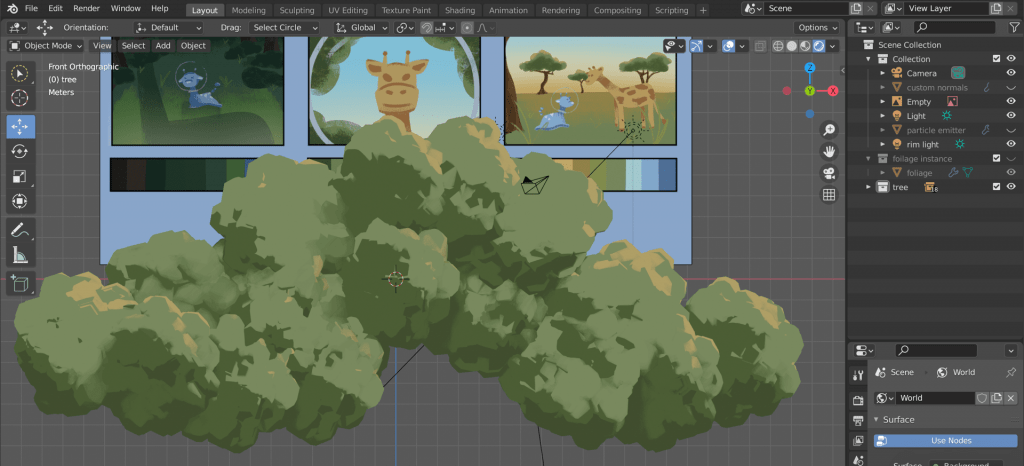
Alien Giraffe story idea – environment concepts – Second Animation Short

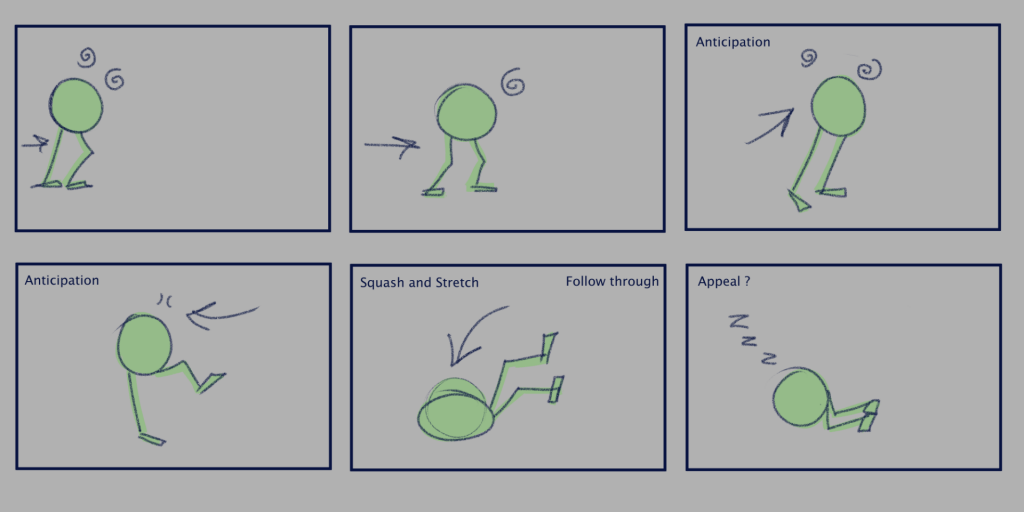
Anticipation jump – Animation Studies

Squash and Stretch bounce – Animation Studies

IK and FK rigging – Animation Studies

IK and FK rigging – Animation Studies

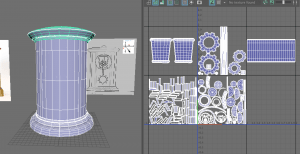
Mantel Clock 3D Modelling, Texturing and Presentation – Intro to 3D Modelling

Thumbnails and colour studies – Second Animation Short

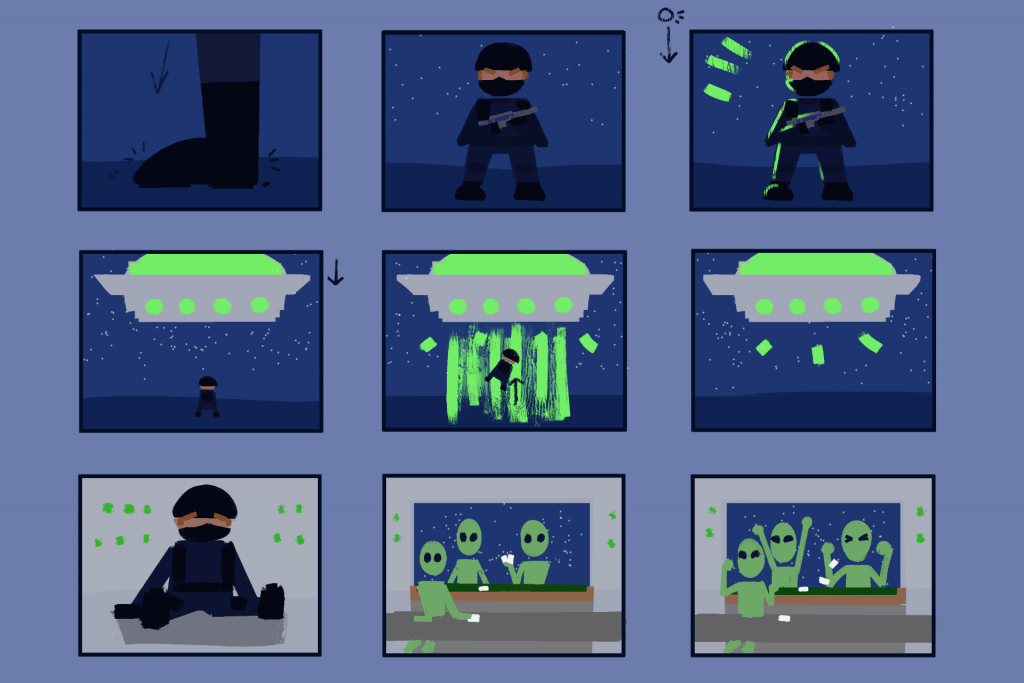
Storyboards – Second Animation Short

3D Previs character assets and reference – Second Animation Short

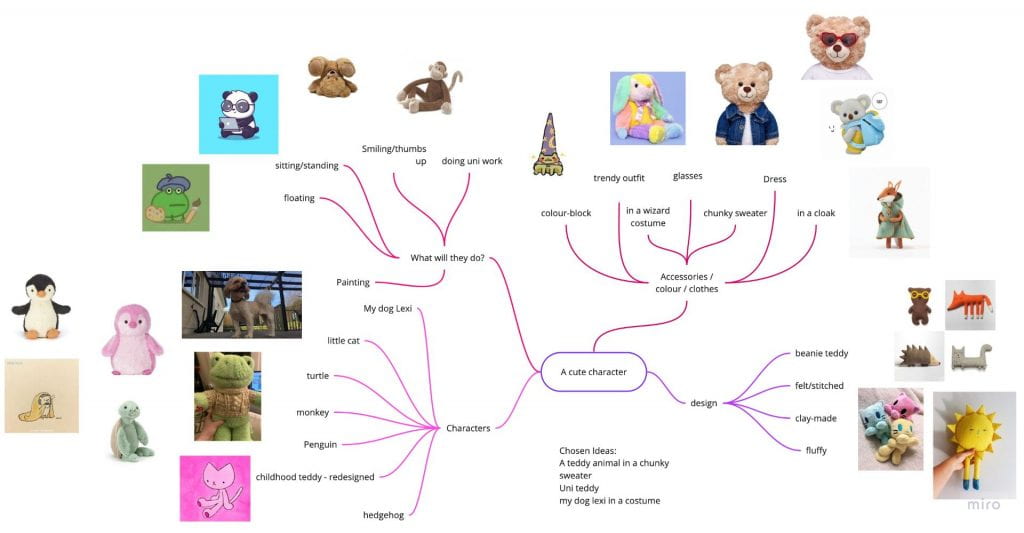
Brainstorm and first concepts – Organic Modelling Cute character

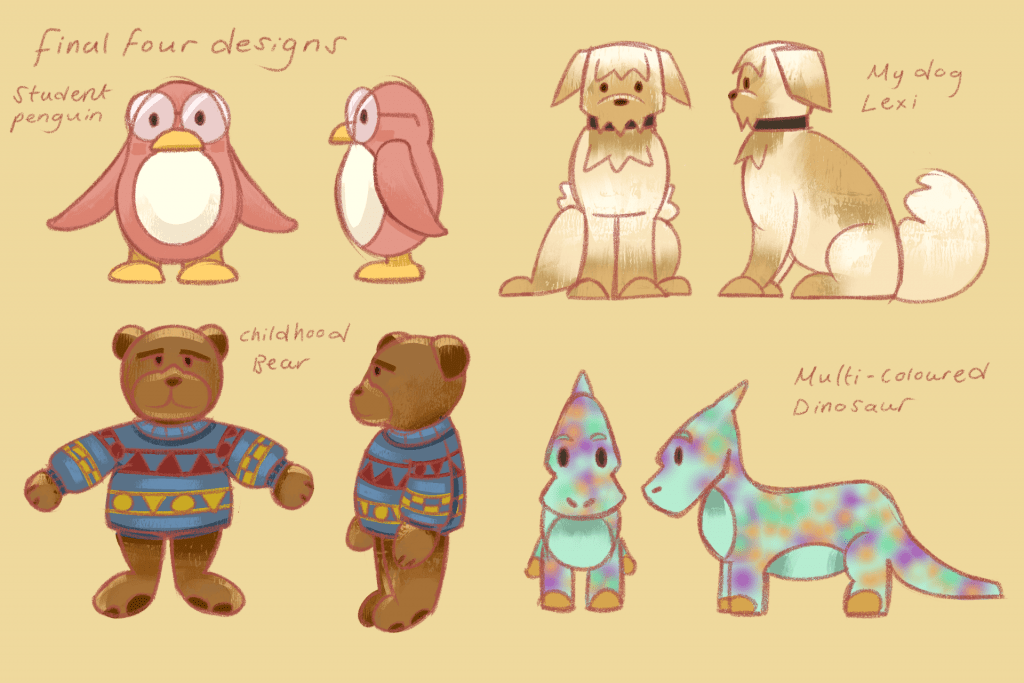
Concepts and final designs – Organic Modelling Cute character

Monty Rig jump practice – Animation Studies

Anticipation Jump & camera work practice – Animation Studies

Ultimate Walker Jump reference practice – Animation Studies

Final colour study – Second Animation Short

Storyboards – Animation Studies Monty rig

Further concept work and Turnaround – Organic Modelling Cute character

Final Monty rig Study – Animation Studies Monty rig

Final Monty rig Study – Animation Studies Monty rig

3D Previs shot 4 – Second Animation Short

3D Previs shot 5 – Second Animation Short

Toon shader experiments – Second Animation Short

Environment sketch – Organic Modelling Cute character

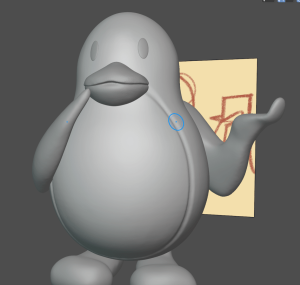
Final Model and accessories (Blender and Maya) – Organic Modelling Cute character

Texturing (Substance Painter) – Organic Modelling Cute character

Final rendered animation shot 5 & 6 – Second Animation Short

Final rendered animation shot 7 – Second Animation Short

Circle loading animation – Second Animation Short

Final Animation – Second Animation Short

Source: https://drive.google.com/file/d/1YSqn5RoCed4nl4jCd0GEZ-a1zl5dDCea/view?usp=sharing

Painting for texturing – Organic Modelling Cute Character

Modelling and Texturing scene – Organic Modelling Cute Character

Final Cute Character model on Sketchfab – Organic Modelling Cute Character

Source: https://skfb.ly/o6rp6


Cute Character – Presentation

After modelling and texturing my organic model, I decided I wanted to make a nice scene to present my model in on Sketchfab. Before I go into attempting this, I wanted to gather inspiration and research on how other 3D artists have done this. First I looked through sketchfab of peoples cute characters’ look, and how they presented them in the website.

Here is a few that stood out to me:


I could go for a simple solid colour style like these two set ups for characters by ‘Demidog’ and ‘Tsayuriw’ I also like their simple scenes – the sofa, the bath – it connects to the style and also gives the characters a purpose /an activity to do.
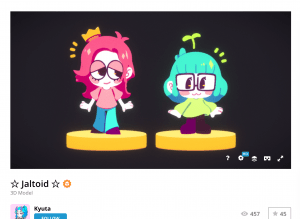
I could also go for the toon shader look that these scenes have made by ‘Kyuta’ and ‘jdinutella’. I like the shade style and the outline style as it could go well with my penguin. Along with the penguin, like these scenes, I could add tiny designs around the model to make it stand out more.

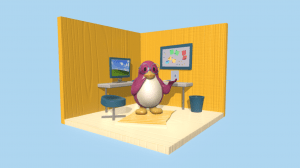
I wanted to try out a scene much like Tsayuriw’s modelling of the ‘Ofuro Cat’. I liked the square room scene and how the objects are rounded and stylistic. It would be fun to see how I can achieve a look for a little office room with a desk.

Here I made a few sketches with the ideas I had in mind. I knew I wanted some sort of office/desk furniture in. I also thought the pinboard was a cute idea but it also contains a lot more detail to make it seem interesting. I also wanted the scene to have a little carpet to fill up the room more. In addition I could possibly add a chair, a window or posters on the wall, If I have time.

I am mostly using life reference from my own flat room. This is where I got the idea of the yellow walls, the carpet, the desk and the big pinboard from.

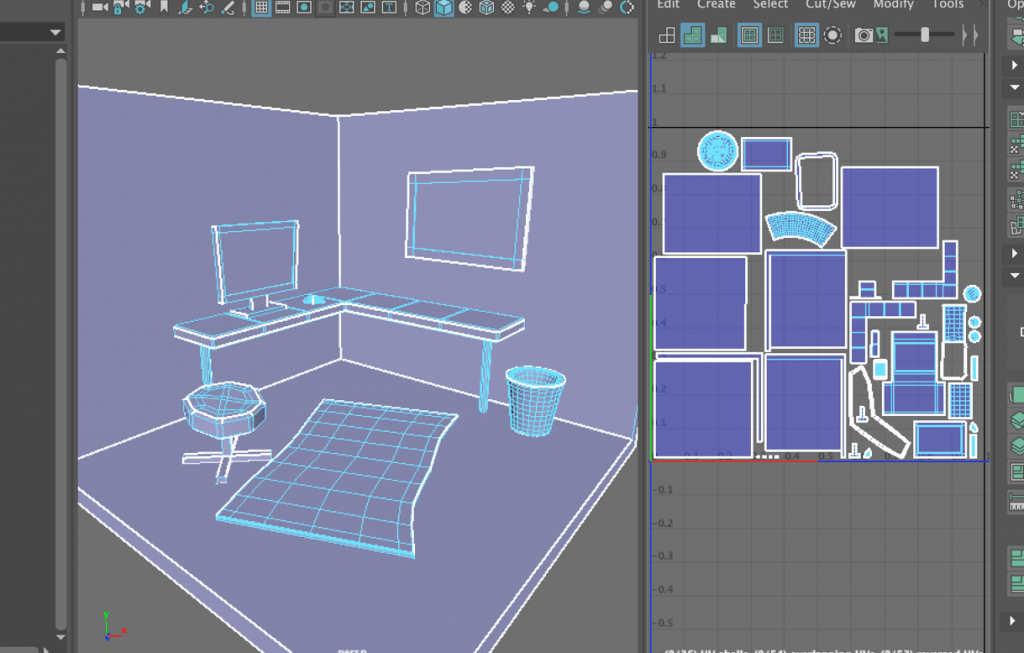
I got back onto Maya and started to mess around with these ideas and see what could work. At this point I had the square room shape placed down. I made a desk, the pinboard and a carpet shape.
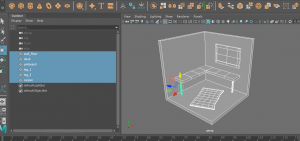
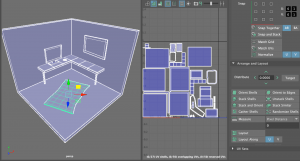
I made sure going through this that all my meshes had correct UVs by going into the UV editor and unfolding each object. I also made sure they fit in this UV map, and that they were straightened any laid down properly. This made my process a lot quicker and easier to go through.

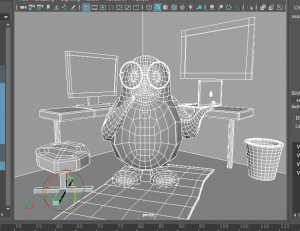
I also imported my penguin model to compare the sizing of the scene to the model. This was helpful in keeping a consistent size of each object in the scene with the size of the penguin.
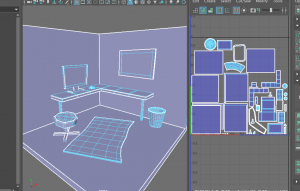
Here I had added a few more bits of decor/furniture such as a bin, a seat and a mouse for the computer. After I modelled everything I UV mapped the rest of the mesh to clean up and make sure they work for texturing.
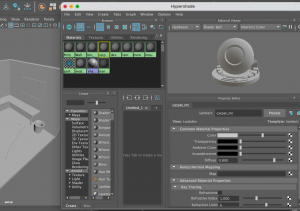
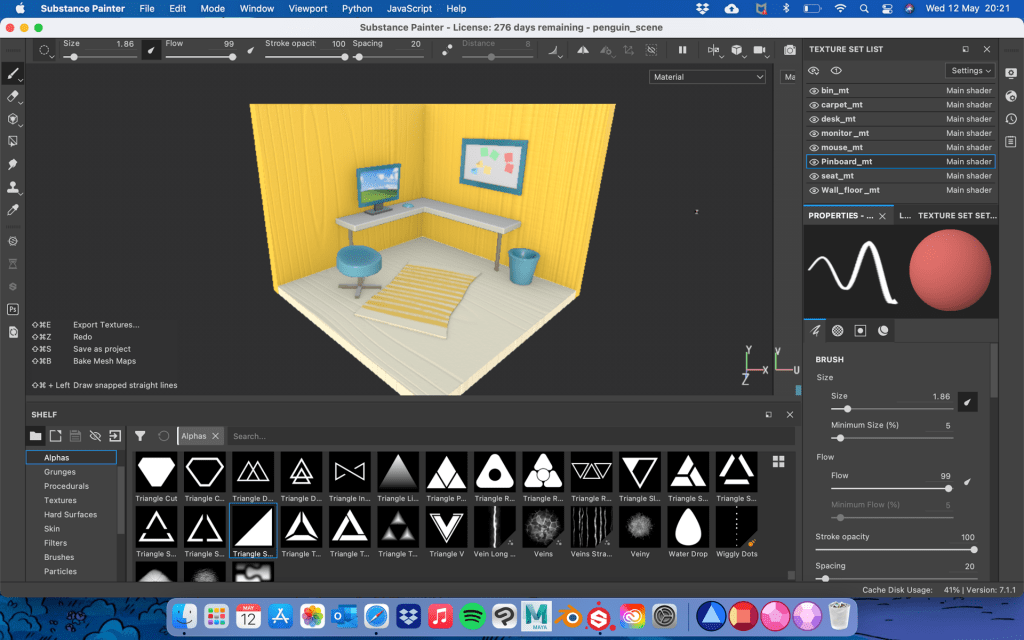
Here I assigned each part a Lambert material so they can be separated from each other on Substance Painter for texturing. I named each one what they were and kept each object with multiple meshes together, such as the table and the monitor.

I brought my scene into Substance painter by exporting it as an FBX file, and as soon as I go on, I baked the textures so they could be painted on and have textures placed on them.
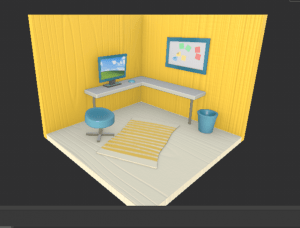
Here I had experimented with the colour assorting and design. First I painted the walls and floor a yellow colour and a cream colour. I then experimented with a wood smart material and placed it underneath the colour layers, so that the colours would show on top and the wood line texture shows through. I also used a secondary colour to clash with the yellow, a teal blue. I painted it on the seat, the bin, the pinboard, monitor and mouse. For metal parts like the seat stand, monitor stand and the desk legs, I painted on Metalness and low roughness to get a shiny metal look. In addition, I experimented with the pinboard and the monitor screen with the use of images and alpha shapes. I used square and triangle alpha shapes with a colour to create sticky notes. I dragged in a desktop background image onto Substance and used it like the alpha shapes, to place down on the monitor screen. Lastly, I painted on stripes on the carpet to give it a pattern.
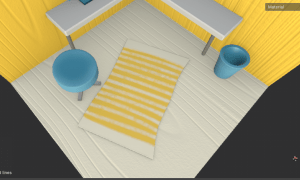
Similarly to how I painted the penguin, I added lighter and darker tones of the teal blue colour around the seat, bin etc. to give it more vibrance instead of just a single colour on it.

I liked how this was going however I did want to add and change a few things for this scene. I moved on to test out the textures and presentation anyway just to see if it works, then I would make my changes after.
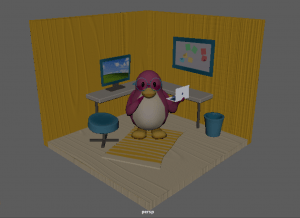
First of all, it worked well when brought back into Maya. All the textures were working and the penguin fit well in the scene. I made a new FBX export Including both the penguin and the scene so its an easier process in Sketchfab.
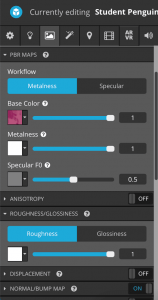
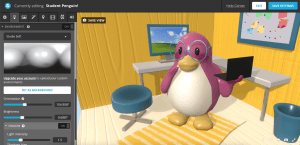
Working on Sketchfab was a straightforward process where I would slot in each texture to their PBR maps etc. Base colour, Metalness, Normals. I also added in a lighting environment (Studio Soft) and made sure the intensity was correct before publishing.

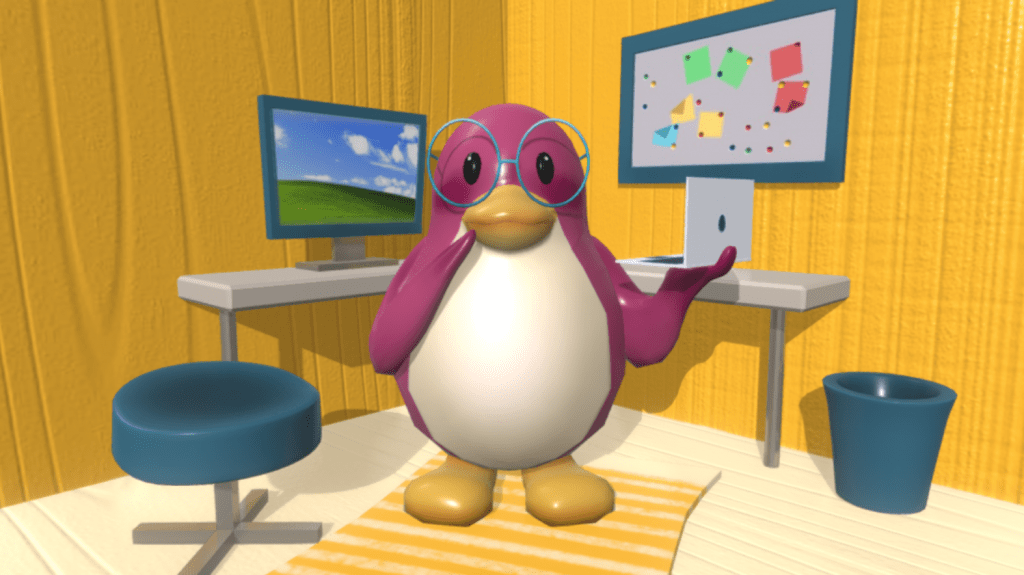
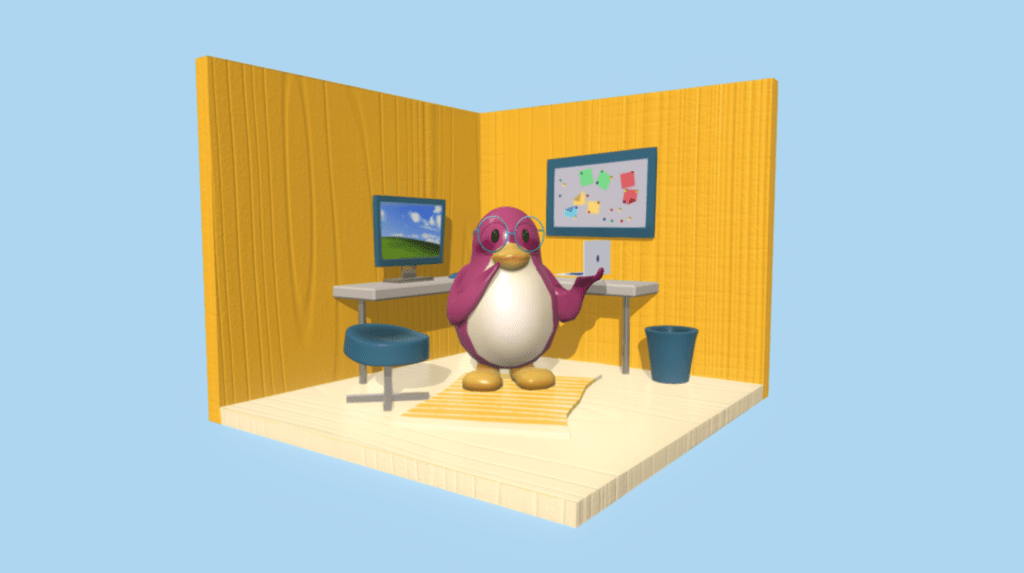
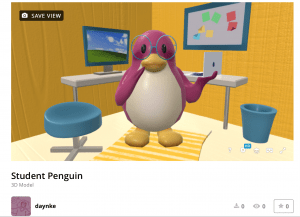
This is how the scene looked after publishing. It was a little tricky to get a good angle of lighting as the walls block it, but the scene lights up okay anyway. The textures are all on and work well, and the models look clean. After publishing this test I would like to go back to the Substance Painter stage and add a few changes and details to make this scene a little better.
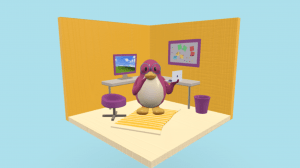
At first I wanted to try out a different colour to replace the teal blue to see how that would look. I painted on a purple/pink colour but soon realised it blends in too much with the colour of the penguin, so I switched back to a teal blue colour.

I also wanted to add detail to the pinboard tomake it seem more like a pinboard. I worked with a height fill layer and a black mask (with the fill layer in different colours) to create dots around the board which makes it look like pins holding up the sticky notes. This was tricky to find a way to recreate but I think this works well in the background.

And here are screenshots of an updated version of my Cute character scene. I followed the same process of adding textures onto Sketchfab and adjusting the lighting of the scene to present the model well.

Overall I think this looks really nice and although I could have experimented more with texturing and materials, I think this looks appealing and cute as it is. The Sketchfab link is below.

Source: https://skfb.ly/o6rp6

Reflection

Here is the final animation my group have produced for our 15-30 second Animated short Assignment.

https://drive.google.com/file/d/1YSqn5RoCed4nl4jCd0GEZ-a1zl5dDCea/view?usp=sharing


Reflection:

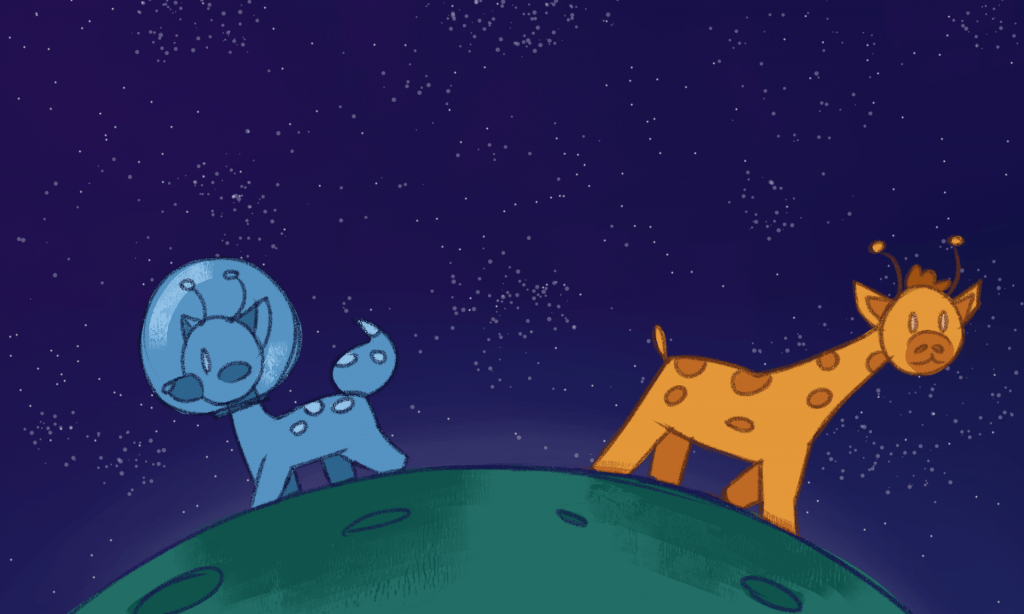
This assignment has been the most challenging project so far, however I did enjoy the process more than I expected. Going into this, with only the experience of Maya through my previous modelling assignment, I was quite nervous to end up producing a whole animated short. As a result me and my group have made an adventure themed animated short about an alien and a giraffe.

I am very proud of this project! Before this I could never imagine myself producing 3D animation, but now that I have it would be great to try it out more. I feel I did great in organising myself and the group in preparing for each task of the project, I was able to animate the scene well, I made sure to experiment and try new things to see if they would work, I would always try to find a solution to a problem and made sure I was keeping in contact throughout the project. However there are also parts where I thought I could do better such as getting used to the character rigs and using them properly, making sure my files are okay before I proceed to avoid wasting time, and I could have learned to organise textures/materials better in a Maya file.

Other than this, this was a great experience. My teammates were amazing and worked hard on this project. They were kind, they voiced their opinions and they made this project very fun the times we were chatting and hanging out.

Overall, my teammates and I did very well in creating a genre, narrative and character concept, using design thinking processes to overcome problems, using 3D pipeline workflow to prepare for animation, and communicating with each other / working together.

Post-Production

Again, here are my rendered scenes below.


I was able to put together all my PNG frames by adding them into after effects, and processing them as an image sequence. This would help the images play as Maya intended in the right frame rate and pace.


After our rendering process, once everyone was finished, we were able to start editing everything together. During the production stage we had already collected many sound effects to help tell the story, though we went looking for some more or some to swap with others, as our story has changed slightly between the last time we picked our sounds to now. We had both a collection of sounds from a YouTube playlist and a folder in the Google Drive.


Jennifer was in charge of the editing process and the rest of us were there to offer help when it was needed. Here is the full animation edited all together along with the credits. This excludes the After Effects last touches we want for the helmets tech screen (to be added soon).

Source: https://drive.google.com/file/d/1elvPuLA-AXdHrF1Ghe9Vh_Ef3g7CVEir/view?usp=sharing


We split up little jobs we can do to help add to the After Effects touches. I chose to make a little circle loading/tracking animated symbol that we vision would appear through the POV of the alien on the helmet. It will appear in both of these scenes below.


I drew the individual frames on Clip studio, exported them into PNGS, then went through the same process as before adding them into After Effects as an image sequence, then rendering it out as a video file.


Alisa produced the text for the helmet that points out the aliens objective, what she is looking for, and how long she has been looking. This provides context to the story and will inform the viewer of what is going on. Matthew produced the vignette effect for the helmet that will determine when we are looking through the Aliens POV. And Jennifer is adding all our little bits together and presenting them in the same file to render out the final edited animation!


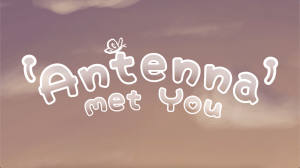
And here it is: This is Antenna Met You!


https://drive.google.com/file/d/1YSqn5RoCed4nl4jCd0GEZ-a1zl5dDCea/view?usp=sharing

Back To Top
Skip to toolbar