Coursework 2: Written Report
Linked Below is my 2000 word report on my experience and roles within my placement year:
Placement Report – Dayna Keaney
Below is a short show reel of the type of work I accomplished with ALT Animation in my placement year:

https://drive.google.com/file/d/1C1k-ezQP0WHrVIuYvGQRlAcmAklBQ4s6/view?usp=sharing
Episodes of the show ‘Sullivan Sails’ can be watched anytime on the RTE Player:

https://www.rte.ie/player/series/sullivan-sails/10001628-00-0000?epguid=IP000068441
Personal Work
During placement year, I took on small pieces of work and projects in my own time. I focused on tasks I needed more practice with, such as turnarounds, and hand-drawn animation.
Character Turnaround
Here is a piece I started early in my placement year. One task in animation I struggle with is character design, specifically keeping a design on model. I wanted to try out a turnaround with a character i have designed once before. To help me out with starting the process I looked into this character turnaround video by Bam Animation on YouTube.
They covered the key positions of a turnaround. The front, the 3/4, the side, and the back. Altogether these positions can be the building blocks to flesh out the in-between poses. From this video, i was also able to learn how to shape and line up my character, so when doing other poses each part is in the right place/size.
One key part I missed was to fully build the character, such as making silhouette shapes, trying different styles, expressions etc. Next time I will build a new character with these aspects, and further improve my turnaround techniques.

Source:
Short Animation
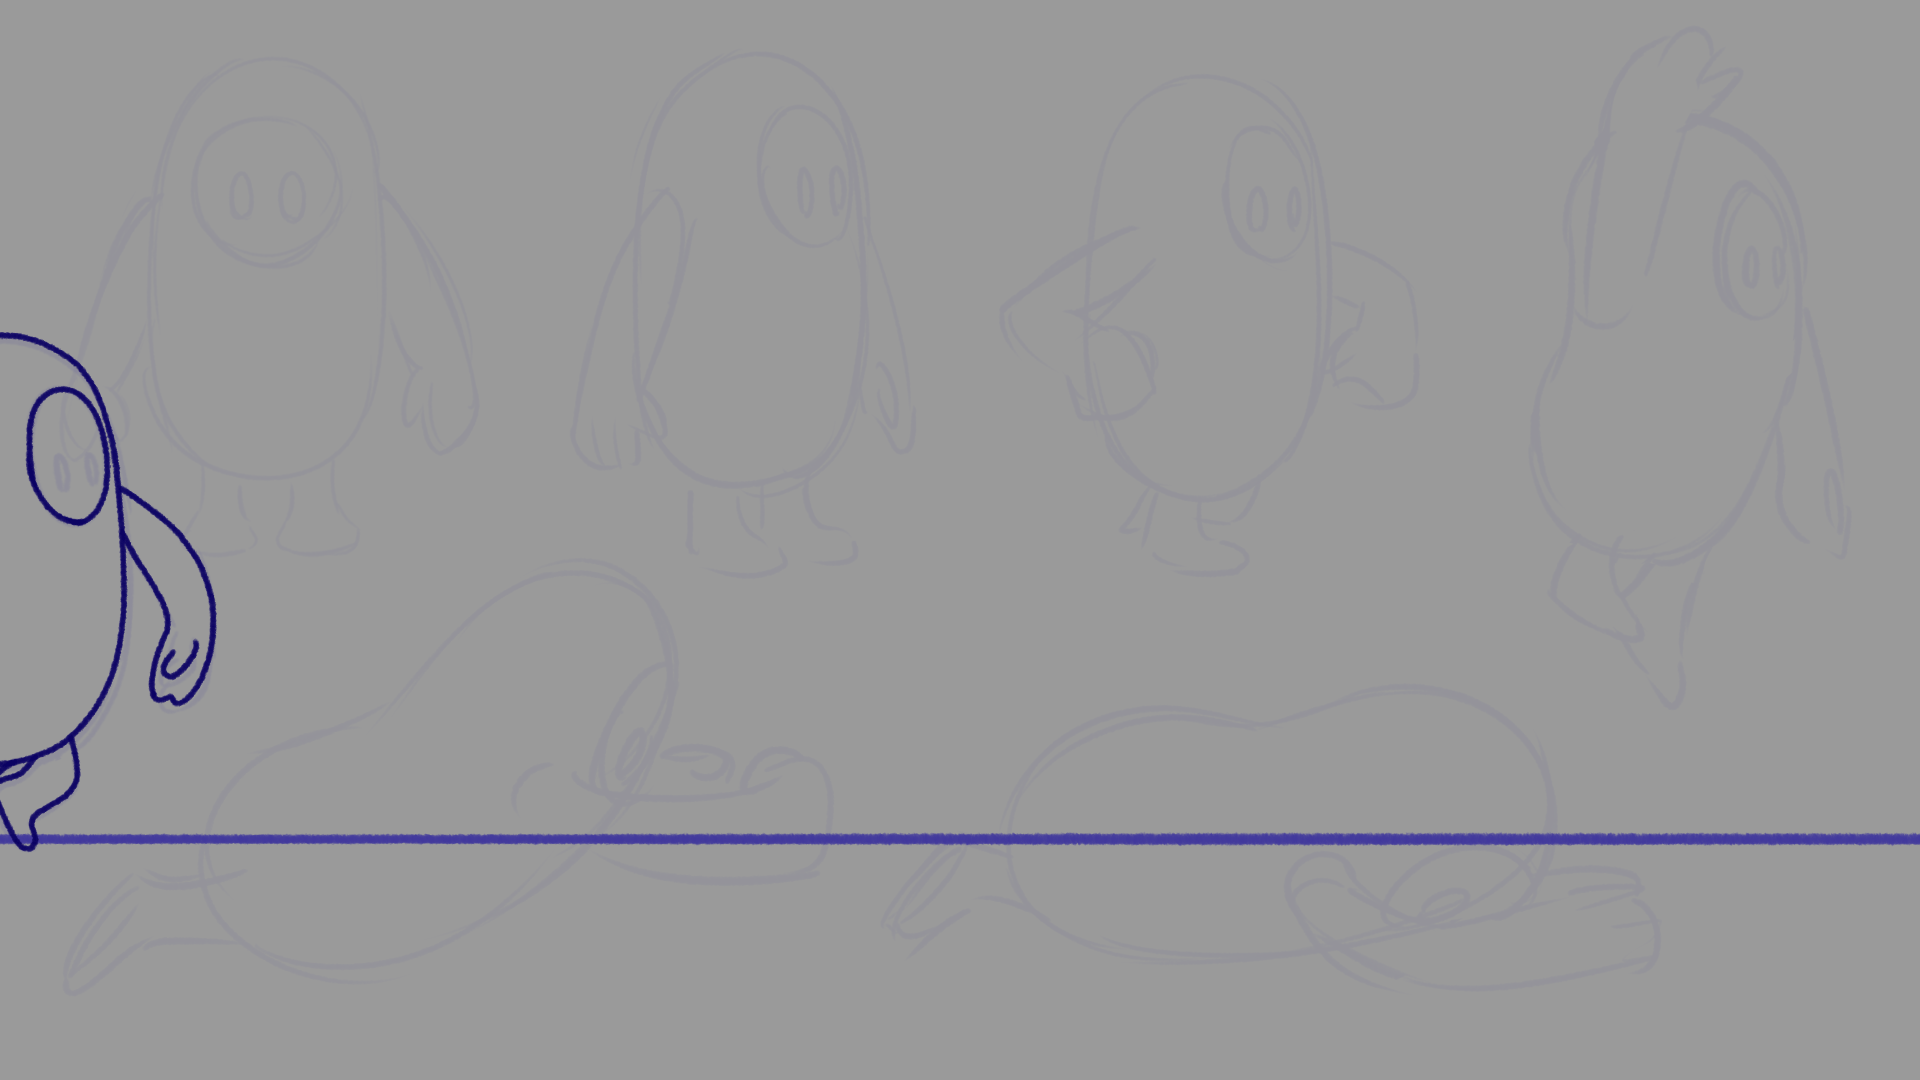
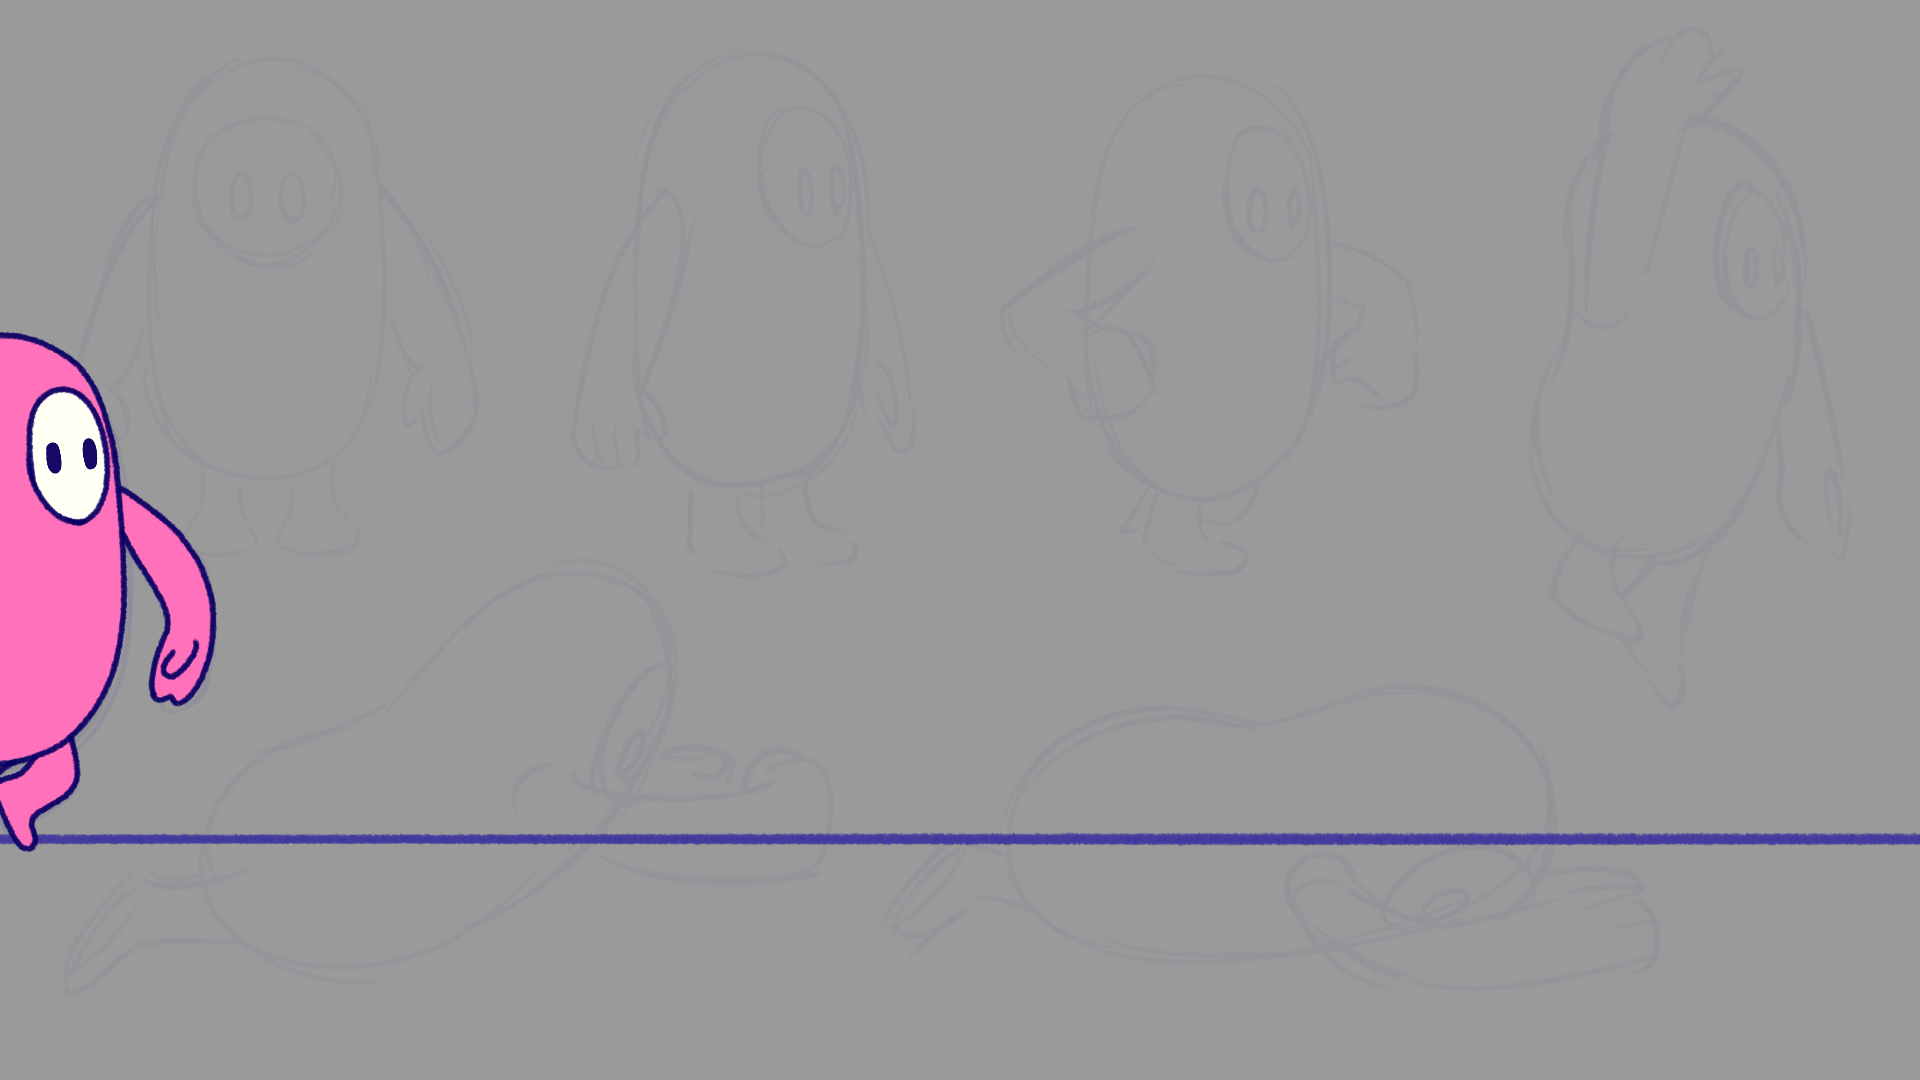
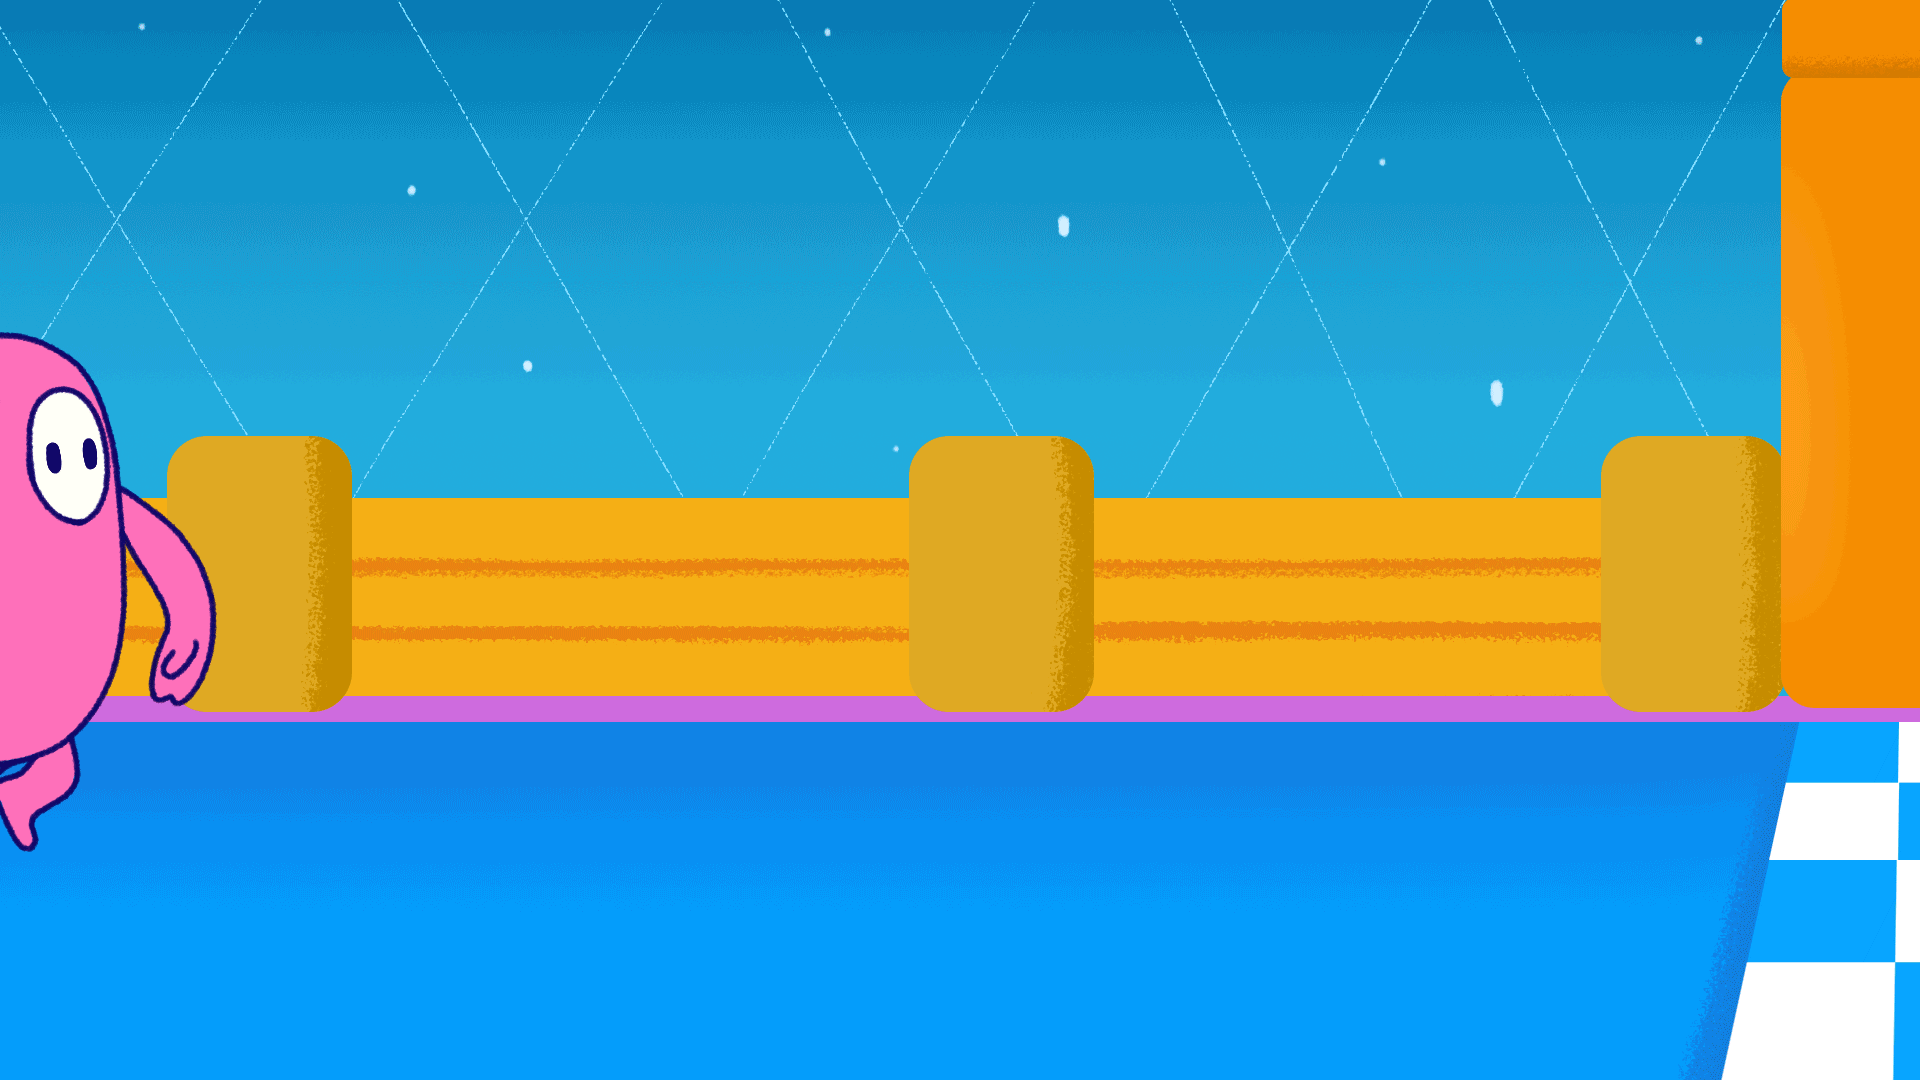
To refresh my knowledge in hand-drawn animation through Photoshop’s timeline, I made a little animation sequence of the character from Fall Guys. I played the game and liked the way they jump up then forward to make it somewhere far. I wanted to try re-enact that with this little guy trying to make the finish line but doesn’t, and gives up on the ground.
I practiced the shape and design of the character so I had an idea of what I was drawing. I kept them on the background and drew out the key poses of this sequence: a running pose, the anticipation pose, the highest part of the jump pose, a jump forward pose, a squash pose and a settled pose. This helped plan my process and guide where my in-betweens will meet.


Here are a few passes, and the final pass of the animation. Overtime I made adjustments on the in-betweens, the range in squash and stretch, and the arms/legs and how they follow the body (secondary animation). It was a fun exercise to do in my own time and it refreshed my skills in using the Photoshop timeline.
(Click images to watch)

Character Design / DUIK Rigging
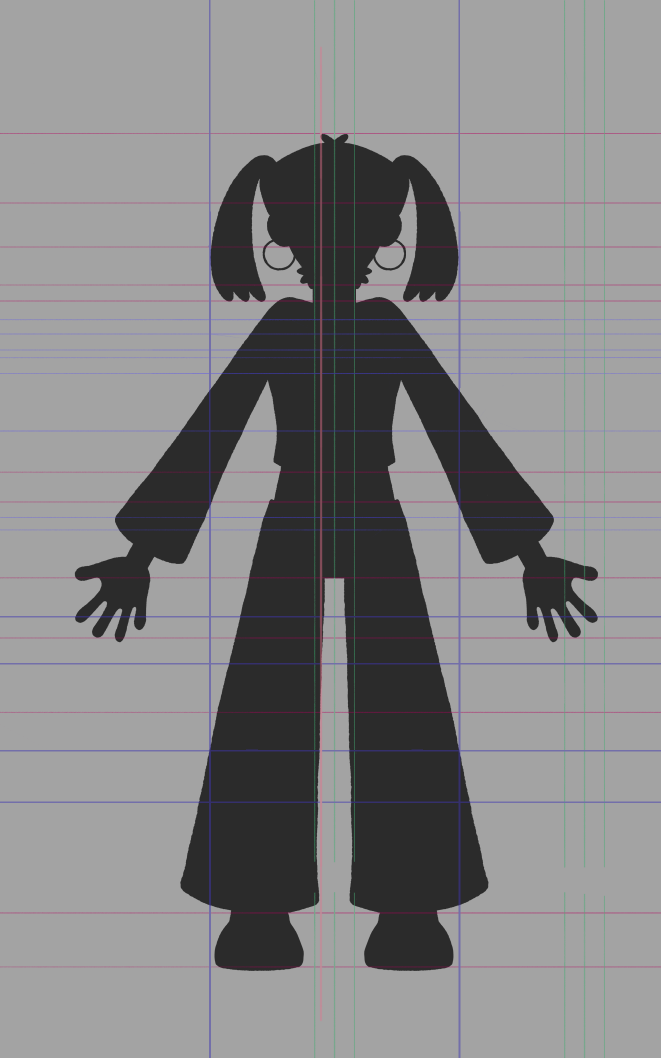
I gained lots of experience throughout my placement year using After Effects to animate characters, props, and take on fixes/revisions. Using After Effects was a great starting block to test out the 2D Animation rigging workflow. I decided to start up a new big project for myself, developing an original character, rigging, then animating the character.
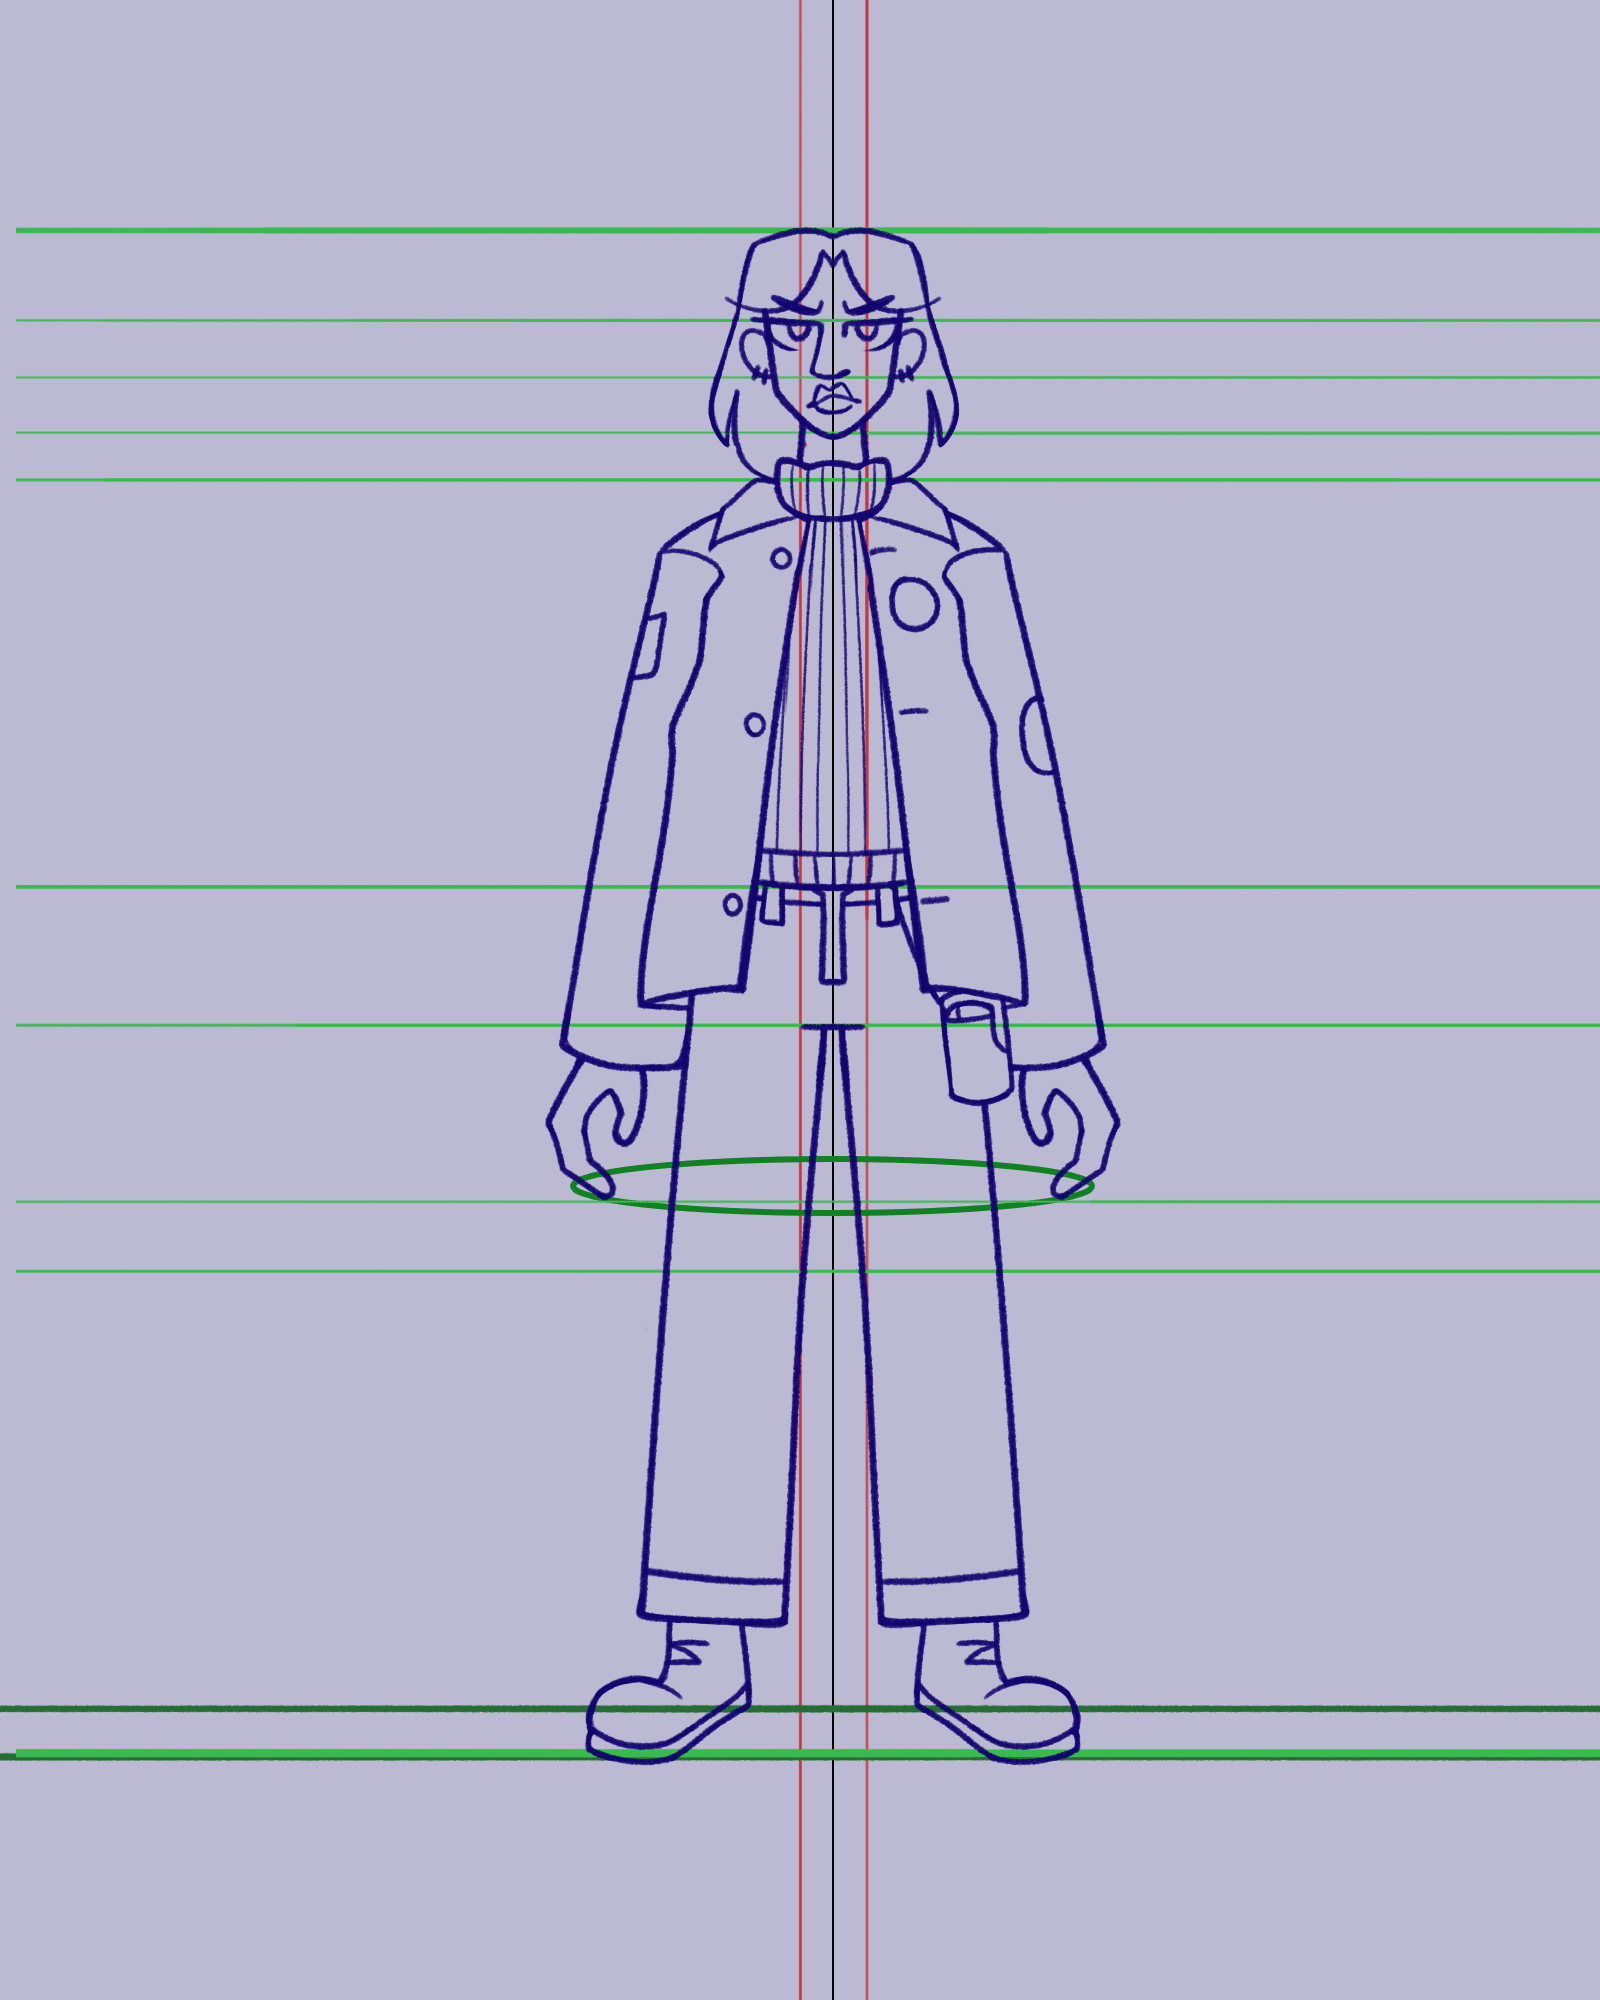
My main idea revolved around making a cute, 2000s fashion gal. This way I could make a cute design and create a bubbly/expressive personality to fit into it. My main inspirations were groovy chick, bratz, 2000s fashion, Hannah Montana, and some more bits. I collected a few images on the Pinterest board, and developed them more on my Miro Board.


Colour palette options. from colours picked from the site: color.adobe.com. These colours were inspired by my references, and the type of combinations they included together.


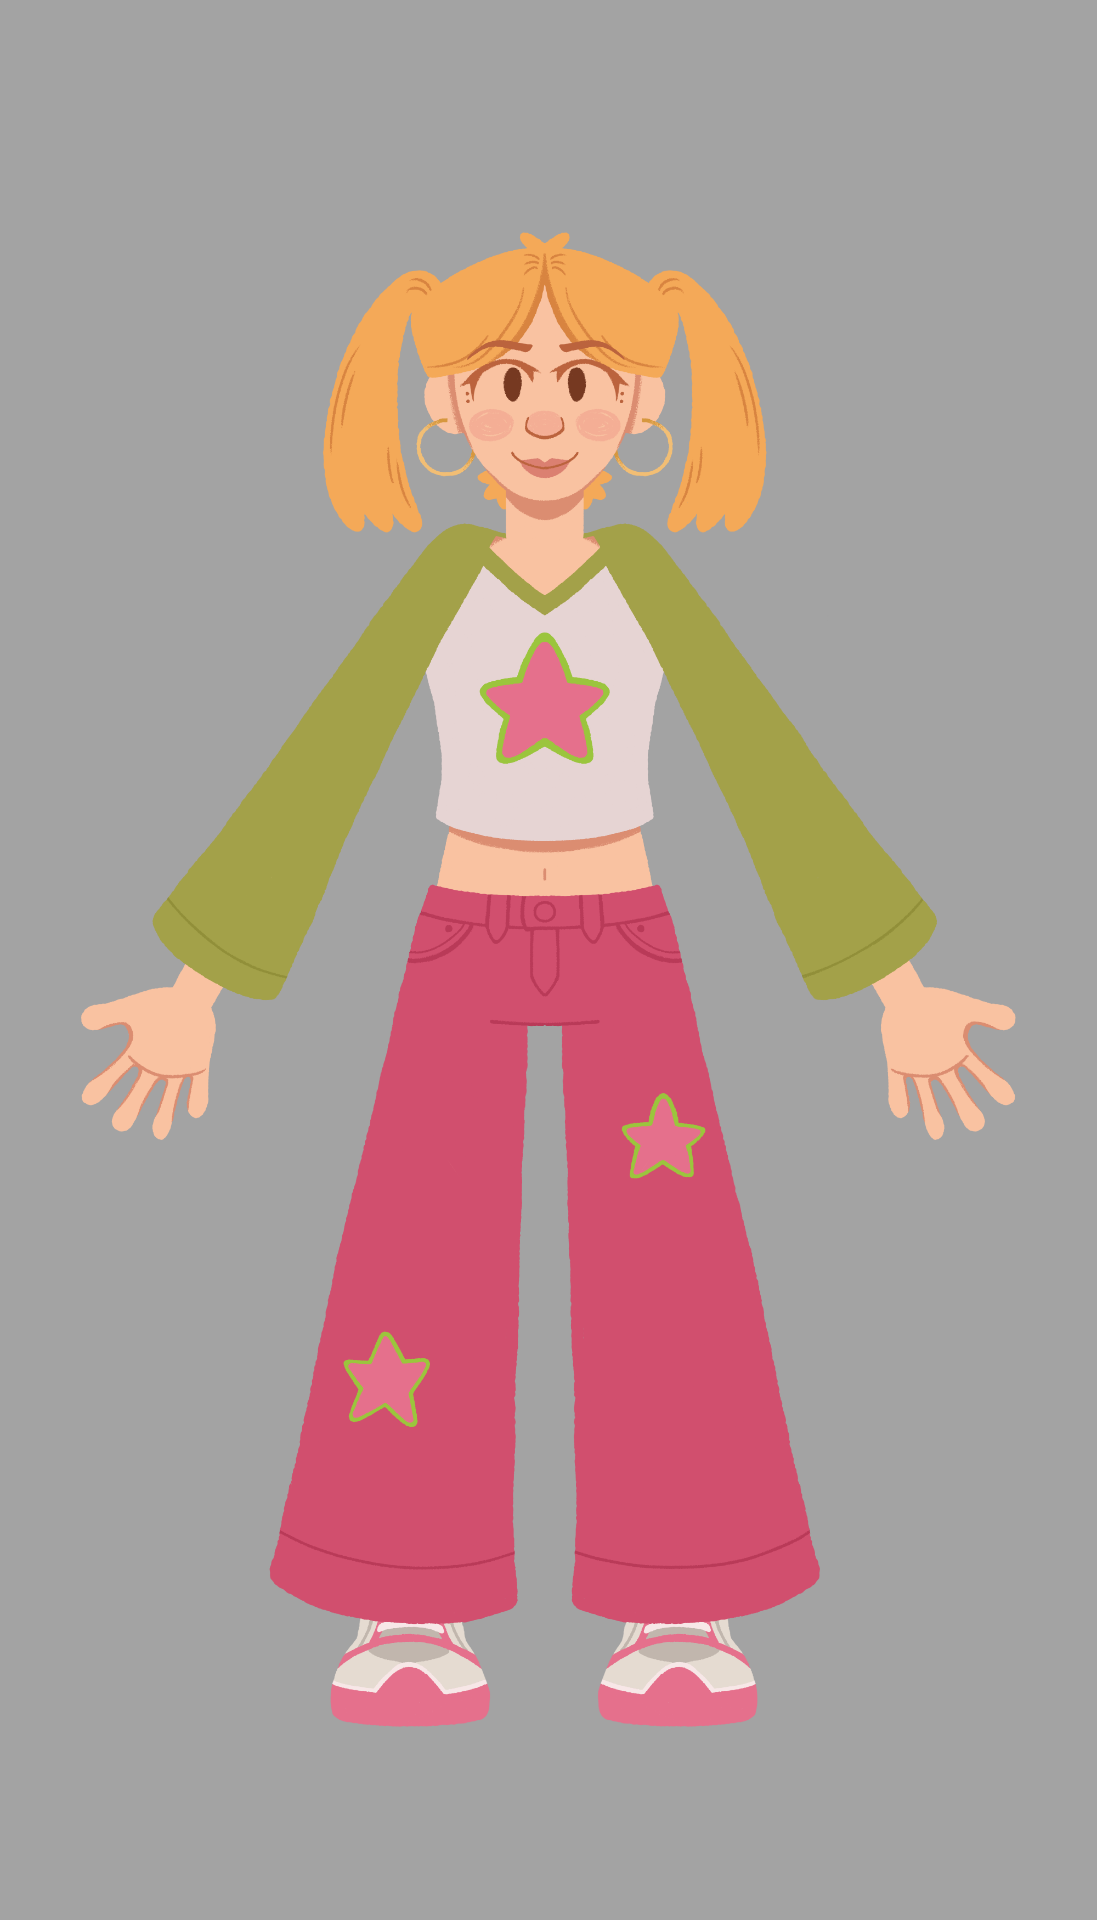

These are the brushes I used to get the textured and soft look I was aiming for on the build. I mainly used Blot 2 and Animator pencil for the main blockout, allowing rough edges but smoothed out on rounded areas. I used the Gritty Dry brush on darker/shadowed areas like the neck and jeans details.
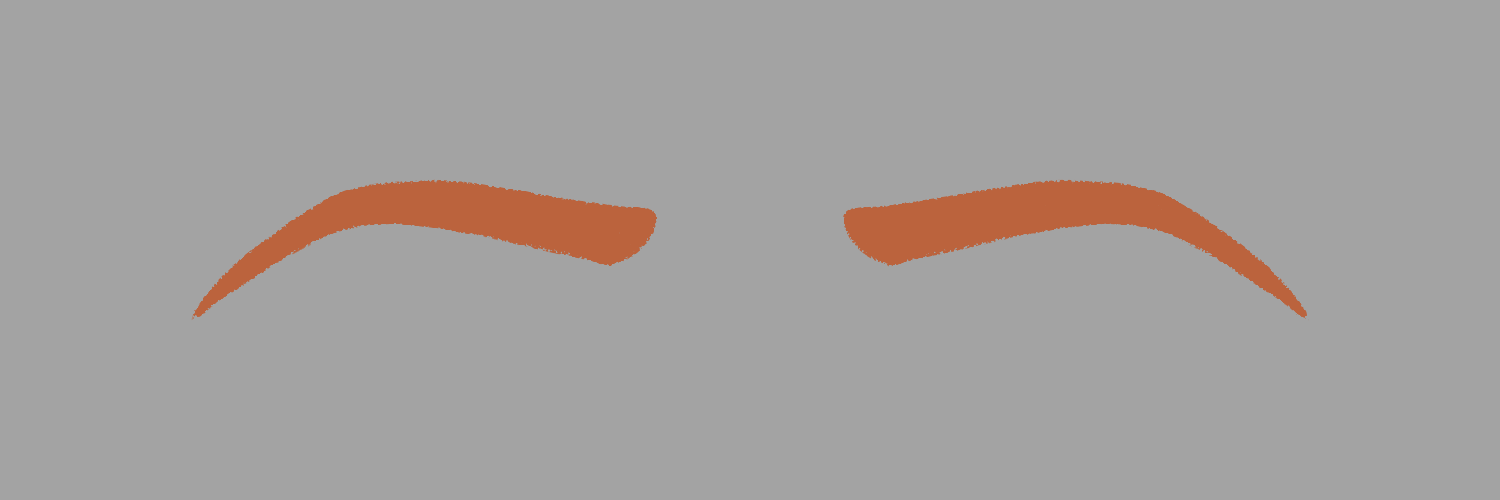
I made additional drawings and layers for the mouth and eyebrows so I can have variety in expression. I drew a range of mouths with a smile, neutral and frown expressions, and special shapes on the side. The eyebrow shapes range from a neutral, shocked, angry, and worried expressions.


I imported the photoshop file into After Effects and got started with adjusting each layer making sure their anchor points were in suitable places. I then parented each layer to a null object so it is easier to find where each point of transformation is. Here I also parented each null together so some body parts move along each other etc. the head moved when the neck moves, the arm/hand moves when the shoulder moves.

The head is separated into its own pre-comp for more detailed transformations. To prepare for the head turn, I keyframed each face position looking right, left, up and down – this information can be added into a connector, so controlling this can help rotate the head based on the x and y axis of all positions.
I added each eye shape into a pre-comp so I can arrange the eye blinks in order – then I can set the pre-comp to time-remapping, this allows me to choose the eye shape I want based on the frame its on. Placing a keyframe for each all together gives the illusion that she blinks. I made this same process with the hand shapes, and the eyebrows.

Example of the eyebrows, hands and eyes:


During this build I had gone through three versions to develop this rig to its best potential. As I went through each version I was fixing the rigs problems, and adding anything I was missing.
First of all, my first version of the rig corrupt itself when I had made good progress of it. This meant I had to find a previous autosave that was fine and start my second version on it. I was back a few steps. but got through it quick enough.
Another problem was the hairline not moving along with the head turn – I eventually gave it its own turn connector so it can position left and right too. I also added in the hand shapes at a later stage, as I had not drawn all the hand shapes yet.
One other example was the pigtails – I was making sure they were in a suitable crop and anchor point position before I started placing pins on the hair. I placed three going down the pigtail, and these helped to gain its flowing movement visual.


Here are some animation practices in video using my front view rig:
I hope to use this rig even more and push for more developed animation practices in my free time. This process has been rewarding to try out rigging from what I’ve learnt, and try problem solve as best I can. I hope to have a variety of practices with this character to add to my portfolio and show-reel in the future.
Going forward I will be brainstorming and developing some ideas for my final project, and making some tests to see the type of animation style, workflow and design that could potentially work for my short film.