As I have been planning the design and model of my mantel clock, I have also been practicing simple clocks on Maya before I go into the real model. This is so that I have a much better understanding of what I am working with, how I can make common features of a clock and be prepared to implement my skills into the final model.
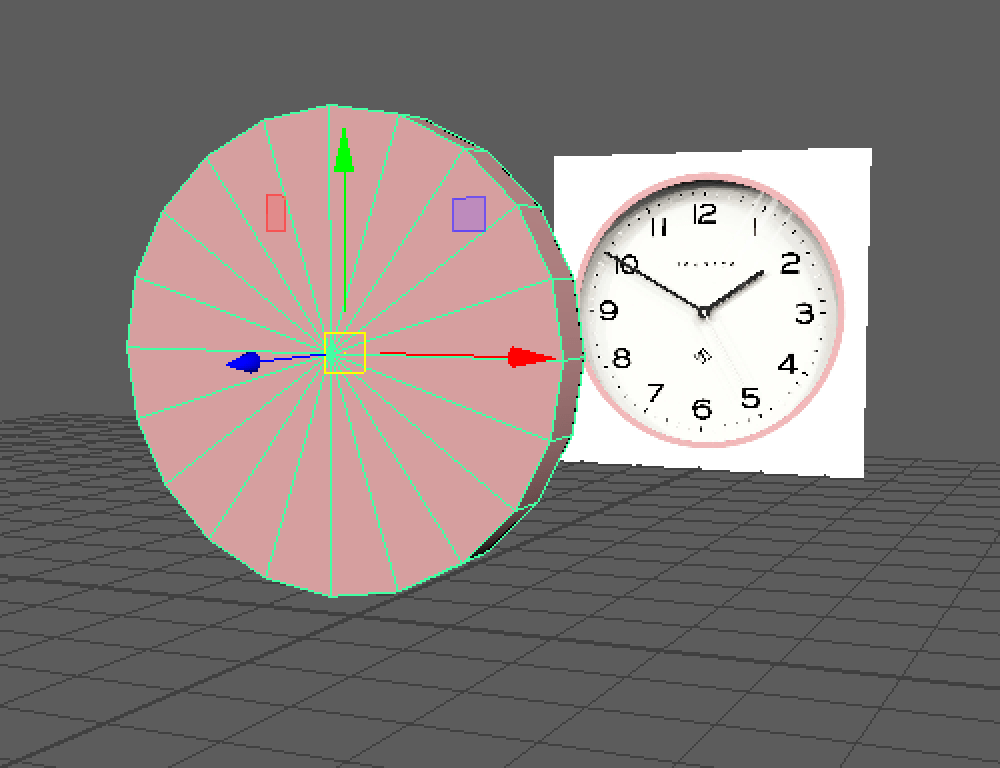
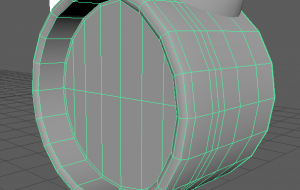
I started with this simple round clock to get a overall idea of what a clock is shaped like and how I can bring its elements into a 3D model. I gathered two perspectives of the image to insure its length and depth of the frame.


Before I started I experimented with material attributes too. I added a pink colour to the base, a white colour for the face of the clock and then a black colour for the clock hands.
To get the extruded inside I copied and pasted the same disc shape and scaled it a bit smaller, then brought it inside the bigger disc shape to then use the boolean-difference tool that extrudes the face of the disc.


I then added a face inside the extruded part and combined the two shapes together, then created hands with the plane shapes, and followed the reference photo, to get an accurate size and proportion of the hands. And it was finished!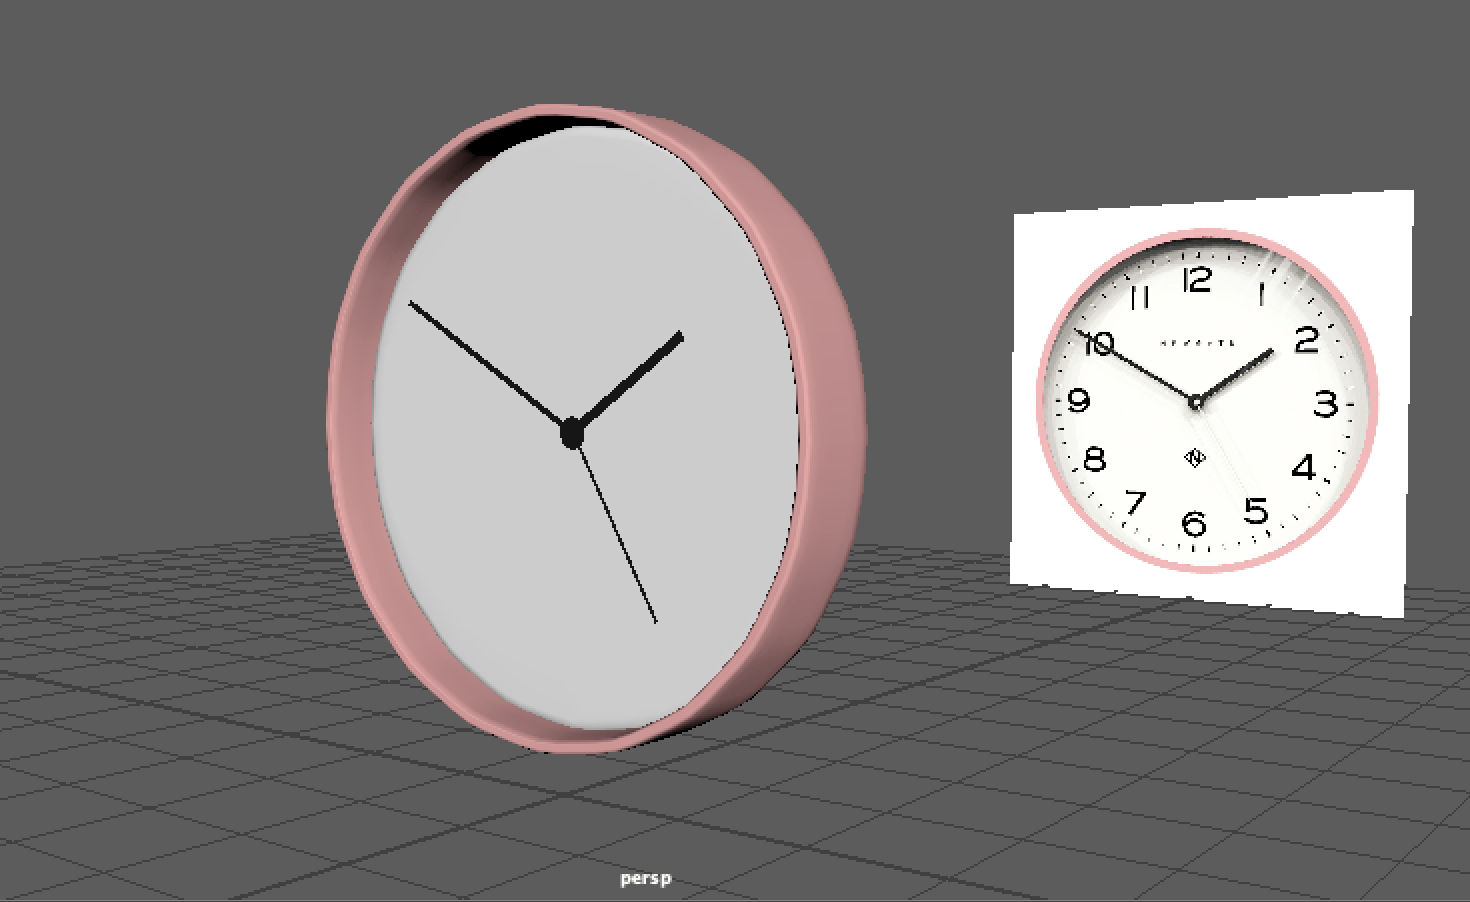
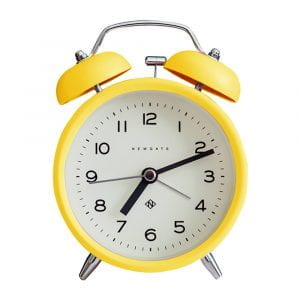
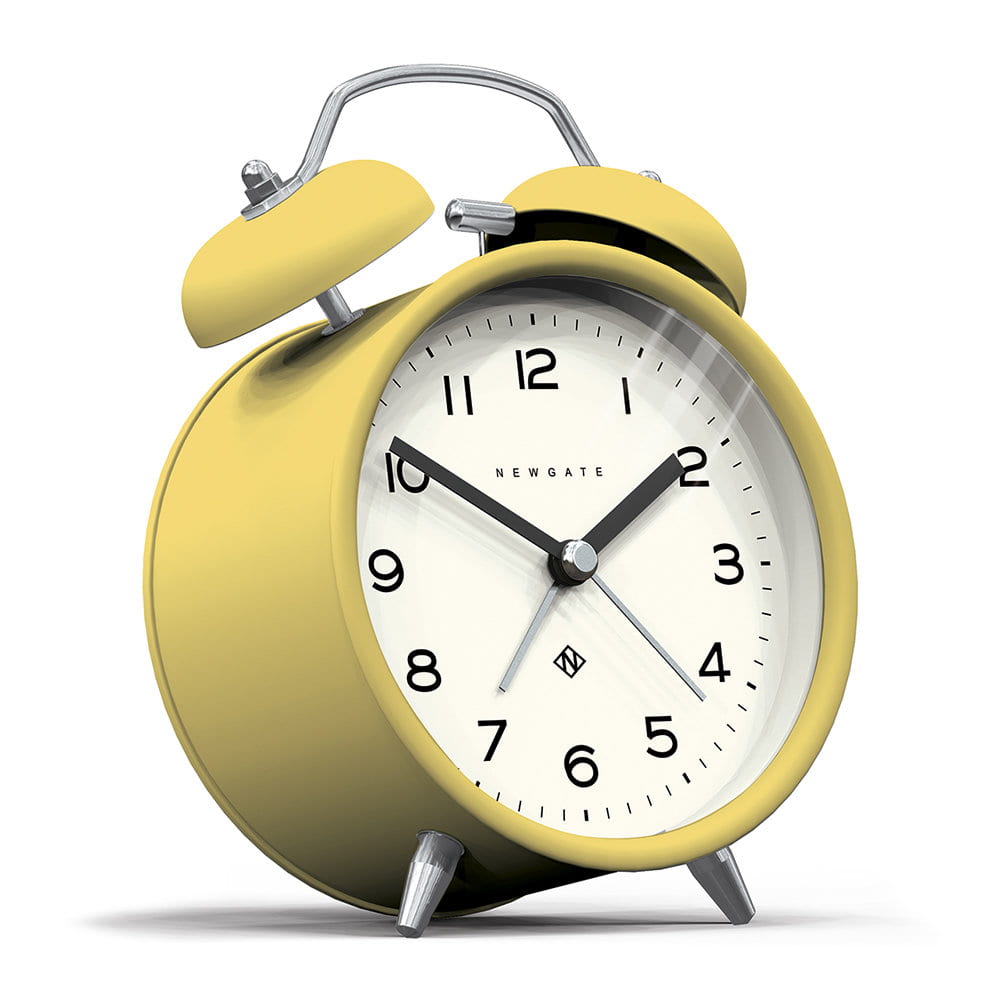
I also challenged myself with another clock design. This time it was an alarm clock. Again I picked out two perspectives of the same clock to work from.
I started with the same process of using the boolean-difference tool to create the clock base and face. I used the bevel tool on the edges of the base (front) to look more rounded and smoother. I also bevelled the middle face to take out any triangles or N-GONS, and make more polygon faces for simpler mesh.
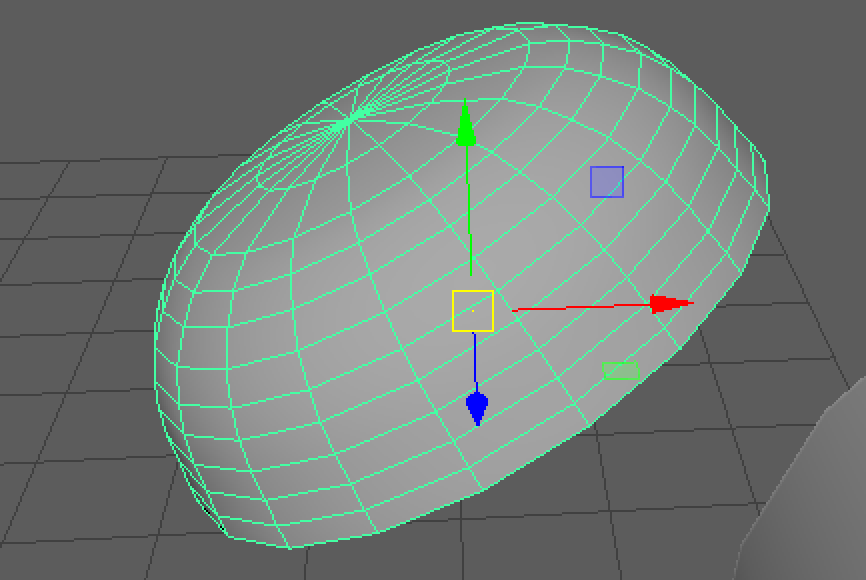
I moved onto the bell body as I figured it would take time to make. I made a sphere shape and cut it in half by deleting the bottom half, then used the fill hole tool to fix the bottom.

I used the vertex mode and used the multi-cut tool to add more vertices to the shape to scale it into how the bell looked in the reference photo. After this I added the middle bar and top part to complete the bells on each side of the clock.

Adding more details included the legs of the clock, the bell ringer, the handle etc. I made a cylinder shape to start making the leg. I used the scale tool to thin the bottom part as it was on the reference. I then connected the leg to the clock by adding additional edges to let it connect to as it keeps its initial proportion.

The handle was quite difficult to make however I htought of the idea of making a curve line and filling it in with polygon faces. This was an interesting approach although I could work on it as the shape stays in a black shade unfortunately. I’ll see for next time how I can avoid this issue.
Here is the clock finished! I don’t have lots of time to add any materials, or try out UV mapping but I have learnt how to do those in other tasks.
Hopefully with these practices I can produce a great clock design and follow the necessary steps to create a 3D model!