For my assignment, ‘Intro to 3D Modelling’ I will be tasked to model, UV unwrap, texture and real-time render one of the following:
- Windmill
- Mantel Clock
- Treasure chest & treasure
- Sword & shield
- Sci-Fi door
- Old Well
- Magic Witch / Wizard Staff
I have chosen to model a Mantel Clock for this task. From week 1 I have been researching existing mantel clocks, designing new mantel clock designs and getting familiar with Maya to practice modelling simple clocks.
First of all, I google searched some interesting mantel clock designs and brought them into one mood board. I organised them into different categories as some of their themes fit together. I picked out which ones I liked most them wrote about their features that I could point out from them.
Source: All images found through Google, Pinterest or Etsy.
On the left page I started drawing out these clocks to see how I liked the design and see if I can create a new design using their features. On the right page are some designs I made as first drafts. At this point I was focusing on what I needed to include in my clock design.


‘This clock should include:
- a story or meaning
- a stylistic design or a realistic design
- a style to fit into a certain theme or decor’
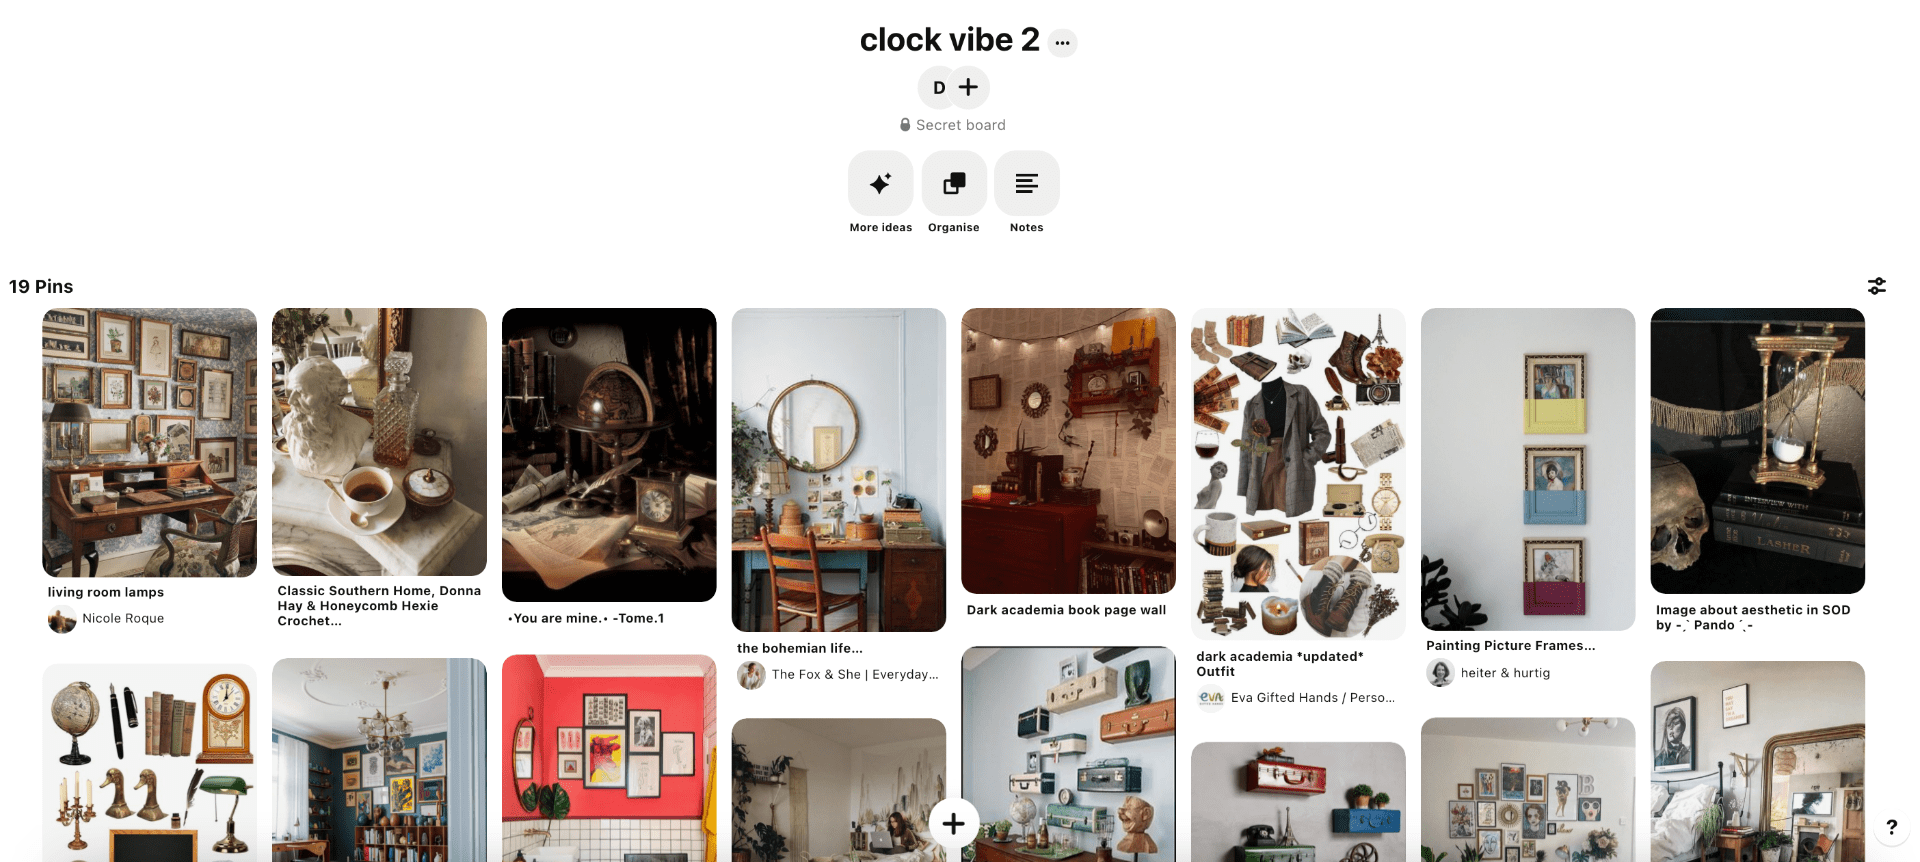
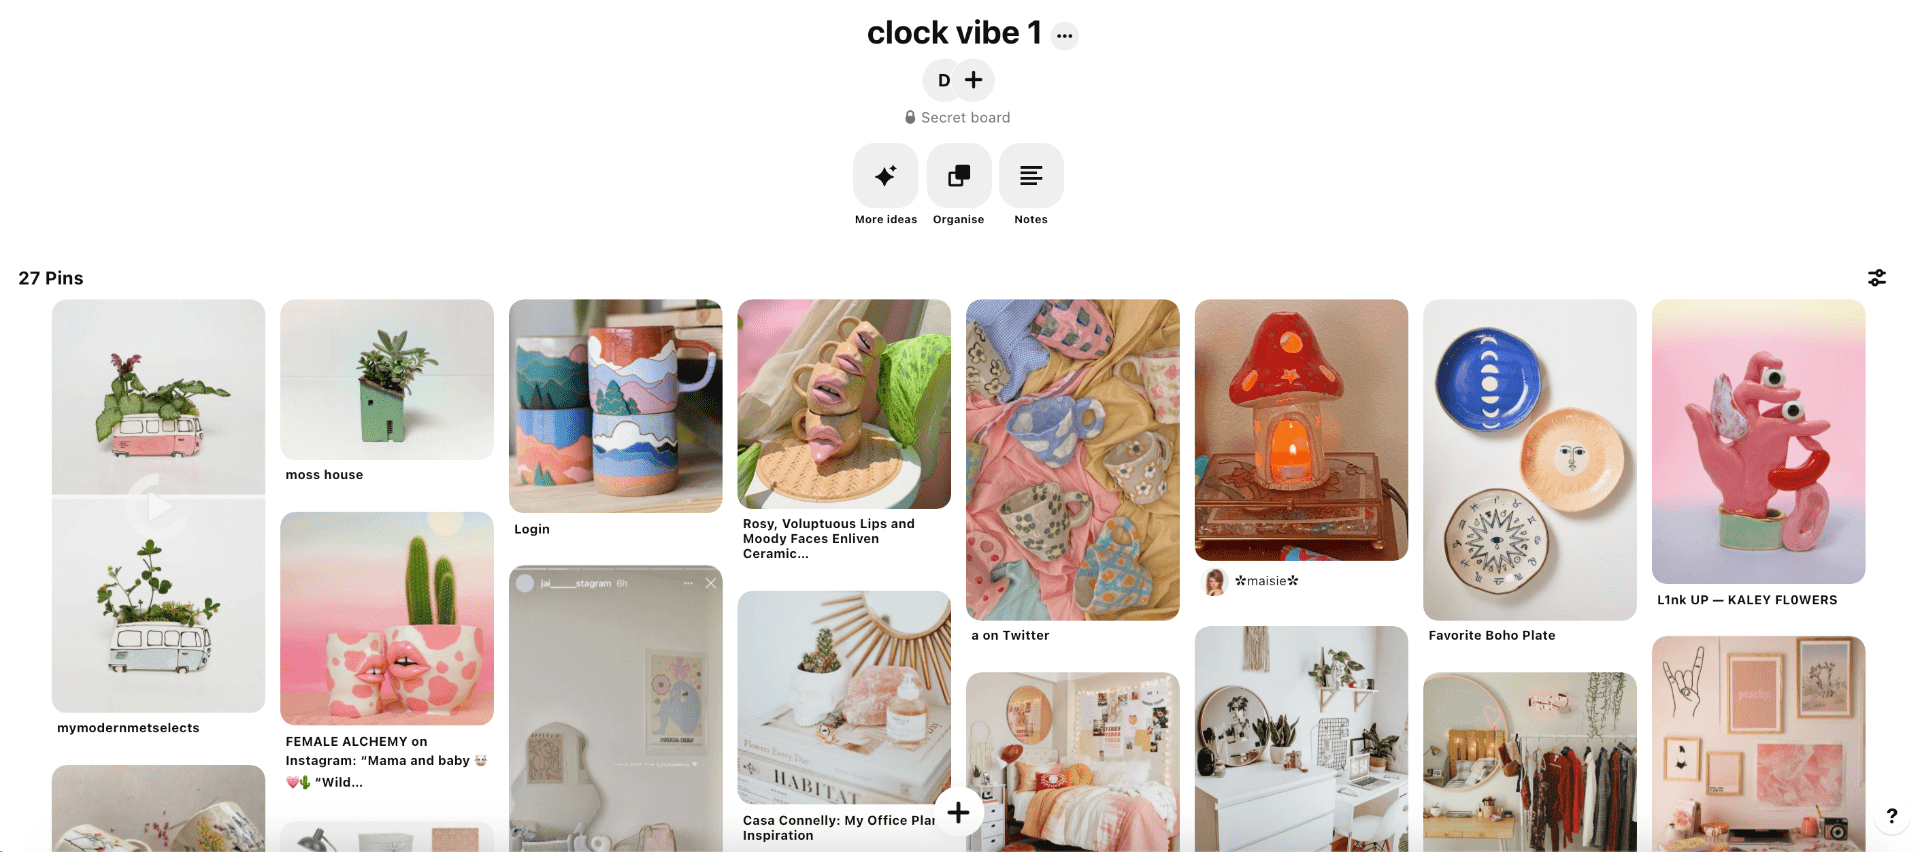
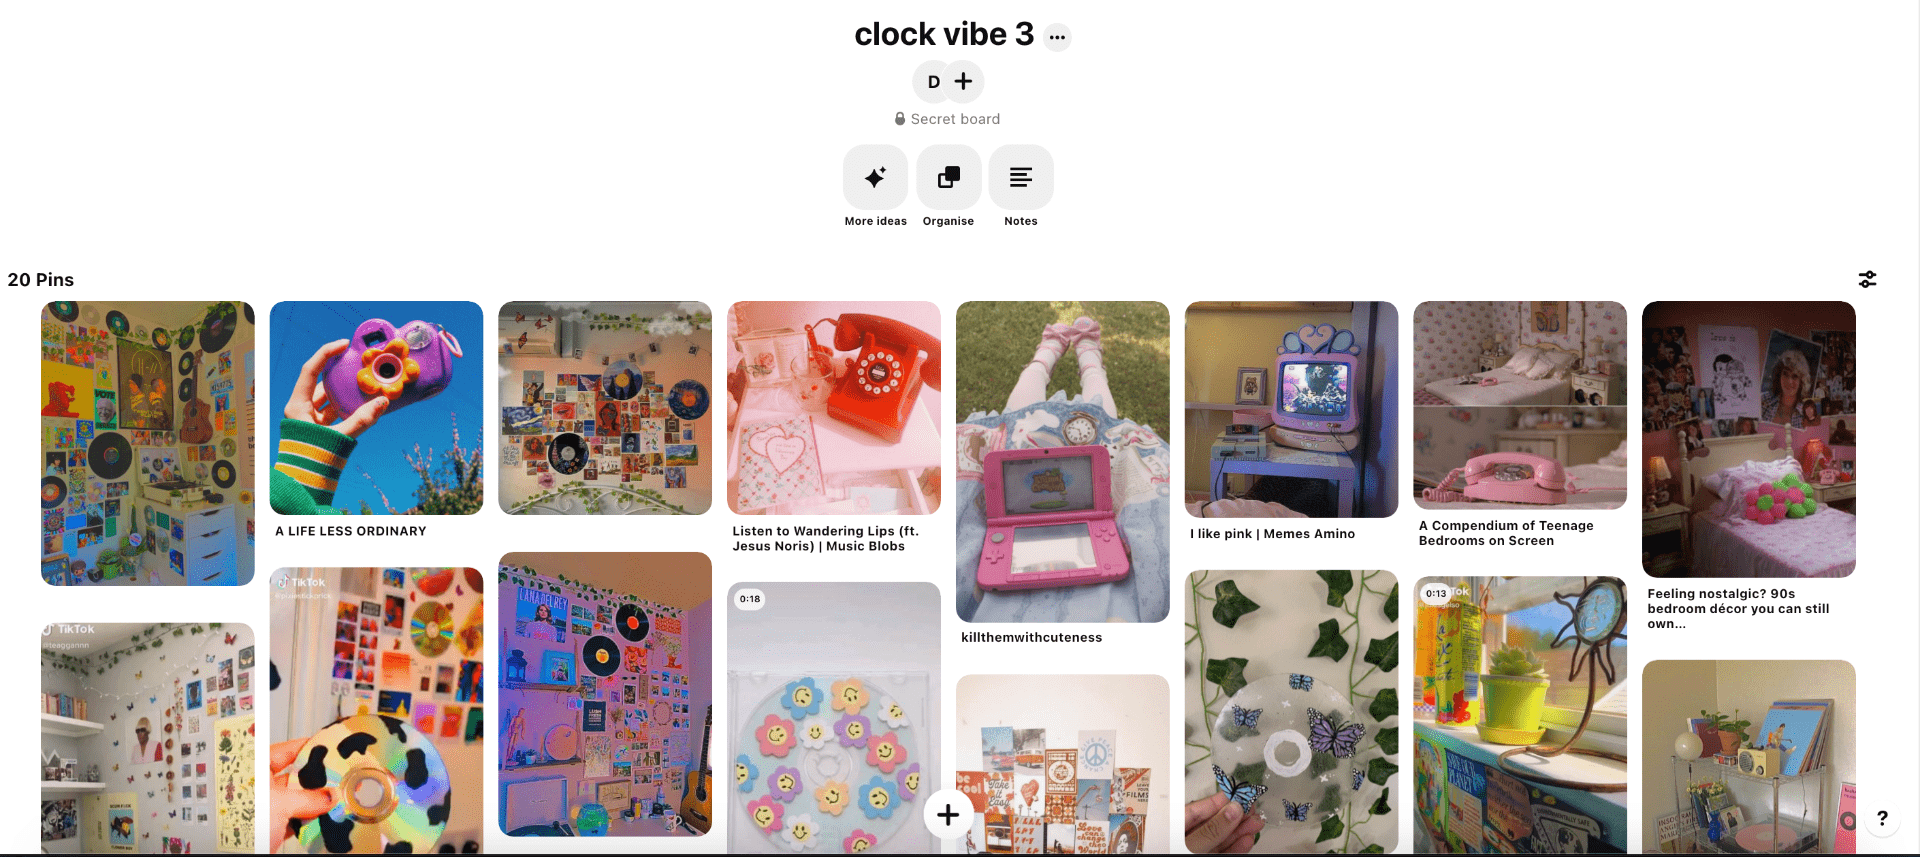
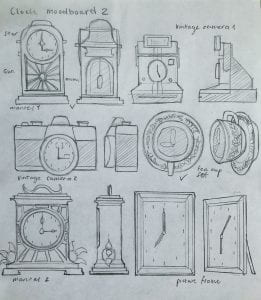
I moved onto a different approach and made three Pinterest mood-boards of three different room decor styles that I could design clocks for. This made it much easier to project where my clock would be and think of much more designs and ideas.
Shown below are the three different decor styles.
The first one consists of quirky, clay-like, bright coloured objects in a trendy, neat room.
The second one consists of old-fashioned antiques and old style furniture in a dark-academia styled room.
The third one consists of retro/90s themed decor, records and posters all around the walls and old electronics in a bright, filled-up room.
Website: Pinterest
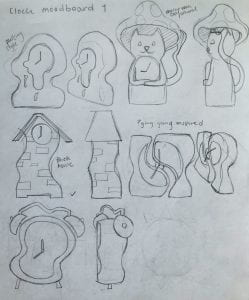
From these mood-boards I created a lot more designs to gather inspiration, variety and unique ideas. I organised my designs into the different mood-board themes and picked out my favourites.
From each theme I wanted to bring out the features and things you would see in the type of room style. As well as this I took in inspiration from my first reference photos as they helped give me an idea of a realistic clock shape and how I can implement into another style. From these collection of clocks my favourites, and those I can work on to create a nice final design for, are the tower/wavy house clock and the sun/moon mantel clock.
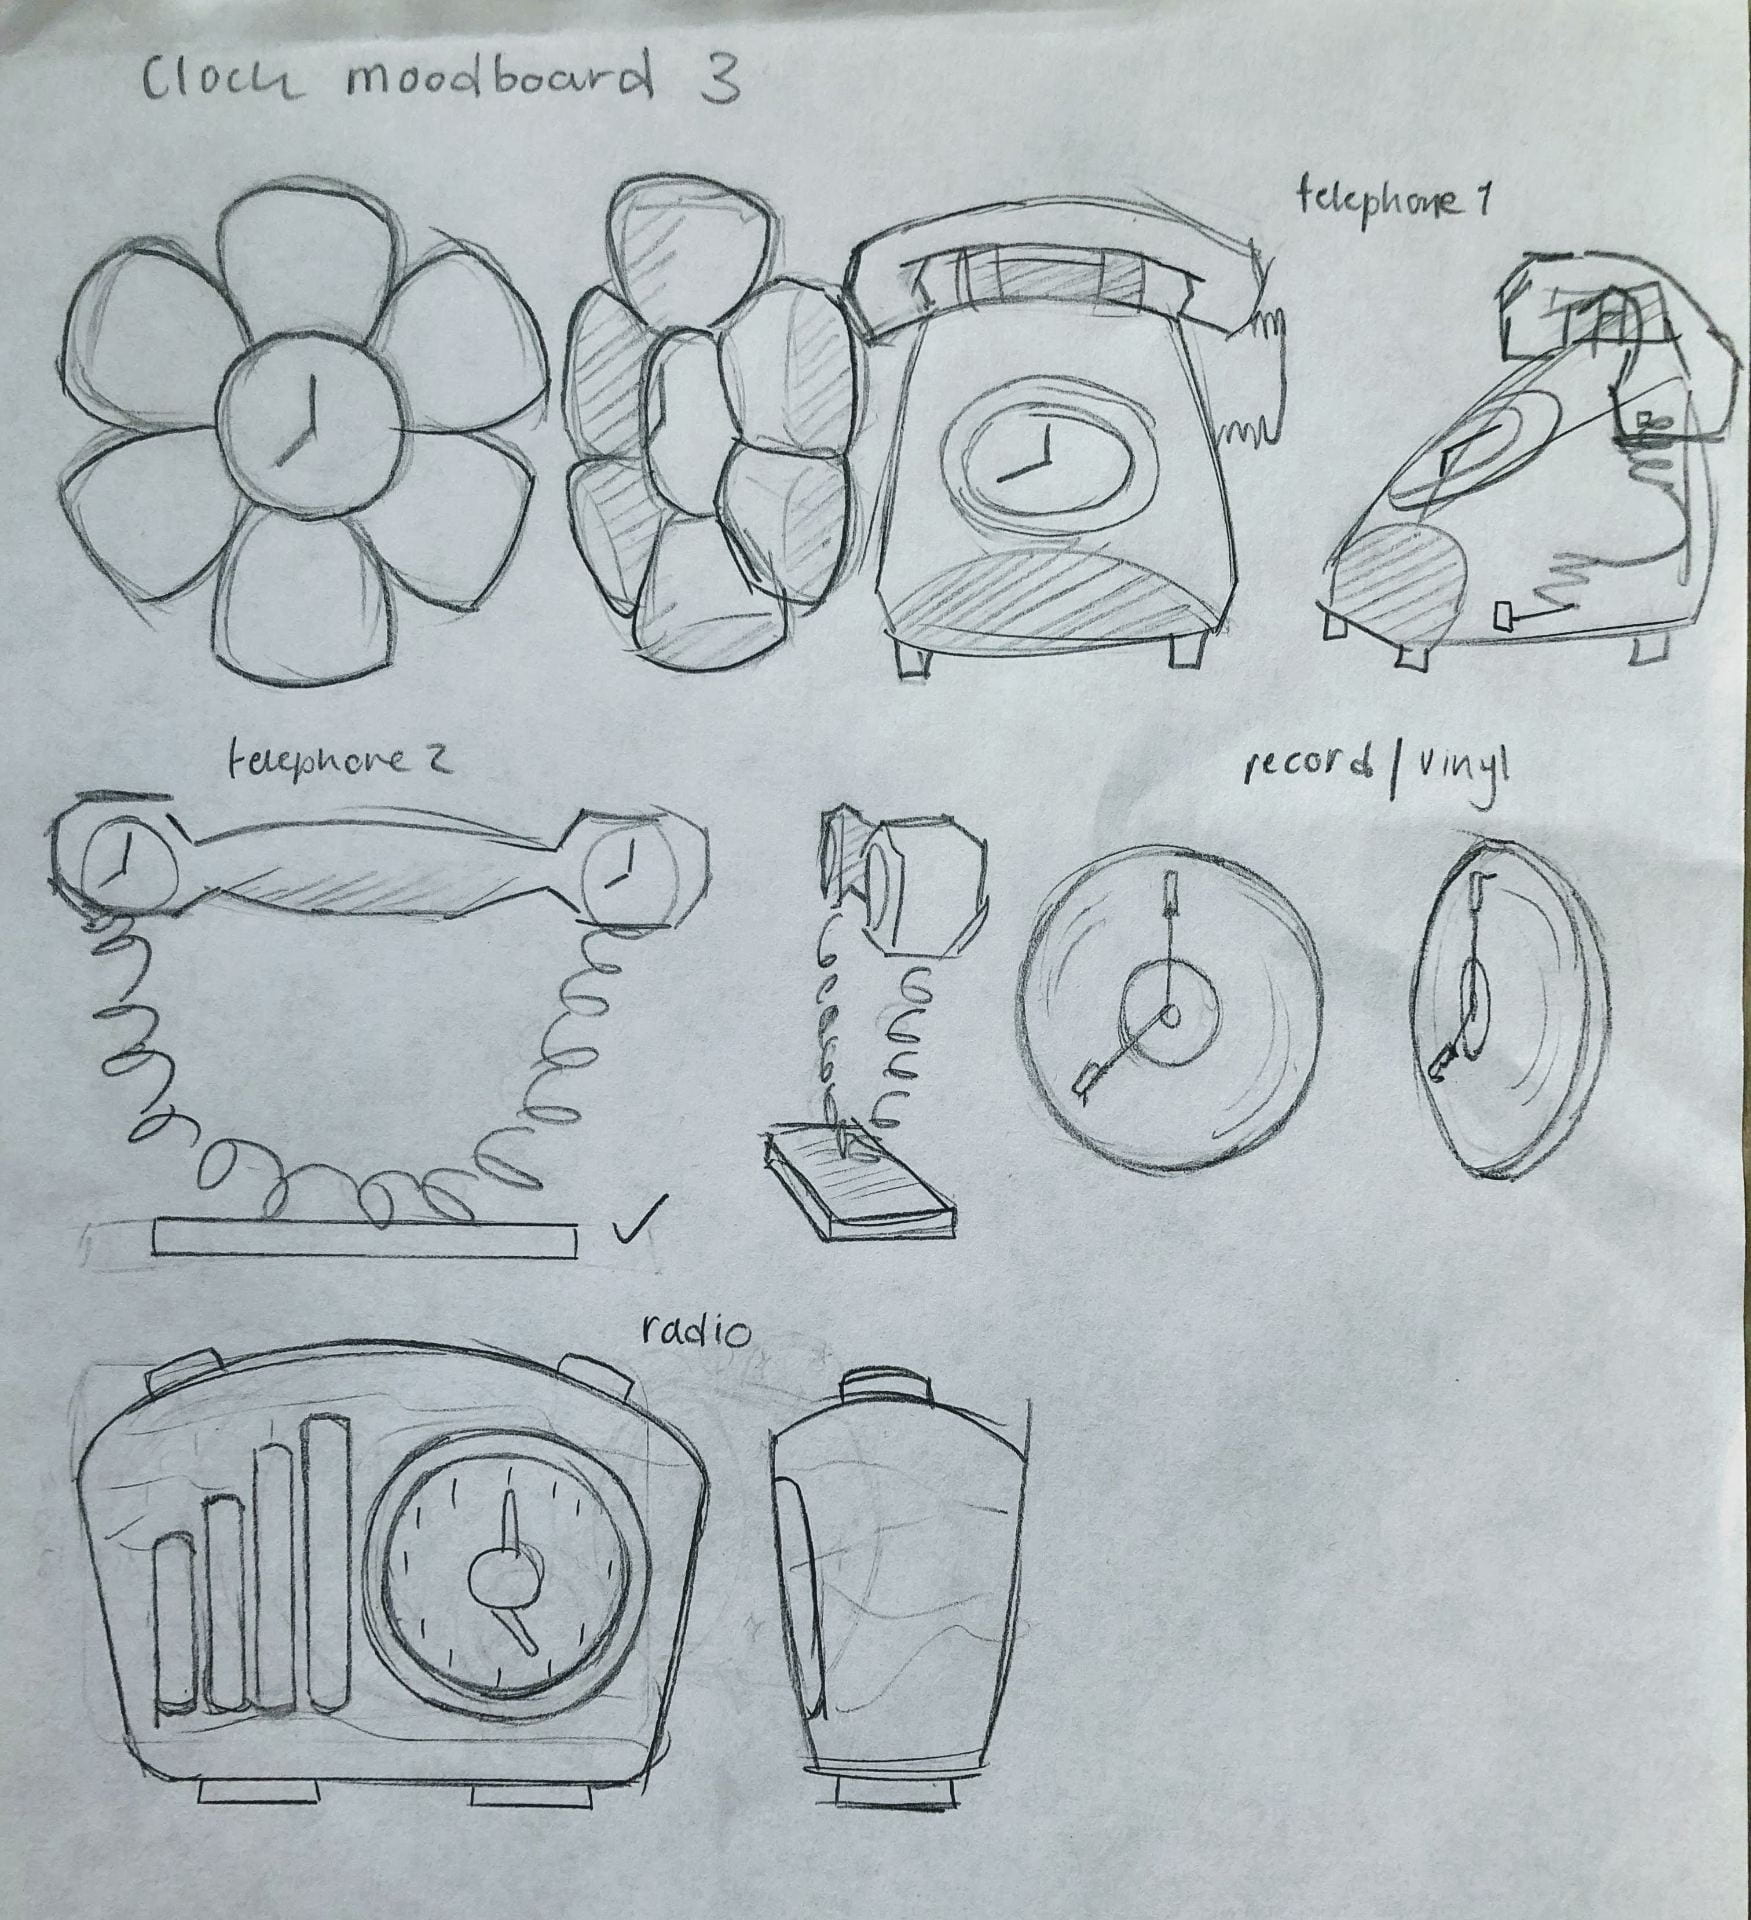
Here I made more concepts of what I could make from these two designs. I drew out a bigger scaled model and created other versions that might spark some new ideas. From doing this I favourited the sun mantel clock the most as it really fits in with the second room decor mood-board, it has a strong, realistic design, and it seems like a good challenge to 3D model.
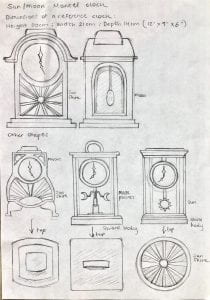
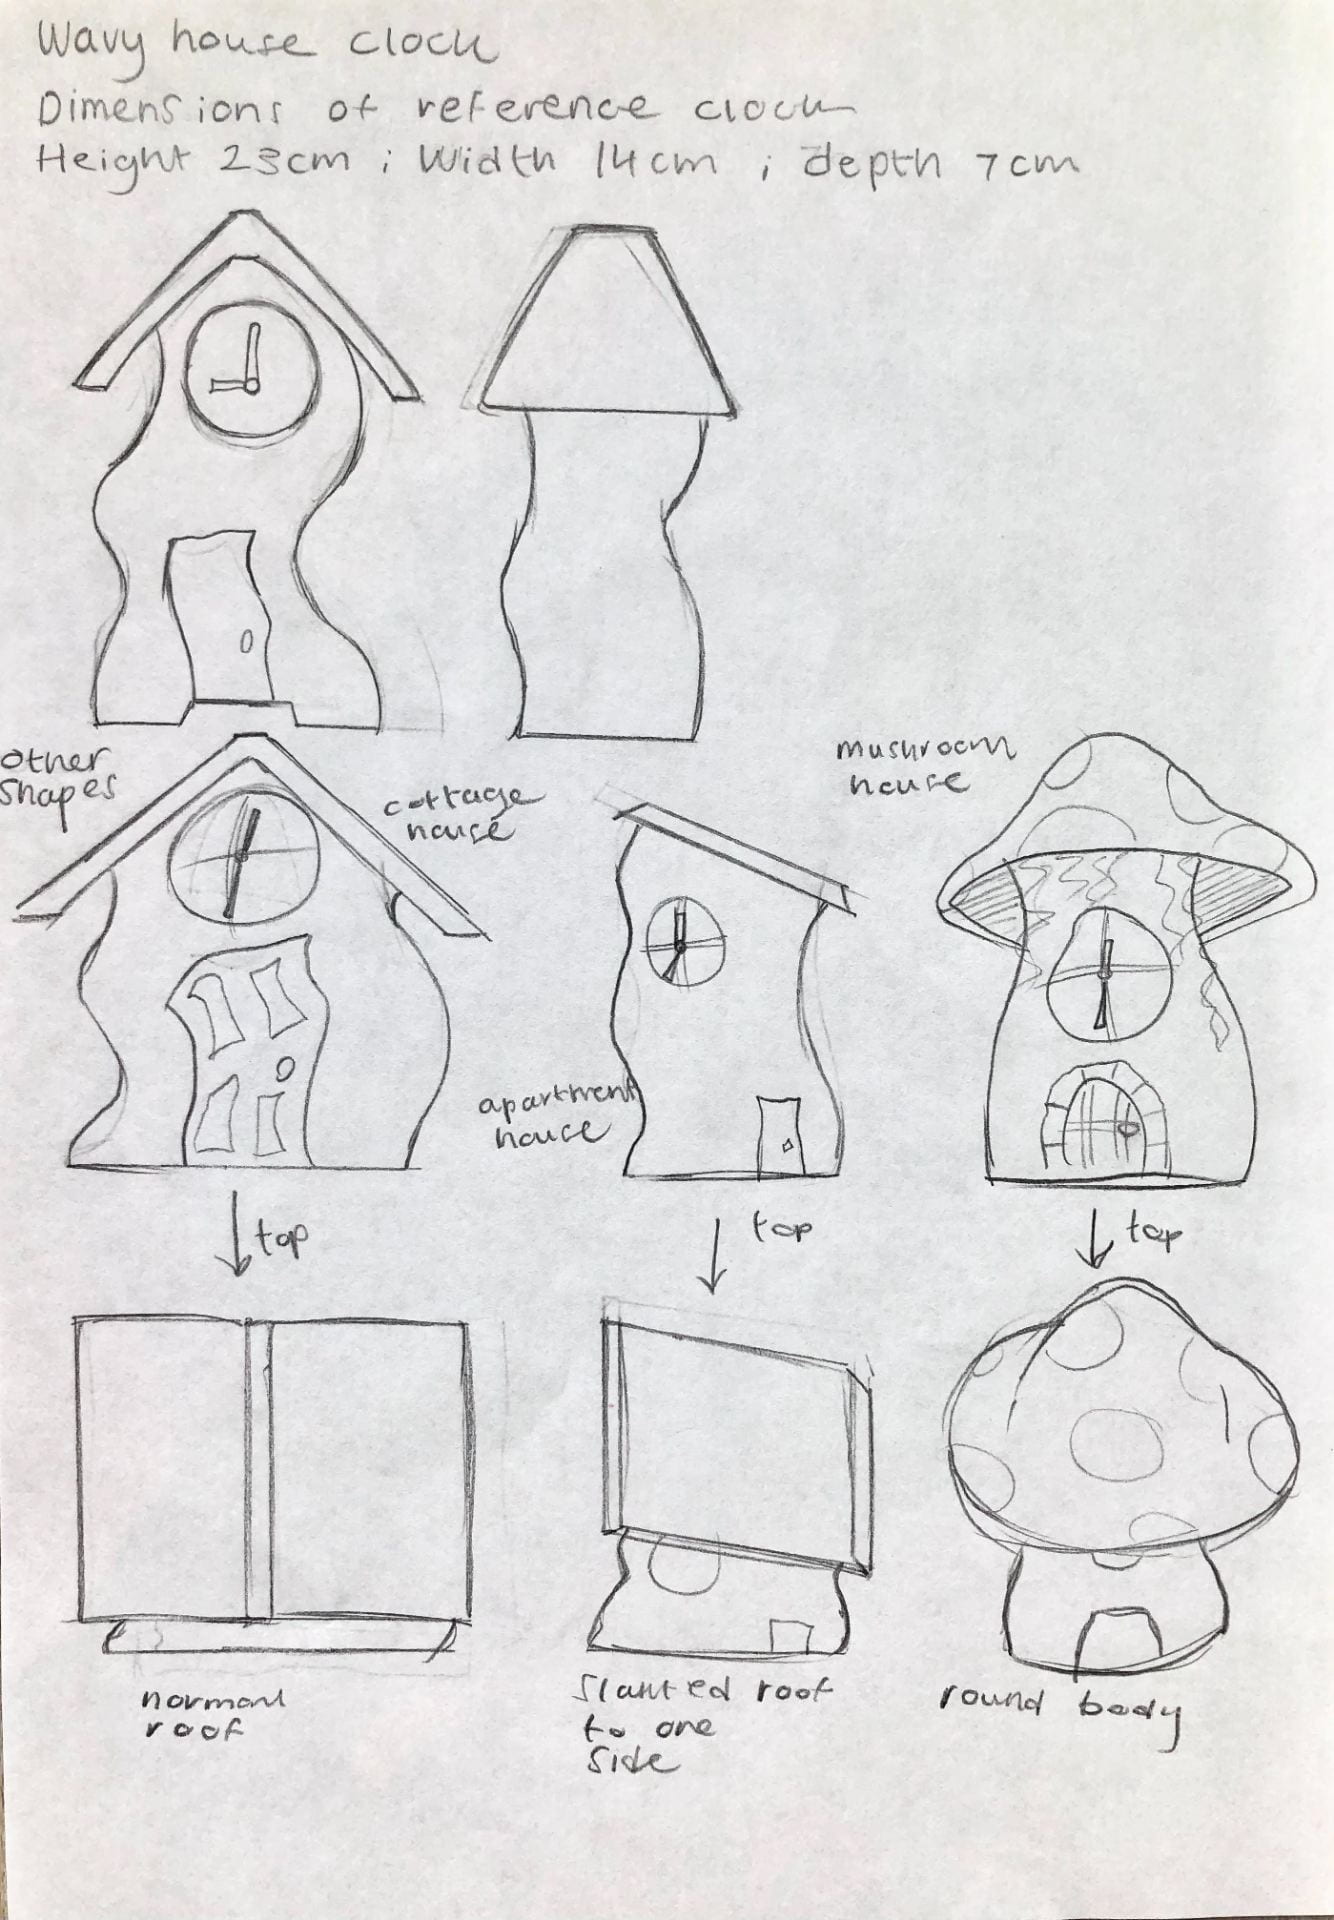

I sketched more of these designs in different perspectives to see how they looked. This is where I was choosing my final model design also. I was choosing between the two on the right, figuring which one appealed to me most.

I moved to digital drawing to help refresh my mind, and sketched out the last four designs and their silhouettes to see which stood out the best.
To me, I found the third design to be the most appealing and interesting to try 3D model.
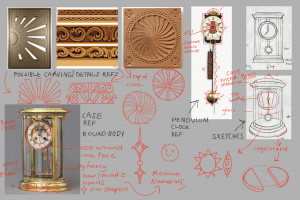
As soon as I picked my final design, I moved straight to observing the drawing and what details, mechanics and materials I can add to the clock that will help me build my clock with ease. Here I observed what carving details I could add, how to build a pendulum clock, sketching out the stand, the sun and the clock hands, and picking out materials as similar to my reference photo.
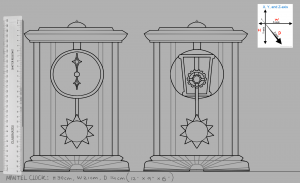
Finally, I made my final drawing of the finished mantel clock design. I made sure to focus on the measurements and the proportions of each part of the clock. This will be my most referenced image for when I get onto Maya.