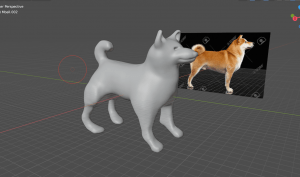
I started a practice attempt in blender during week 9 to get a good idea of what I will be working with on Blender and how to get the overall shape of the penguin.
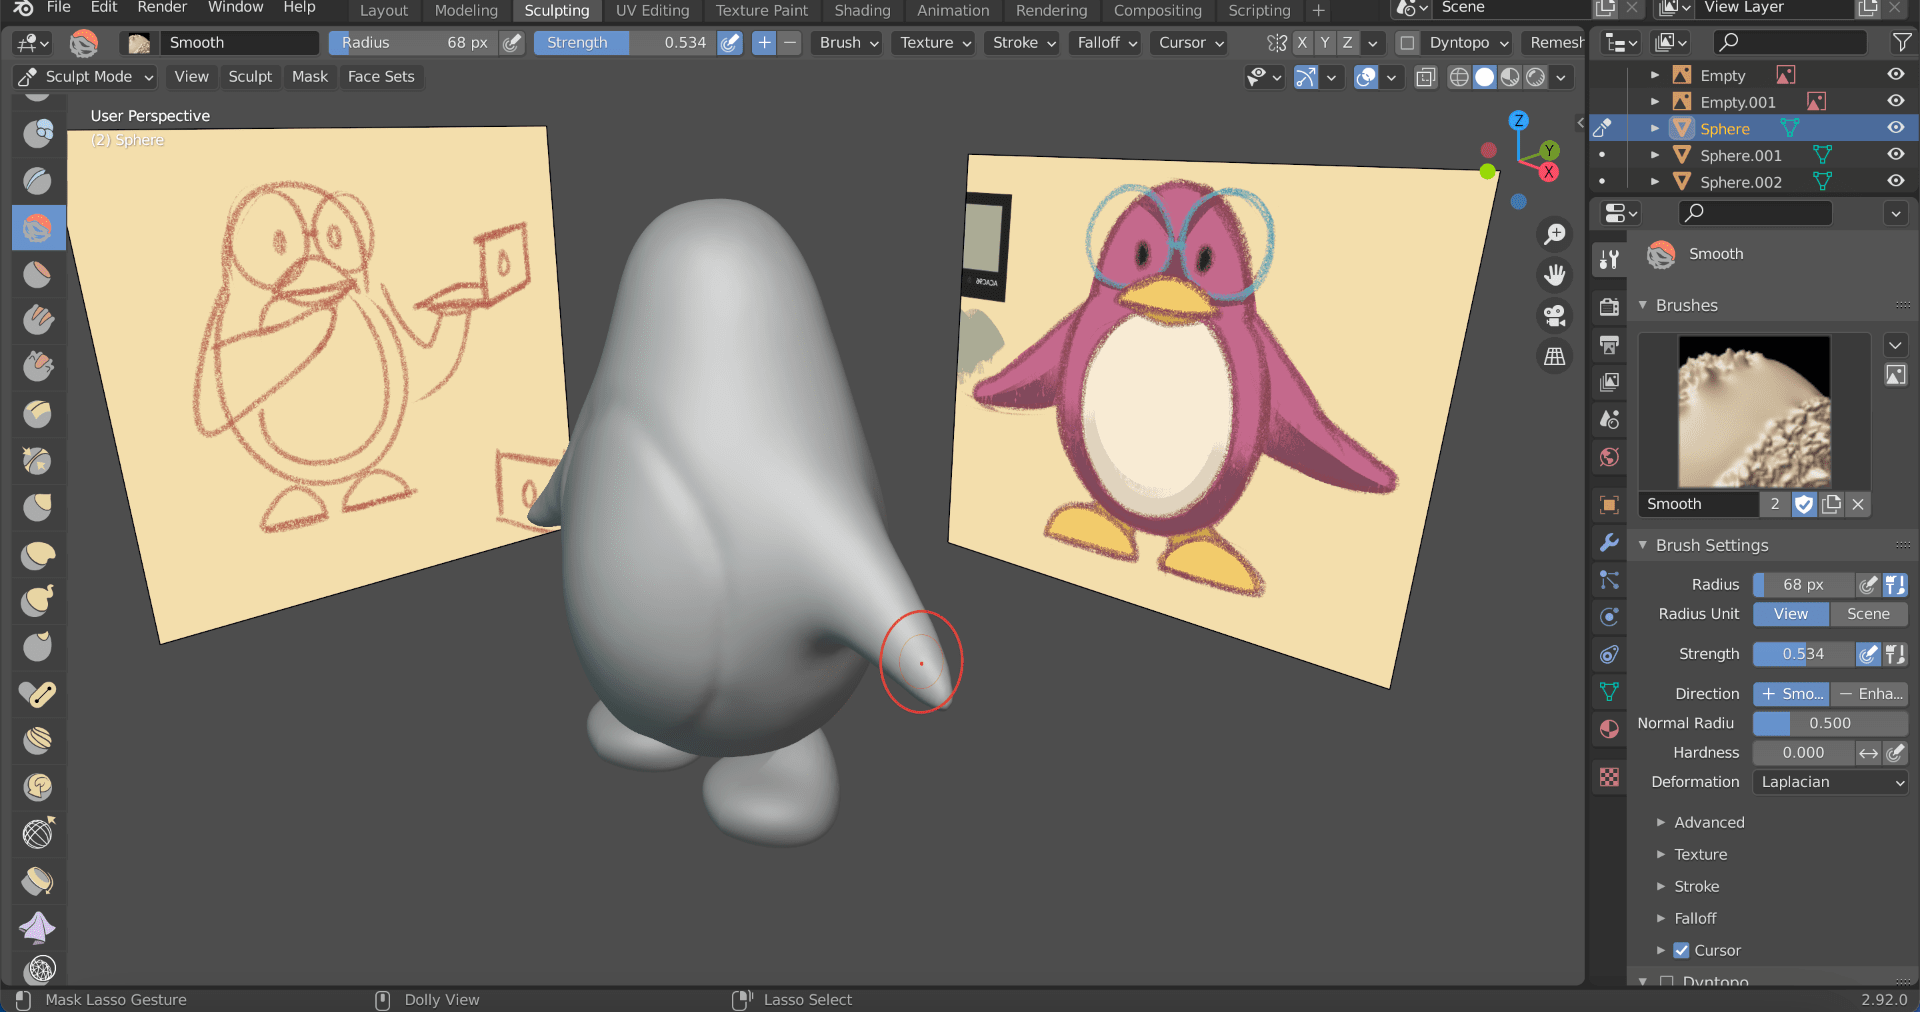 As you can see, it is not the best modelled penguin out there. This was a quick attempt and I was mostly experimenting with the tools and doing what our tutor was teaching us that week. I see that the head is quite squished, the feet are not positioned together, the arms are too thin, etc. I have learned a lot more from this stage with the use of the tutorials provided on the subject of sculpting characters.


For example, I completed this task recorded by my tutor Henry to create a cute crocodile character basemesh using metaballs. I followed the video that showcased the use of metaballs, scaling and moving them, mirroring them, sculpting them etc. This was a nice process of creating a basemesh that I liked trying out.
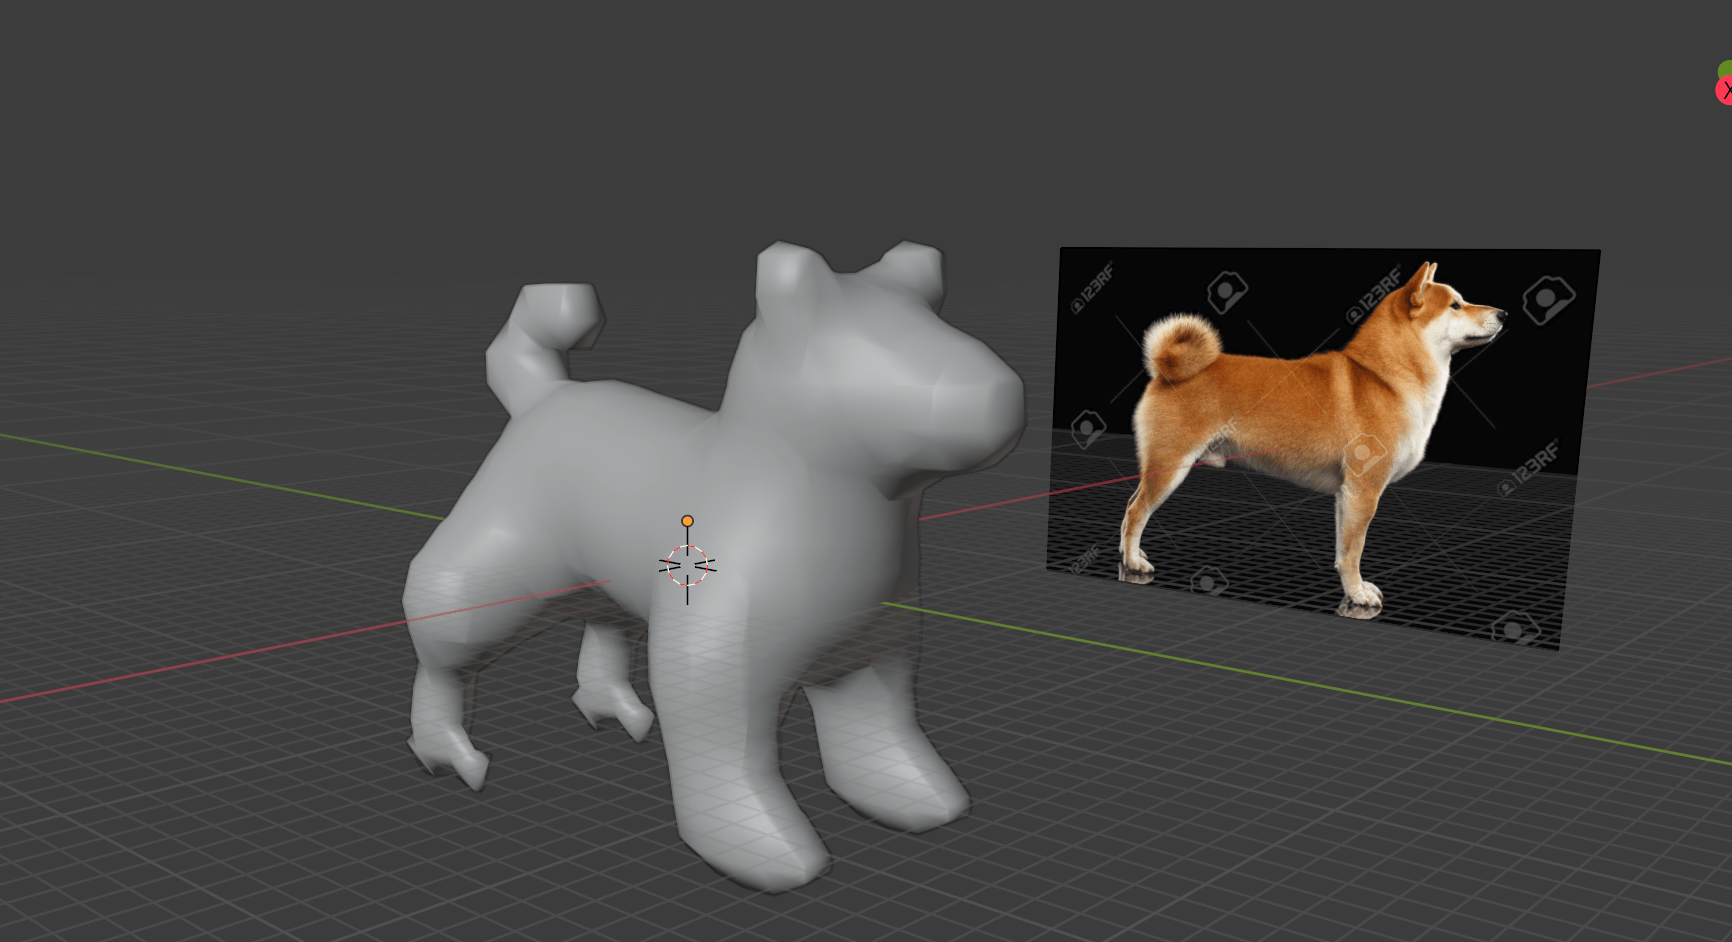 I also followed my tutors tutorial on creating a basemesh for a dog using metaballs. It followed the same kind of process with mirroring the metaballs on each side to create the body, head, legs all symmetrical. Then sculpting the mesh with grab tool, sharp edge tool, elastic deform tool, simplify and smooth tool. I feel I only did okay using this process so I moved on to see what else I could work on.


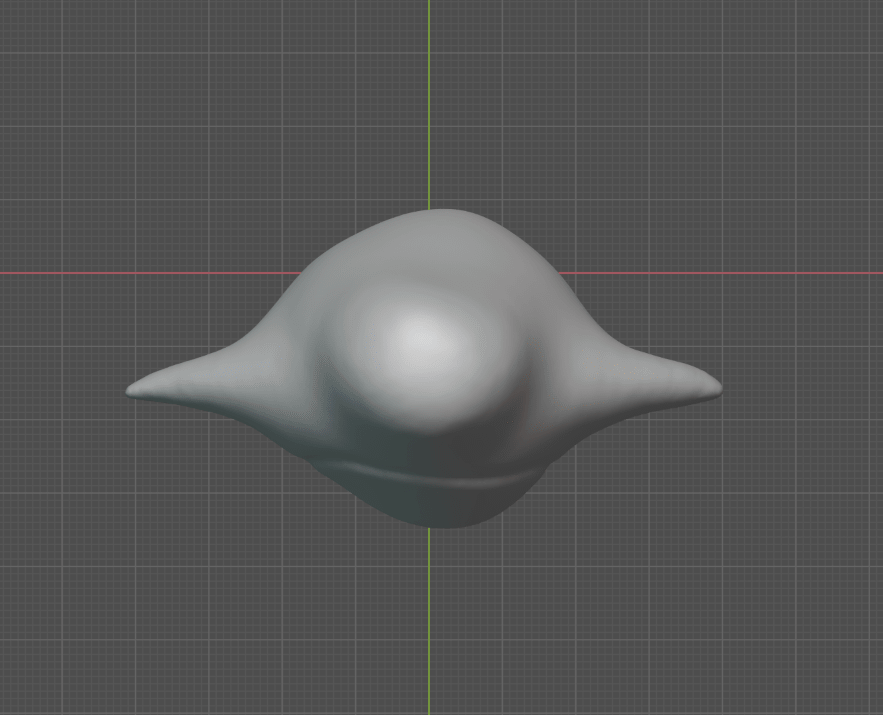
I followed a 2-part youtube tutorial that taught how to create the basemesh of a bear. The first part showed how to block out the main parts of the bear, and sculpt them roughly to get an overall shape to work on. Using rounded cubes, with arc division of 16 that made it a sphere, was also a good way to block out the character as it is much neater and provided more control of the shapes in sculpt mode. In the second part we dove into detail sculpting which was really informative and I know a lot more after it.


The second part I got to group all the body parts together. During sculpting, I would change the voxel size and press remesh to provide me more divisions to get smoother, sharper details on the mesh. I used ctrl + r to reset my mesh
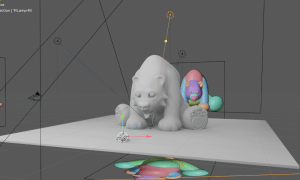

so it would be in a good position. I also used the sculpt tools draw, clay, sharp edge, grab, simple deform and more to follow the steps to make the shape of the bears head, body, claws etc. I used the smooth tool to smooth parts out, and made use of the mask tool to block bits out, then ctrl + I to invert, and work on it with the mesh filter tool (smoothing it, inflating it etc.) Then I also got to work on the render and lighting options, and lastly I added colours to the bear, and even a node to set a gradient on the bear. This was a great tutorial to go through and it taught me a lot about how to go about sculpting and polishing a model.
Source: Week 8 – Blocking out characters, recorded demonstrations – Installing model with speed plugin.mp4, Sculpting a basemesh of a dog using metaballs.mp4, Sculpting a basemesh of a cute crocodile using metaballs.mp4, Using standard geometry to create a basemesh.mp4.
Source: Week 9 – Sculpting characters – video content – Sculpting an Owl, Sculpting a stylised bear, Sculpting a wizard gnome, Masking tools in Blender, Applying textures to maps on brushes.mp4.
After these practices I was ready to start blocking out my Penguin model. I made a quick guide of the penguin below.
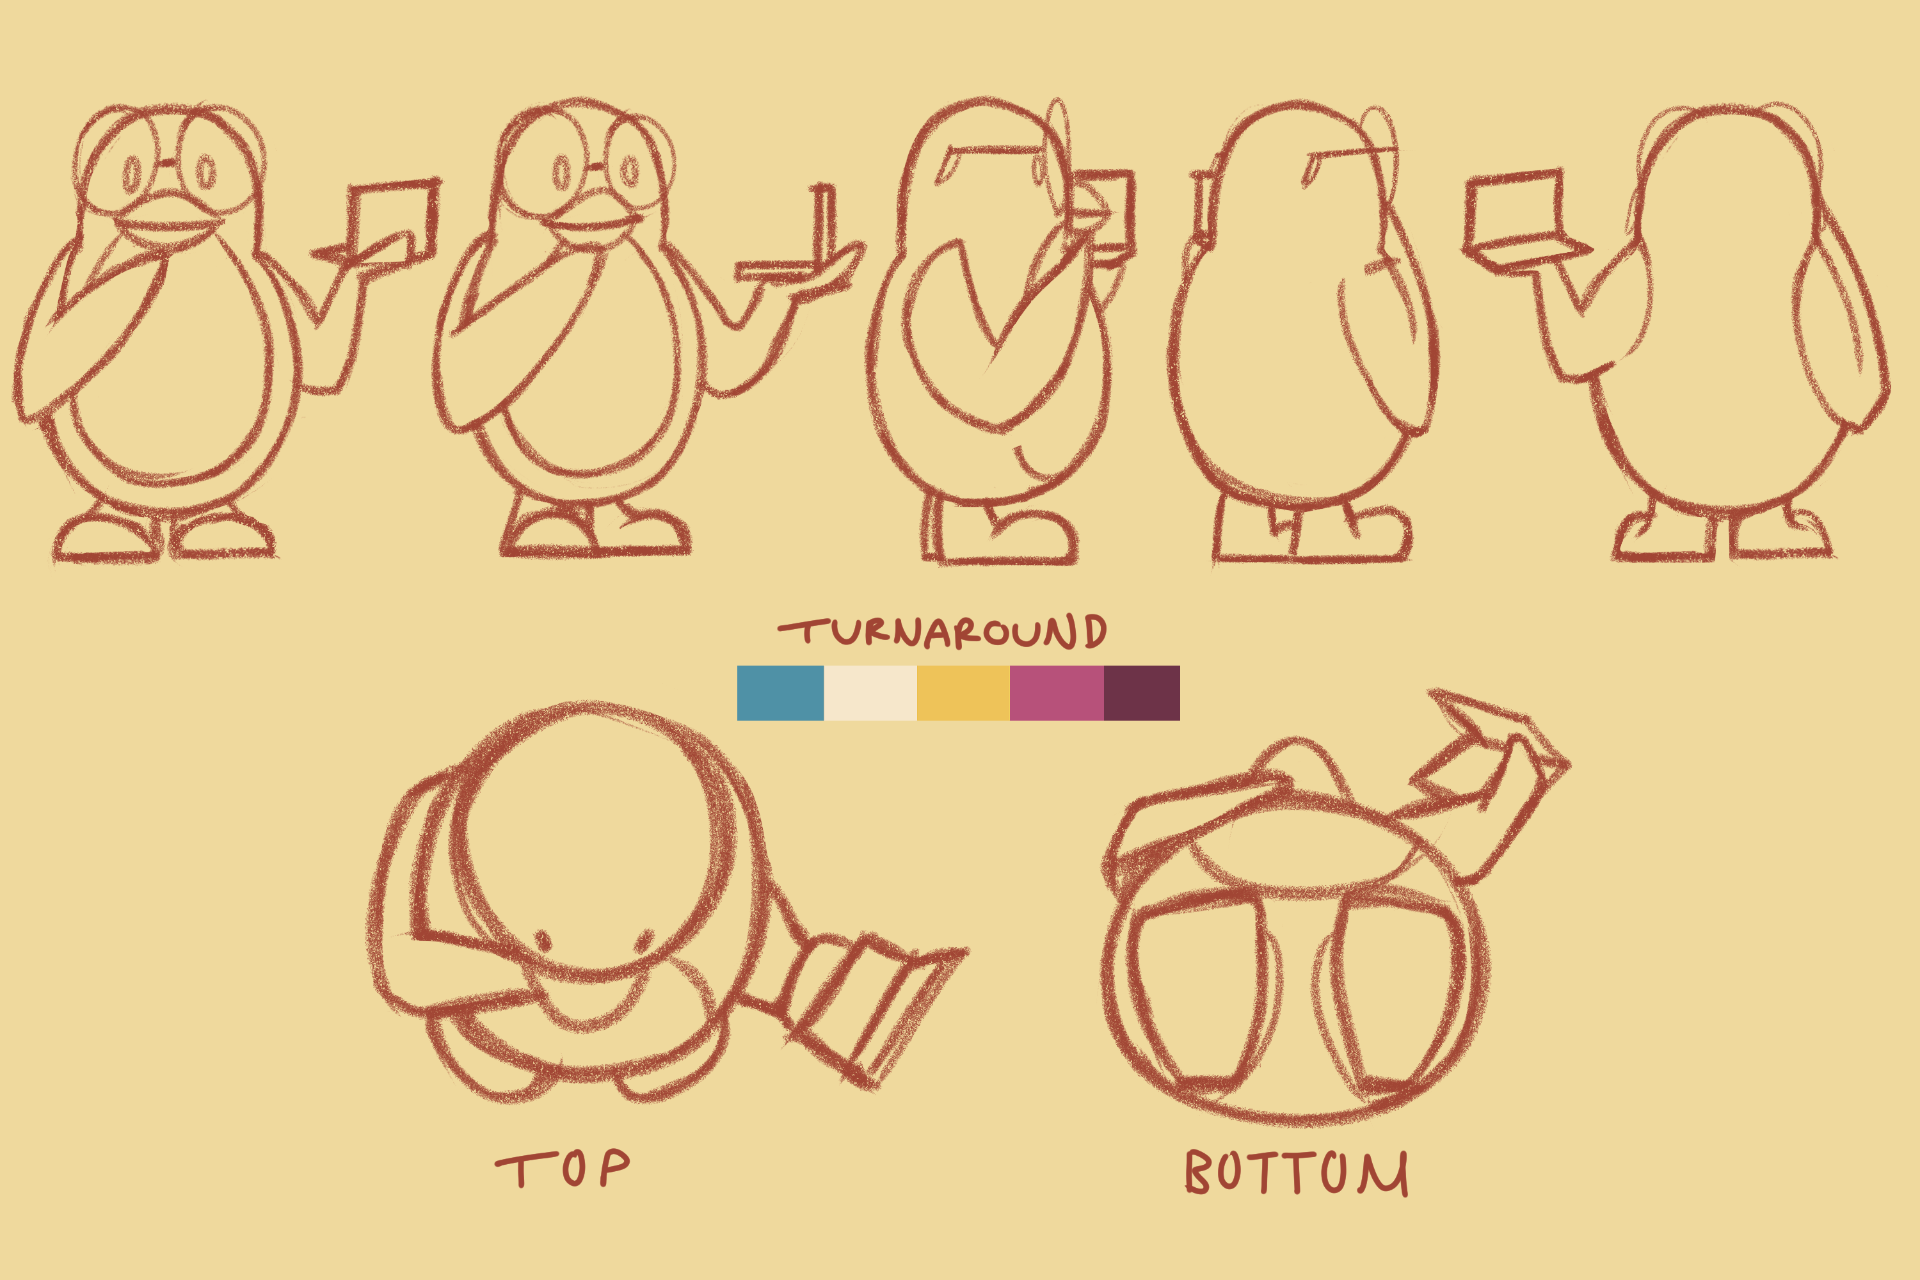
I started planning my references for my cute character on this page, and decided I should model the whole body all in blender, and model the glasses, and the computer separate in Maya. This makes for a more simple process and will hopefully be easy enough to bring all together in the end. I picked my colour palette, made a turnaround and sketched what the top and bottom of the character may look like.

I started my Blender scene off by placing down my reference images, cut up into the sides of the penguin drawings, around the area in X, Y and Z axis. This helped me start off the blocking In the shapes with the reference right beside/behind my workspace.
 I blocked in some simple shapes using the rounded cube mesh to do so. With this mesh part I could change its presets to either a rounded cube or a sphere, by changing the radius settings and the arc division settings. I made one of the legs on one side at first, then I gave the parts the mirror modifier that allows it to mirror to another side. I let it mirror to the Y axis. At first only one part mirrored from my selection, so I used CTRL + L settings and selected ‘Modifiers’ which applied the modifier to the rest of the parts. I made these parts all separate first then I joined up the body part first, then the legs then the beak.

As the parts I am using are already set as meshes, I could go straight into the sculpt mode to alter the body. I remeshed the body by setting the voxel size to around 0.06, which joint up the head and the body together roughly, so I could go over it with a smooth tool to smooth it out. I also used CTRL + R to reset the mesh positioning, and turned the dyntopo tool on to clean it up and add more divisions.

Next I worked on the feet. I wanted them parts to be joint together so they could create a smooth foot so I used the sculpt tools to smooth them out, flatten the bottom, and inflate the toe parts so it looks more cartoon-like. I used mostly the smooth tool, the scrape tool, the inflate tool and the grab tool (to place the foot in a better position).
From this point, I traced back to what I also may need for this model and figured I should start making the accessories of the penguin on Maya – the glasses and the little computer.
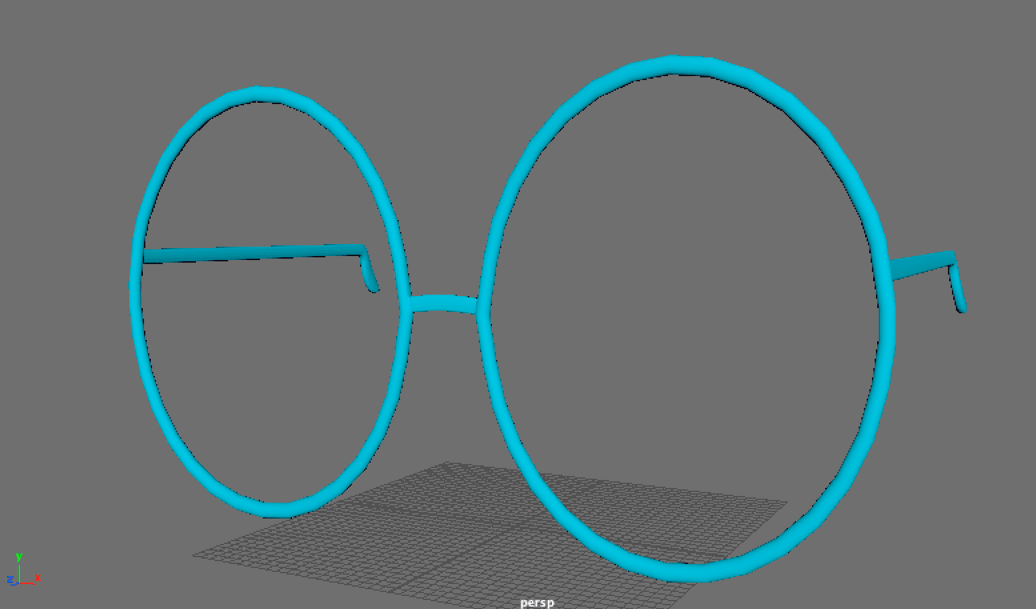

I made my pair of glasses starting with a torus shape. I copied and pasted the glasses part to the other side then combined the two together, and froze their transformations.
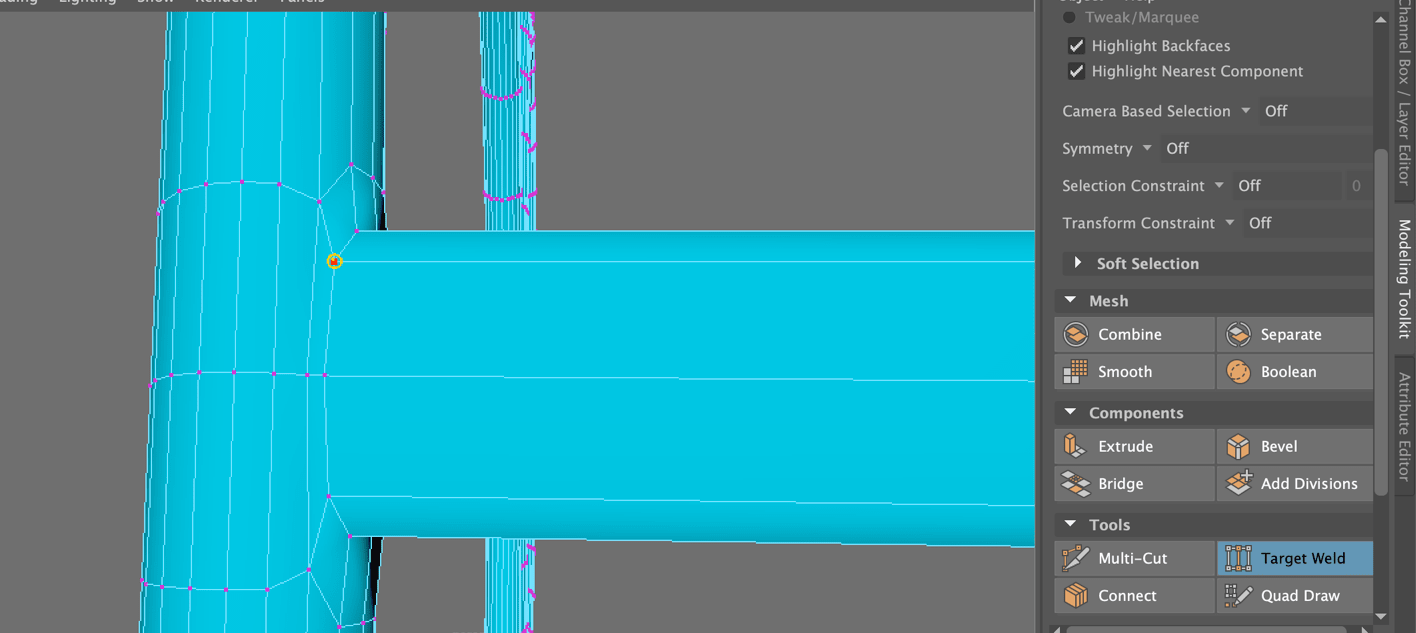
 I then made a cube for the middle nose part of the glasses and slotted it right in-between the glasses, and deleted the side faces of the cube. I then used the multi-cut tool to add two rows of edge loops around both the torus parts, so that they provide vertices for the middle part to slot into with the use of the target weld tool.
 First I combine the middle part with the torus shapes, then I use the target weld tool to drag each vertices together. Because there’s another row of edges cutting through the middle of the torus parts, that meant I had to recreate the same loop around the middle for the cube part. This then helped finish off the target weld action then I could go inside the torus shapes, and delete the faces where the middle part meets the torus part, so they can be one whole shape.
 I went through the same process when adding the legs of the glasses to the torus parts of the glasses. Making the shape, adding the edge loops, deleting the necessary faces, using the target weld tool and combining the parts together. I set an assigned material for the glasses and made the colour blue, similar to what my colour palette has.
 I also made a little computer on Maya, using bevelled cubes as the base and a cylinder symbol at the back of the computer.
I combined the two rectangles together by their vertices with the use of the multi-cut tool and the target weld tool. I then used the extrude tool to extrude a place for the computer screen, the keyboard and the mouse pad, so they are seen clearly. For both the computer and the glasses, I may make a texture for them soon after I work on the penguin more.


Back to my penguin, I had started on placing down the arms, the eyes and sculpting the beak a little better.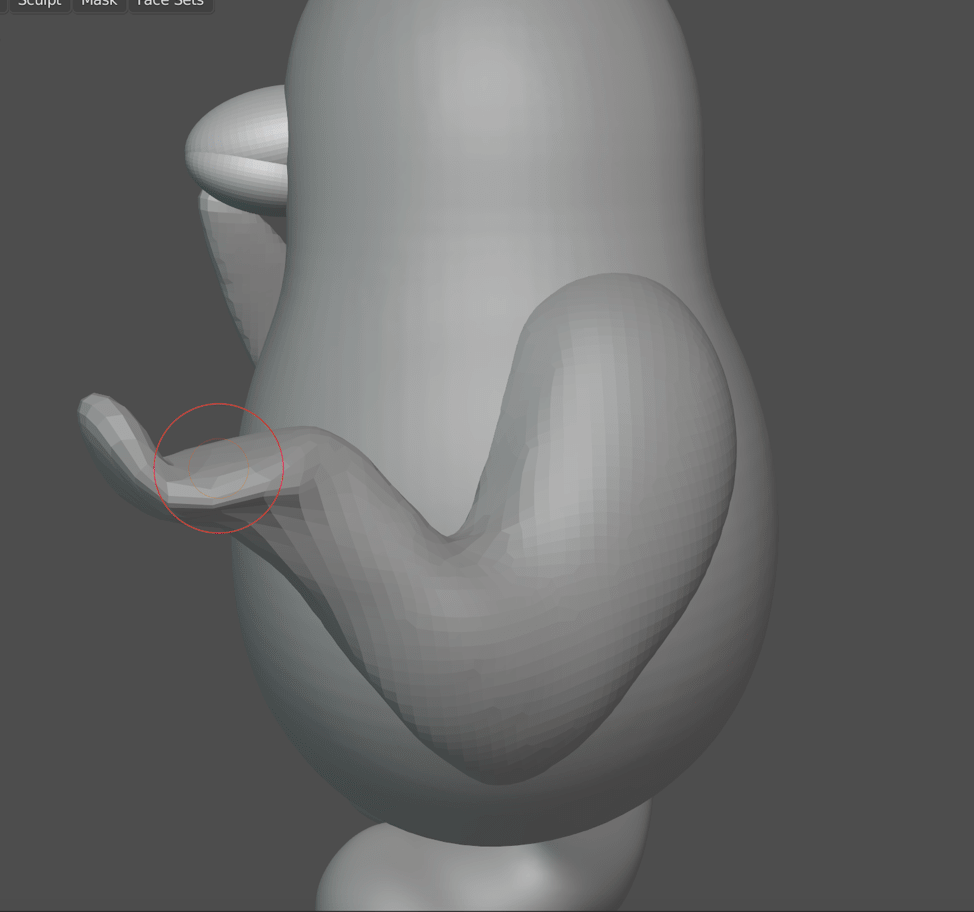
I placed down two separate rounded cube meshes, with radius of 1 and arc division of 16, onto the sides of the penguin body, and worked on one then the other. I mainly used the snake hook tool on the rounded cube to drag out a snake/tail-like shape, to give me the position of the arms that I was looking for. When using this tool, the mesh would break in some parts so I would make sure I remeshed to bring it to a suitable position/shape.

I turned on dyntopo on the arms and smoothed them out when I finished sculpting them to the shape I wanted. The left arm is where the computer will be held, and the right arm is placed on the beak as if they were thinking about something.


I also worked on the beak by using the elastic deform tool to drag it outwards, then used the draw tool and holding CTRL for an inwards effect, to dig out a mouth. For the eyes I placed down a rounded cube, same form as the arms, and made it small and stretched upwards, and placed it where suitable. Then I set it a mirror modifier so it can mirror on the Y axis of the penguin.

Lastly, I added the little detail of the tummy line around the body with the inverted draw tool and stabalized pen turned on, so it was a neat line around. I used the smooth tool to smooth it out after.

As I finished my model on blender and smoothed everything out, I exported it into an fbx file and uploaded the file to Maya so I can repotologise the mesh.
As I placed it on Maya, I also dropped in the glasses and computer and resize each object so that they fit together and suit well.


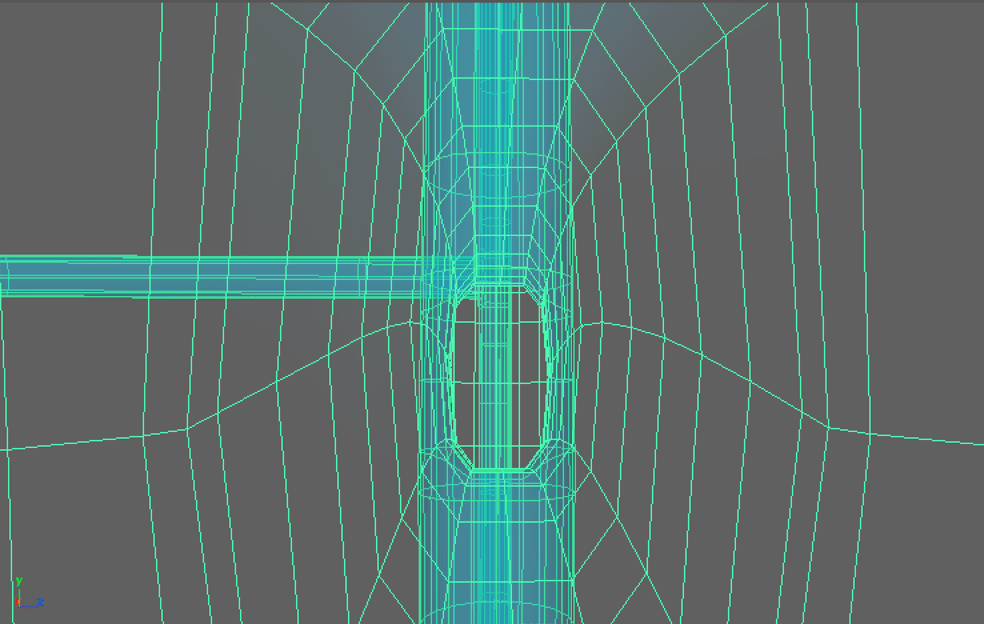
 To do retopology, I should set the high poly mesh into a live object so I can project the low polys onto it. I then turn on Quad draw and place down squares that connect to each other, while I have symmetry on so it would repeat the squares on the other side of the model. I followed some references and a video tutorial my tutor made on Retopology, to help me plan out where I can place these squares and how they will connect together. I started with the face and the mouth and spread outwards to the eyes and head. Eventually when I got the head done, I was able to finish off the body shape with more simple and bigger shapes. During this process, I used SHIFT to relax the polys so that it will fall into place with the model behind better than before.


I separated the arms and feet on my main model because I was cautious of how I was going to make retopology on everything at once. I made the feet together in a pair, and since the arms are in different positions, I did pair them up, but turned off symmetry on the two sides so they wouldn’t appear wrong on one side. To the left is what the retopology process looked like so far.

During a class, I realised I had to redo the arms again as they weren’t all connected correctly in terms of the round edges going around the arms. I quickly redid them and I was then able to move onto UV wrapping this model.
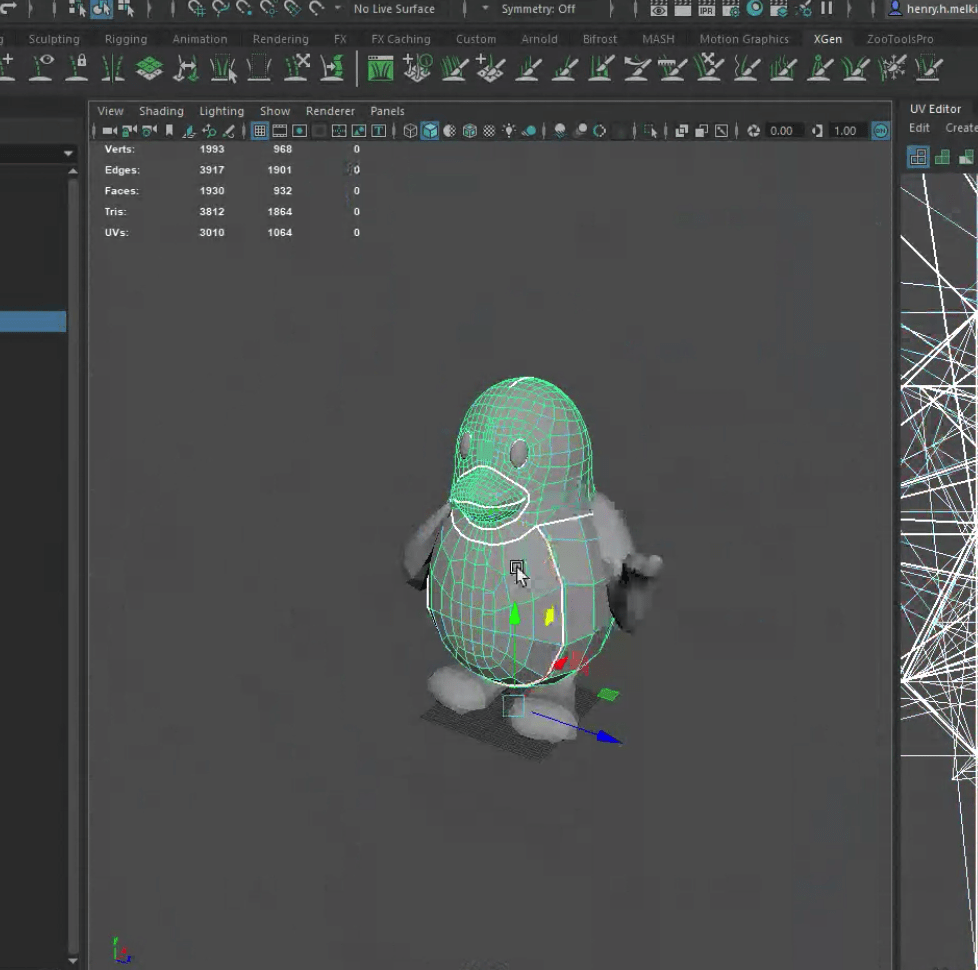

I was given advice on how and where to cut each piece of the model so they could be unfolded on the UV workspace. As soon as I unfolded everything, pressed layout, and straightened what part needed it, I was finished the UV process.

From here the Retopology and UV steps were finished, and I was able to continue to texturing this model and making it presentable.