Around week 9 to week 10, we started gathering an idea of our plan going towards Unreal Engine to finally build our environment. We still needed some time to prepare our models, and fix some problems that we came across. However by week 11, we were all on the Unreal Engine software preparing our workspace.
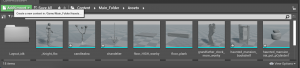
We were importing out assets, ensuring they were in good shape, and cleaned up, before placing in. We gathered our textures and organised them into materials / instances. And, we started to lay out our assets in a position/visual that we individually preferred.
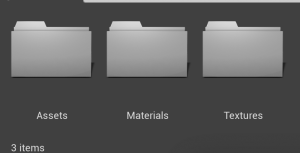
To organise my workspace, I had made individual folders for each part of this project – assets, materials and textures. This makes it so much easier to find what I am looking for once I start something new etc.
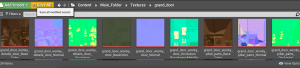

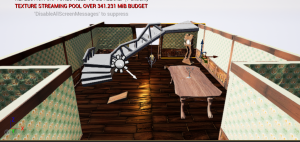
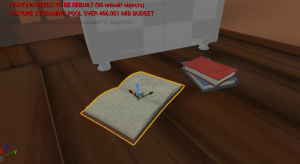
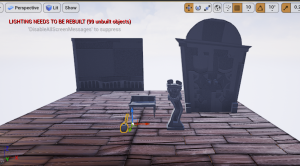
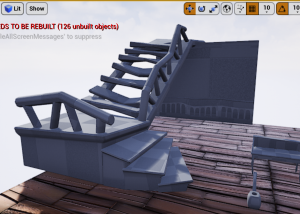
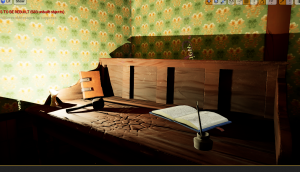
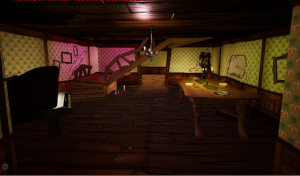
It was a long process in importing, creating nodes, and applying materials to each asset, all while organising the scene into a working environment. The images shown are the progress of adjusting the environment, making sure each material worked.
During week 11 we watched tutor videos on lighting and how to present them in an unreal engine scene. This lecture on what the lights do, how to place them in and alter their information, and to bake the lights to see the result – will help us to light our scene effectively.
Source:
https://learning.ulster.ac.uk/webapps/blackboard/content/listContent.jsp?course_id=_323028_1&content_id=_6317131_1
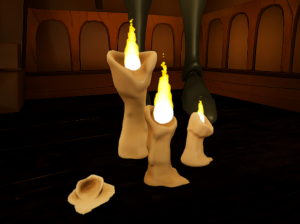
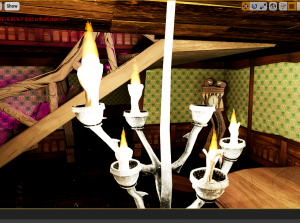
Our main source of light in the scene will be with candle lights. Our teammate Matthew was in charge of creating the particle system of a flame, and modelling the candles to go with them.

Also during the week 11 class, we learnt a lot more about unreal and how we could make our workflow a lot easier to handle. We discovered a way to share over the particle systems to everyone in the group by migrating the folder through unreal projects. Matthew made a video for us showing us how to migrate this folder, to our own files.
We also took note of using instances more than materials to texture our work. It makes for easier navigation, and less space taken up on the project. It works well If there were an asset with multiple textures applied to it, or to use a material for two different assets with the use of instances.
In addition; considering my walls, as they are made as a Udim, I should make use of the virtual texture support to correctly apply my textures. These bits of information are vital for us and will help us continue our Unreal engine workflow. – Aswell as this, I made a short video for my teammates on how to apply the wall textures correctly, so everyone can take on the same technique and continue on with ease.
Source:
https://ulster-my.sharepoint.com/:v:/g/personal/keaney-d_ulster_ac_uk/EUKZuMFlIpxBvZwNMZcujlYB_g9IXdh74KB8DEg5I5R6UQ?e=lFa8Gb
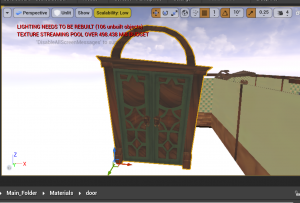
Another detail I took on was the stained glass reflection idea. I made space on my grand door for the possibility we would have stained glass in the future.
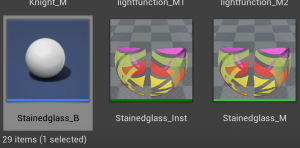
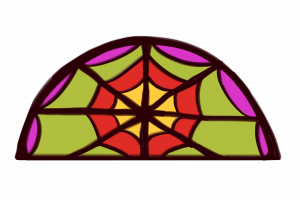 I first made a texture of stained glass, with colours that fit the visuals and mood of the Haunted mansion.
I imported the texture into Unreal, placed a plane static mesh down, and created a material, where I linked the texture to the material result node into base colour, and opacity. I also selected a few detail options on the right that would make this material translucent and emissive.
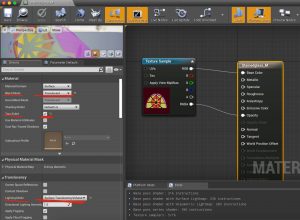
Bend mode is set to: translucent
two-sided is ticked
Lighting mode is: Surface TranslucencyVolume

After I made the material, I created a material instance to link to the plane so it appears as it is to the left. Next, I wanted to create the reflection. This process required a simple blueprint to keep the lights together.
I followed this tutorial on Youtube by DefaultSound on how to create a stained glass reflection. It was actually quite a simple tutorial to follow and helped with keeping my workspace on Unreal tidier, and helps easily move the reflection to the position I’d like.
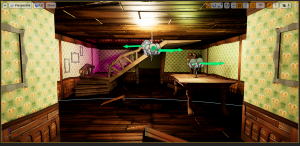
First we were to create three different light functions, all with separate colour channels etc. red, blue, green. Then we assigned these to three spot lights, and adjust their colours to the colour channel that’s plugged into it. Aligning them together at this point will create the full colour palette of the texture.
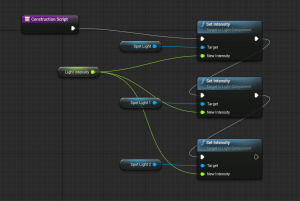 Next we created a blueprint with these spotlights. I followed the script he made which combined each spotlight, and shared the same lever to increase or decrease its light intensity.
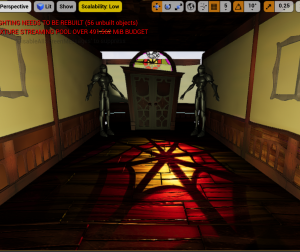
After that it was done, I could position the spotlight to the area I wanted the stained glass to reflect onto, and it created that illusion.

Source:
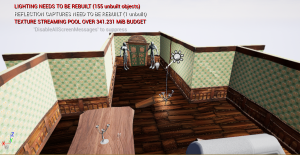
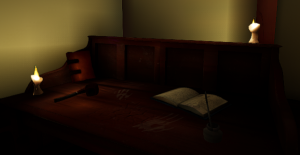
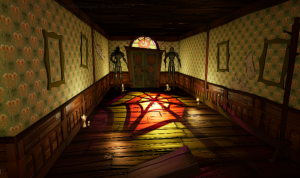
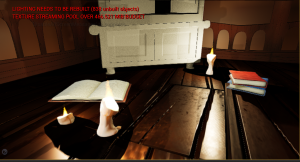
After this, I was mostly working on adjusting the lighting in the environment. It was quite difficult to handle as the whole scene is in an enclosed space, it was almost always dark and hard to create light everywhere. I worked with placing point lights around where the candles were shining, and I also placed in a spotlight up where the stairs are, to give a mysterious look to the mansion – making people wonder what could be up there.
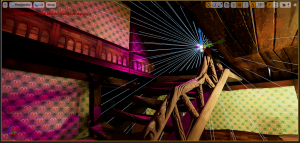
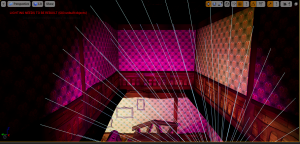
At some places, the point lights would shine too bright, and the area around it would appear white. I would use the build lighting option to optimise the lighting to its actual view, but it still had a strong intensity to it. I turned down the intensity of the invididual point lights to help, and also added in a post-processing volume box into the scene. I used this tool to alter the world lighting, and it helped to tone down the intensity of each source of light in the scene.
With this development, my scenes lighting became stronger and more stable around the room. I made sure to experiment with the colour grading and vintage visual to make the scene appear like it was from a Haunted Mansion.
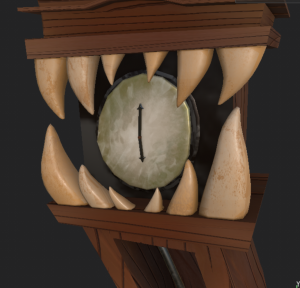
At this time, I had altered the clock design based on recent feedback. I took it out of Unreal Engine for the time being, until I had finished with the additions to the model, then brought it back in.
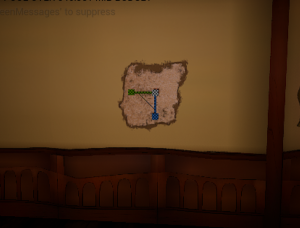
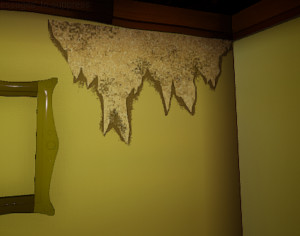

The rips on the wall textures I made work well when imported into UE as a decal. I learnt how to set up and apply decals in Unreal Engine with the use of my tutors tutorial on Blackboard. I imported the rips as textures. Made a material for decals, set the right settings for each texture to work as a decal, and made instances for each rip. They are placed on the wall to give the wallpaper a rough, torn look – further emphasising our idea to make this haunted house old and withered.
Source:
https://learning.ulster.ac.uk/webapps/blackboard/content/listContent.jsp?course_id=_323028_1&content_id=_6114034_1
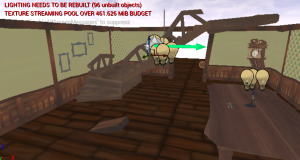
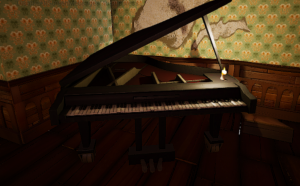
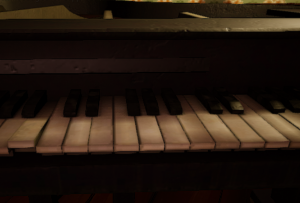
At this stage, my lighting was mostly finished, apart from places where I felt needed more candles. Other than this, I was waiting for other assets made by the group to be able to import into the scene. First to come was the piano, modelled by Caithlin and textured by Matthew. It works well in a corner in my scene where it was empty beforehand. It fits very well into the scene with its old dirty look on the keys, and the roughness in the metal base.
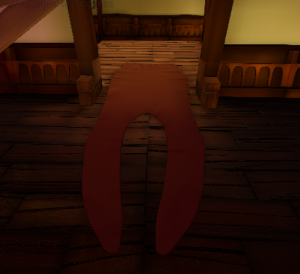
Next was the split-tongue-shaped carpet, made by Megan. This is a very nice tough to the scene. The floor is mostly wood, and It would get uninteresting to look at after a while. However the carpet fills up the room and fits well with the animal/monster theme.
Megan had also uploaded the fireplace, broom and taxidermy saw. These assets were able to fill up the second room I made very well, and they nicely suit the wonky visual we were achieving.


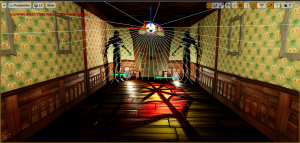
Now that I imported the fireplace, I was hoping to make its light source the strongest in the environment. I used a spot light to illuminate the fire colour outwards outside the door. I also used a point light to illuminate the inside of the fireplace, and cast shadows onto the floor. The guard was in-front of the point light so I could use them to create an interesting looking shadow throughout the room.
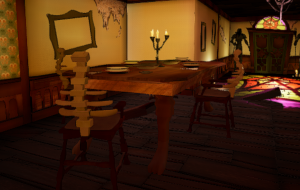
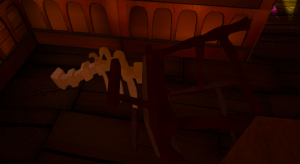
Alisa finished up the chair asset for the environment. The chairs fit well into the bones/animal theme with its spine back to the chair. I have placed it multiple times around the scene with the dining table, the writing table, and around the corner, for the gramaphone to sit onto. The chairs definitely helped to fill up the room and add to the cluttered, messy detail of the visual.


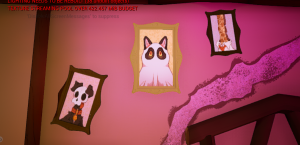
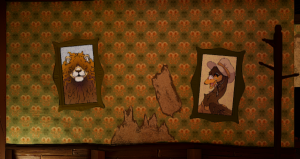
Lastly, I got to fit in the picture for the frames. Megan took some time to illustrate fun animal portraits for the mansion. These images will give so much life to the haunted mansion, that beforehand, felt like no one lived inside it. I believe hanging these pictures on the wall will invoke a mystery/story to the place – who are these animals? Are they all a family? Where are they now? These are very fun and interesting assets to add.
During this time, I started on the rendering stage of my environment build.