Reflecting Semester 1

Here I will be reflecting on my work during Year 1 Semester 1 of my Animation course.


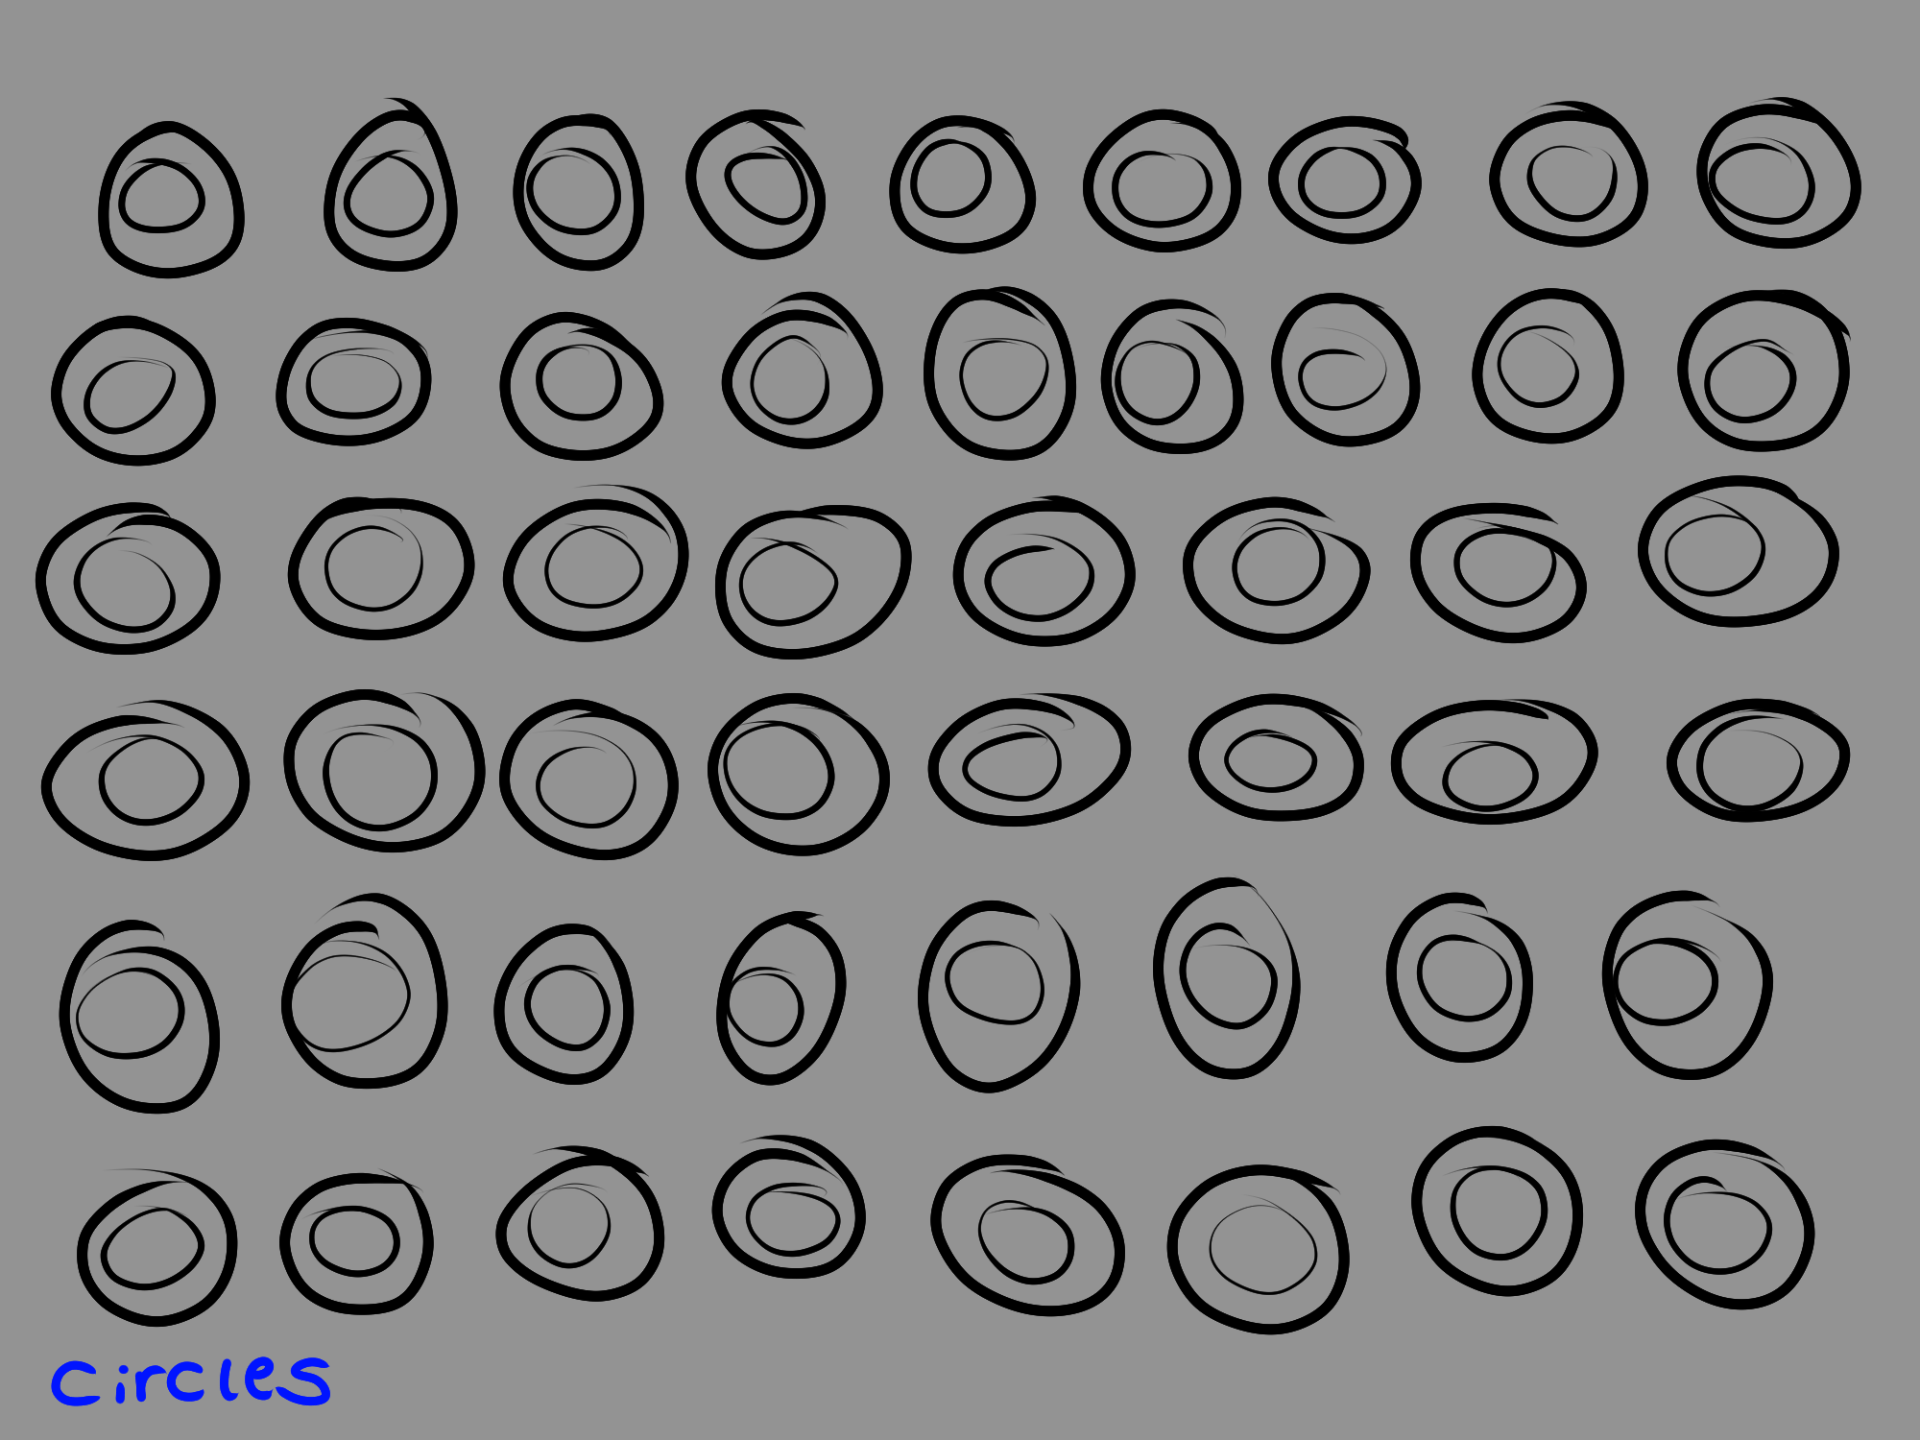
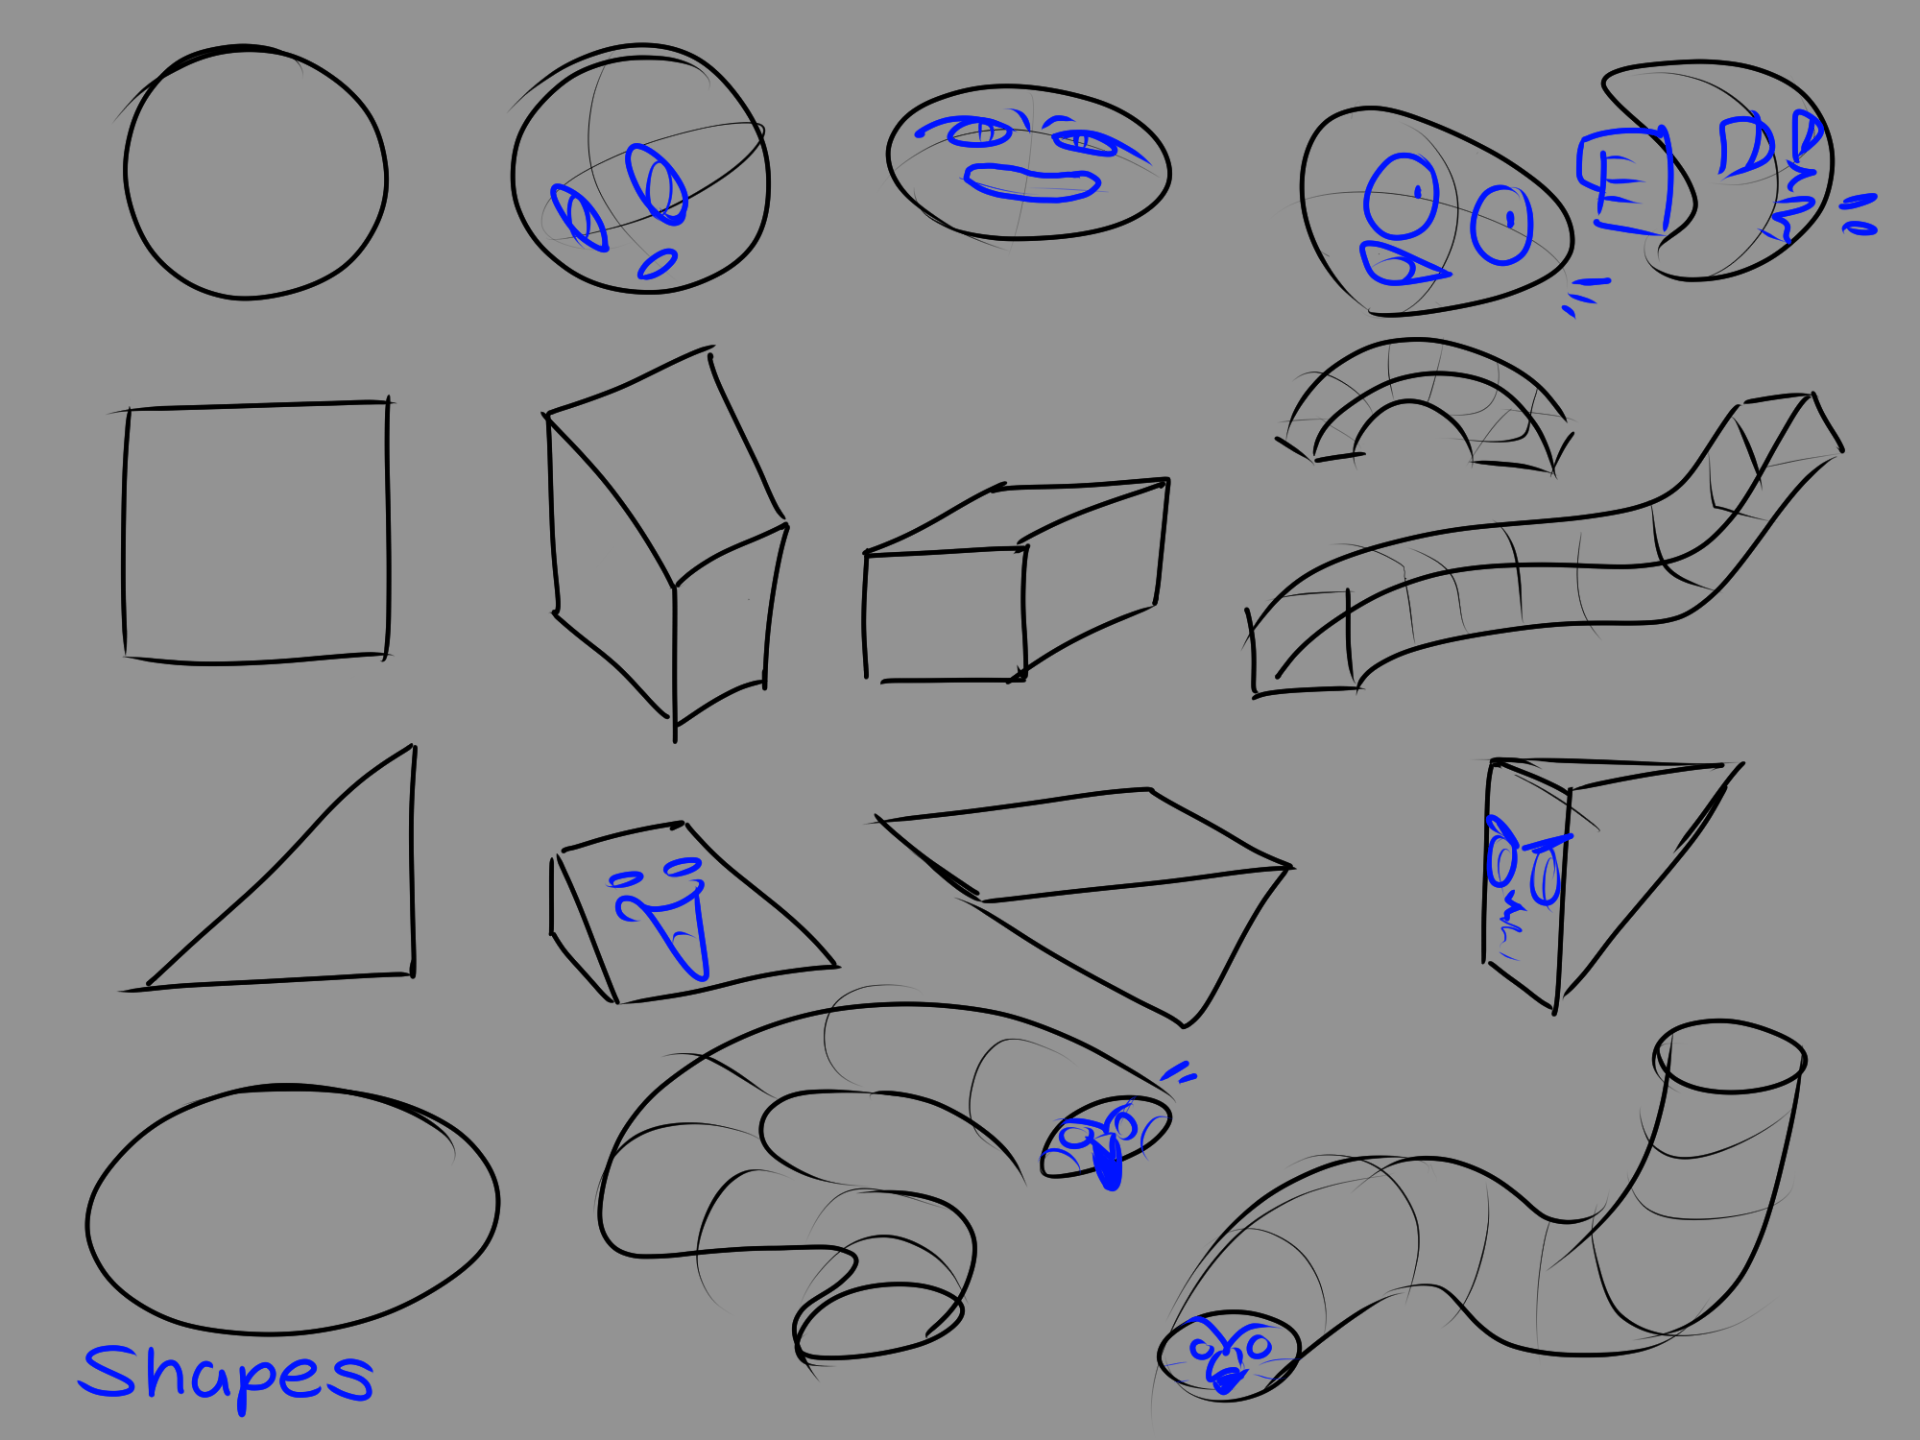
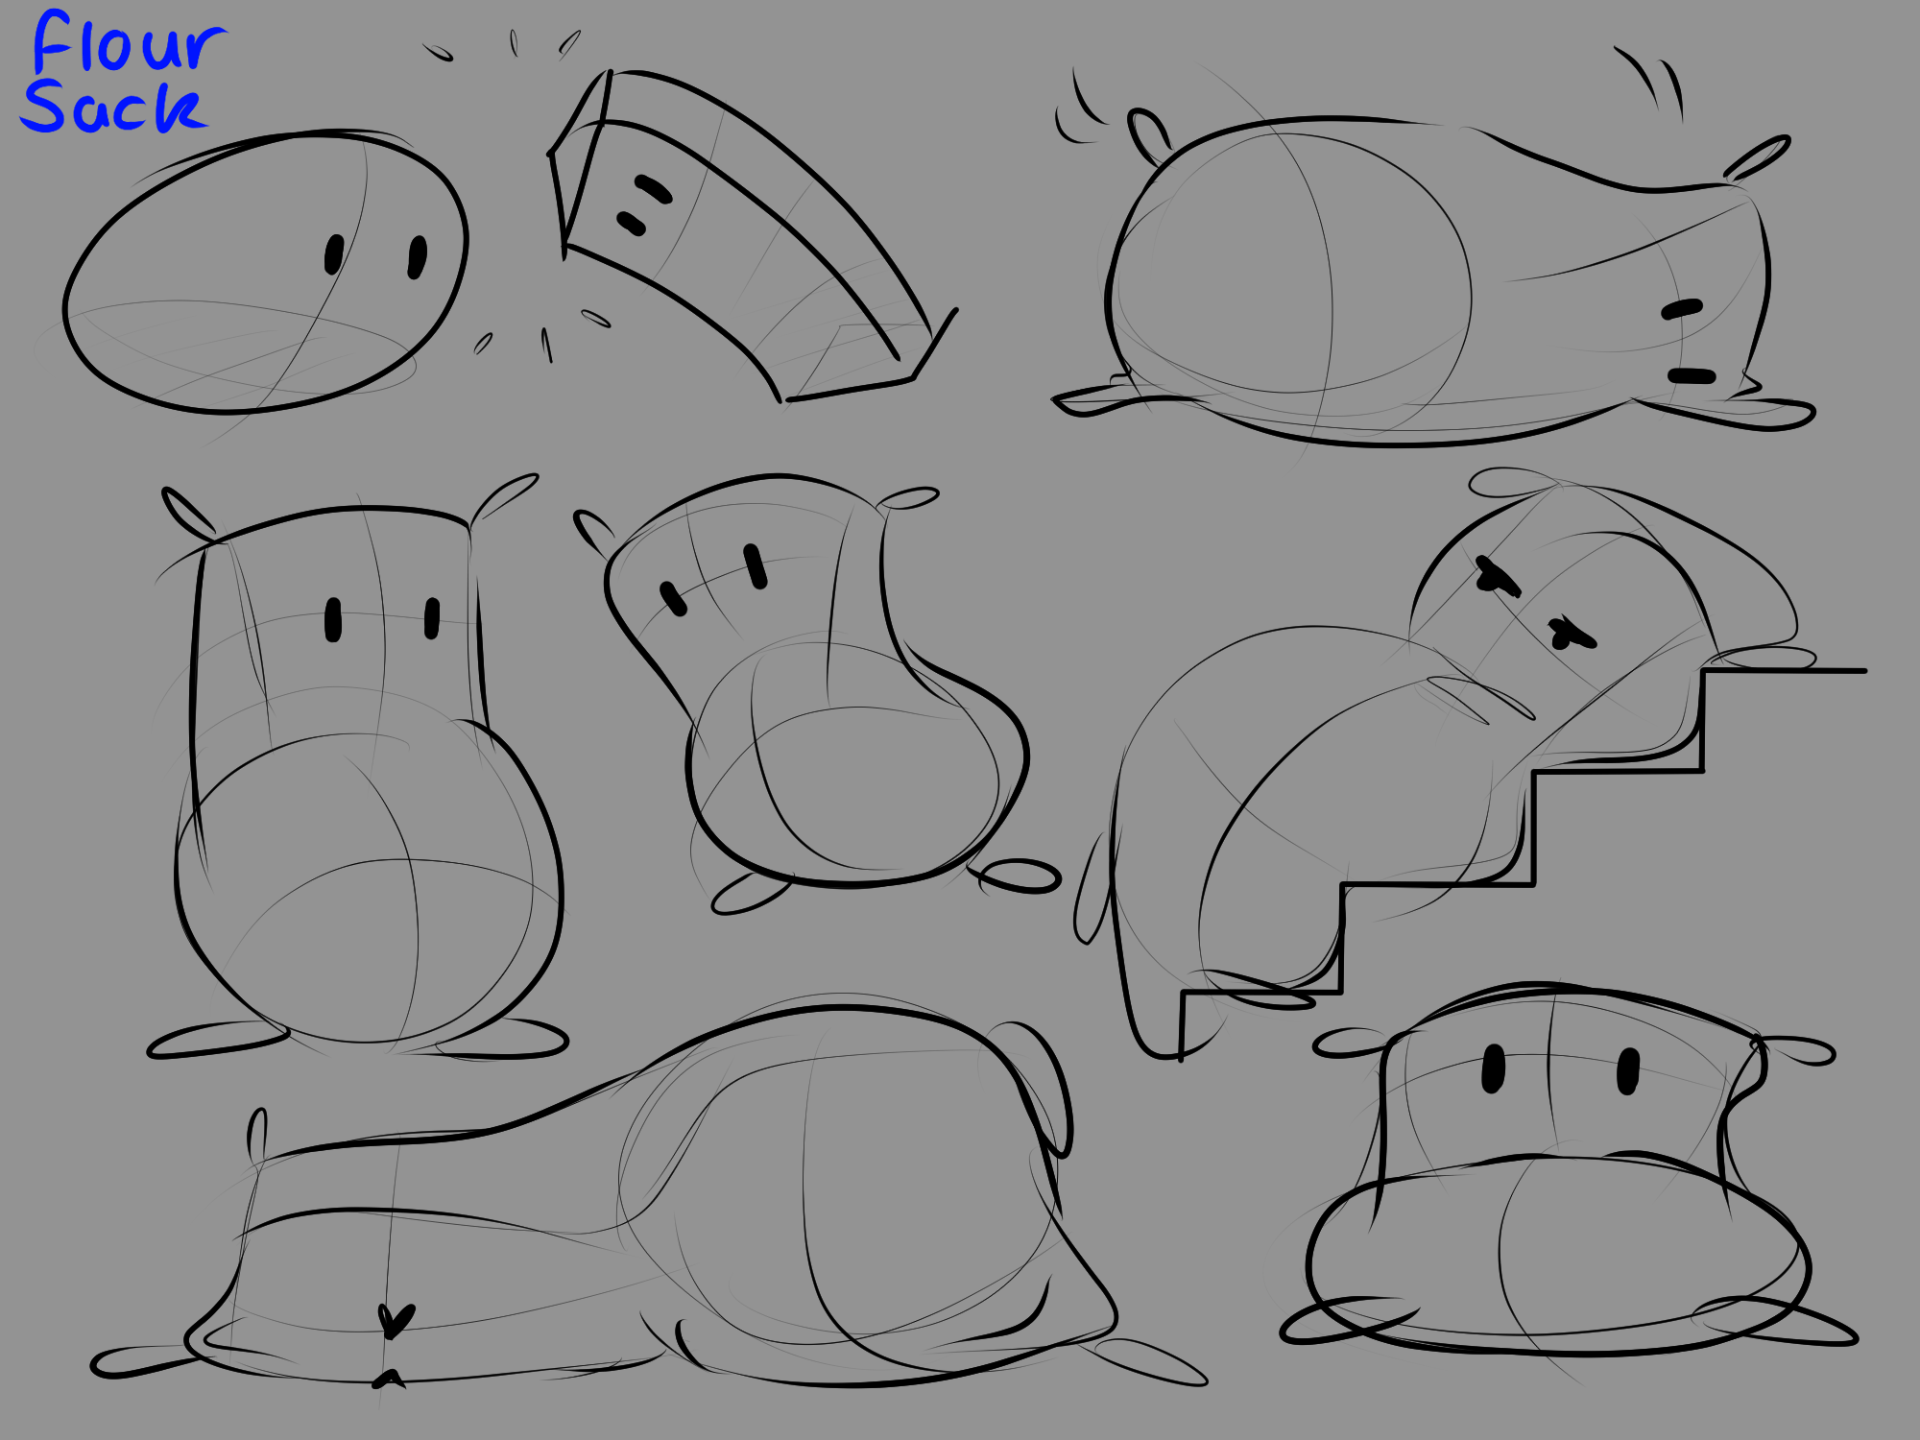
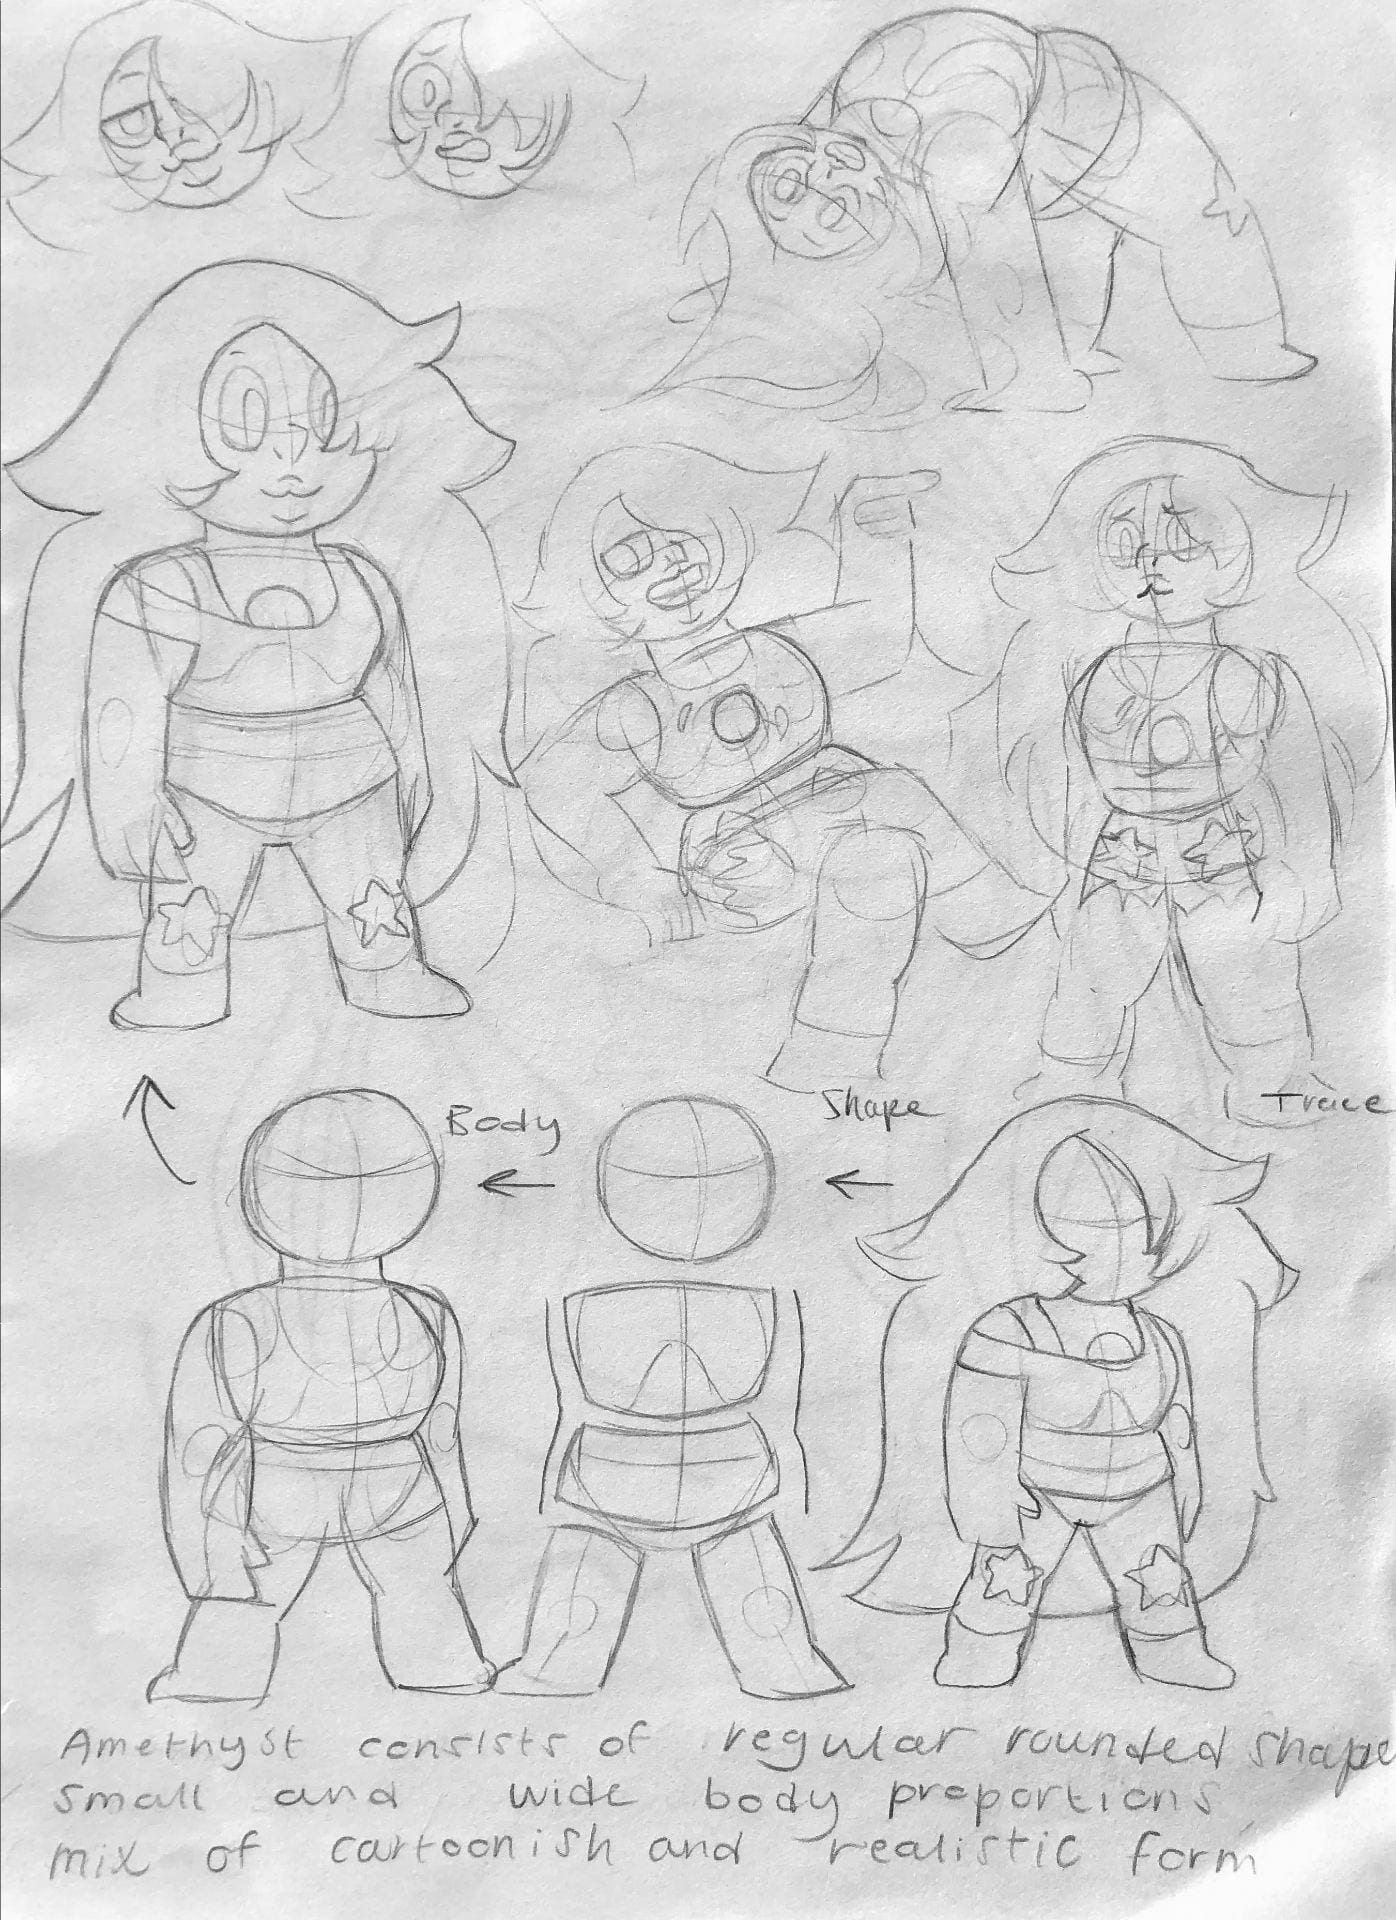
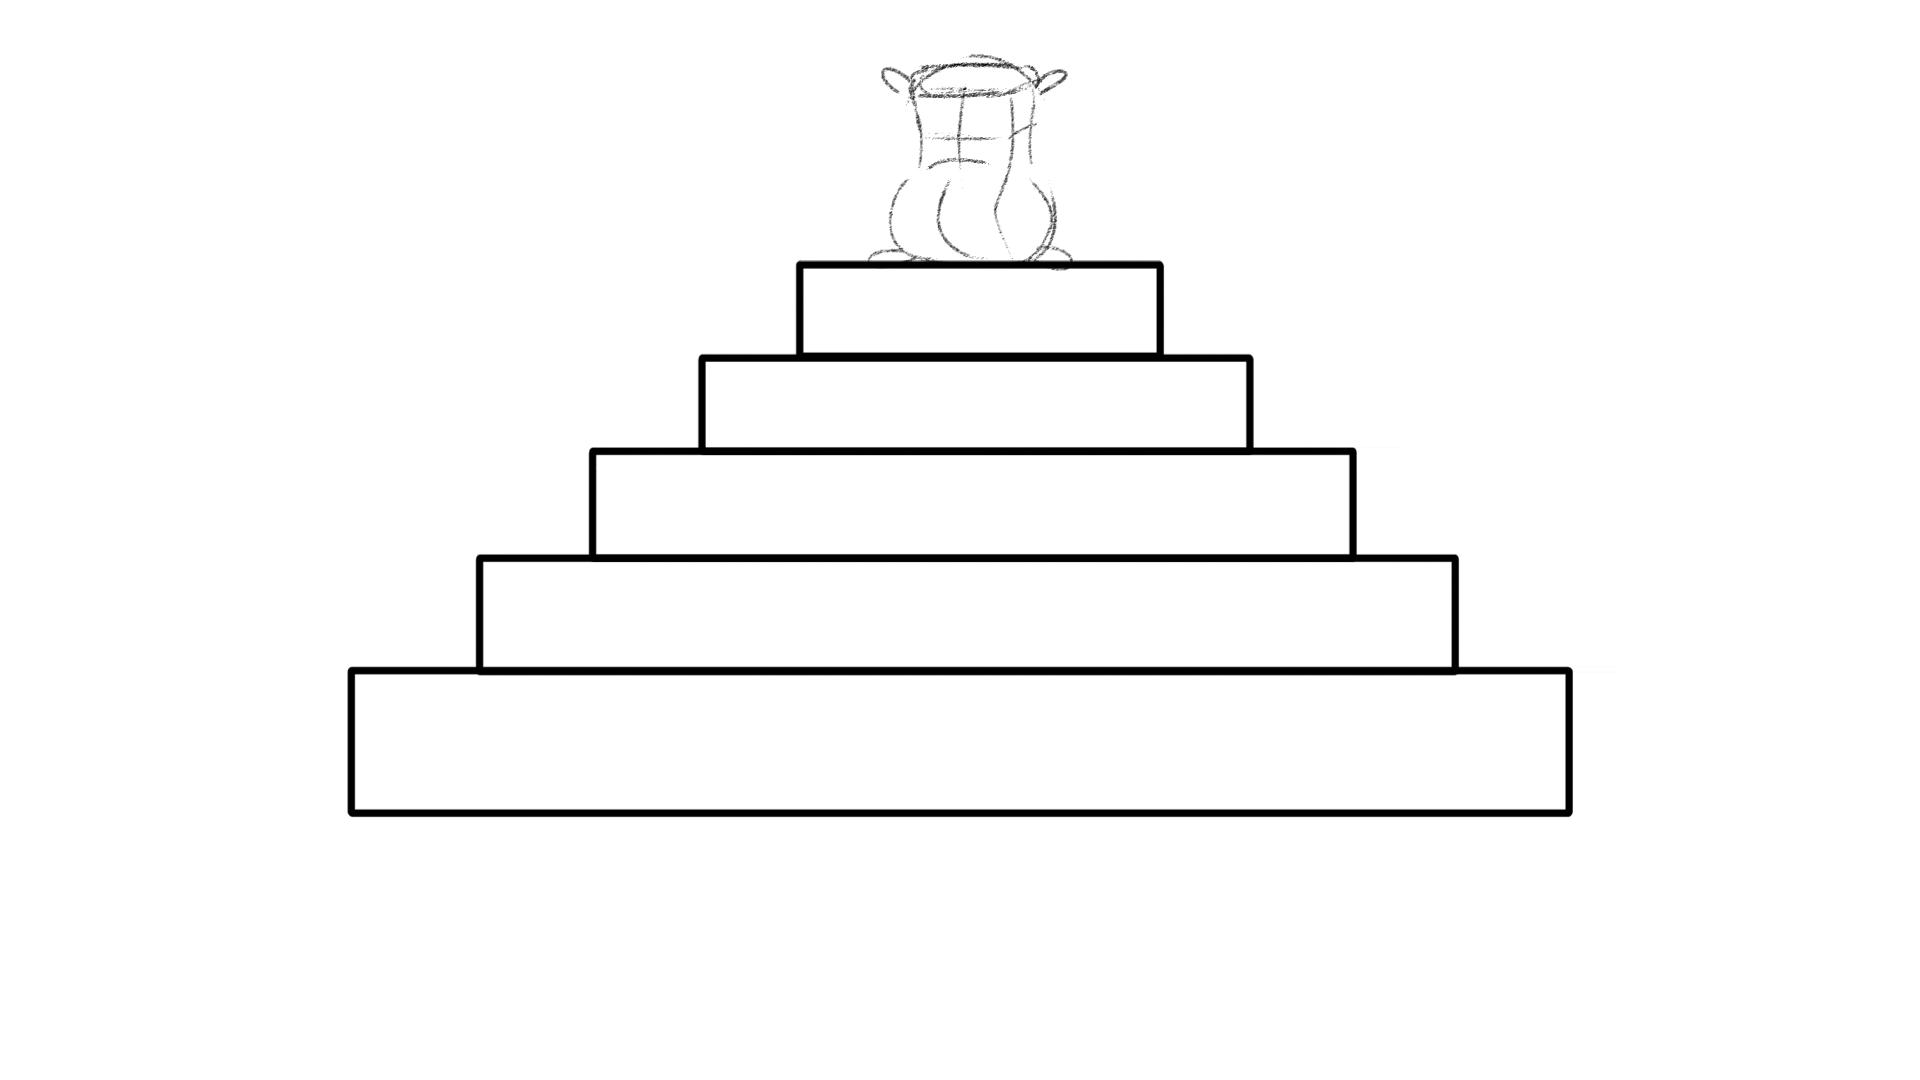
Form and shape: Form and shape was the first topic we learnt. We practiced our drawing skills by drawing lines, circles and shapes. We drew in constructive lines in these shapes. This allowed for clear interpretation of the object. we experimented with this by drawing a flour sacks form. Form and shape was interesting as I have never properly studied it before. I feel I did well capturing the flour sack, but I need more practice with coming up with my own shape and form and making it work. In the future, this will help how I structure my drawings.


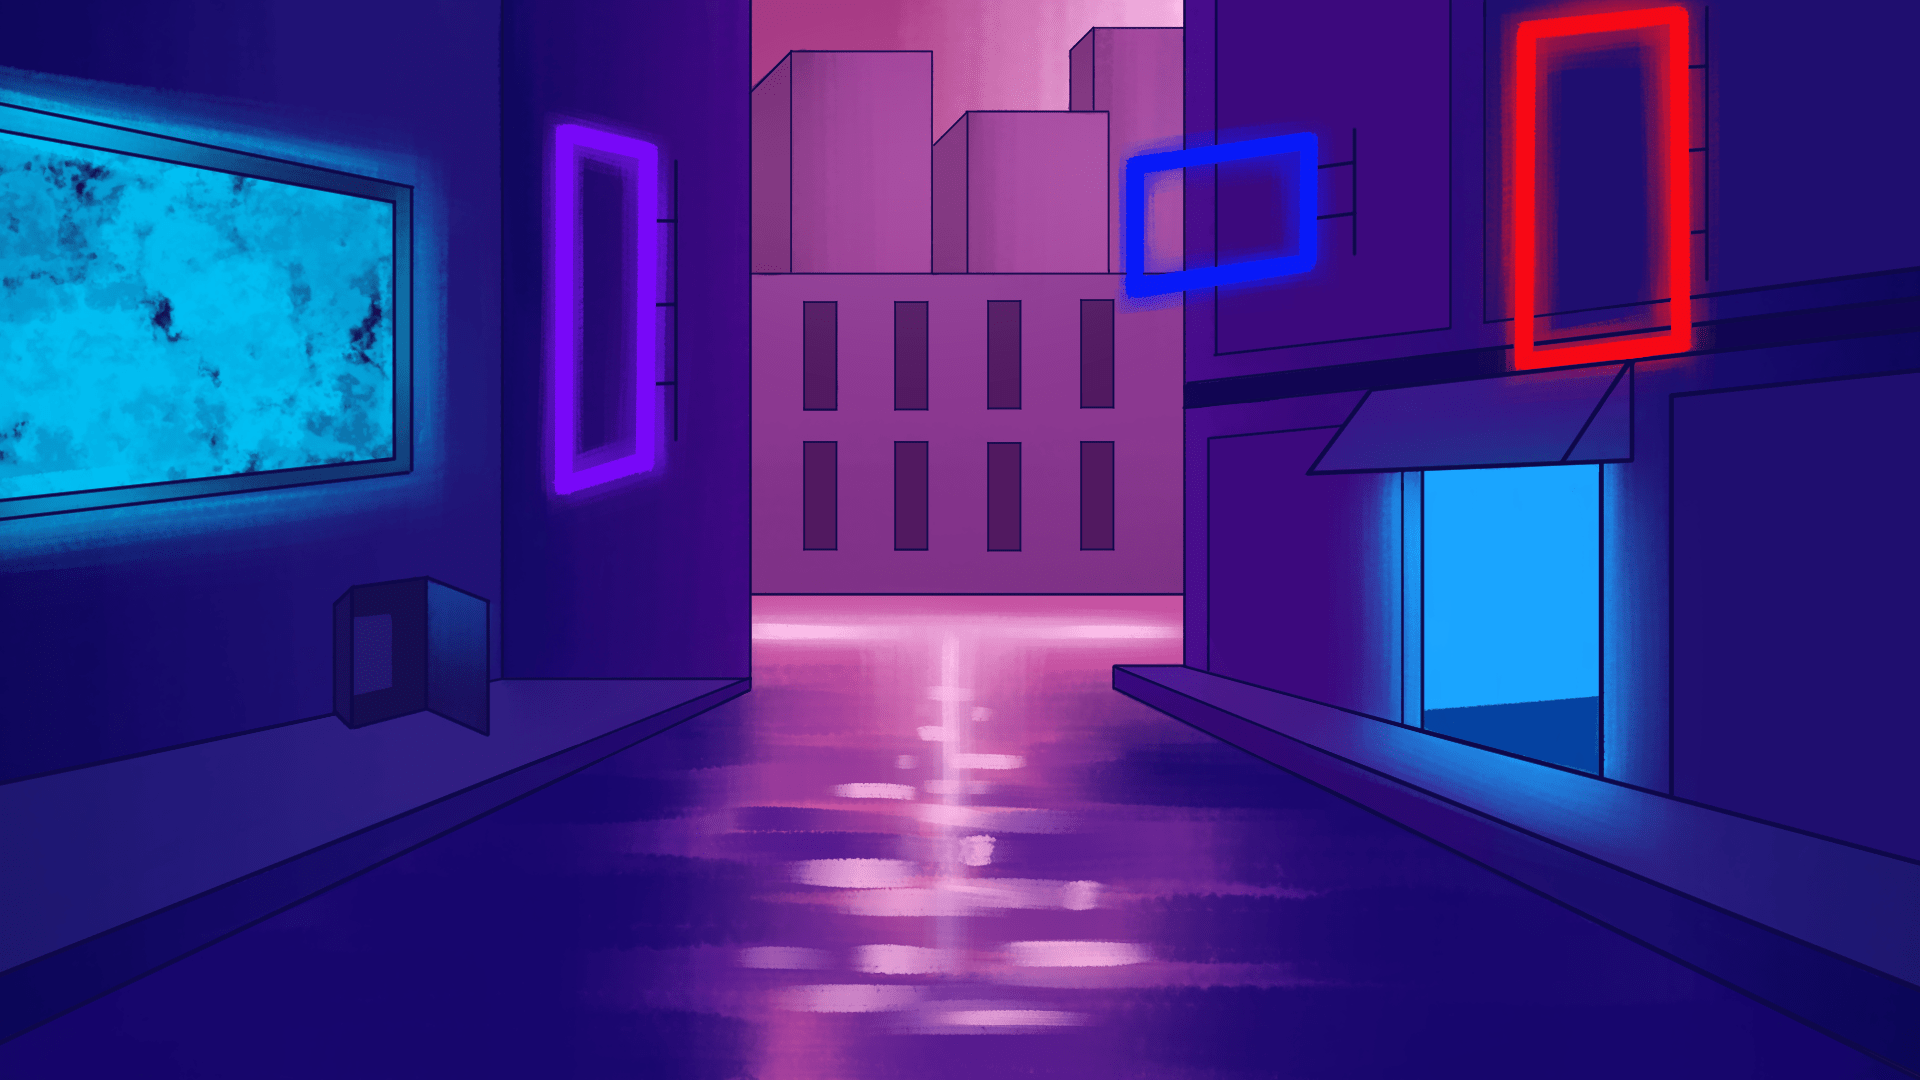
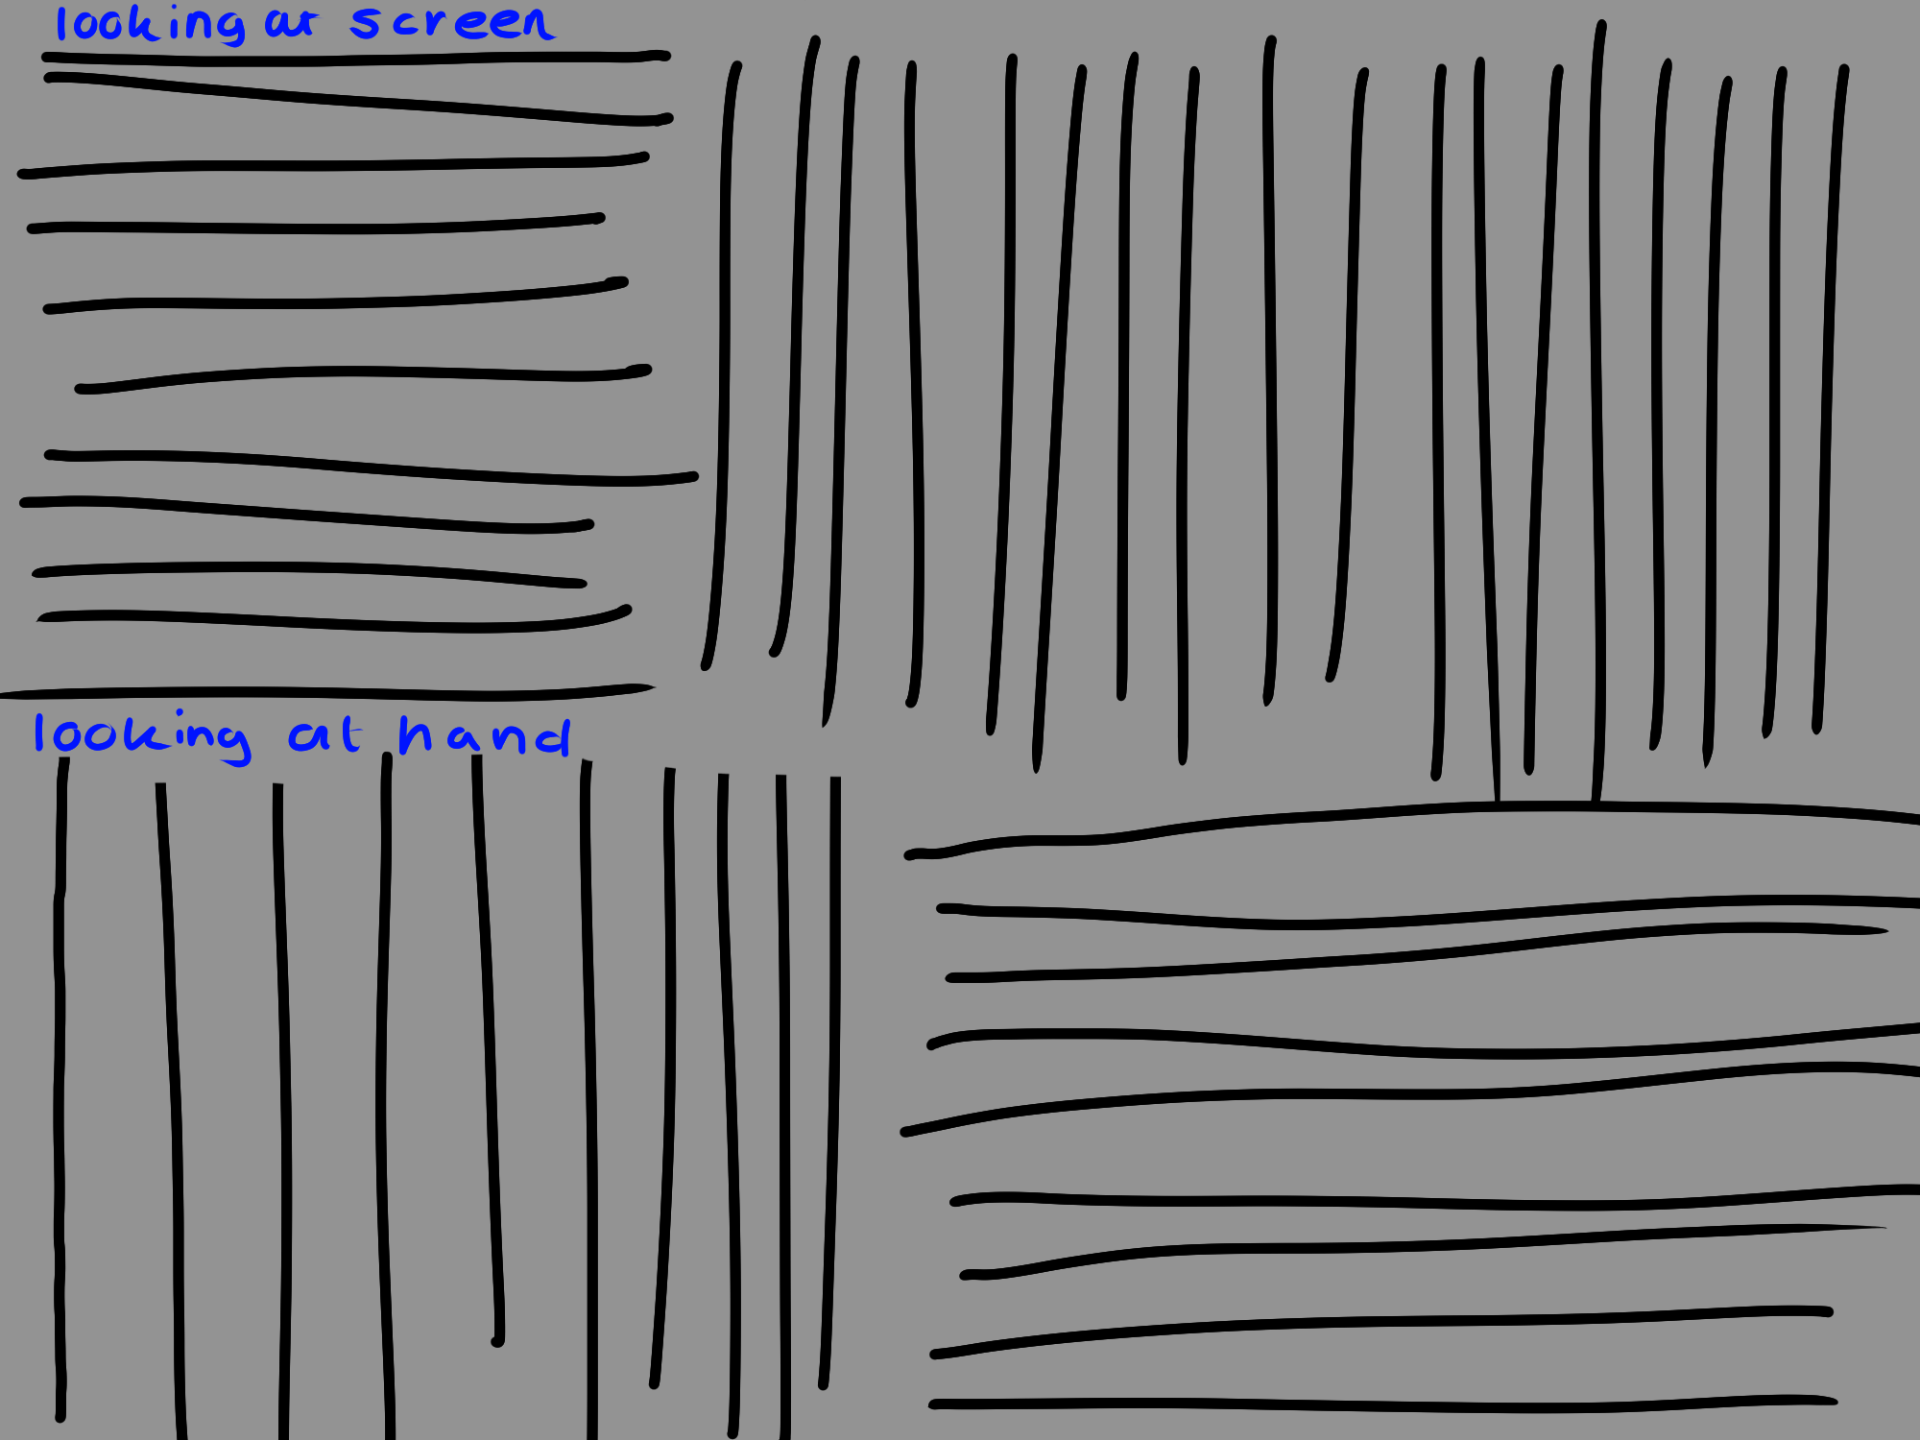
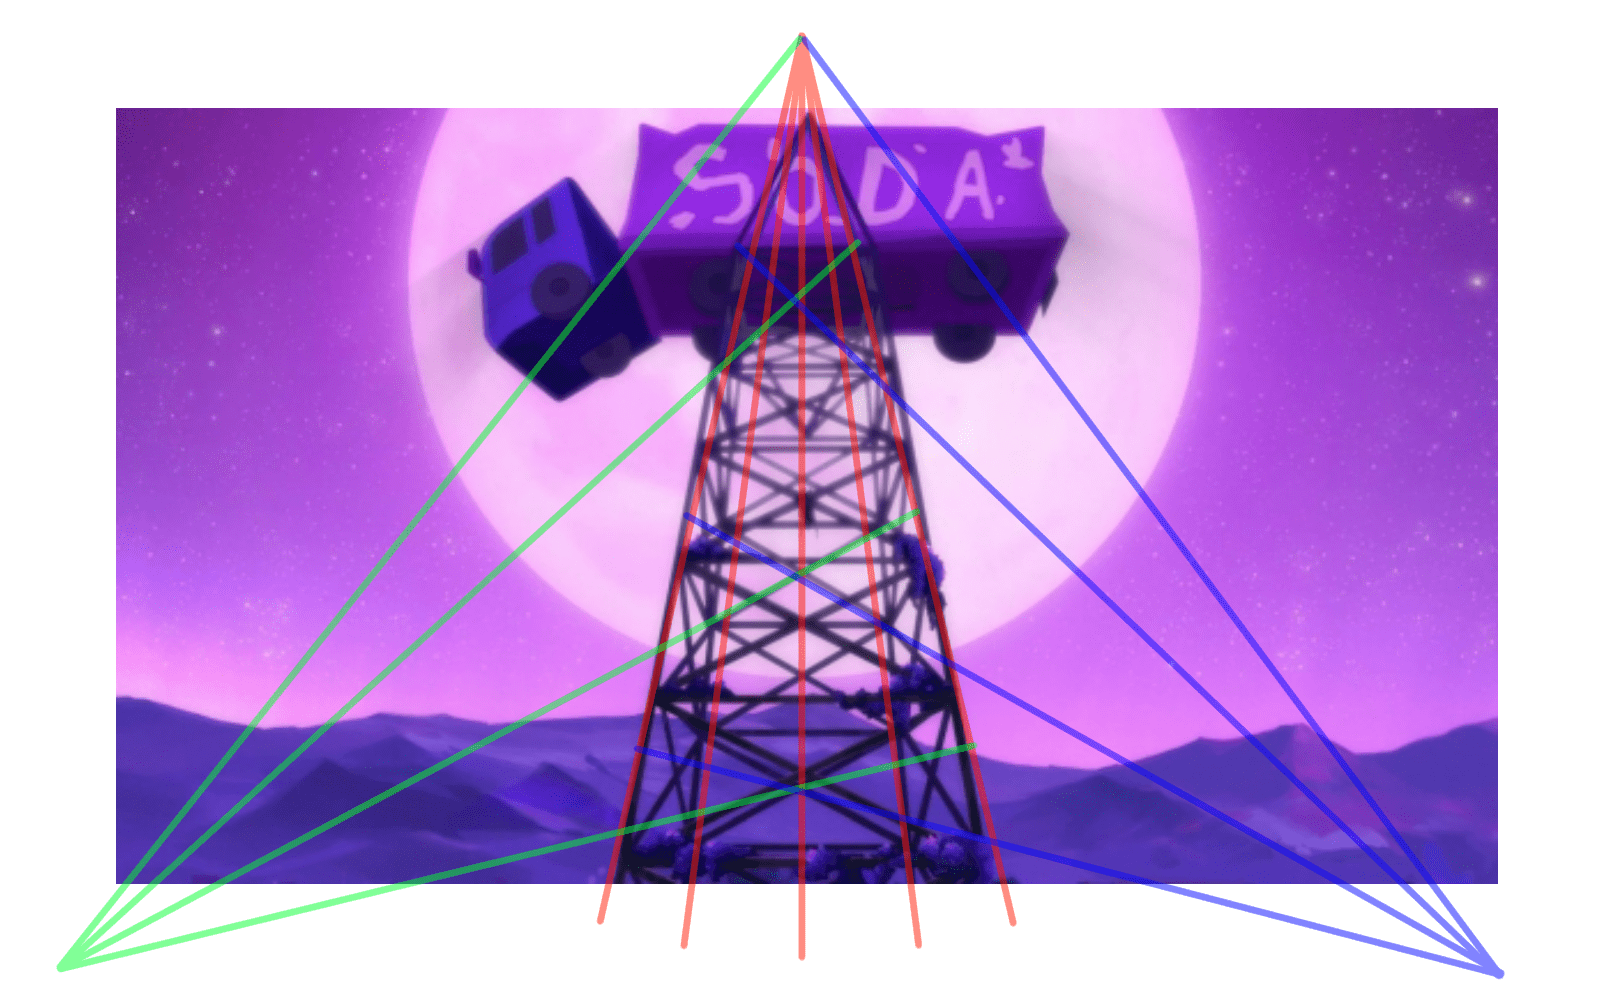
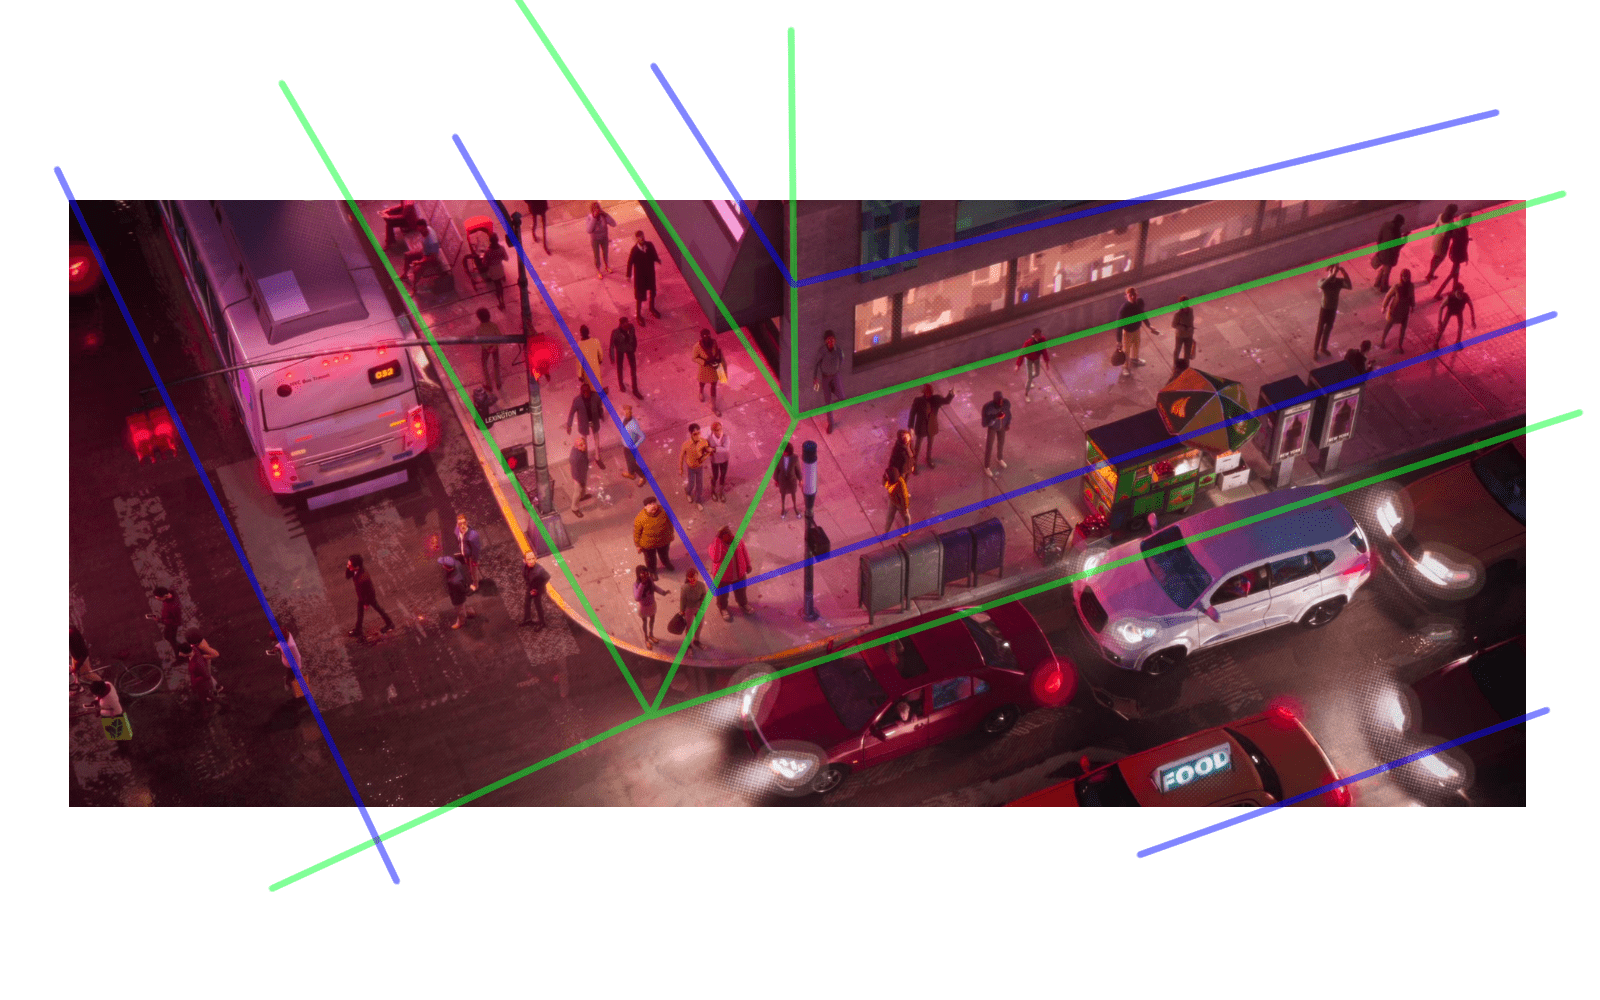
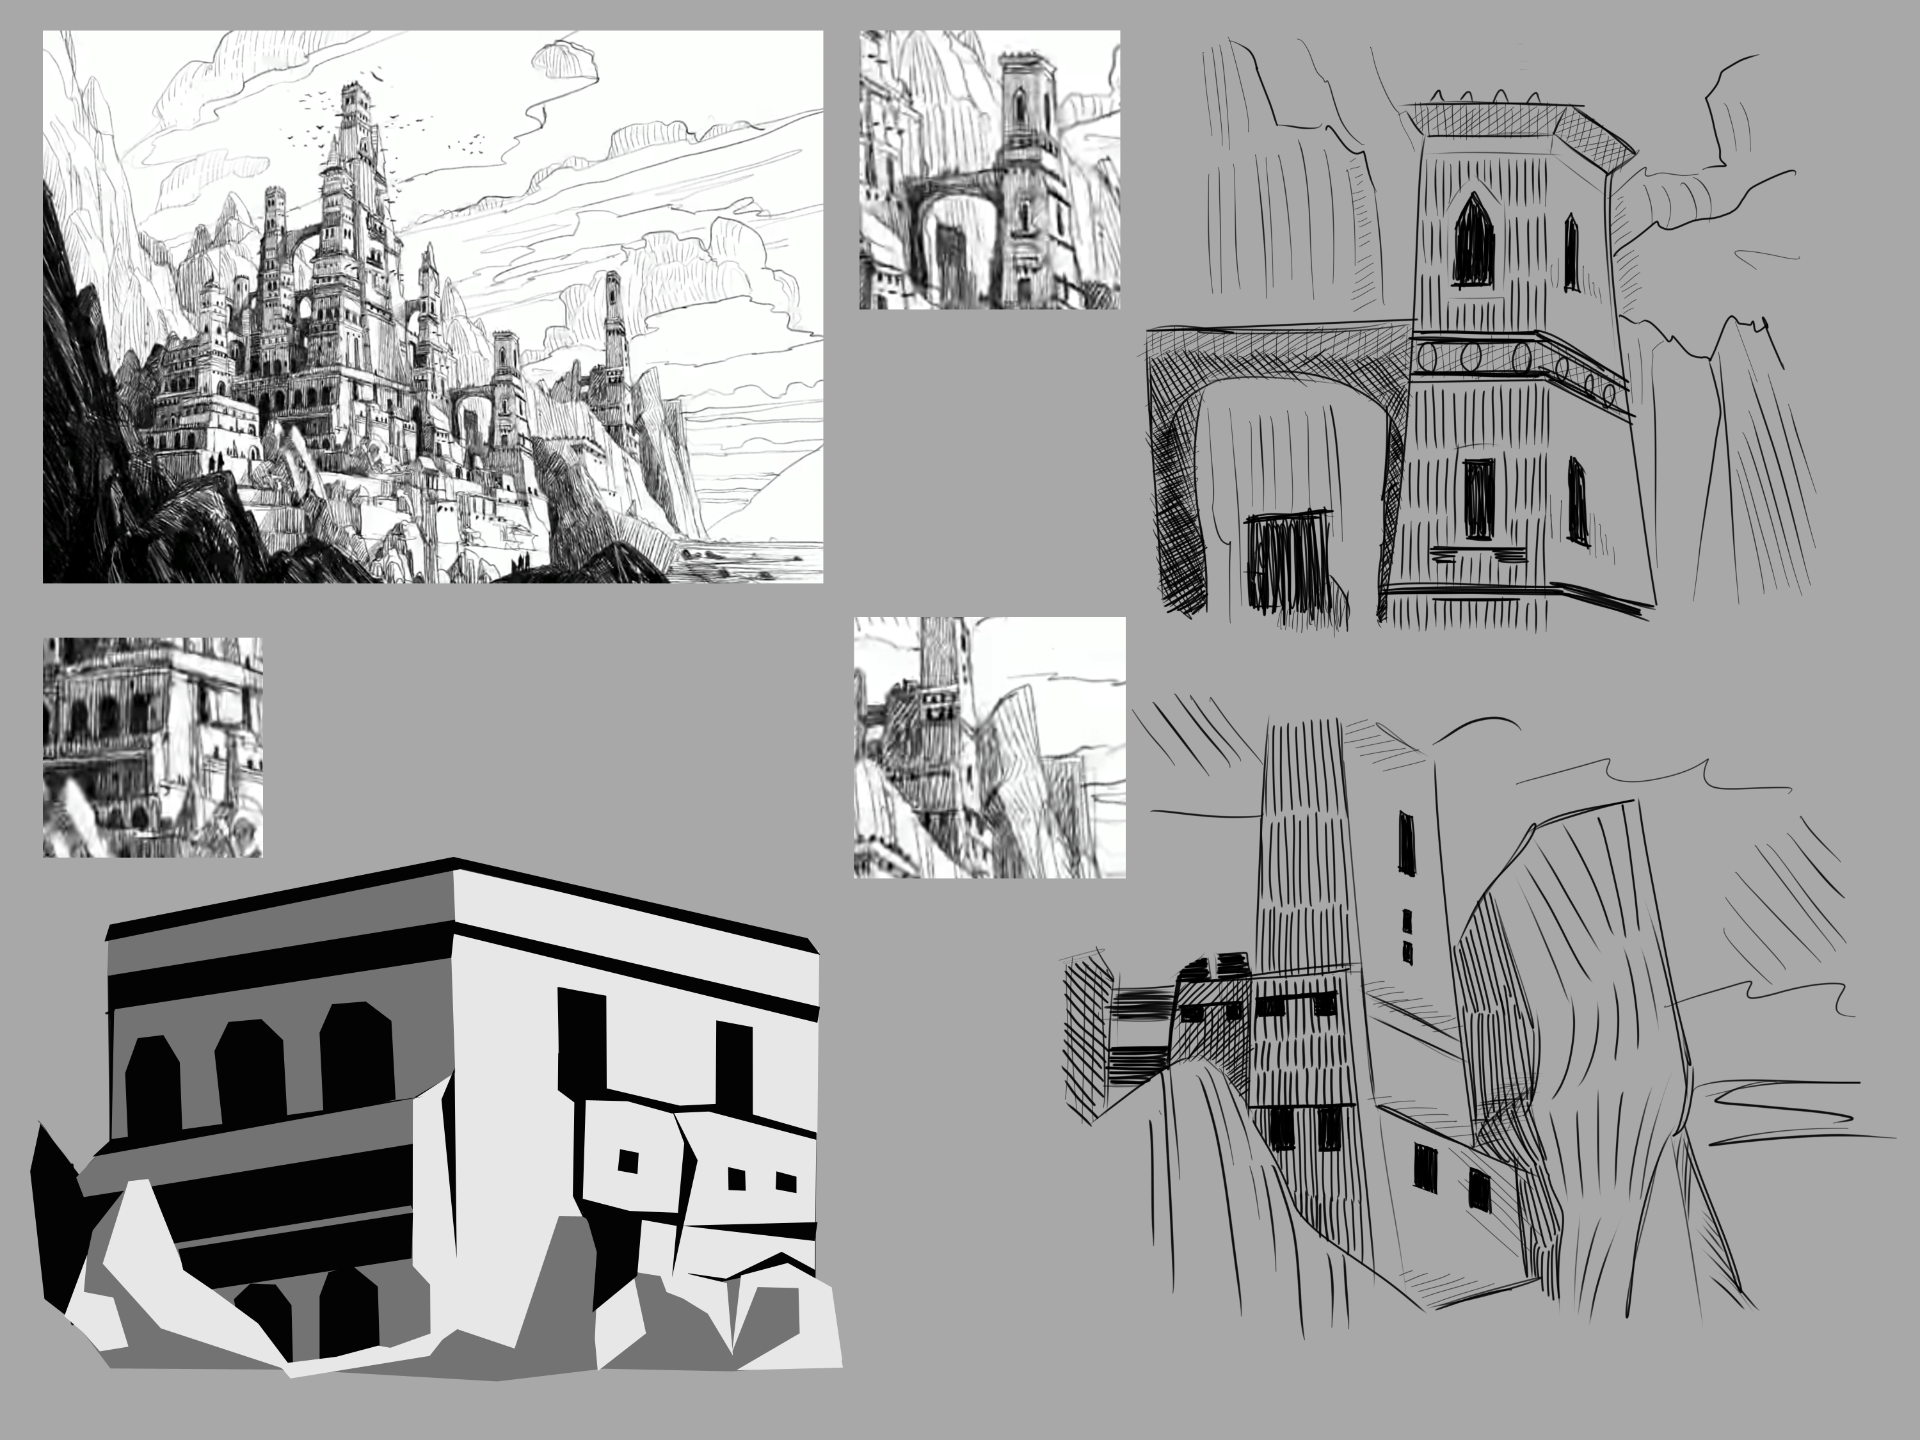
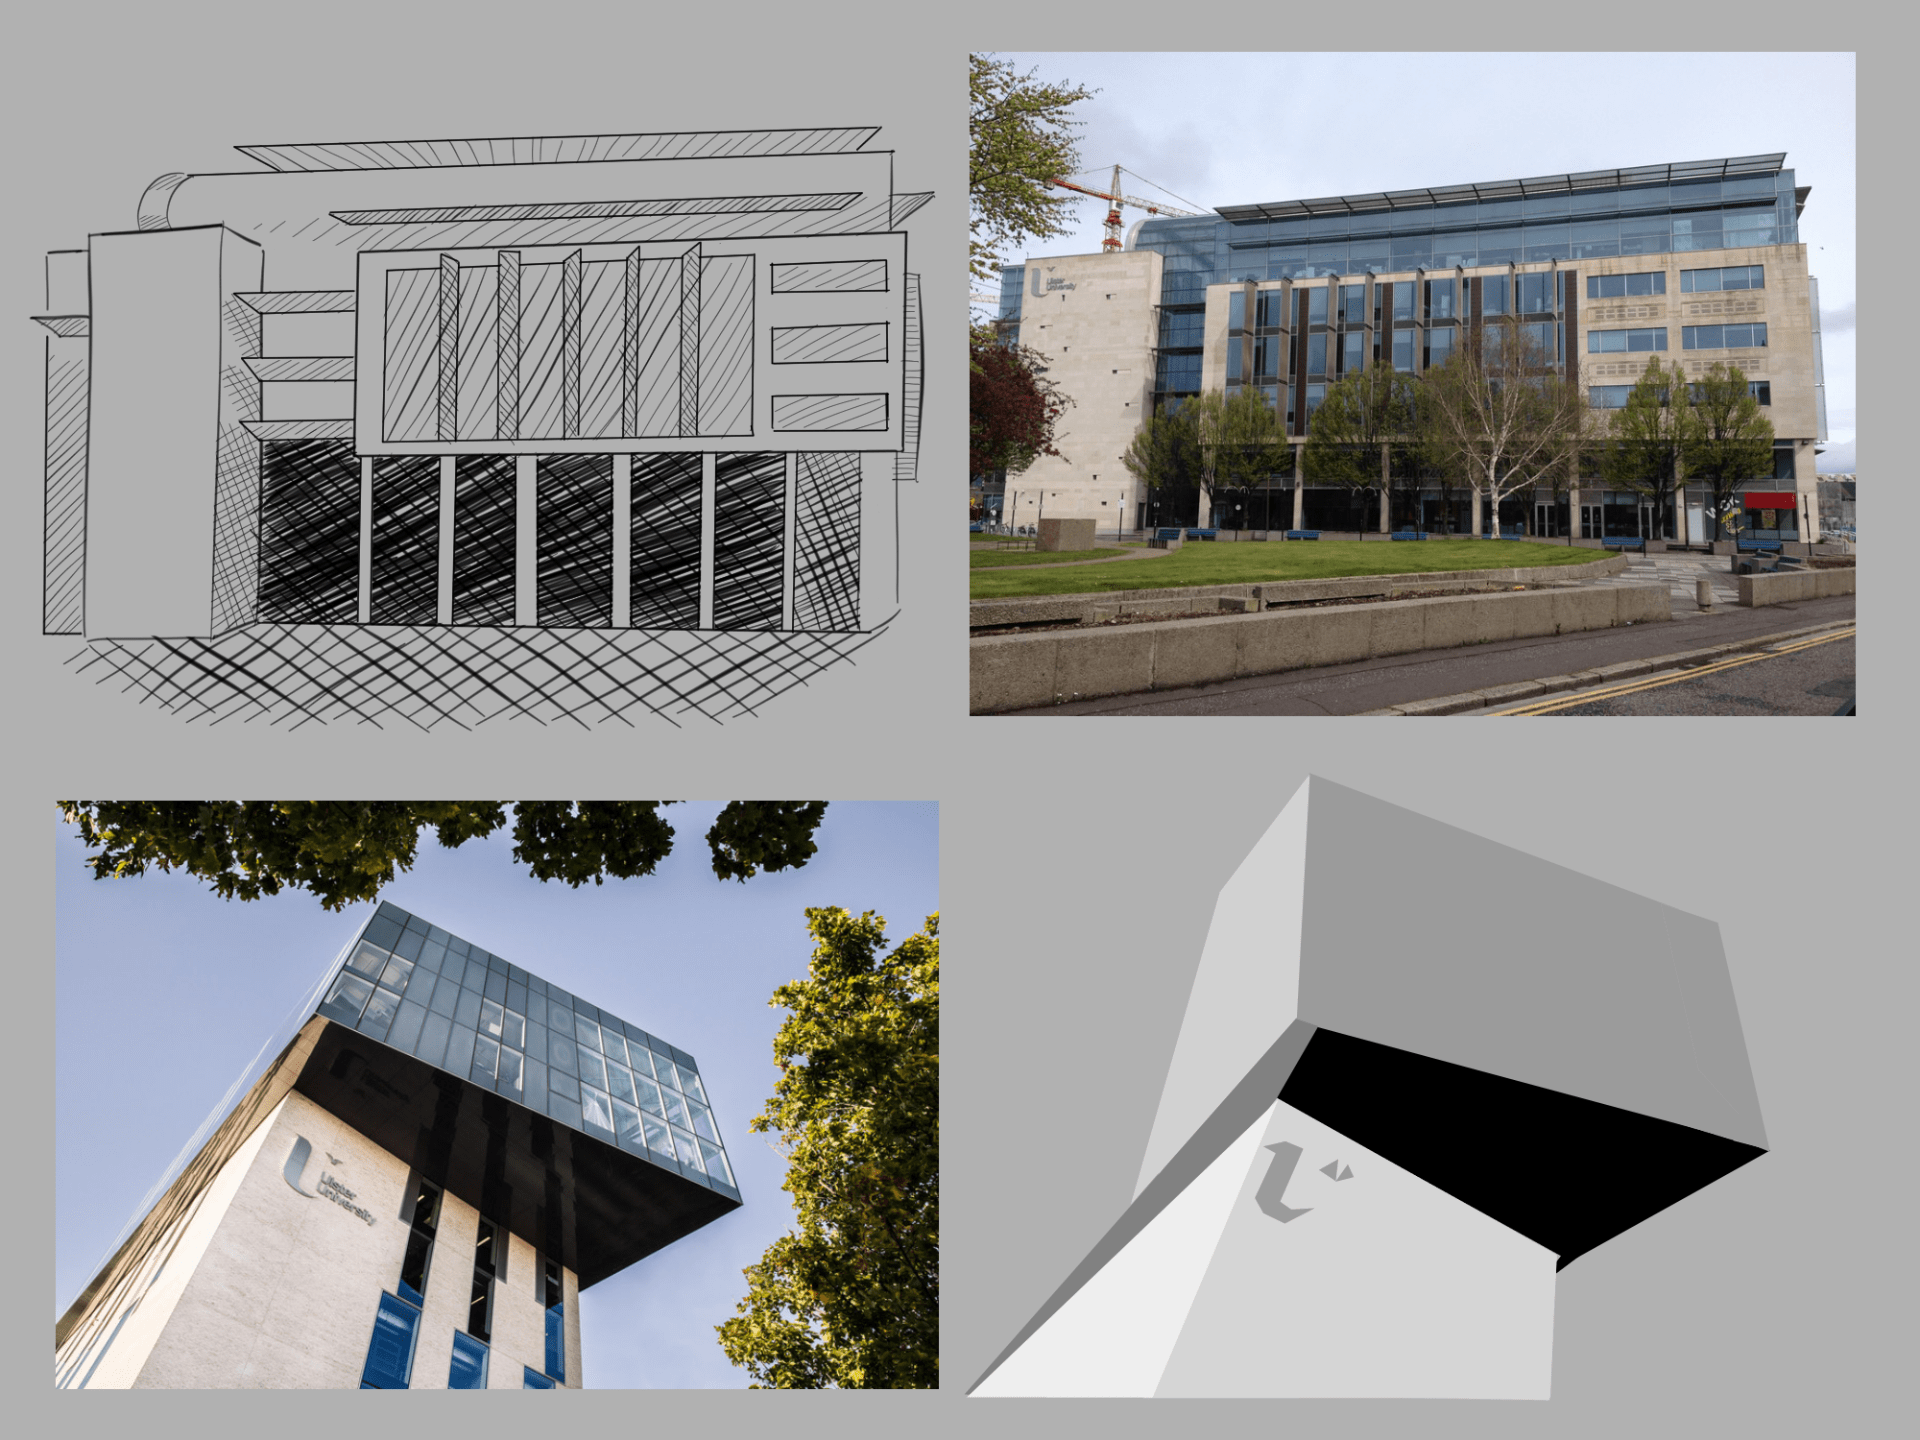
Composition and Perspective: Composition and perspective was the next topic we learnt. We studied how composition is in everything we see, so we took pictures of things around us with clear composition and perspective forms. Then we took screenshots from three animated shots and found their perspectives in either one, two or three point perspective lines. Composition and perspective has always difficult for me to figure out even during this lesson. I liked finding the perspectives in animated shots but was struggling in making my own perspective from a drawing. In the future, this will help me create a composed environment or scene that is realistic.


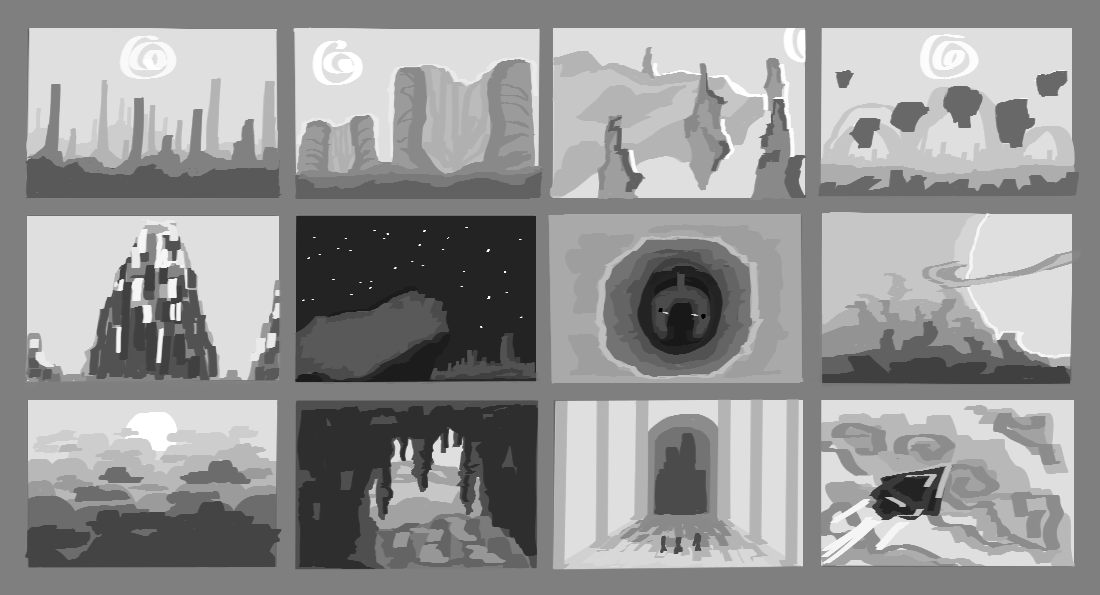
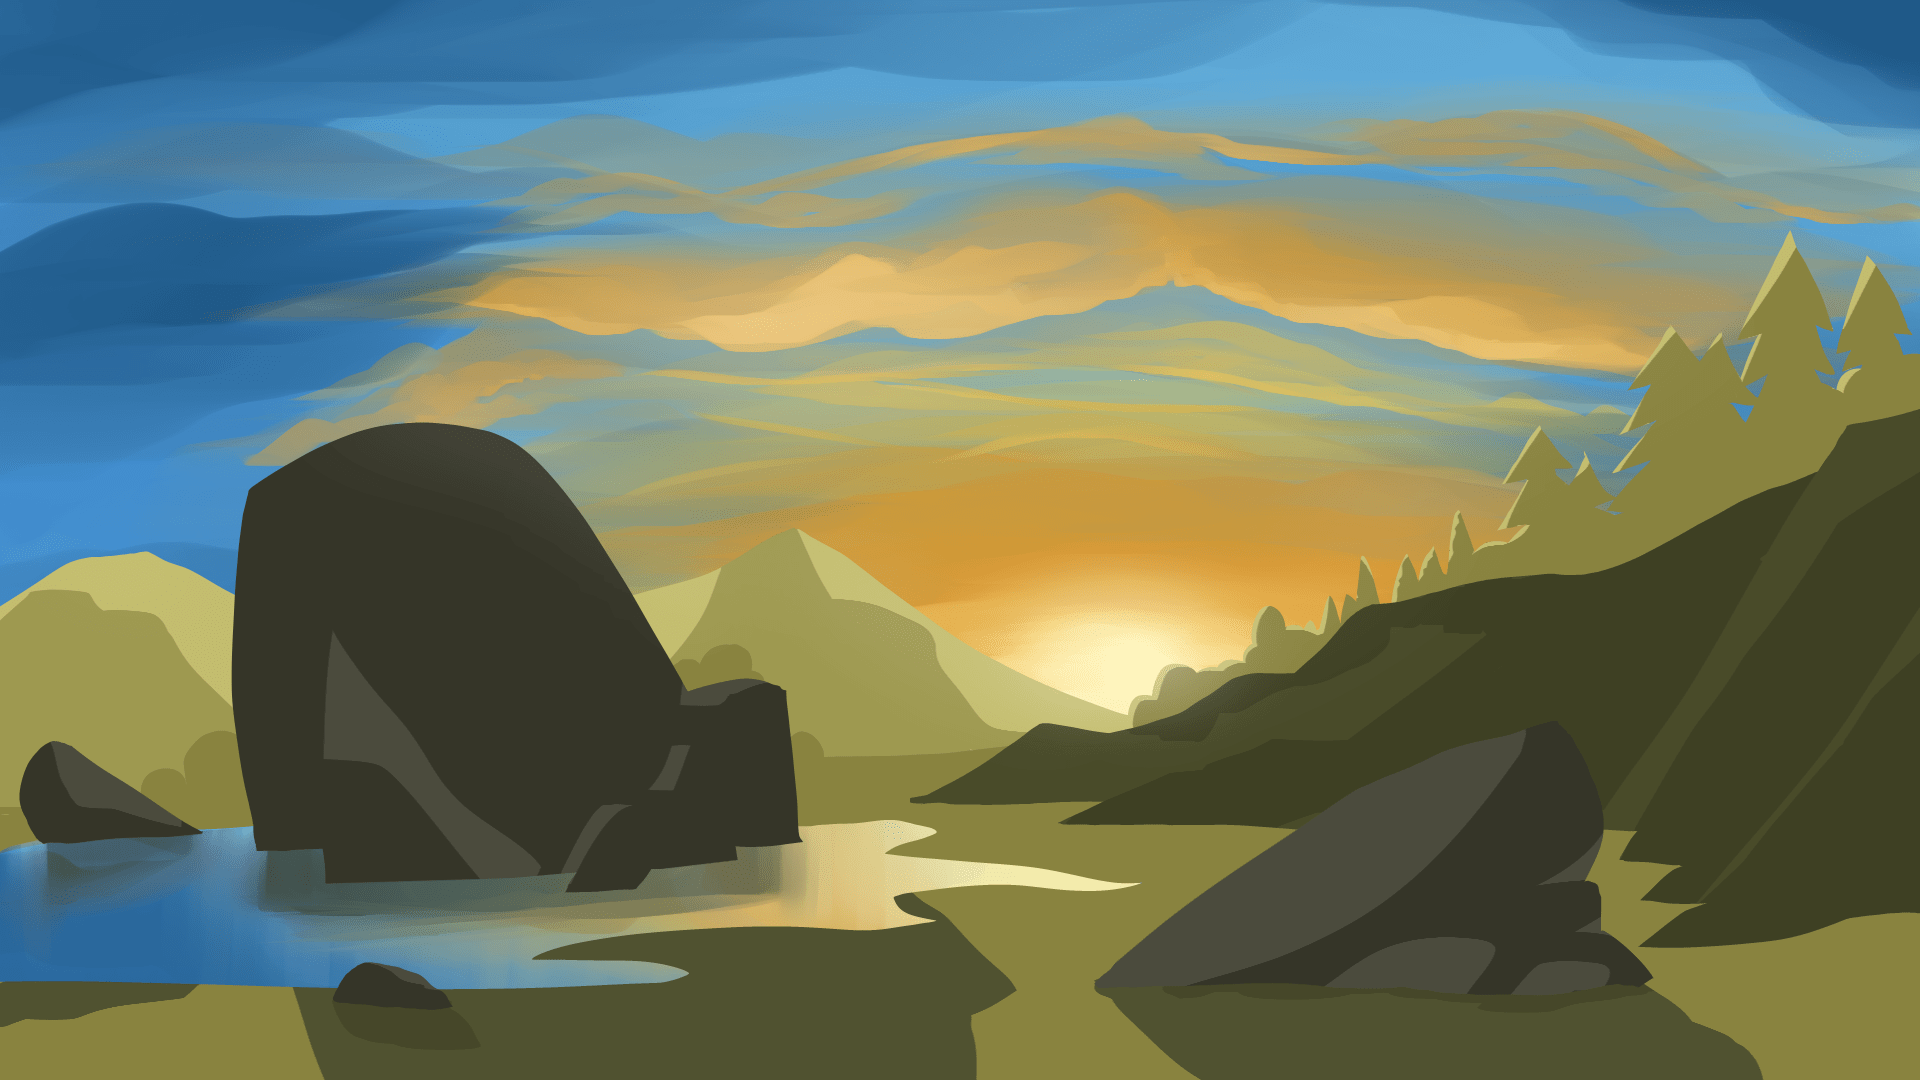
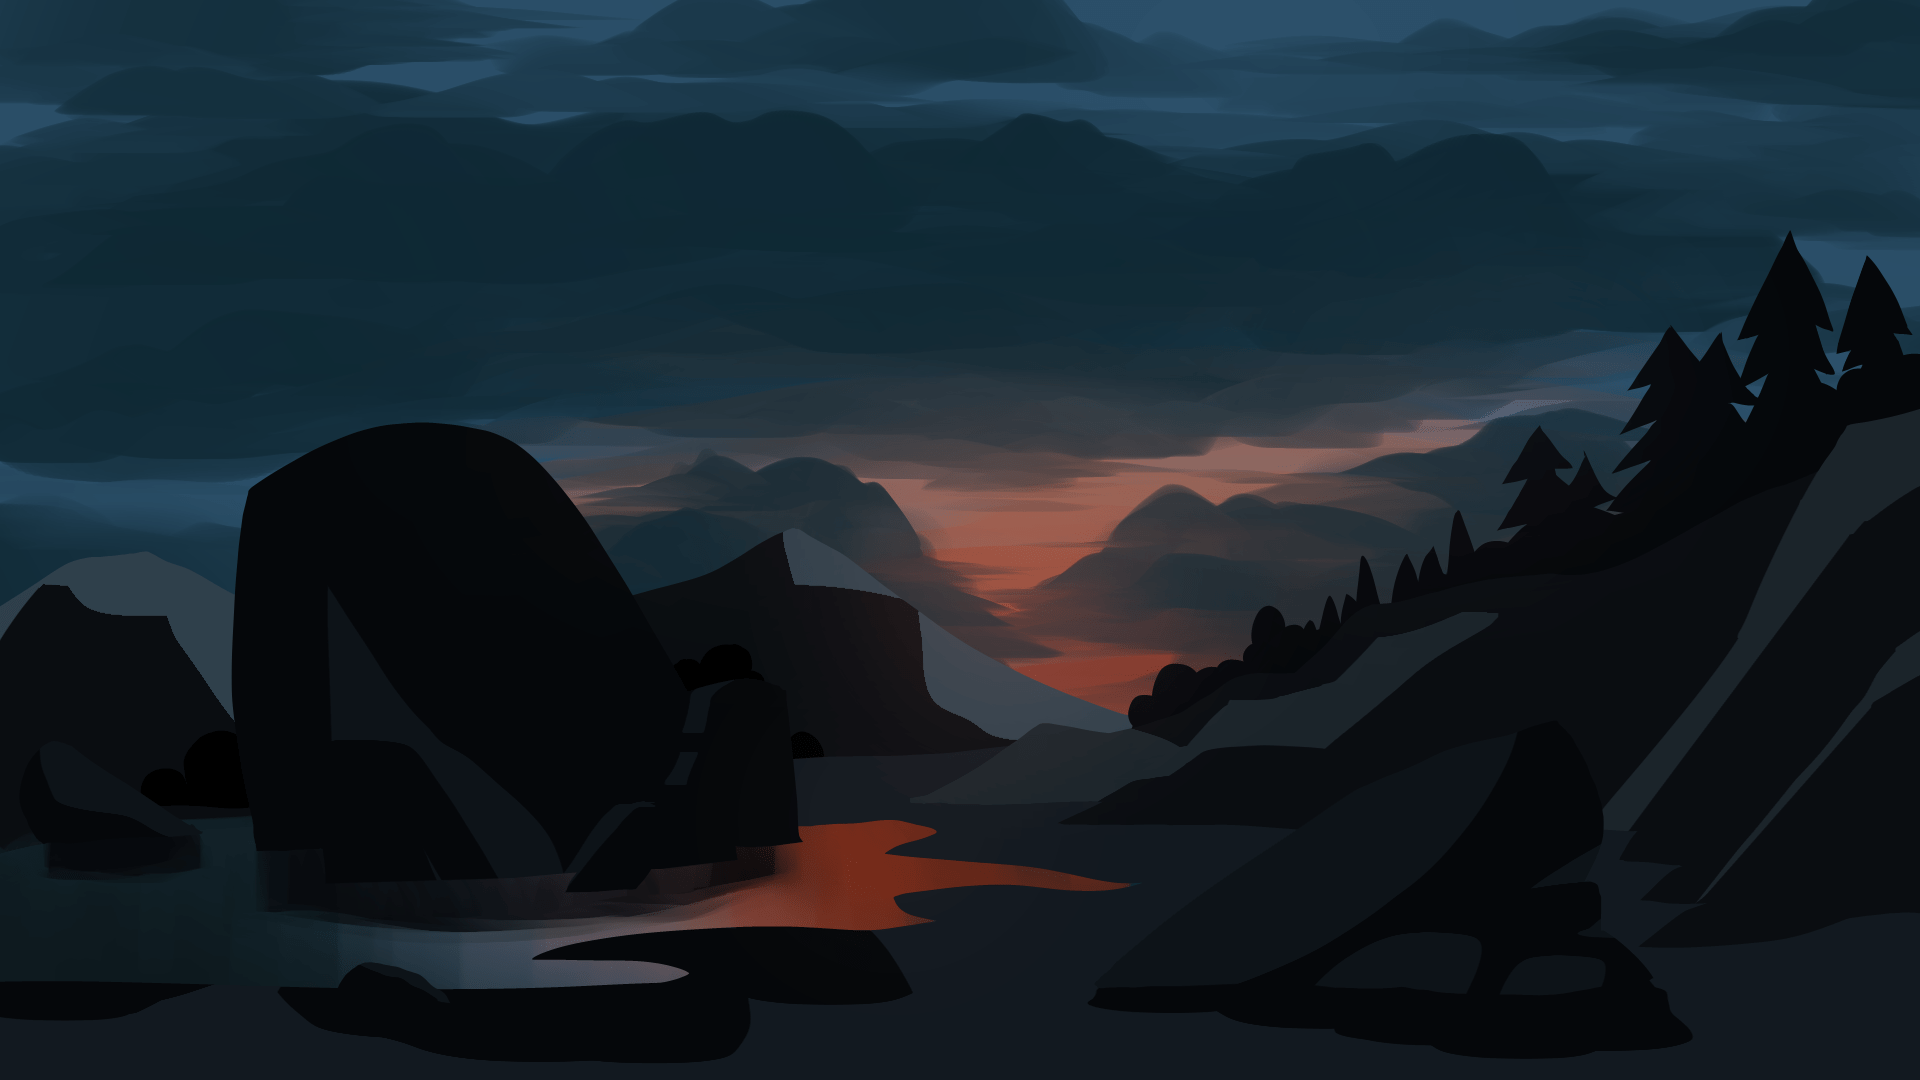
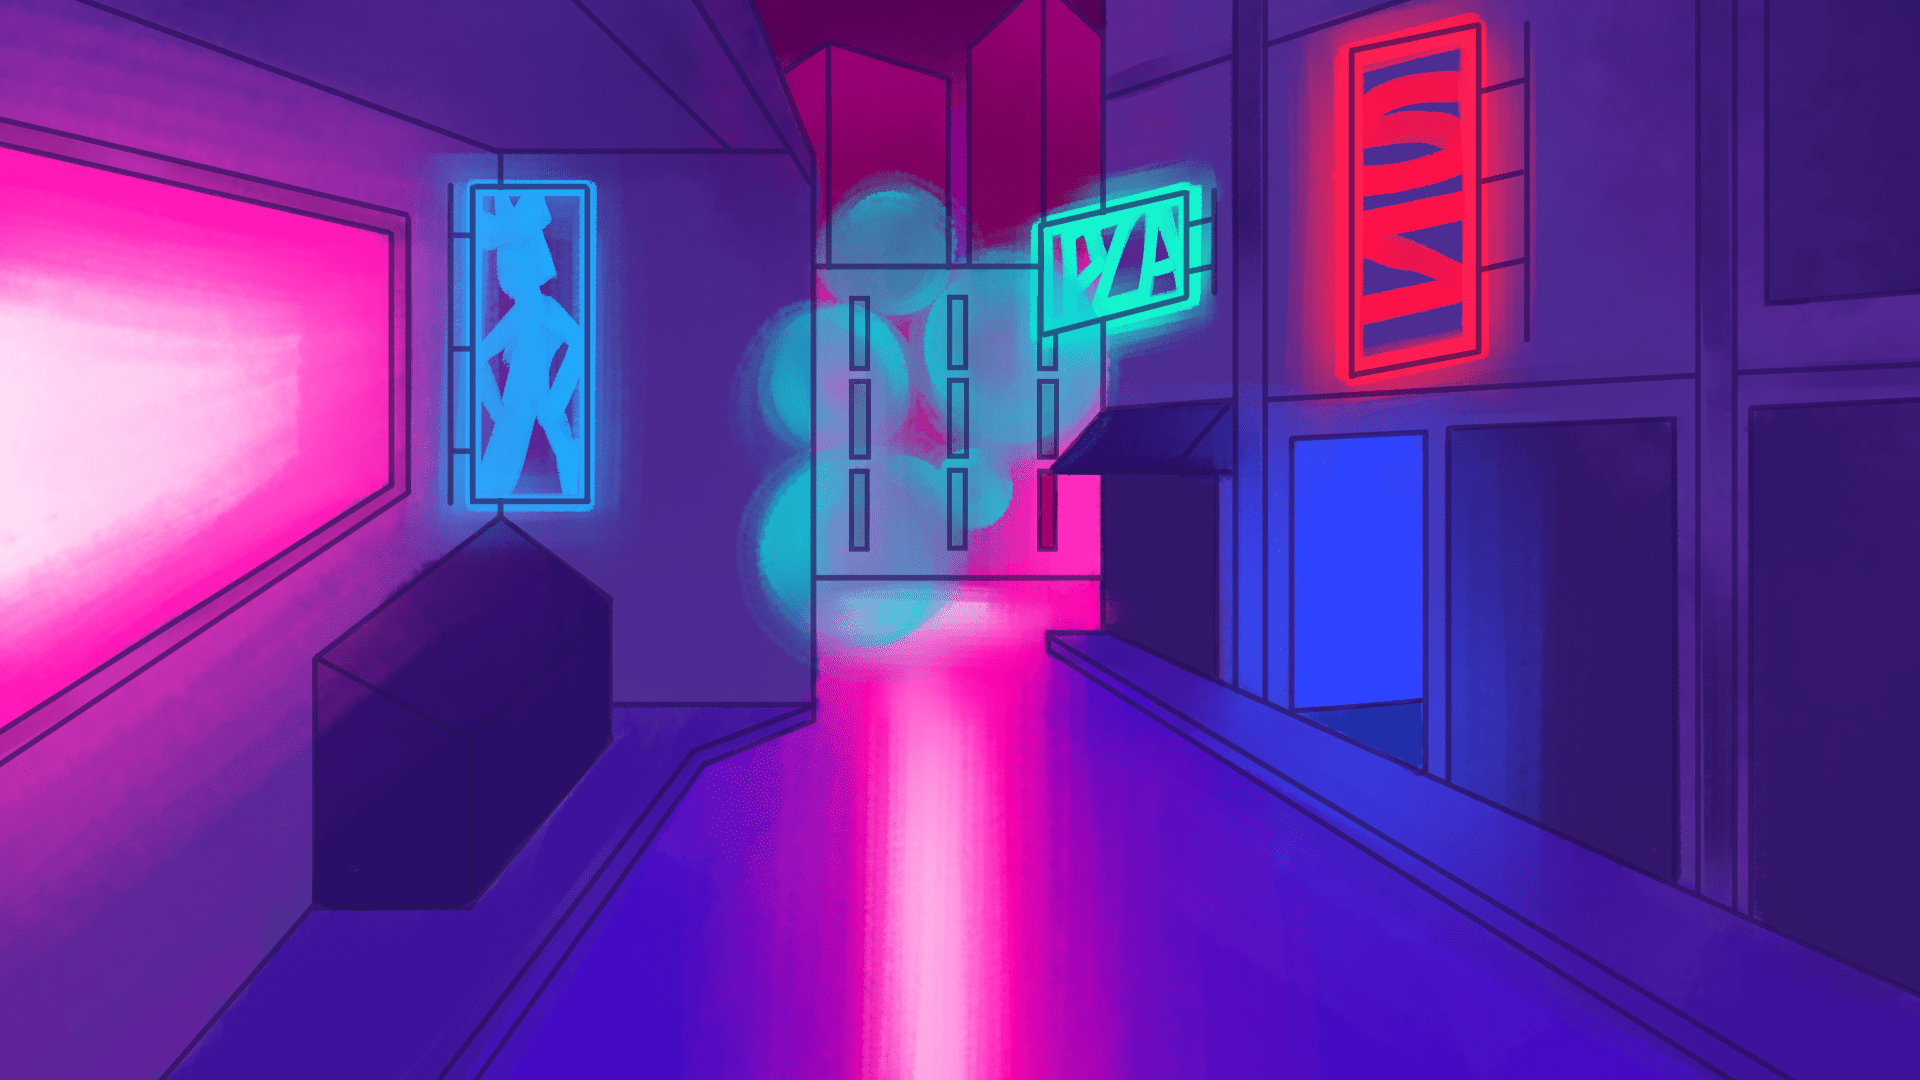
Tone and Value: Tone and value was the next topic we learnt. We experimented with the brightness and darkness captured in an element. We made multiple thumbnails of environments implementing the fundamentals; depth, range and texture. Tone and value was quite fun to work on and I enjoyed doing the environmental thumbnails, but I sometimes have trouble with capturing two different elements together that have the same tone. In the future, this will help me with capturing the right light/dark forms in an element.


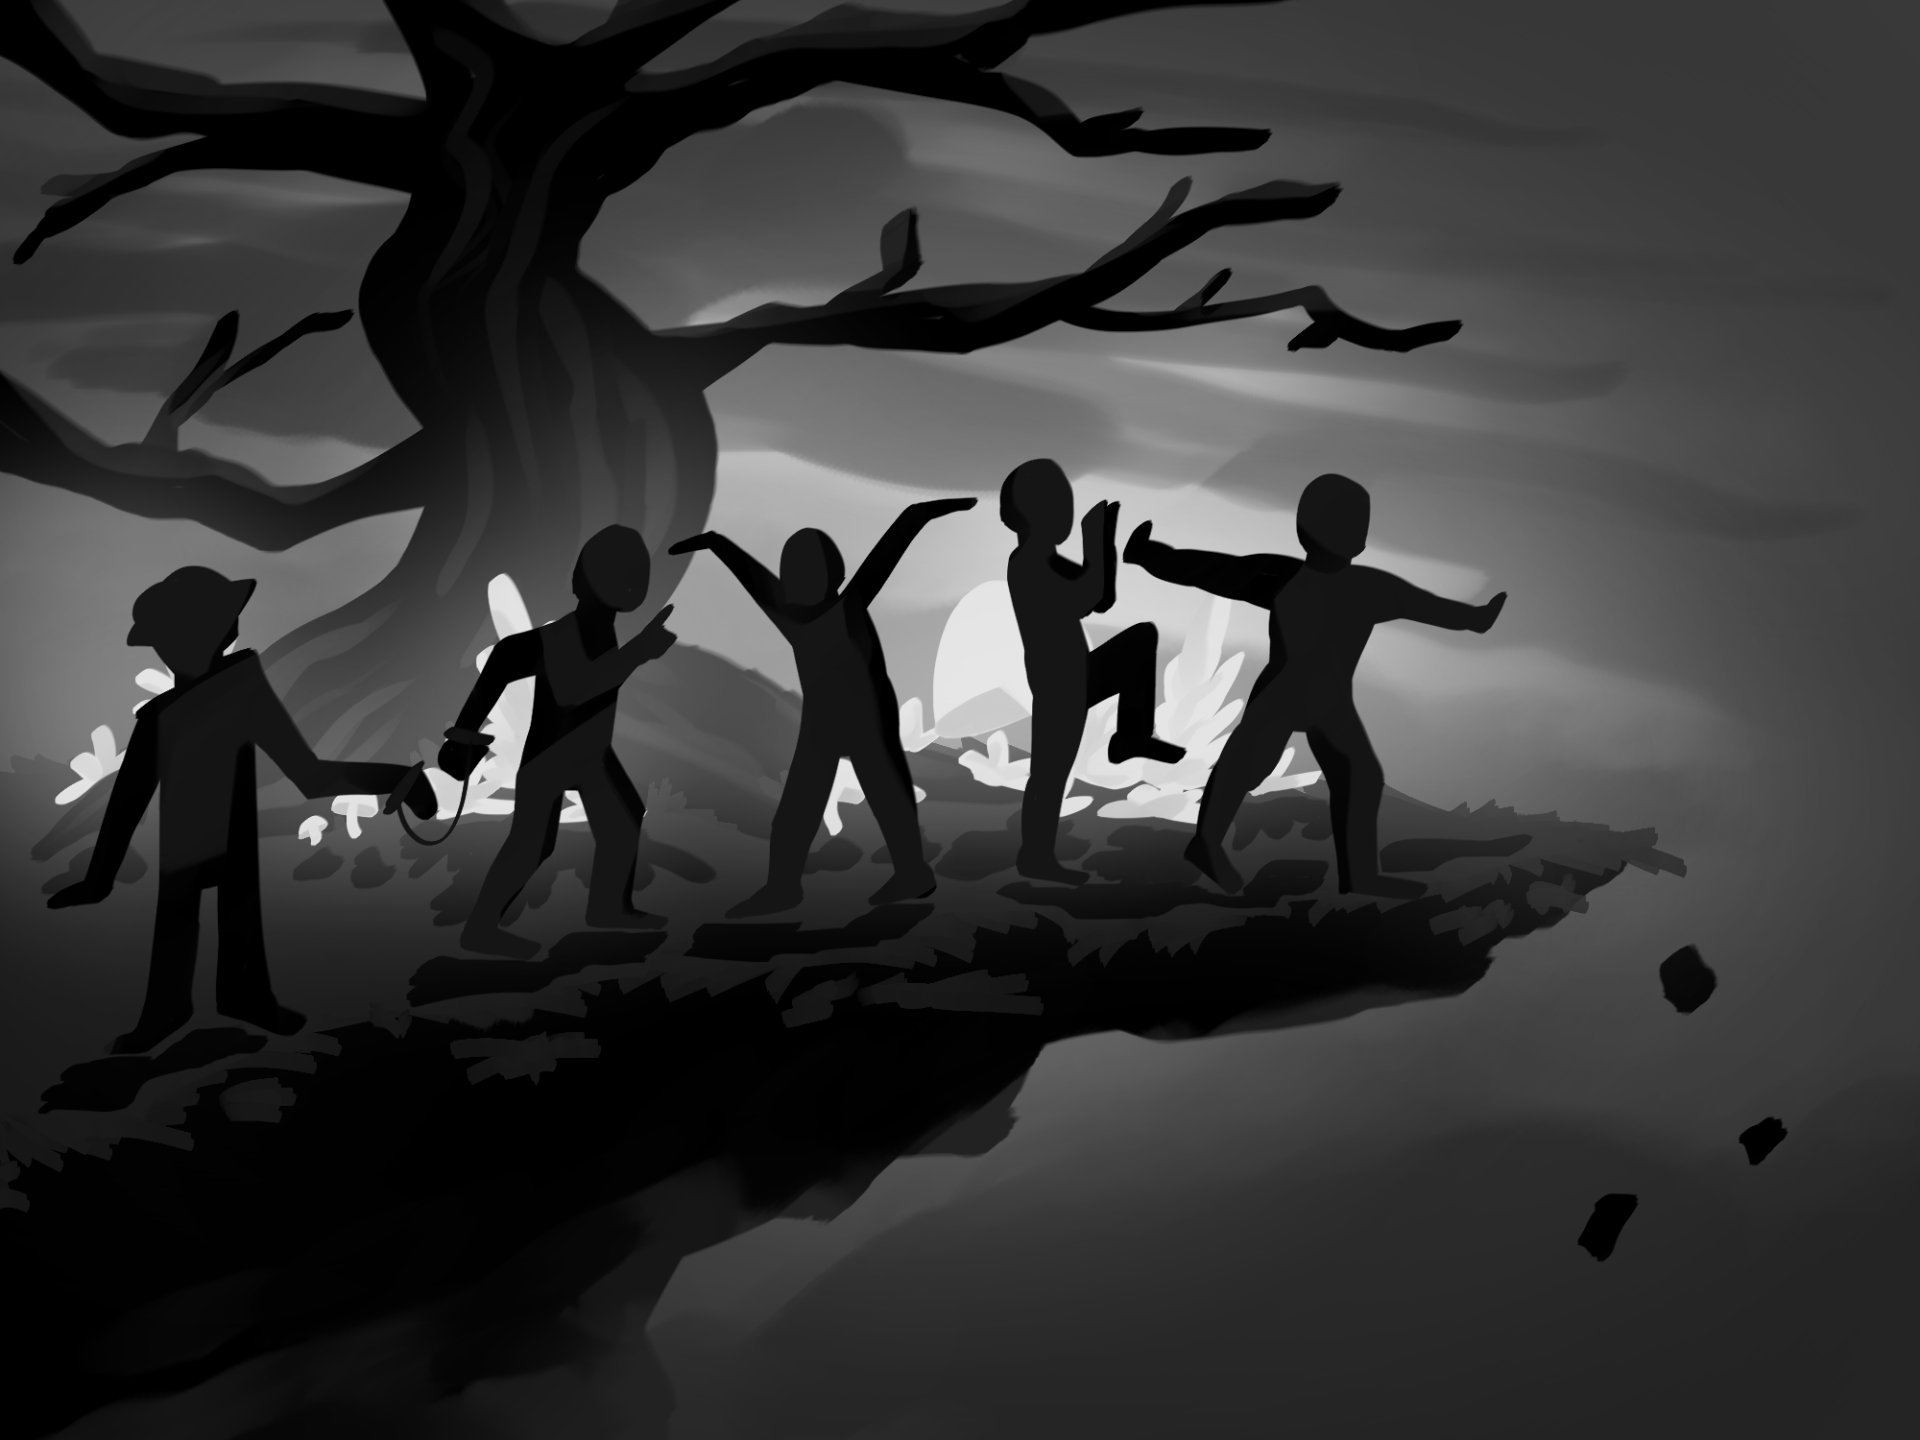
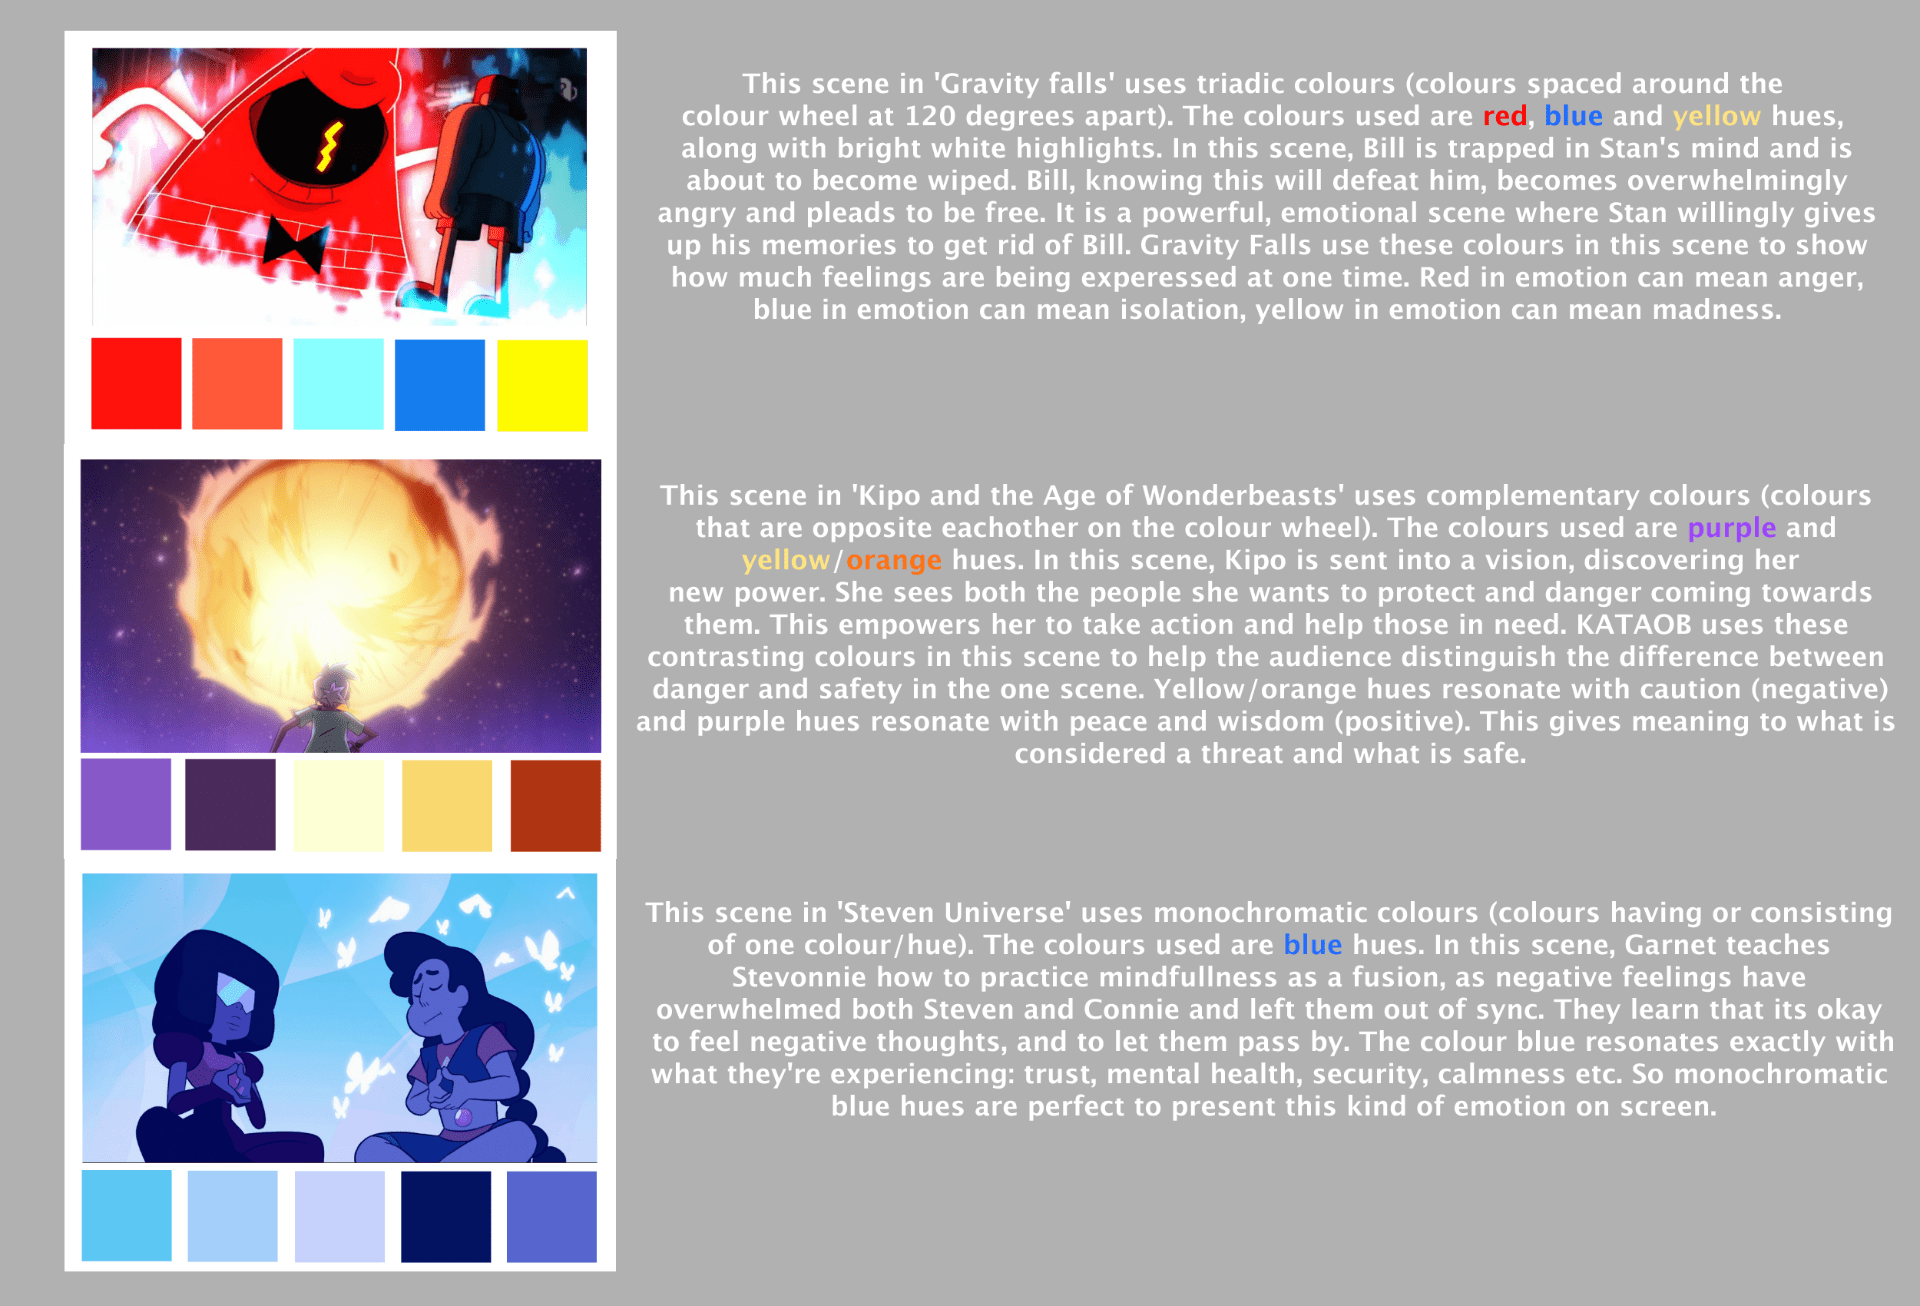
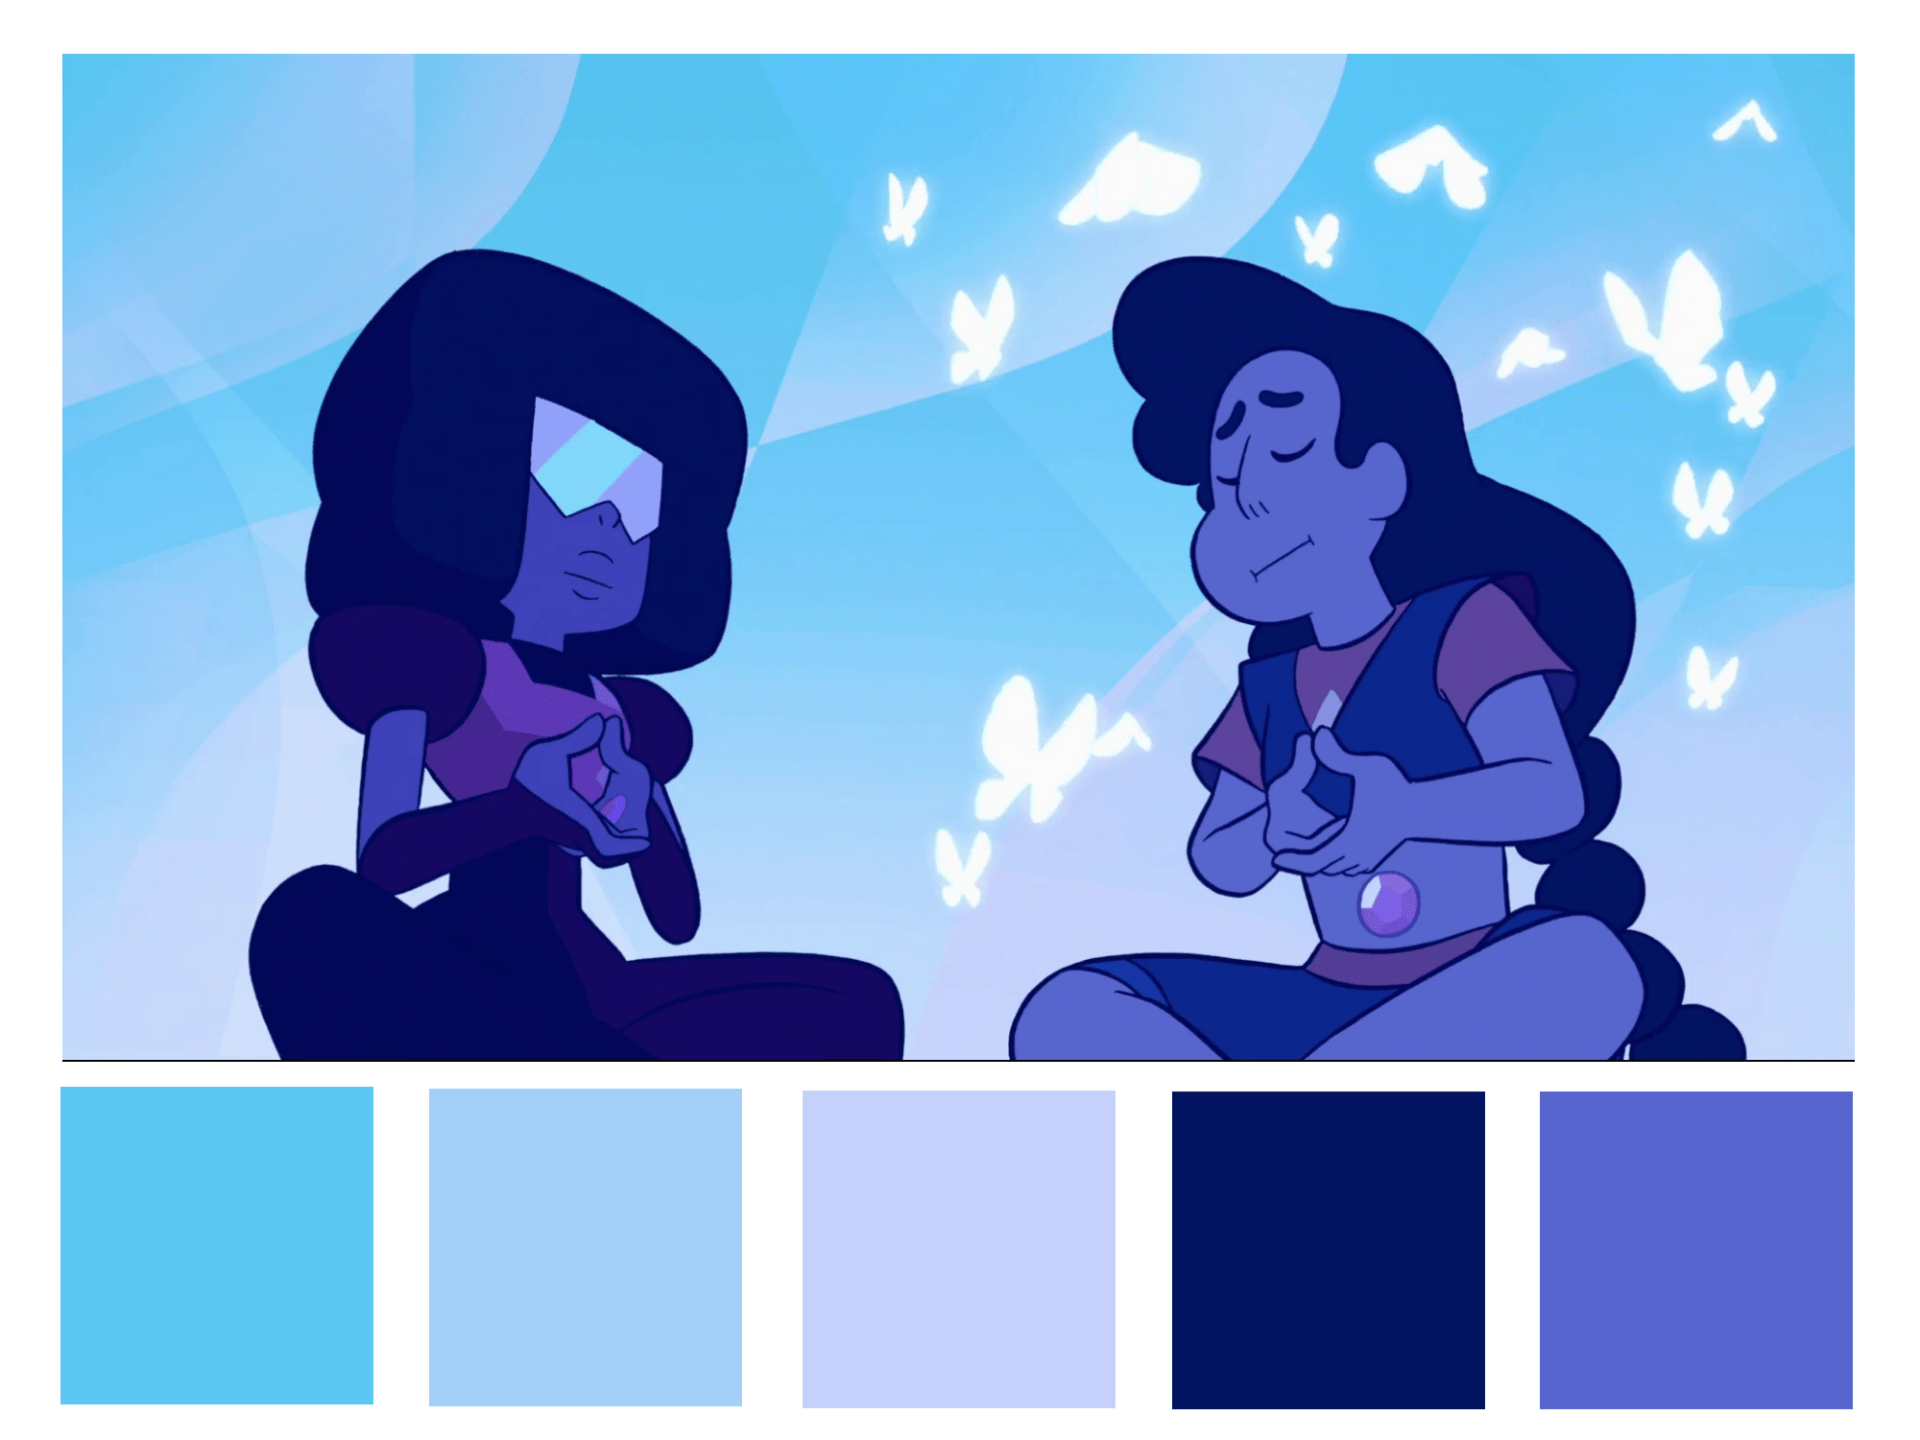
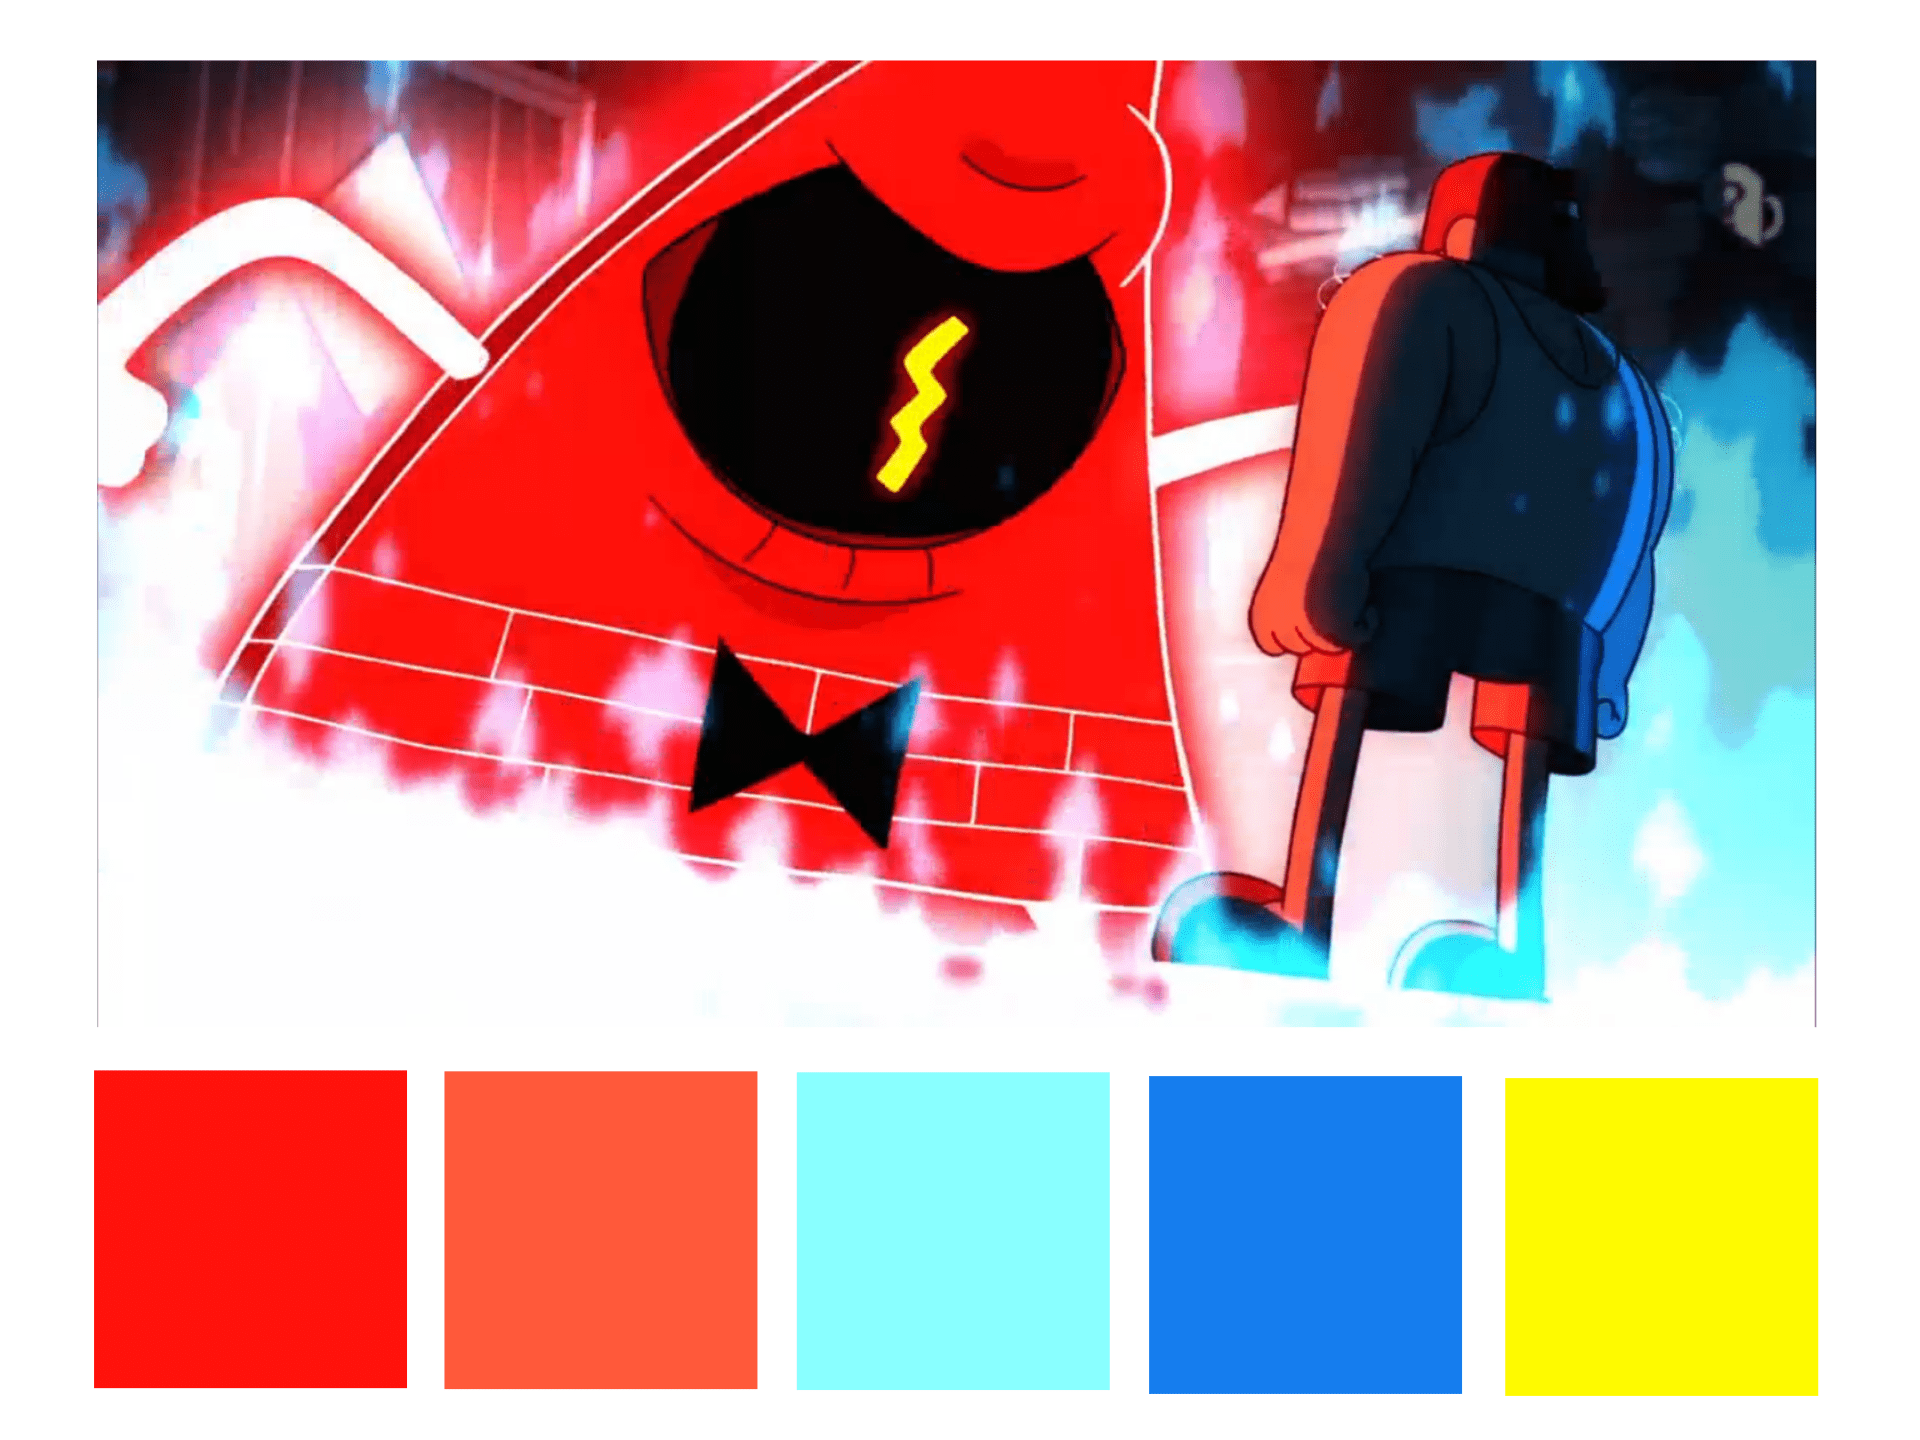
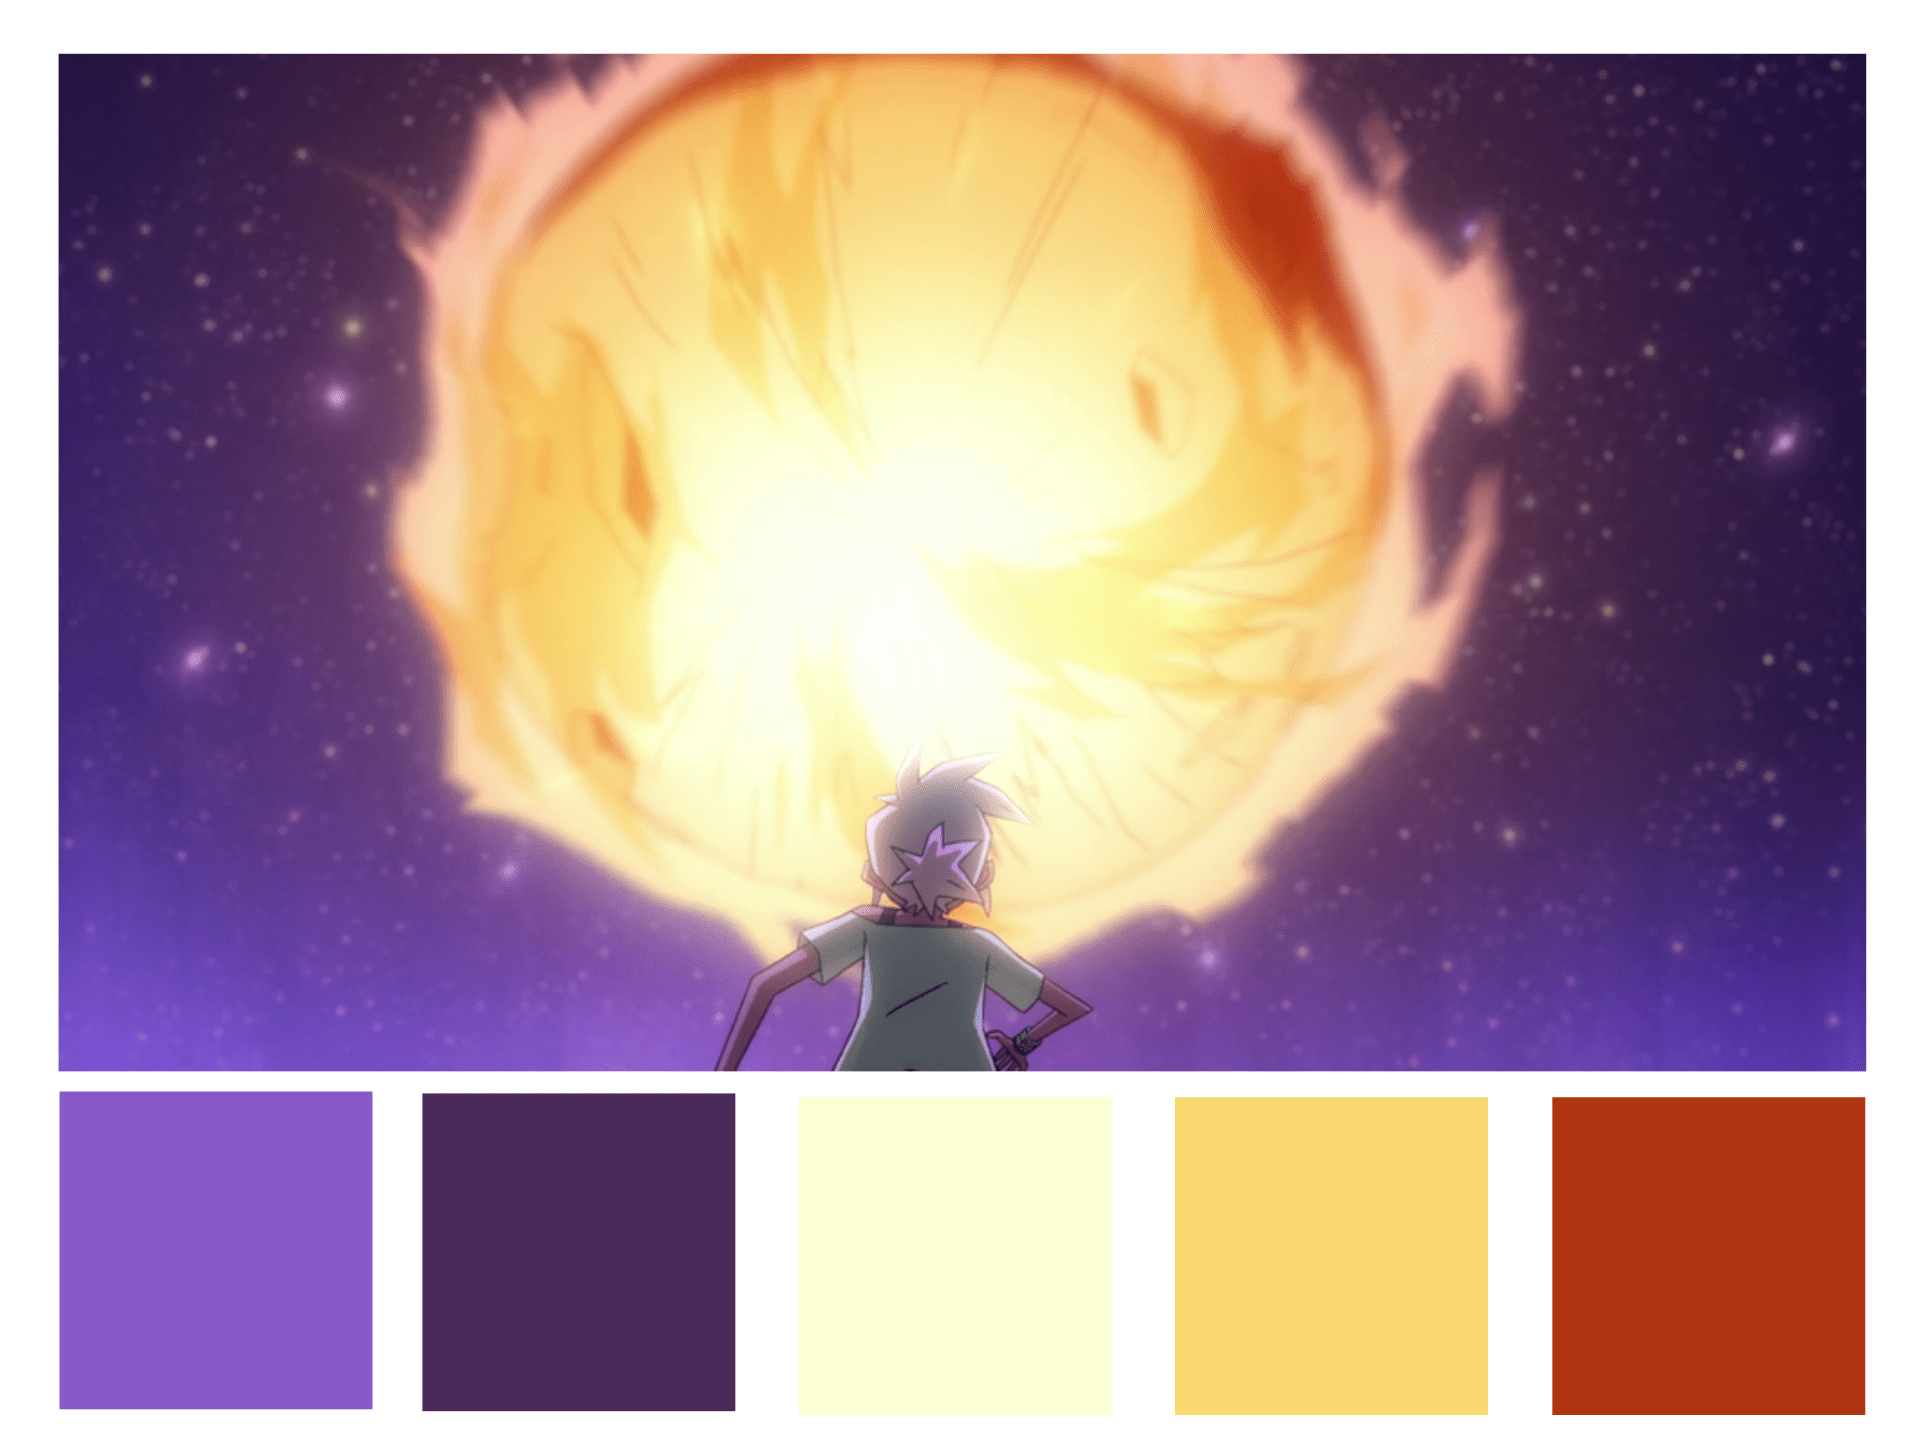
Colour theory: Colour theory was the next topic we learnt. We learnt about the combinations, meanings and emotions of colour, then we implemented colour into a sketch drawing to show a certain emotion. we also picked out an environmental study we did a while ago and gave it the colour that best represents the environment. We also picked three animated shots and studied its colour and how it impacts the scene. Colour theory was fun to work with, I liked blending and using multiple colours in a piece, but I had trouble shading these colours also. In the future, this will help me pick out the right colours for the right emotion.


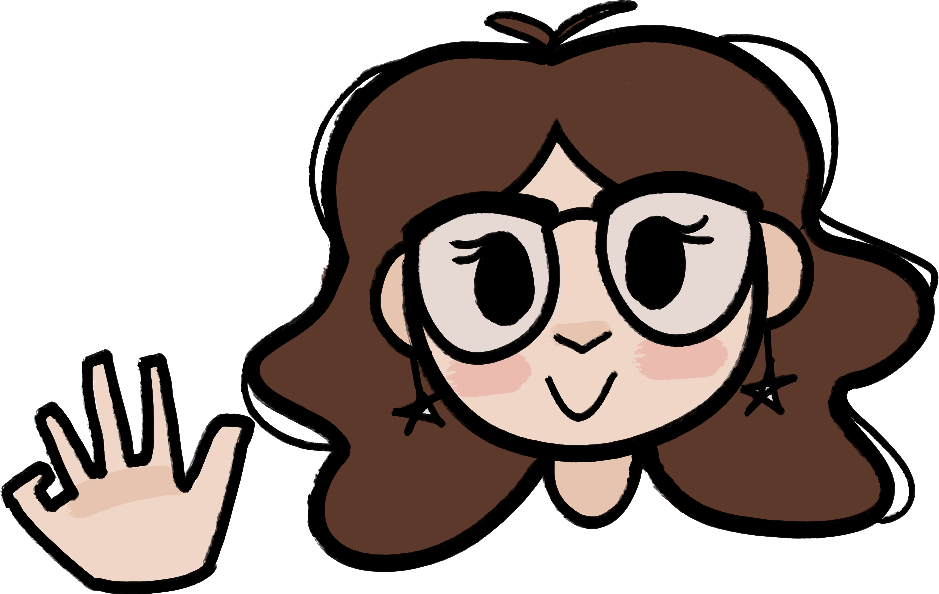
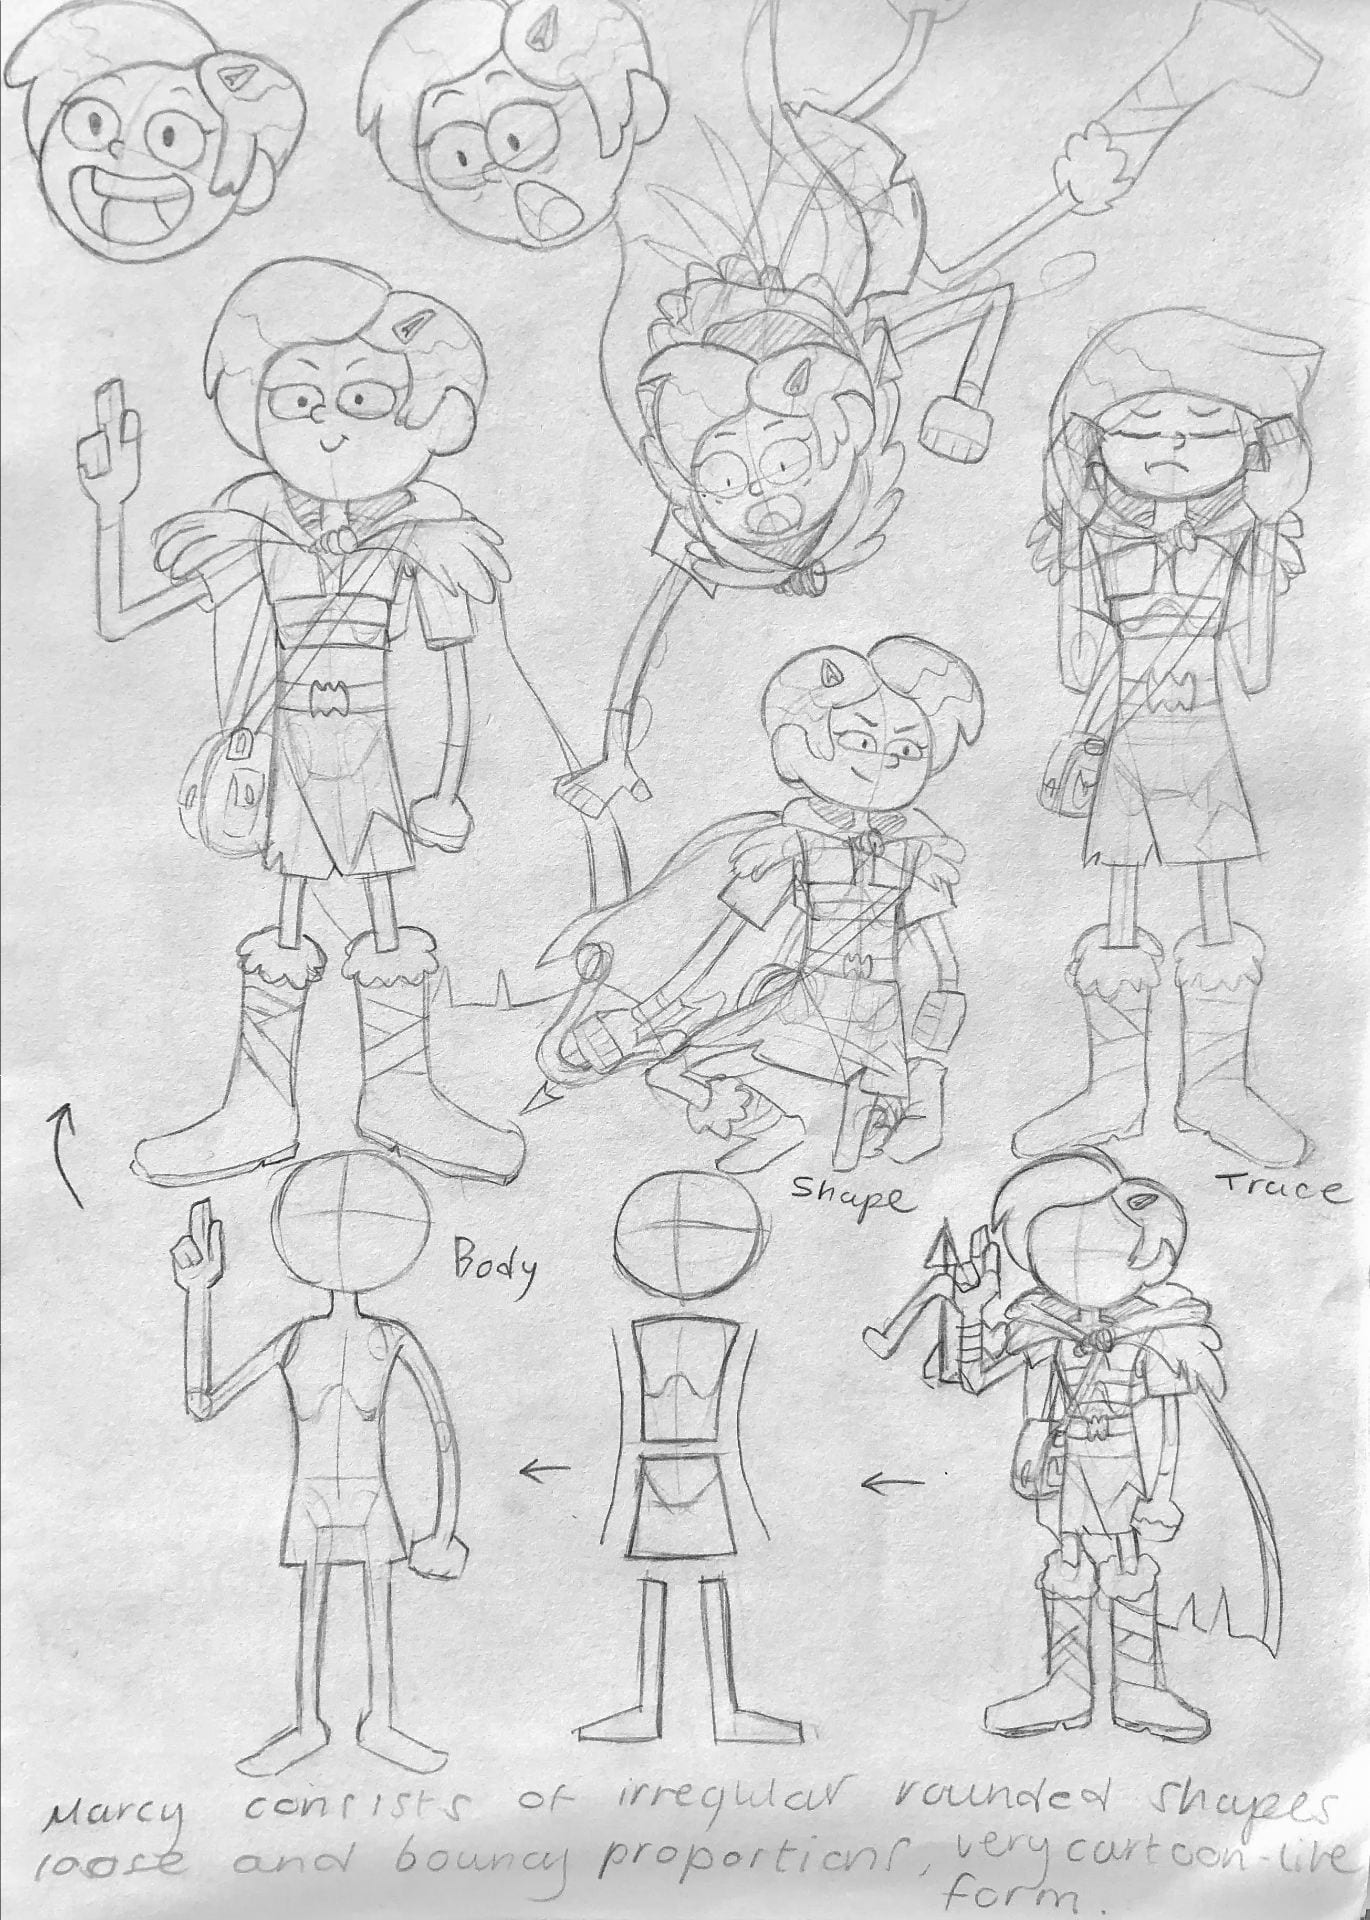
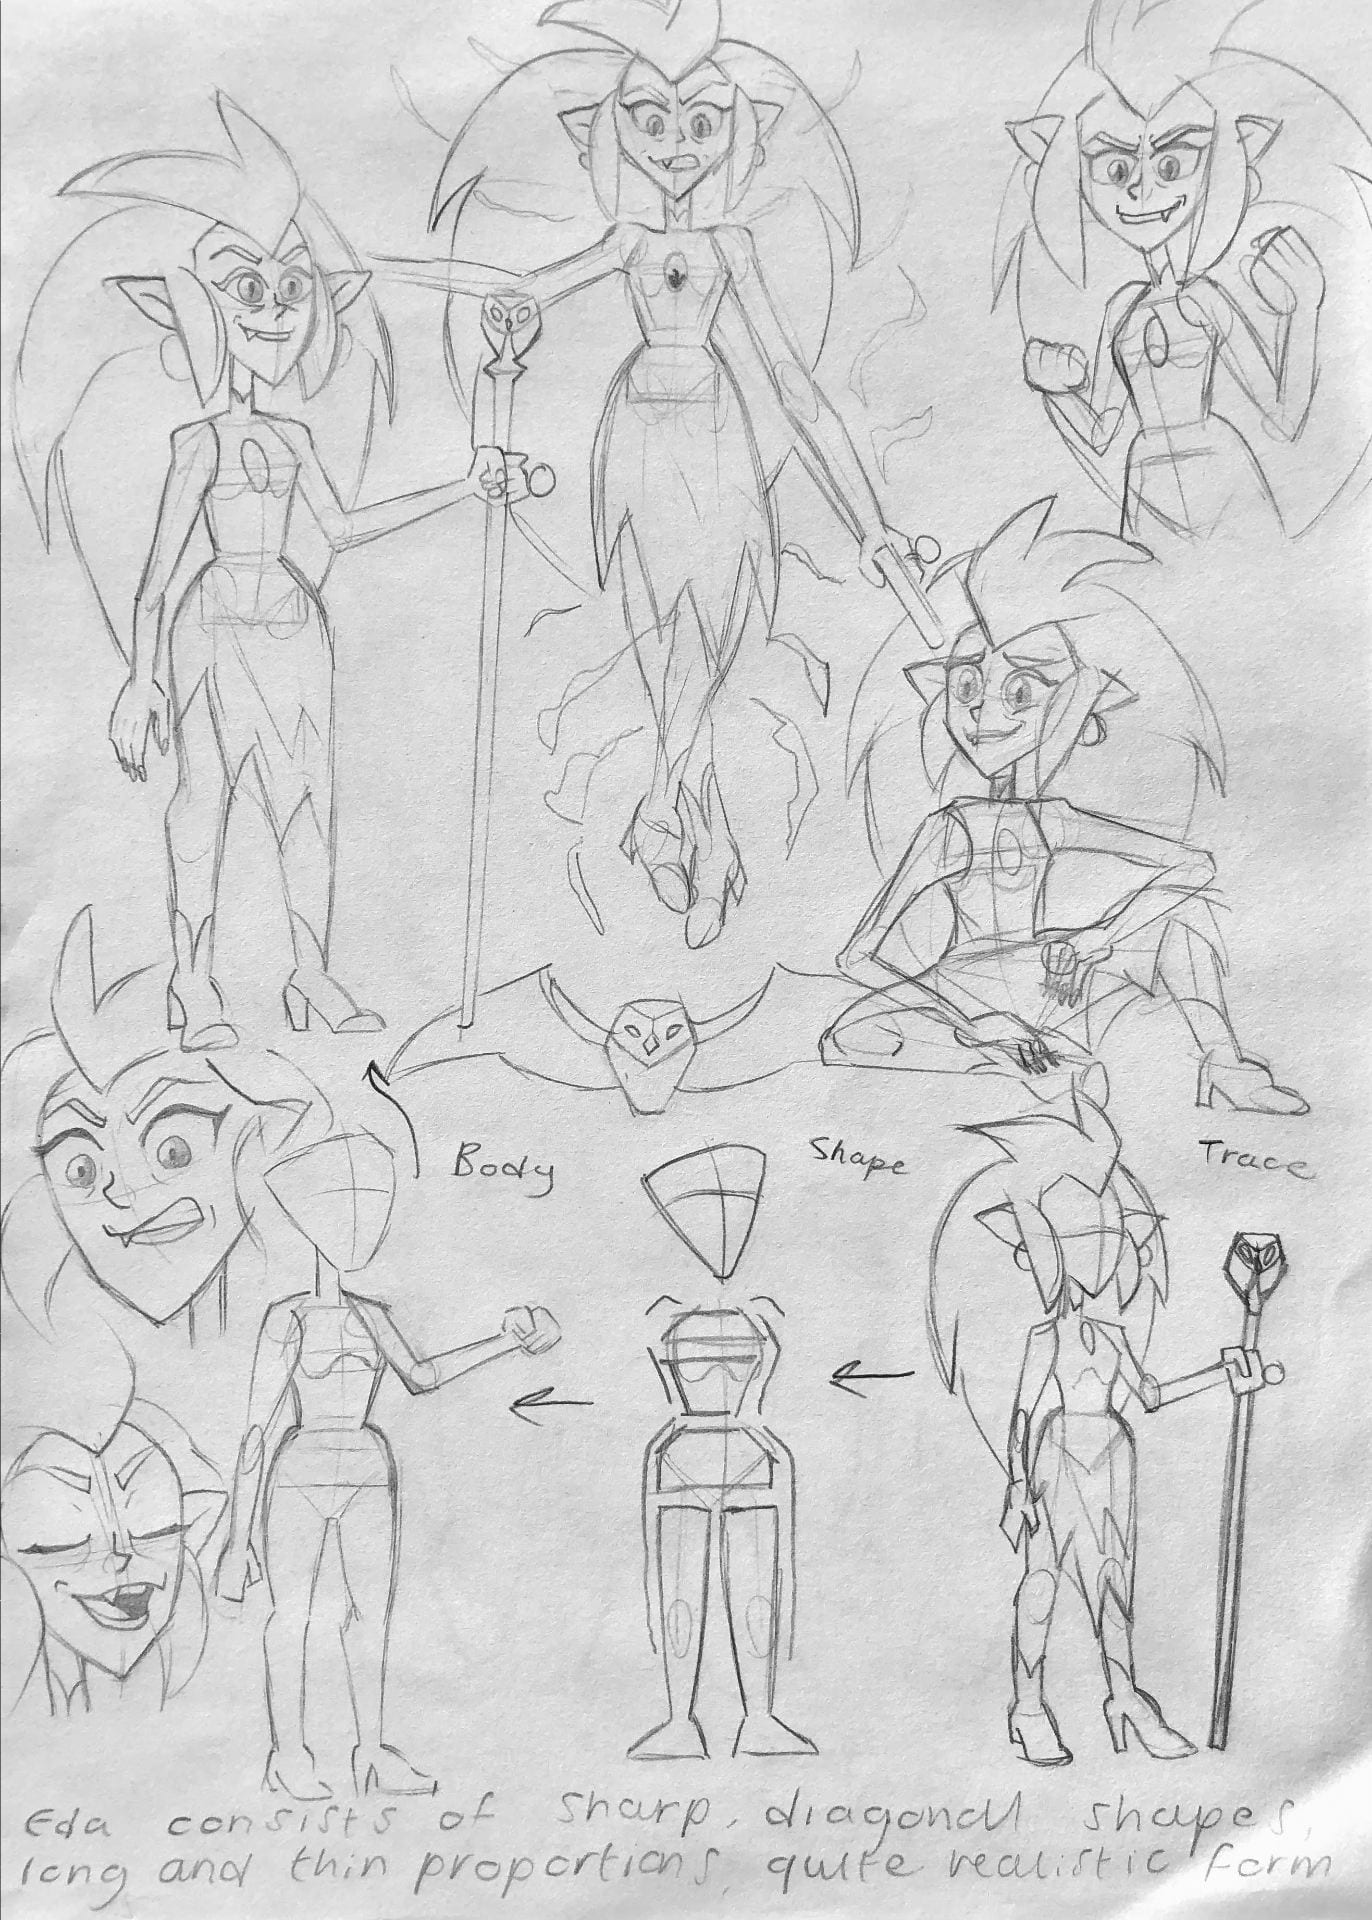
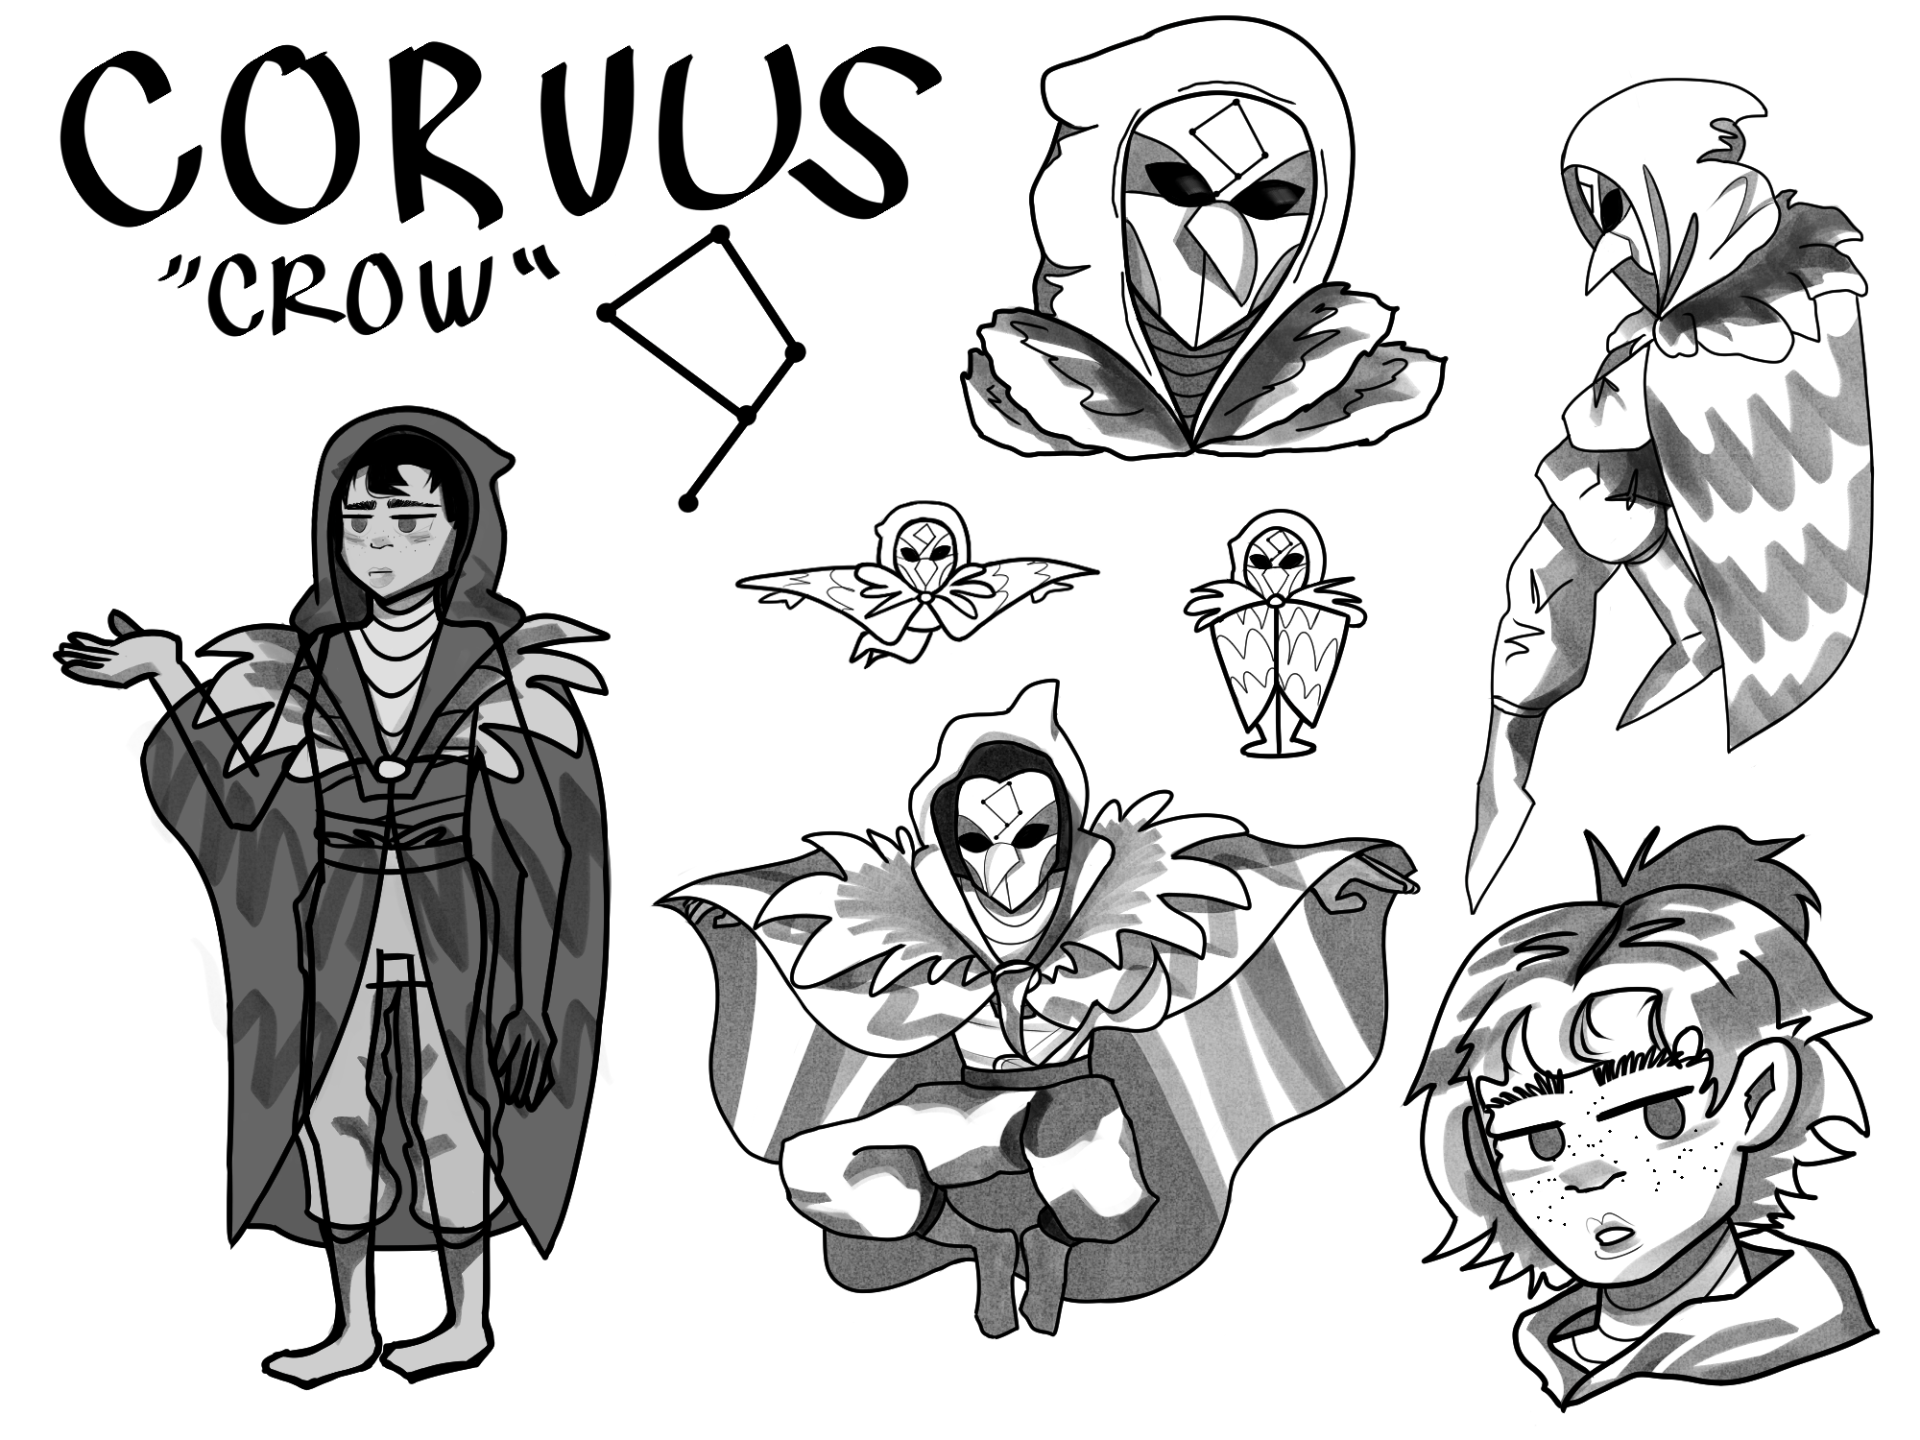
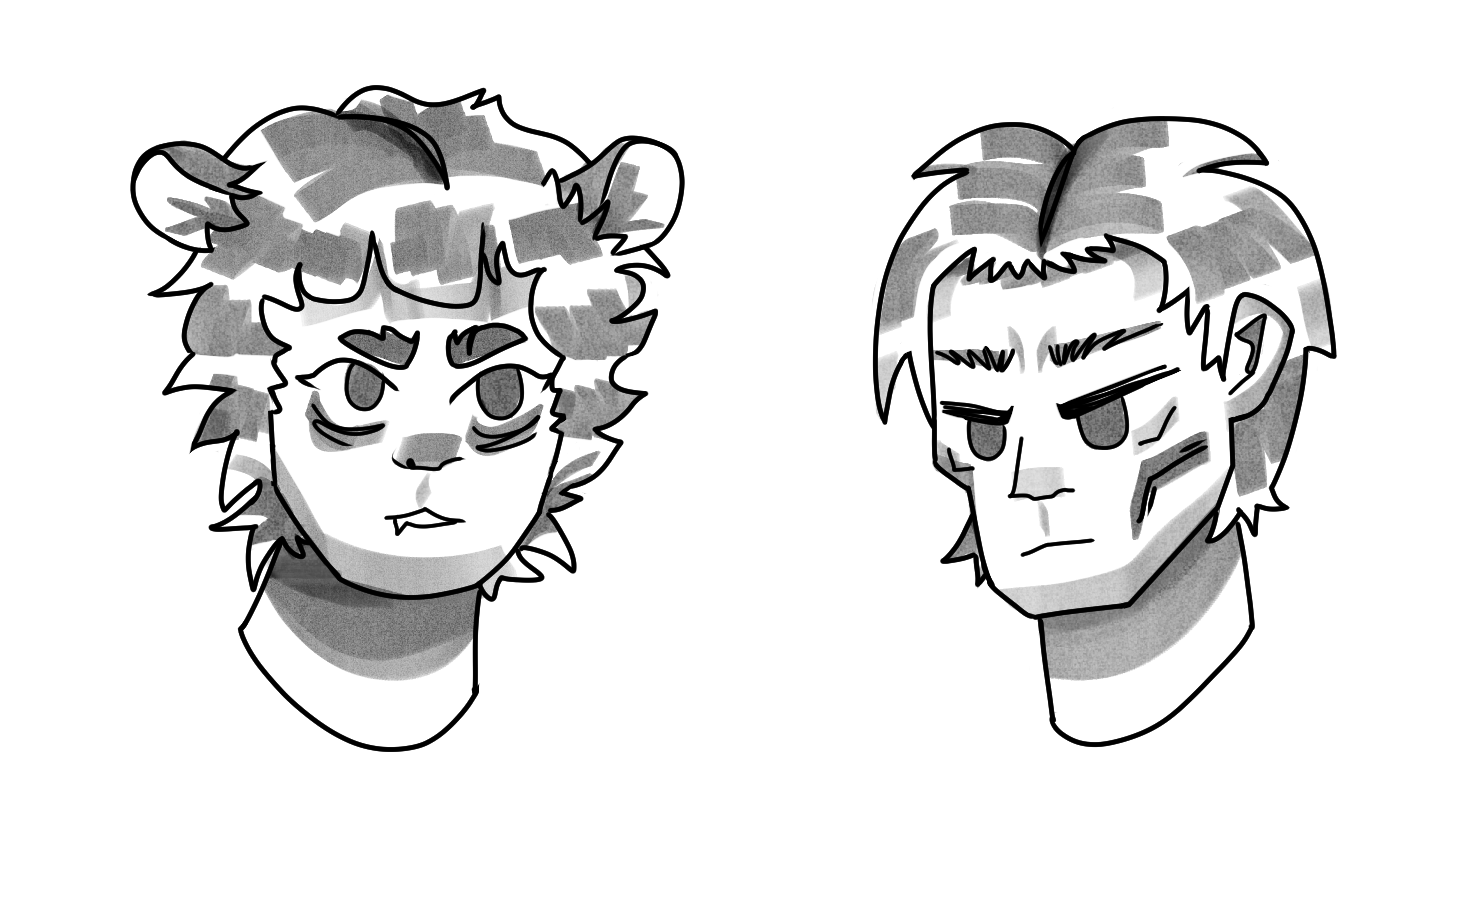
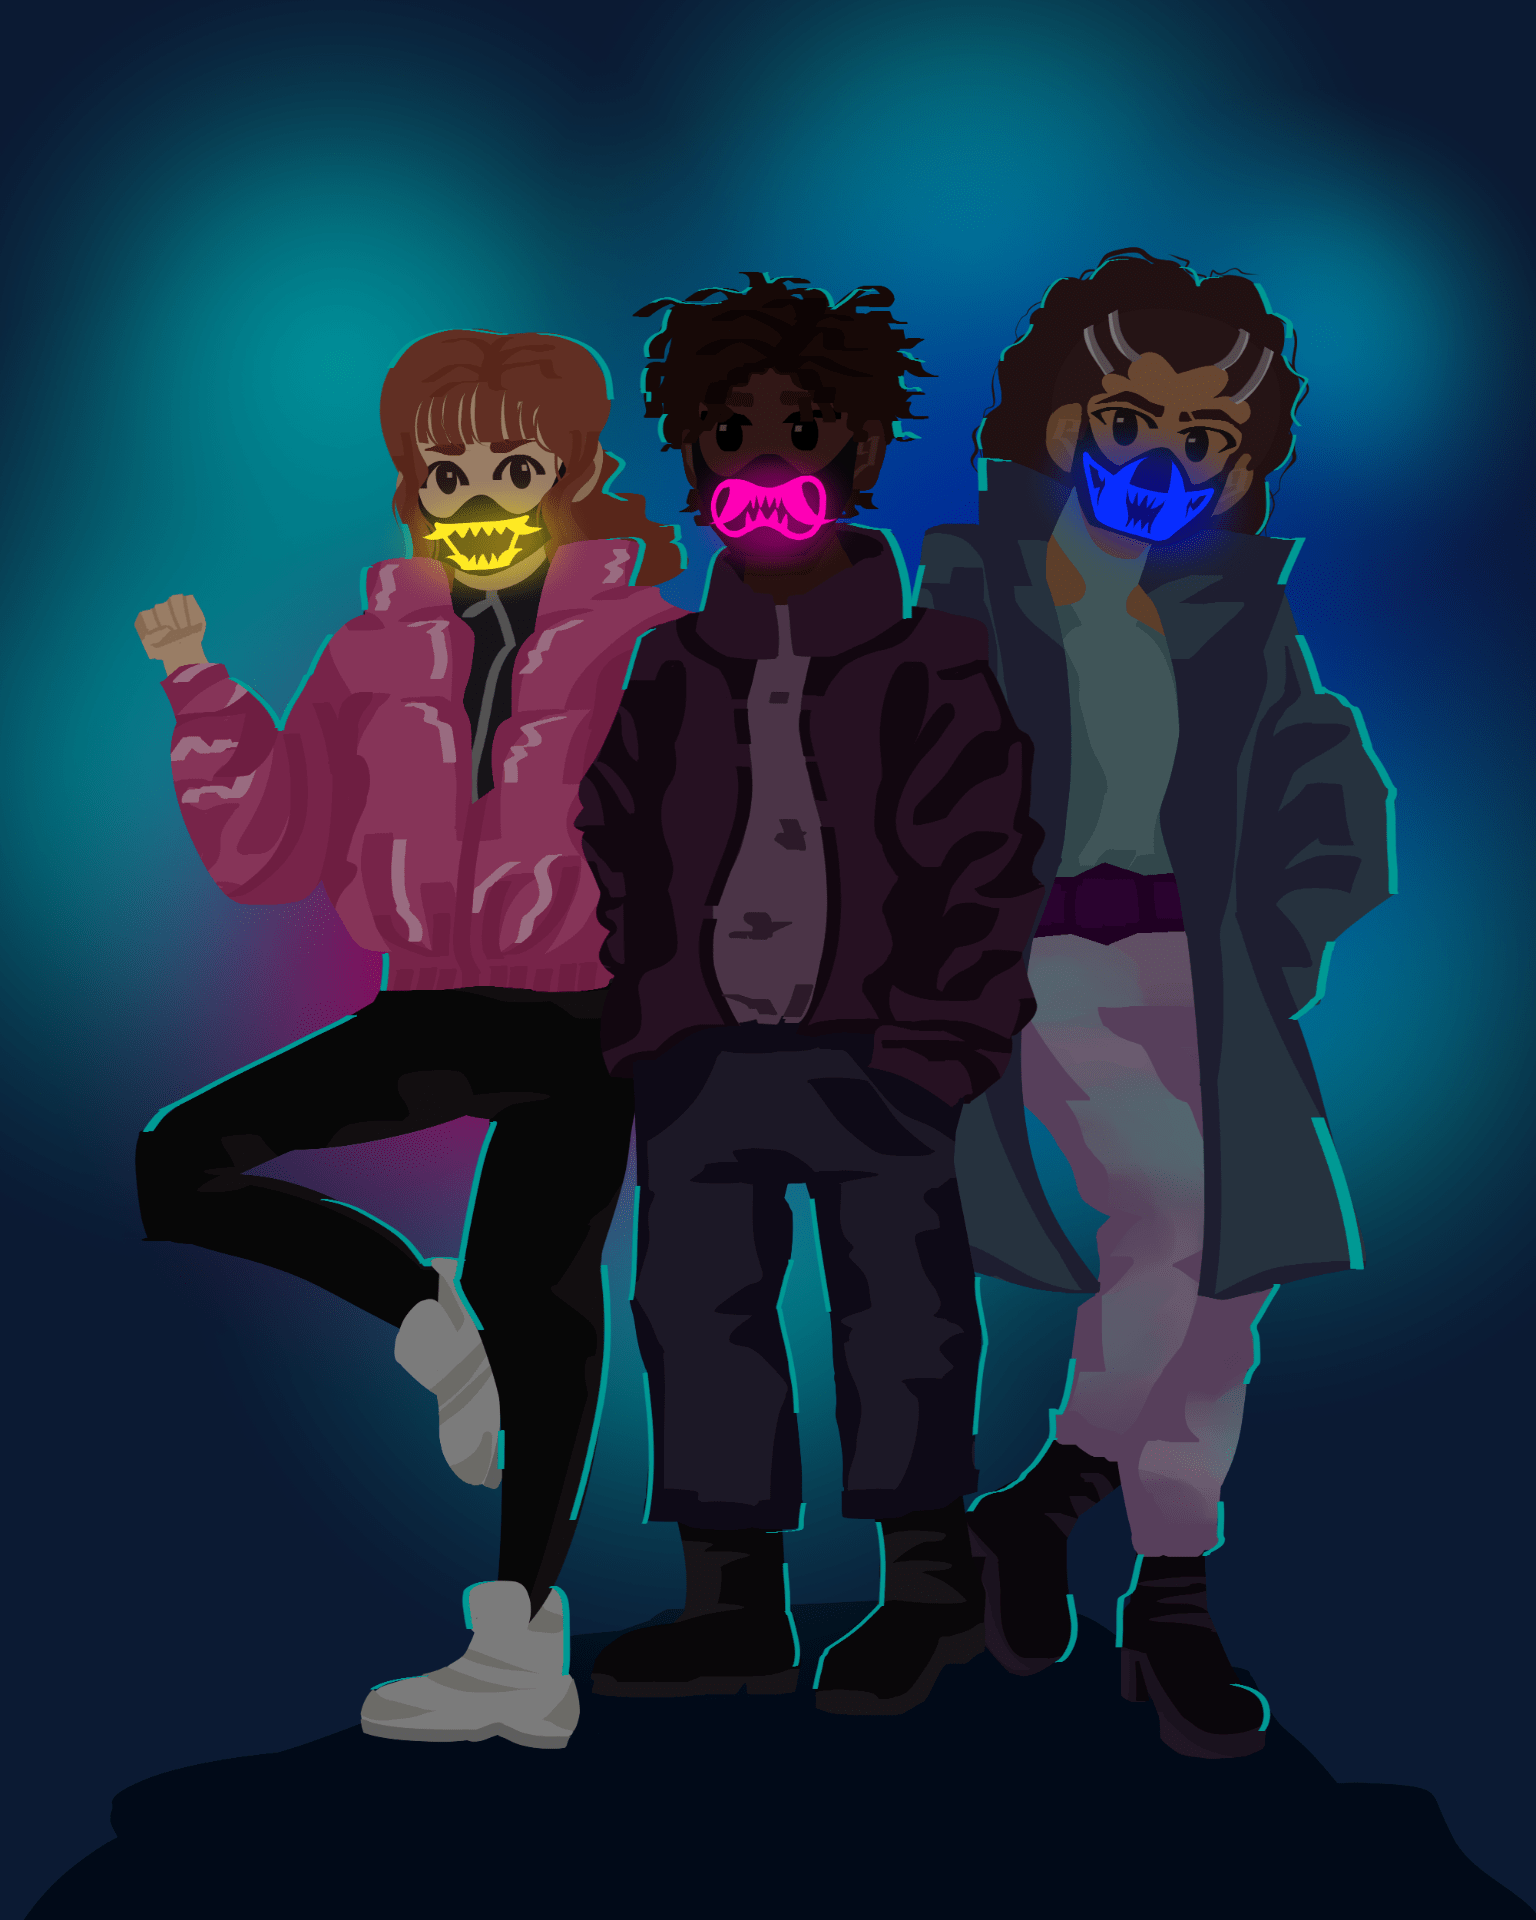
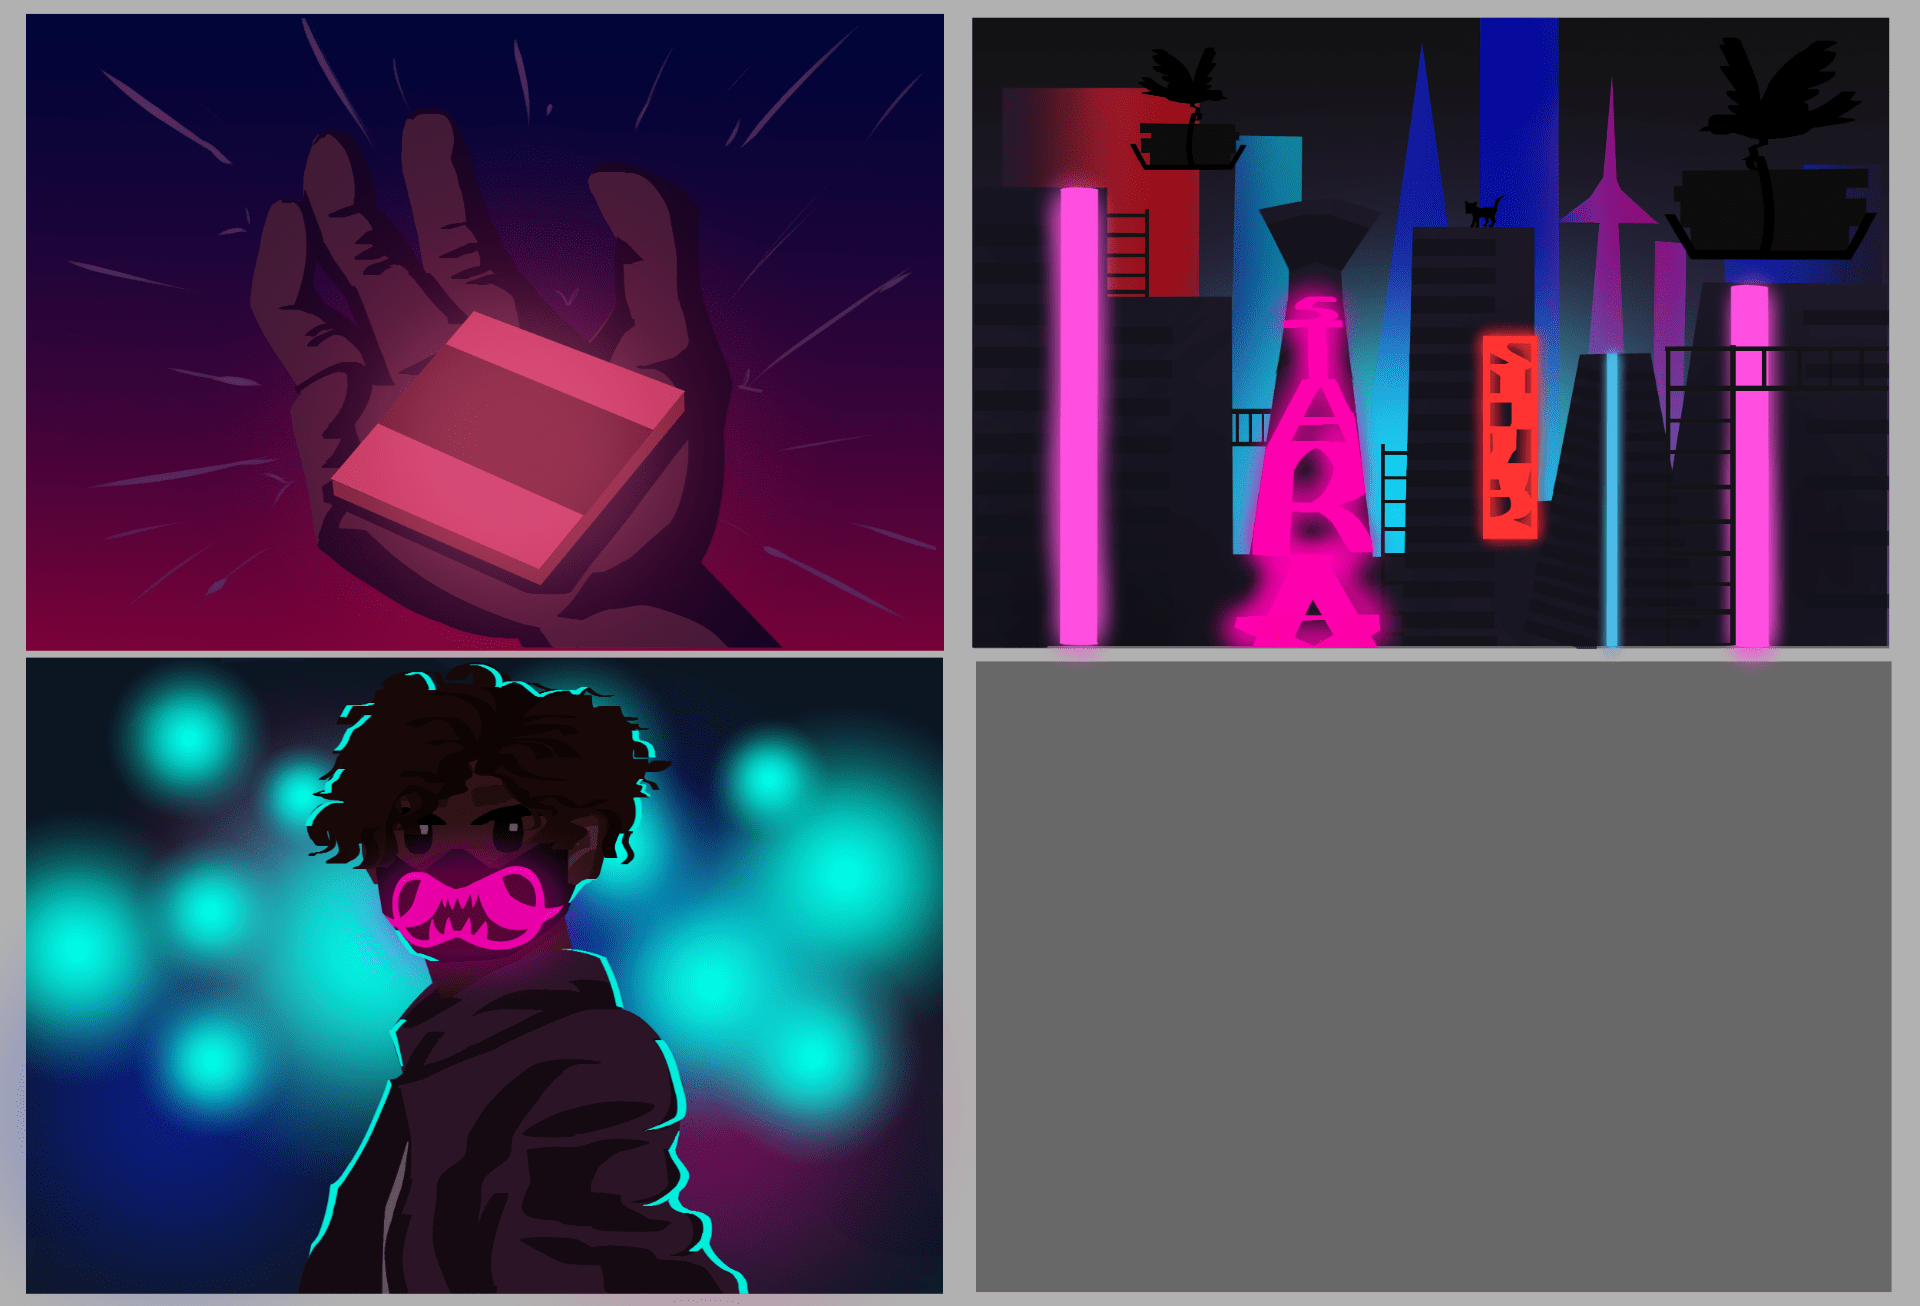
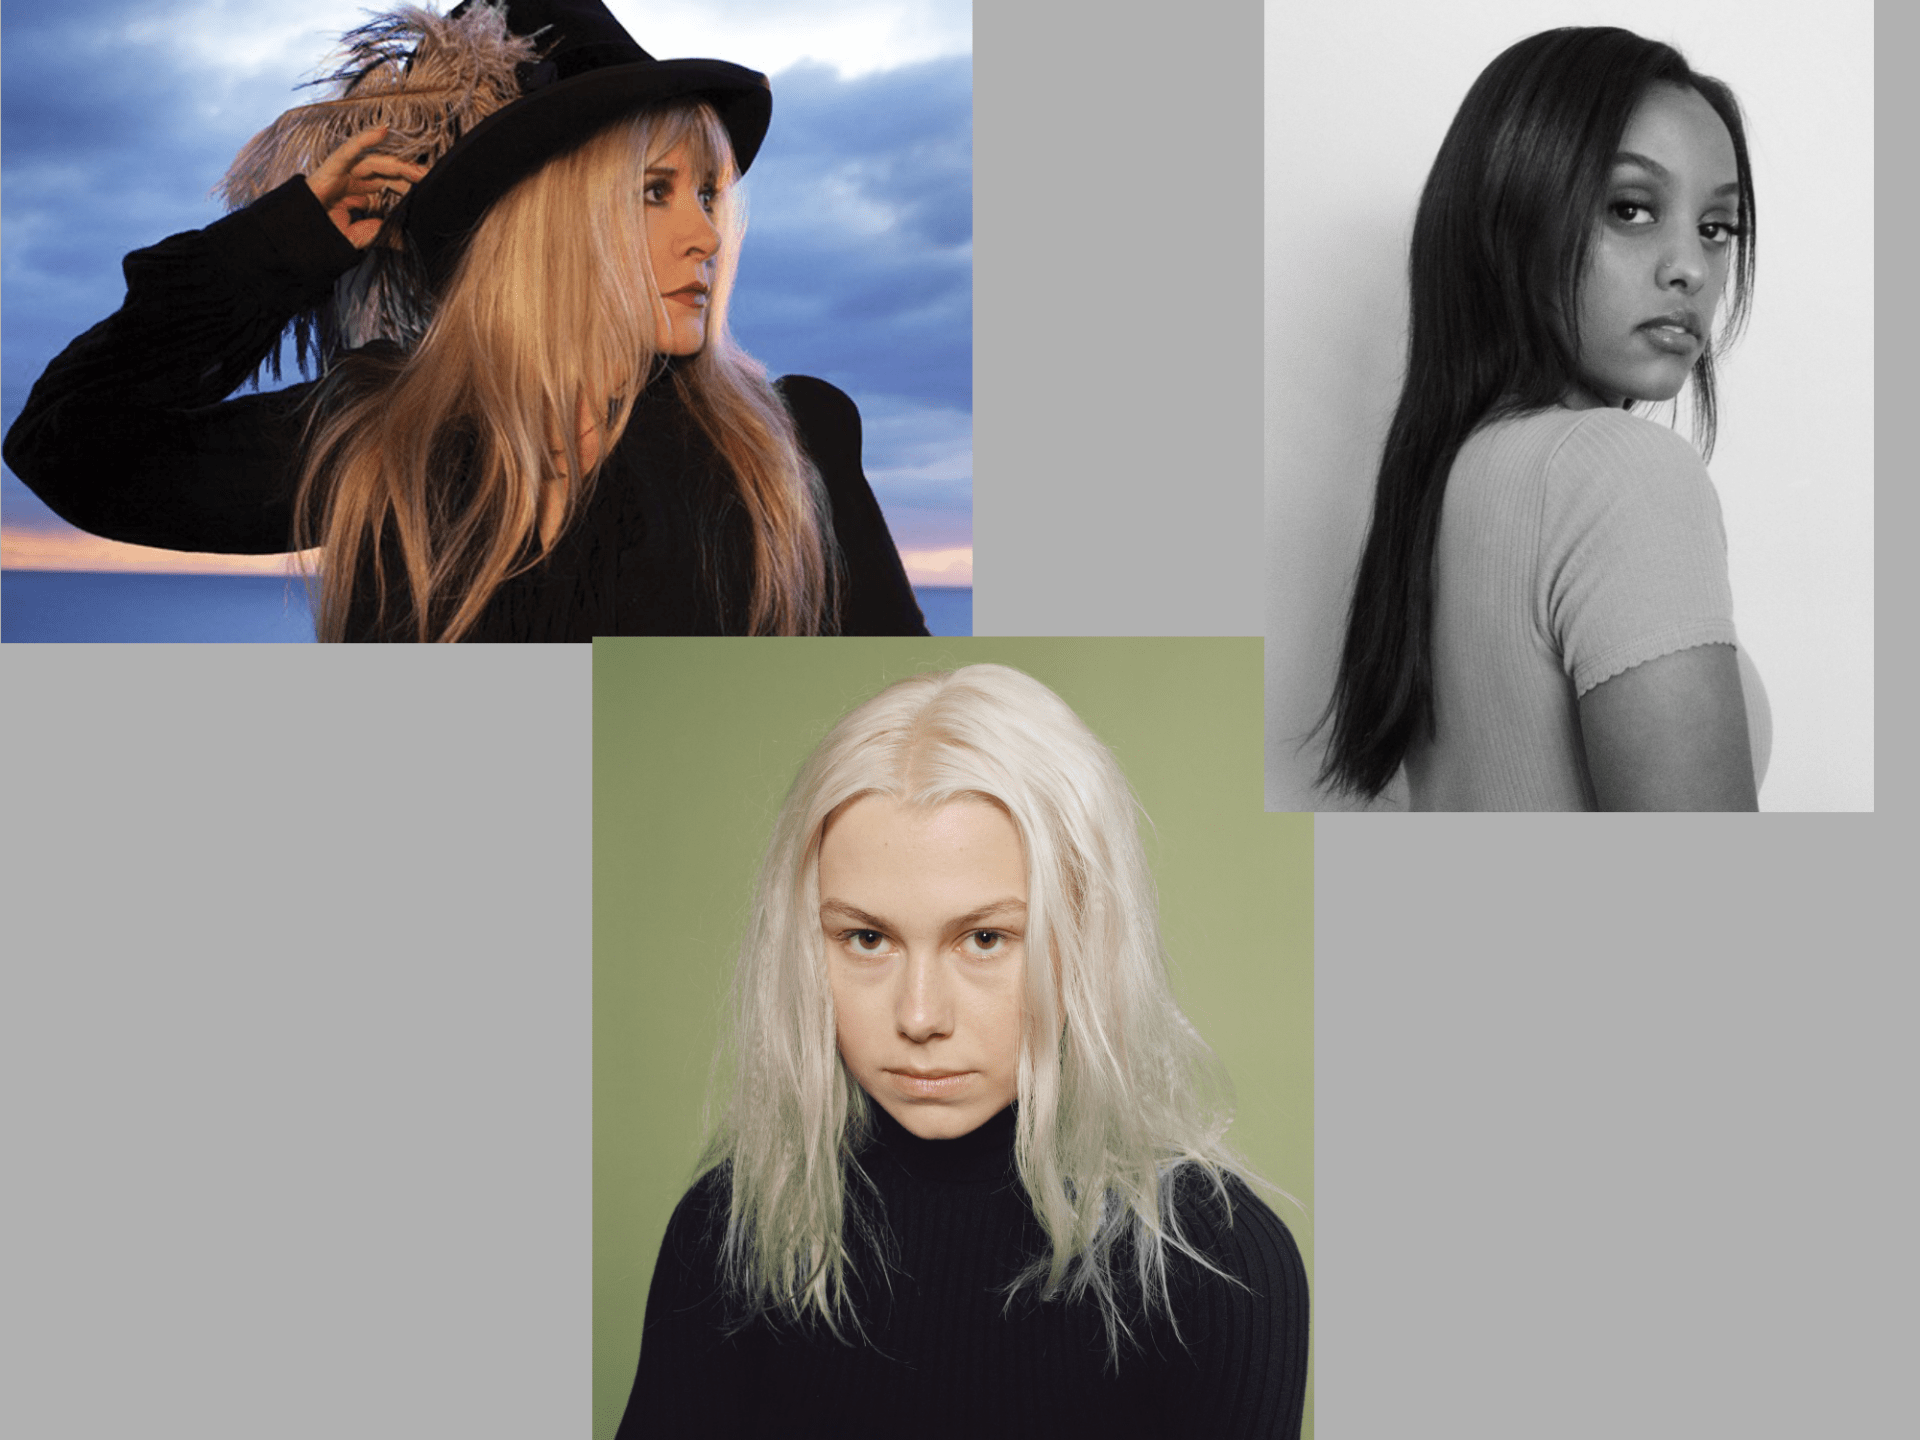
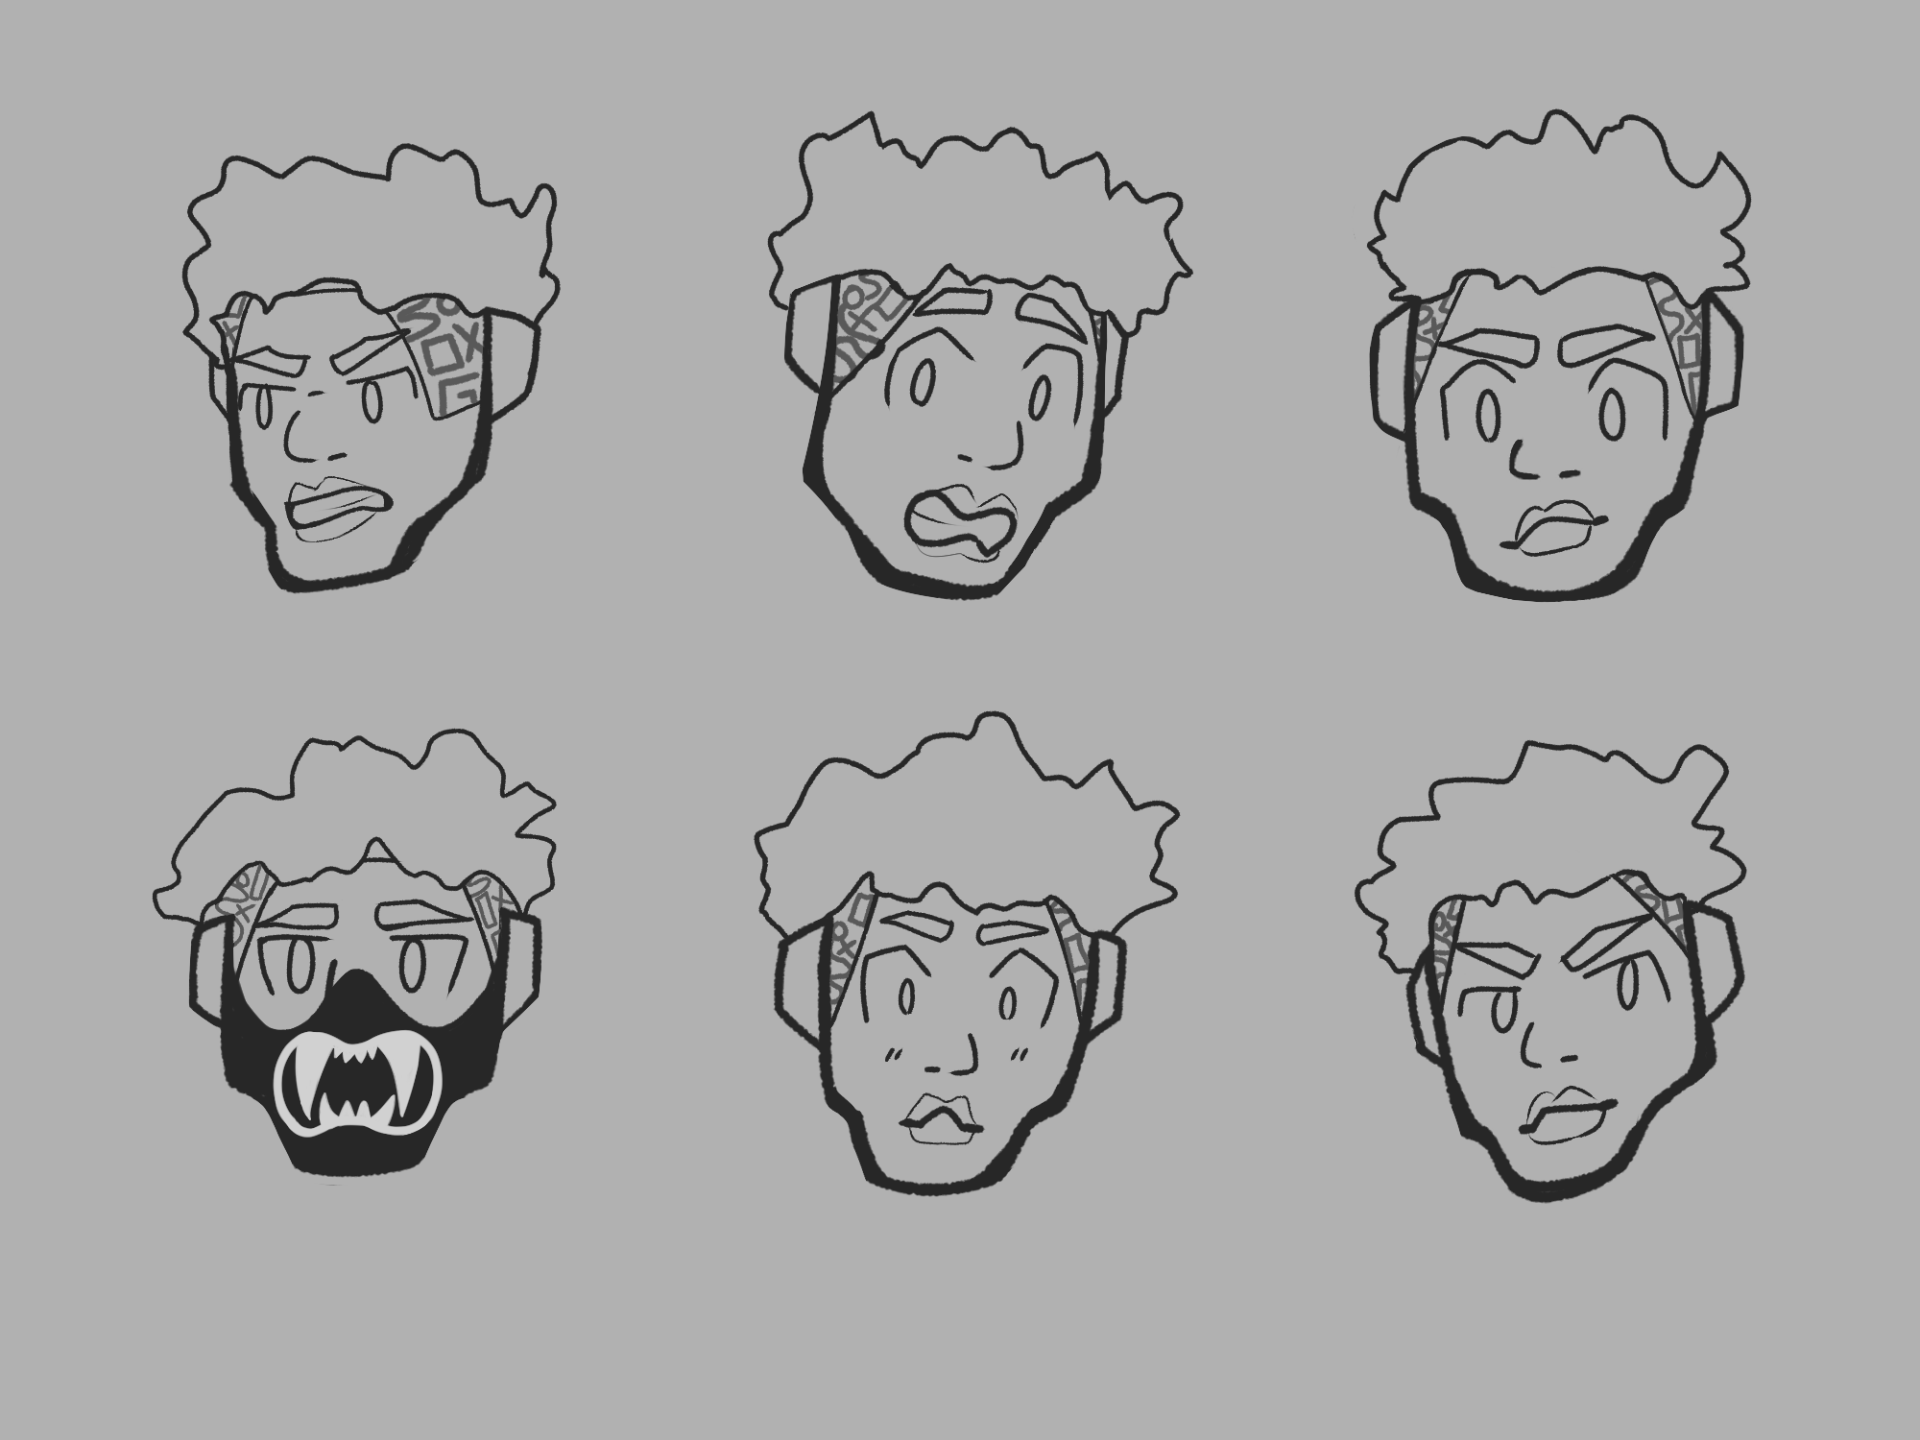
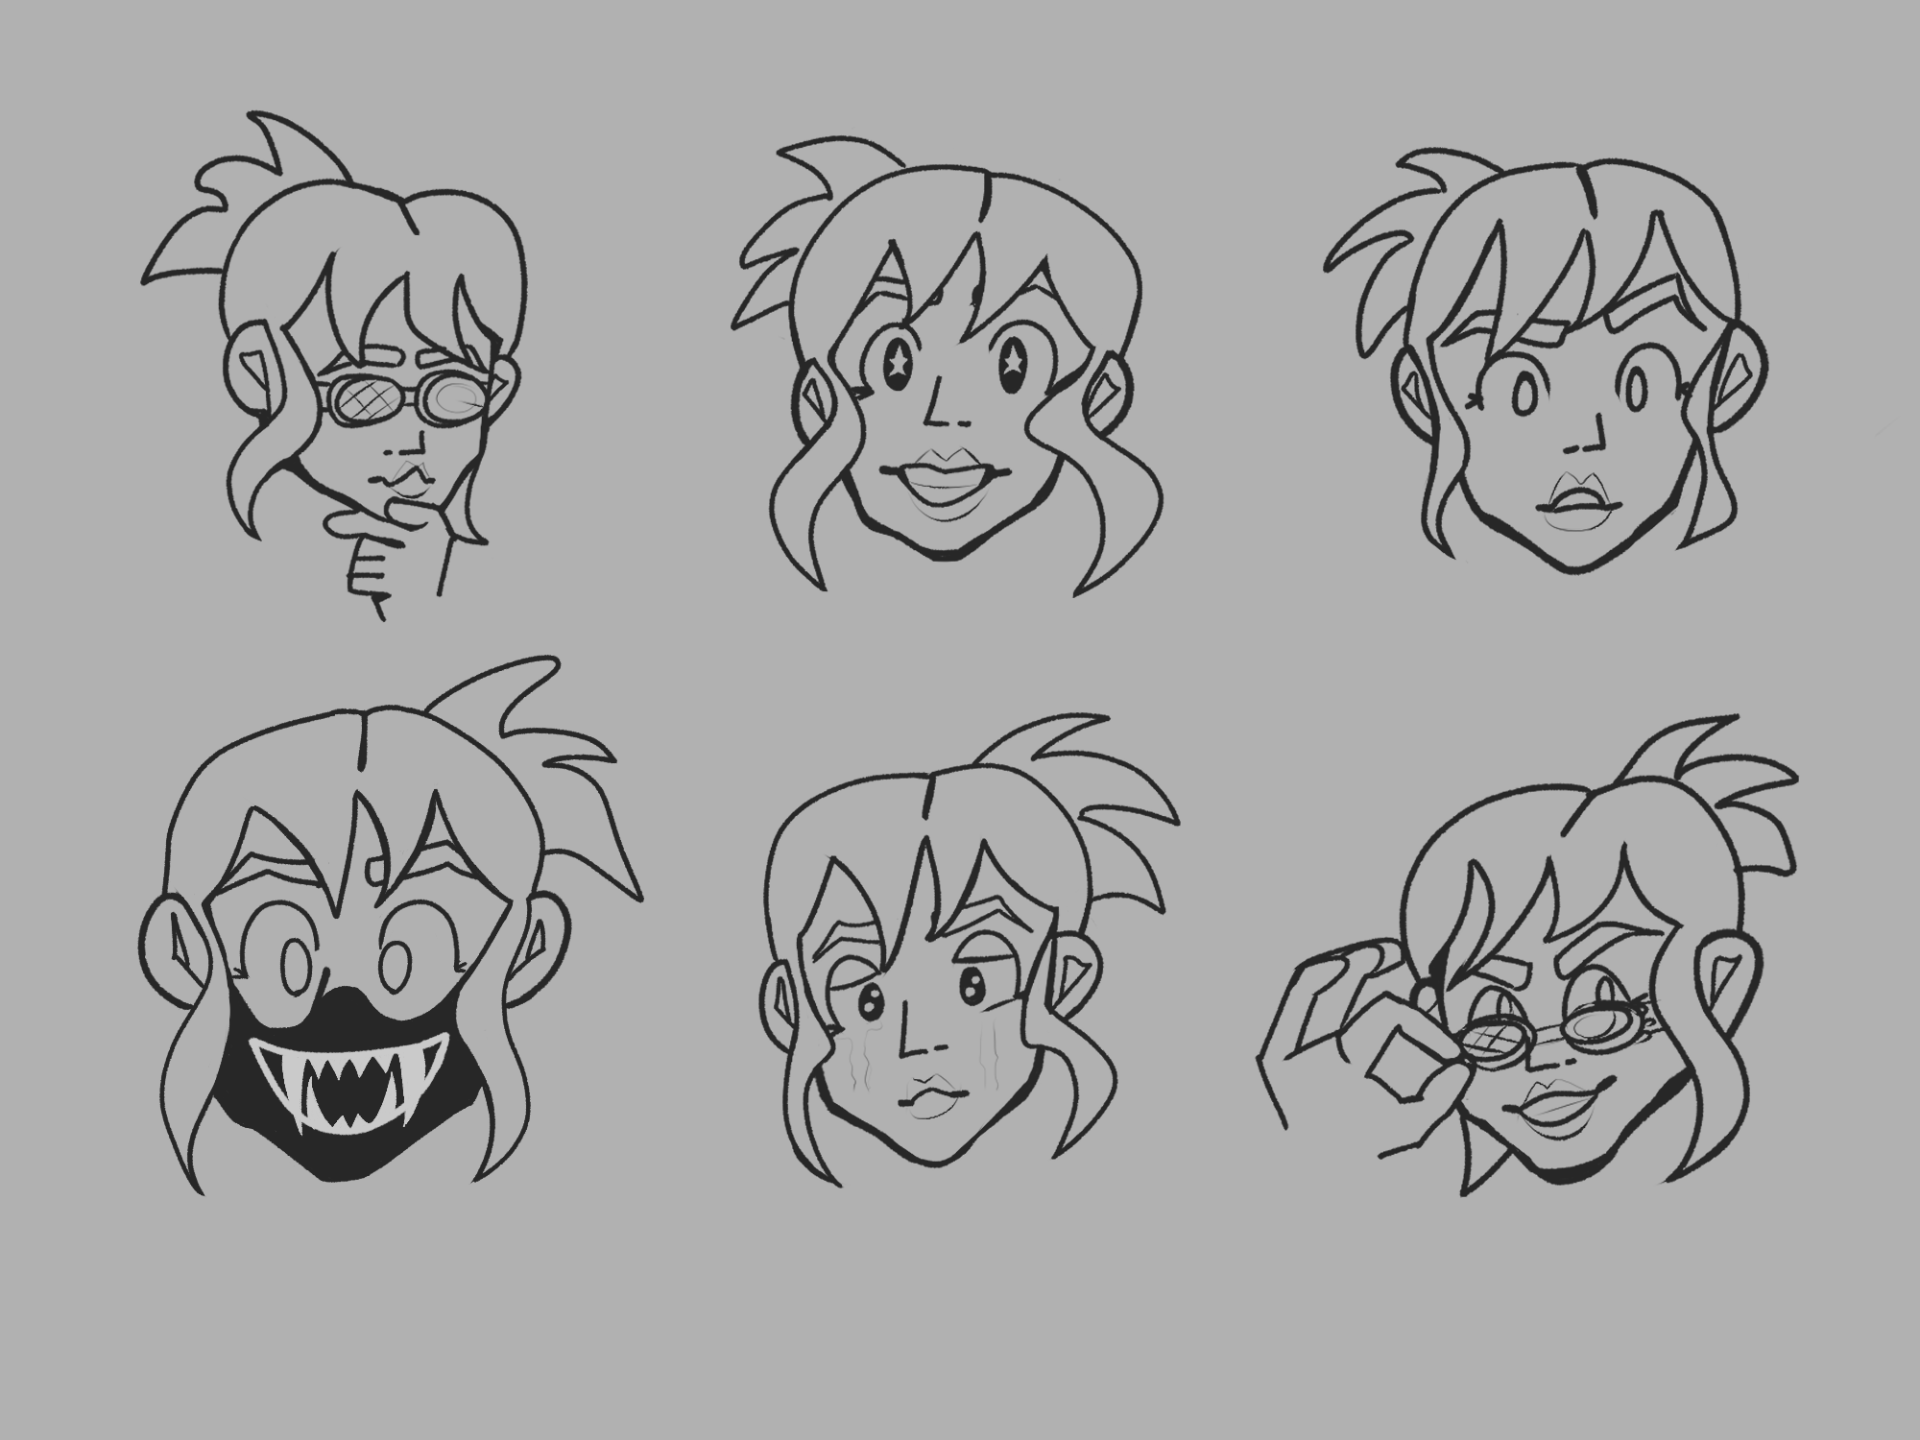
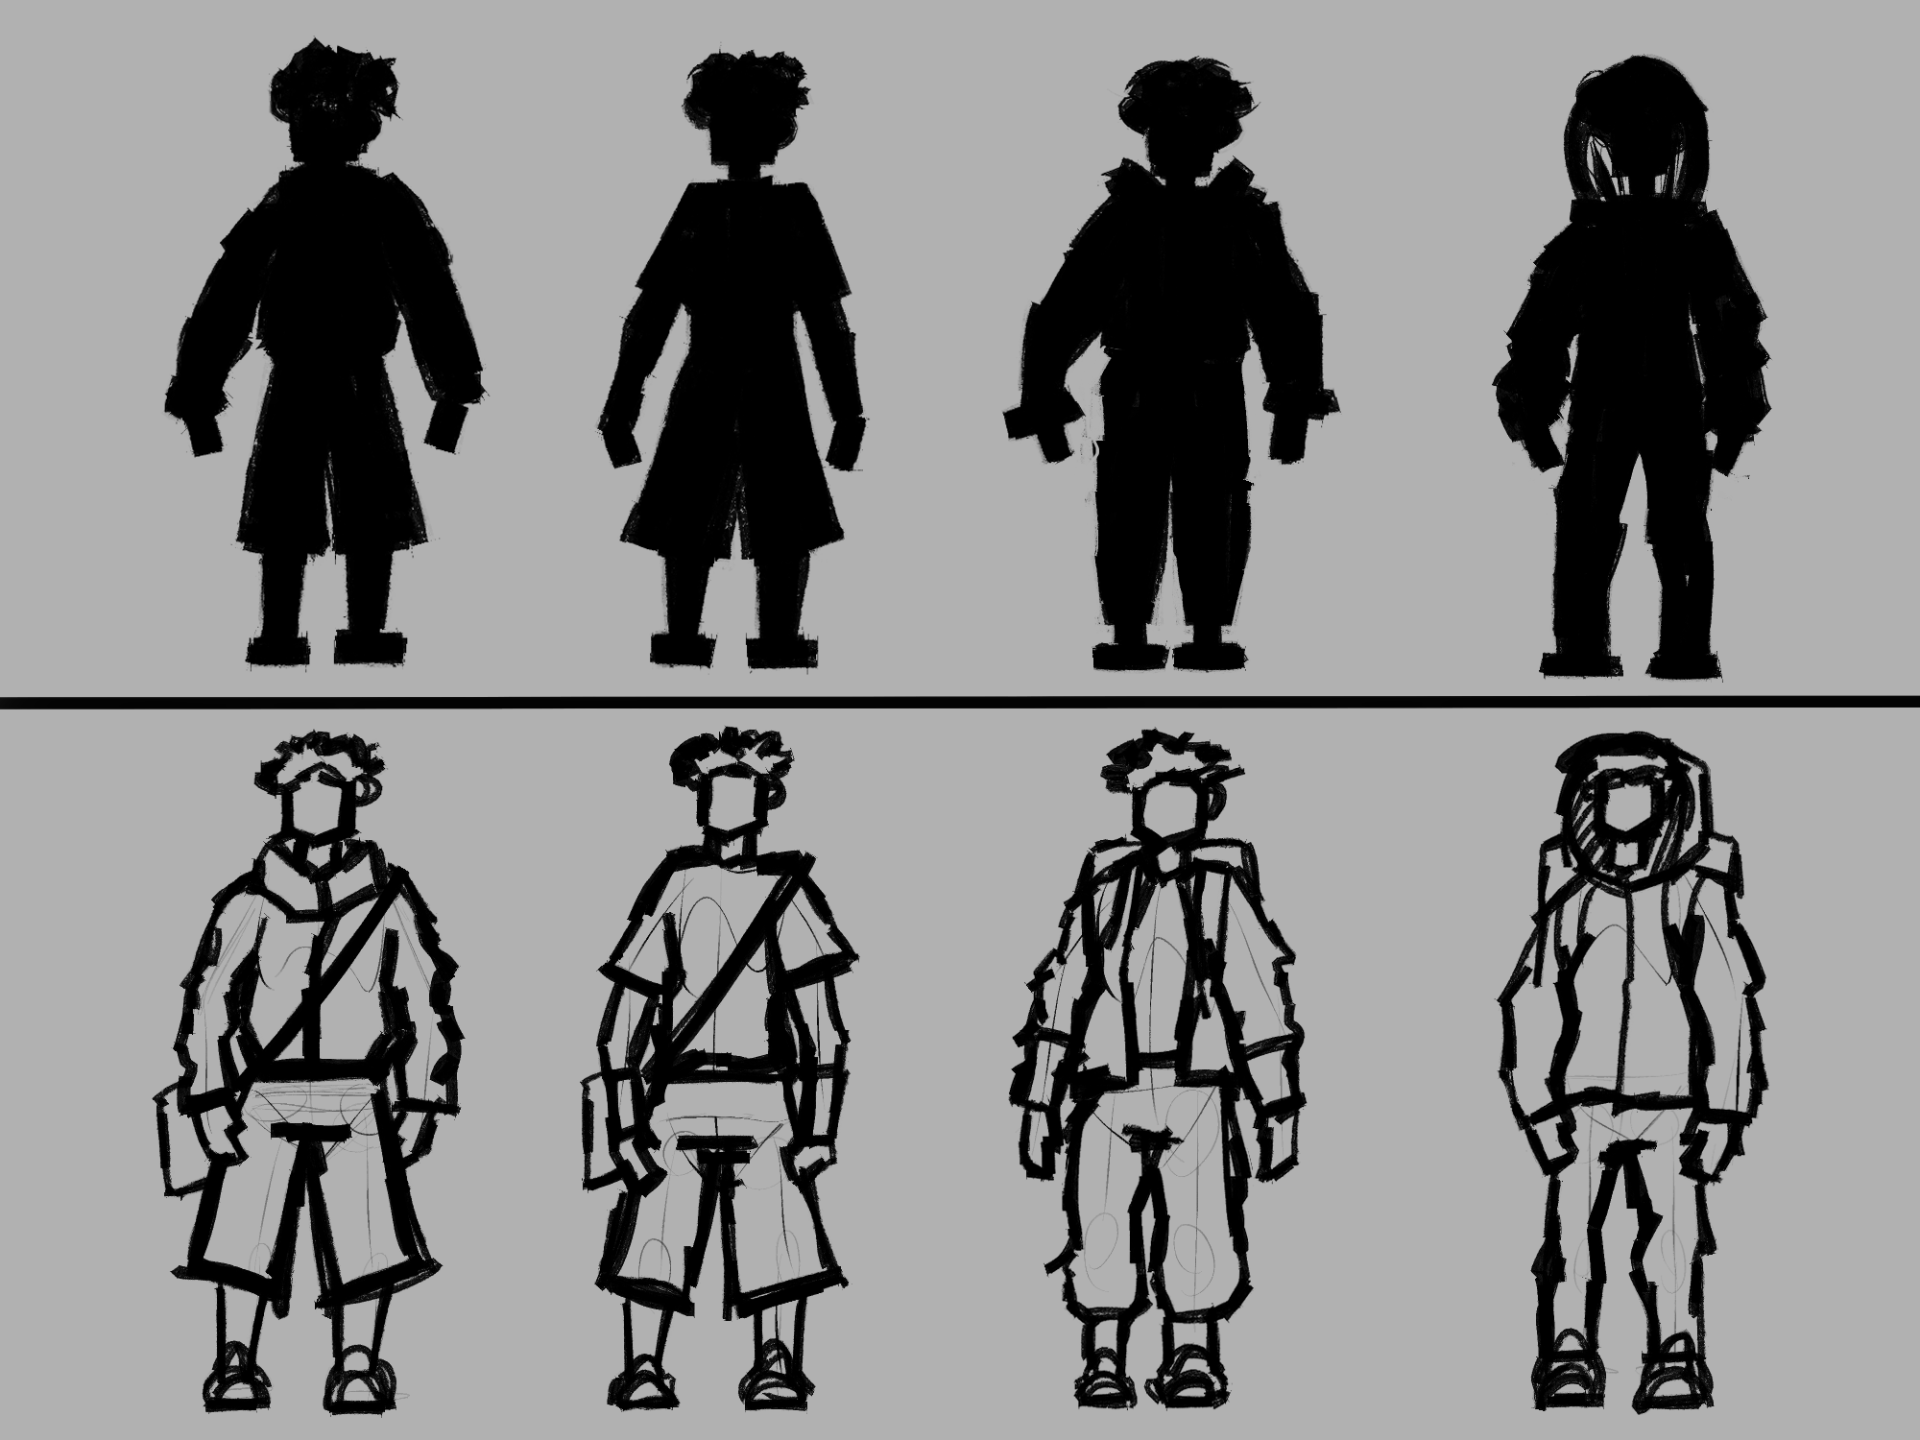
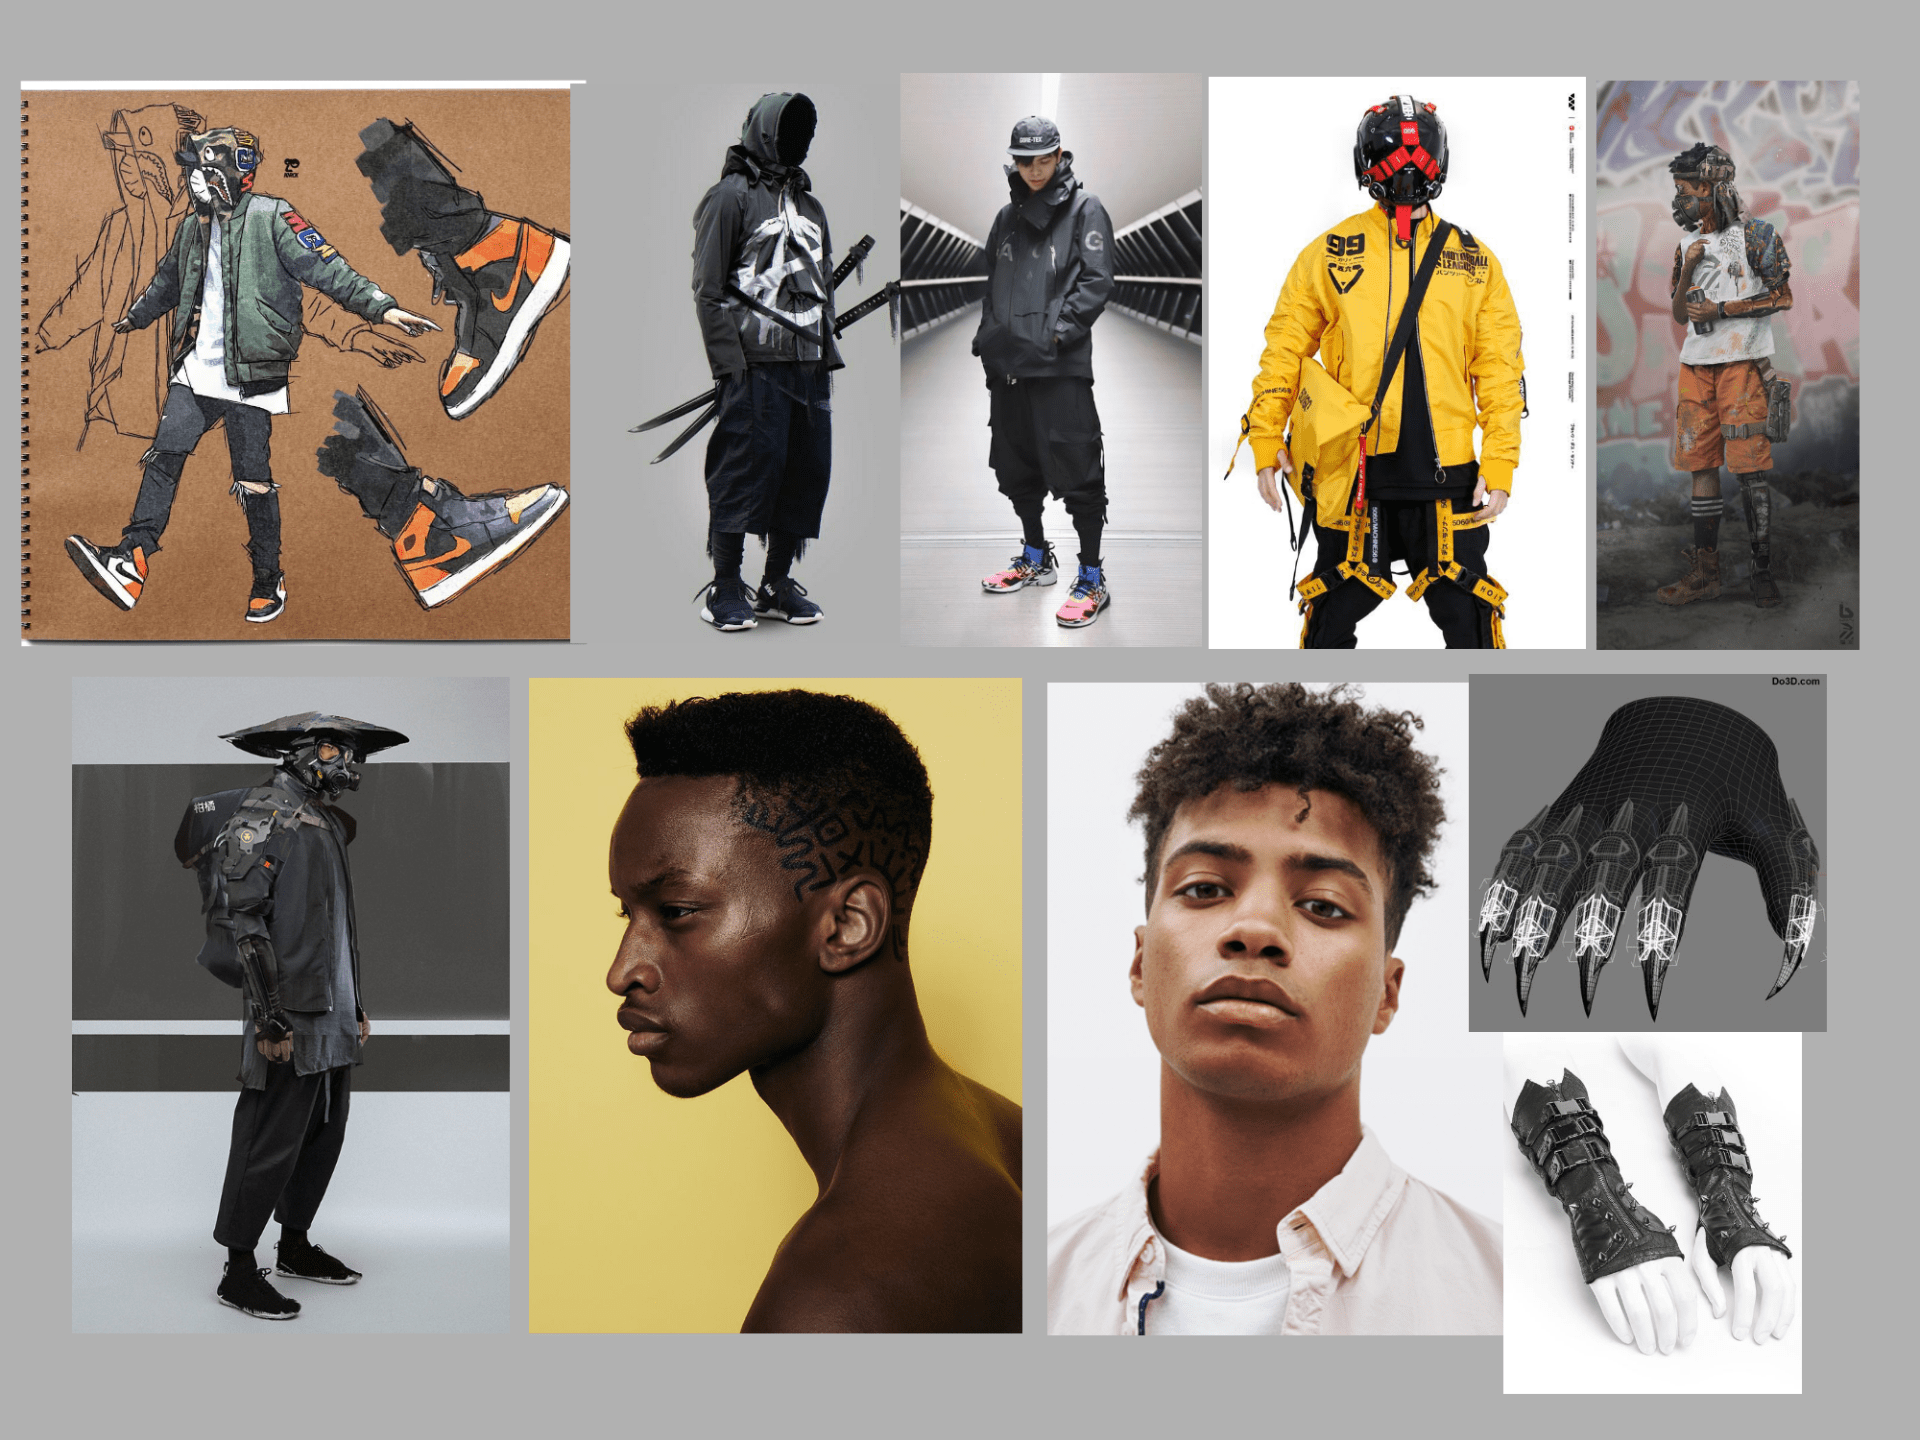
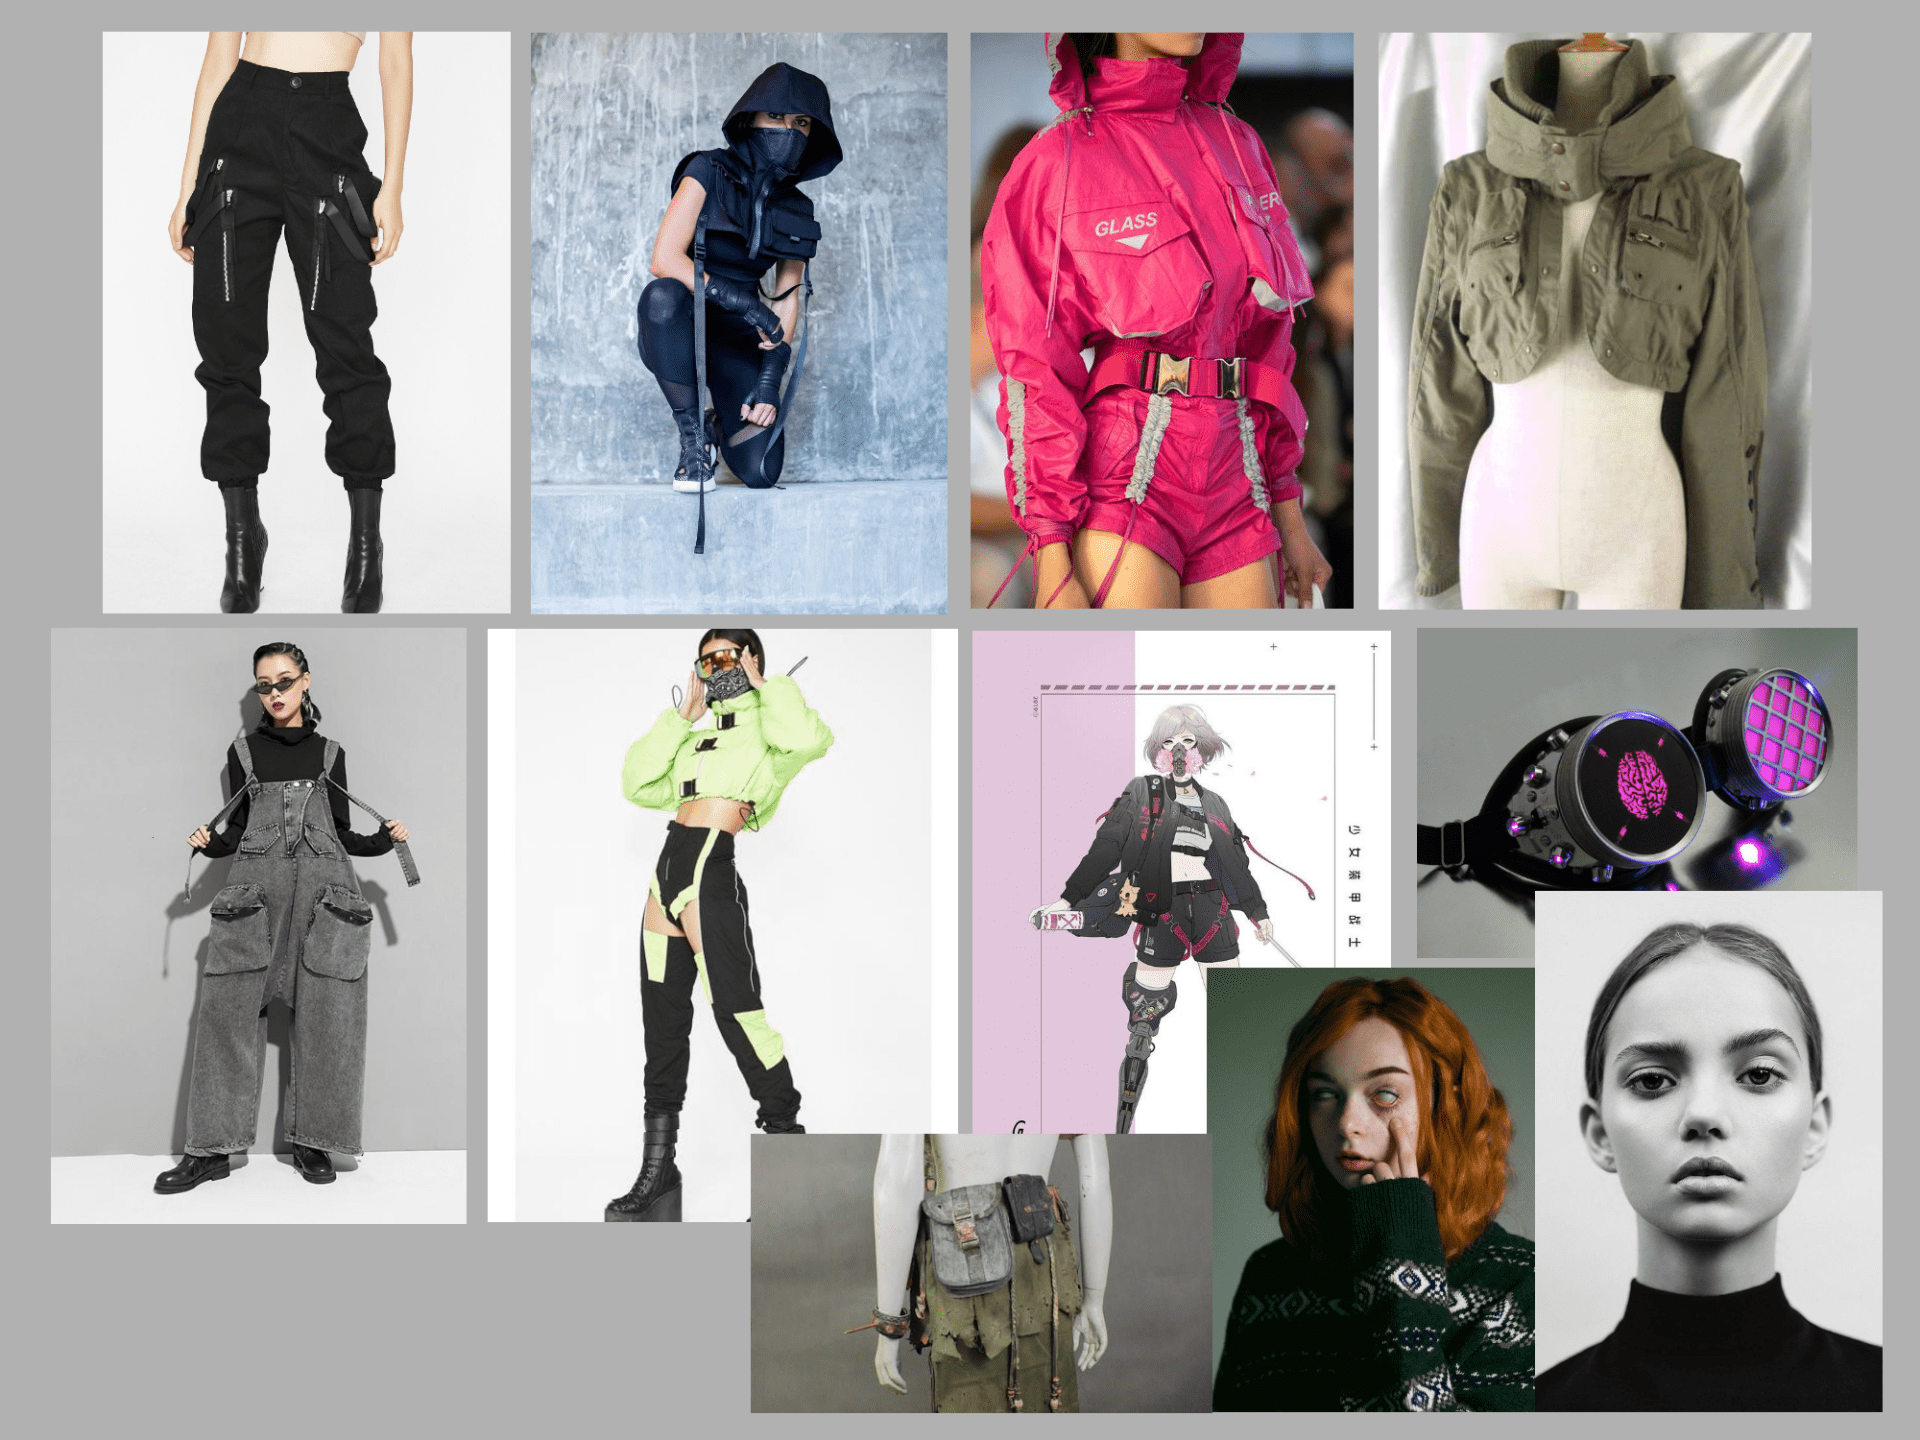
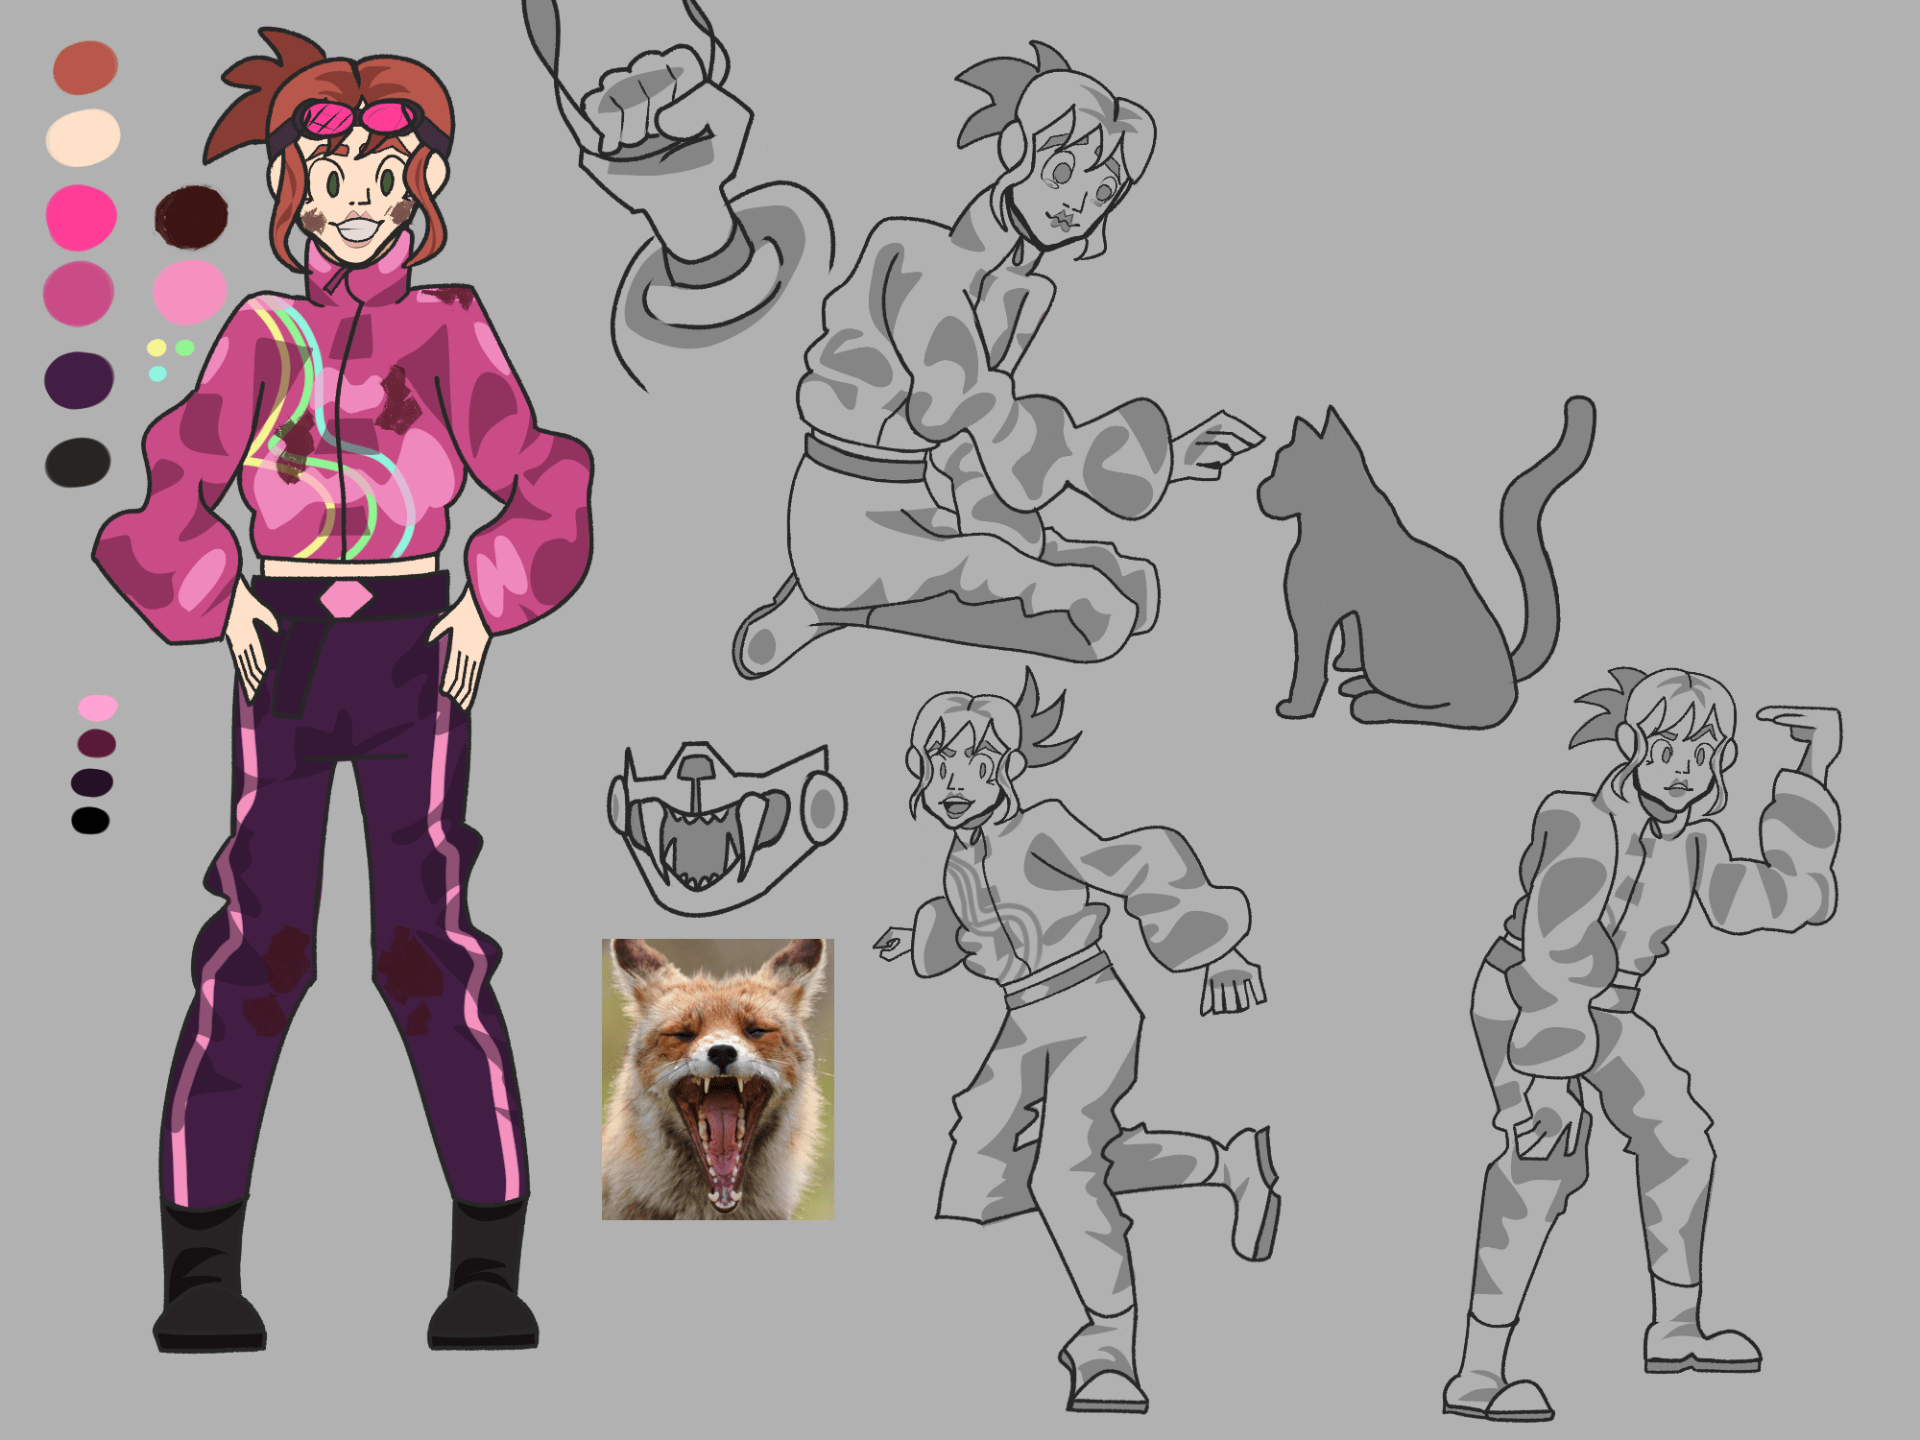
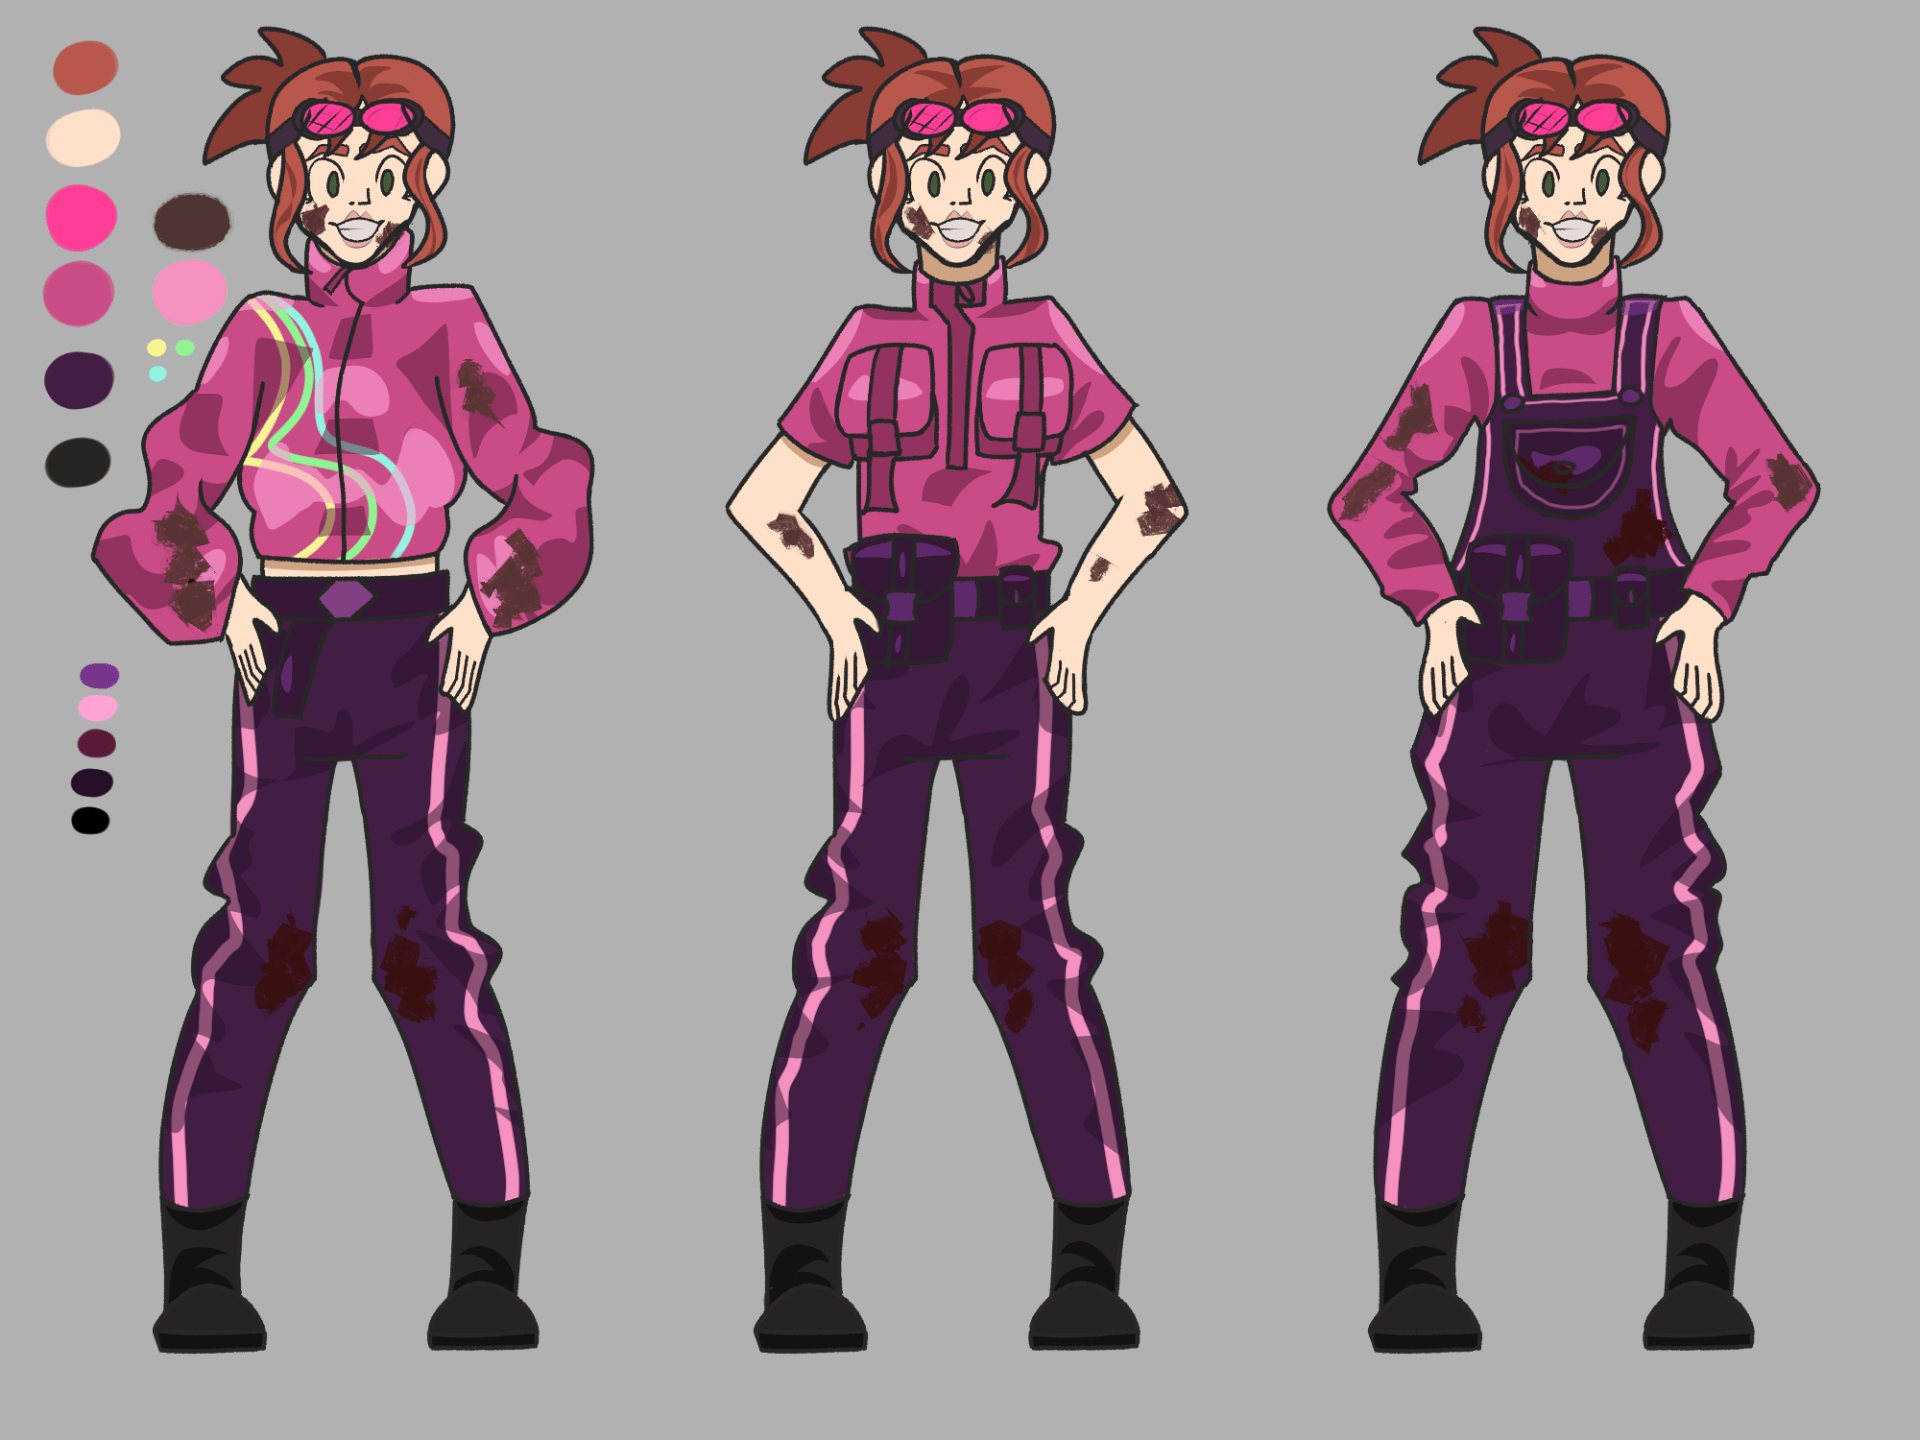
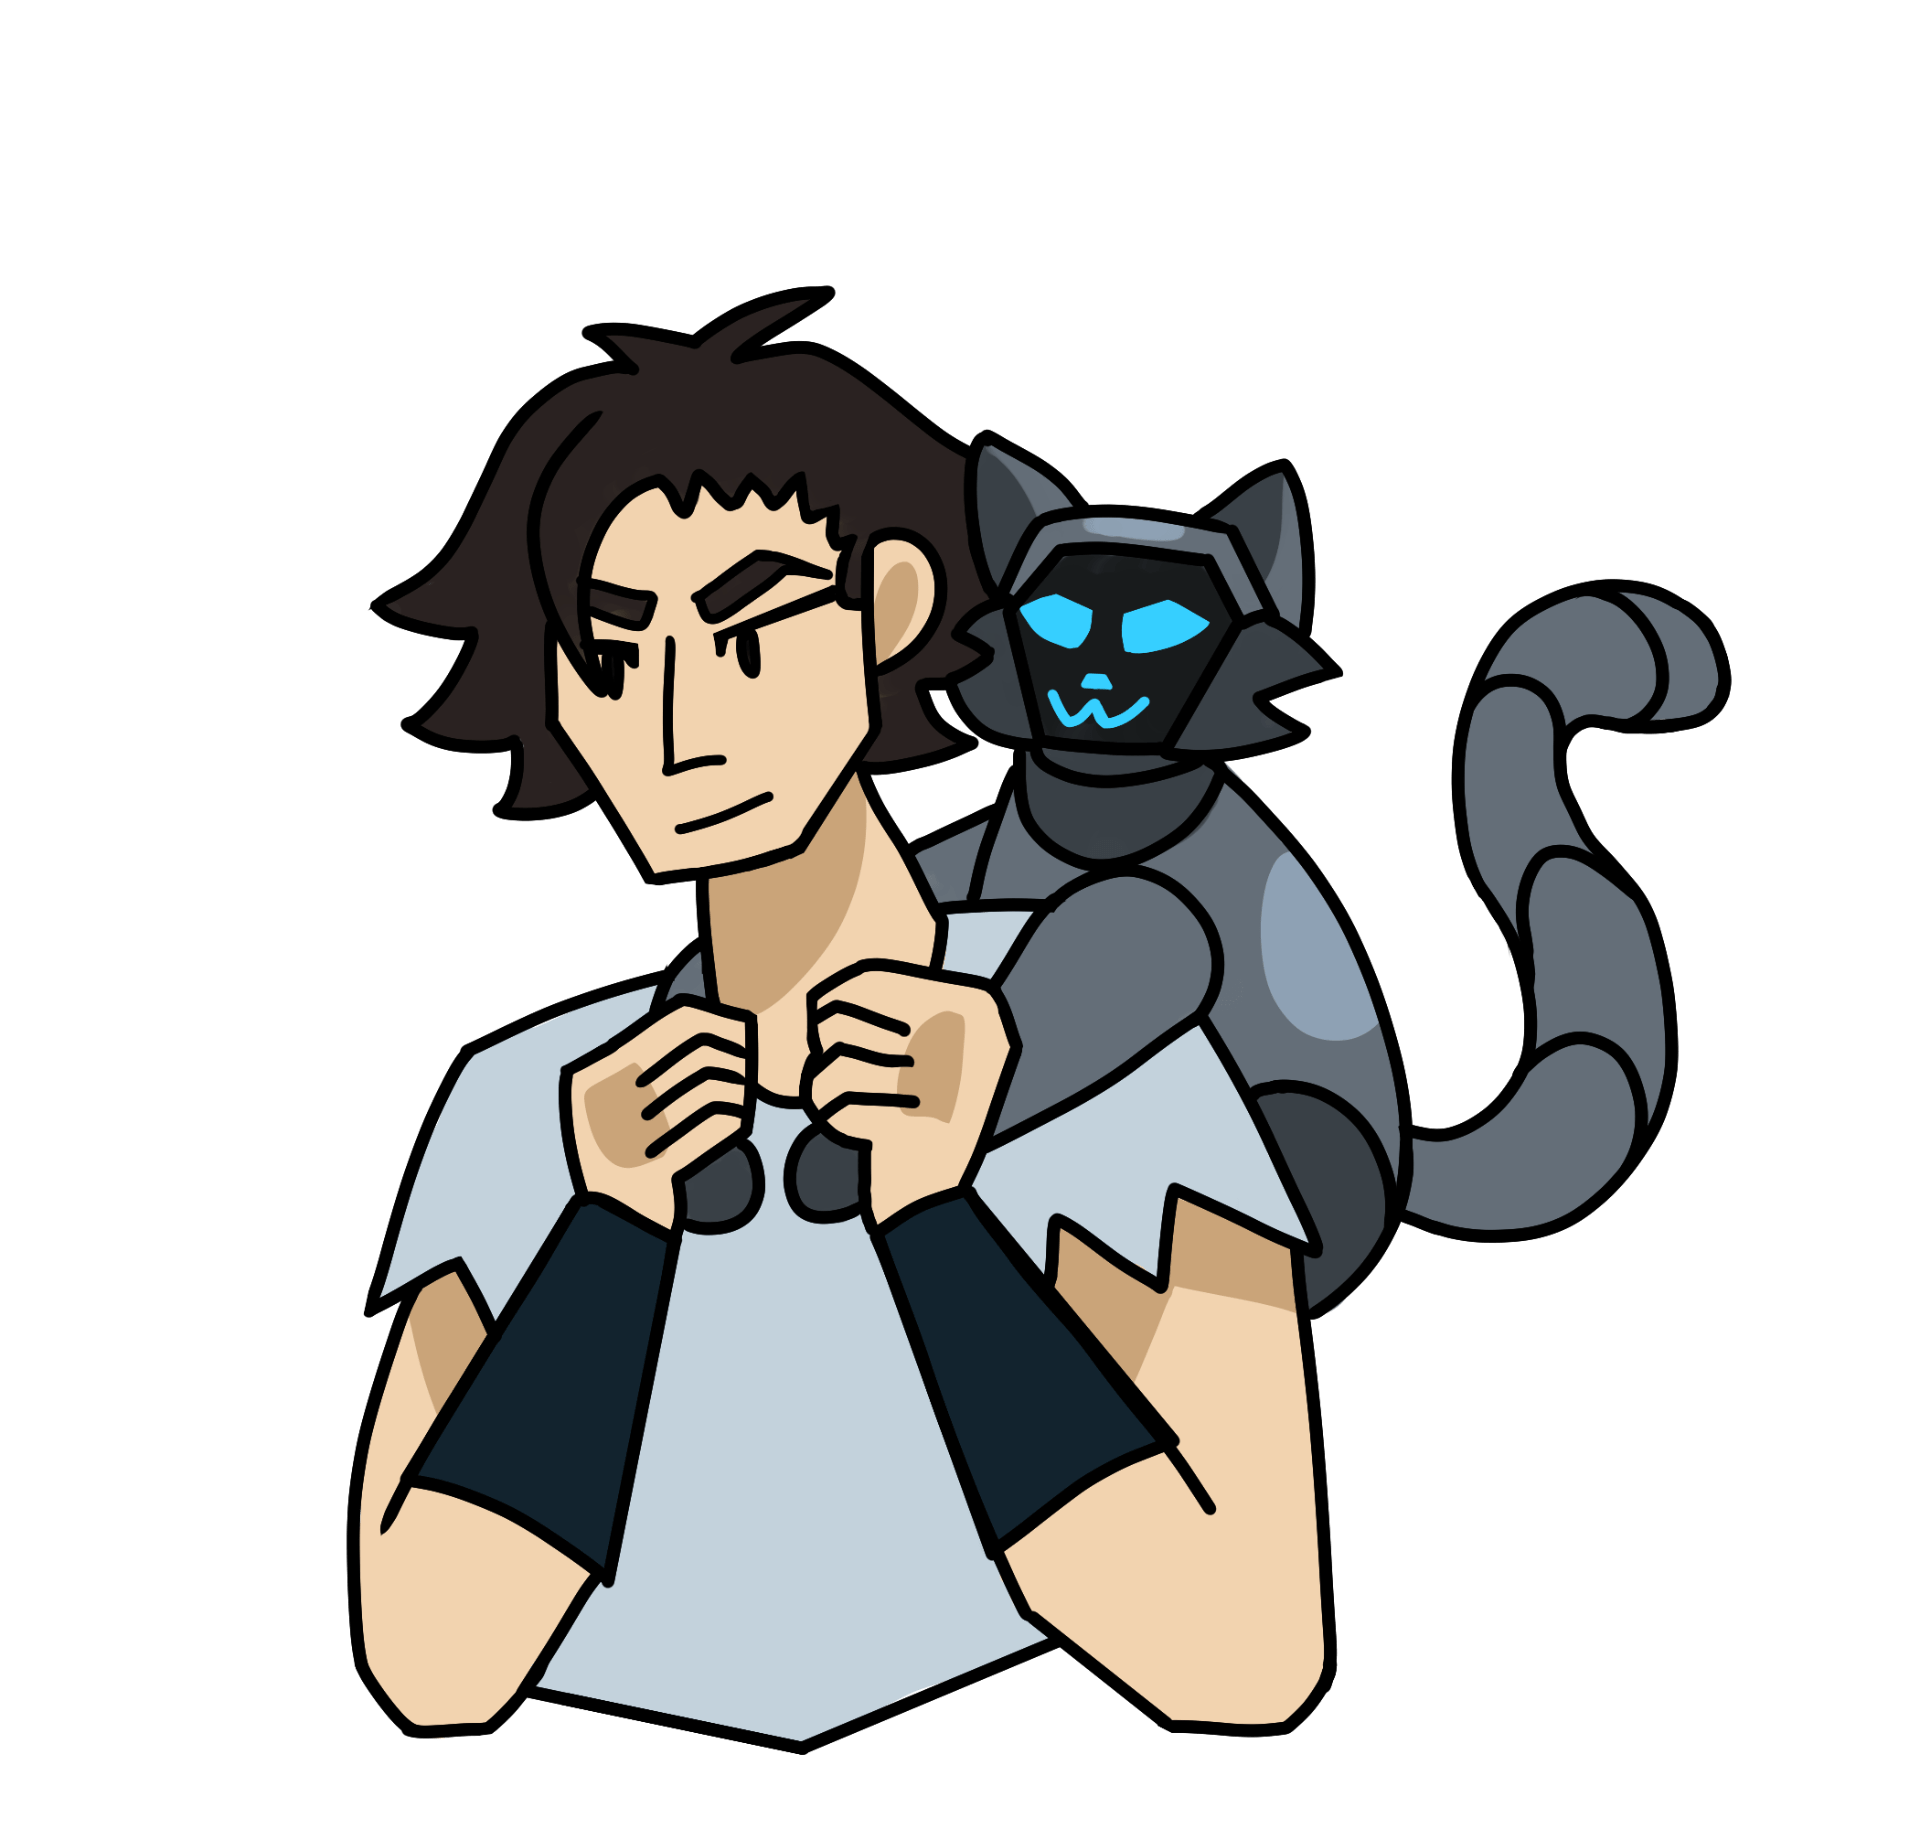
Character design: Character design was the next topic we learnt. We learnt about the structure of a character and how we can make it unique by finding its shape and form in silhouettes, experimenting with clothing, and finding their personality in their looks and movements. I made character designs for my world project, and studied three music artists I know, and characterised them based on their personality and looks. This was a challenge for me to do. I liked drawing the characters once I knew what I was drawing, however it took me a while to actually design the characters. In the future, this will help me design my own characters based on different kinds of personalities and traits.


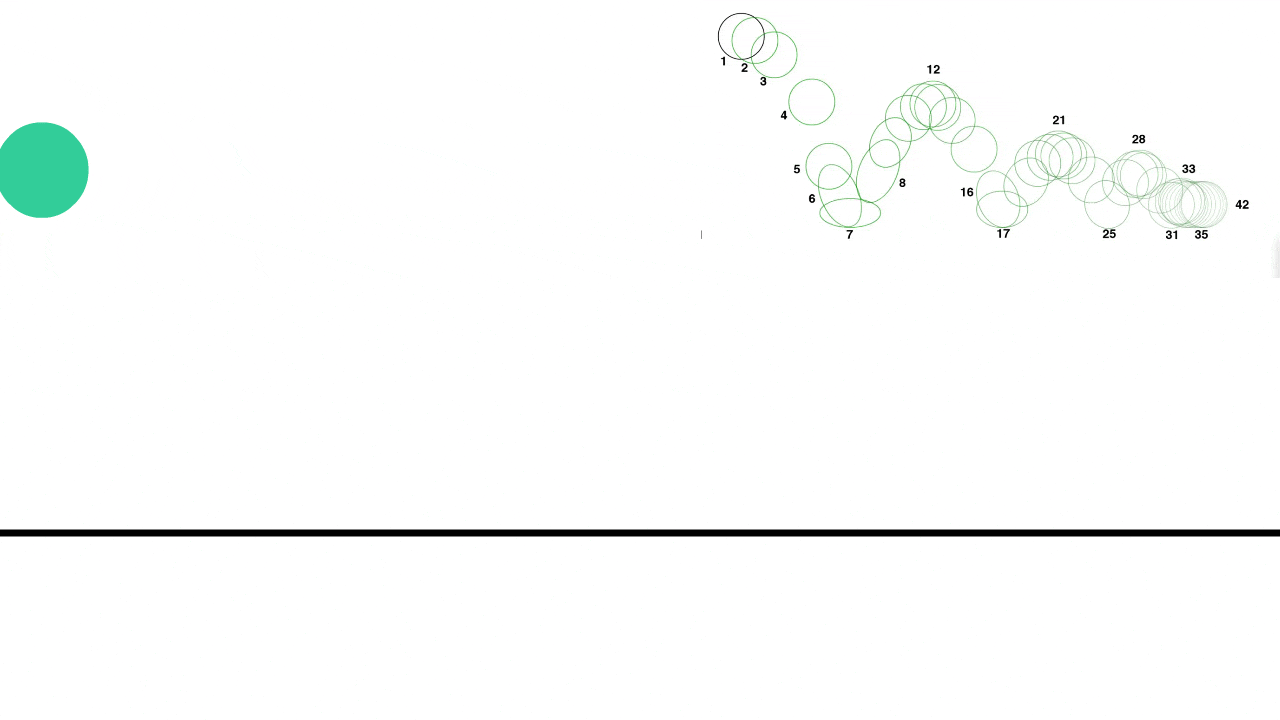
Animation basics: Animation basics was the next topic we learnt. We focused more on timing and spacing, where we practiced animation with a coloured ball. We were to focus on adding more keyframes as the ball is floating in the air, and less when it is falling down or bouncing up. This gives the illusion of a bouncing ball. we practiced this with three kinds of balls such as a ping pong ball/bowling ball. I liked working on this topic. It was enjoyable drawing out the frames and seeing the animation move, however I had trouble getting the timing just right for the momentum of the ball falling and bouncing. In the future, this will help me time my movements right in my animations.


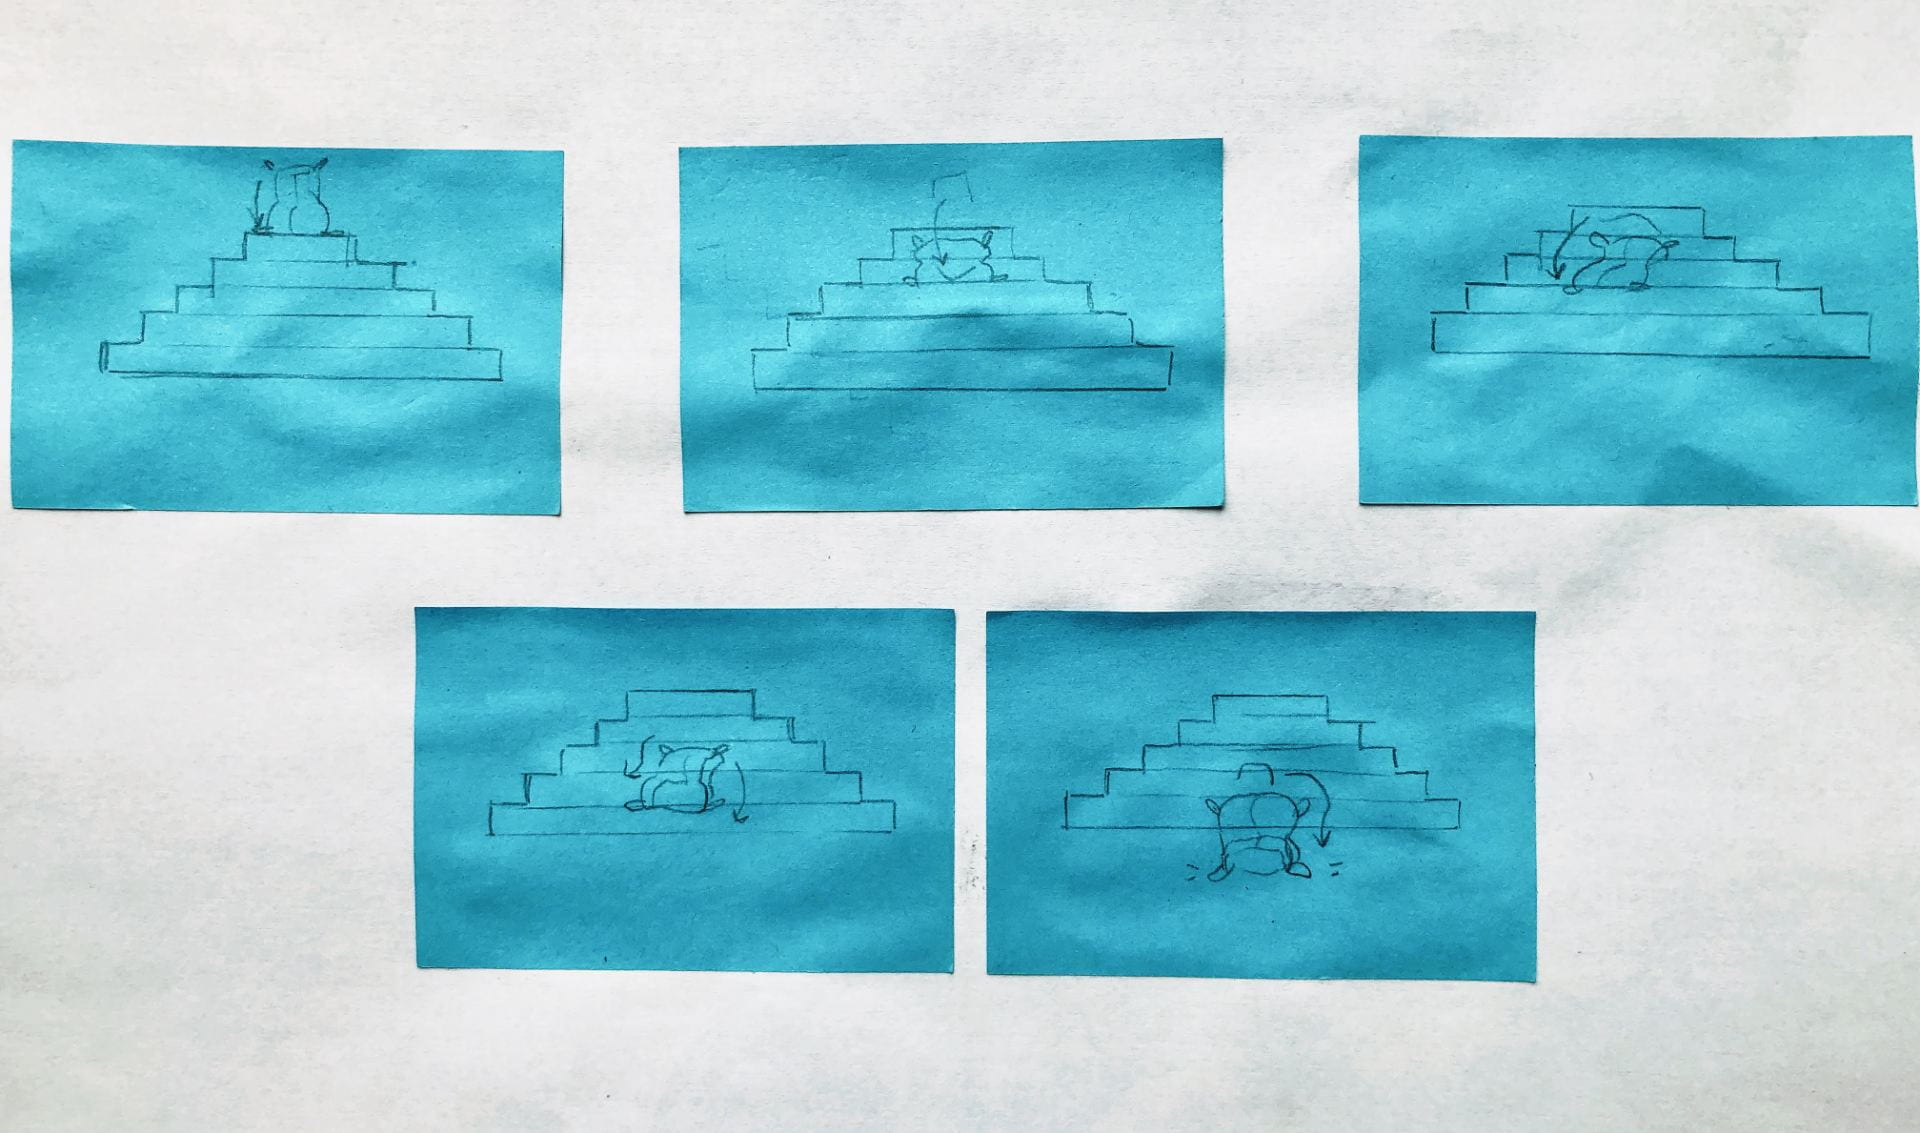
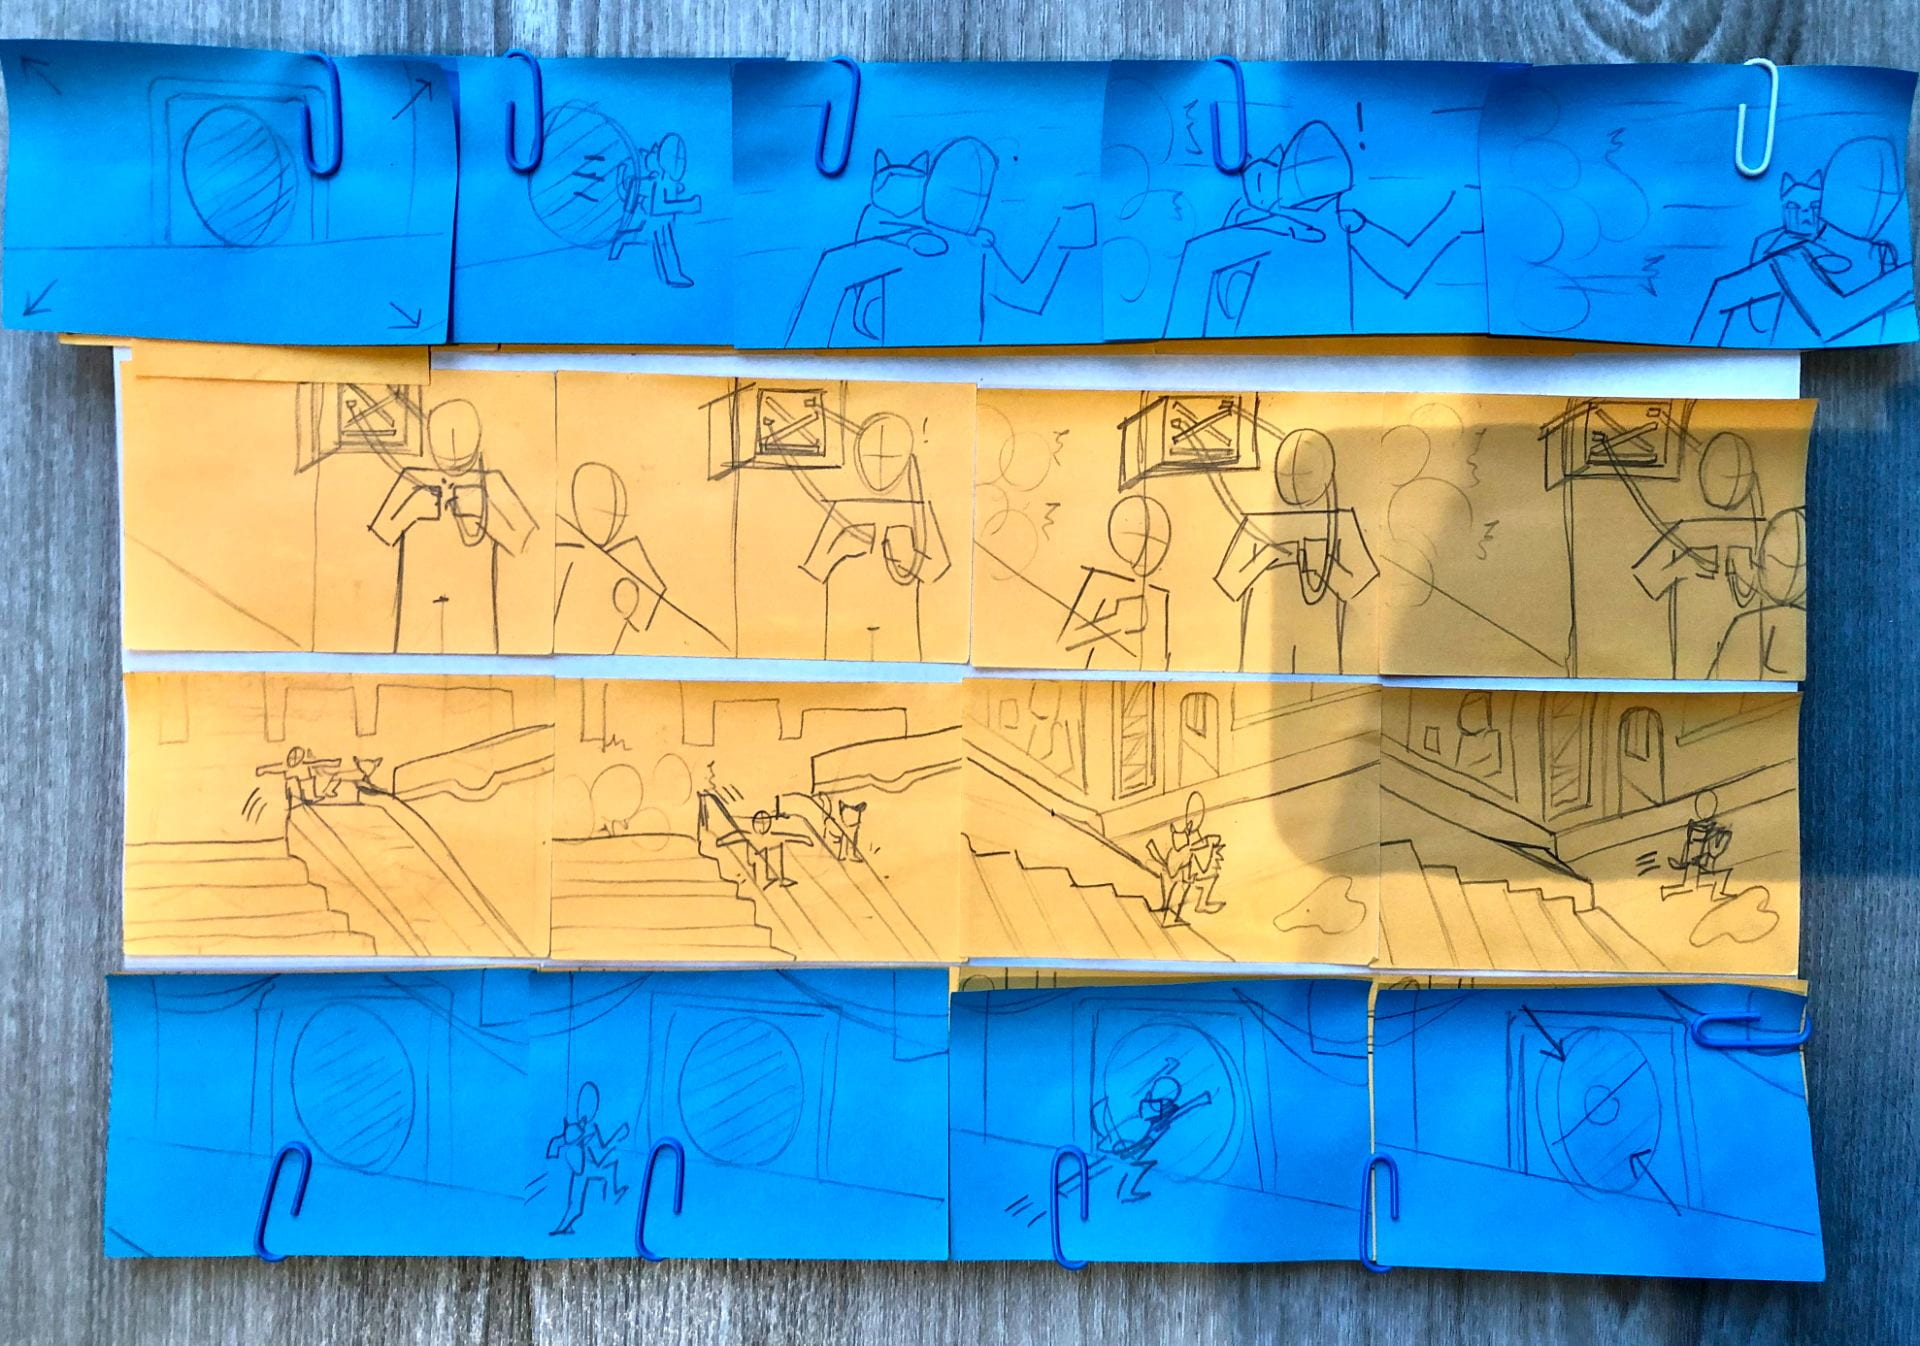
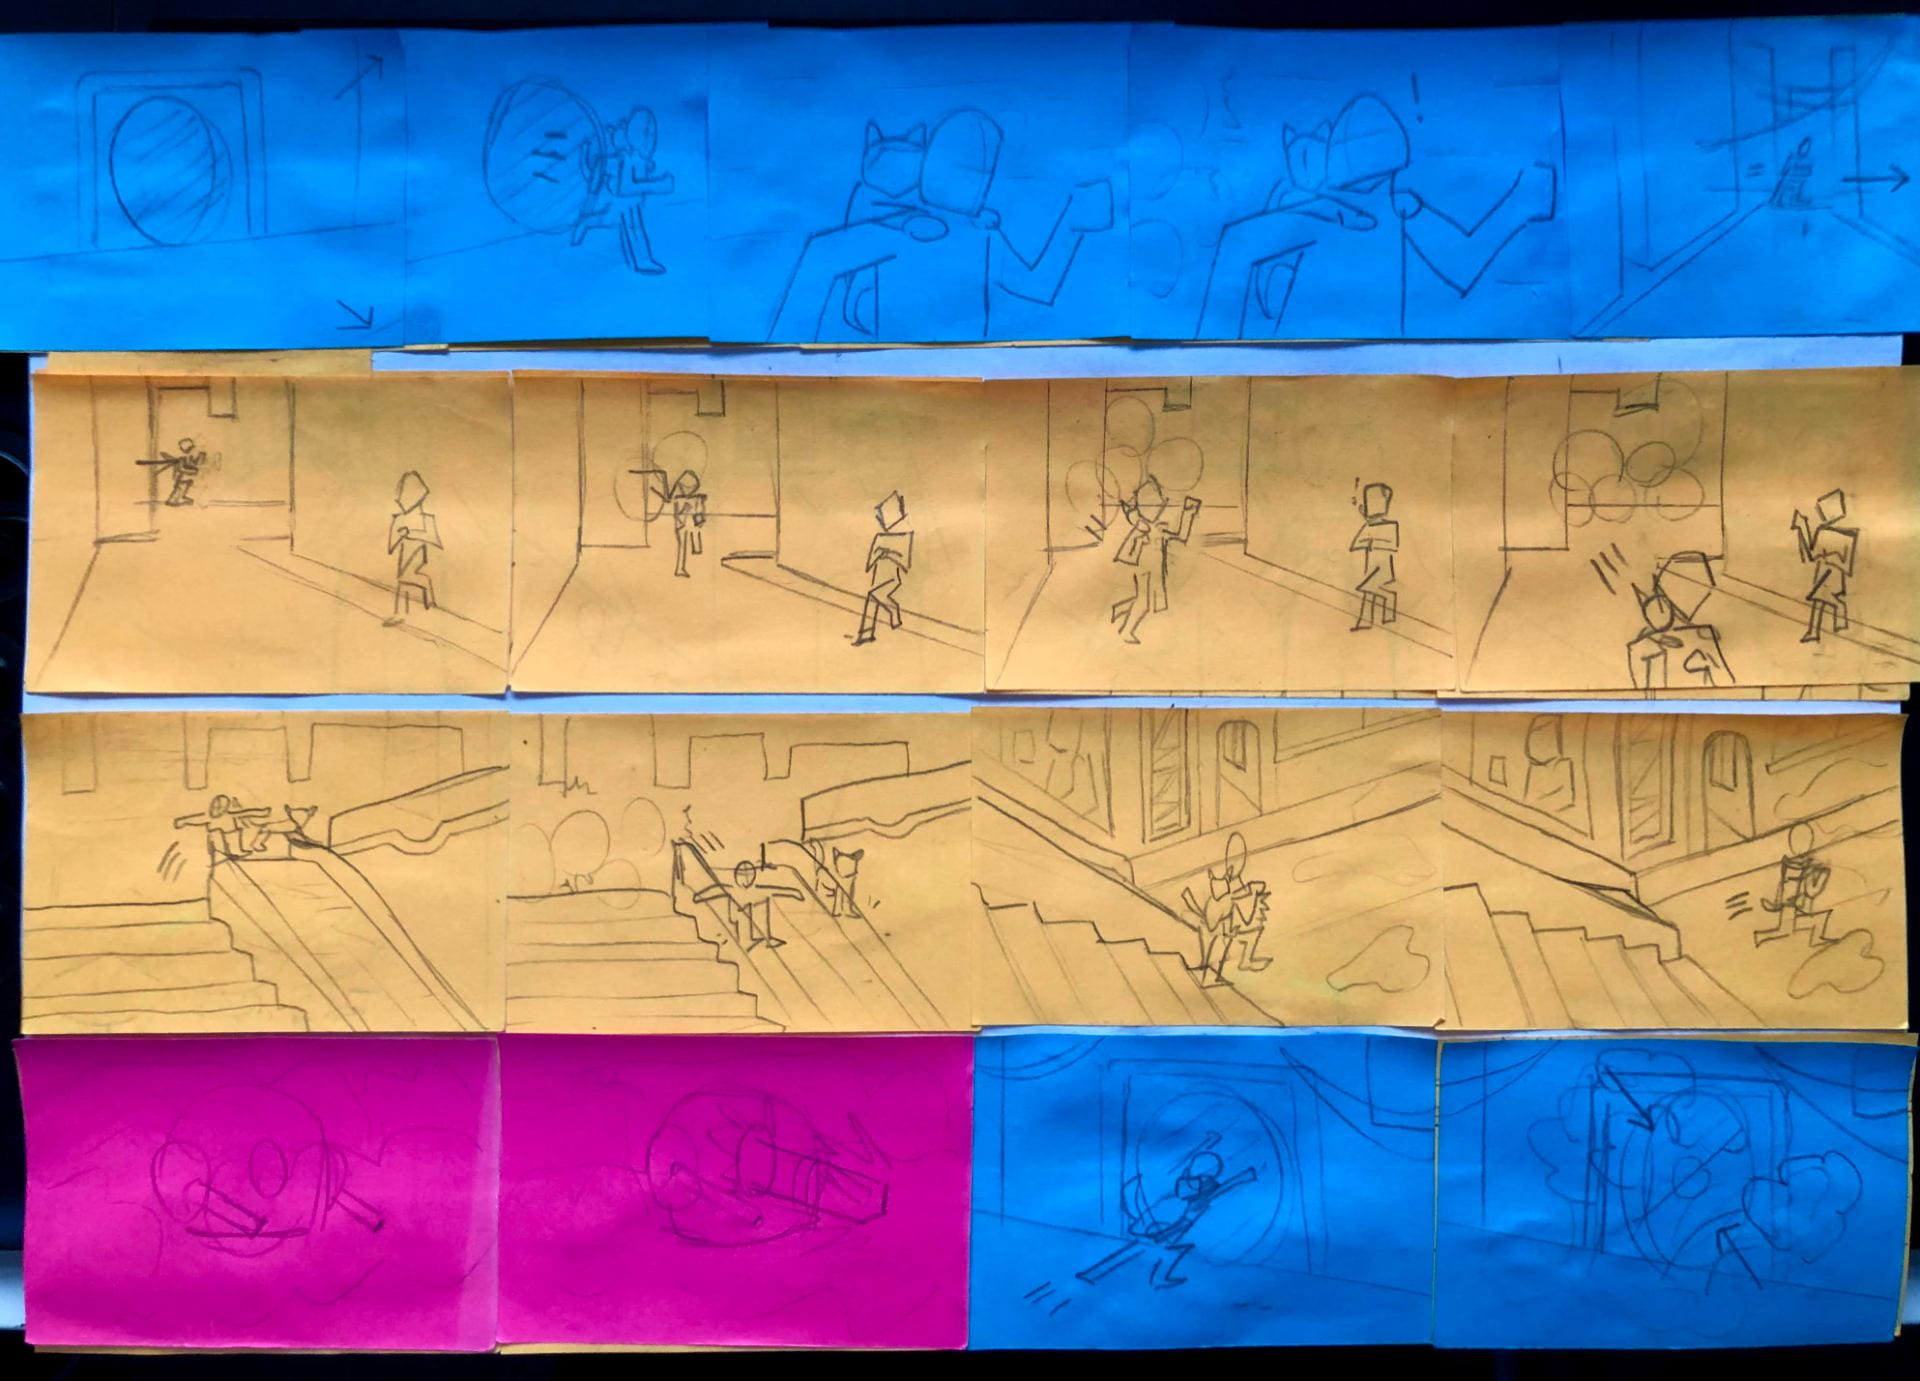
Storyboarding: Storyboarding was the next topic we learnt. We studied storyboards and how they serve the staging and anticipation of a scene. We made a storyboard for a flour sack sequence to practice the exaggeration and where important actions should be presented. We made another storyboard for our world project to tell its story in a simple animation. I really enjoyed storyboarding. I liked how I could exaggerate each frame and how it didn’t have to be so detailed, however there were times I had to change parts because the actions were too difficult to animate. In the future, this will help me structure my animation sequence and tell a story.


Animatics: Animatics was the next topic we learnt. We went back to our storyboards and brought it into a moving image. We used software to draw out our frames and put them together, making sure the timing is right and the staging is in the right place. I really enjoyed this topic also. I liked placing my frames together and adding the effects, however it took some experimenting and redo-ing to make sure the animatic looked good enough to reference when animating the real thing. In the future, this will help me find what sequences work and doesn’t work when taking from a storyboard.


Animating effects/animals: Lastly we quickly learnt about Animating animals and 2D effects. We use both an animal and effects in our final animation. I learnt about the main positions of an animal walking cycle, weight transferral, and where their limbs are placed when animals walk. I also learnt about the elements such as water, fire and smoke that require different ways to capture their presence such as, the irregular flames of fire, how smoke rises fast then slows down, and how water could have multiple actions based on what hit the water etc. I found these interesting to study and they helped out in our animation. I had fun animating flashing lights and a cats tail. In the future, these will help capture the presence of elements and animals.


Overall I am proud of myself for what I have achieved. I have learnt lots over these past few weeks and I can only get better at my work from here and towards the future. The teachings in this module has helped me become more aware of how I create my work and how to strengthen my creations with proper and logical ideas. I am excited to see what I can achieve next in this course. I have improved since I started, and these lessons will continue to help me develop my skills and produce new ideas for the future.

Week 13

During this week I had finally completed my full animation part for our Create a World project. It was a challenging, difficult project but I created something I am quite proud of. I know there are parts I could improve on such as the perspectives, running cycles, and frame placing. However, from this experience, I will be able to strengthen my skills and work for projects in the future. I am excited to see what I can do next with everything I have learnt in this semester.

As soon as I finished my part I got in contact with my group again to see where everyone was. We all added in sound effects which we thought suited our environment and later on picked a soundtrack to go with the action-filled sequence.

Here is my final animation sequence for the Cyberpunk world.


And here is our full animation with my groups work included!

Cyberpunk World – Week 12

During week 12 we have been working hard on our animation parts and making sure were always communicating where we are so we can bring them together and finish our video.

During this week I finished the overall movements of the sequence and I did the base colouring. There is much more to add later on such as shading, the cats tail and the flashing police lights. I will start working on these small touches after the presentation day is passed.


Week 12

During this week we have been busy working on our final animations. We were also tasked to present a slideshow including the progress of my groups work, how we feel about our project, what we can work on/do better next time and a preview of our animations so far. We watched each groups presentation together so we were given an overall idea of how everyone was doing and how they progressed to the world they have today.

Me and my group worked hard on making our presentation ready for Thursday afternoon. I provided the slides to put all our information in, we all collectively filled in the slides with information and then we were ready to record ourselves talking about our progress. We all recorded ourselves talking about their own progress overall then information about communication, pre-production and referencing were separated into another recording. I put the presentation and recordings together while Ben put together our animations to showcase to the class.


Overall our group did very well in presenting. I may have thought too much about the presentation and one point and took out two slides that I thought weren’t needed but would have made the presentation stronger. I feel bad for taking it out but the message came across well even without those two slides.

(Video of presentation is too big to be uploaded here)

Cyberpunk World – Week 11

During week 11 we have been busy working on our animations. So far I have completed a portion of the running cycle for our main character. I have also added in the background and other background movements like the side character and the flashing screen. I have yet to add in the cyborg cat, I decided that I would add it in as soon as I had finished the running sequence. This is a clip of what I have so far:


We took a one-to-one tutorial this week for the tutors to help us out and answer any questions that we had. I talked to Aodhan and he have me some great feedback and advice for the bits of animation I had completed so far. This is the feedback he had sent to me:

Make his stop and turn more panicked and less casual. Fix the perspective on the left hand building, foreshorten the open apartment bit. Push the depth a bit more by making your skyscrapers lighter. Make him a little bit bigger as he comes towards the screen. Line thickness for your BG to help with depth. Thicker lines in FG.

With this information I took the time to edit and polish up anything I needed to work on. I started by redoing my background. I made sure I didn’t spend too much time on it, though I worked hard to fix my perspective and give it a more effective look. I used photoshop’s star tool to make perspective lines. I also took note to make the lines thicker in the foreground and thinner in the distant. As a result my background looks much better and still fits well with what I have already animated. I noticed this is a big improvement from my first few experiments with the background which I am pleased with. It takes a lot of practice to get the hang of perspectives.


I have also been working on the main character and his response to the danger coming towards him. I redid my sketch sequence (at the start of the video) to give a more panicked, sloppy running effect. this guided me to edit some of my frames to the new poses and therefore achieve a more engaging running sequence. Although I was liking how the running sequence was looking, it just wasn’t giving the right emotion that we were going for. this improvement will help the audience to understand what is going on and what emotion it is showing.


Week 11

In week 11 we studied 2D Effects. 2D effects consists of elements like water, rain, fire, smoke and explosion which in animation can be made to enhance a scene and be a form of substance for an action. There are different types of timing cycles for the different elements to create their organic and realistic presence as they are in real life.

Source: Week 11 – One to one feedback tutorials & animating 2D effects, Animating 2D effects.mp4

Burning fire

      • Not repetitive
      • Can change shape very fluidly – the bigger the fire the longer the flames take to reach top of fire
      • Requires cycle of 1+ seconds
      • Can be arranged in or out of order
      • Result – to look more alive and unpredictable as fire is in real life


Smoke

      • Smoke can move in waves and circular curves, can be smooth, fluid lines or puffy shaped
      • Drawings become closer together as smoke rises to top
      • Requires cycle of several seconds (3+)
      • action is fast at start then slow as it rises
      • Result – to achieve the presence of smoke dissipating into air


Snow

      • Requires cycle of several seconds (2+)
      • Drifts in wavy lines, needs longer cycles to reach bottom of surface
      • E.g. if you have animated snow in three positions of a scene, create three long cycles at different lengths – foreground moves faster than ones further away
      • Result – to give the effect of a longer cycle (no noticeable repetition) of falling snow


Flags/Banners

      • Requires no key frames – All frames stimulate movement
      • Each frame should flow smoothly to the next
      • Can use secondary action / follow-through cycle
      • Result – to give realistic approach to wind catching flag


Water

      • Smooth movement
      • Requires cycle of 1+ seconds, can be split into two different movements
      • Timing is crucial; too slow – oily, too fast – fizzy
      • Water splashes radiates outwards into sheets, then splits into individual drops – splash depends on weight of object that hits water and/or depth of water surface
      • Result – for a realistic rise/fall/curve movement


Rain

      • Mechanical movement
      • Can fall in different intensities, directions and slopes
      • Requires fast timing/multiple layering
      • Foreground raindrops tend to be faster than further away raindrops
      • Needs long continuous cycle
      • Result – effective rain fall and splashes


Explosions

      • Explosions are effective to shock the audience – meant to be staggering and exaggerated
      • Anticipation, then short series of bursts, then dispense of smoke
      • Requires cycle of several seconds (3+)
      • Result – dramatic effect to action


2D effects are important in animation to give life and purpose to animated objects in a sequence. With 2D effects comes lively, realistic and entertaining actions.

Source: Week 11 – One to one feedback tutorials & Animating 2D effects, Animating 2D effects.mp4

In our World project we are looking into creating 2D effects such as explosions and smoke, we will experiment and see how this goes for us.


We took a one-to-one tutorial this week for the tutors to help us out and answer any questions that we had. I talked to Aodhan and he have me some great feedback and advice for the bits of animation I had completed so far. This is the feedback he had sent to me:

Make his stop and turn more panicked and less casual. Fix the perspective on the left hand building, foreshorten the open apartment bit. Push the depth a bit more by making your skyscrapers lighter. Make him a little bit bigger as he comes towards the screen. Line thickness for your BG to help with depth. Thicker lines in FG.

My edits to my animation are shown in blog post Cyberpunk World – Week 11.

Year 1 – Semester 1

Semester 1 of First Year

Week 1 – Shape / Form

Week 2 – Composition and Perspective

Constellation world – Week 2  – Perspective work/first concepts

Week 3 – Tone / Value


Bioluminescence World – Week 3 – Environmental design

Week 4 – Colour theory


Cyberpunk World – Week 4 – Colour theory

Week 5 – Character Design

Cyberpunk World – Week 5 – Character design


Week 7 – Animation Basics

Week 7 – Animate a Flour sack

Week 8 – Storyboarding


Week 9 – Animatics


Cyberpunk World – Week 10-11 – Development work

Week 12 – Presentation Week

Rough animation


Final animation (Group included)

Back To Top
Skip to toolbar