I did a whole bunch of tasks before starting any of the animations but it was on campus and I didn’t think to keep a record of their development for the blog. They were pretty simple back to basics stuff, covering the workspace and tools in Maya, and some animation principles. The first task was to block out a ball’s movement using the stepped mode in Maya changing the spacing to achieve an ease in and out. The second task was to spline a blockout using the animation graph editor. We had a task focusing on arcs, animating a head turning. We animated an arm to distinguish between FK and IK, as well as practice anticipation and follow through. There was a lot of stuff we covered/ knew already but it was a useful refresher since I hadn’t used Maya in a while.
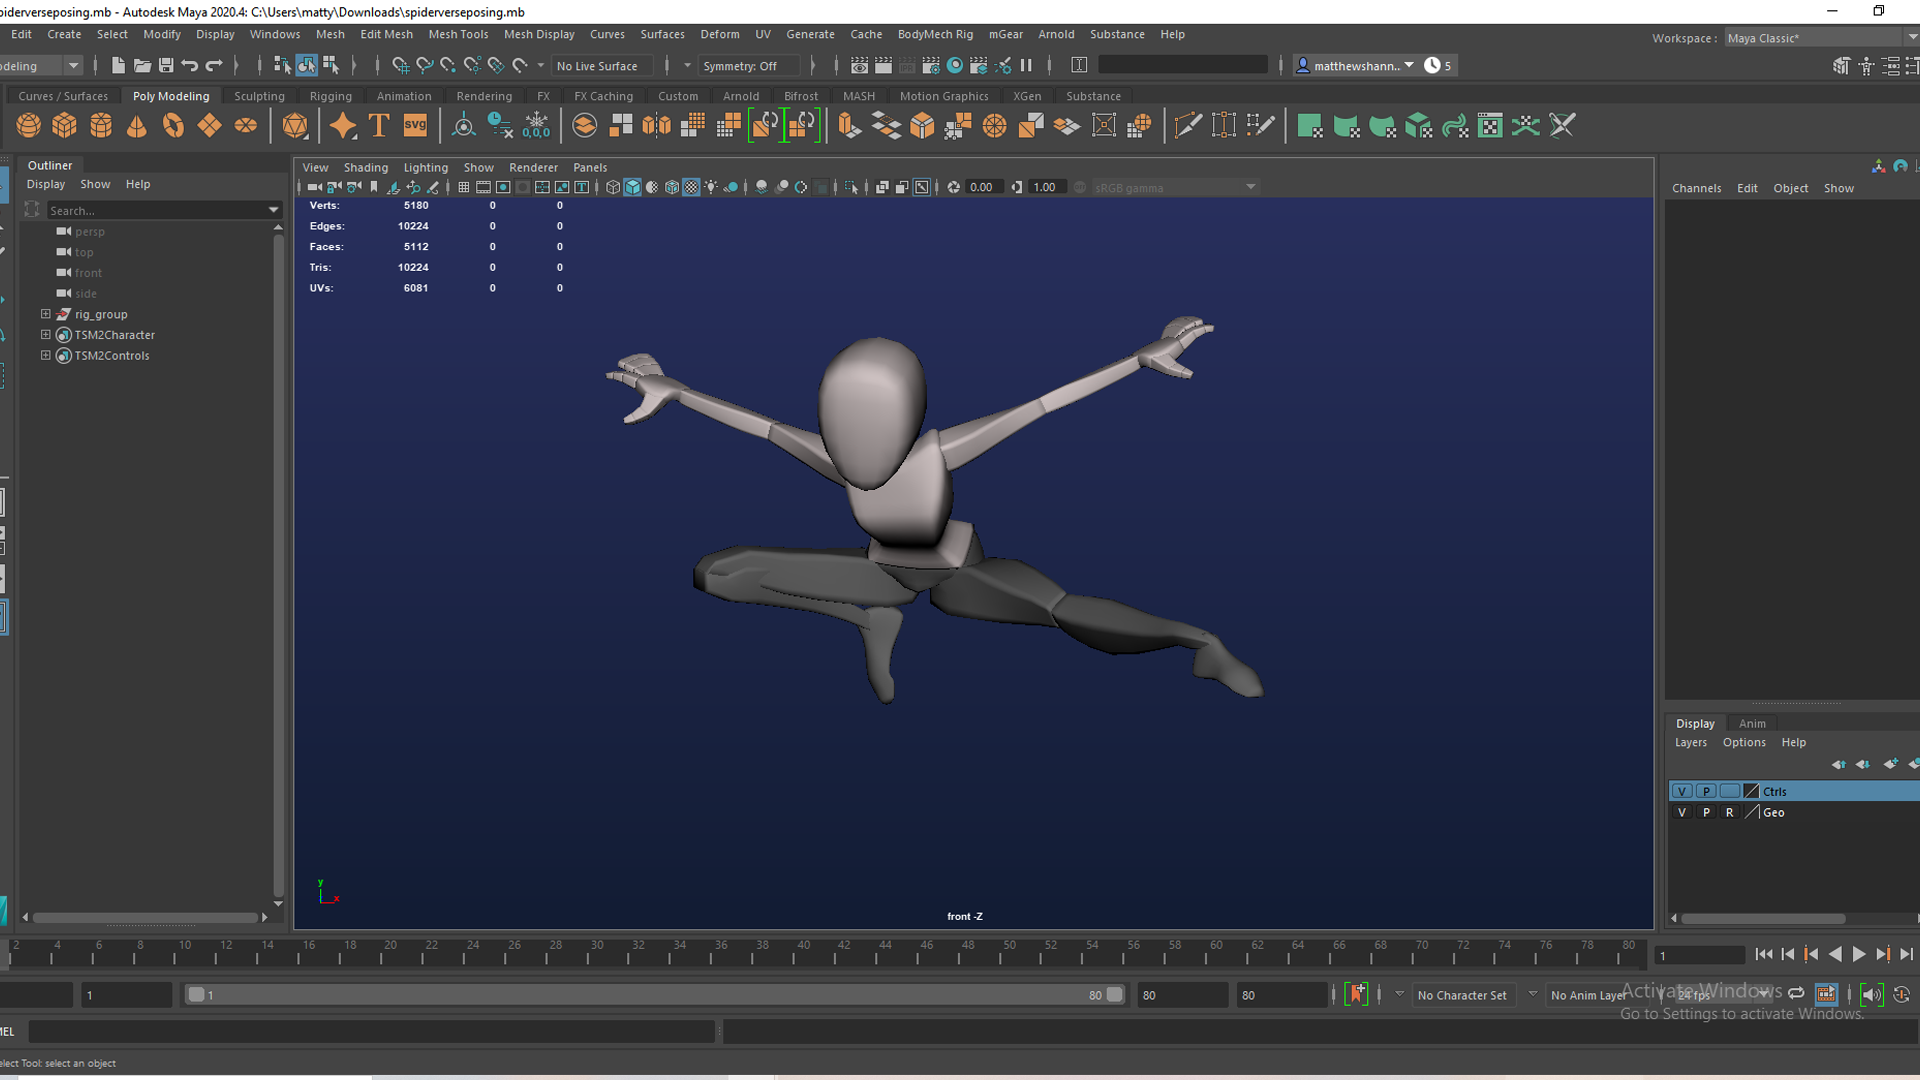
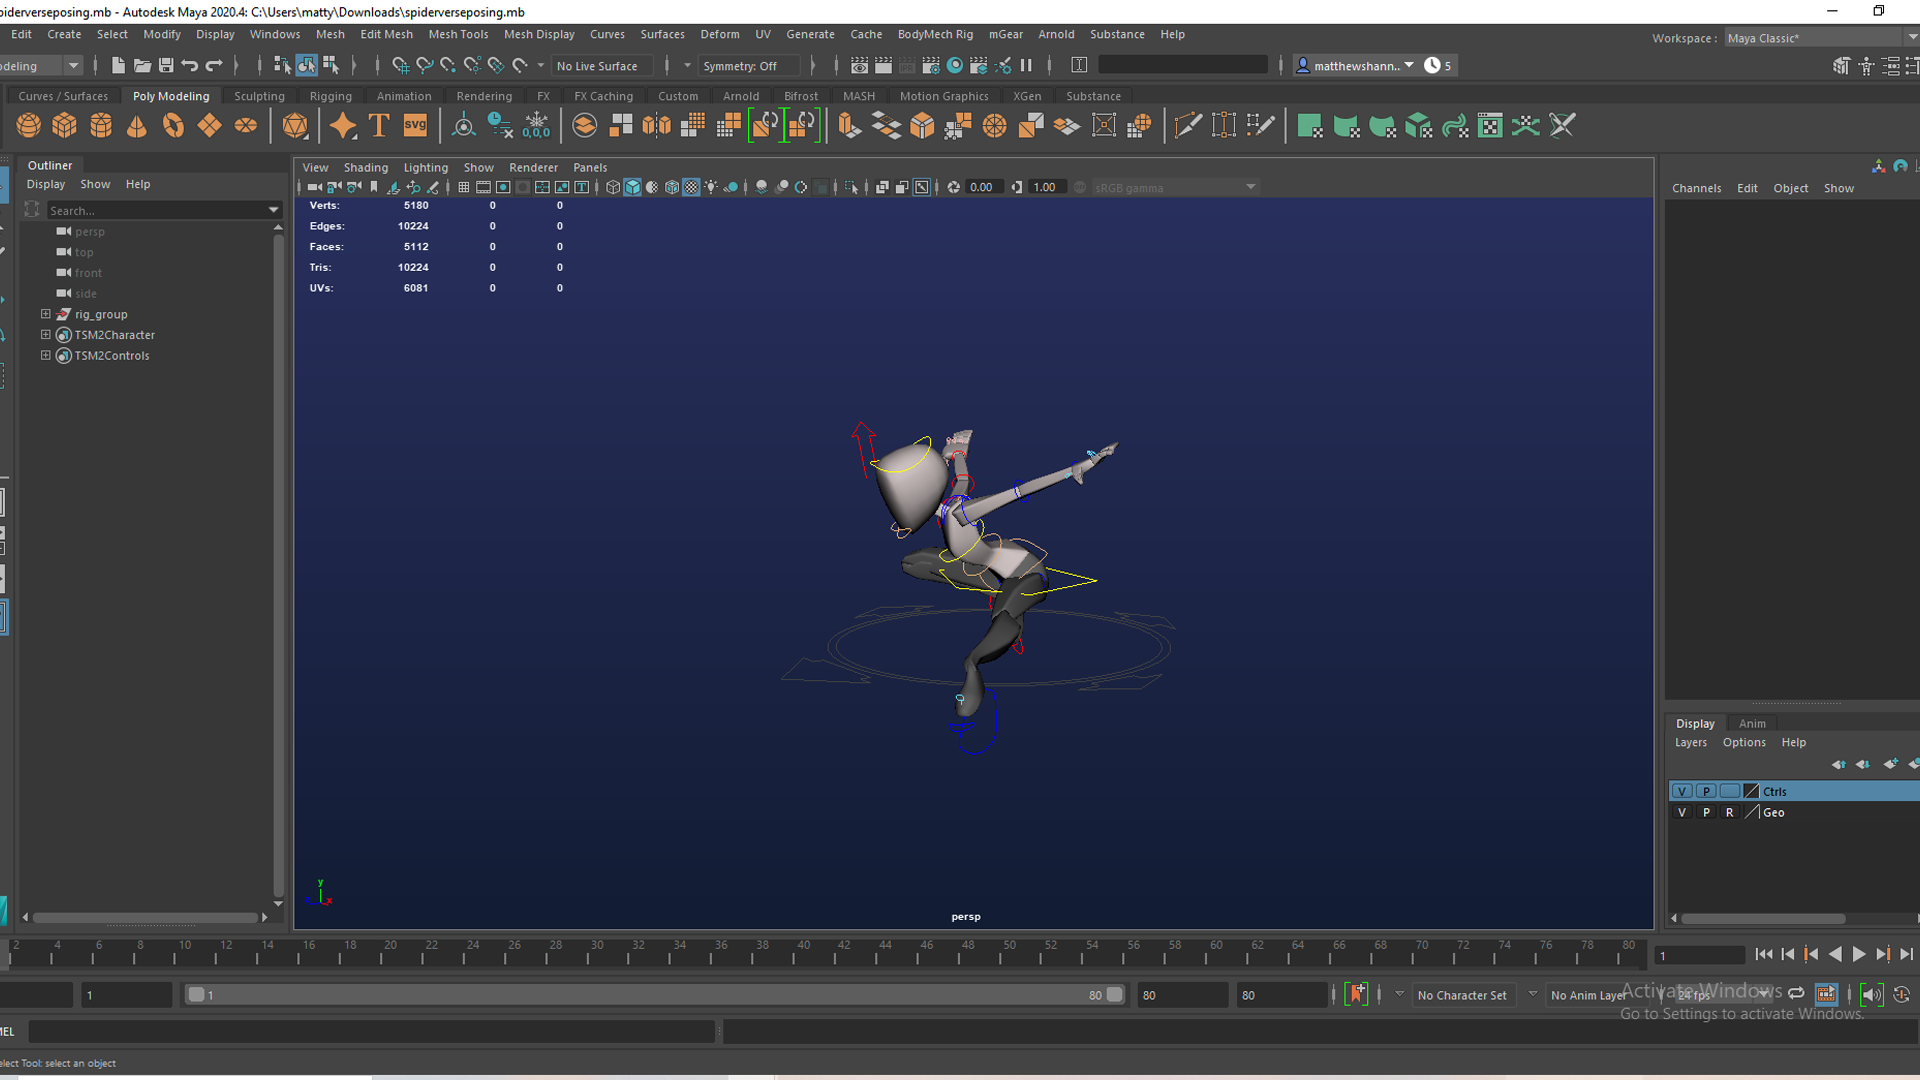
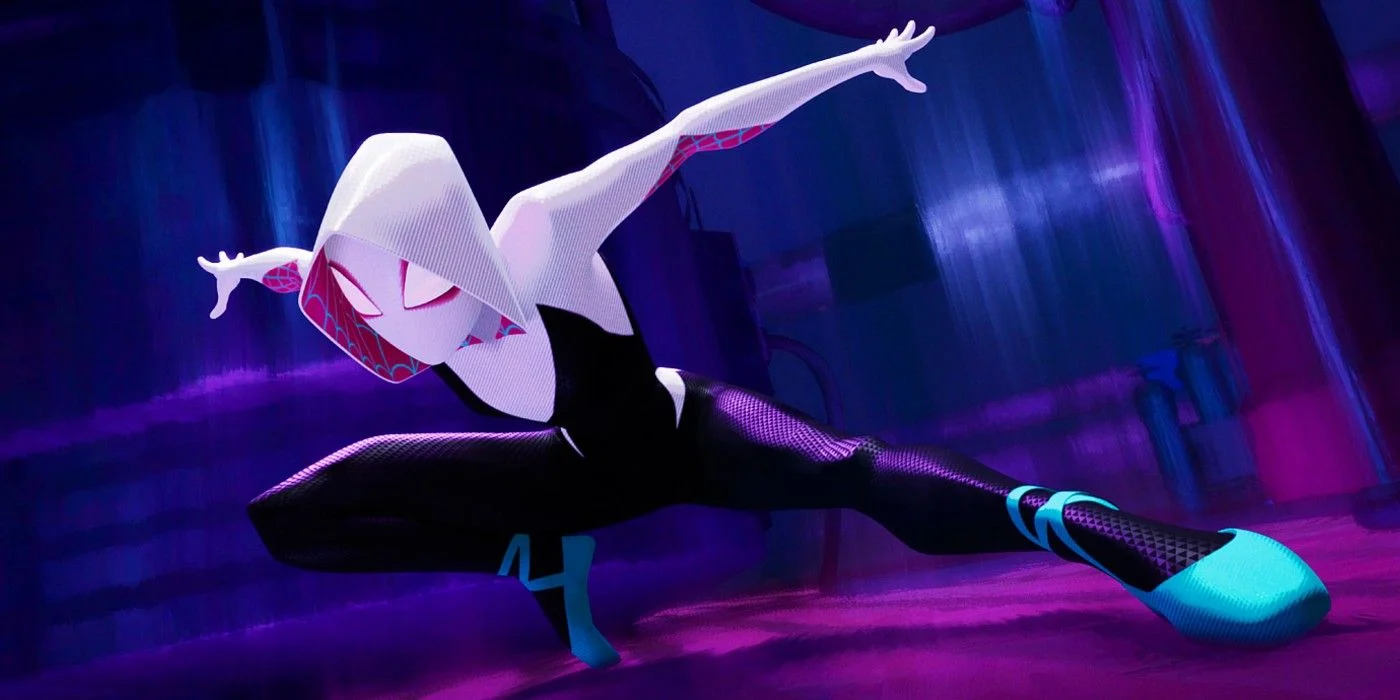
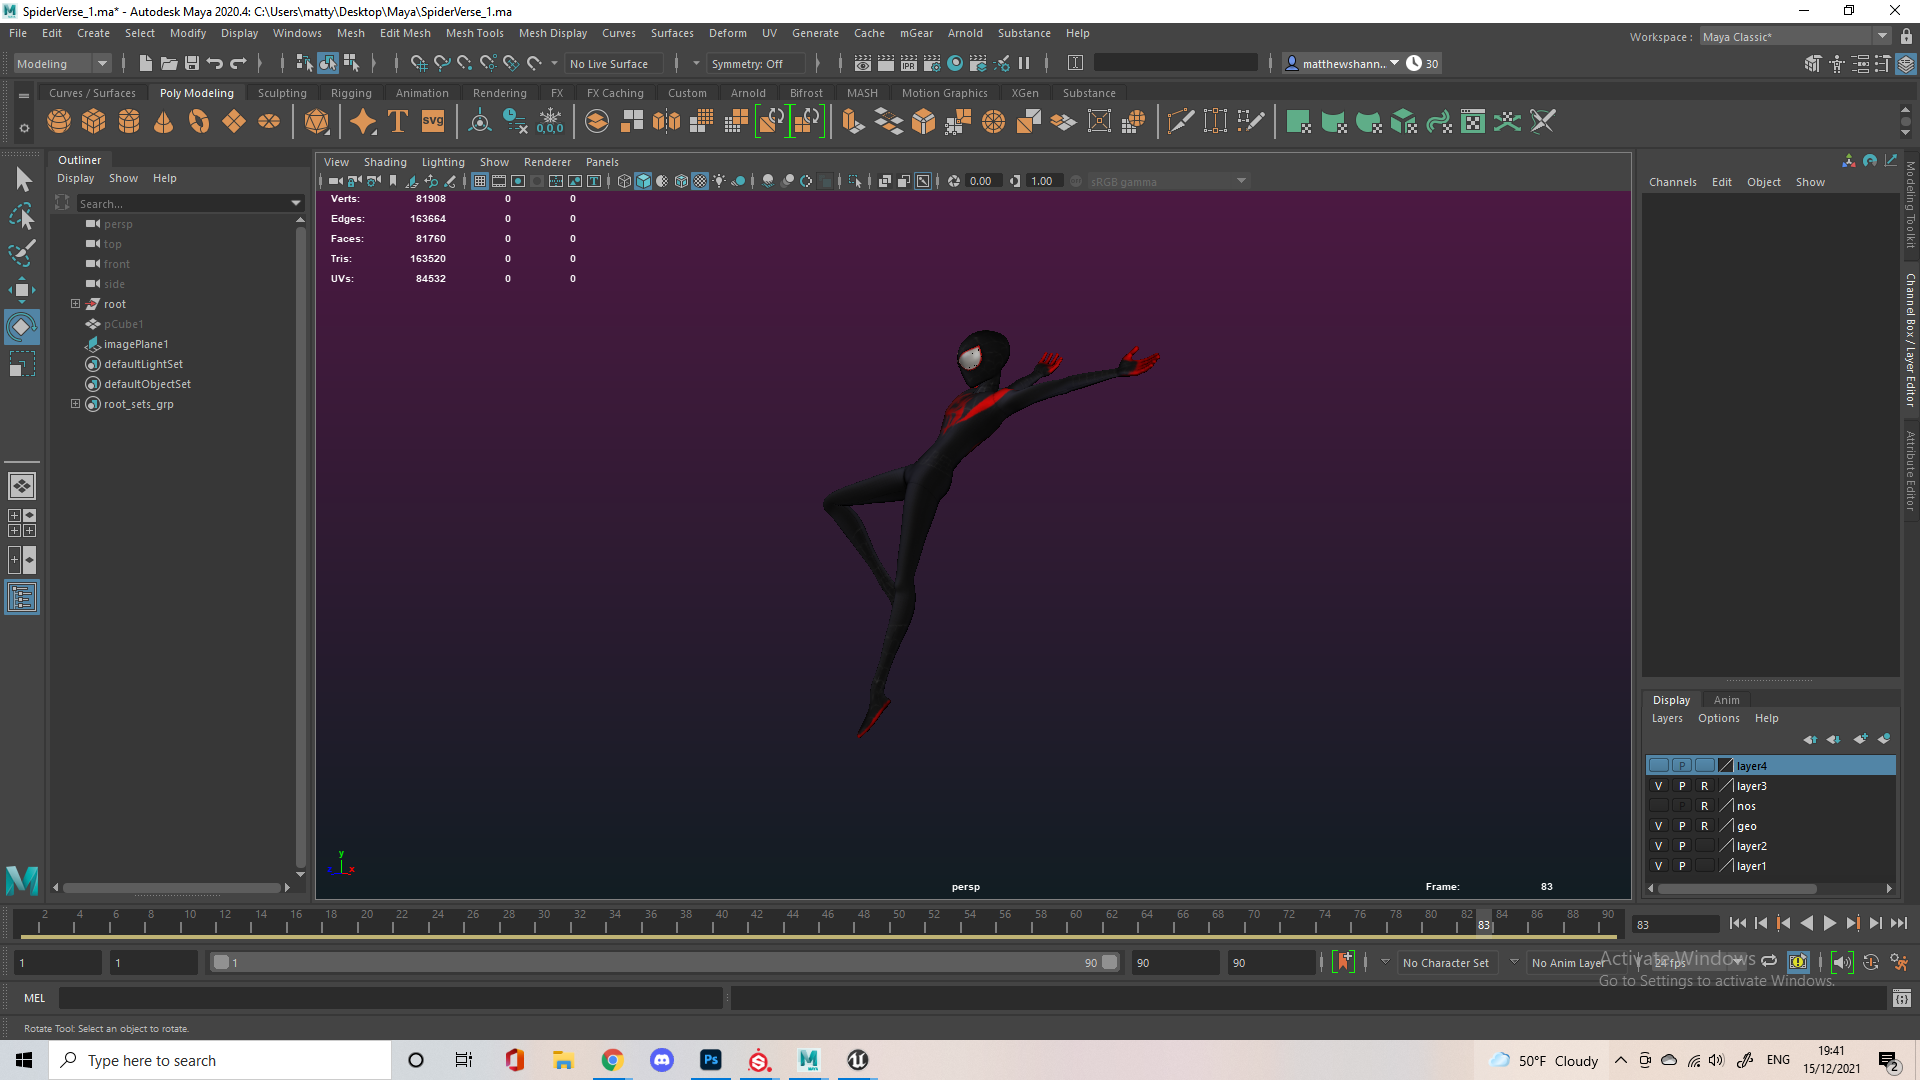
We had a class focused on posing which I managed to recover, I used the Jill rig and tried a pose from Gwen in Spiderverse, I’m a big fan of the poses in this movie. The Jill rig’s proportions are a little different to Gwen’s but looking back on this I think I achieved something similar but there’s definitely room for improvement, the bent leg’s calf is phasing into the hamstring and the arms/hands are a little off. Readability is very important in animation so strong poses always help.
Managed to find the boxing exercise too, I think this is an older version though since it is pretty unfinished, this was to practice timing and adding in-betweens I believe, just to get us animating and get us used to the dope sheet again.

The first thing I did towards my body mechanics animation was collecting poses I liked or wanted to use, since Spider-man is known for strong poses there was a lot of great references to use, I had a rough idea of the actions I wanted to do so I collected some running, landings, jumps and vaults – these came from fan arts, comics, animations. I also collected a whole lot of footage I could use as reference, spending 3 hours in class a little distracted by Spiderman movies, animations and games.


Research into body mechanic animation techniques/tips. Focusing on head screen space over the root, having C shapes in spine for dynamic poses, centre of gravity etc. The breakdowns of body mechanics animations to see these techniques in practice was helpful in understanding what makes good/bad bodymechanics.
There’s too many links to share them all its ridiculous, but here’s a quick flythrough of just my currently opened tabs . Kinda went overboard, probably saved around 50 videos of Spiderman just on my likes on twitter, some of the animations guys I really liked though were; Sarp Serter, Marin Monserand, Arturo Garcia, Pierrick Picaut, BBWB Anim, Arsal and there were alot of great compilations on the Anim Challenge Youtube. I referenced Arsal, Arturo and BBWB Anim the most for the specific movements probably, but tried to use the stylised animation techniques I saw from Pierrick Picaut (no spider-man animations from him, just cool animations and courses).
https://www.artstation.com/artwork/DxY3YG
https://www.instagram.com/bbwb_anim/
https://vimeo.com/agvanimation
https://www.artstation.com/pieriko
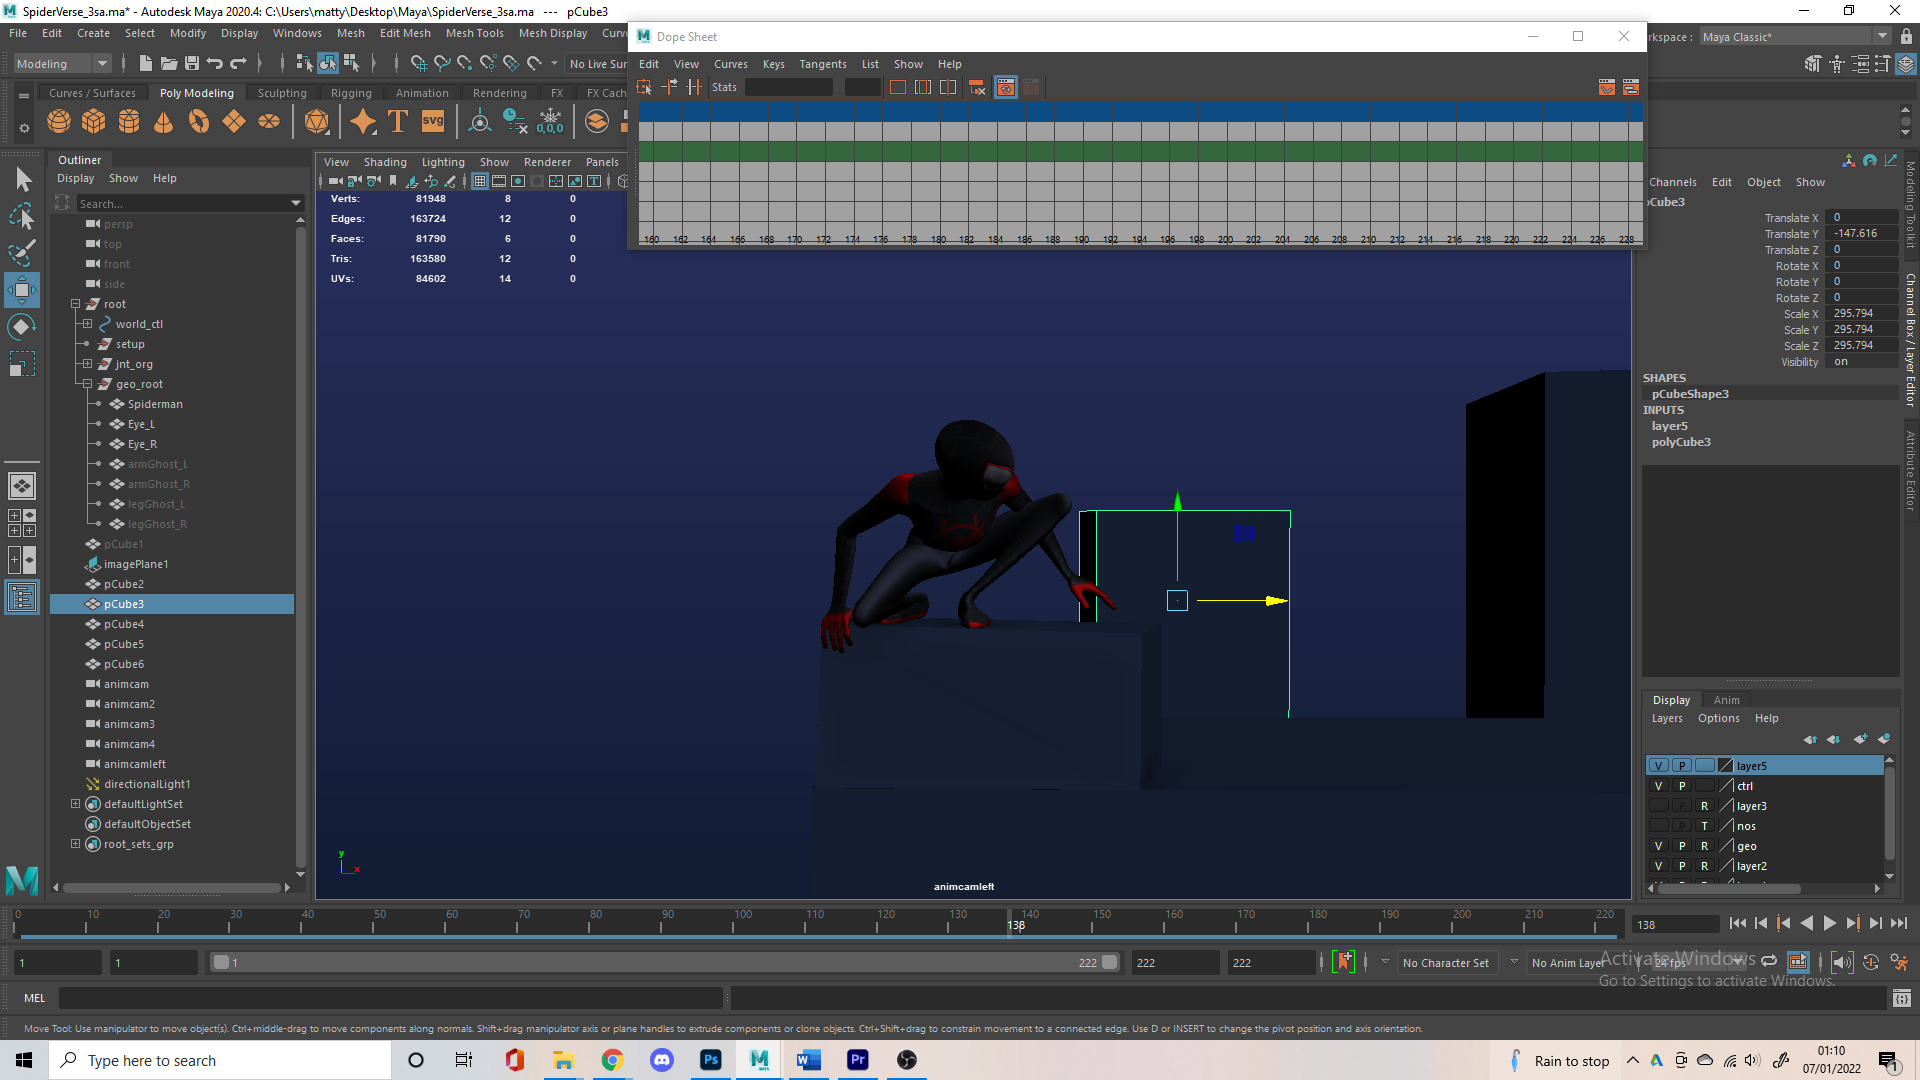
I kinda struggle with imagining ‘choreography’ so I built out a little block city to figure it out. This was the night before class so I didn’t have a whole lot of time to use a character for the blockout, so I used a ball just to show the tutors my idea. I imagined him jumping from the first two building and landing on the third for the close up, then we’d have a good side view showing off the run and jump animation, followed by the vault over the obstacles and dive from the building.
I got some feedback from both Alec and Daryl here, mostly on camera movement and timing. I changed the camera at the start to have less movement and be a bit slower, as well as rotate upwards to follow the jump, instead of jumping the camera up with it. I also adjusted the speed of the second jump. Daryl said to imagine this in real life for how to film it, you’d probably be using a helicopter or crane – this helped me to think of the camera animation a bit better. He also set me up with the film gate/resolution gate as the viewport isn’t what we’d see in the play blast.

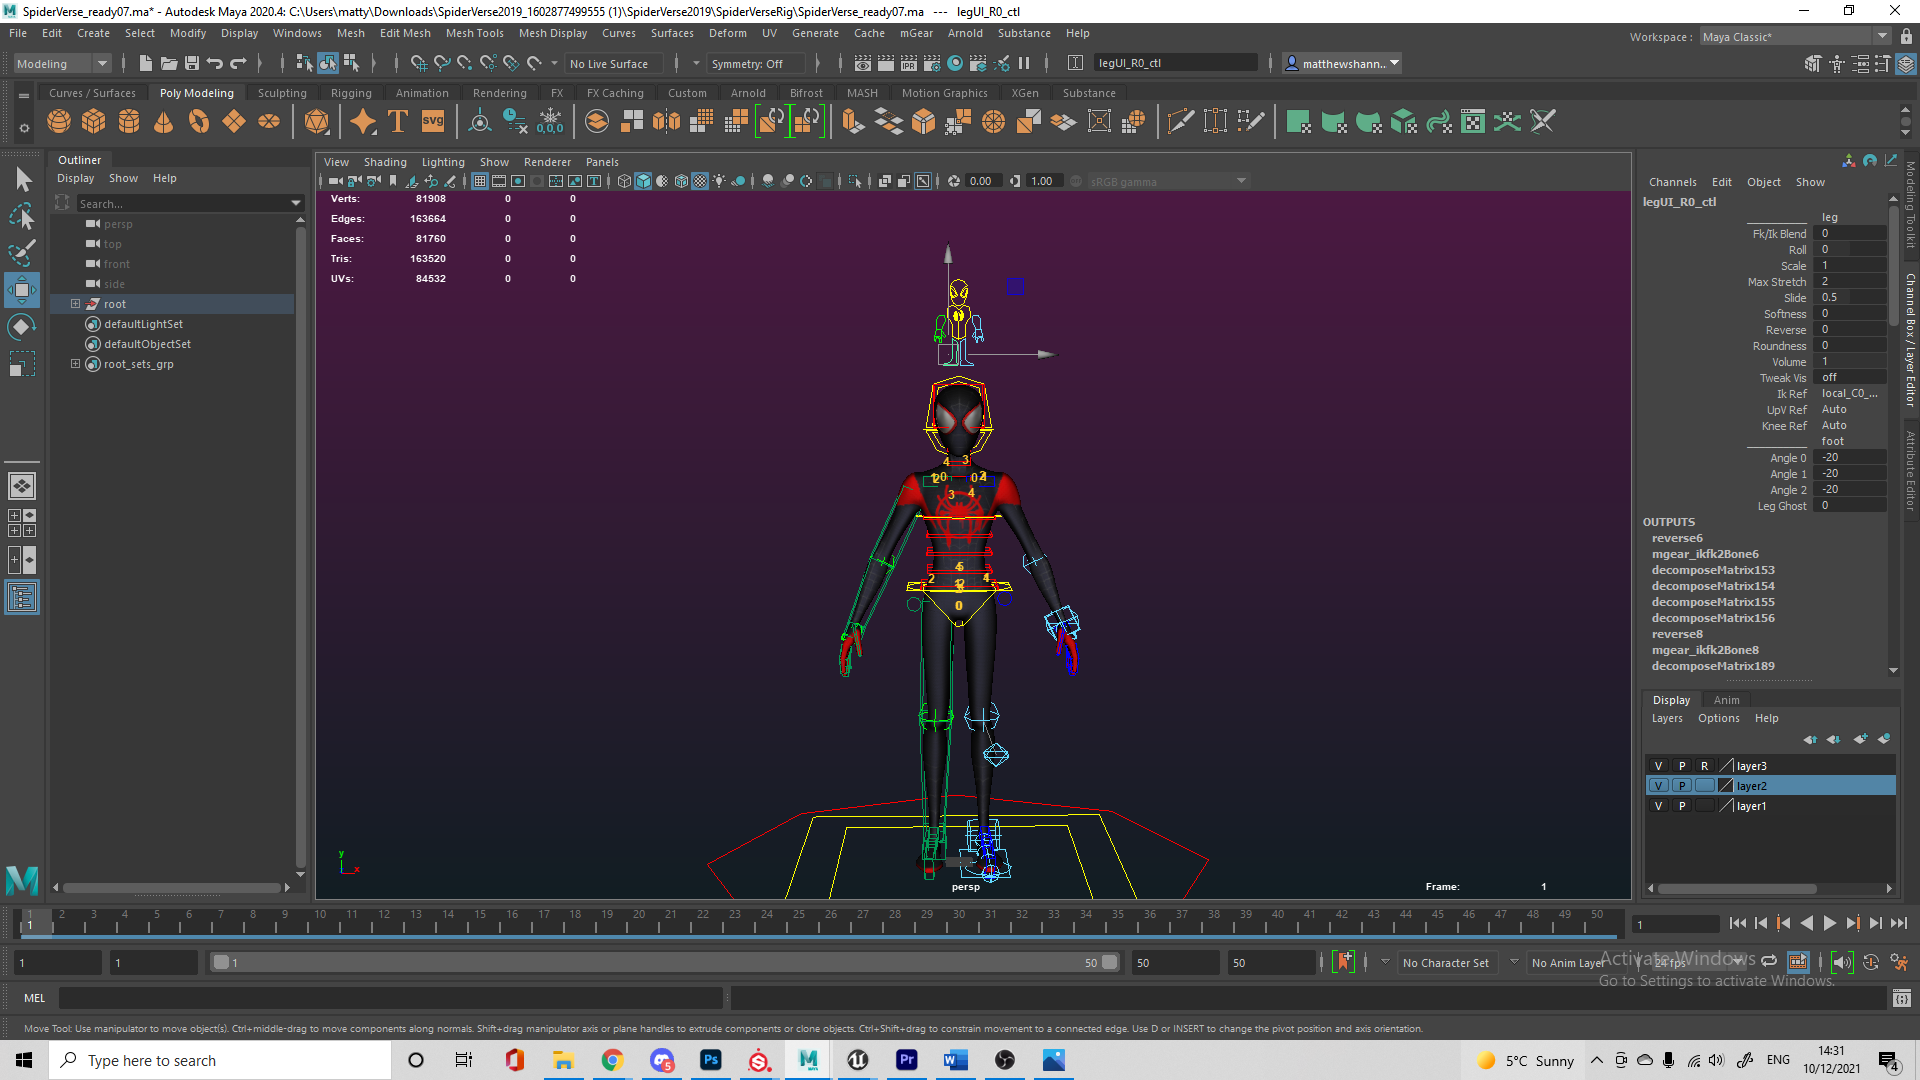
I saw one of the previous students used a rig from the Agora Community, so I checked this out too. I wanted to do some sort of cartoony action animation, something Spider-Verse related with the super stylised movements so I used this Miles Morales rig on Agora. It took a bit of setup, installing a plugin called mGear and changing some file paths to get it to work. I started by exploring the rig which was very complicated in comparison to the Jack and Jill rigs we worked with in class, there were so many controls. I stuck with it though – I thought it would be good to get experience using a more complex rig and provide variety between my animations.
https://agora.community/content/spider-verse#!
This video helped me with exploring the rig and finding out what all the different controls can do.
I wasn’t able to reference the rig into my previous blockout I was working on and I had to actually work on the rig file itself as I couldn’t import it to a new scene either, so I started fresh, the first thing I animated was a jump since my blockout had him jumping building to building. I was originally planning on recreating the block out since the timing and layout was good but I just focused on the animation itself and used that blockout as a vague guide.

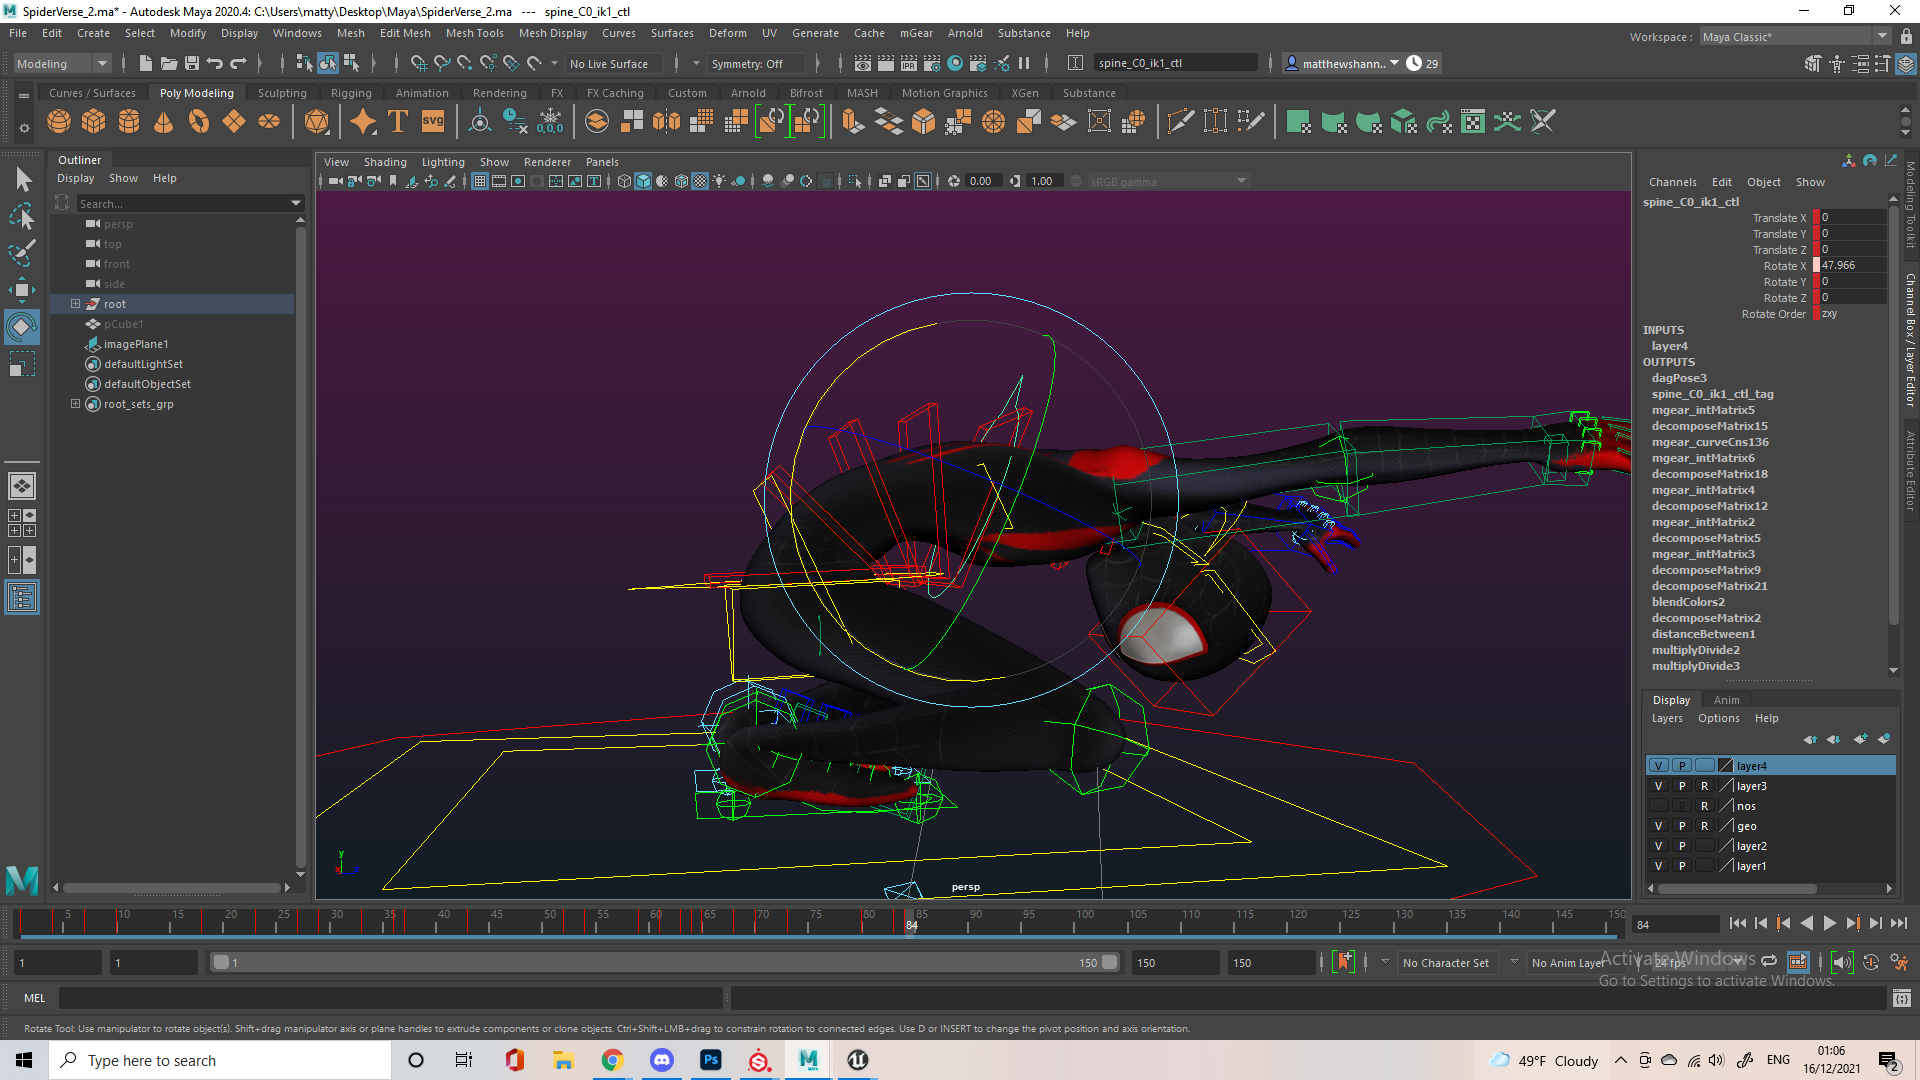
I watched so many Spider-Man clips and fan animations to get some inspiration and really liked this fan animation, especially the extreme stretch during his landing here, so I did something similar. I went straight from this extreme stretch to an extreme squash since it was a big landing – I think it came out well its definitely not realistic but I like the exaggerated effect it gives. (following feedback this is changed toward the end, I guess it didn’t work in 3D as well as I thought lol)
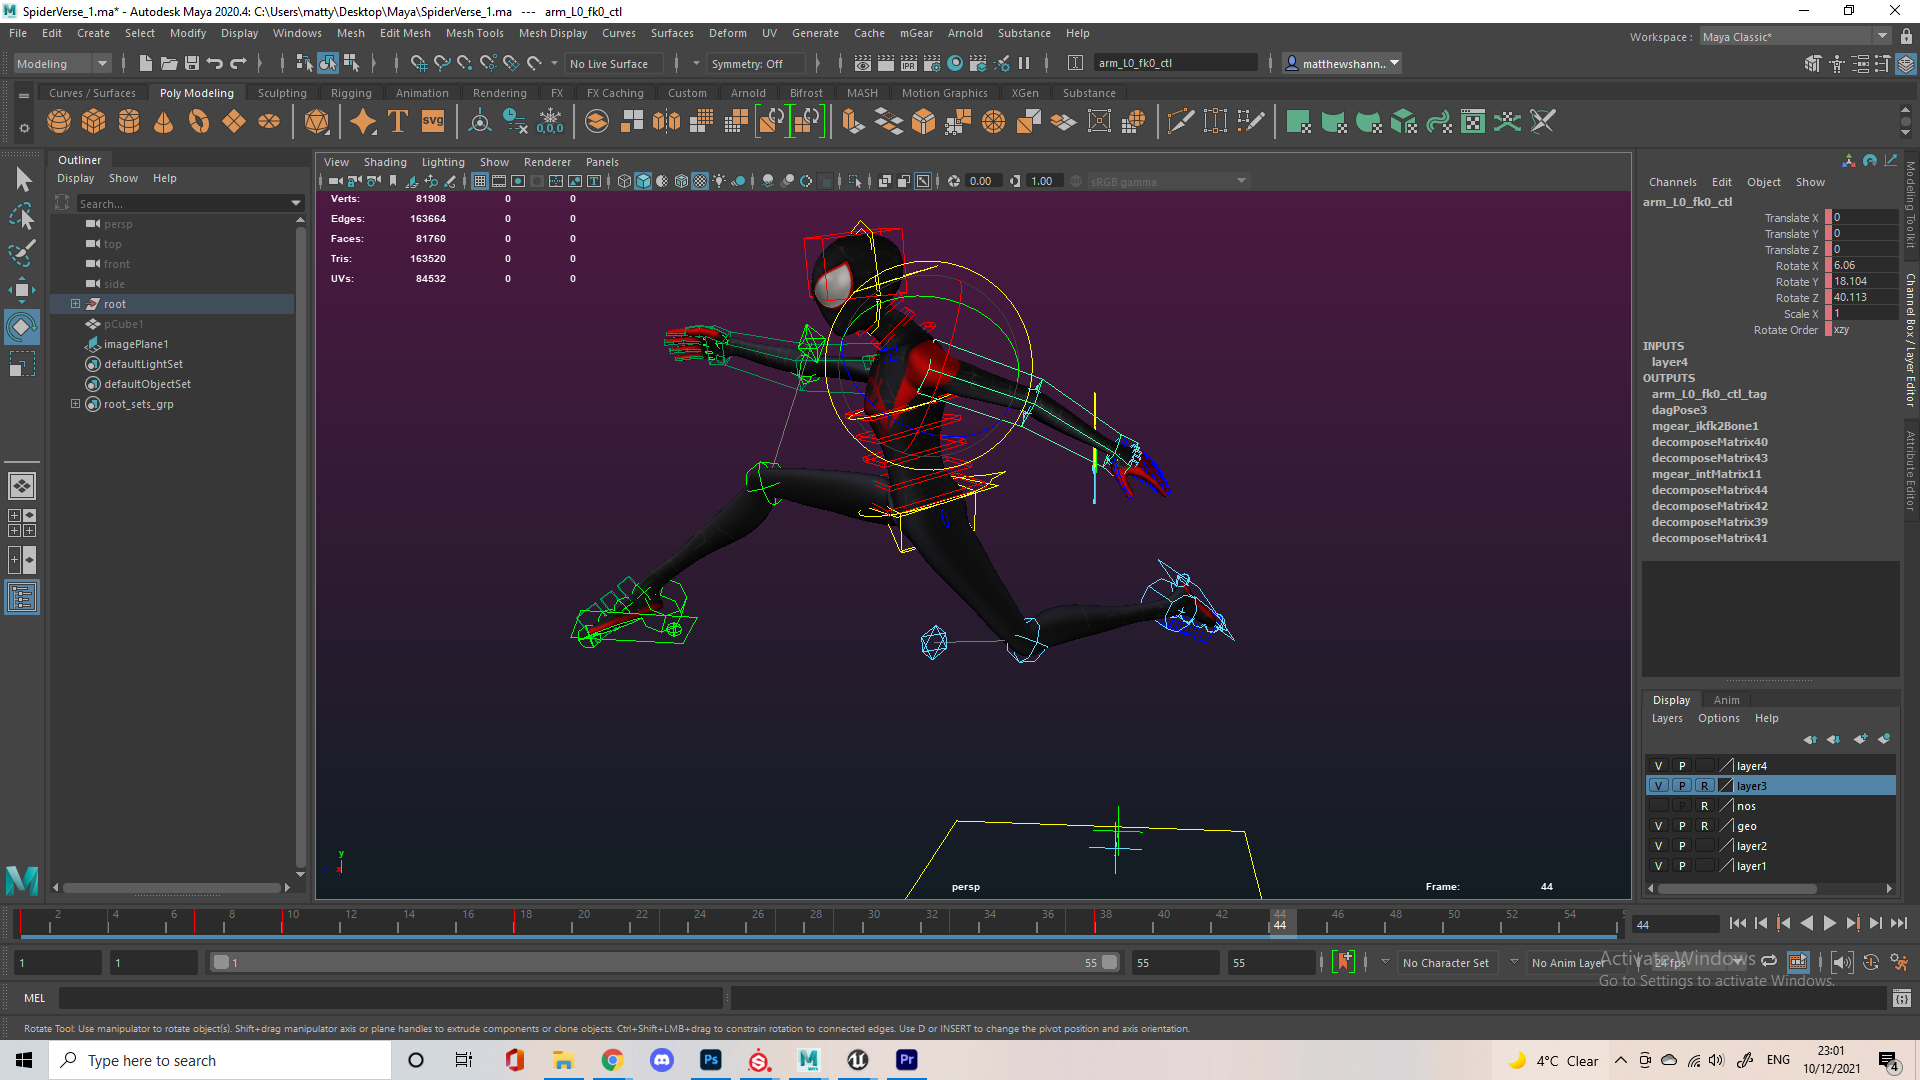
I recorded some of my process, I was focusing on strong poses and getting all the action blocked out, I made sure to be considerate of the arcs of each movement since without strong arcs it will look too floaty and linear. The poses could definitely be pushed more but it was beginning to take shape. I did play with the timing and spacing a little too but I wasn’t too focused on it at this point.
I had a viewport that I would switch to to make sure I had a nice strong and readable silhouette in each frame. Without clarity in your posing, you can’t have clarity in movement. Having a strong silhouette is the best way to ensure your poses are clear. Spider verse had very strong and exaggerated poses in almost every frame so I tried to replicate this as best as I could. I would later come back to the posing to polish them all up.


I tried to be mindful of the legs and arms being right in each ‘run’ but at some point I did mix them up, having the right arm forward with the right leg and vice versa. That’s not pictured here, I’m not sure when it happened but it took me a while to notice since it was so easy to do with this model and I had to go back and redo a lot of work.

I noticed some jumps (mostly the falling part) looked a bit floaty and empty, so I’d animate the arms and legs to come up a bit as he falls and wave a little, since the air resistance would be pushing them up.
https://youtu.be/i0i36AlJciI – cloth is really good for this effect, but the same principles apply to loose limbs.
It’s important to constantly be mindful of momentum in animation otherwise it will start to look wrong pretty quickly, especially with a character like Spider-Man, who goes from running to flipping to swinging, I also tried to make the transition between movements seem as natural as possible, so I would have some weird poses halfway in-between a jump/crawl and a run, depending on how fast he was coming into these movements.
The second half of that video is more or less what I sent to Alec for some feedback, he liked the posing, the second jump and the snappy landing at the end, but noticed some issues with the timing and arcs of the first two jumps. He also pointed out some poses I could work on, like on the taller rooftop he turned very quickly over few frames.
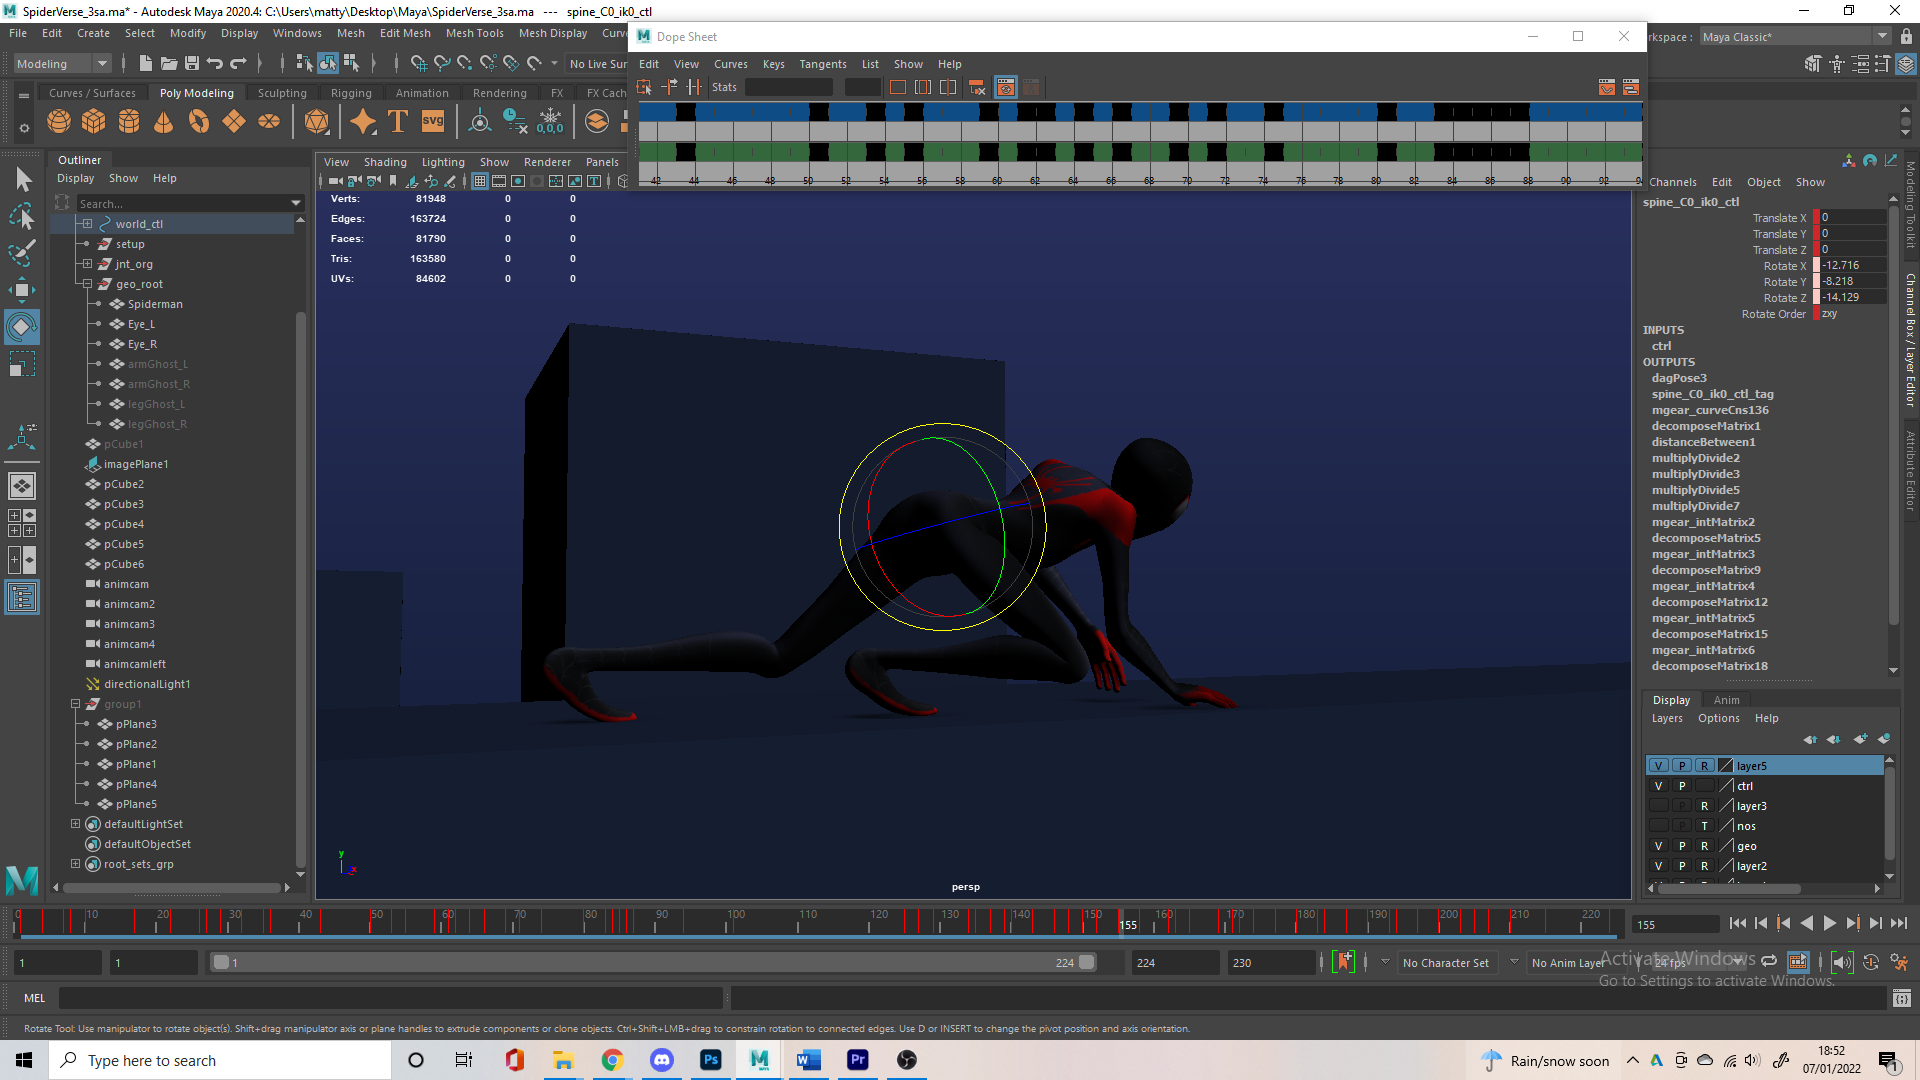
I took on all this feedback – used the dope sheet to play around with the timings a bit and the graph editor to clean up the arcs. Overall I worked on cleaning up what poses I had since I sent it off very rushed, as well as the poses he pointed out to me. I also added a bit more to the action with a sort of scramble from the floor into a run with very long strides, preparing to jump from this building. I’m happy with the run but it looks a little unnatural – but I’d come back to it later. I left this animation for a few days after improving it based on Alec’s feedback – I though this was a good point to start the run and walk cycles, since I had very little time left already since I started this assignment so late.
I’m a big fan of the animations directed by Alberto Mielgo as well as his storyboards, the characters always seem off balance and stumbling/ slipping during action scenes, nothings perfect and its very messy, it adds much more character and intensity to the action and even realism, I first thought a lot was motion captured or even rotoscoped (the witness) but its all normal keyframed animation. I especially focused on his short for Watchdogs (2nd video), I love the movement in this. I tried to incorporate some of this into my animation with the sloppy chaotic run/scramble from the tallest rooftop into a jump, and the stumble onto his hands when he hops of the ledge from the close up shot. Even though I didn’t achieve exactly what I was hoping for, I’m comparing myself to professional animations so I think what I ended up with is pretty cool too, definitely room for improvement with some poses and the timing though.
After animating both a run and walk cycle I came back with fresh eyes. Something Alec mentioned in passing was that he wish he had access to the Maya file as some poses were hard to see with the background I had, so I changed that to something that would contrast Miles a bit more.
I played around a bit more with that jump to the tall building but couldn’t figure out what was wrong with it, it felt weird to me but I wasn’t sure how to fix it yet. I tried cleaning up and adding some in-betweens here and there, as well as some camera animation to focus on the framing of the scene then sent this off for feedback so I knew what to needed fixed before moving on to the next action sequence. It was Christmas break and I didn’t want to hassle the tutors so all feedback from here on has come from friends and family, they aren’t as experienced as the tutors but fresh eyes always help.
Feedback –
My brother thought it was too smooth and flawless for Mile’s character, also noticed the arms being mixed up for the run/jump.
I sent it to some classmates who pointed out the extreme stretch and squash of the landing being a bit too much, as well as the big jump being a little weird and the final landing being too empty of animation for a close up shot.
In response to this I added a bit of struggle to the big jump, with his foot barely making it (I push this a little further later) as well as adding much more to the final landing. I added some struggle, making him a bit off balance as he lands, grasping the ledge for stability, as well as idle movement animation while he looks off. I liked the contrast of the long stretch and extreme squash (^seen in first clip) I was hoping it would act as a kind of smear frame and look very fluid but since it came across as a bit too much to some, I just decreased the stretch and moved it up in height, adding a pose in-between them.
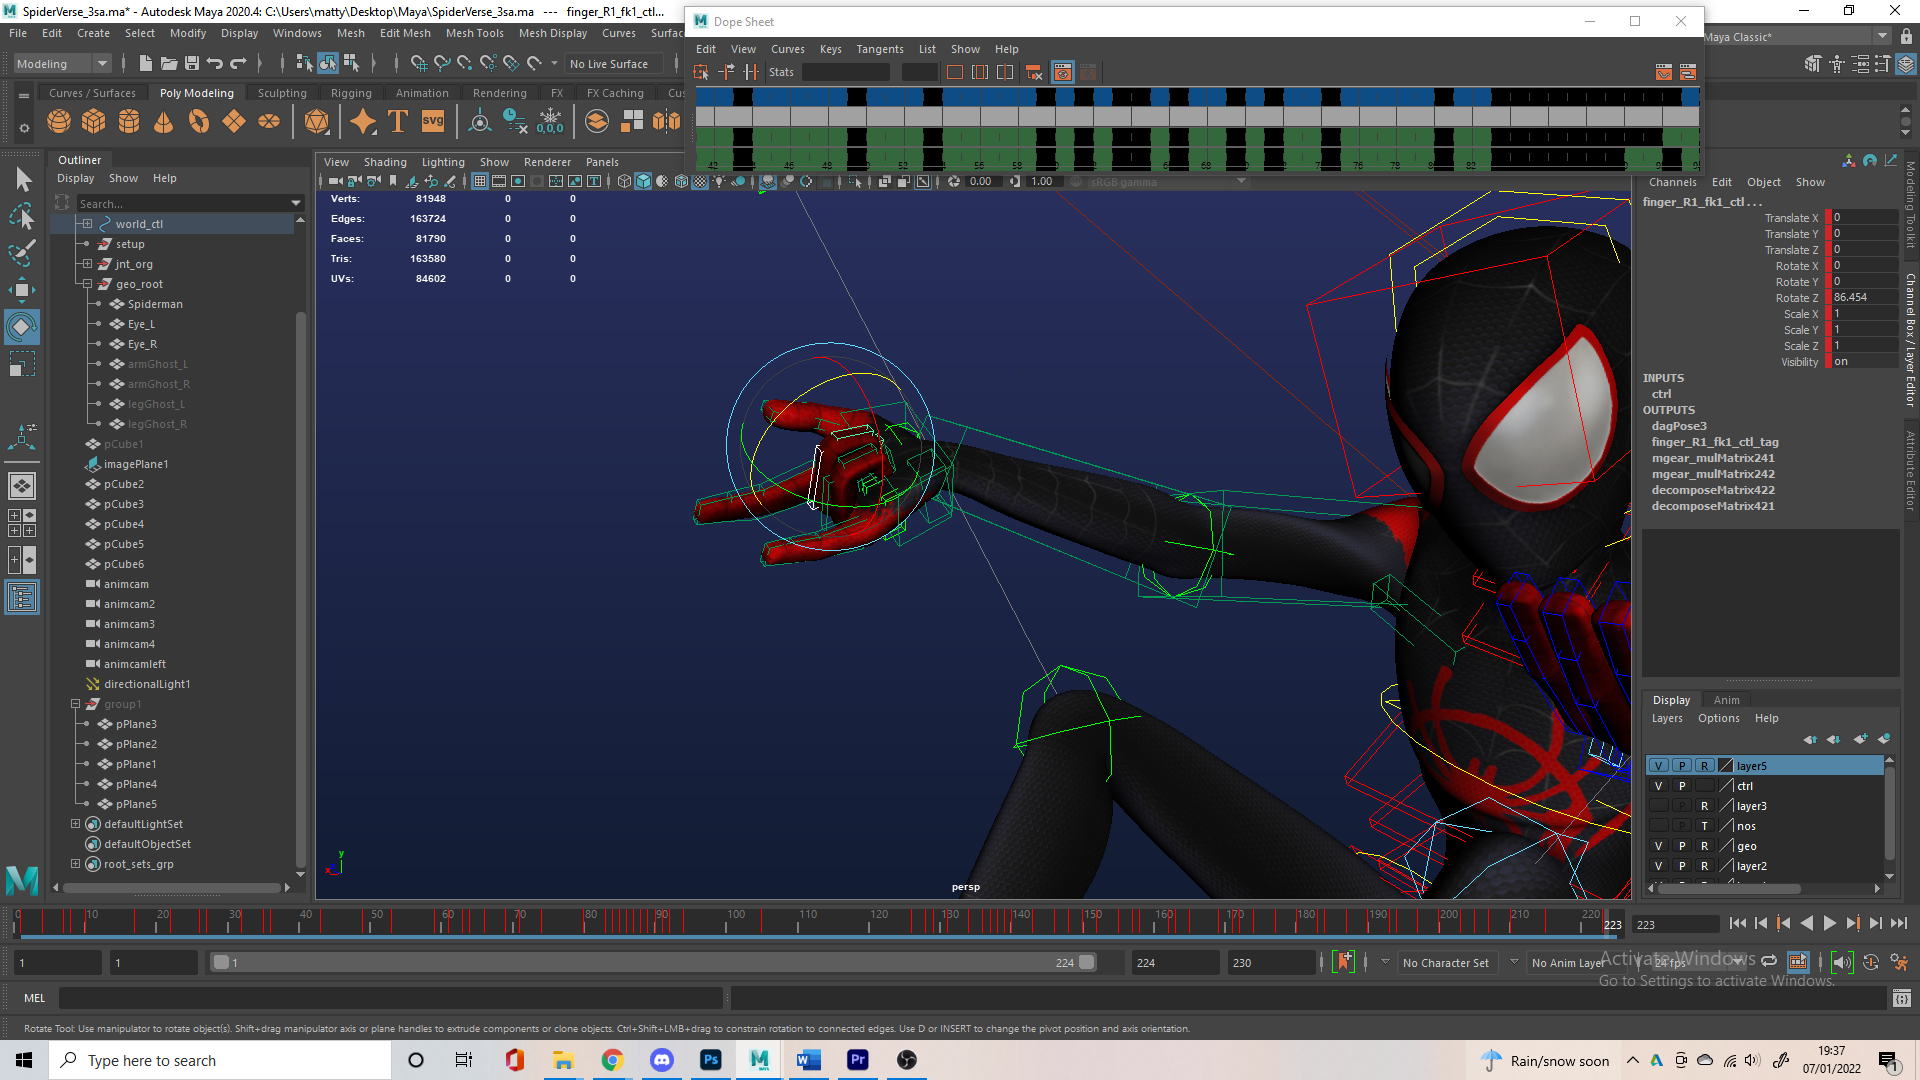
Here I fixed the arms switching/getting mixed up, this resulted in some pretty fast arm movement but I think this looks alright and they make sense now. Some people didn’t get that the sudden snap to the right was jarring so I modelled a physical Spidey sense like seen in the comics and toned the snap down a bit. I also worked on the camera animation to better showcase the jumps, since I think the front angle coming towards the camera was one of the reasons the big jump looked a bit weird. I kept Daryl’s advice in mind for this camera animation and tried to keep it pretty grounded in how it moved. To add to the personality I had him awkwardly go for a Spiderman pose as he landed too before relaxing his arm, hopefully showing he’s still new / trying to be Spider-man – adding Miles’s character into the movements.
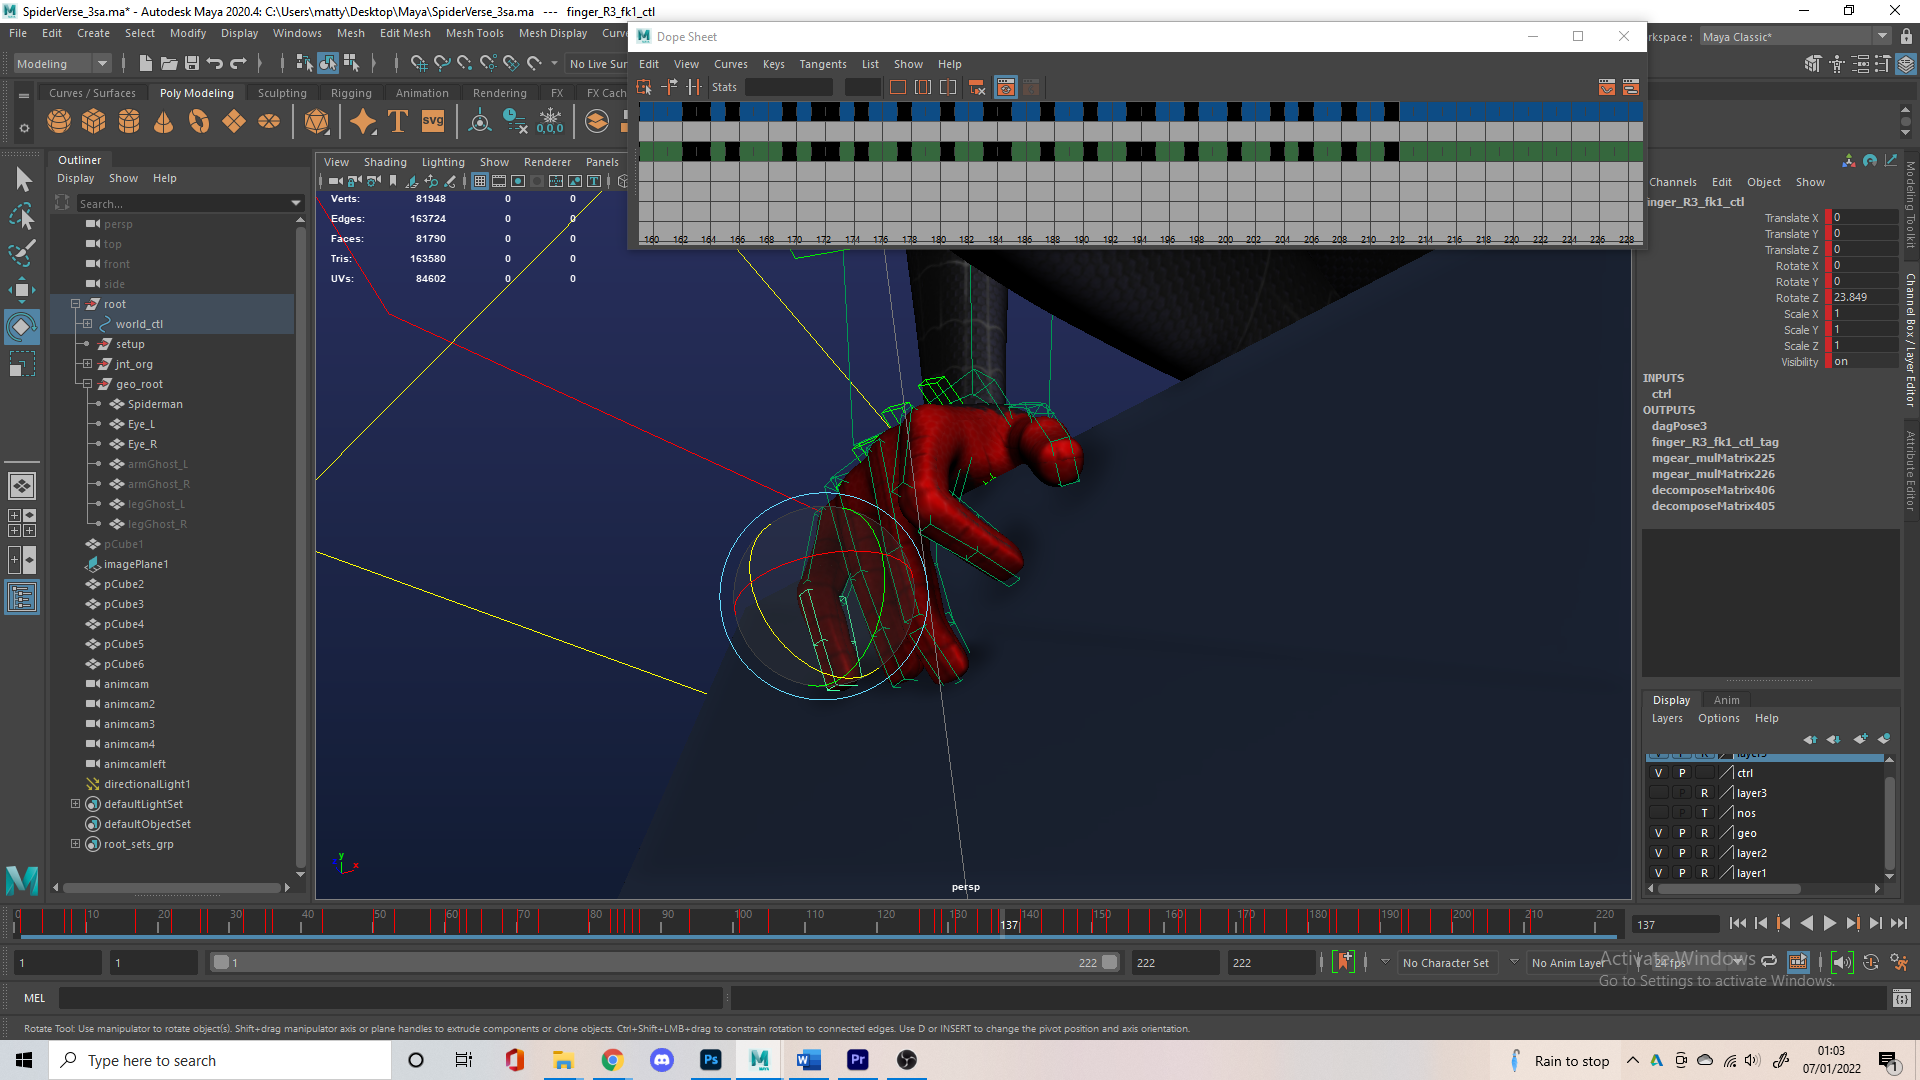
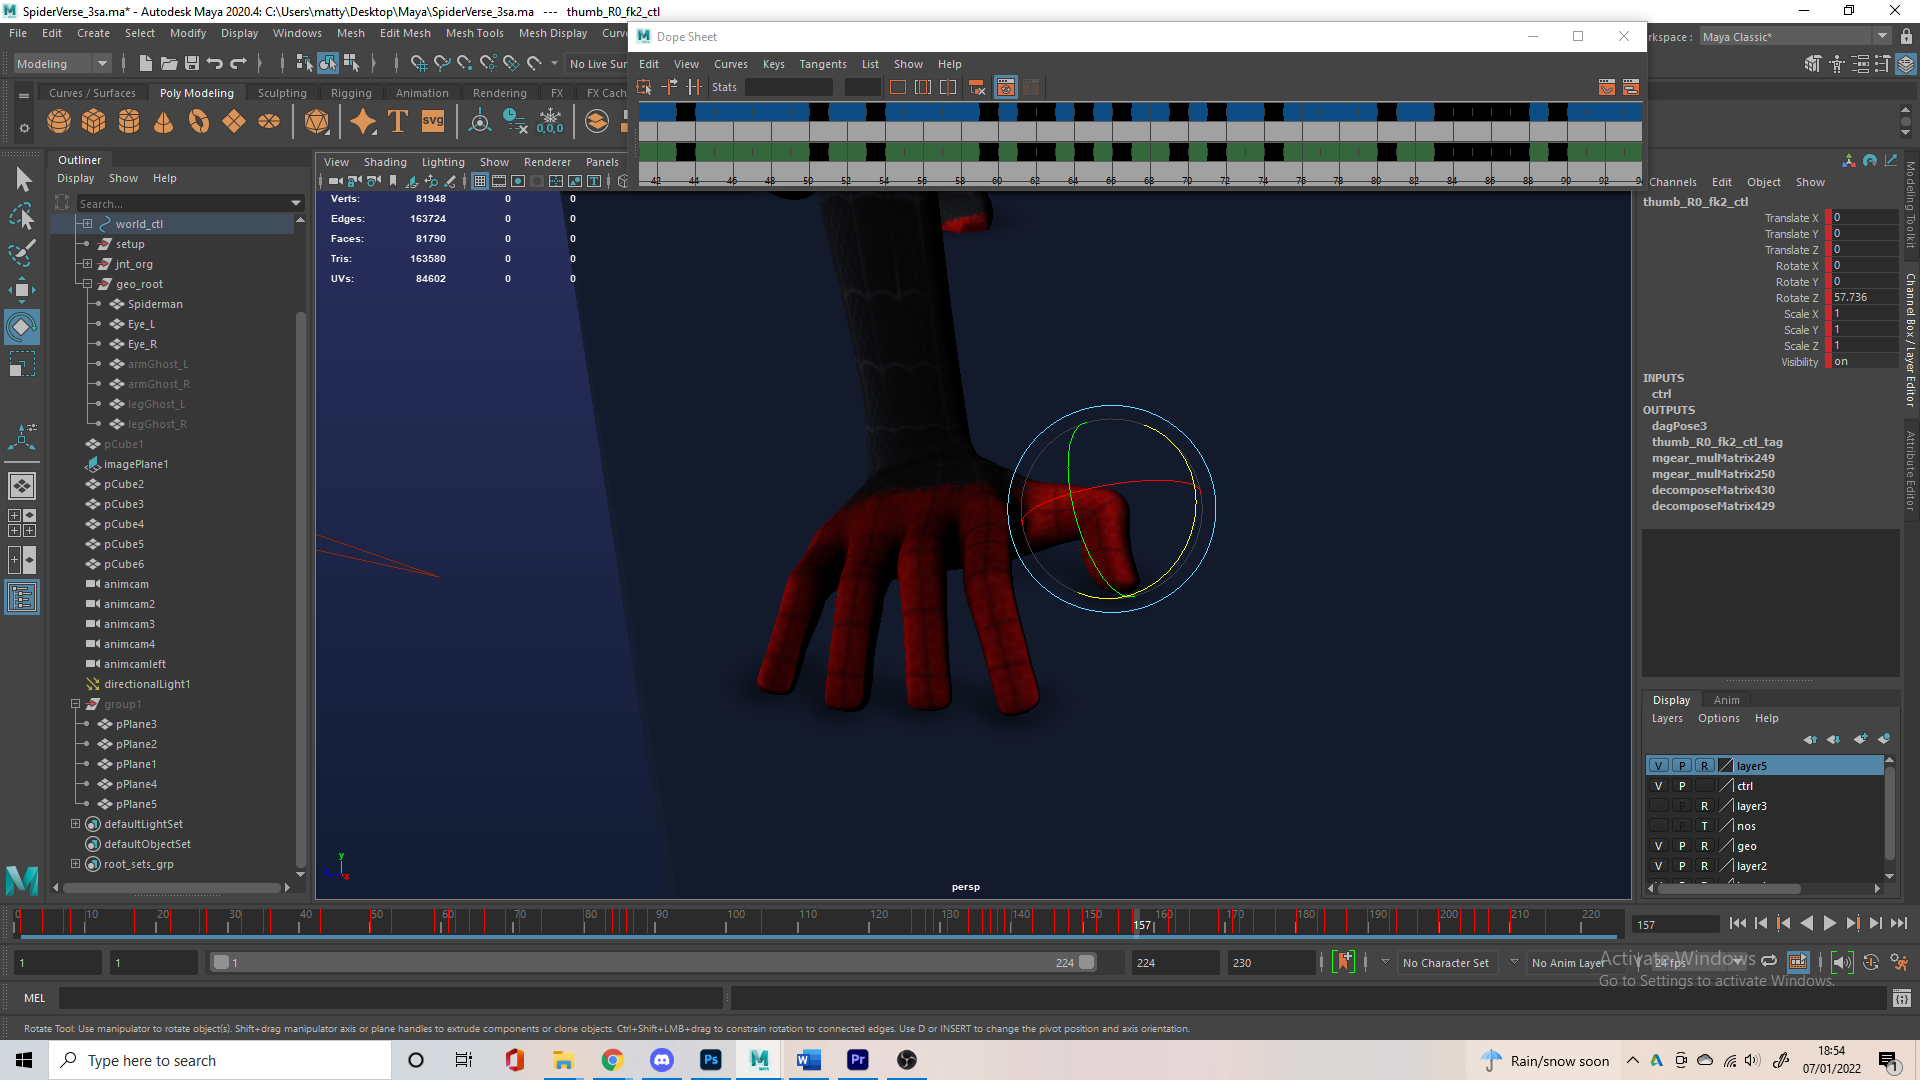

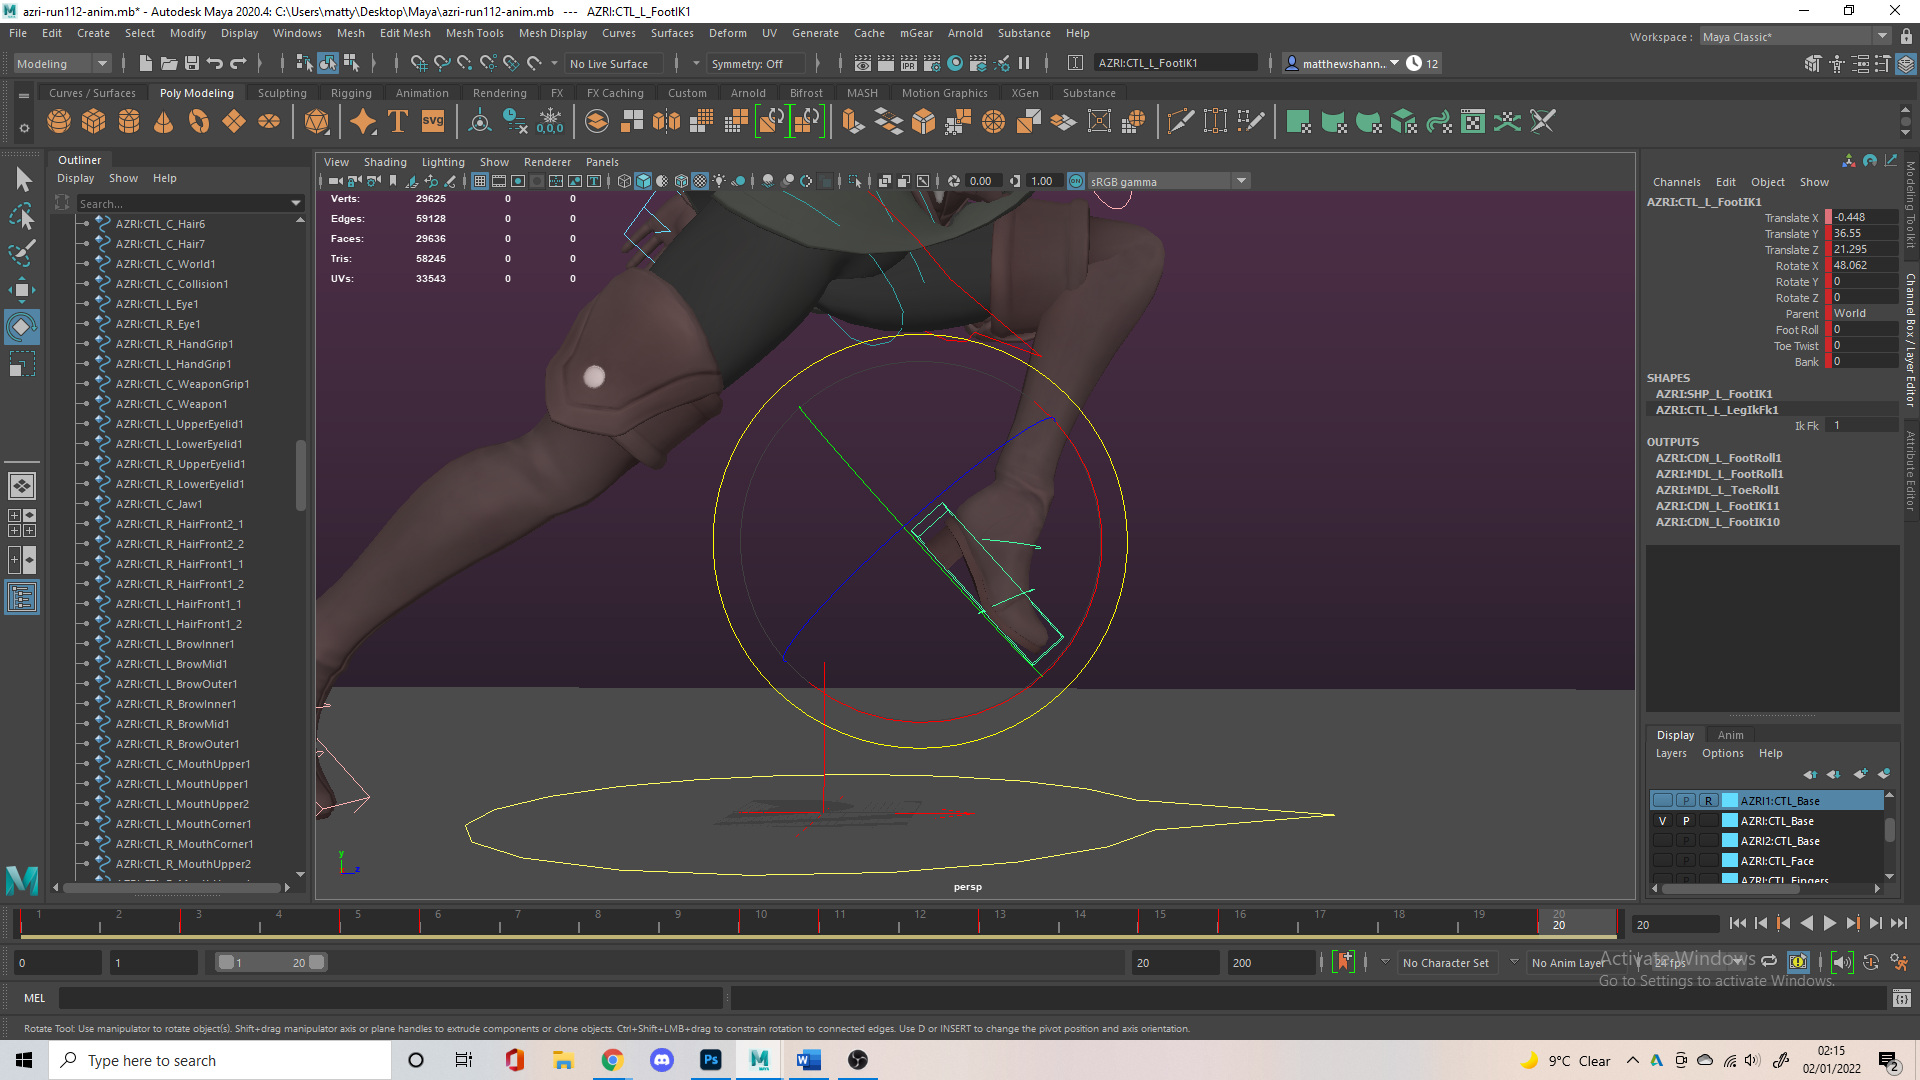
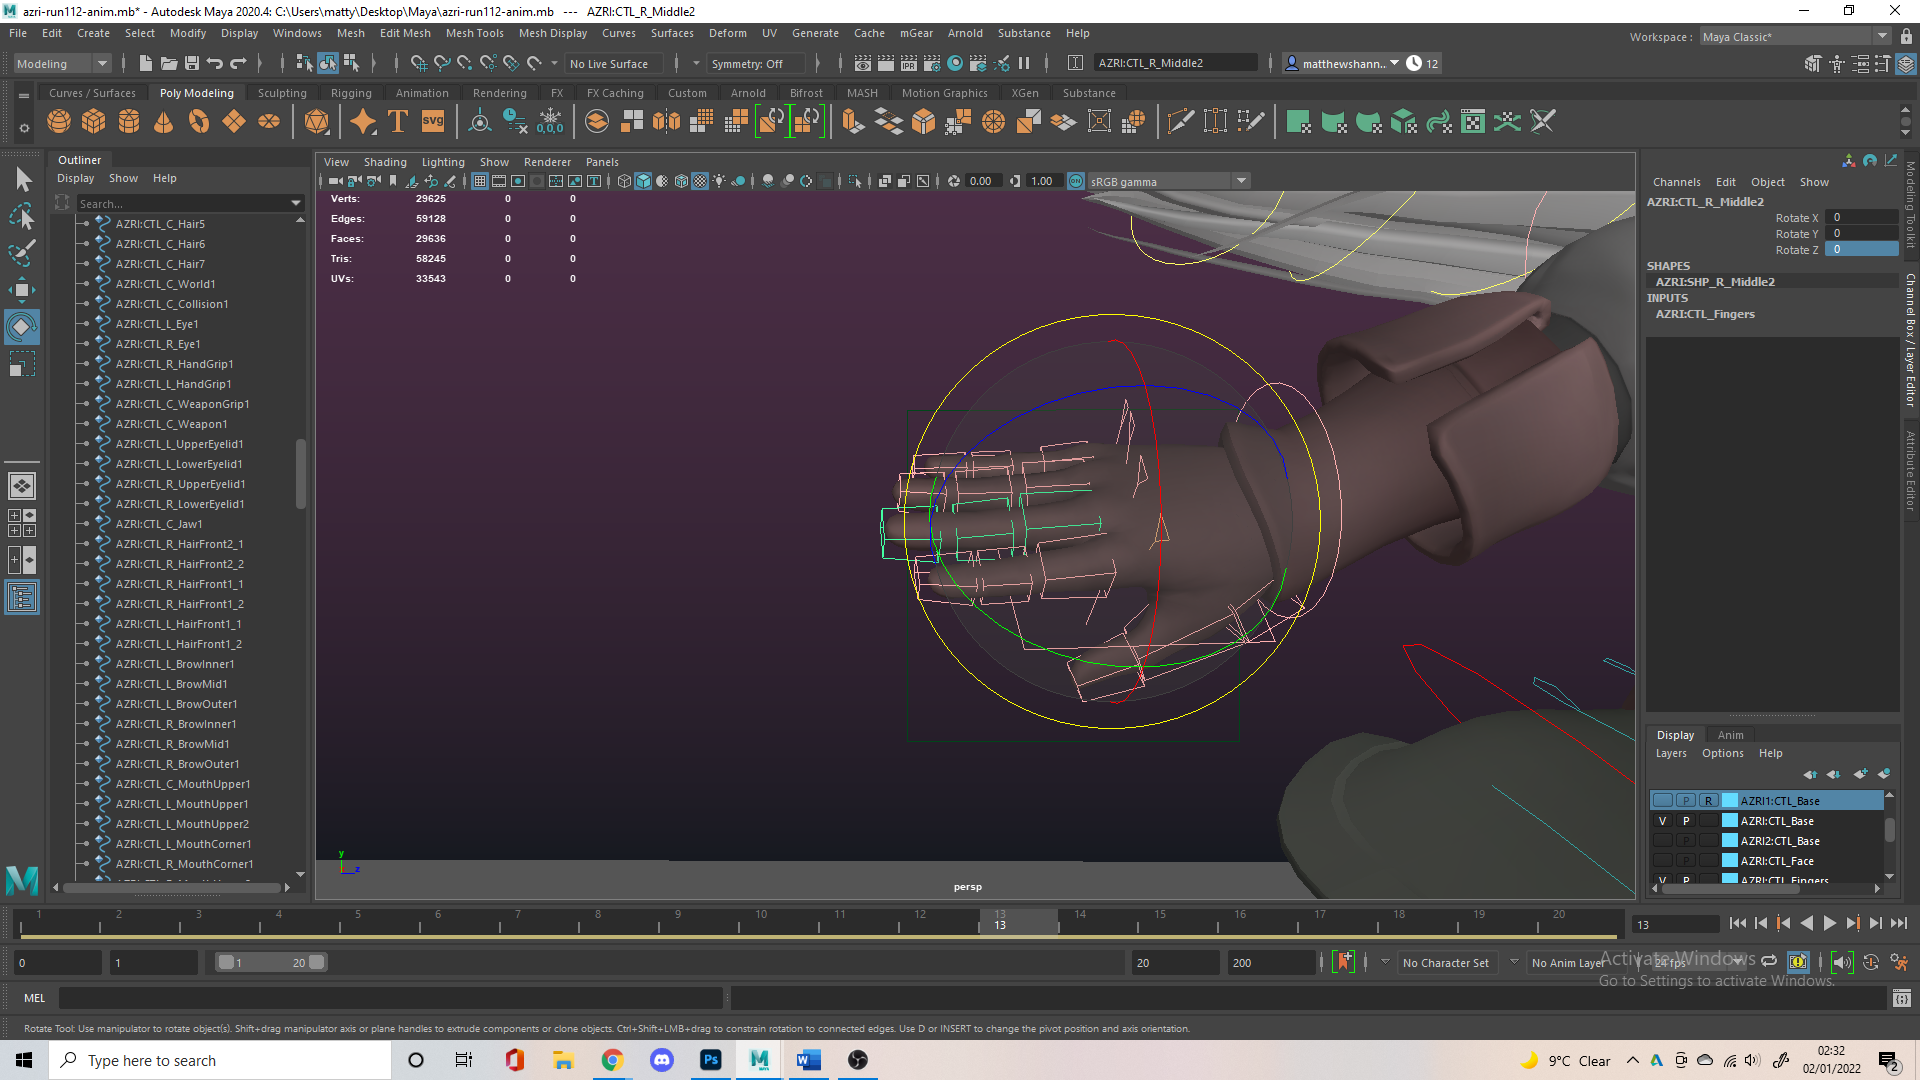
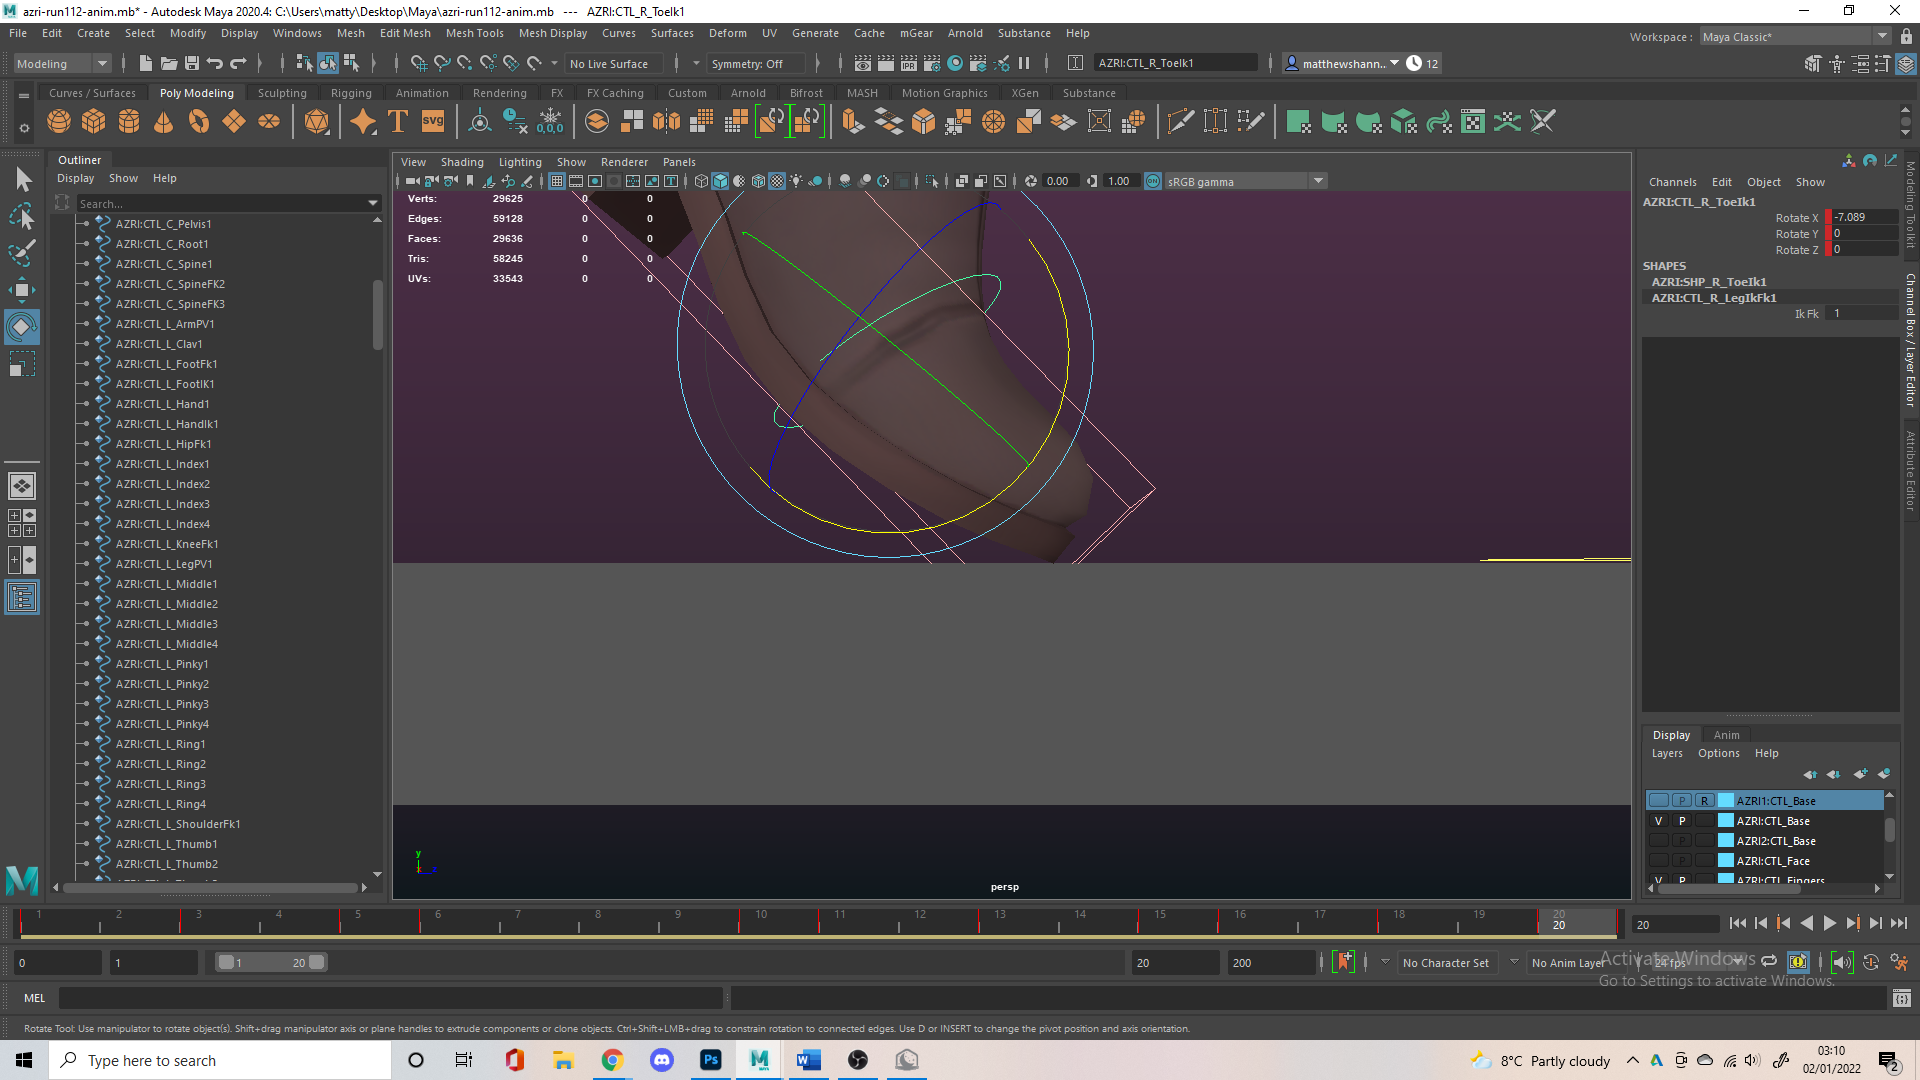
I went in to add details too, mostly on the hands and feet. I made sure all the feet were flush to the ground, and there wasn’t any unintentional sliding, I also bent the toes where I thought necessary. I thought animating the fingers was very subtle but added a lot to the scene without you really noticing, it made his hand go from resting on the ledge to actively gripping it using his powers at first, before relaxing his arm.

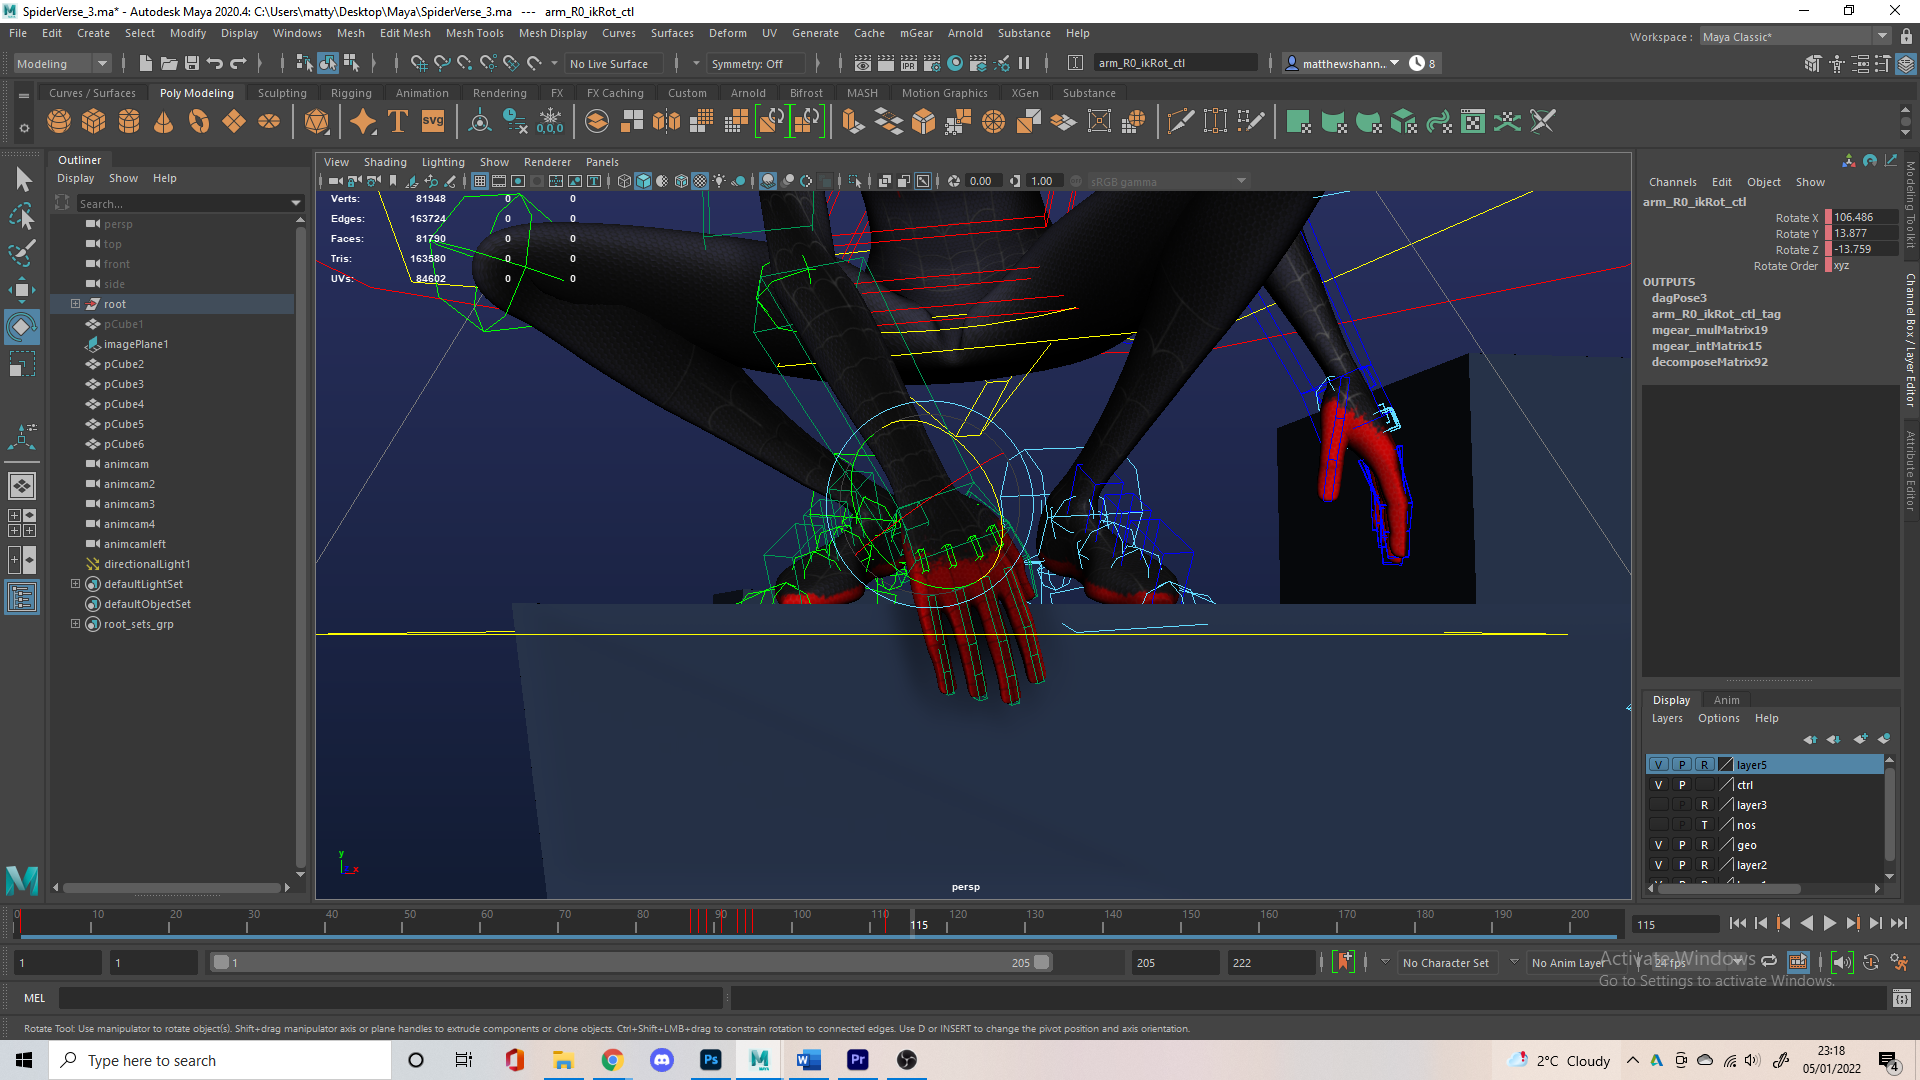
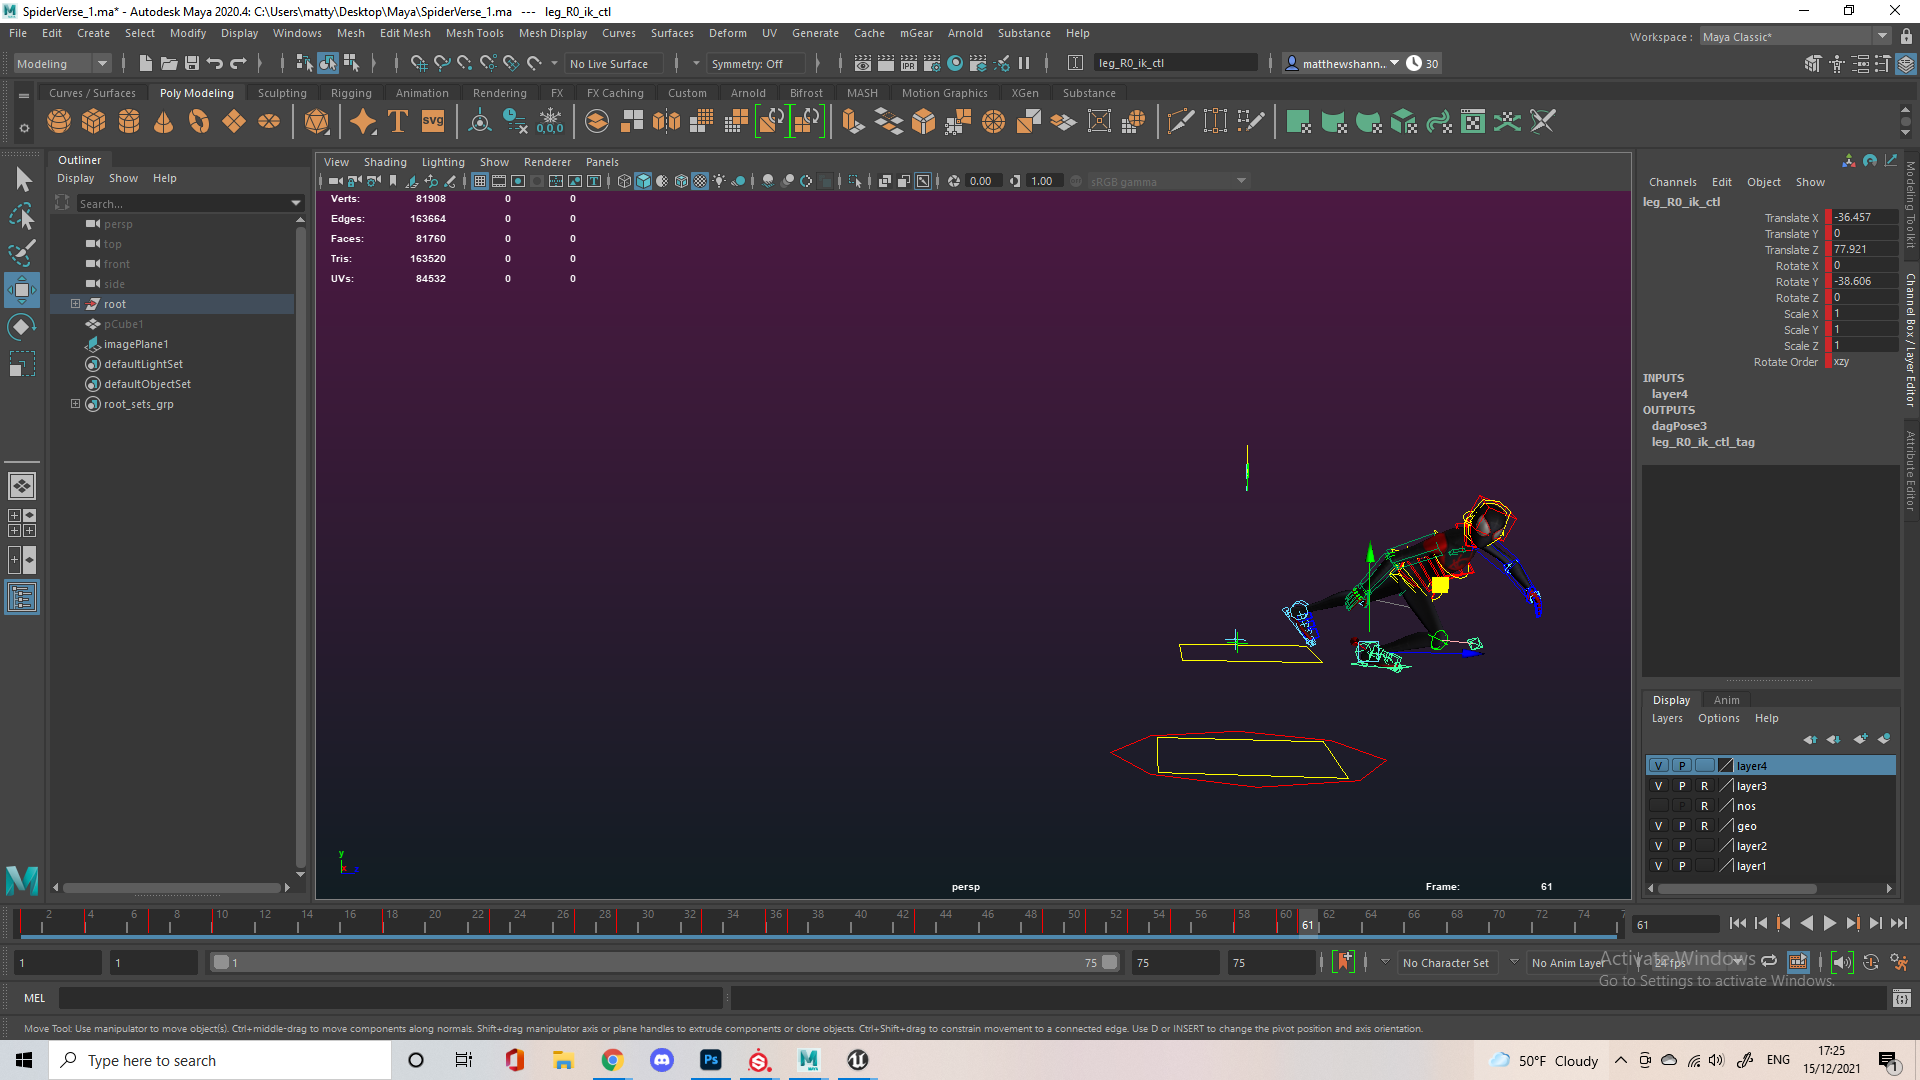
I switched the hand from FK to IK for a couple seconds when he lands, since he’s grabbing the ledge but his upper body is moving. IK makes it much easier to keep the hand in the right place. This was easy enough because the rig has a switch in the arm to swap between the two.
I was hoping to get a web swing/pull at the end there but unfortunately ran out of time. I was definitely too ambitious (especially looking back to the blockout with the ball) and next time I think I should probably try to go smaller scale and focus on one or two actions and perfecting them, quality over quantity. The final animation has parts that still feel very unfinished to me, especially everything after the close up. I wish I had a bit more time to clean up the little scramble/stumble from his hands into the run cycle, the poses and timing feel a little off, as well as have him pull himself off screen with some webs. A couple more polish passes with some more feedback and it could come out really cool though.
I tried to be mindful of the principles throughout. Each jump feels like they have weight, with follow through and overlapping action on the way up and down (on loose limbs), anticipation before each jump and a satisfying ease in and ease out. I did struggle with the level of anticipation on the third jump since he’s running into it but I think it works. I really pushed the squash and stretch since it was so easy to do with this rig, stretching before landing and squashing on it, as well as some squash and stretch on the head when his Spidey sense goes off. The timing and spacing all feels right to me and the arcs are smooth. The second jump’s arc was a bit hard to figure out since he lands on the apex of the jump, so it looked like he was floating horizontal for a while. I’ve definitely exaggerated the poses, sometimes even too much like on the close up landing (which I changed thanks to feedback) and most of the main actions are supported by multiple secondary actions. It was hard to think of the staging, I always struggle with this especially with a lot of movement like this but I think the camera animation I came up with isn’t too much I wasn’t trying to be that cinematic, I used the angles I thought showcased the animation itself best. To keep it as readable and appealing as possible I focused on strong poses, checking their silhouettes frame by frame they feel strong, although some awkward points are a little questionable like the transition from crawl to run.
The first run I was trying to make was inspired by the anime/ninja run, very quick and stylised leg movement with the upper body bent almost 90 degrees and moving much less. normally holding a sword. I tried to tone it down a bit to better suit Azri and because I didn’t think it would translate to 3D being that extreme. I eventually moved away from this altogether because I didn’t think it fit the model too much and the cloth would be annoying to work with since the legs were so close to the body and I just wasn’t a fan of how it was looking.

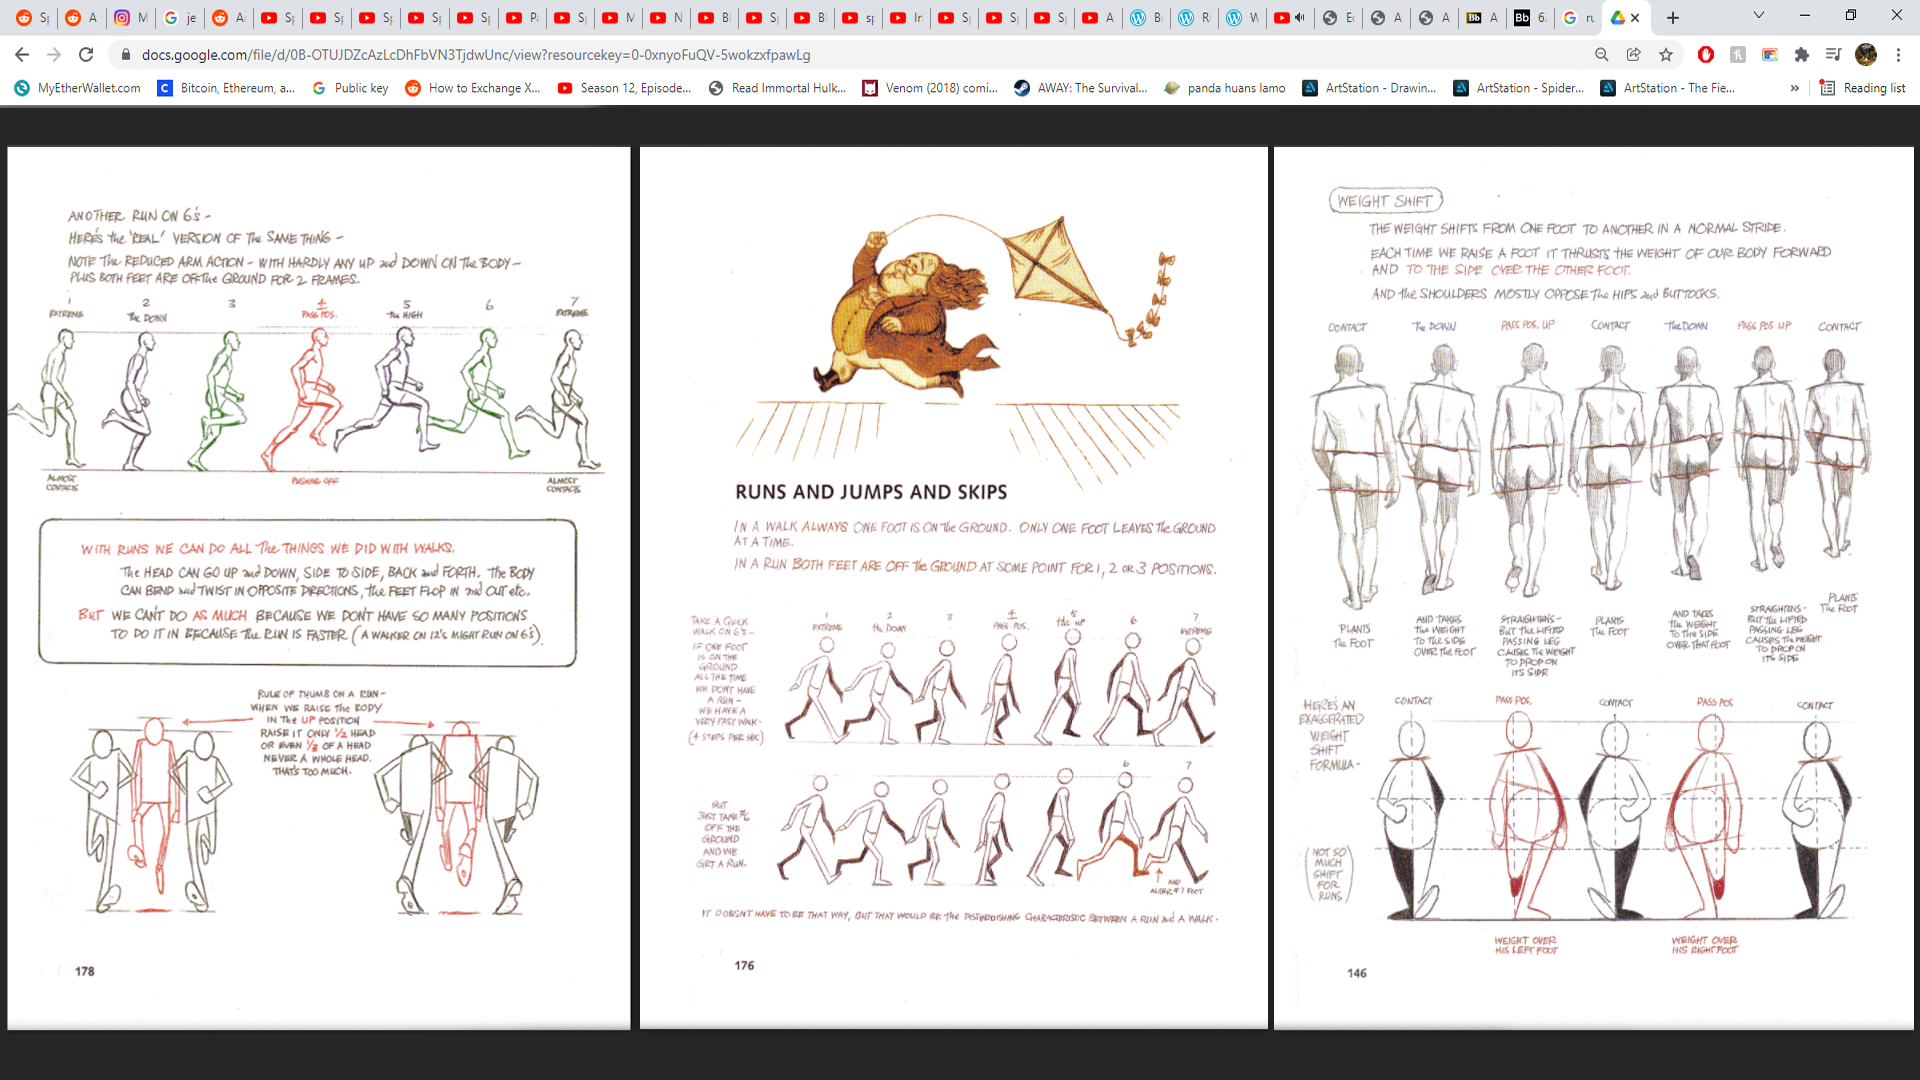
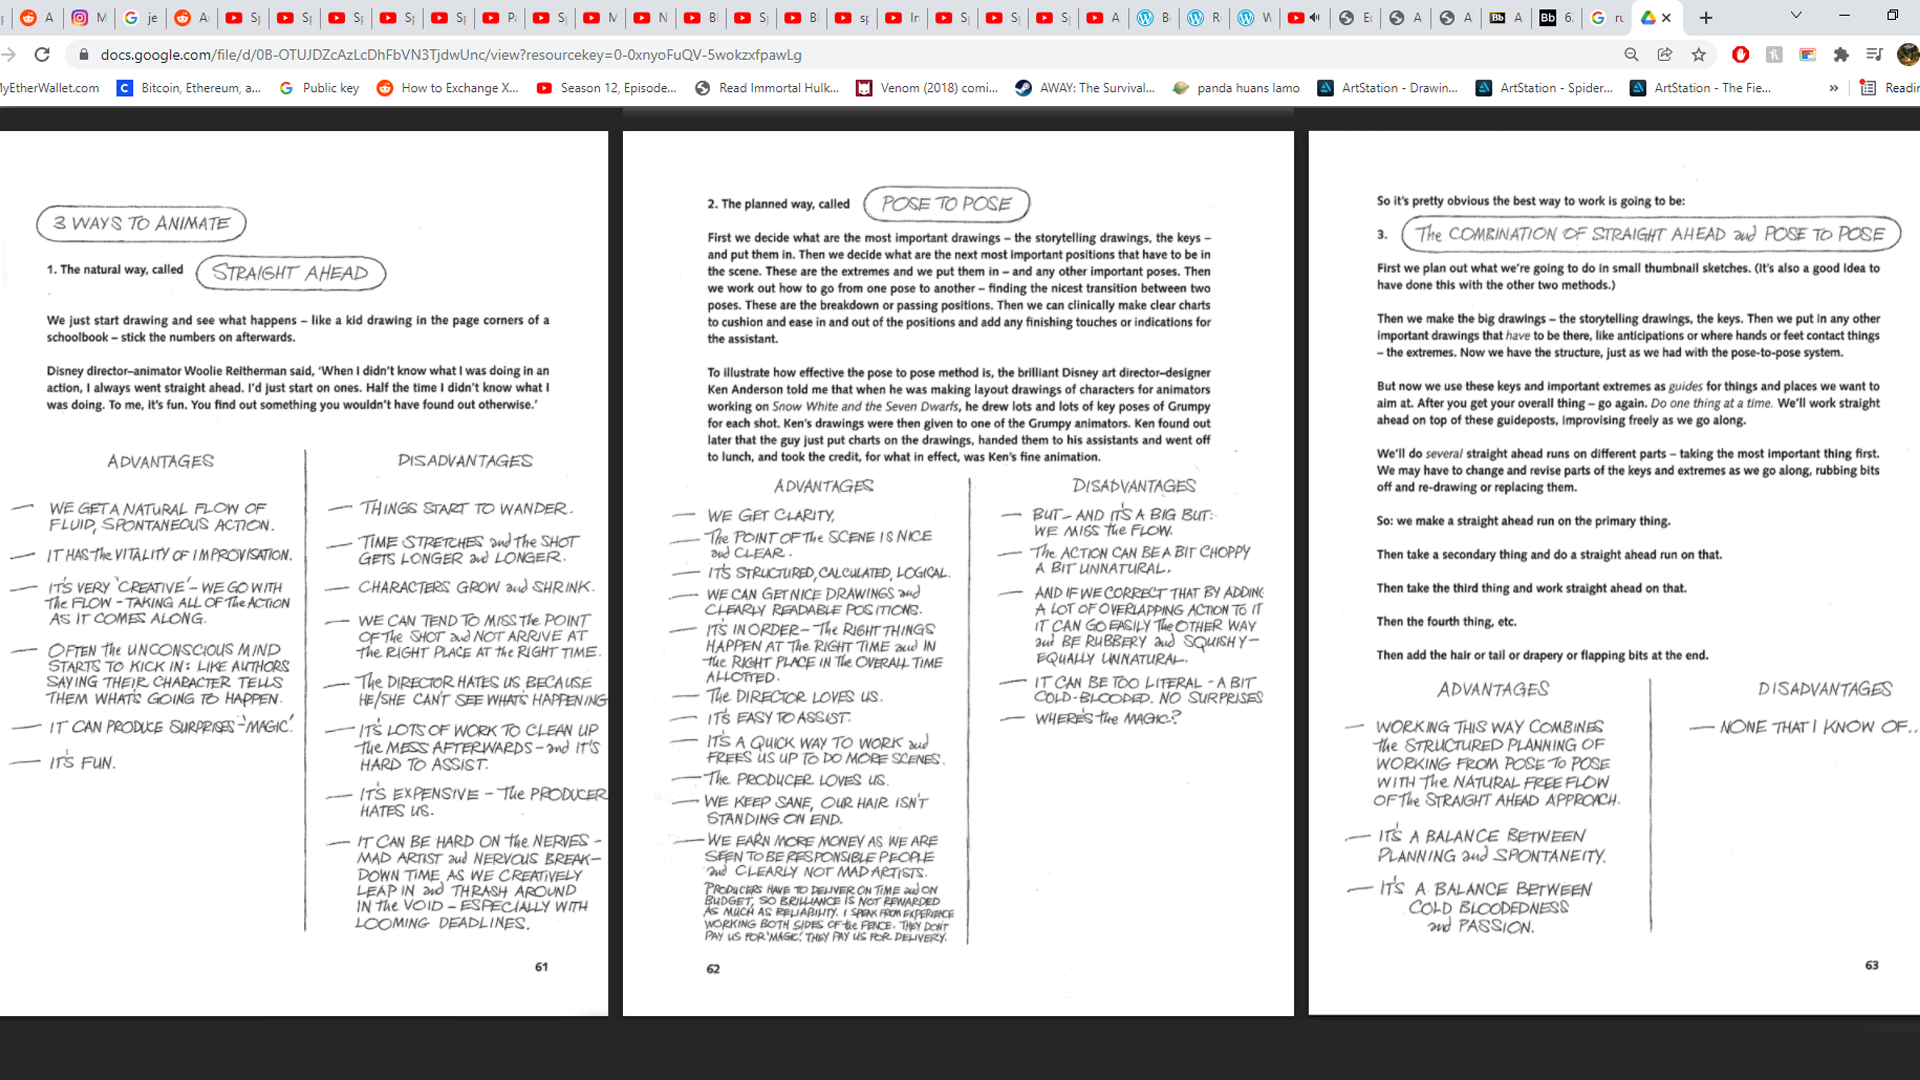
You can get a copy of the Animator’s Survival Kit online so I used this to help me identify my keyframes as well as provide general tips for run/walk cycles like how the hips and shoulders behave in order to convey weight shift correctly. It mentions pose to pose and straight ahead animation techniques, I used a combination. I set the keys to get the overall picture, then went straight ahead from there. I’d separate it in ‘layers’ so I’d do this for the body, then cloth, then hair then I’d go in for the details like hands and feet . I was switching back and forth between ‘methods’ – these aren’t set rules so I was kind of just feeling it out once I had the key points done.
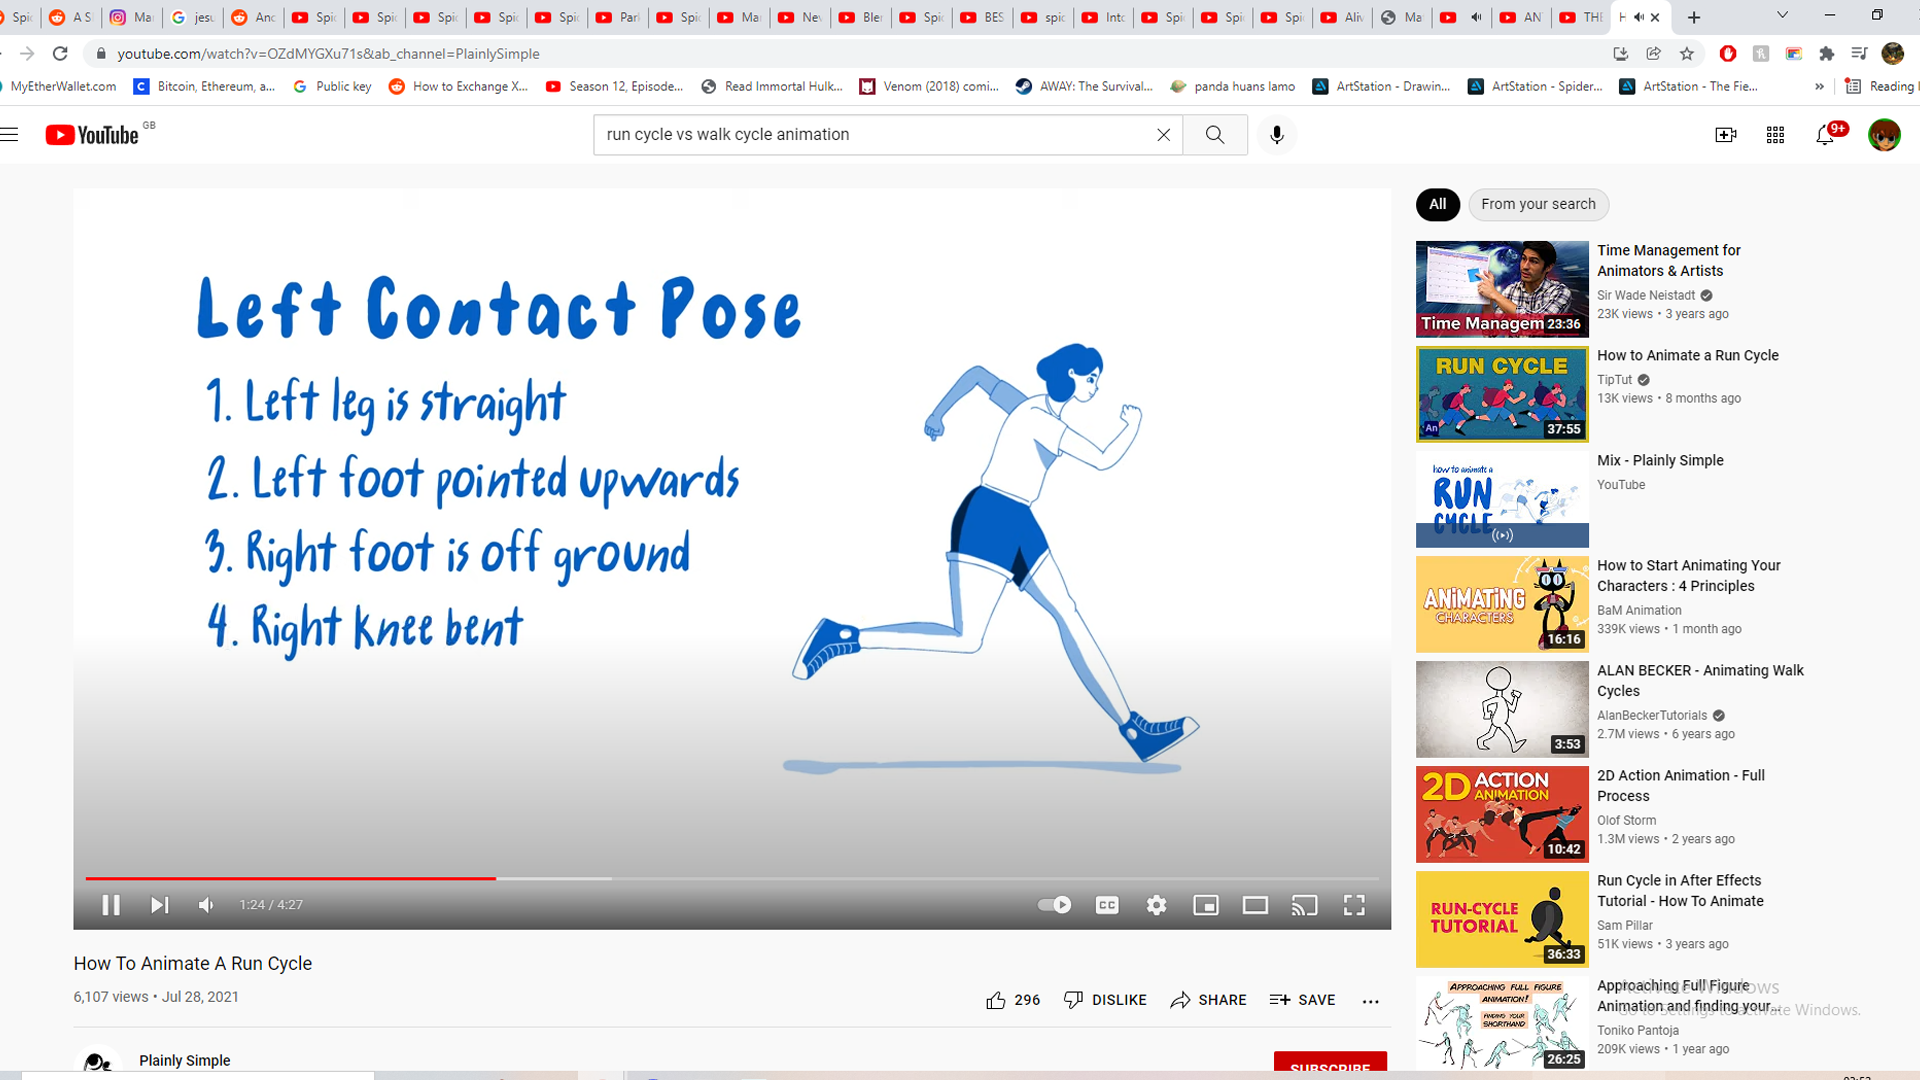
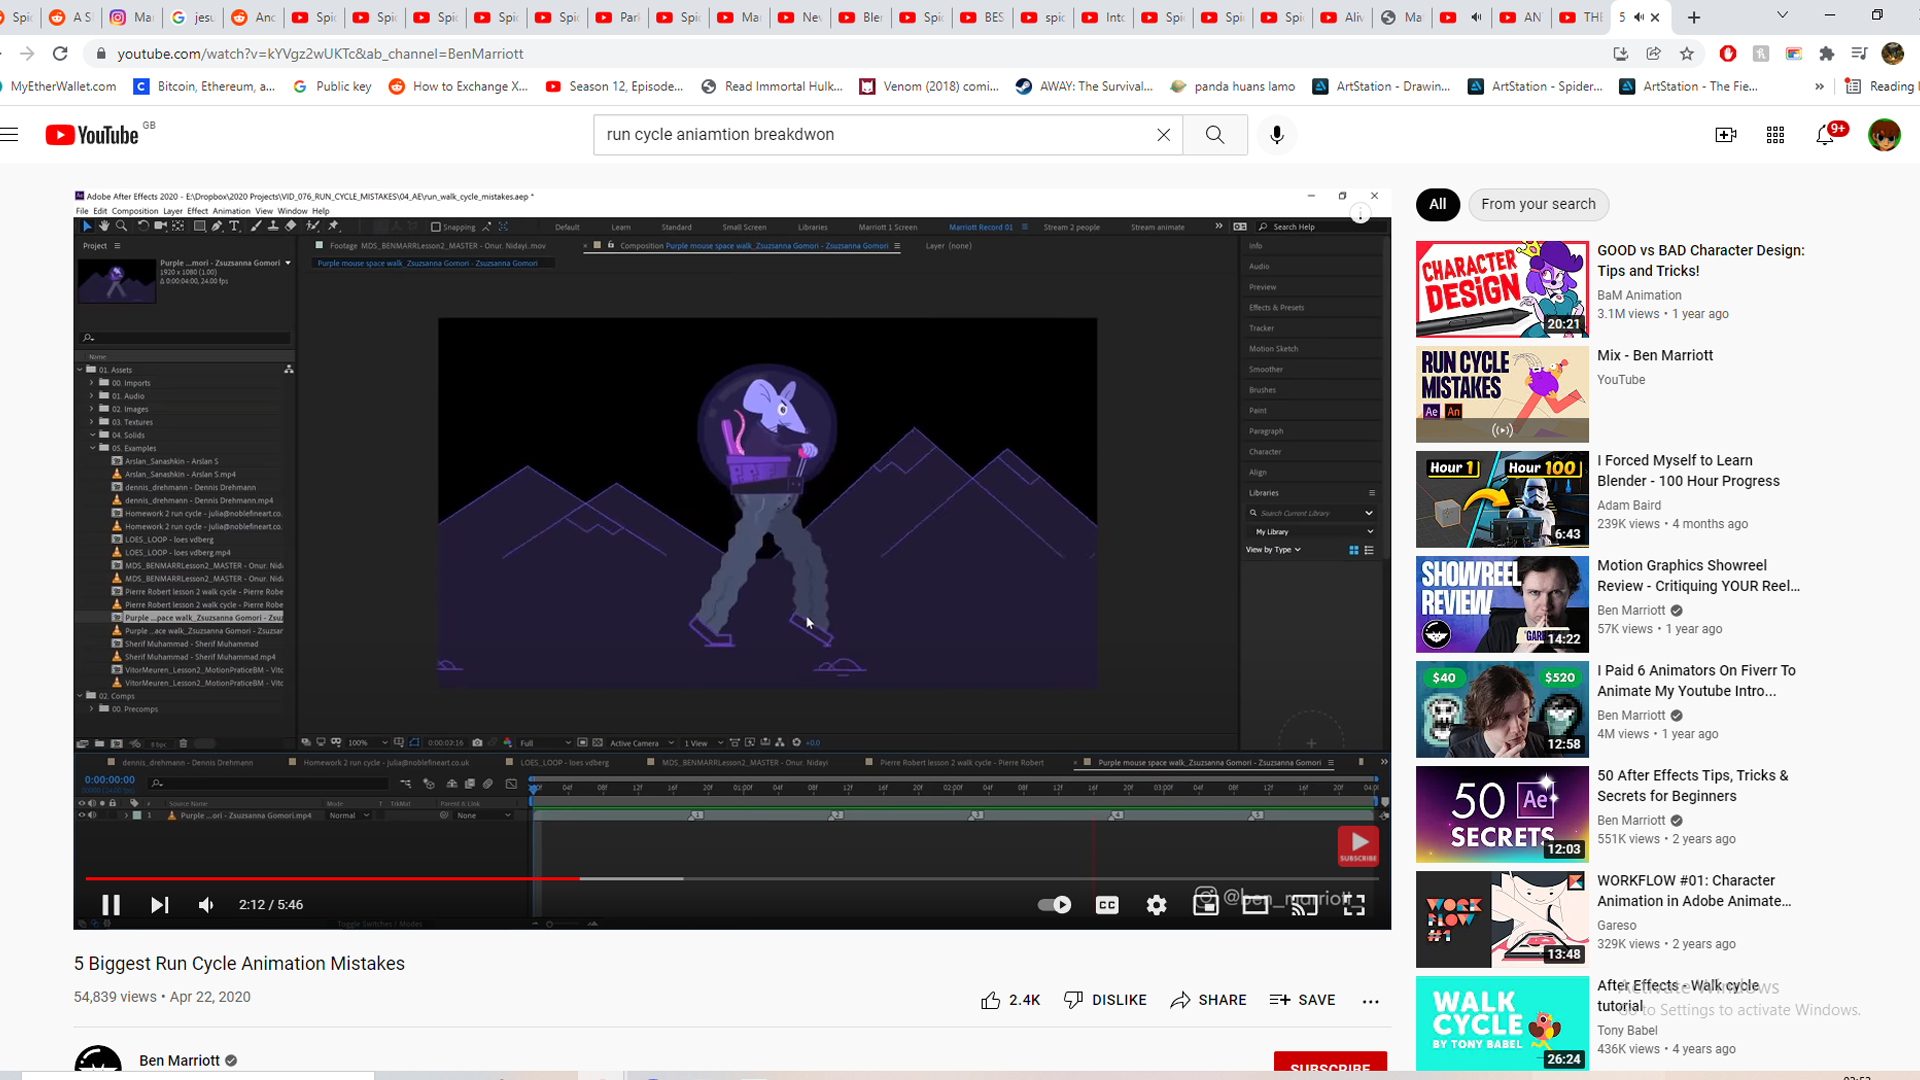

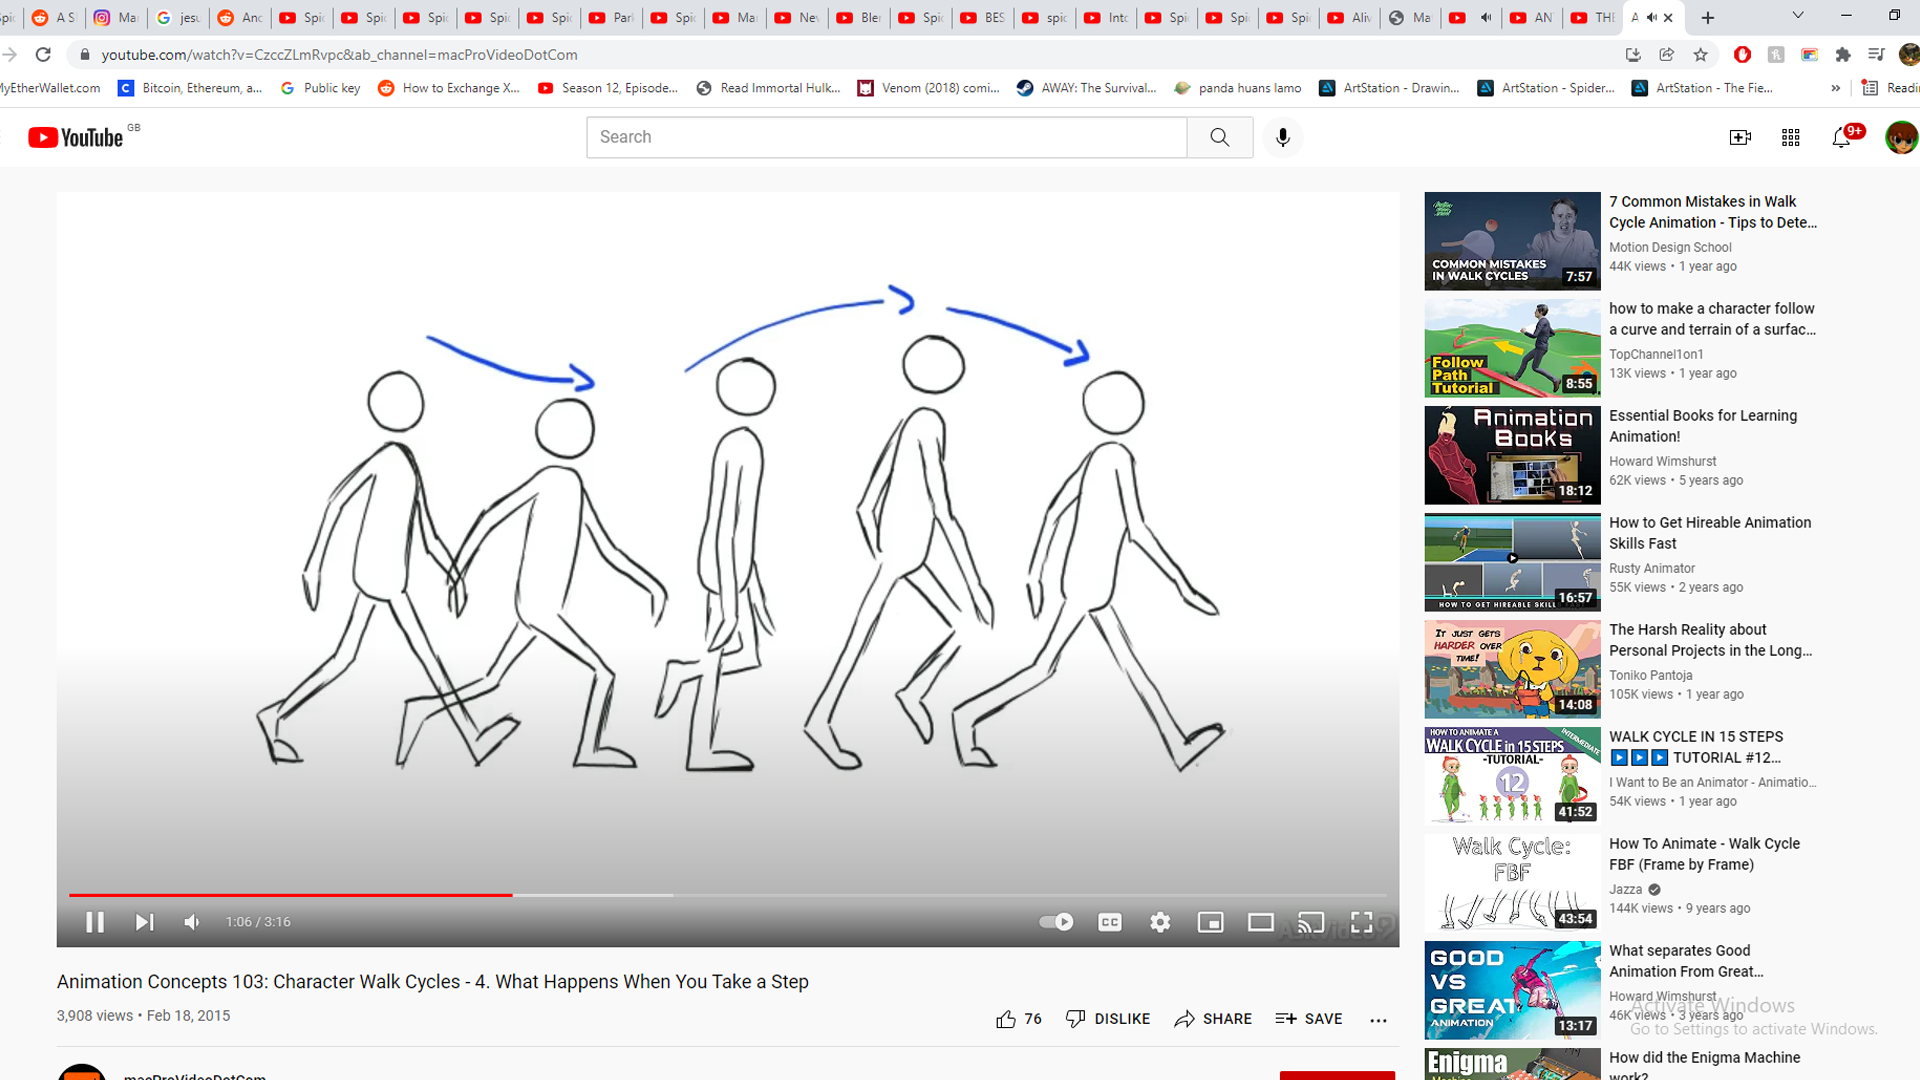
Most these videos on the run cycle just covered the same stuff in the above book (the poses) so I also had a look at the 12 principles again just to remind myself of what to be conscious of in the run cycle.
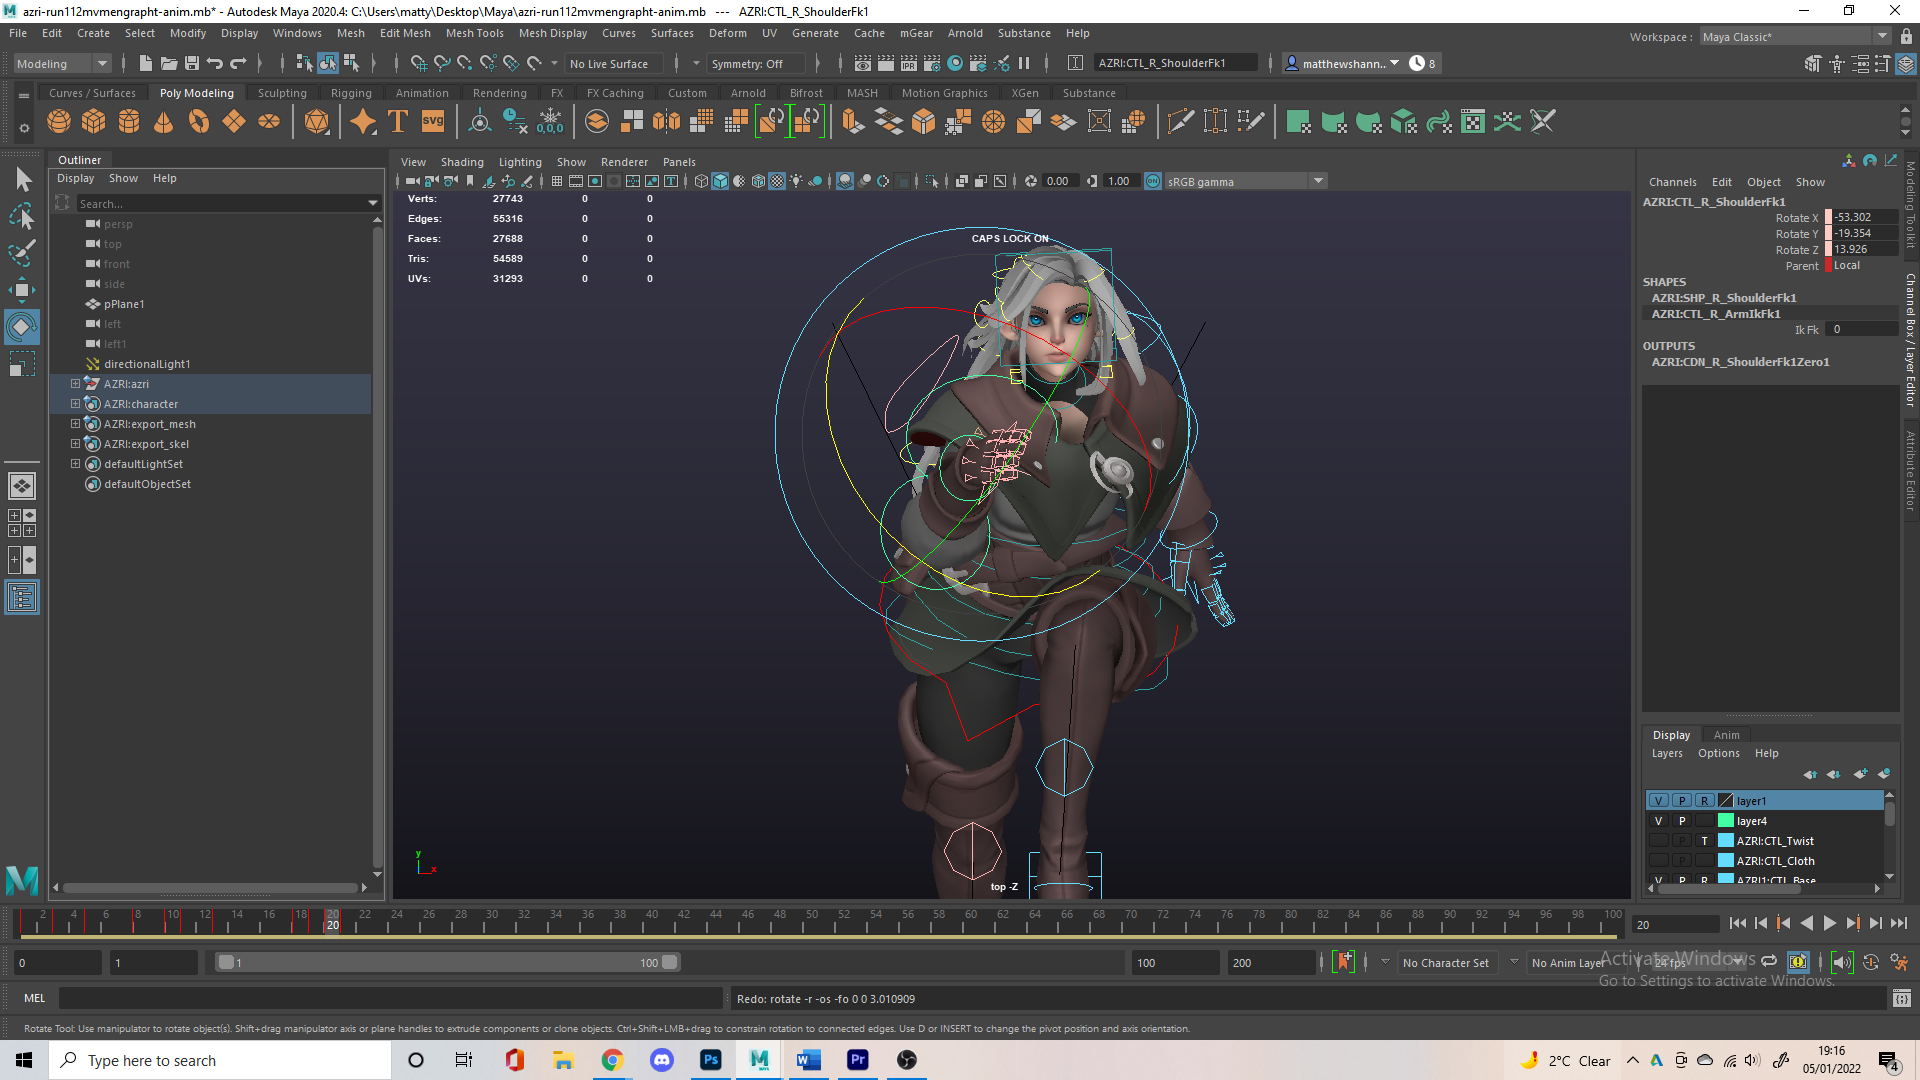
I kept the legs the same from this run and just changed the torso but it looked very awkward. I spent some time playing with the graphs and dope sheet trying to make it a bit smoother, then eventually just redone a lot of the poses since they weren’t the strongest anymore since rotating the body up. I was experimenting with having the right stride be longer/ more powerful than the left to try and avoid twinning and but it was too obvious so I kept them pretty similar later.
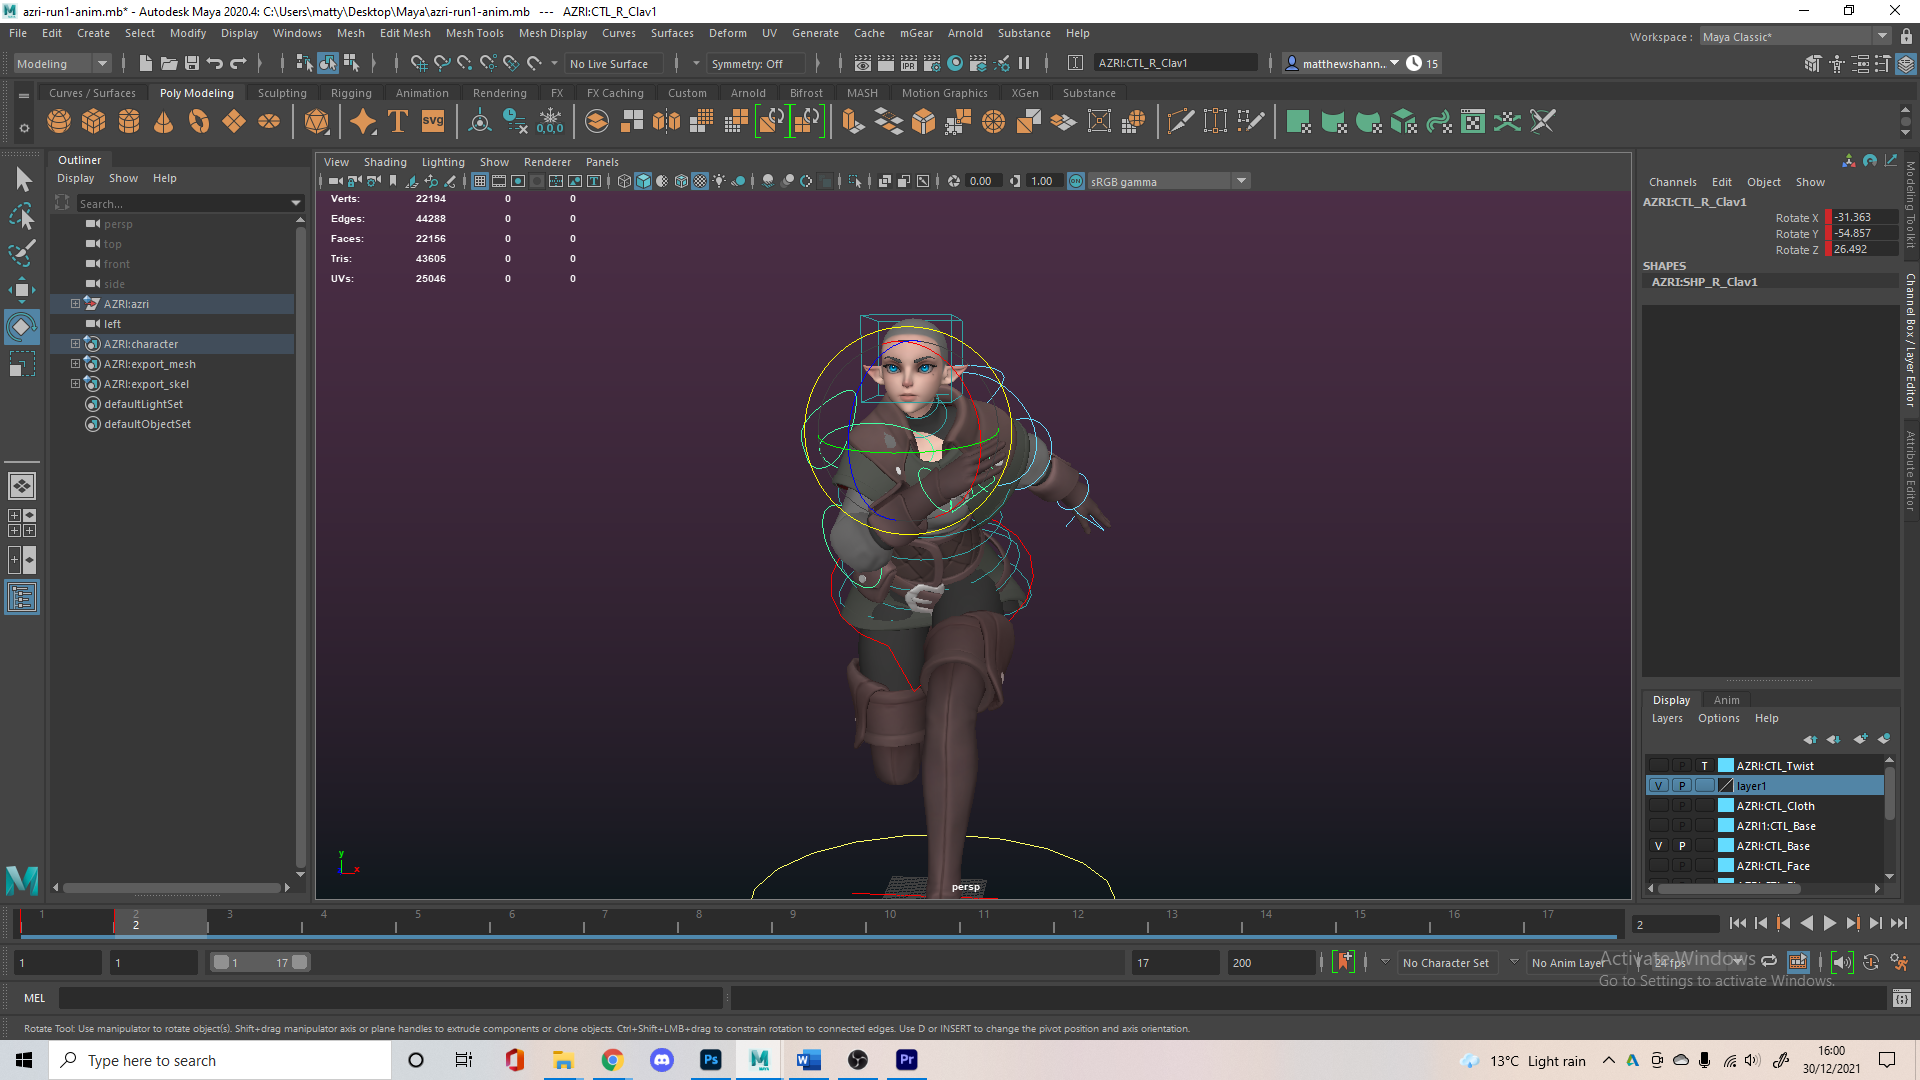
I added some of that downward rotation back into the run so it looked as if she was putting more force into it as well as rotating and moving her body left to right in response to the force from each stride. I wanted it to be quite a fluid and smooth run since she is an elf, but still pretty strong and forceful with each stride.
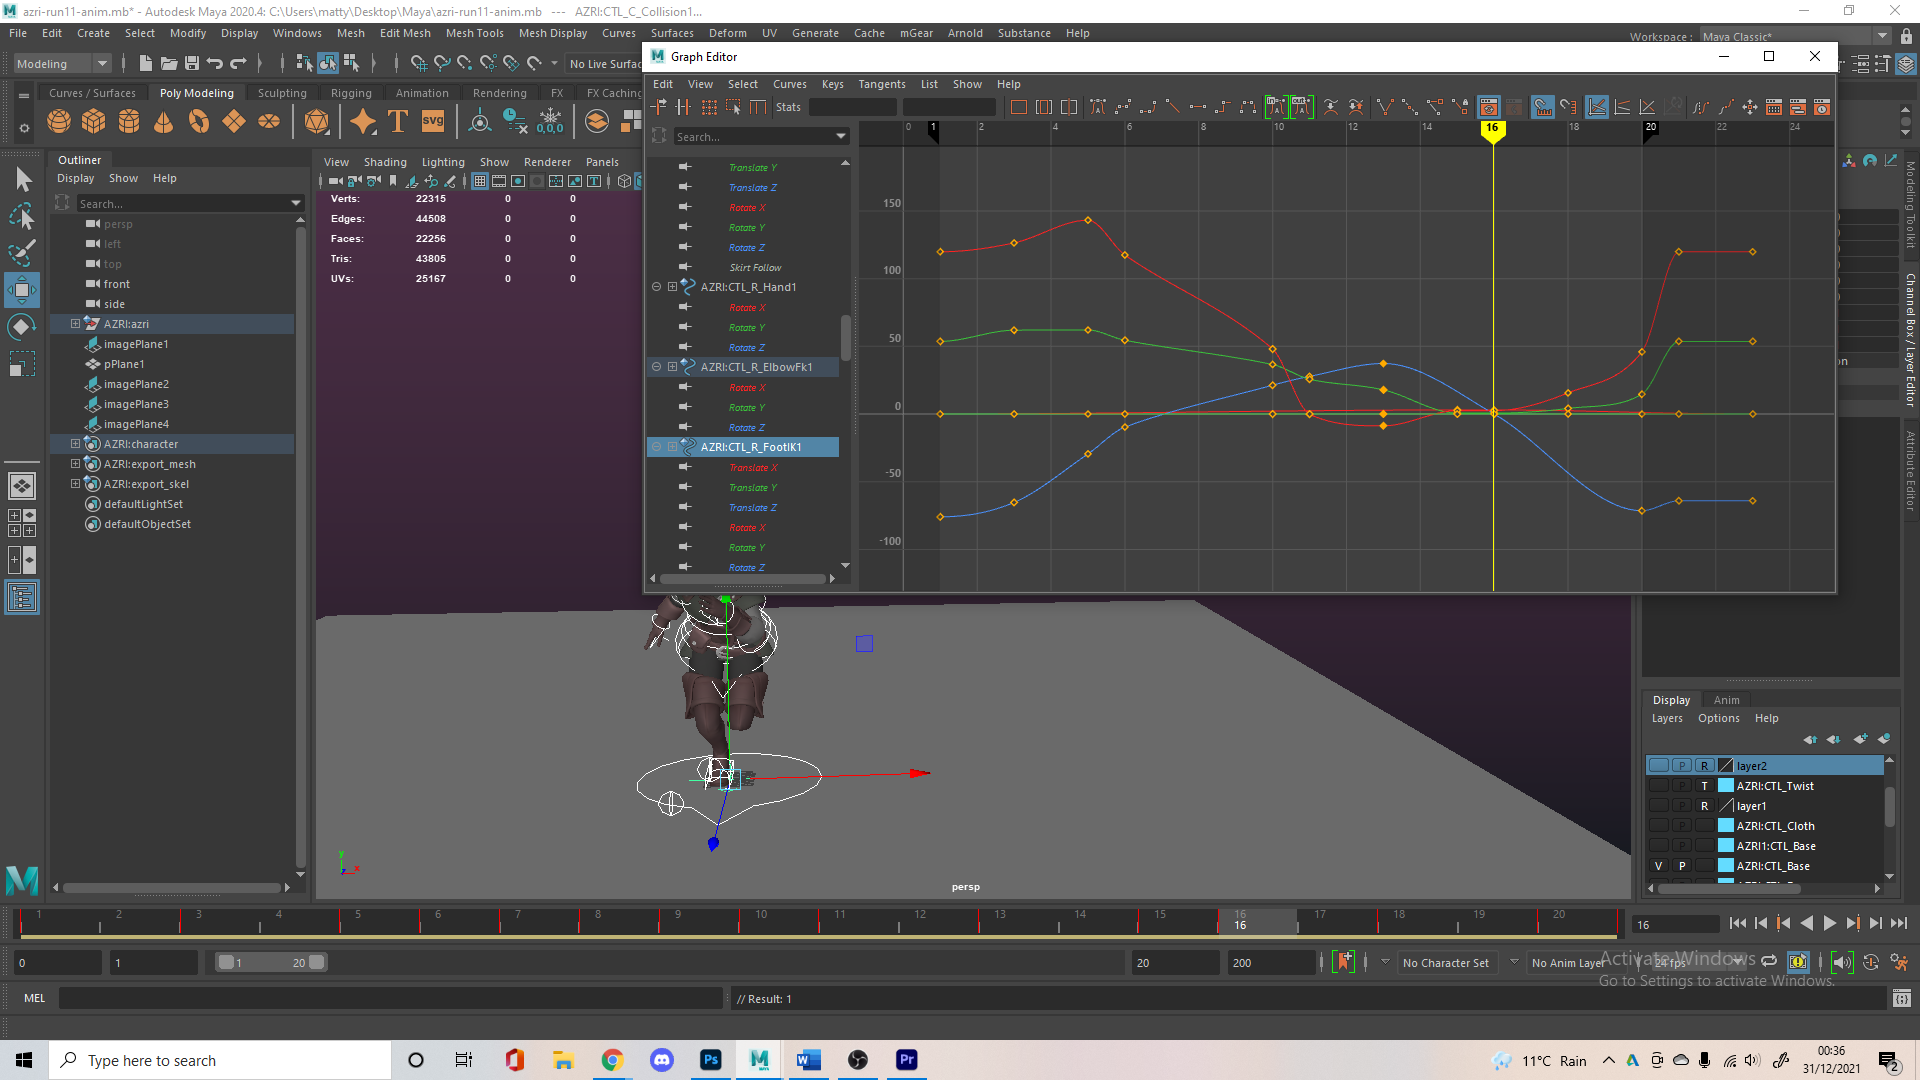
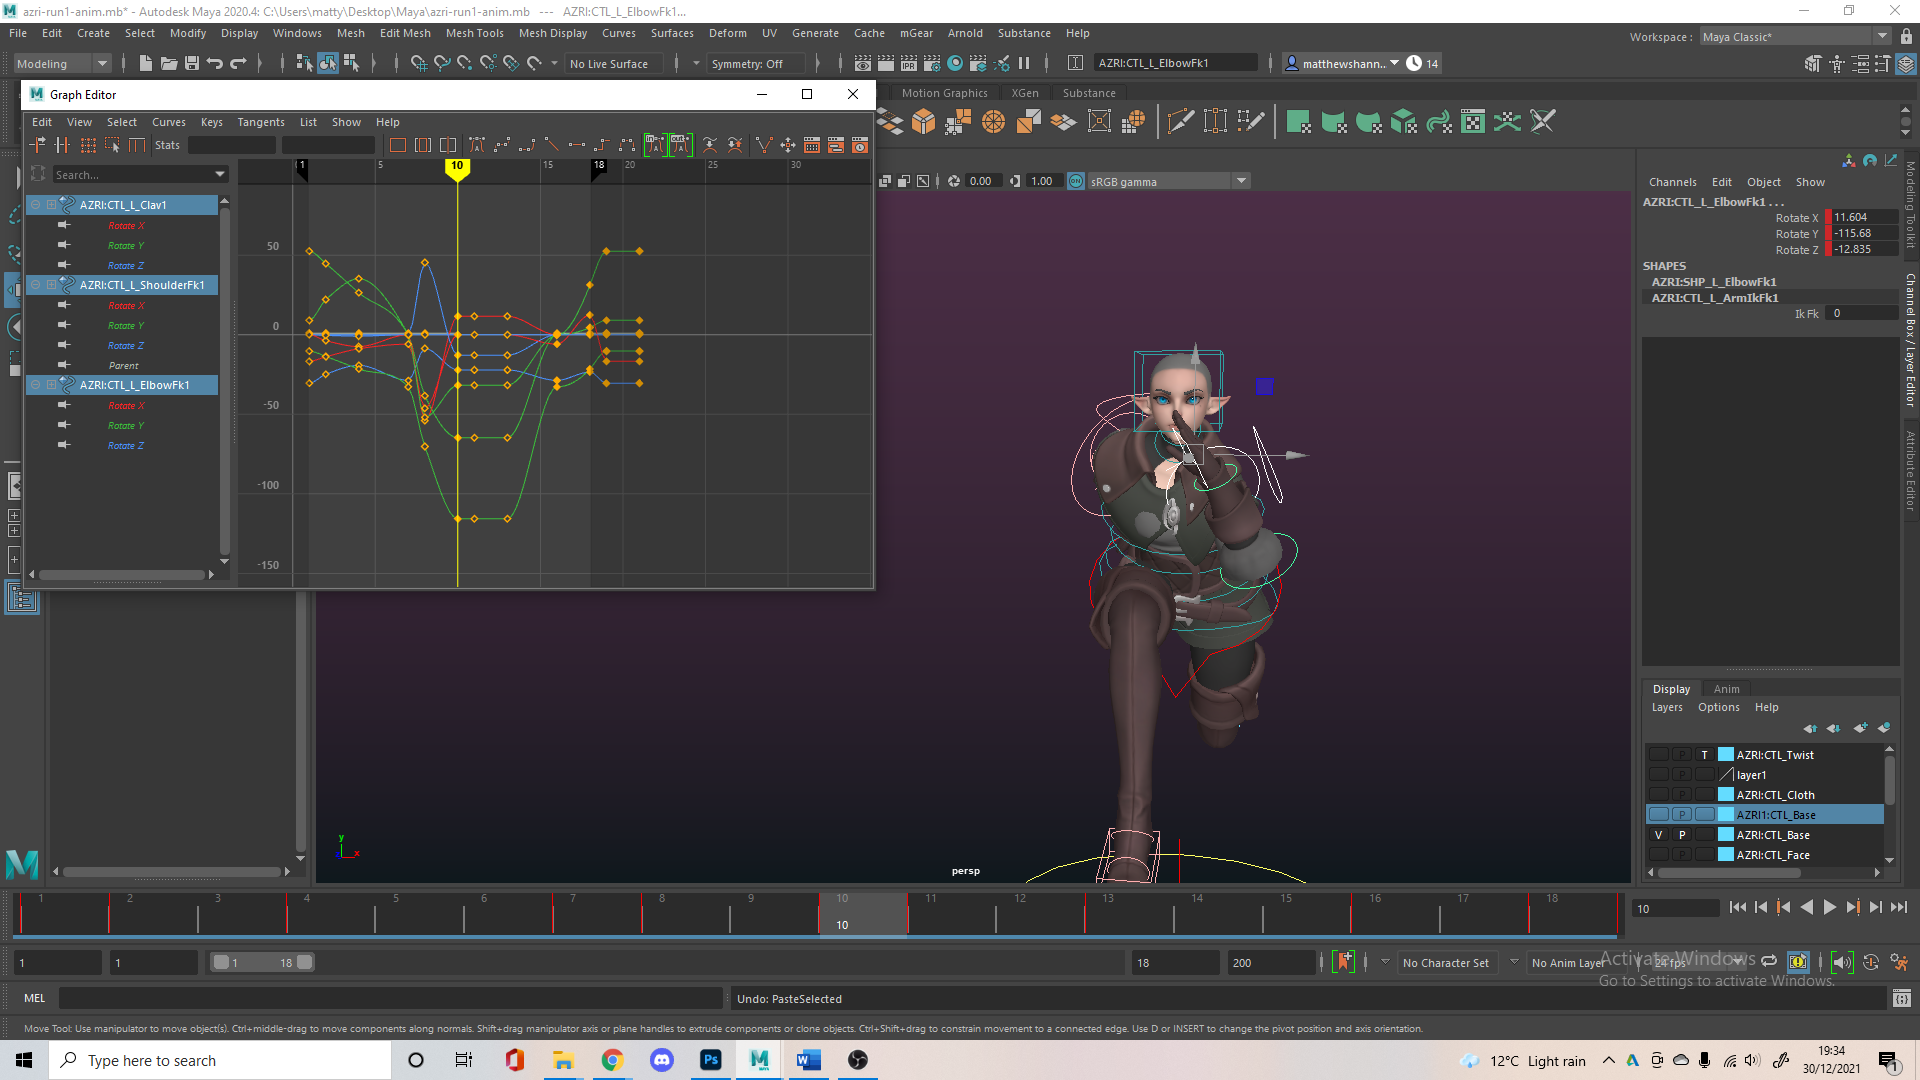
Using the graph editor I worked on the arcs of the run, wanting the feet to move in a smooth circular motion, I thought what I had in the previous video wasn’t great. The back legs seemed to drag behind too long and just moved a little awkward when pushing then transitioning to the front. I added some left to right movement of the feet to compliment the left to right bounce of the torso better.
I was looking at some run cycles using the Azri rig and I loved how this one came out. It’s definitely got that stylised anime style I was going to go for previously but even though I was moving away from that it still came in helpful with the seeing how far I could push poses and exaggerate the movements, as well as a good reference for the cloth and hair, although this is a lot higher energy than what I was working on so it would definitely need to be slower and floppier. I thought presenting a run cycle with the shadows and the turn table was very nice though, so since the run cycle was much more aggressive than mine, the staging was my main takeaway from this particular video.
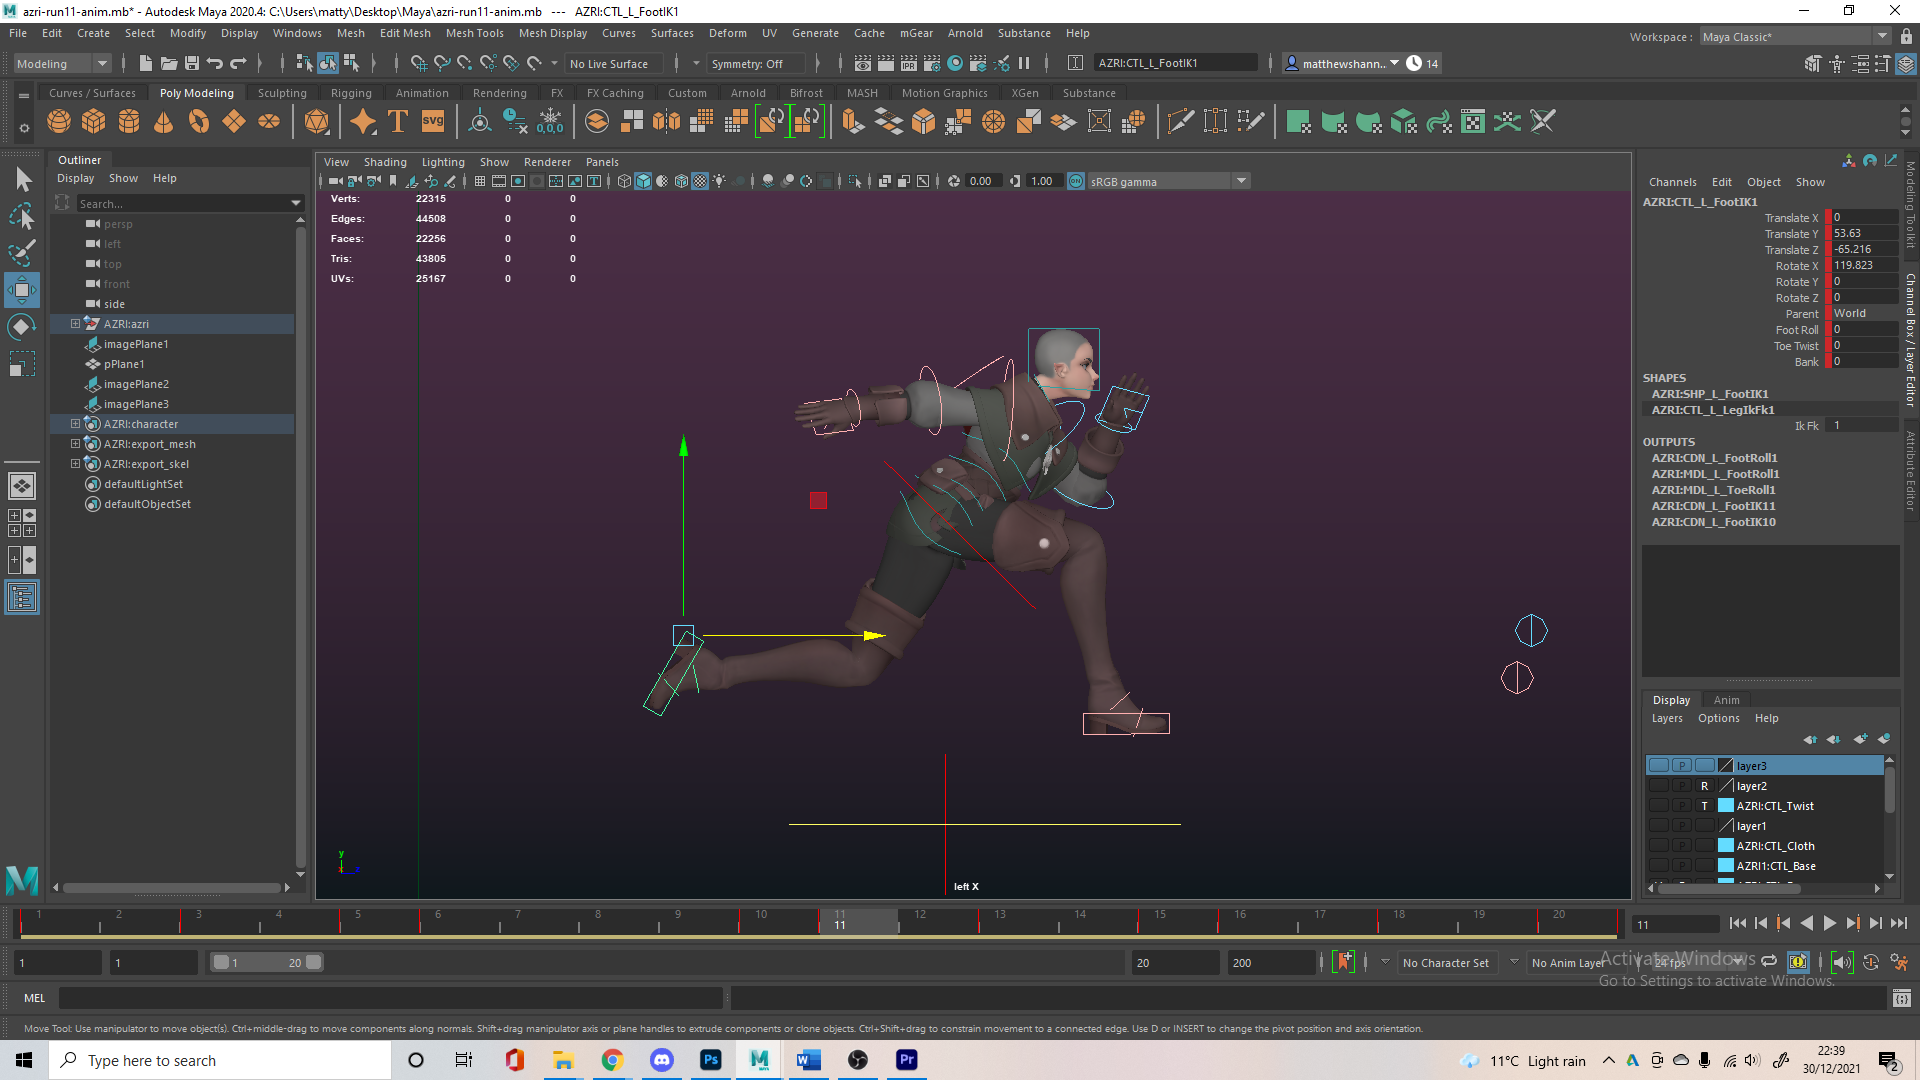
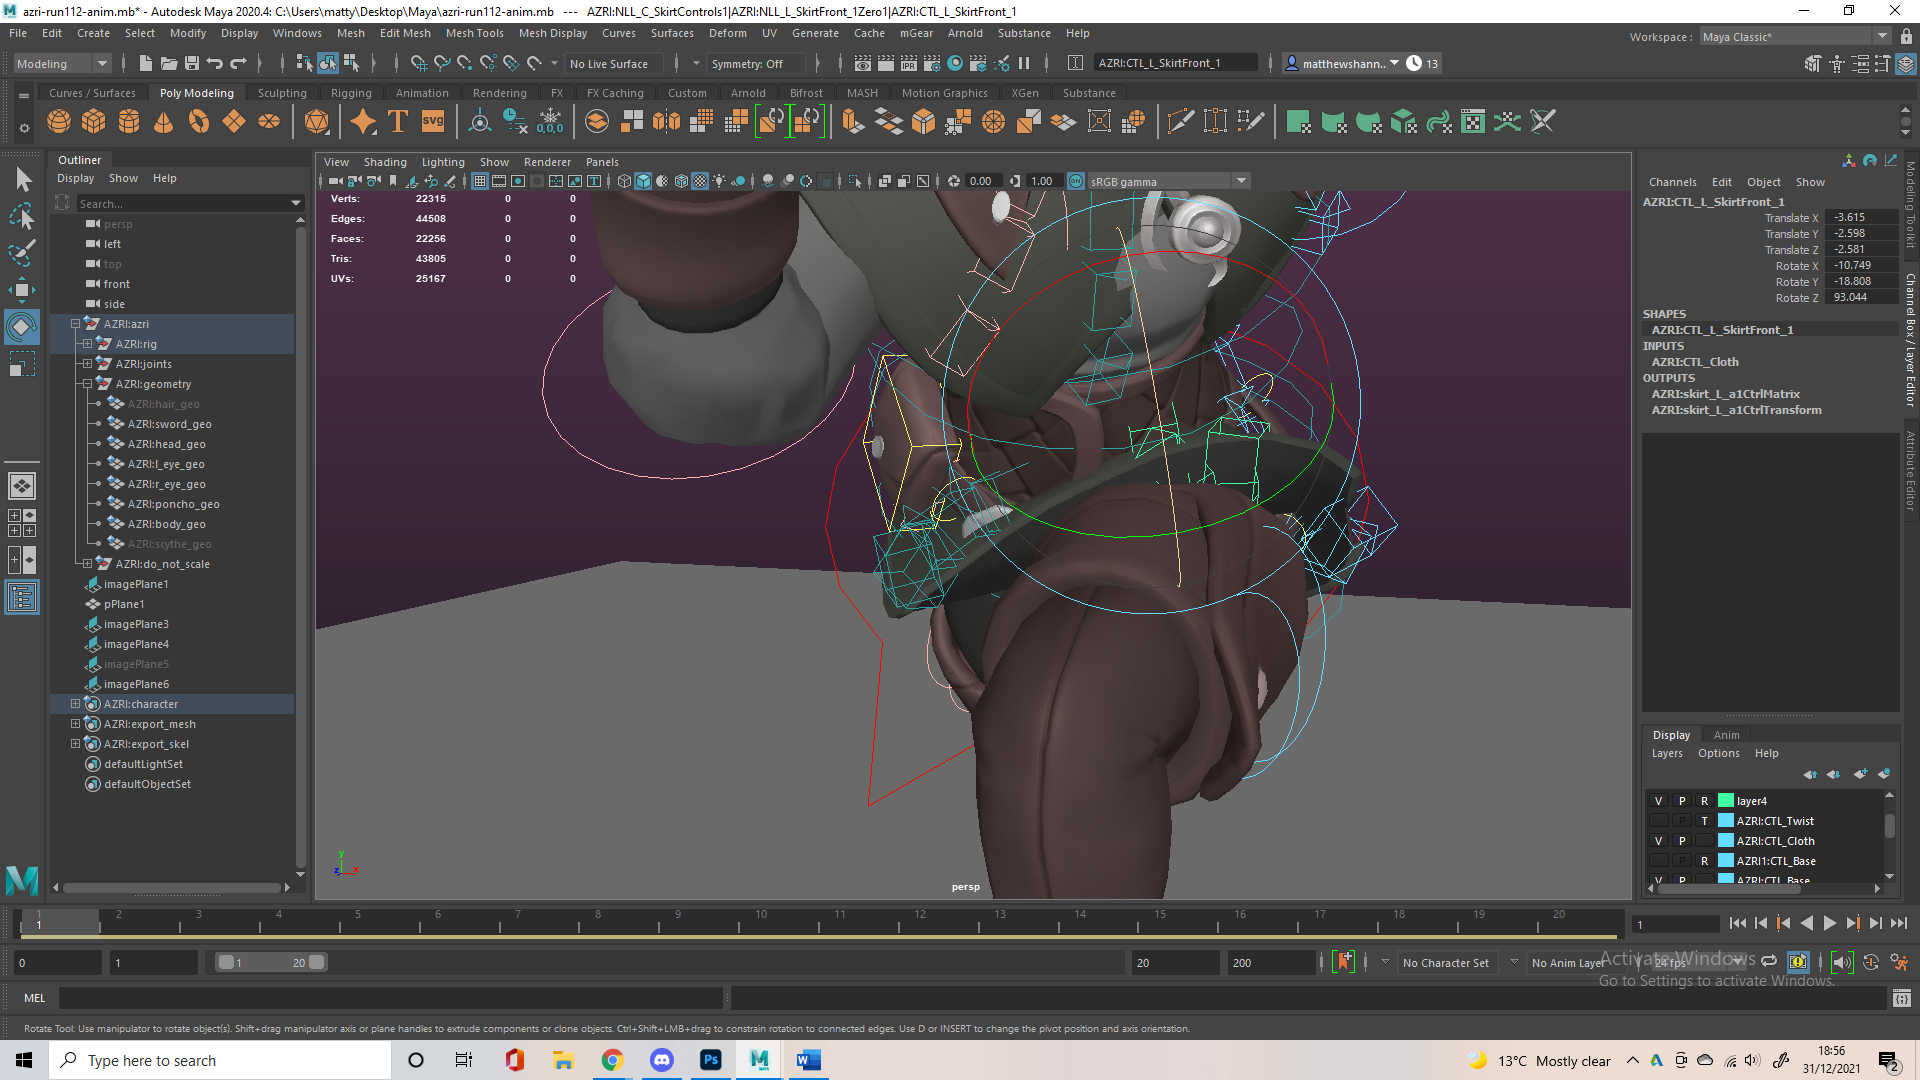
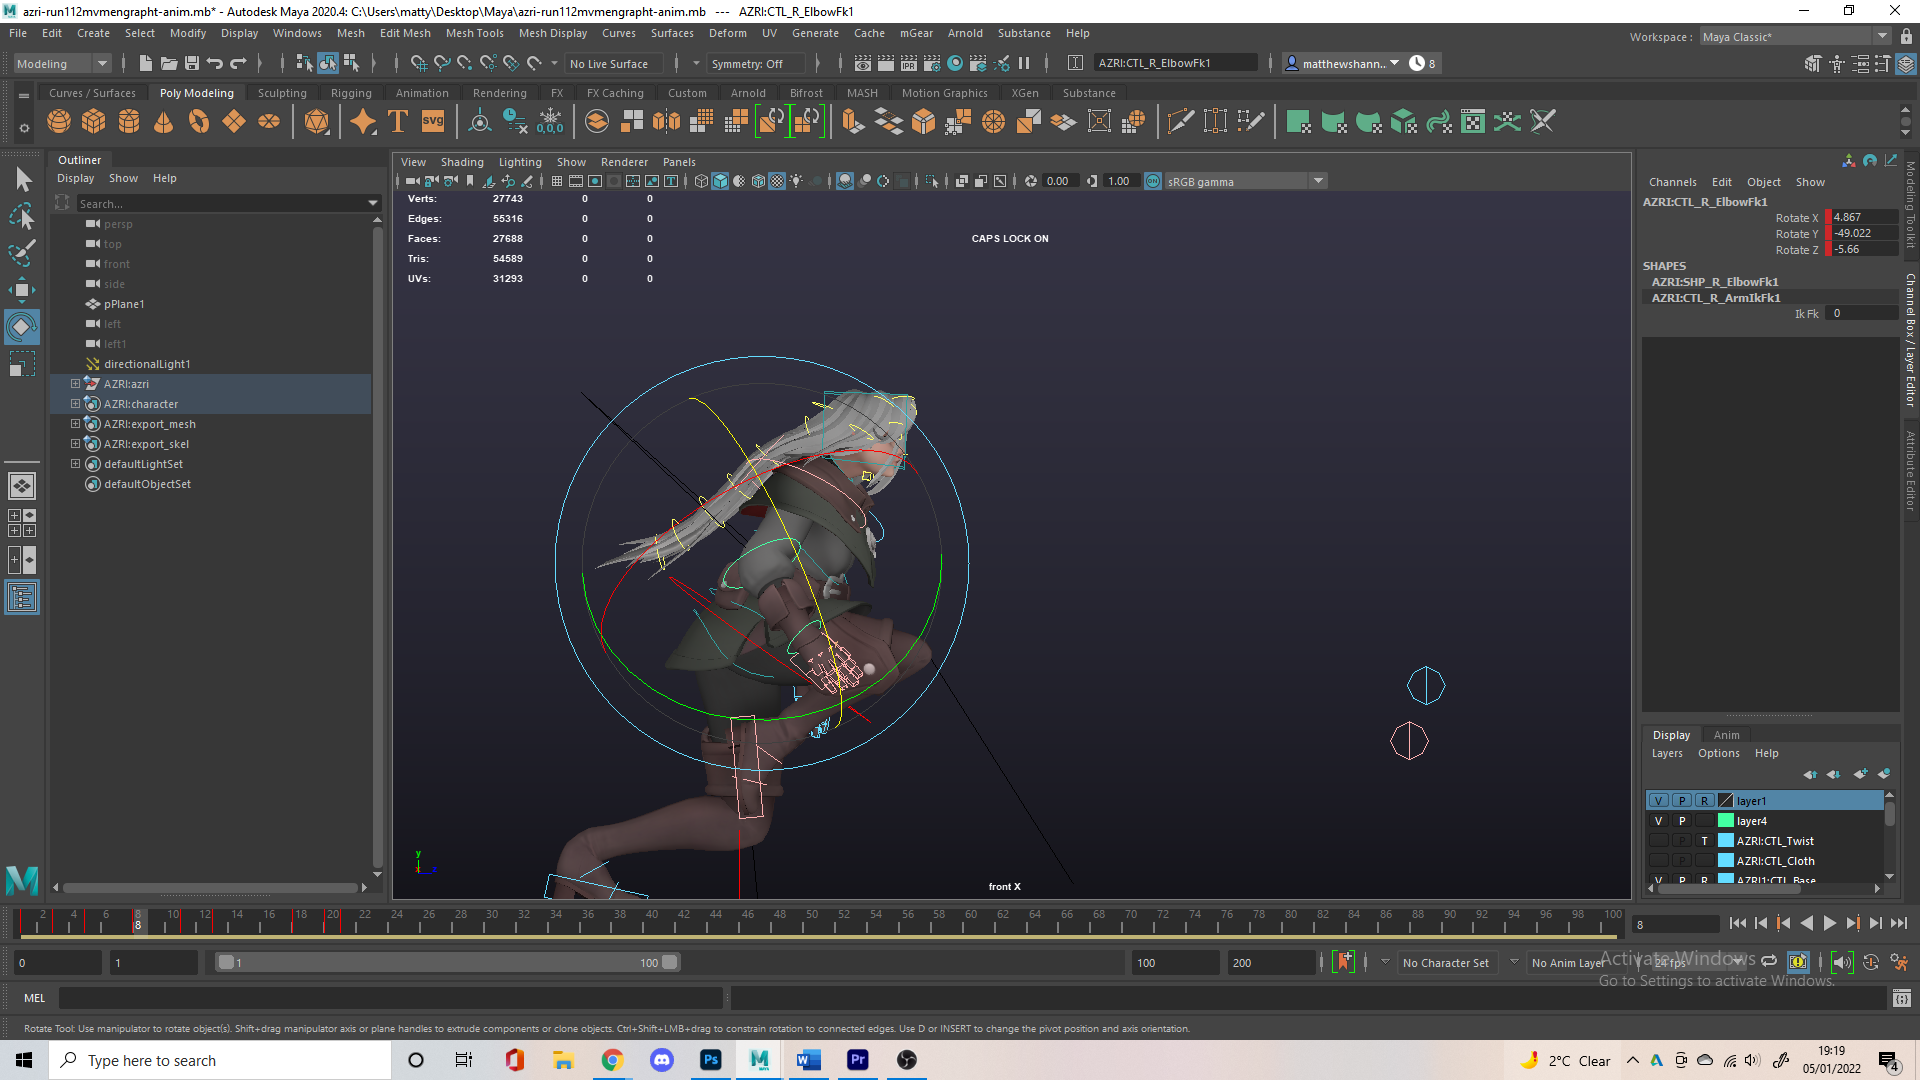
I played into the lean a bit more and thought the poses were looking much stronger than before, each frame looked very strong and readable and the run was looking much better, so I started looking at the hair and the cloth. It was definitely a mistake to do the cloth at this point because in response to feedback I would make changes to the poses again, and change the timing of the legs – this messed up all the work I done on the skirt and was very annoying to fix. I actually had to use the outliner to find each hierarchy of controls for the skirt, since they would be hidden in the body and legs a lot.
I liked Aaron Blaise’s tutorials breaking down cloth for the skirt, it is for a jump but it definitely helped me with how the cloth should behave as Azri falls towards the ground.
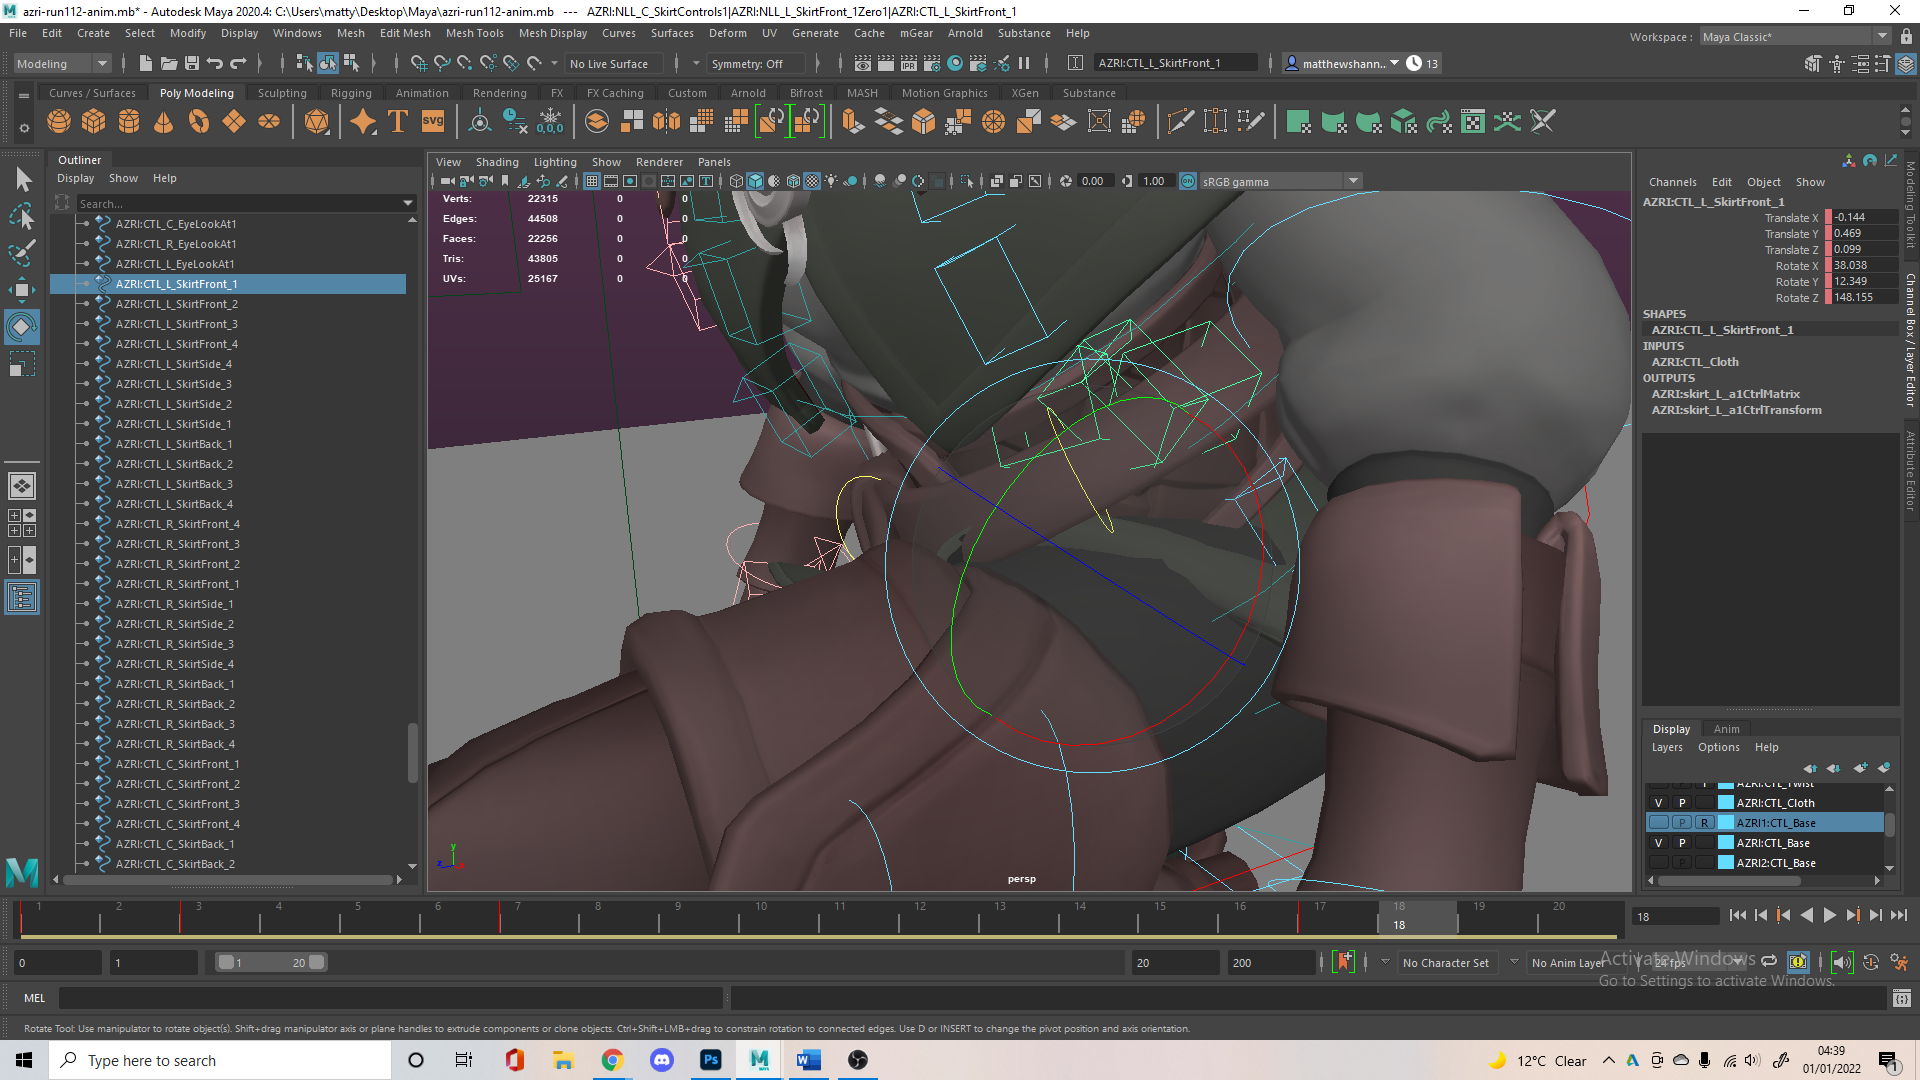
Working on the cloth was so tedious and any change I made later meant I had to redo most of the frames for the skirt. It means there’s no need for cloth simulation, you just adjust the cloth as you see necessary but with the exaggeration I had in the legs this meant I had a lot of adjustments.
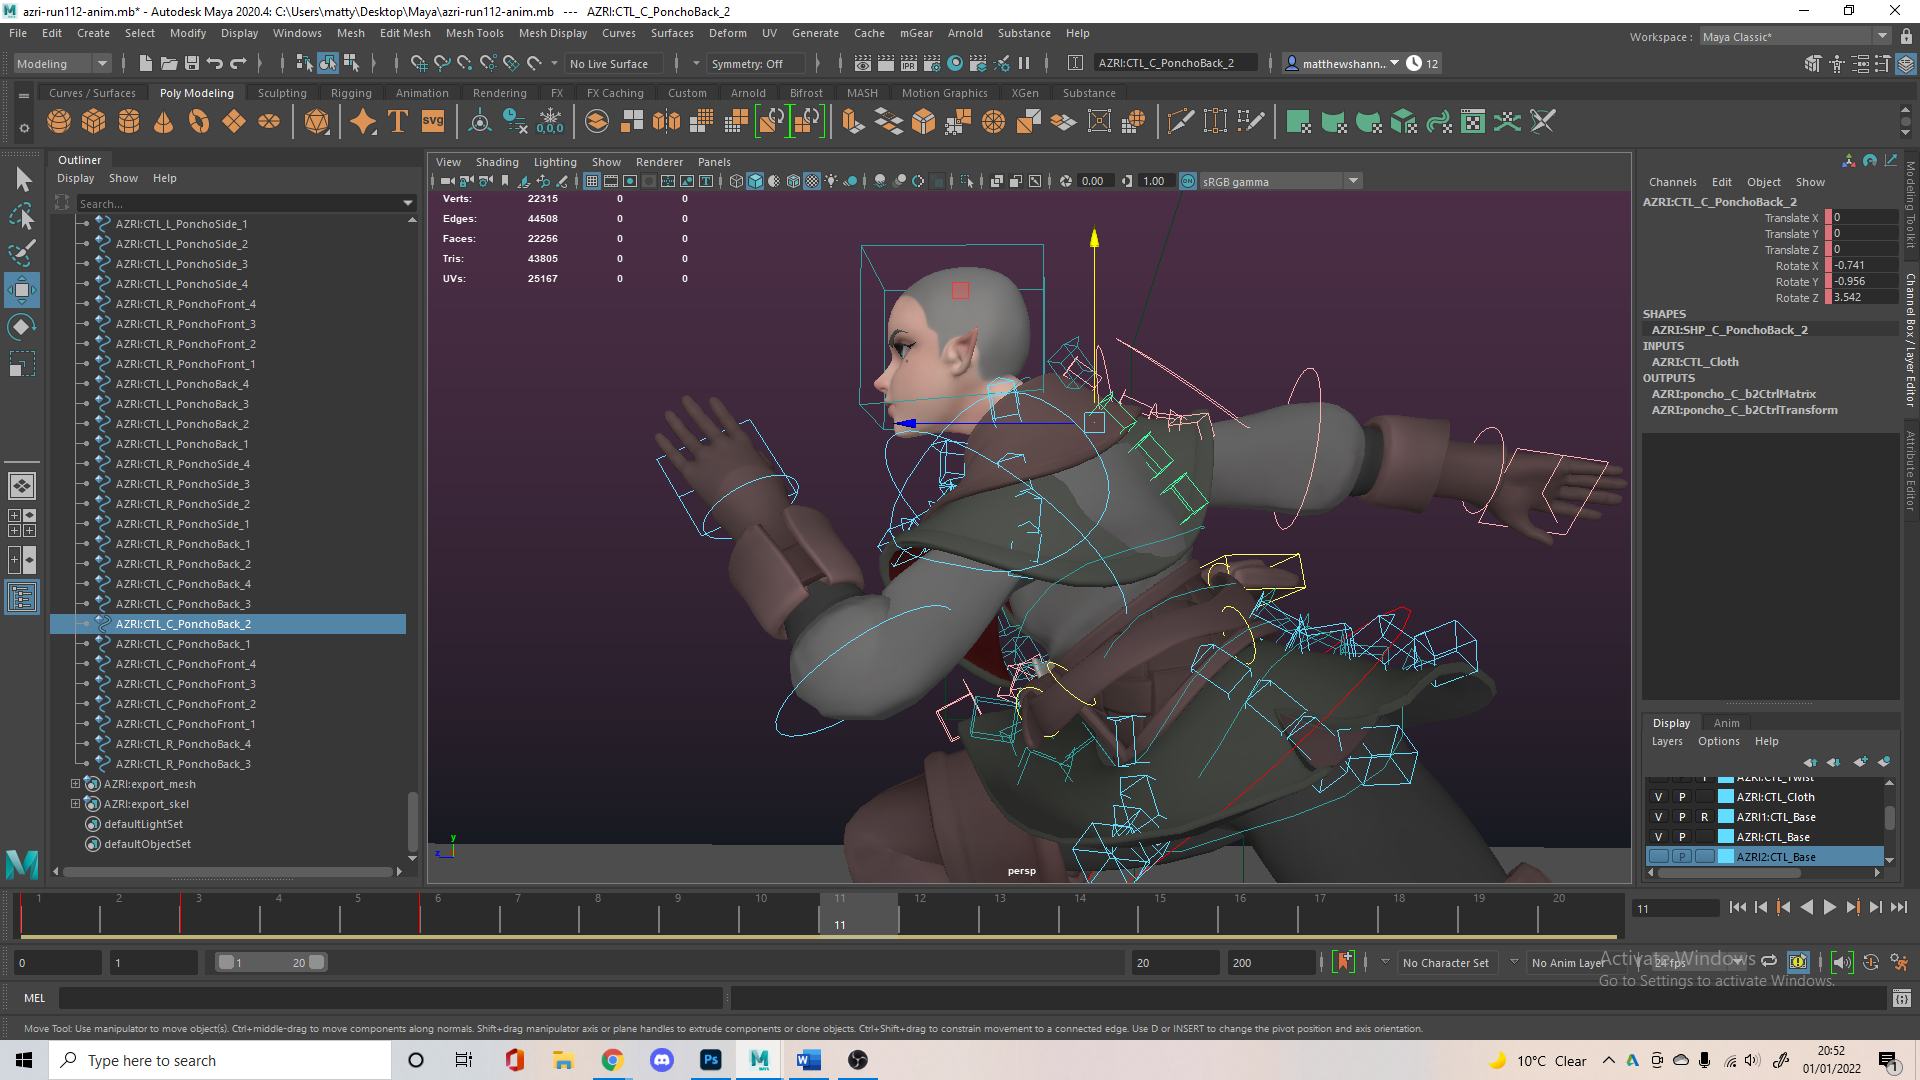
As well as working on the cloth, I added some overlapping action with belt jiggle and the satchel’s jostle, rotate and bounce, I really like how the movement of these props and the belt came out.
I also added overlap to the hands and feet, having them rotate a bit slower since they are at the end of their chains. The shoulders would rotate first, then elbows, then hands – all in response to one another and the air resistance (same concept for feet). I did keep it pretty subtle for the feet since she is in them giant boots, but since the hands were much looser they had more delay.
I had most movement happening in the hips and shoulders, in the y and z axis. I didn’t have a whole lot of movement in the torso to match my original idea, but also because there wasn’t an option to translate the spine, I was hopping to have some spine compression on the contact pose and especially the down pose. I have a subtle hand animation with the fingers opening and dragging behind at the back, and becoming a little more firm and closed at the front. You can see close to the final overlapping action in this clip above. I was struggling a bit with the hair but I’m also getting close to what I stuck with in this video.
The main feedback of the run cycle at this point was that the hair felt too heavy and that the run didn’t feel too fluid, her right arm felt a little snappy from the front angle and the run was a little generic in terms of personality.


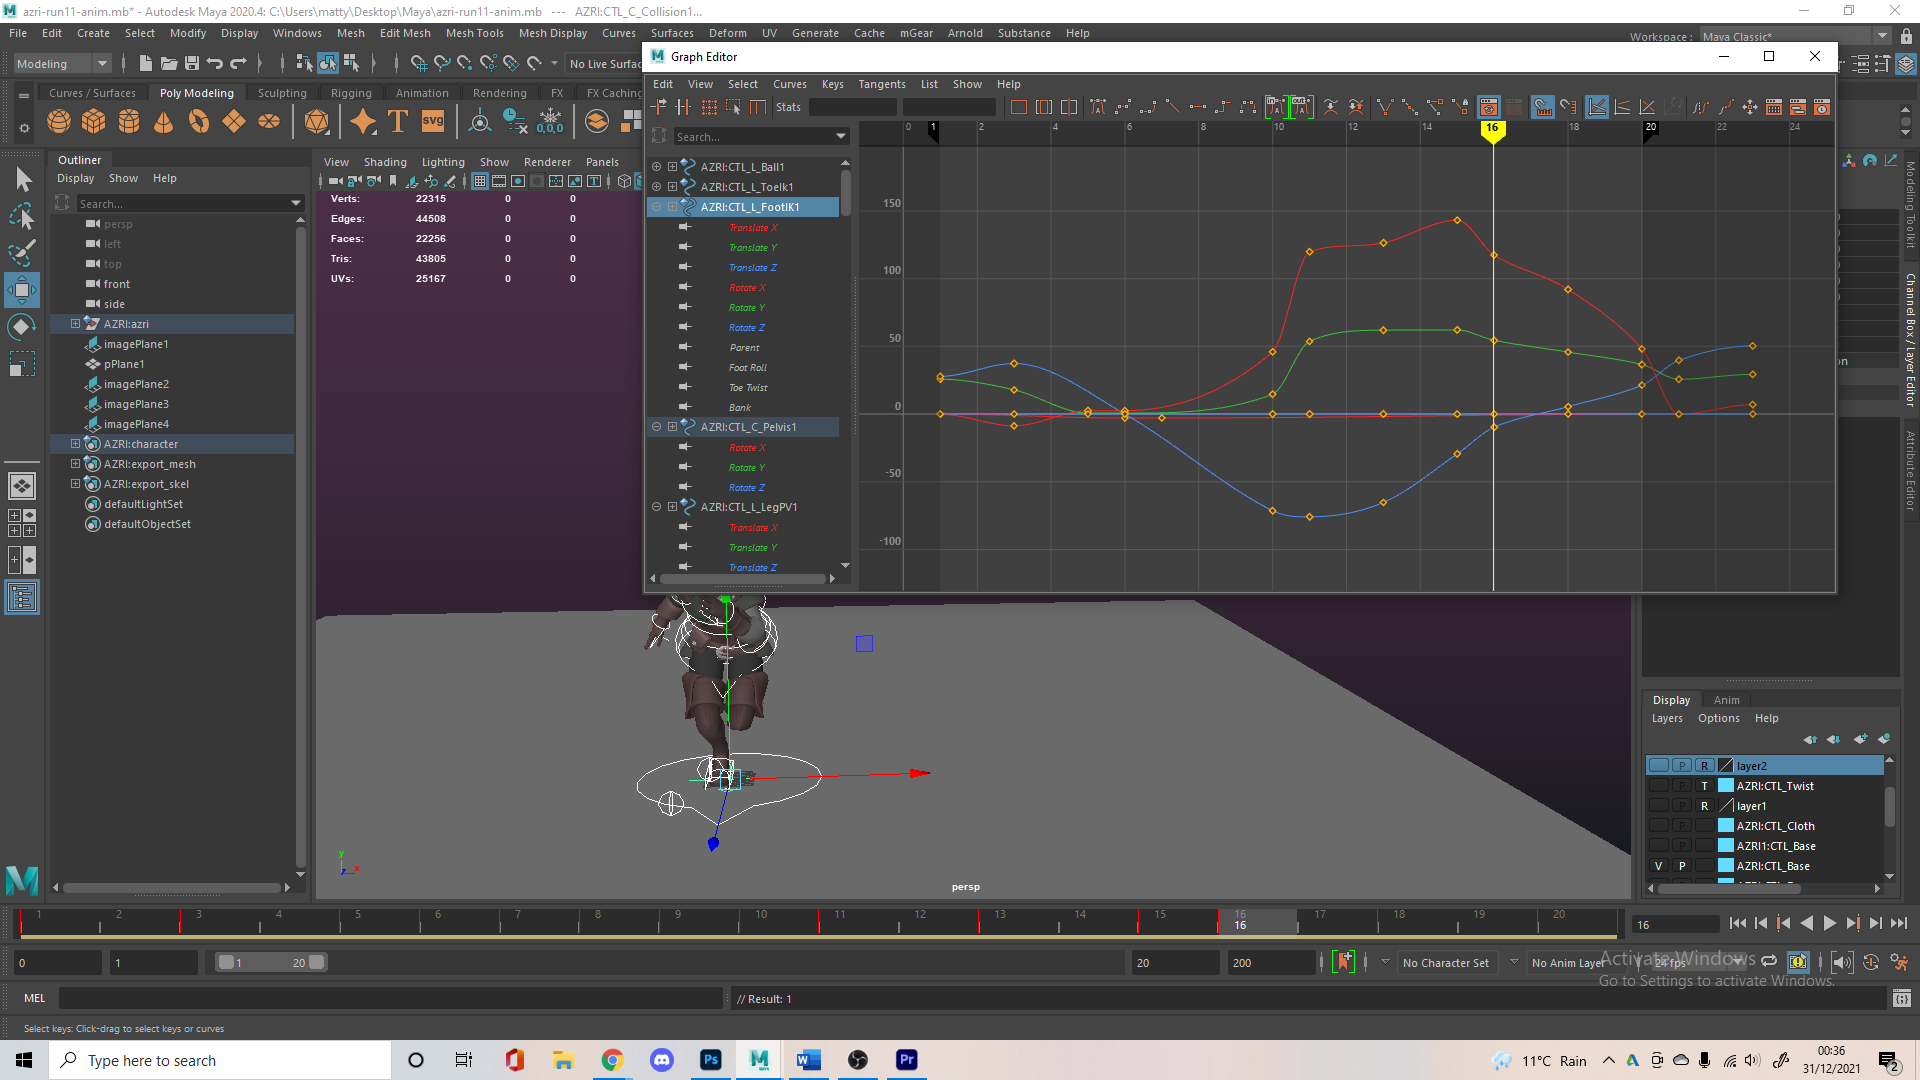
This documents my final adaptation to feedback, I didn’t do a whole lot of iterations and passes of this run since it was so annoying to work with the cloth each time I made a tiny change, so I just relied on my own thoughts throughout, and my brother for a fresh set of eyes every so often. As seen in the video I double checked all my arcs to make it as fluid as possible, often using the auto tangent and making manual adjustments to this and I really pushed that bounce and left to right sway much more to add more energy and character to the run cycle.
Her right arm had one keyframe that was off (negative rotation instead of positive on one axis) so I made it mirror the animation on the left. I don’t know if I just spent too long looking at this run cycle but after fixing it and having identical animation on the left and right I still sometimes felt a snap on one side randomly. I thought maybe it had something to do with making it cycle in the graph editor but I checked this and it all seemed fine. I actually thought the left arm felt snappy sometimes so maybe its an illusion if you focus on one arm too much or something (like those videos of the ballerina spinning but if you look at her foot she changes direction). I was really struggling to figure it out but I did end up adjusting the arms poses again and ensuring the arcs were all clean just in case, as well as one final adjustment to the legs arcs which I felt pretty happy with.
(other angles available in portfolio post)
I think the final run came out well, good timing and sense of weight and I’m happy enough with the hair and cloth/belt accessories, little delayed from the rest of the body falling and gives a cool effect. I think the hair could be better from the back view maybe and the smaller stands at the front were hard to figure out so I’m sure they could be better. I couldn’t see the ability to translate the spine other than rotations, I wish I could really push the squash and stretch further with some spine compression but other than that I’m happy enough with the exaggeration, maybe could push the poses a little further but I was running out of time to do more iterations, especially with having to completely redo the skirt each time I changed the legs or body. Its presented really well in combination with the front and side views and is very readable. It wouldn’t be a very fast run but you can feel the force behind each stride kicking back and driving forward.
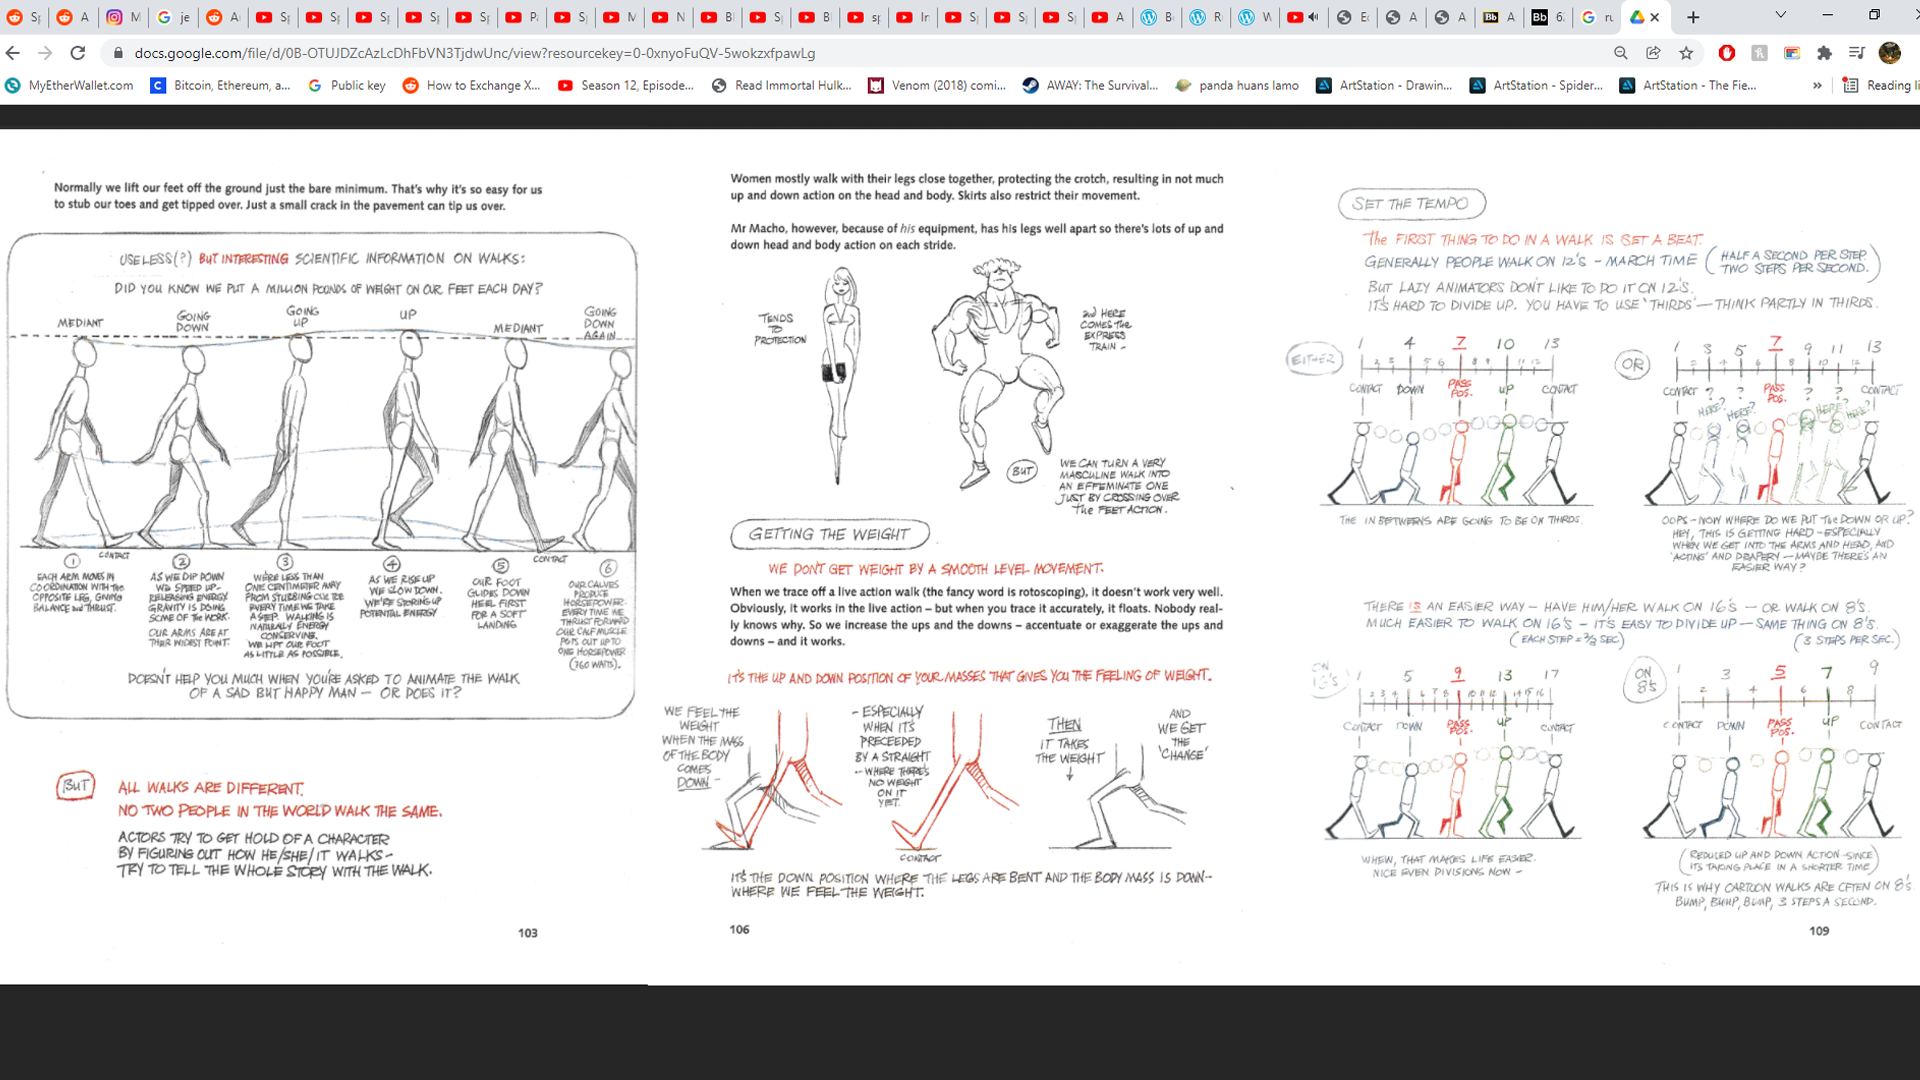
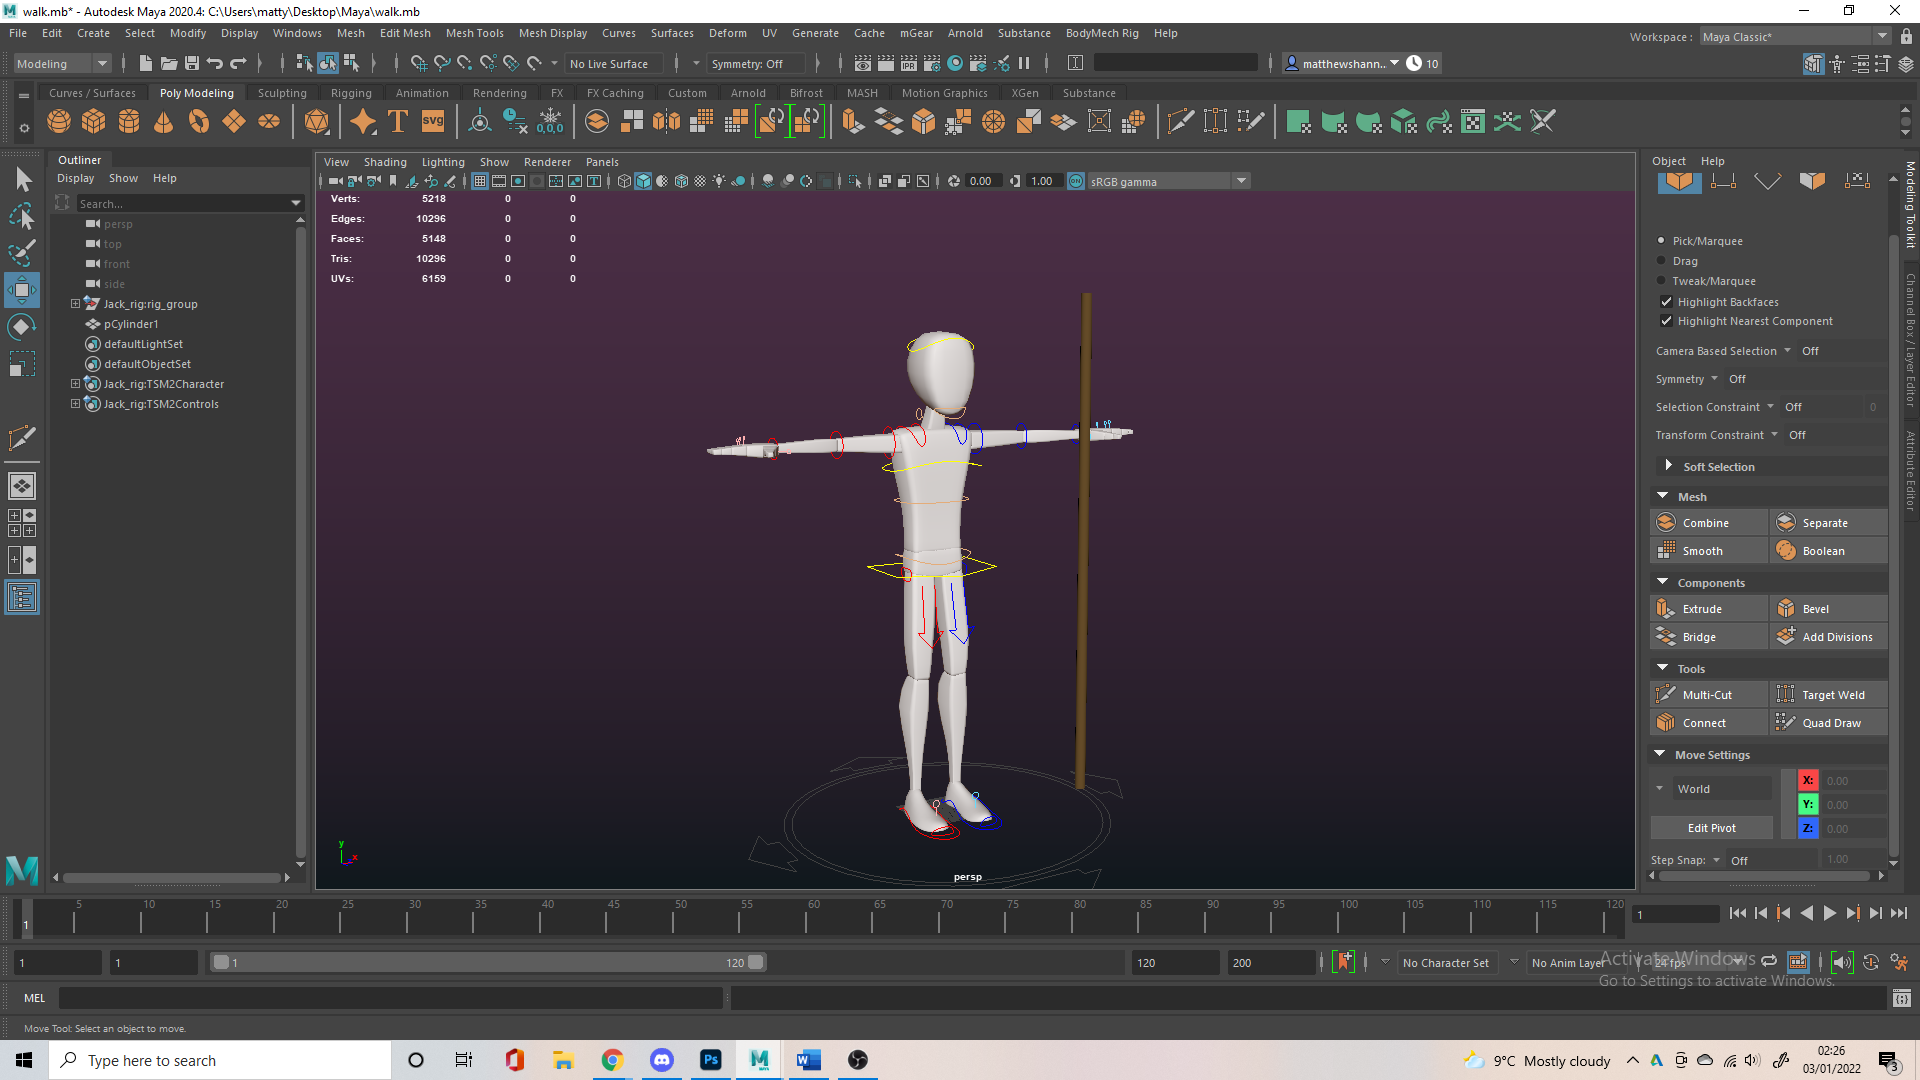
I wanted to vary the rig for each animation just to show some variety, and I thought I would use the Jack rig which is pretty simple, but add some complications by adding props. I wanted to utilise Azri’s sword in my run cycle but I decided to skip that and add my own props to the Jack rig instead. I made some props and using the tips in the animator’s survival kit again, laid out my walk cycle. I think I set my tempo at around 16 (on 8s).
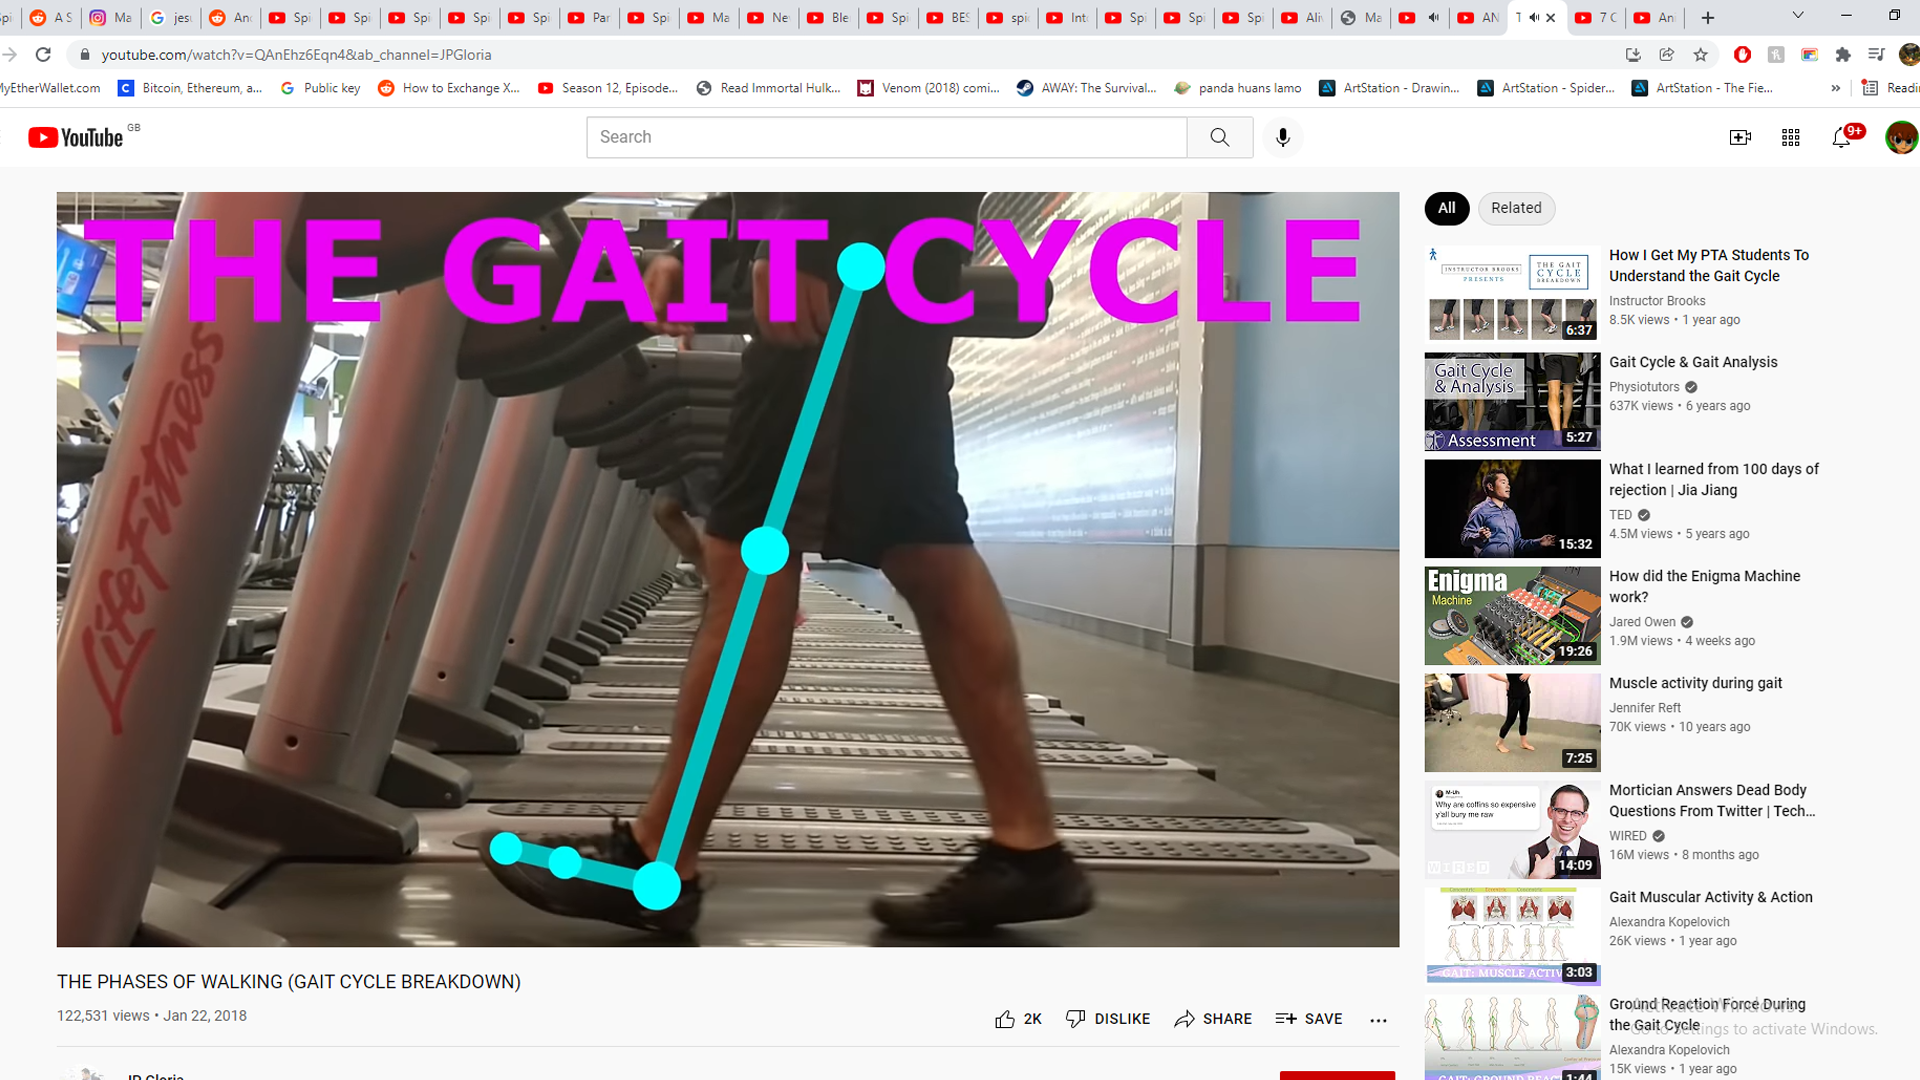

Videos covering poses/phases of walking, weight shift. Some common mistakes in walk cycles like foot slipping or the level of exaggeration in the bounce etc. Most this stuff just repeats the same stuff mentioned in the Animator’s Survival Kit.
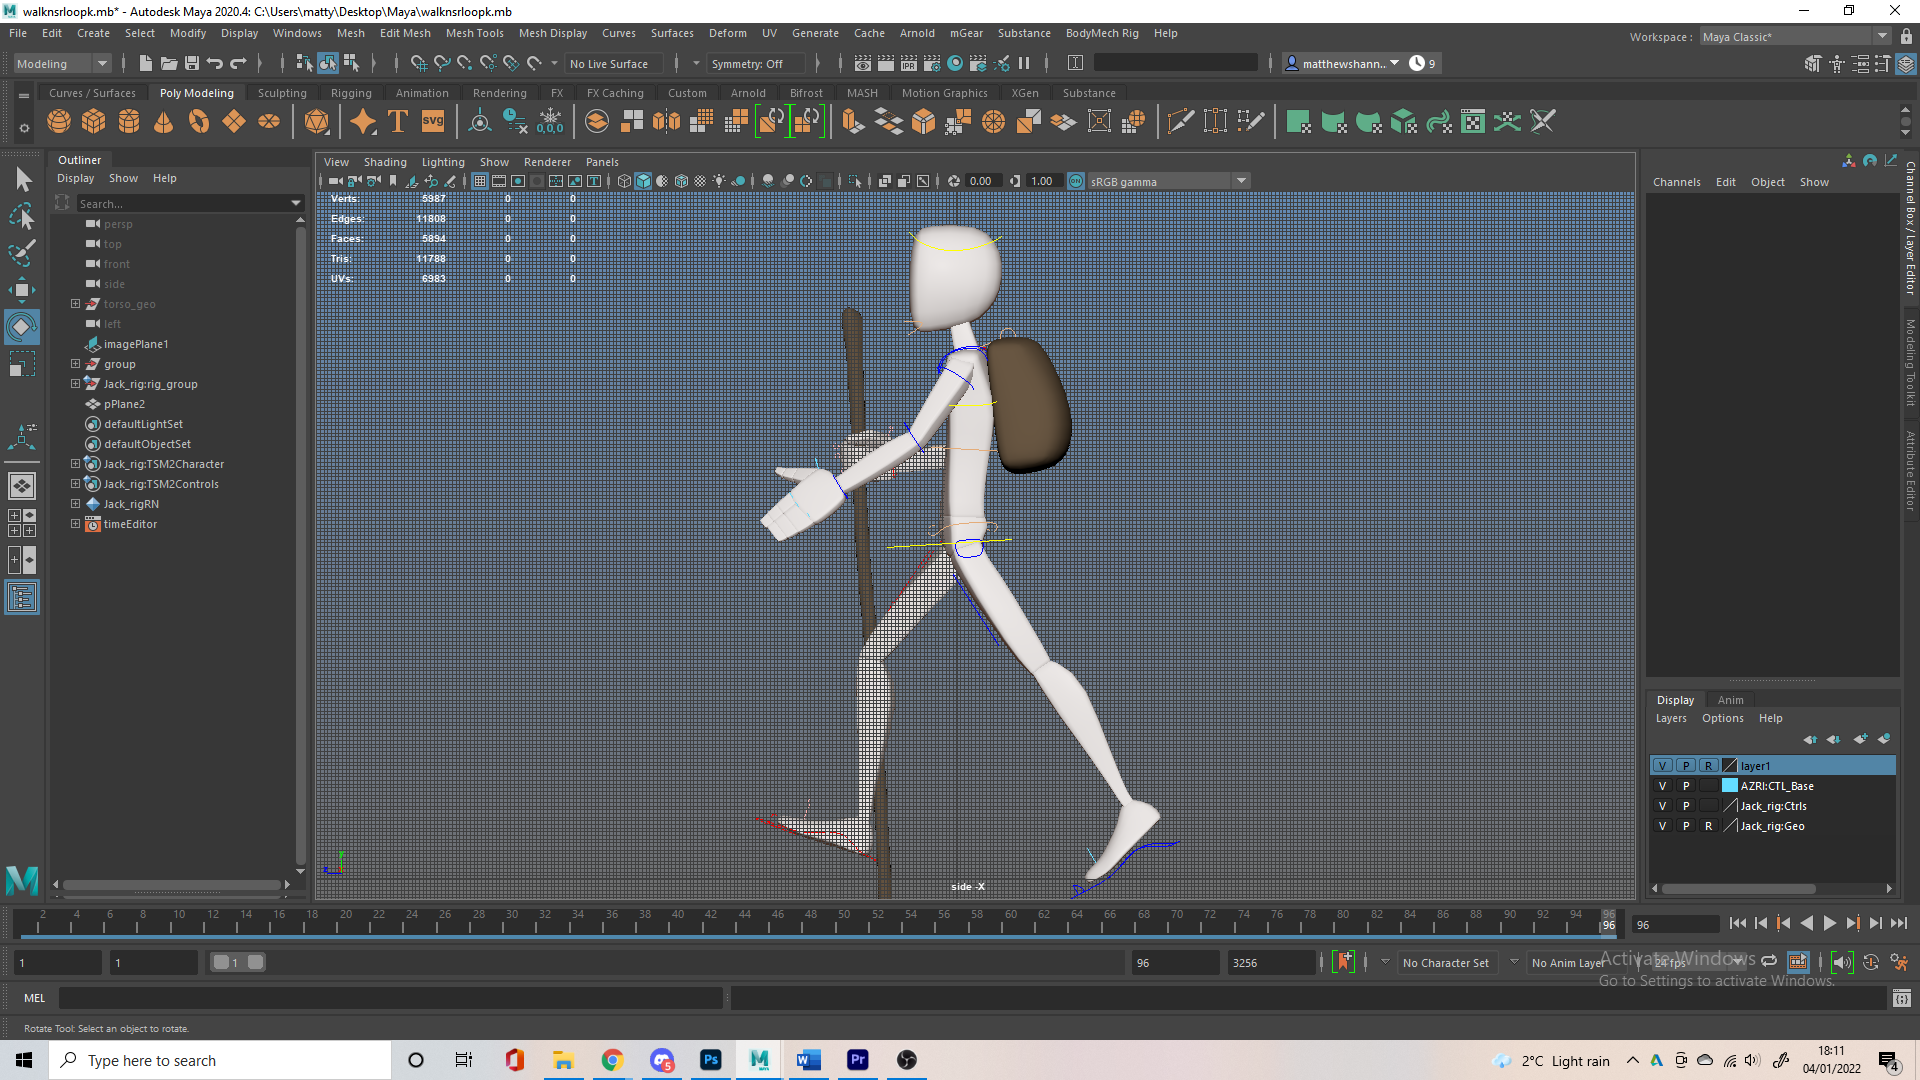
I decided to do an adventurer’s walk cycle, based on a hobbit. This mean it would be quite an open and kind of rhythmic walk, I imagined him a naïve and eager explorer walking as he hummed a song. I first blocked out my 6 key poses then set the tempo. I imported an image sequence of the hobbits leaving the shire to use as reference as I worked, it wasn’t meant to be a recreation but it helped me work out the timing and especially helped with the walking stick.


Something I really liked from my Azri run cycle was the satchel bouncing out and up as she came down, I thought it gave a good sense of weight and so I animated the backpack in the same way, my walk cycled on 32 frames so I kept this in the same tempo.
worst ref possible lmao
I like the novelty of recording your own reference and couldn’t really do it for the Spider-man or Azri animations, so I attempted to get some for the walk cycle. This wasn’t focused on the walk, but how the character would play with their walking stick as they walk – how high should they bring it, how often should it land etc. It’s not the most useful reference footage, just walking about my kitchen playing with a broom at 2am. It did actually provide me with an idea I didn’t consider though, the stick bouncing up in your hand a little as it lands on the floor.
I mostly used Frodo as reference for the timing on the walking stick and from the reference and my own experiments it seemed most natural to land every third step – this meant it would swap which foot it landed with each time which I thought was pretty cool. To do this I just animated the right arm on 1.5x my walk cycles tempo. The walk cycle lasted 32 frames so this lasted 48, meaning it would land as the foot hit the ground every third step. I liked this added complexity to the walk cycle since I was using a simple rig. I keyframed this out to the shape I wanted it to move in, then parented it under the wrist control to keep it in the hand.


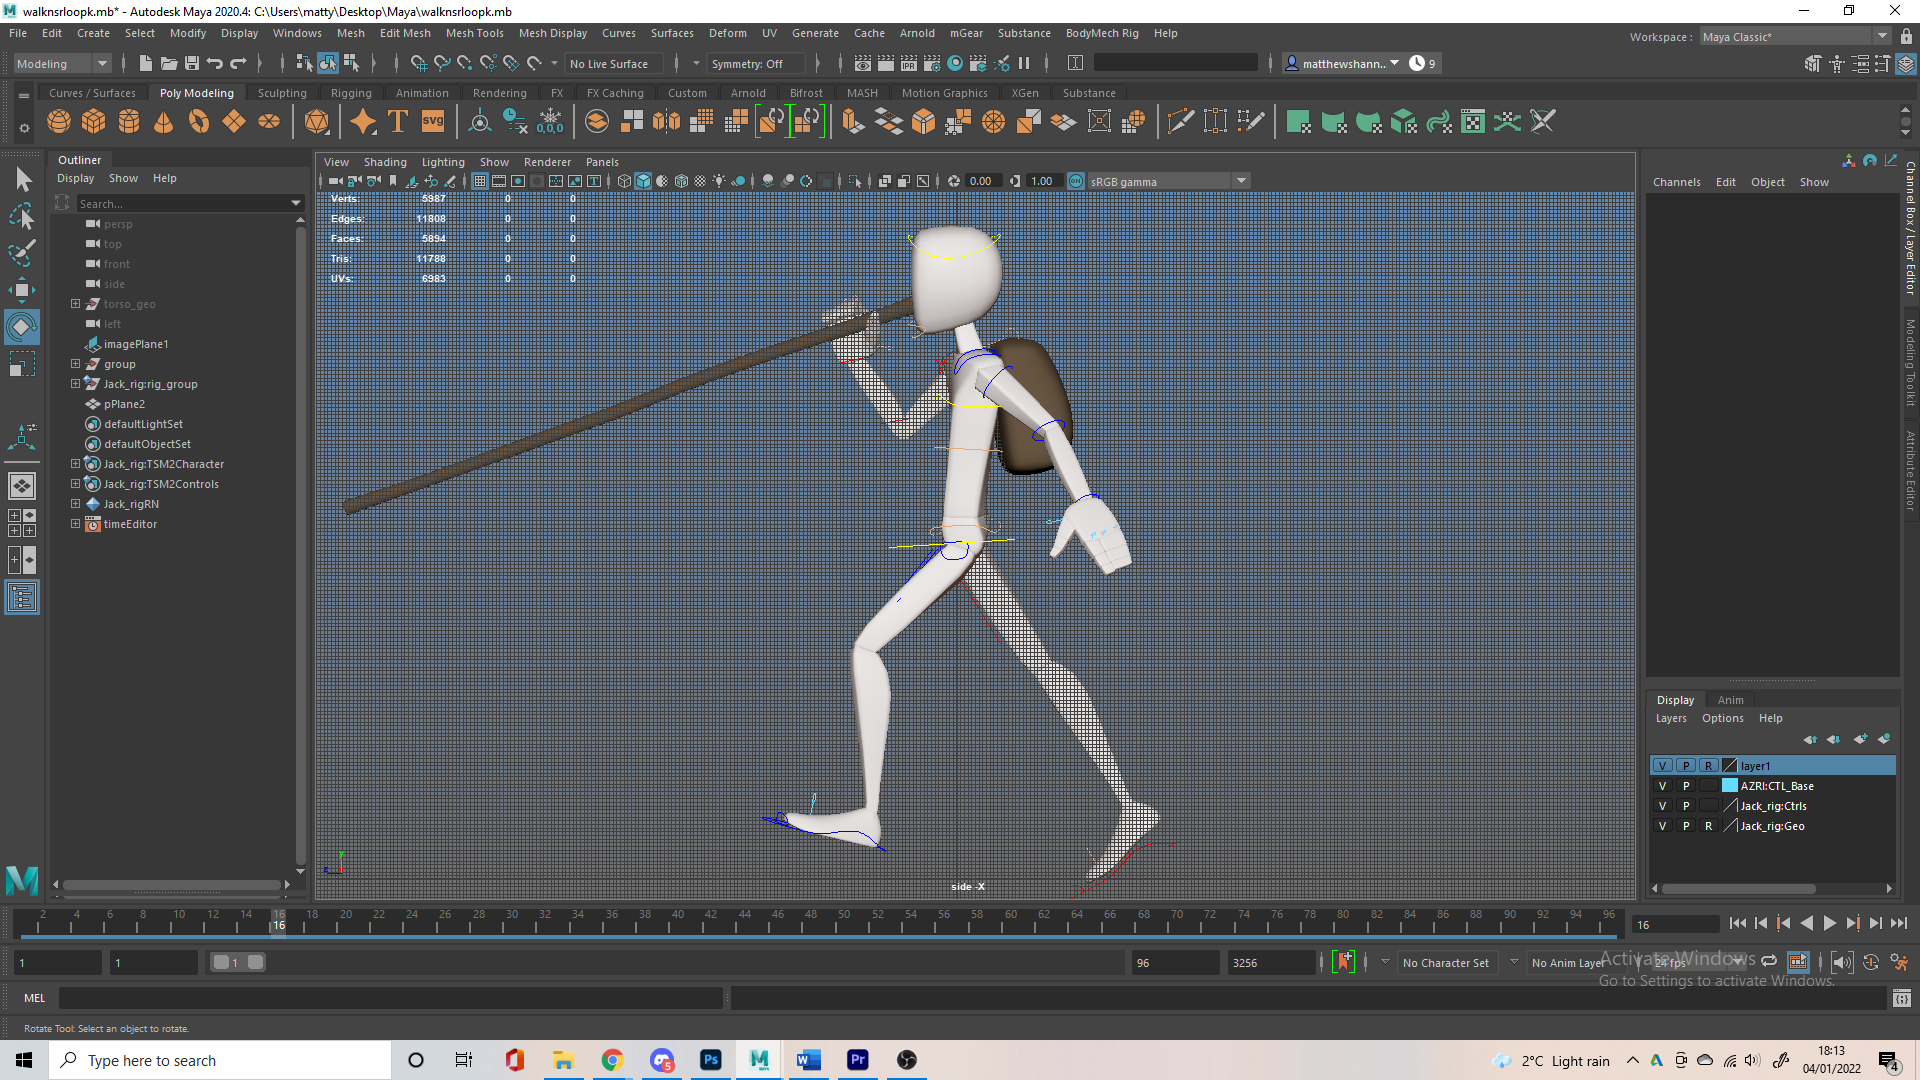
I sent the above video (end clip) to my friend and he thought that the walk seemed very methodical and robotic, so I worked on the poses a bit and mostly focused on the arcs so that I would get that swinging feeling. I made the staff move in a circular path (up and out, then back in on the back swing) and added some more bounce to the walk. The photos show me adding the pop and throw of the stick so he’s gripping the top, then when his hand is passing backwards he pushes down and grips nearer the middle – based on my own recorded reference.
(more ref footage)
I added some rotation on the feet to open the walk up further, and some torso rotation to compliment this, as well as some head movement (animated on 64 cycle) to add a bit more variety, sometimes he’d look at stick, sometimes just look around in distance – I kept this very subtle. I tried adding a little head wobble as his feet hit the ground but got rid of it since it looked a bit weird. I made a few iterations of how he used the stick, based on my own judgement just. I thought the way it moved in space was good, but the way it moved in his hand could use a little work. I actually swapped the hand into IK mode for a few frames to make it look as if weight is being put on the stick (very little – I wanted it to be used playfully rather than as a walking stick). I also exaggerated the force he exerts downwards as he grips it lower. I showed this to my brother and he thought to push it even more.
After my brother’s feedback I came up with two versions, one a bit more deliberate and forceful as he throws it down and one more casual and loose, which kind of pops up and outwards as a result of a tiny throw. We both thought the little toss out was better and more fit the personality of the walk. I liked all the extra animation I could get in a simple walk cycle by implementing these props, even added more to the bag as the left arm moves back and nudges it. I added a slight opening of the hand to compliment the walking stick being thrown outwards and some thumb movement as he plays with the staff while walking. I also pushed the rotation of the shoulders and hips a bit more (counterbalancing one another as seen in Animator’s Survival Kit).
Since it was coming up to submission day and I was playing about with staging and lighting I thought this was a good stage to send to some peers for final changes before I submit it. I sent that second video off^.
The video above is what I ended up with following changes based on the final feedback. The main concern was the hand moving too much for a walk which after being pointed out I thought was obvious, so I decreased the movement quite a bit but not to the standard of a normal walk since this was meant to be an adventurer. I tried to make him seem a little more tired than before in his arm movement as before it seemed to perfect and smooth. Other stuff was accessory like raising the toes and adding some finger animation to the swinging hand. I liked raising the toe, it made the foot kind of slap down which felt more satisfying and I tried raising the heel of the back foot (contact pose) but I didn’t like the deformation to the foot and scrapped this.
I also noticed the walking stick was moving quite jittery just before I submitted so I quickly went into the graph editor and fixed the tangents causing this, it was at the end of the loop cycle so I just made sure it ended at a constant speed and started at a similar speed to make it smoother and more of a swing back up.
(more angles in portfolio post)