Body Mechanics
A study in weight of motion / body mechanics of the character – An action that involves the whole body moving – for example jumping. I knew I wanted to do an exaggerated run and jump to demonstrate my understanding of body mechanics, not a ground-breaking idea but I hoped to put my own spin on it. The first thing I had to work out was the run cycle.
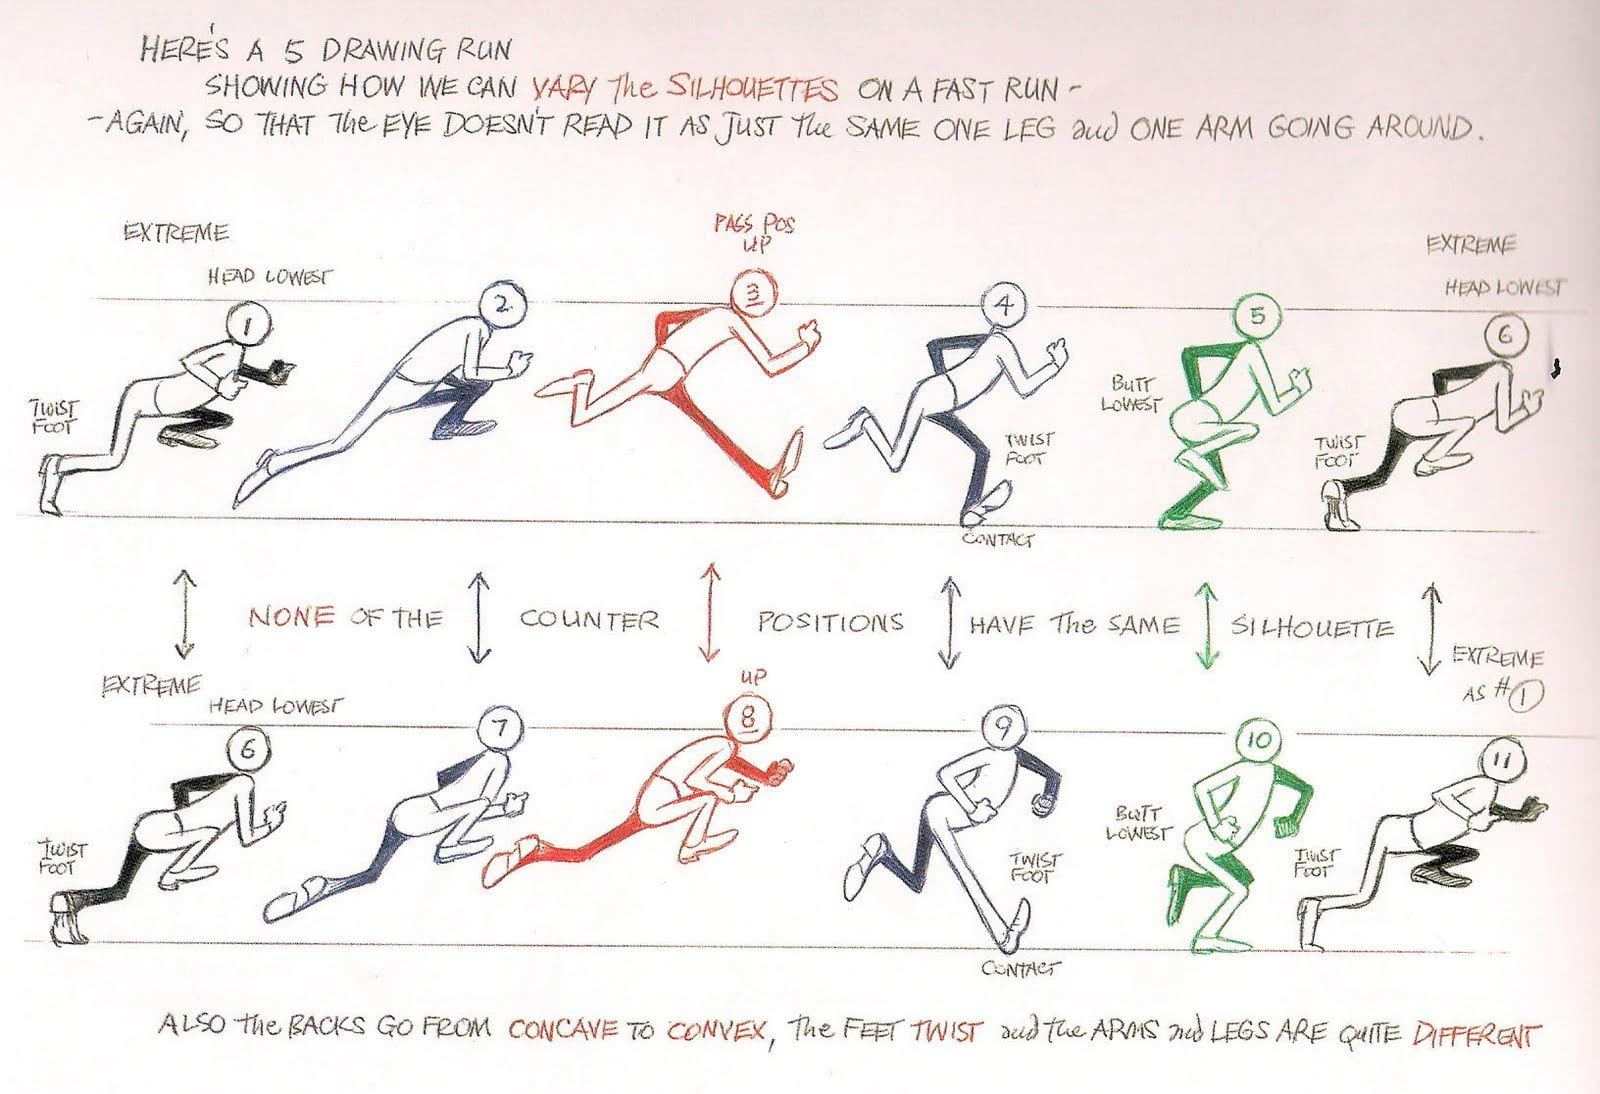 I first looked online at the main components of a run, at its most simplified I worked out about 4 poses per leg; a contact position, breaking the fall, propel, and a mid air passing position. I obviously realised it gets more complicated than that quickly, but they were the 4 key poses I wanted to work out first. Before going into Maya I did a rough animation in photoshop, just to work out the weight and timing I wanted for the run, the poses were quite rough but I was just focused on getting the right feeling.
I didn’t document as I went along as much as I hoped, as I would get carried way making tiny adjustments over and over, but the run had the vibe I was going for so I was ready to start looking at the 3D animation behind it. I looked at some tutorials on runs in Maya, and managed to find one using the same rig I was.


However, the runs in these tutorials weren’t as exaggerated as I wanted mine to look. I did find them useful as they made me think about aspects I didn’t consider beforehand, like the hips rotation with each step and how wide to make the knees at certain points.
These animations were generic in style and I wanted to go for something more exaggerated and epic for my animation. I was inspired by Monty Oum’s animation style he did for a web series back in 2012, while a little outdated now, I am still a fan of how it looks, and wanted to try and create something that give a similar feeling to his work. Here’s a scene from it:
The movement is all exaggerated and you can really feel the weight behind each step and jump, everything is quite heavy and impactful. You see this exaggerated movement more in anime nowadays but I was hoping to put some of it into my own work. So I got started on the 3D. From the exercises in class, like the jump animation, I found working in the pose to pose method best.


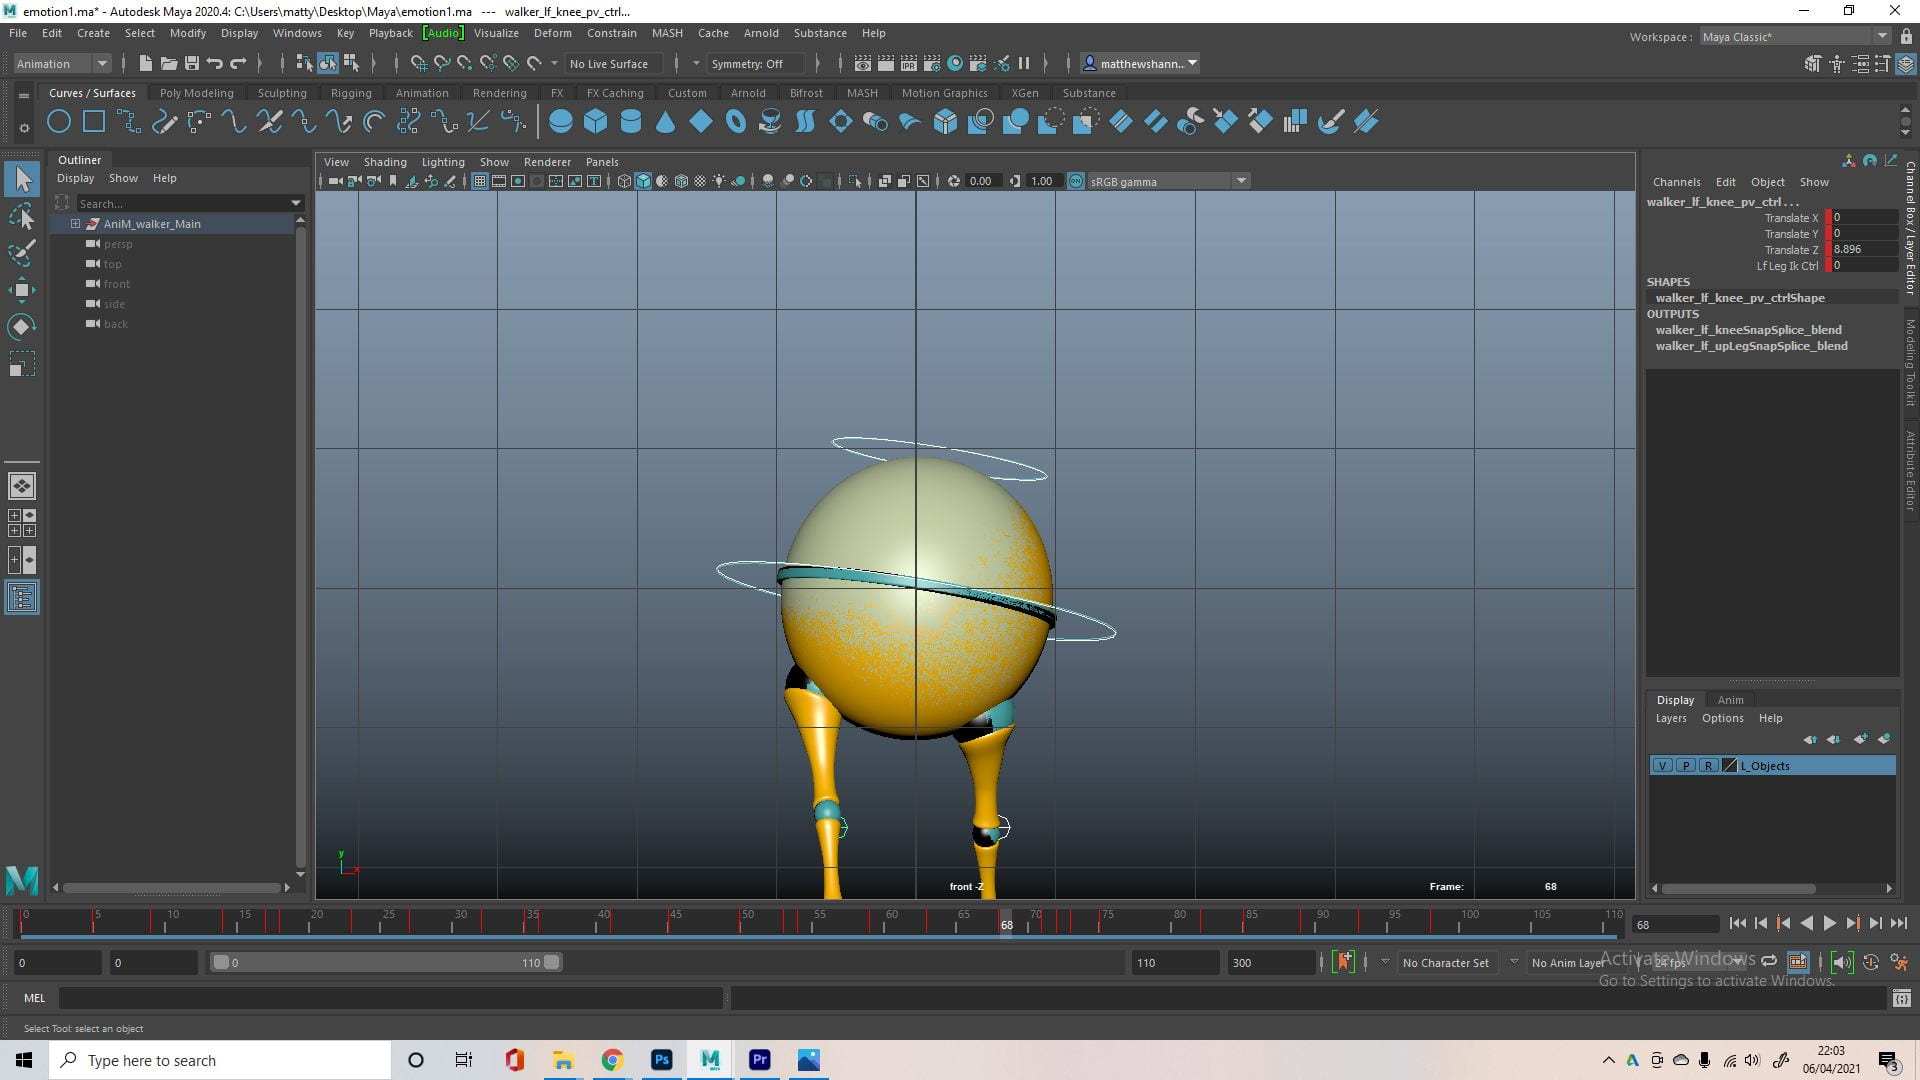
The first thing I did was set up my onion skinning in Maya, by going into my animation display preferences so it only showed the previous frame, and going into the visualise options in the animation panel to turn on ghosting. This allows me to see the previous frames position so it’s easier to figure out where the next one should be, and with stepped preview enabled I can work pose to pose.


I worked out my 4 poses I mentioned previously; breaking the fall, propel, and a mid air passing position, a contact position, and then recreated them for the other leg. I used my Photoshop 2D animation and the dope sheet to time these positions. I didn’t add any squash and stretch as I like to do that at the end. I just wanted to get the timing and motion right and letting the run follow a nice arc at this point.
I then worked on the in-betweens as Maya isn’t the best at filling them in how I wanted. I made sure there were more frames (or less movement) at the beginning and ending of the sequence to show the acceleration/deceleration of each stride. This was to add weight and believability to the run, so Ultimate Walker wasn’t just sliding across at a constant speed. I liked how it looked but I had to add some small details.


I added both some inward rotation and movement to the feet on each kickback, to further exaggerate the force of each stride and to add some action to compliment it, I added hip rotation as each leg came forward too, and finally, I opened up the graph editor to edit the amount of height each stride gave, and to make it more consistent. So now that I was happy with both strides, all I had to do was copy and paste these frames a few times, right? Nope.
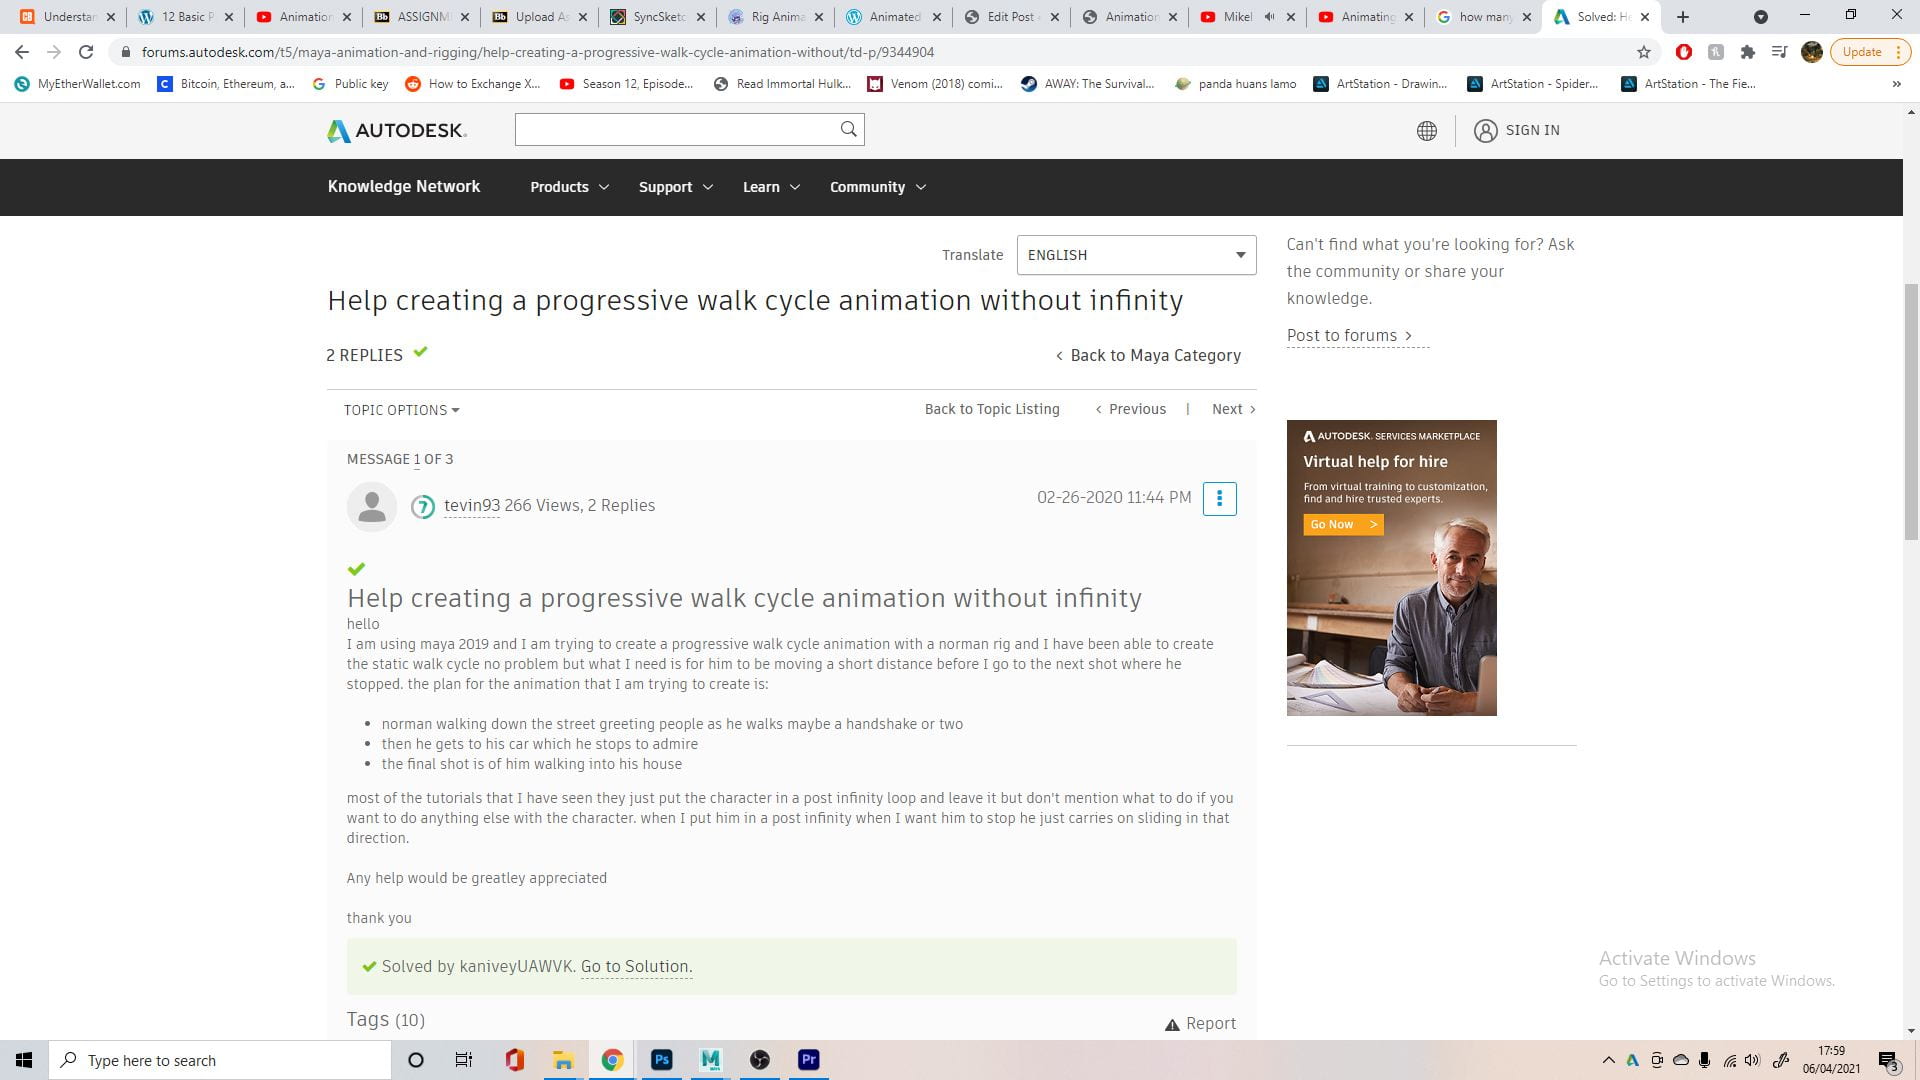

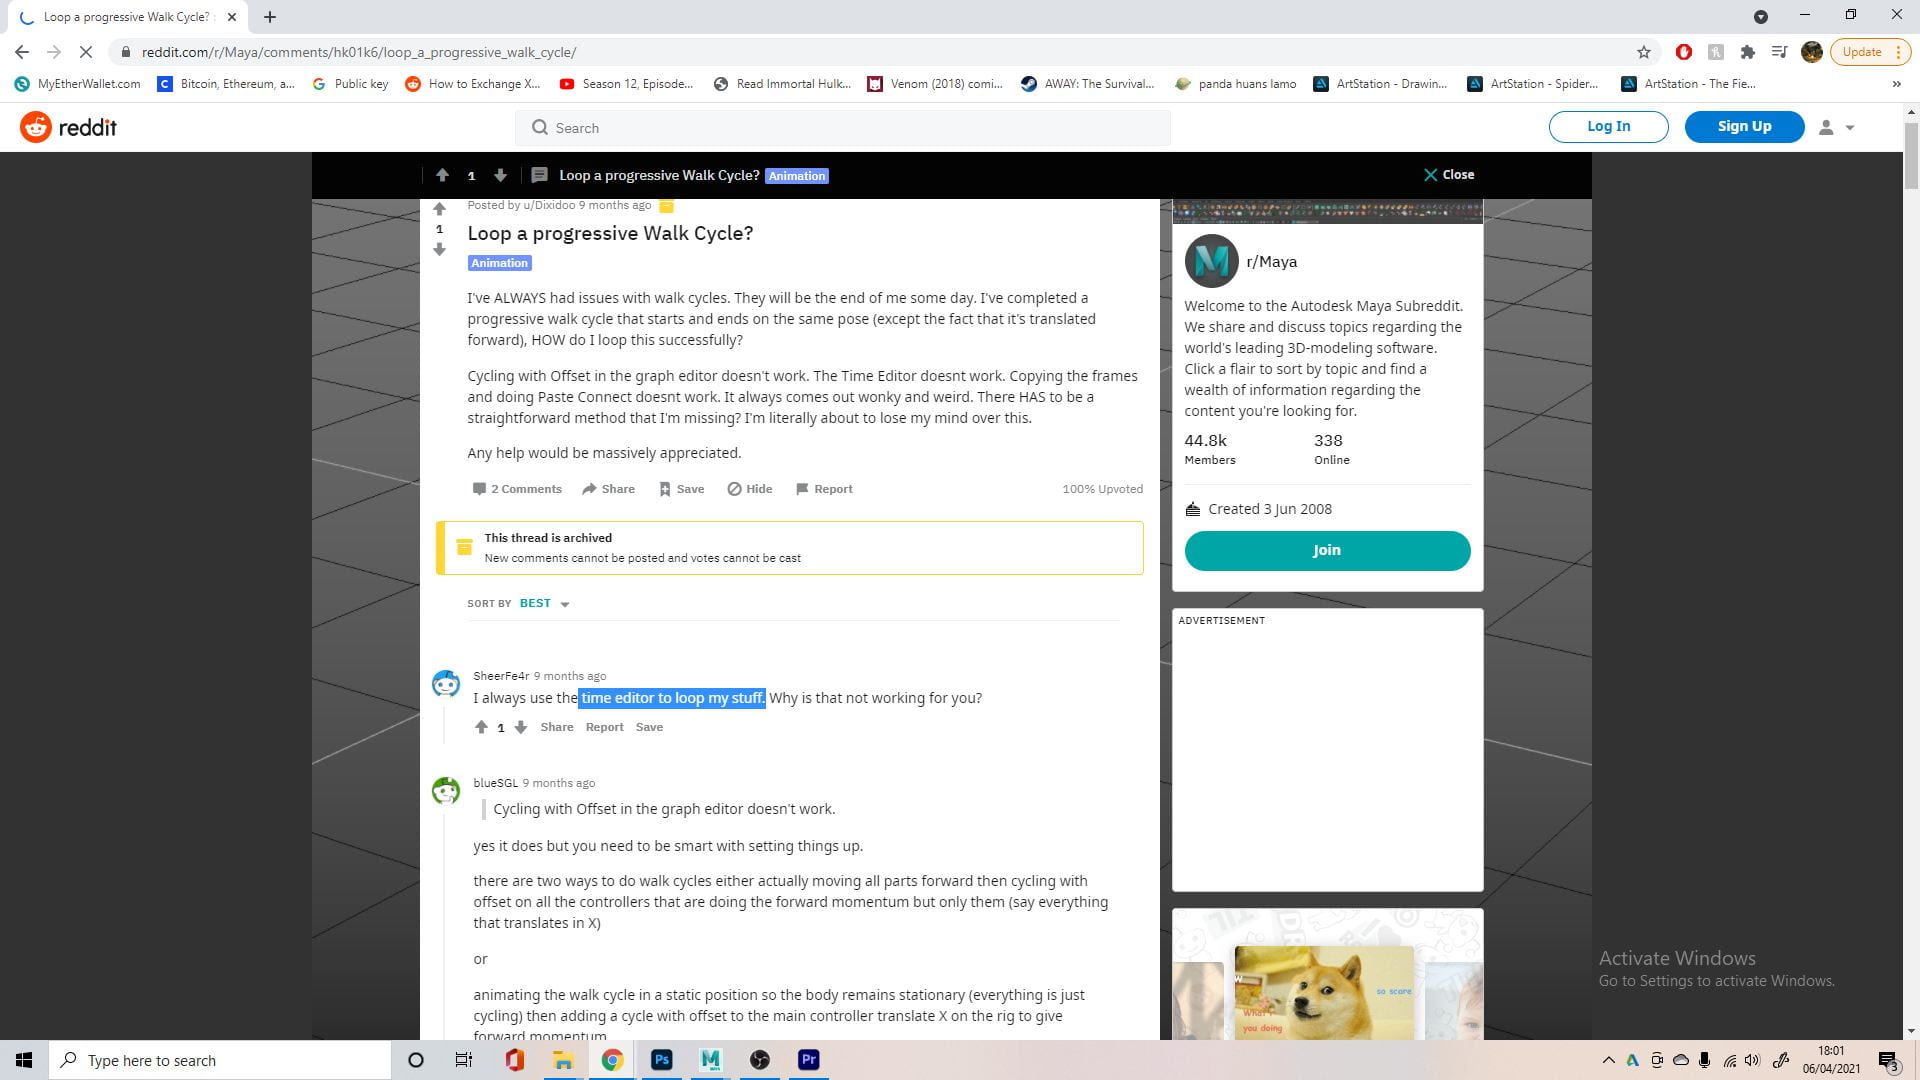
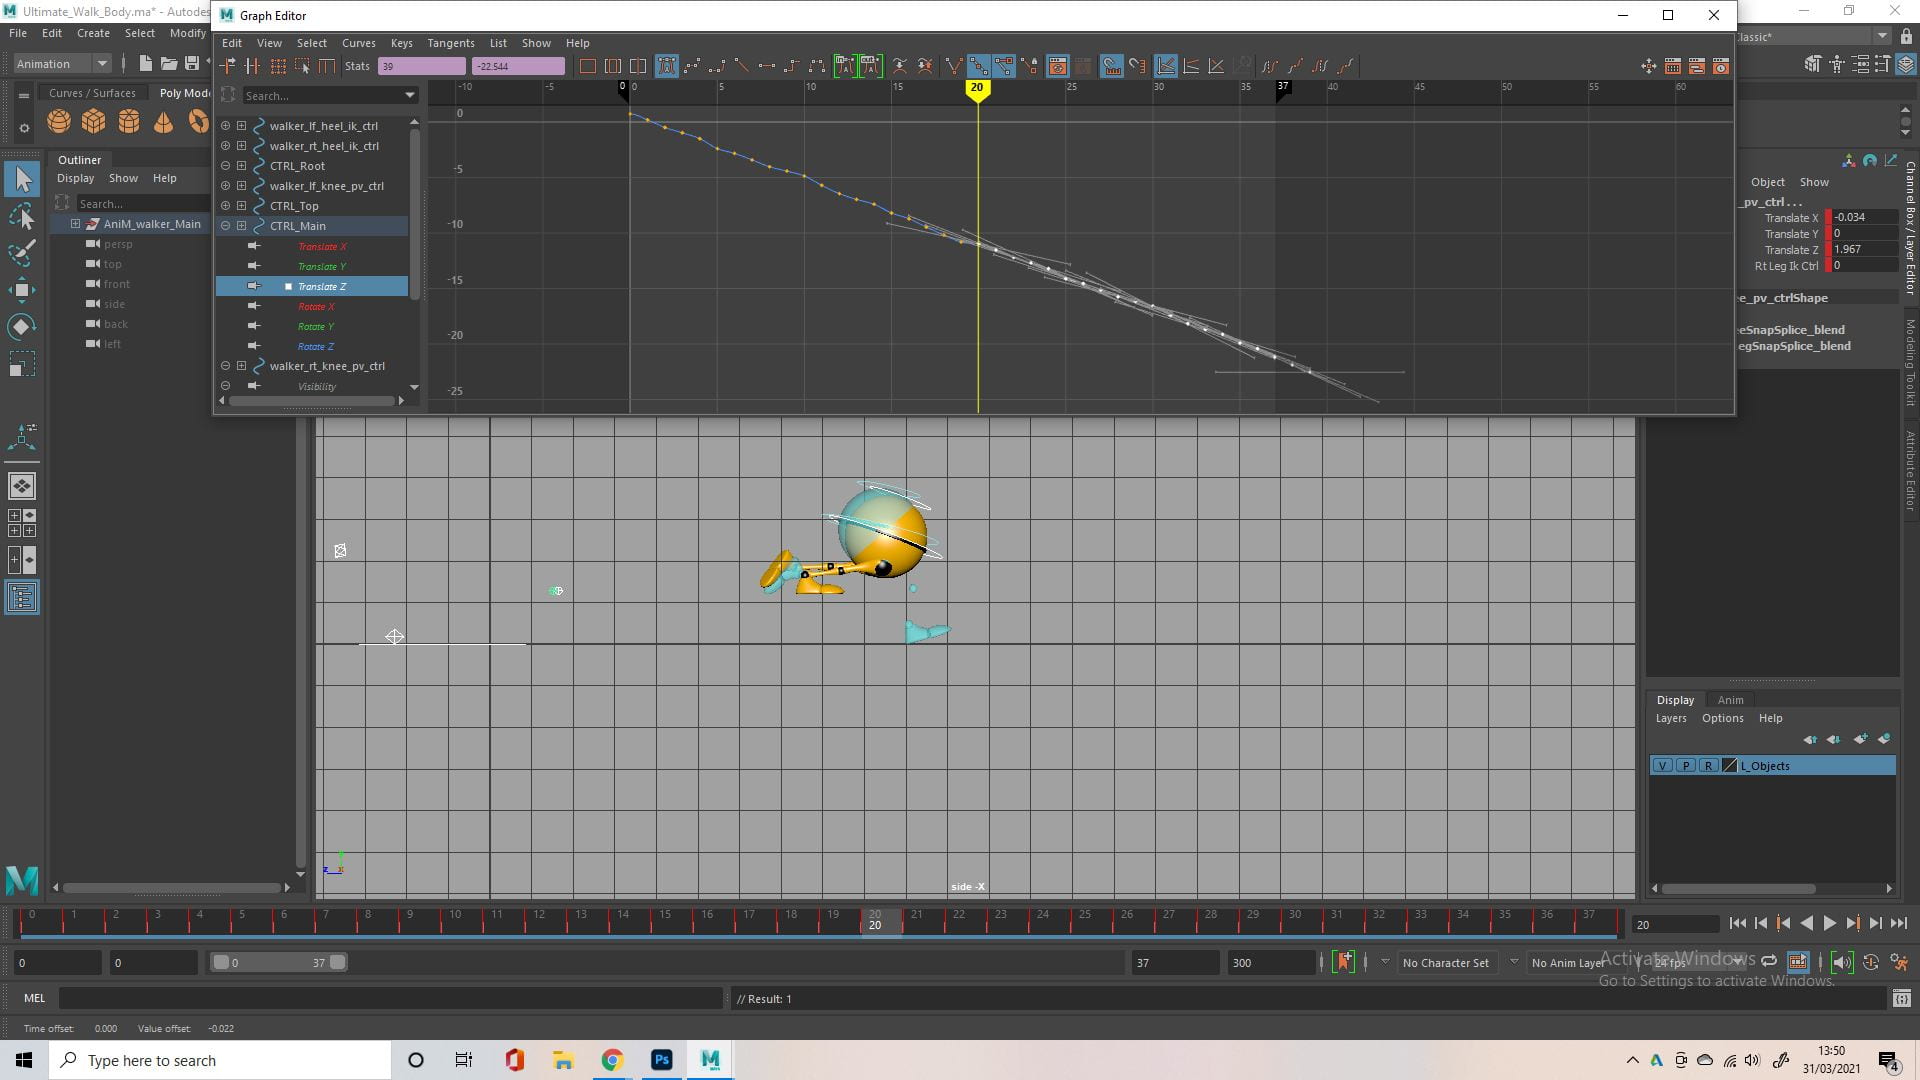


After realising you couldn’t copy and paste the frames while maintaining the distance travelled, I did some research into Maya and progressive walk cycles. I followed a YouTube tutorial that used the graph editor and an infinity loop cycling with offset. This worked for the next stride, but then it would start to bug out. I found a method on the forums using the time editor, which worked better for me but the legs were completely wrong for some reason. I found someone on reddit who had a similar problem, and I guess you must animate the run cycle a certain way to loop it successfully, and I didn’t do it with this in mind. I ended up just copy and pasting the frames and manually adjusting the x axis of each control using the graph editor, trying to recreate the same pattern. this worked well, I just had to make a few minor tweaks every so often.
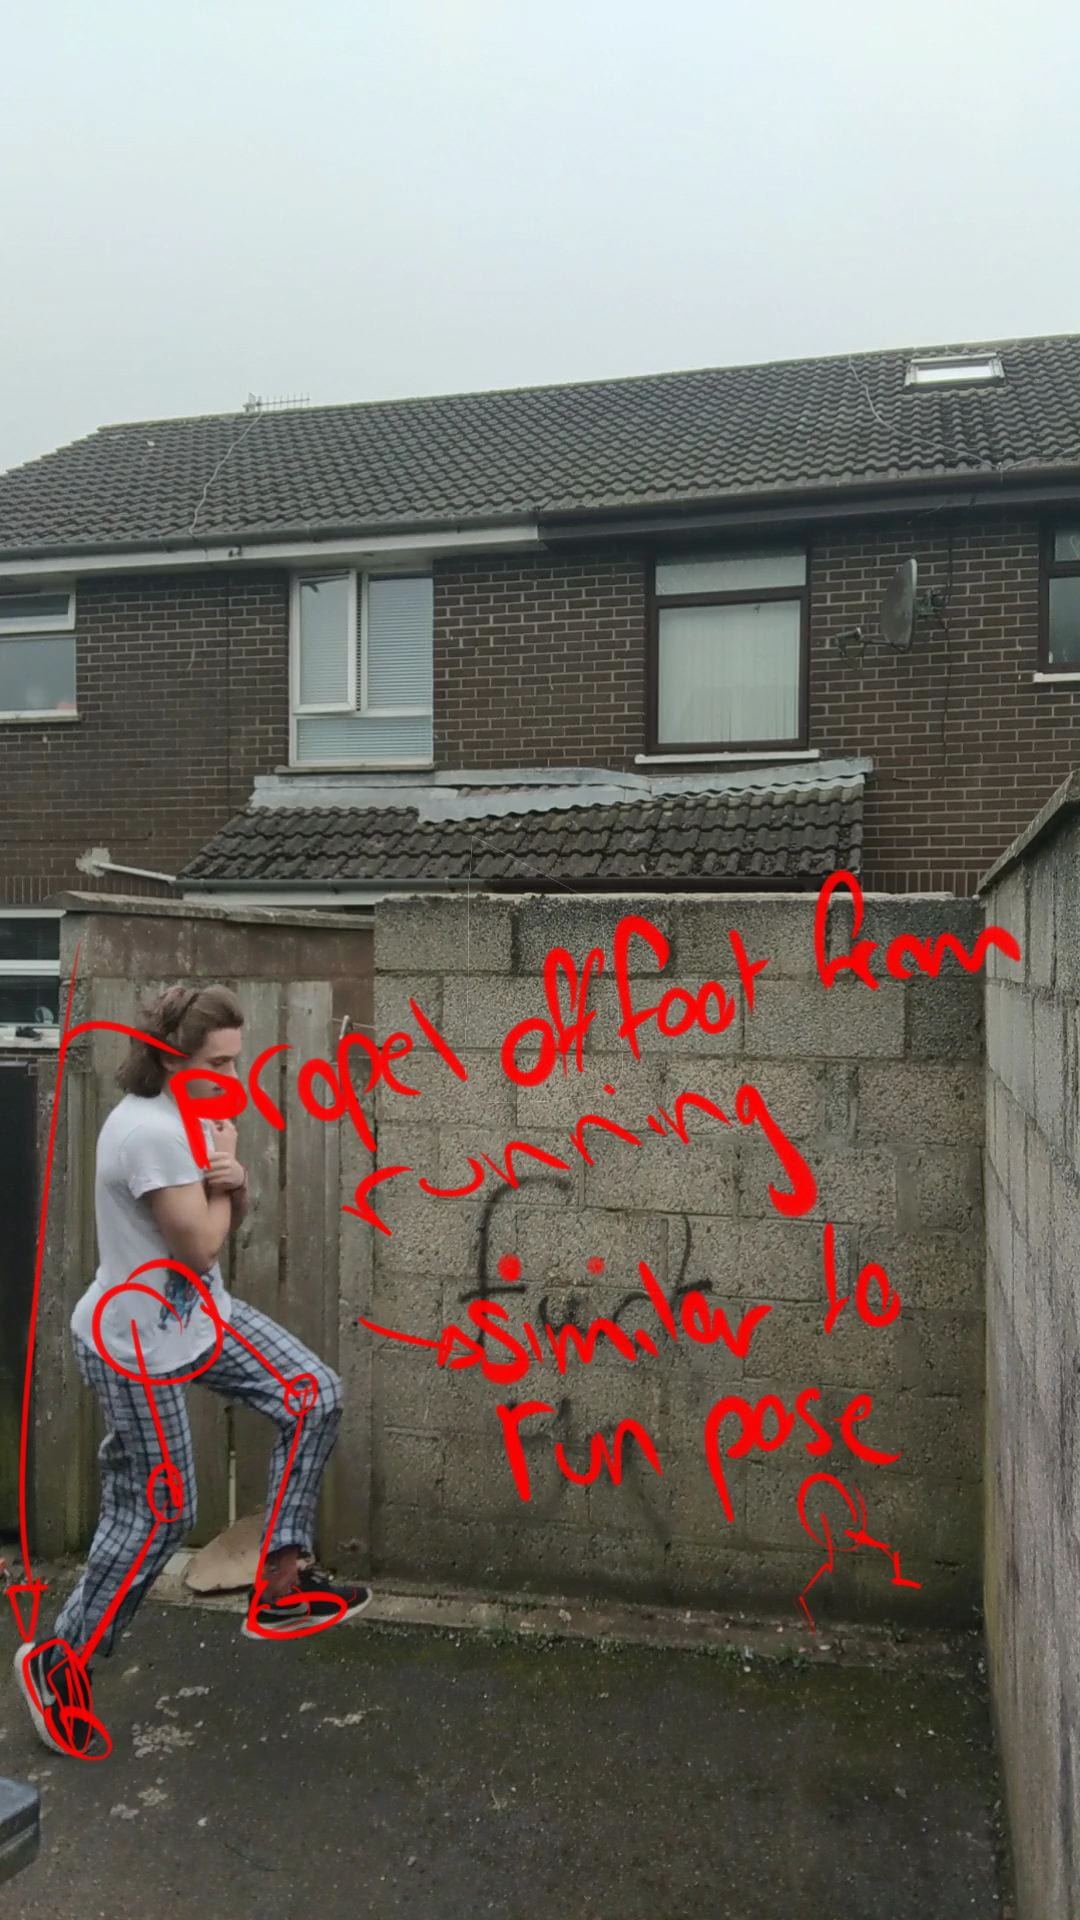


I had some trouble figuring out how to transition from a run into a jump so I had to make some reference videos. I brought the video into photoshop to look at it frame by frame and analysed some (what I thought were) key points in the transition. Mostly paying attention to the back foot and how I went from bouncing off of it into landing both feet together. This was a secondary action to the main jump, as I wanted the main jump to come from a standstill and have a lot of height in it, so this was a good way to transfer the momentum.
I ended up with the above just based on the reference footage, which kind of fell flat. It didn’t look as if the speed gathered from that run would only cover that distance and would end in a complete standstill. So I went back and tweaked it, as I only needed the reference footage to see how the back leg travelled, I could adjust everything else to fit the rest of my animation. I looked to find some reference for exaggerated jumps before making any changes.

I was a lot happier with this result, while not perfect, it allowed me to move on to the main jump of the animation. The timing and distance felt better, there’s follow through from the momentum of the run into the impact of the hop/jump and there was now a little anticipation for the hop, crouching a little lower beforehand. I could tell this would come out really well when I added the squash and stretch.
Again, this next part wasn’t as straight forward as just the run, so I ended up having to record more reference footage. I broke this down in the same way as before, taking notes of certain poses.


Using this footage and these poses,
I started my jumping animations.
It started to take a lot more shape, I liked how each action kind of built upon the previous one. The small hop compliments the horizontal broad jump, and the horizontal jump serves to compliment the large vertical jump. The arcs were taking on better shapes as I messed with the graph editor. The graph editor was utilised a lot more often at this point, I used it to tweak the follow through/overlapping actions of each jump, the slow in and slow outs, better exaggerate the anticipation poses and I ended up using it a lot of the time to fix the timing, even though I probably should’ve used the dope sheet.
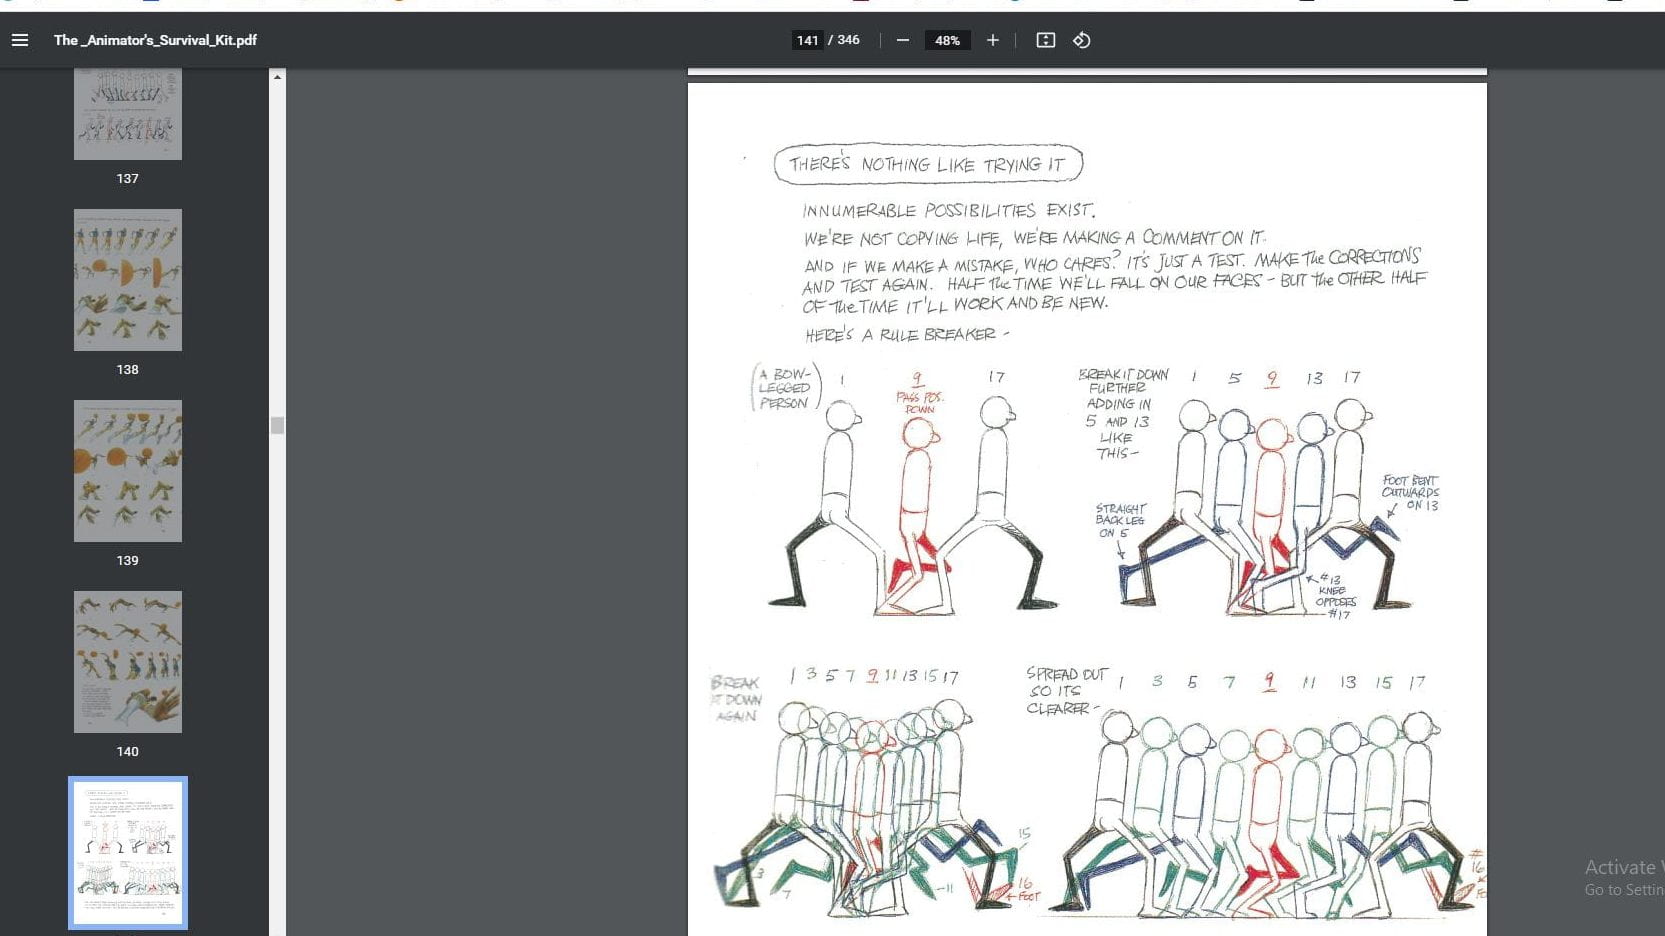
Further tweaking of the poses and timings, adding a landing and a floor. I still wasn’t happy with how it looked and spent a few hours playing with it which I didn’t bother documenting so much as it was just a lot of trial and error. A page from Richard Williams that seems to fit nicely, as the character also had no arms, ‘There’s nothing like trying it’.


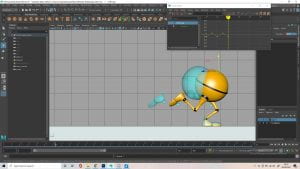
This kind of shows the rough 1st pass (black background) and how it progressed to the more finalised version. Just the jump obviously, the run and smaller jumps were ‘finalised’ before even blocking out this jump. You can see that I’m adding a ‘Superhero’ landing to the end, and exaggerating the height of the jump. You can also see the anticipation, timing and slow in/out a lot clearer in the second part of the video.
Of course after getting somewhat satisfied with the jump, I looked back at my run and it somehow all messed up, I guess it must’ve been from when I was messing with the graph editor in the jump section or something, so I had to go back and fix this. So I fixed up my run and made some small tweaks here and there using the graph editor again.


I made final adjustments, looking at it from all angles and making sure it felt right, checking all the arcs in the graph editor, bouncing a ball on my worktop to get a better idea of the timing/effect of gravity during the fall, just making any final adjustments that were needed before I added squash and stretch. I brought up a list of the 12 principles of animation to check mine against, making sure I wasn’t missing anything important and noticed I didn’t really have any staging. A trademark of Monty Oum’s style is the camera movement, utilising it in a way you cant really do outside of animation, using it to add to the impact and motion. So I added and animated some camera movement, to add to the weight of the animation and I also did it to better stage my scene, presenting the animation in an attractive way, clear to the viewer.
Finally I added squash and stretch, the last of the twelve principles I never really hit, I kept it pretty subtle, just a squash at bottom of run and stretch and top. I exaggerated it progressively with each jump, eventually stretching the maximum amount during the big jump, and squashing the maximum amount during the superhero landing.
Final animation
Alternate angles
Emotion/Personality of Character
Don’t worry this section will be a bit shorter than the previous one, as I don’t have to go over research as much and it’s also just a shorter animation. In between the end of the last animation and the start of this one, I watched some YouTube videos to make sure I didn’t/will not misunderstand anything.
I guess you could describe what I was going for with the emotion/personality as a sort of happy confidence. I was heavily inspired by the scene from Spider-Man 3, after he gets the symbiote and is all off a sudden full of confidence, maybe even cockiness. (I don’t want to say swag)
I just did the two very rough steps, as I thought the slide would be better approached using reference videos and in 3D first. I wanted the steps to be slow and deliberate while in the halfway position, which would normally be the fastest part of a walk or run cycle. I thought the character should take up as much time as possible in that moment, as it’s when they take up the most space in their walk. You don’t notice it too much in the rough 2D but they kind of flick their toes up at this point, similar to how Peter Parker flicks the finger guns in a previous scene.
I may as well just add a video showing the key poses rather than photos. As you can see I’m using the pose to pose method again, I played around for a while with the poses, after already learning about walk and run cycles for the previous animation, I just got stuck into this one. You can see the amount of time I have them hold the middle pose for, before having a small adjustment and holding that again, then almost slapping the foot down into the next step. This was my take on a slow and deliberate walk with the energy of giving finger guns.


I was a lot happier with the in-betweens Maya generated for me, I only had to make a few adjustments, like fixing the toes clipping through the ground. Overall a lot less effort was needed for this walk than my previous run, as there’s a lot less, and slower motion. After turning on the ghosting effect I did notice some other small details I had to fix, but other than that Maya did a good job.

After last time, I didn’t even bother messing with the infinity loops or time editor to make a progressive walk, I just copy and pasted the keyframes and adjusted them using the graph editor again. This saved a bunch of time for me, only having to animate a few key frames and a couple in-betweens, then copy and pasting using the same method as before to make it a progressive walk cycle.


Richard William’s Animation Survival Kit had a bunch of stuff on walks I didn’t even consider though, which would’ve been useful to start with. While it’s a little different to what I was going for, the Egotist’s wobble head was quite applicable. Some of the stuff I did do correct unintentionally, such as setting the tempo. I went back to make some adjustments to my poses.

Something that I thought really put it all together was bending the body/head wobble, it added a lot of the personality I was previously lacking.
Again I used some reference footage for transition from walking to sliding, I didn’t take this one into photoshop as it was slower and not as complex, I just studied it using the timeline of the video. I noticed how the front leg would stop moving before the back leg, and the back leg would slide in to meet it before walking off. The front leg also led the slide, with a very subtle hop from off of the back leg. For what seemed like a complex thing to animate (to me), it turned out very easy, with just a few key poses.

It did take a little tweaking in the graph editor to get it to feel right though, Maya didn’t fill in with the correct build of acceleration and deceleration I wanted it to have. I also ended up changing the ending pose of the slide to rotate back more, more similar to the clip of Tobey Maguire. I debated having his heels touch the ground, but I thought it made more sense to keep him on his toes, but I’m still unsure if I’m happy with this result.
This part I was very pleased with, and I’m actually unsure how it came to be as I got carried away animating, but the small kick into the walk is one of my favourite parts, and you probably only see it for half a second. Again I had a small secondary action of turning away before the kick, as well as a moment of anticipation, both these things are very obvious here and perhaps that’s why I liked how it turned out so much. As you can see I also started to add squash and stretch, as I think it really added to the personality, and overall just added more appeal to the animation and the character.
 There’s no point in repeating myself, I just did the same thing as the walk before for the walk off camera. I did attempt to copy and paste the values from the graph editor into the different direction (from z axis to x axis), but it didn’t really work. I just opened up an older version of the file that I could use as reference, and recreated each keyframe in the new file, going in a different direction.

 Finally I went in and really pushed the squash and stretch at certain points, something I didn’t do as exaggerated in the previous animation, I also finalised the camera animation, based on the Spider-Man clip.


This animation went really smooth and came out well, right until end. When it came to play blasting with QT, apparently there are issues with the CPU I have and play blasting at high quality, so apologies if the quality isn’t the best. They also had to be converted to mp4 to upload them onto the blog so that might impact their quality too. These issues set me back quite a bit, but thankfully I made it. Overall I’m happy with how both animations came out. while the personality one isn’t as complex, sometimes less is more.
Final Animation
Side View