Modelling
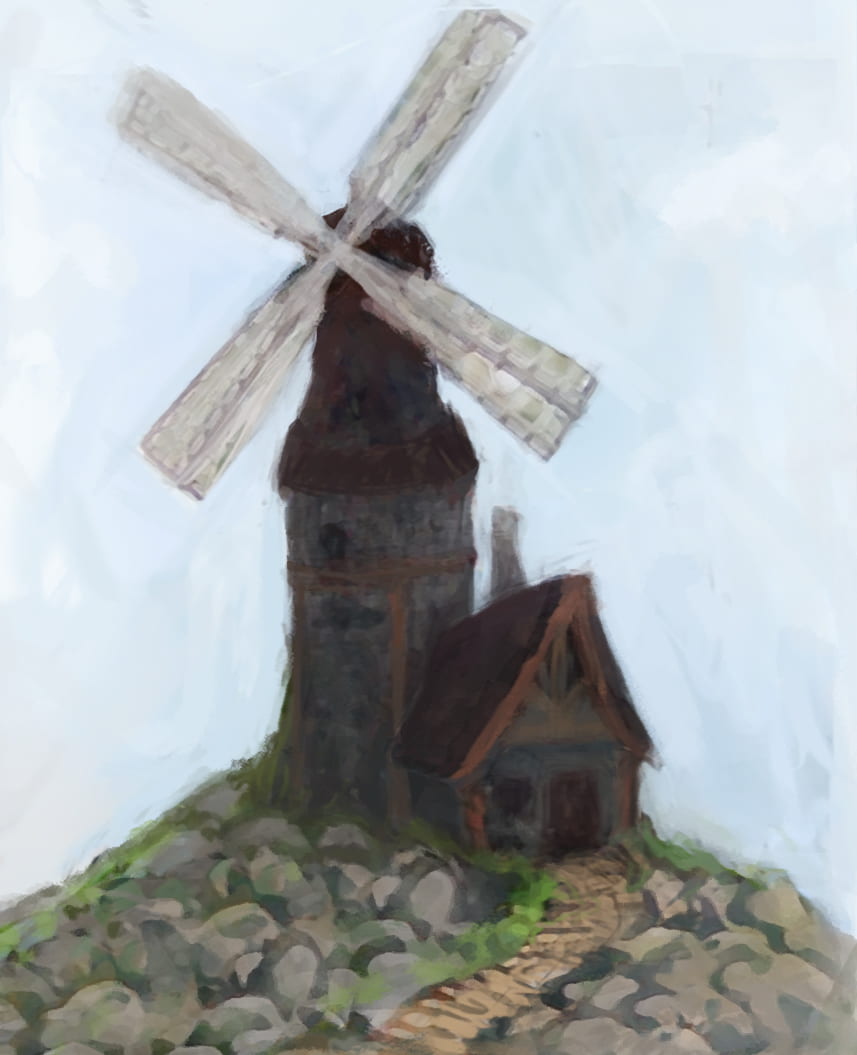
Following last weeks research, this is the rough concept I had in my head at the start, I imagined a lonesome windmill at the top of a hill, with a small house next to it. It’s pretty stereotypical, a wood frame around a stone brick structure, maybe in the countryside of a Norwegian country, quite cold and secluded.
From here I started modelling the house, I’m going to gloss over some of the techniques I used, as they were mentioned in the previous weekly updates, but it pretty much consisted off the multi-cut tool and a bunch of trial and error.
House

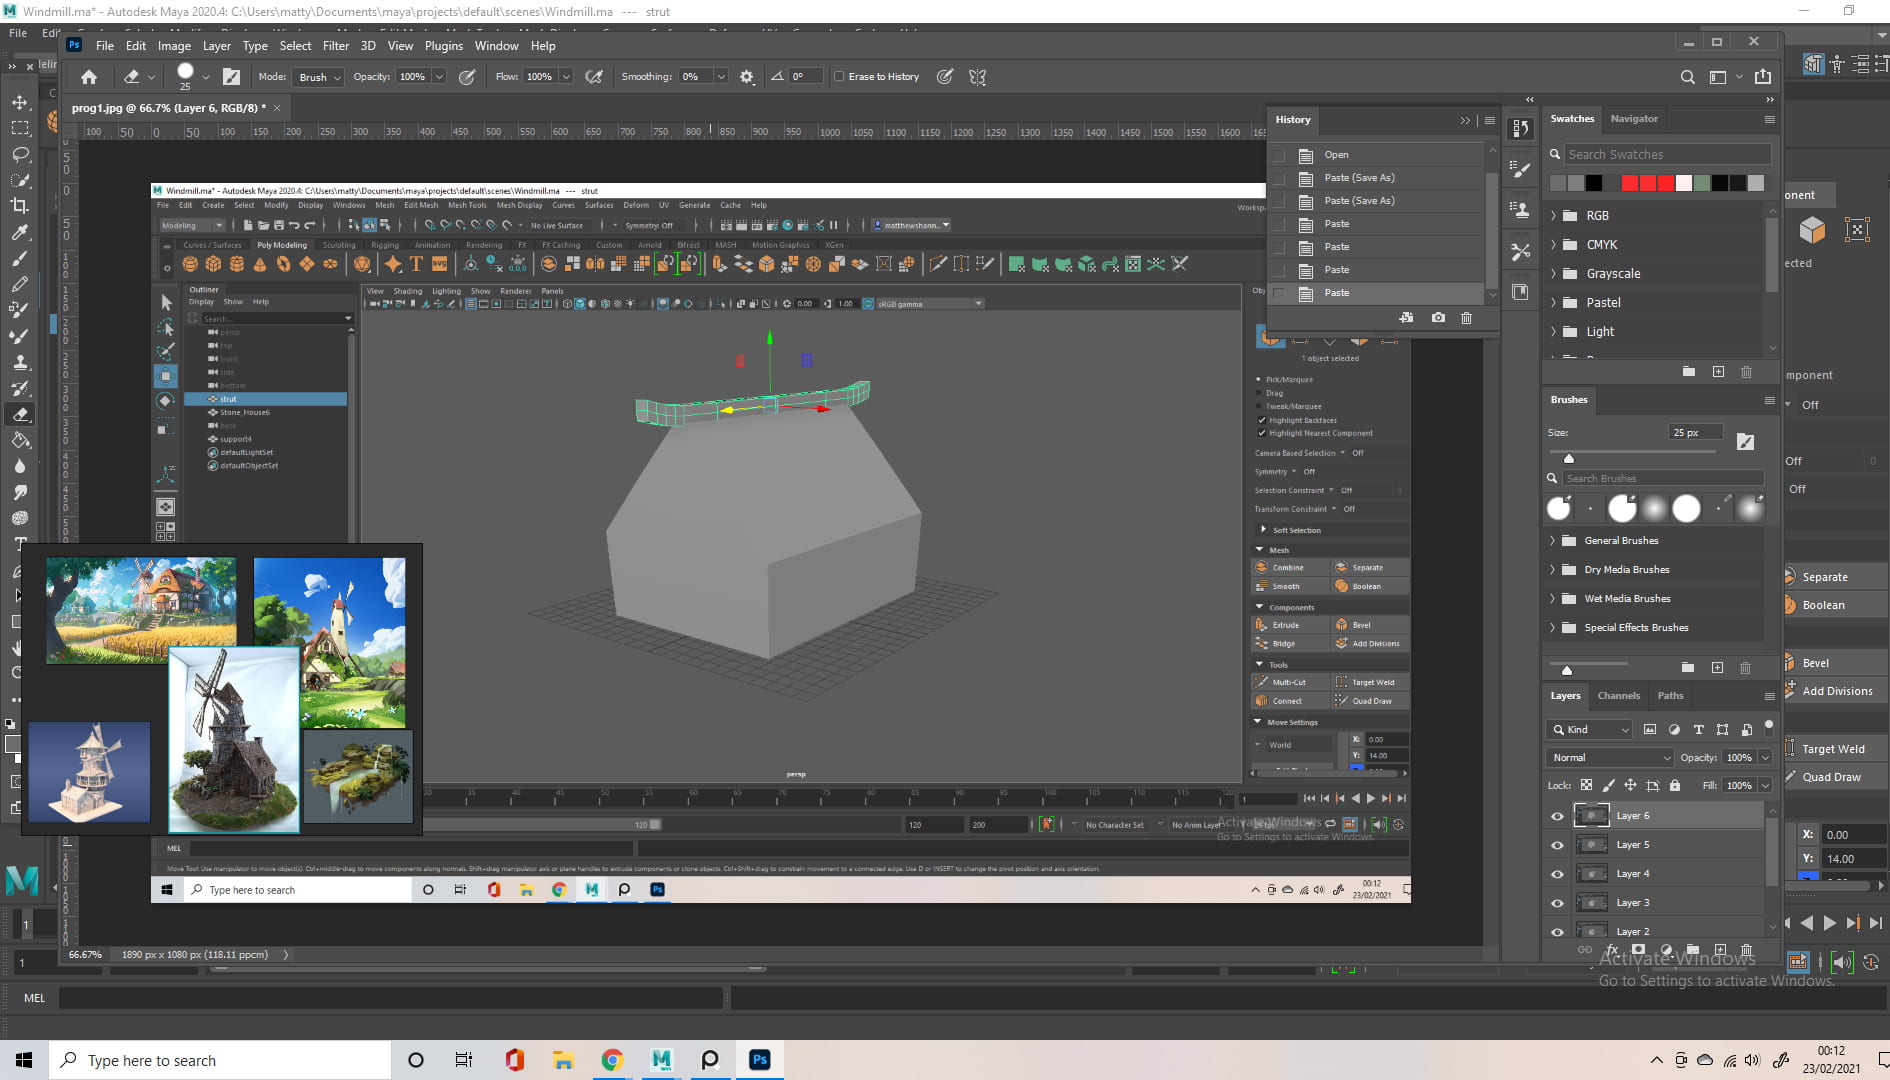
I started with a cube, scaled it to the rough dimensions I wanted and added some cuts. I pulled the vertices at the top inwards, to create the slanted top, where the roof would be. I then added a beam along the top for support. The beam is yet another cube, scaled and cut, manually creating the desired contour.


I added some other beams around the side, to support the structure further, I tried to imagine how it would be constructed in real life, and then I added the roof, using the same techniques mentioned previously.


I cleaned up my mesh, checking for any n-gons or anything else that would make life difficult. I tend to do this after completing most sections, before moving on. I attempted to use the mirror tool to create the support for the roof but during clean up this brought up a bunch of messed up geometry, so I ended up doing it manually.

I was pretty happy with the general shape at this point, I made some cuts along the middle to shrink the lower half a little, to give a more stylised silhouette, but this ended up very subtle. I then grouped and named all my objects, to keep it all clean and organised for when it starts to get more crowded.
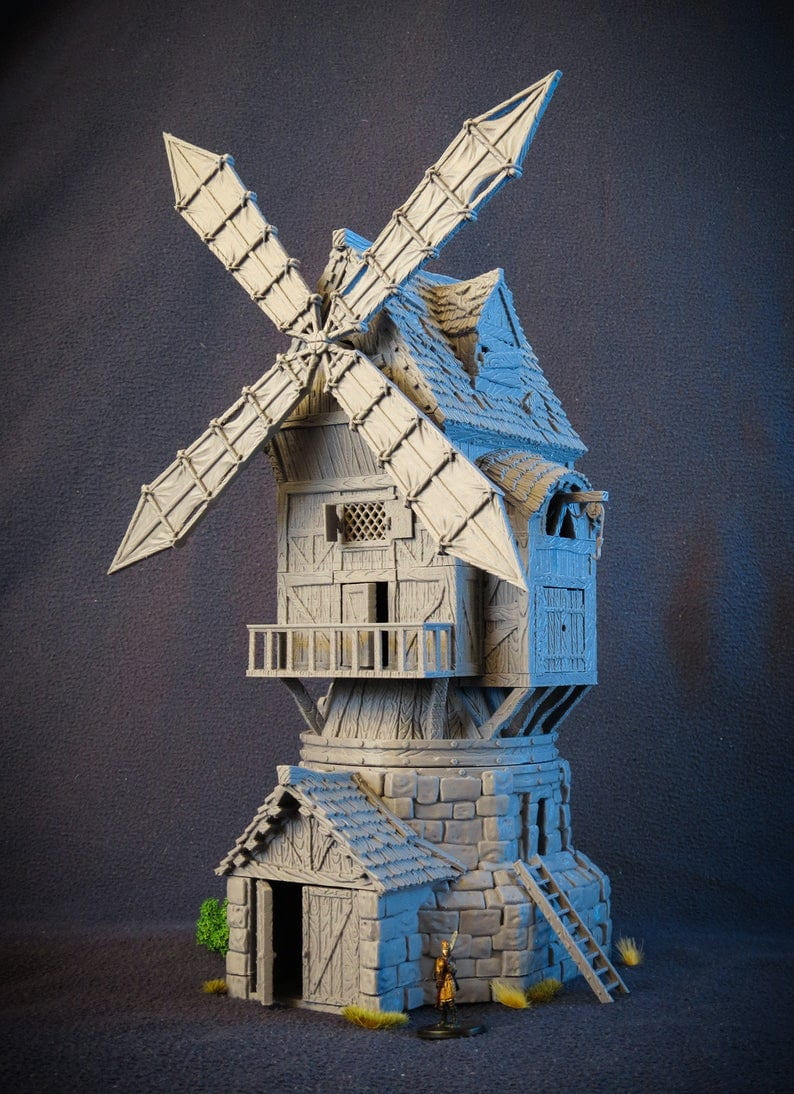
I looked at some actual 3d models, for ideas on how to approach the next part.


Windmill
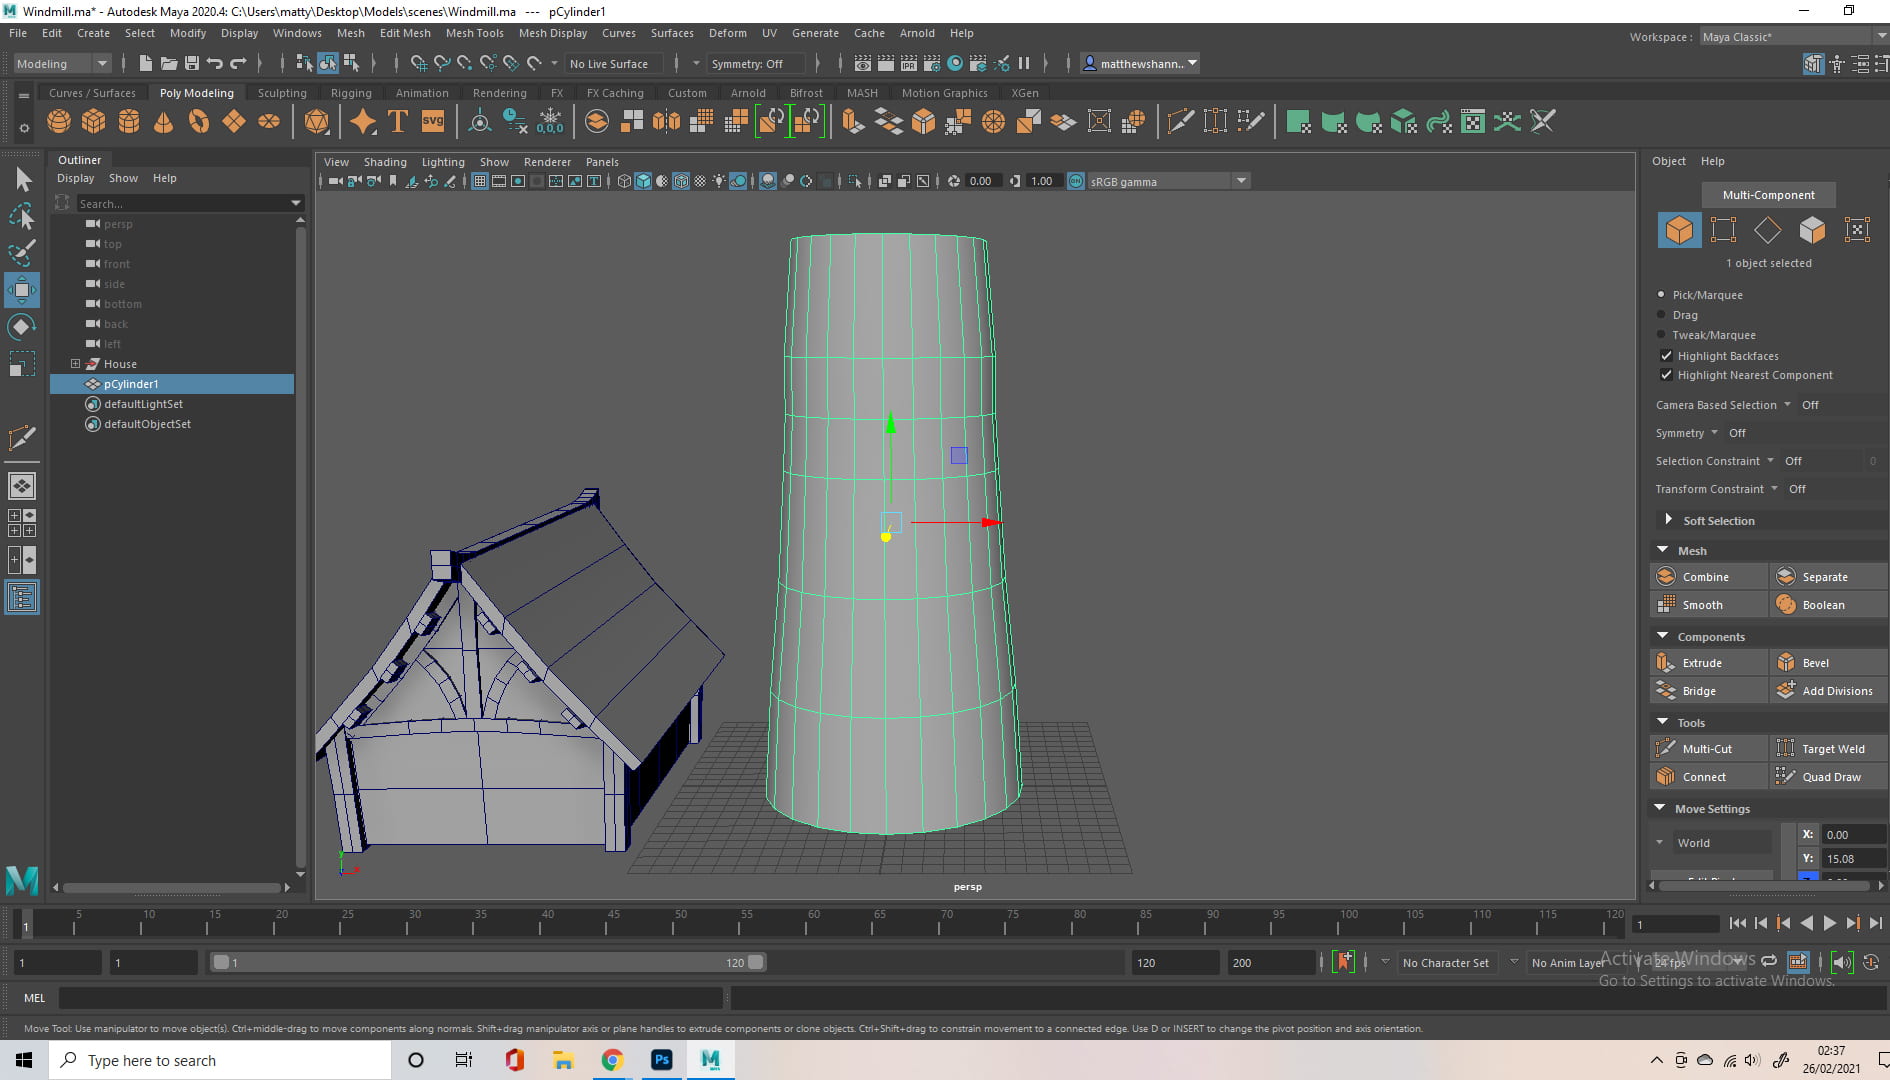
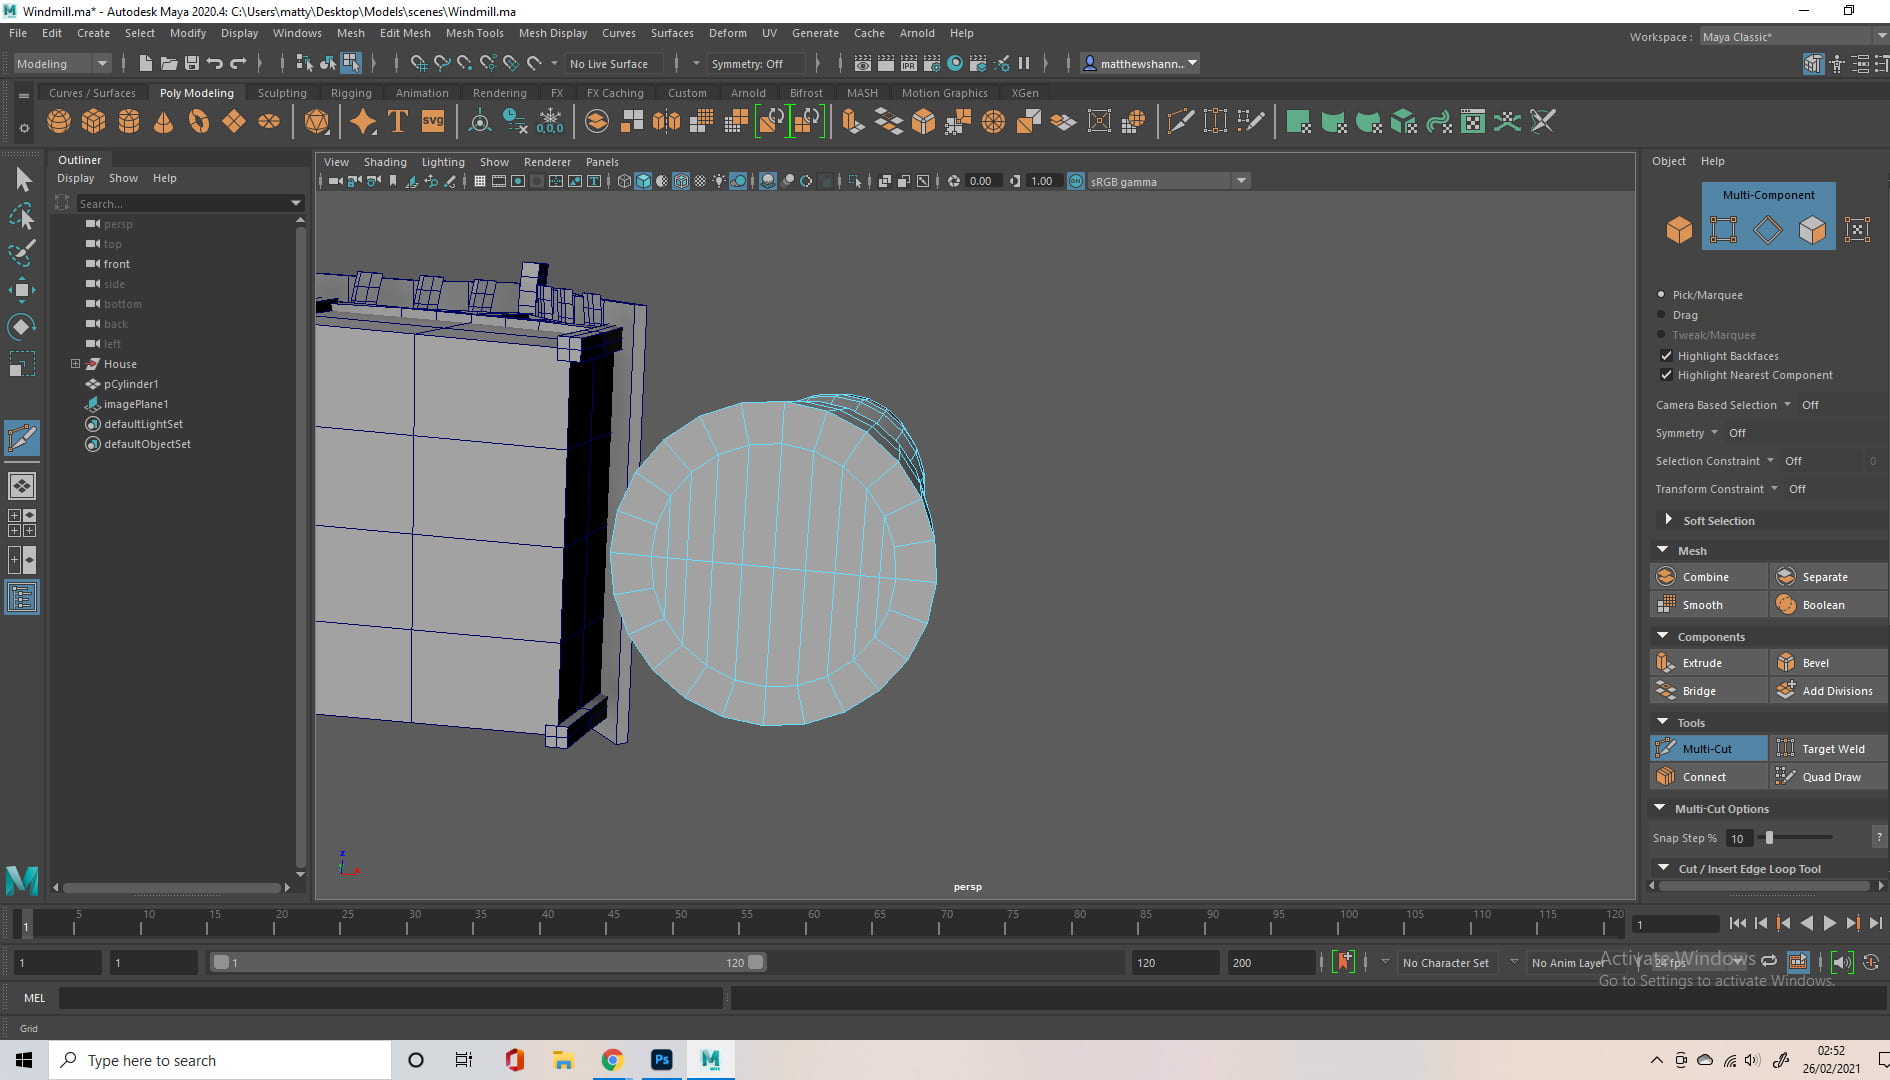
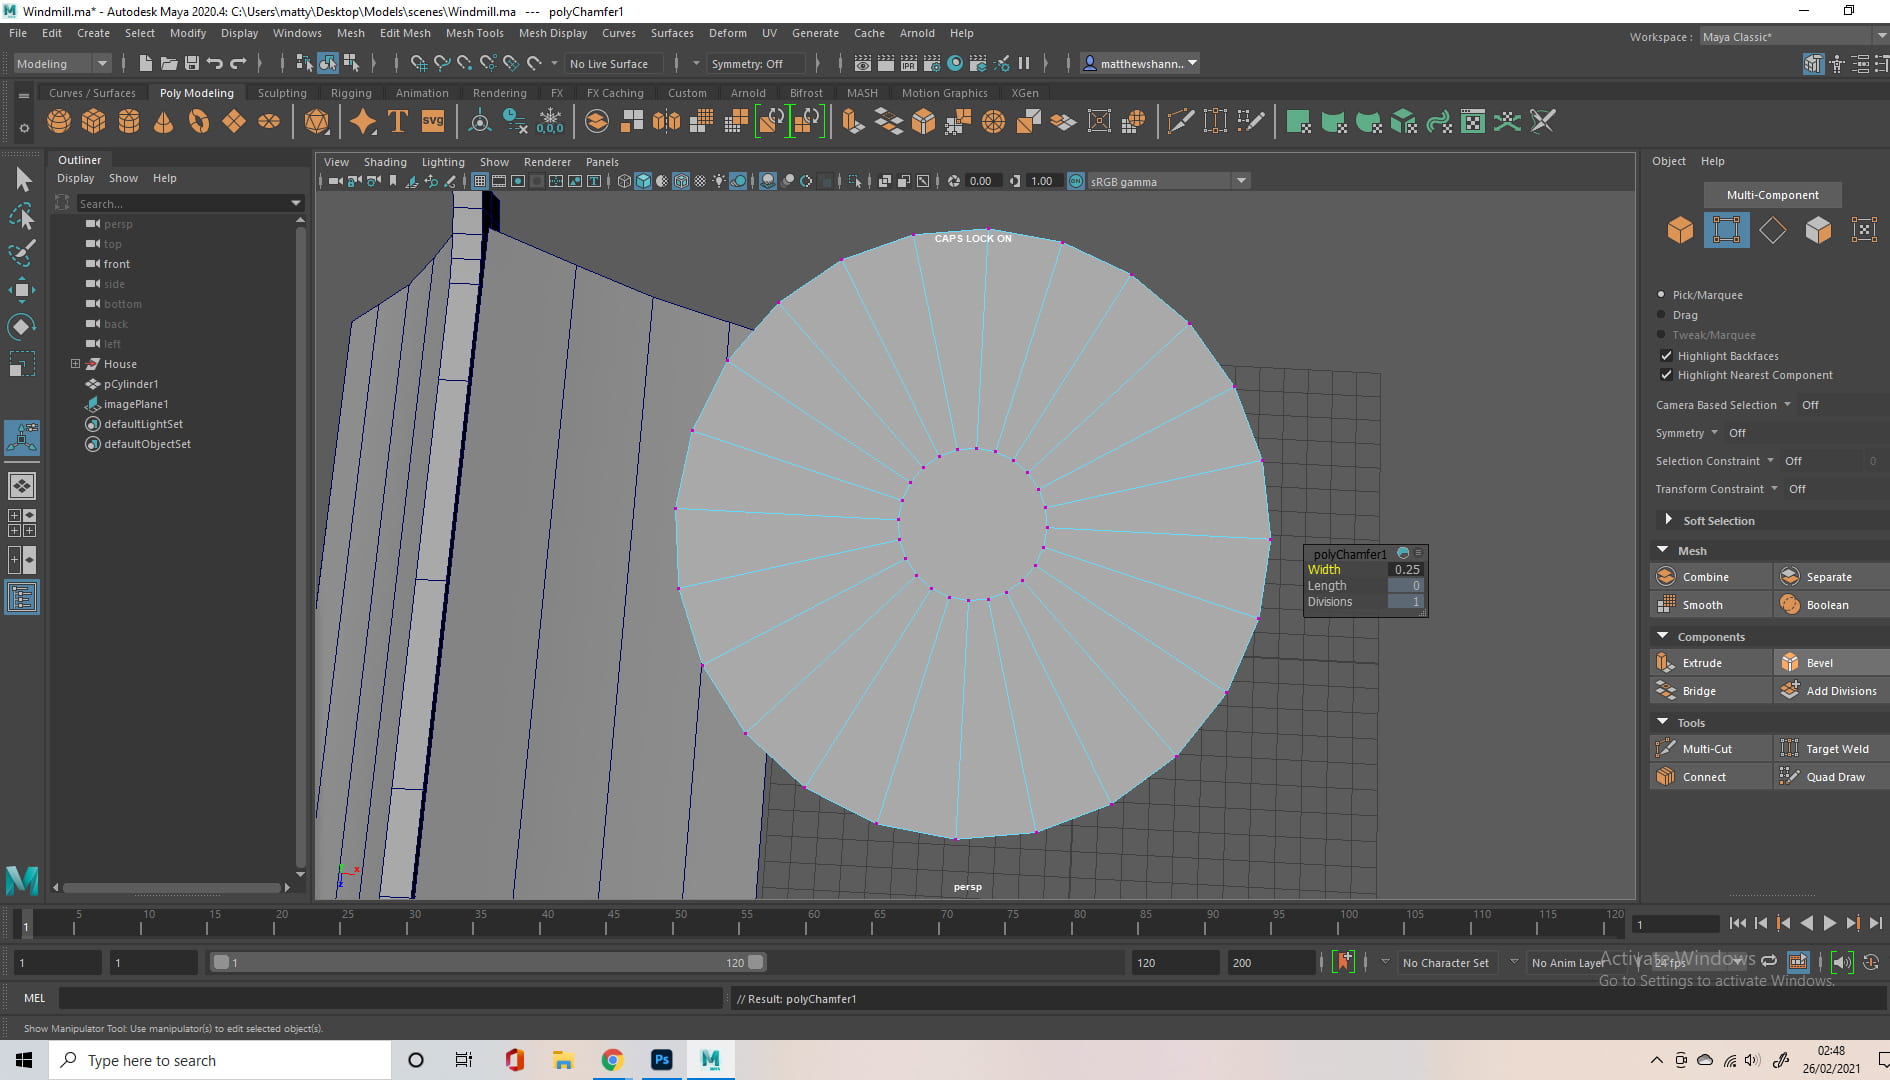
I started with a cylinder as a base, scaling it to the rough size I wanted relative to my house. Since I used the cylinder shape, to avoid mesh problems (n-gons) I had to select the top and bottom, bevel them, then use the multi-cut tool to make sure it was all polygons. (I go into more detail on this process in my previous weekly challenge posts.)


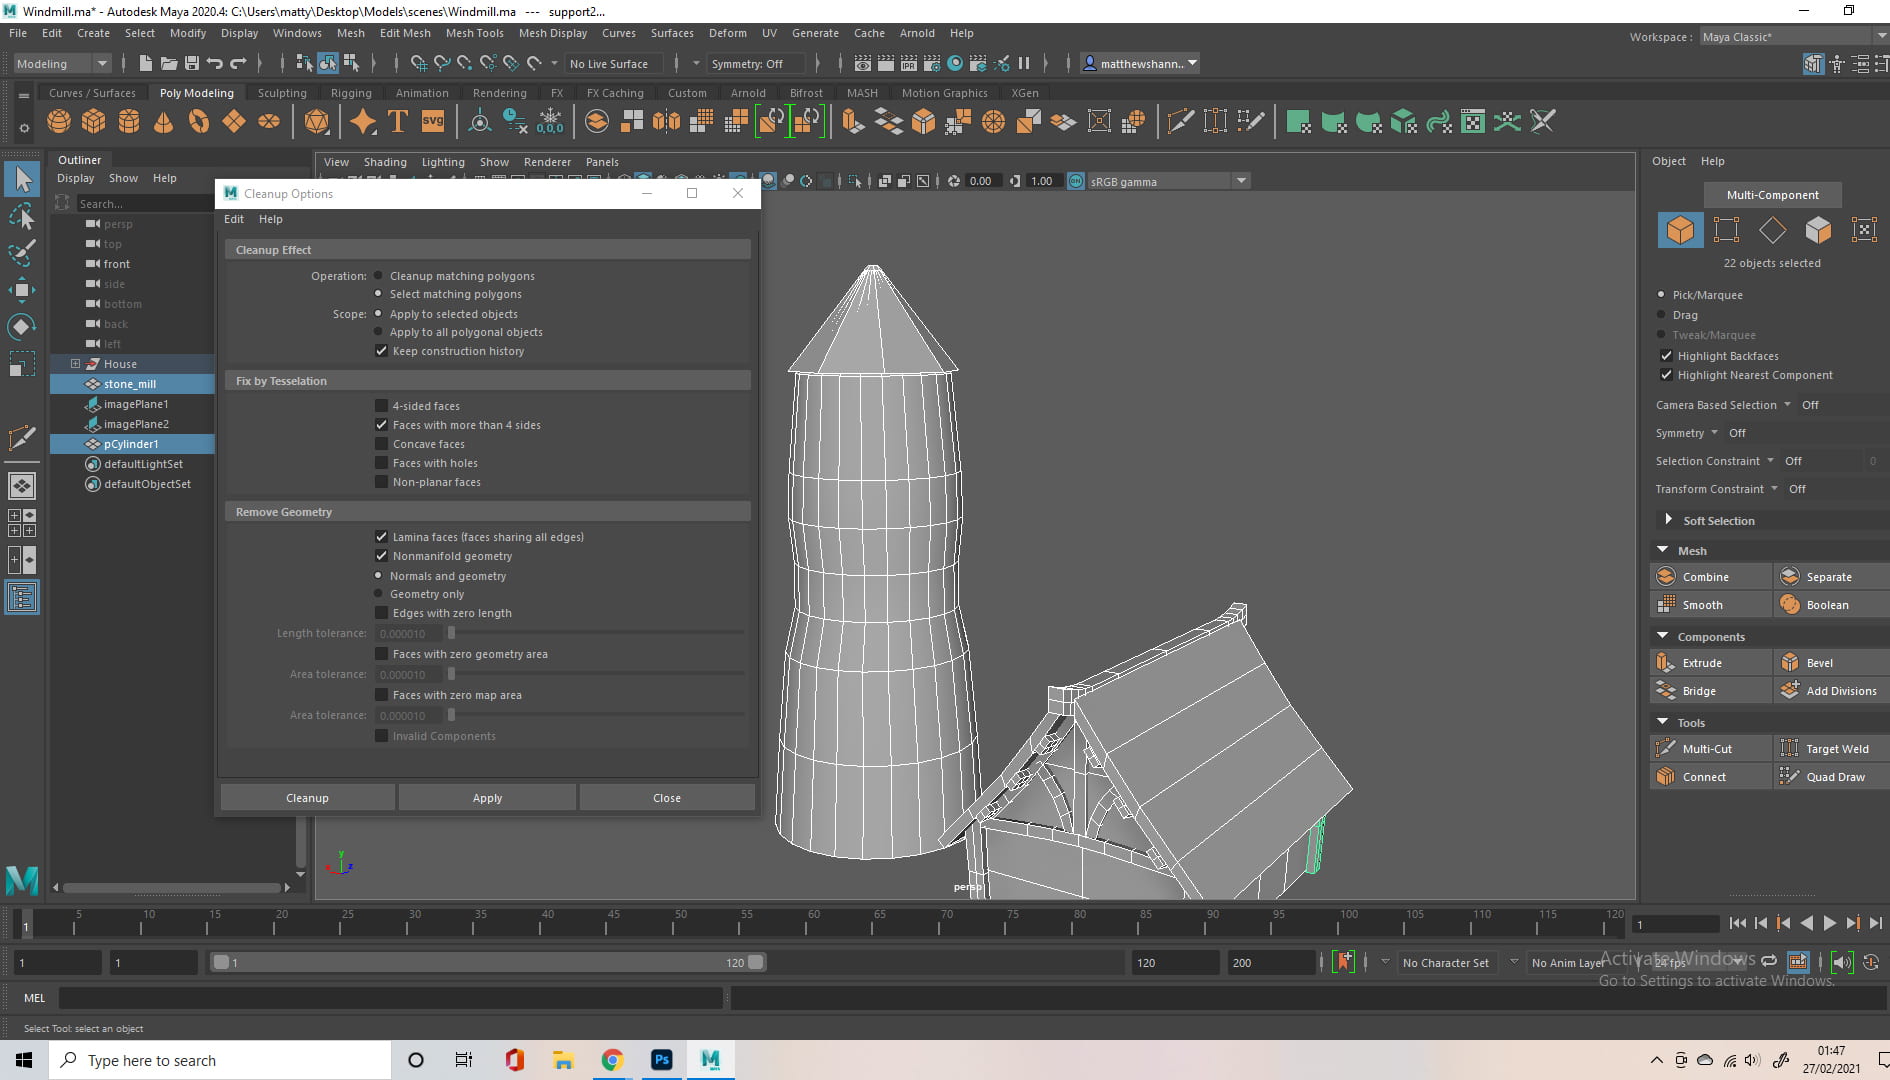
I added another cylinder with less divisions, to create a more structured look for the roof, and scaled the vertices on the top and bottom to get the desired shape, again I cleaned up any n-gons during this process.

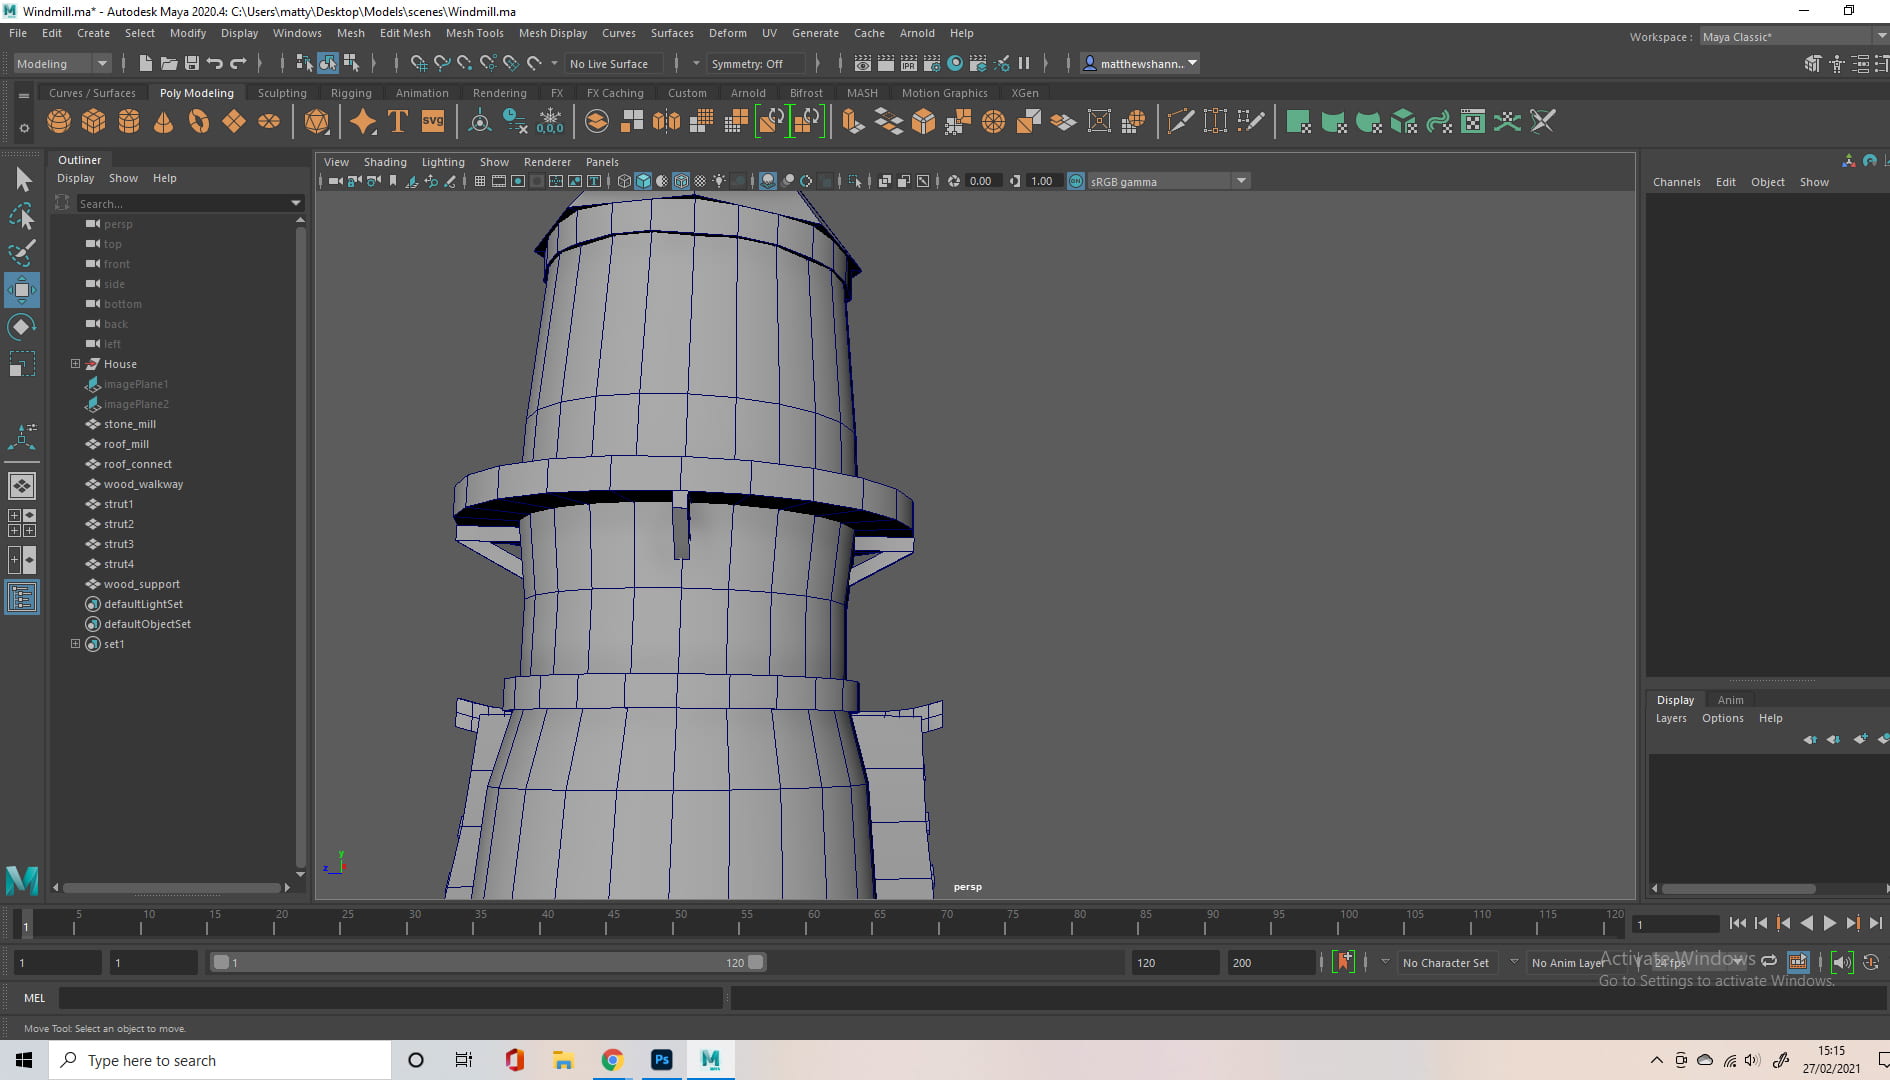
The photos aren’t the clearest on what I did here, as I was using the orthographic views. Basically I added another cylinder, bevelled and removed the faces on the top and bottom, and put this hollowed out, flattened cylinder at the centre of the windmill, to emulate a wooden walkway. I duplicated this and scaled it down at the thinnest part of the windmill, to add a wooden support. I also modelled small supports for the walkway, using angled cuboids, removing the faces that weren’t visible.

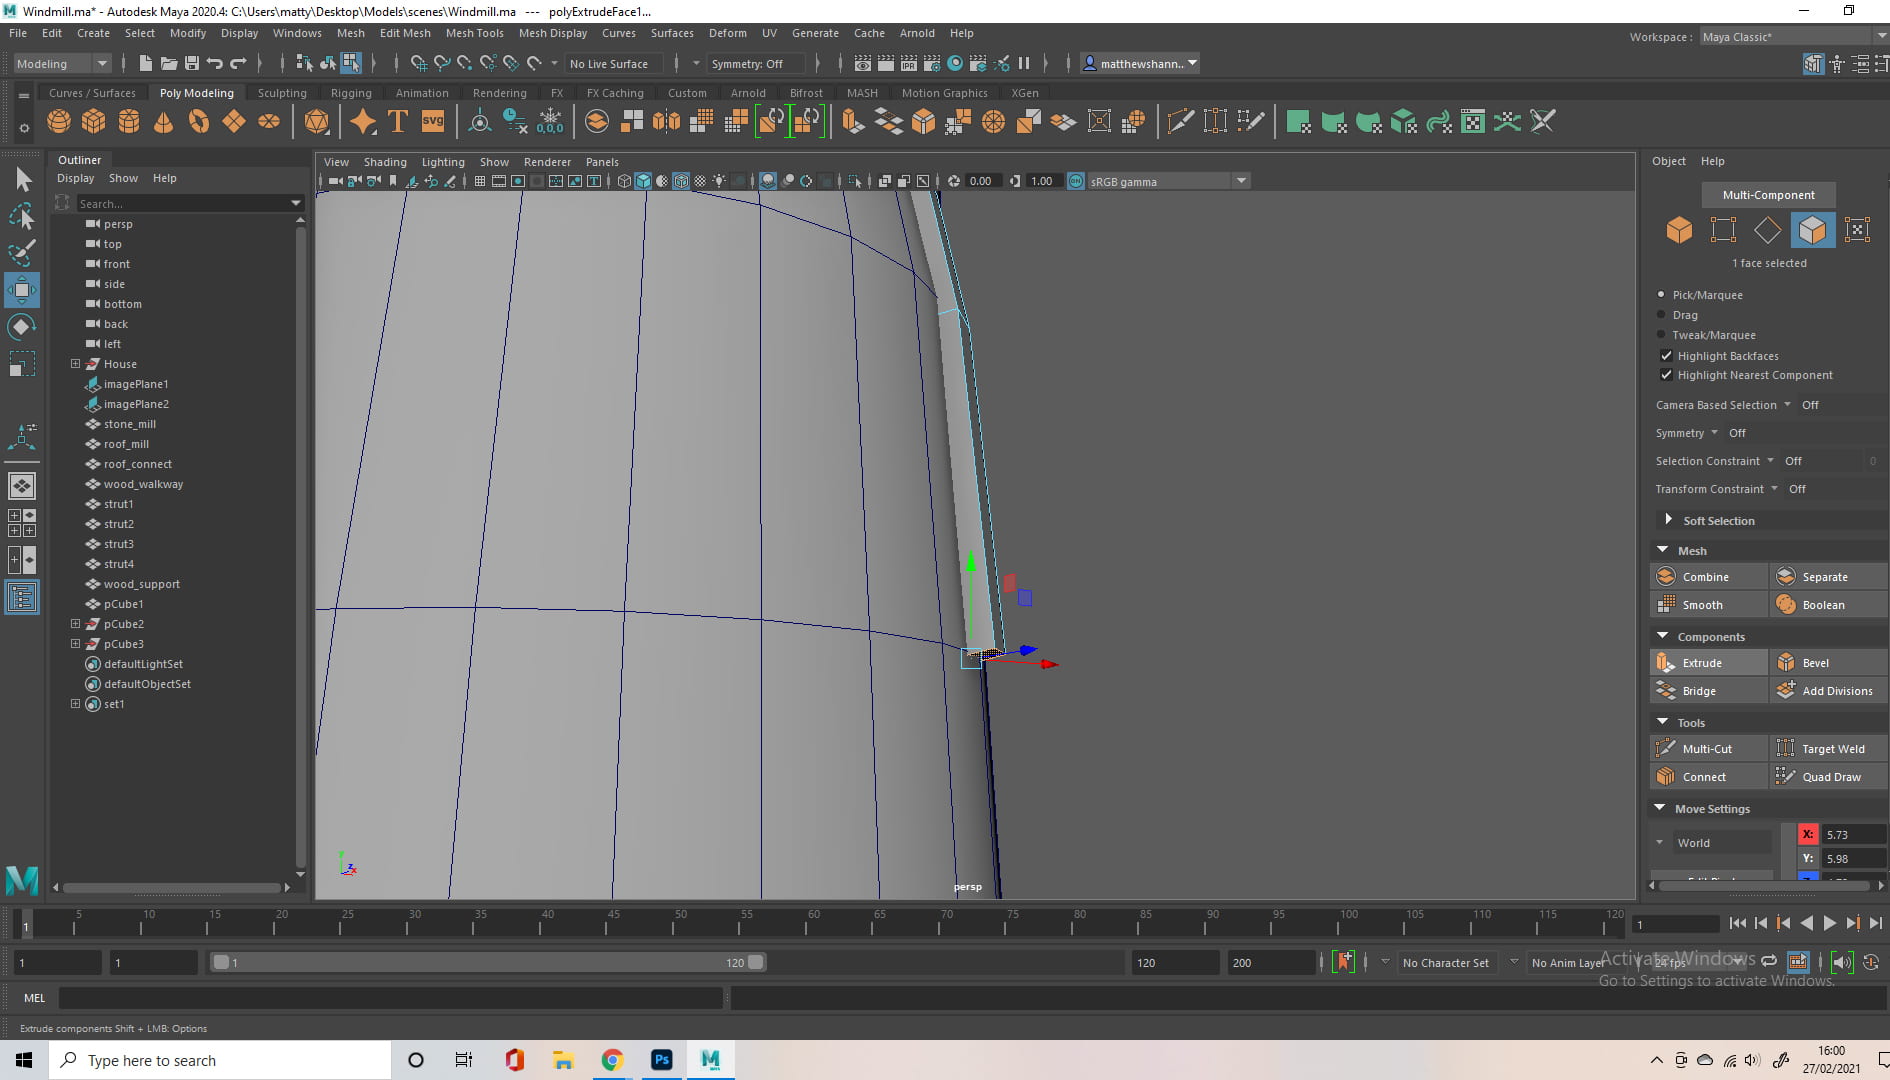

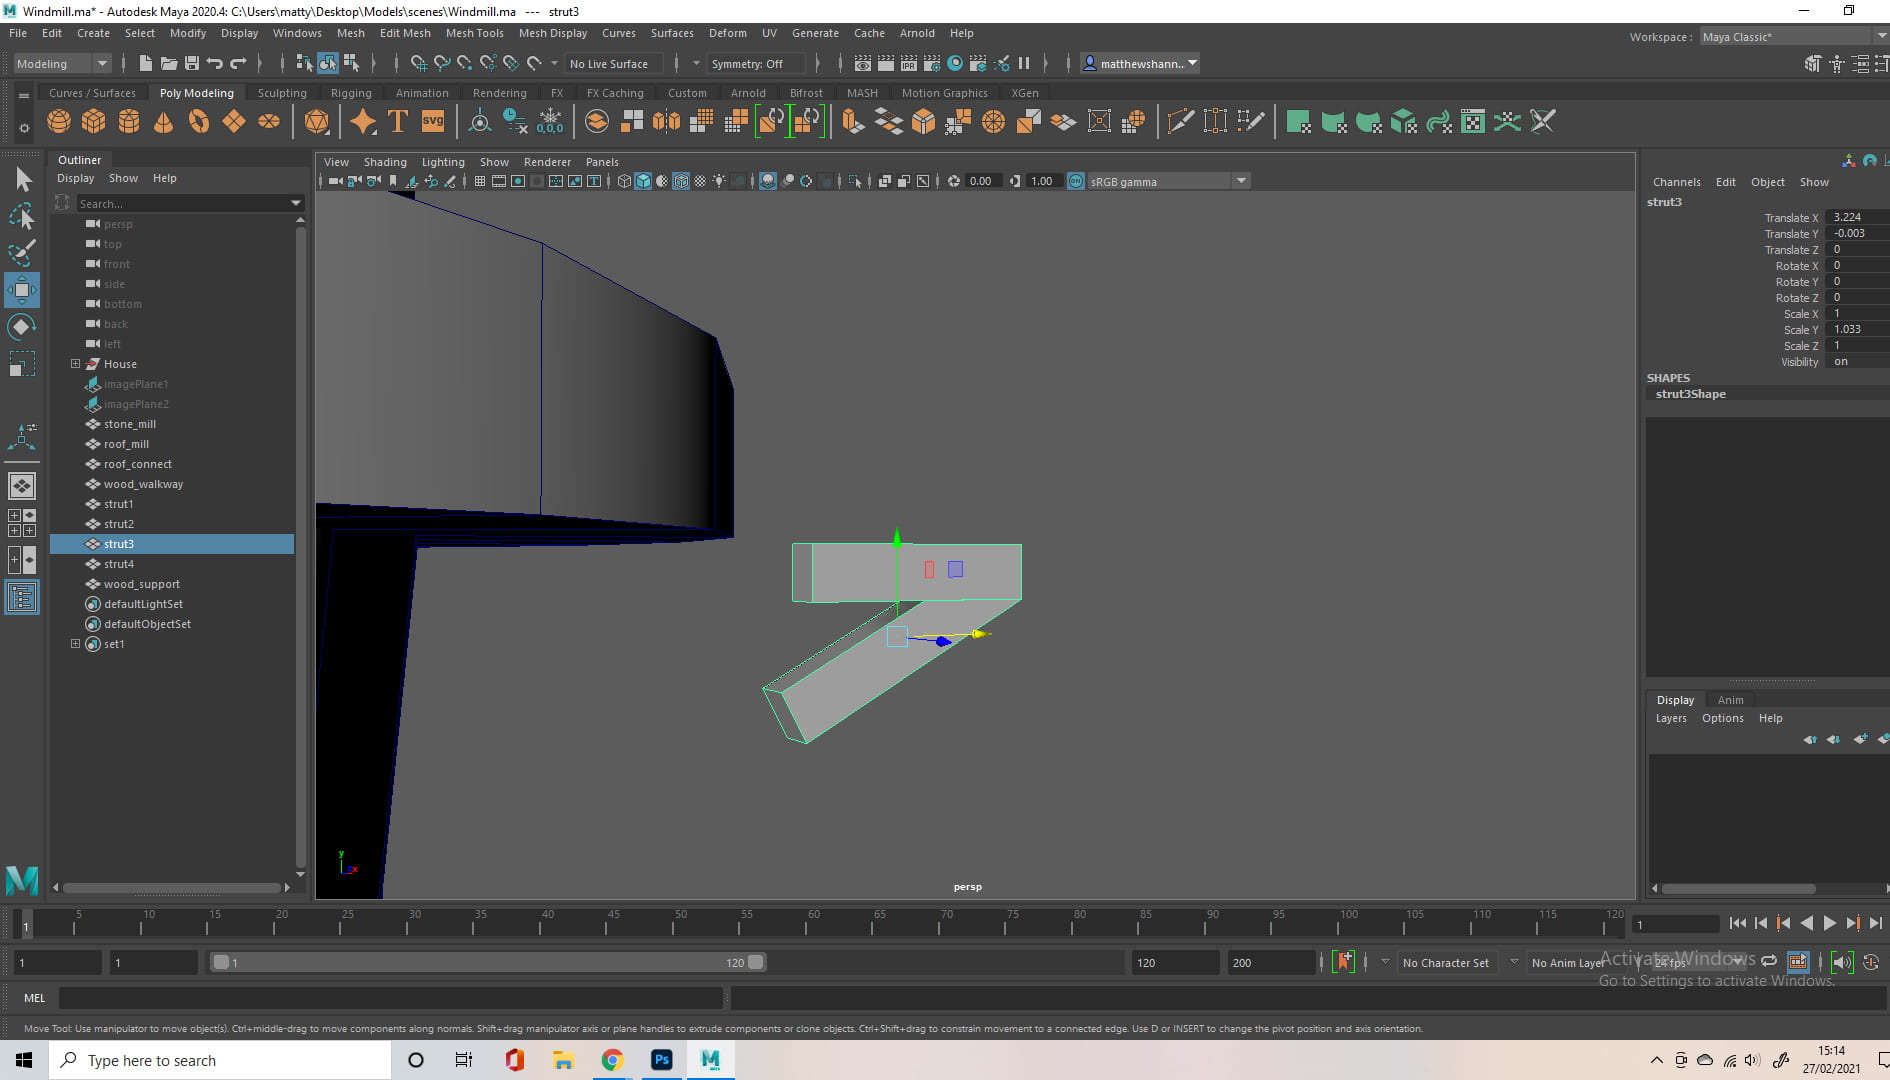
I wanted to add further supports, wooden beams from the floor to the centre support, but I found this difficult as I had to model wood along a curve. I attempted to do this with multiple rectangular objects and snapping them together, consulting the forums on how to do this, but this resulted in bunch of mesh problems for me. I then realised I could just select the face and extrude it along the contours of the windmill. I duplicated this beam and placed it three more times around the base of the windmill.

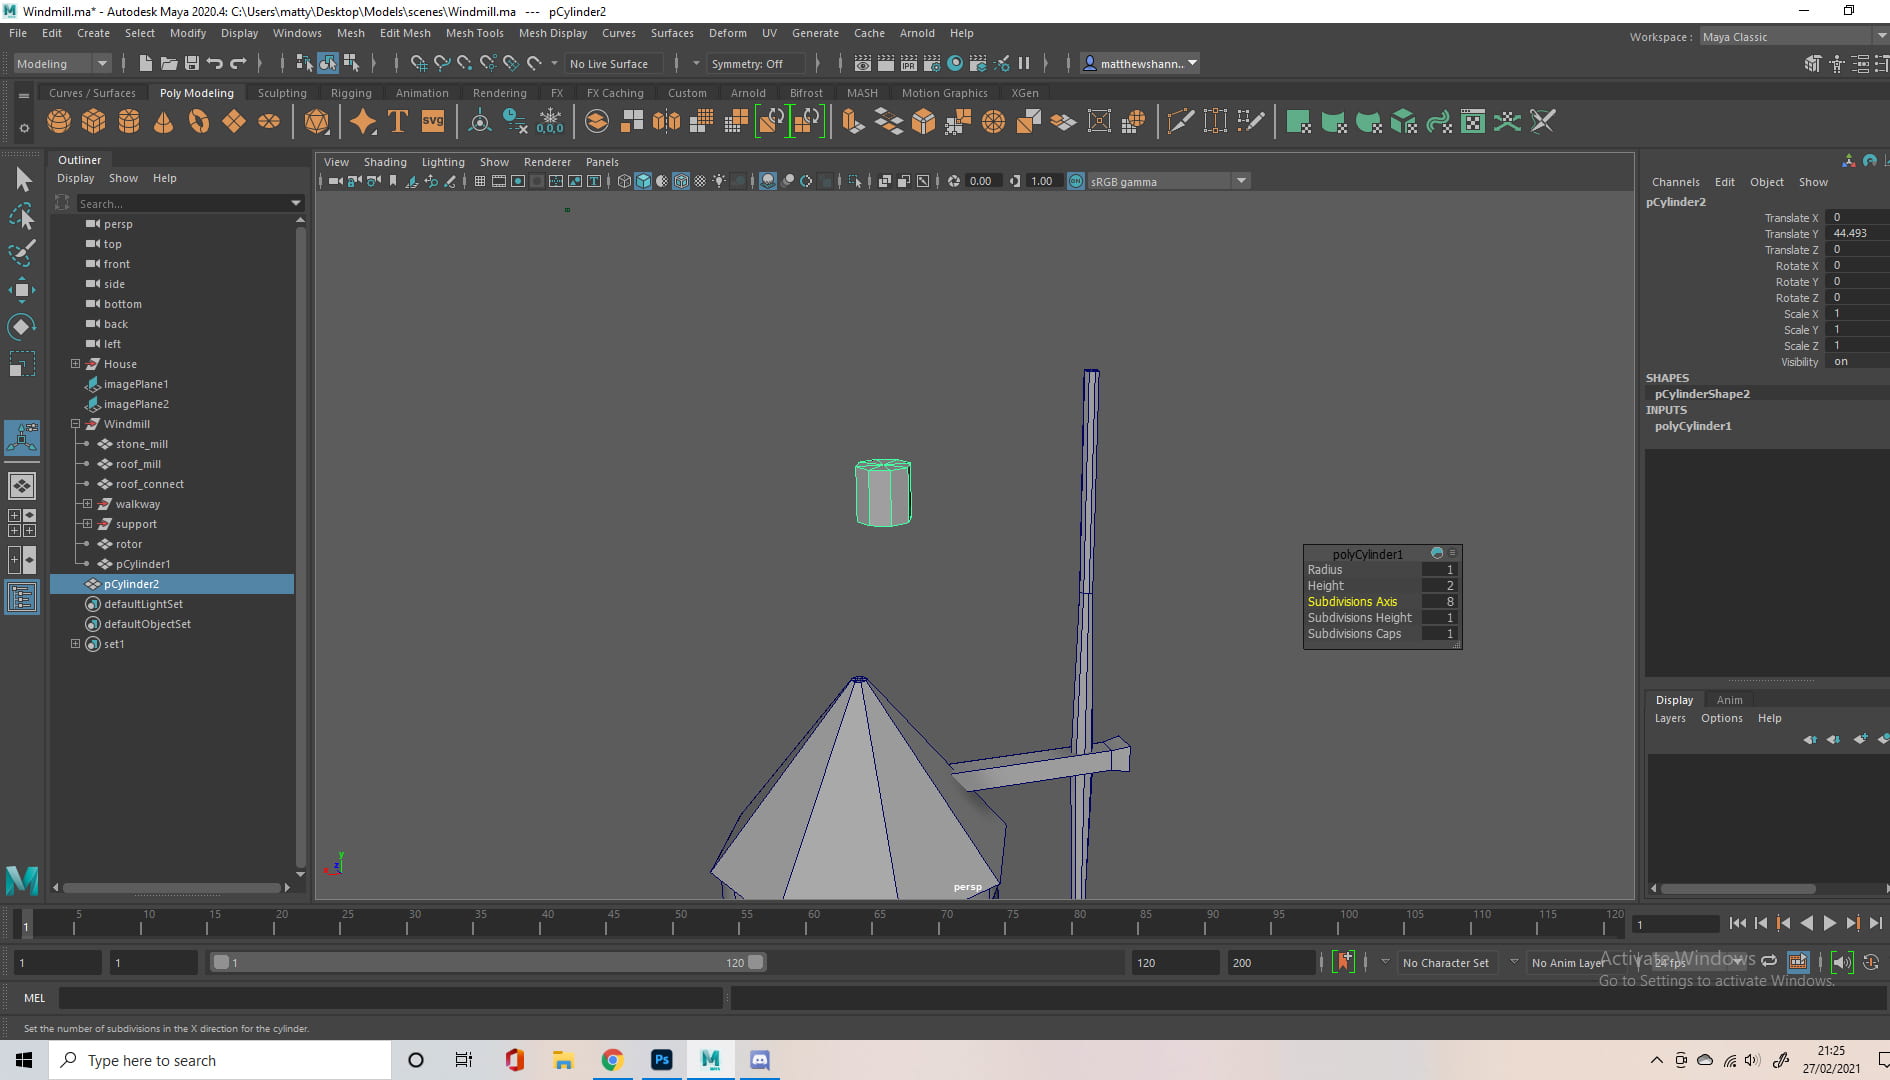

I then started on the blades, extruding a rectangle from the roof, and creating another cylinder. I used 8 divisions for the cylinder, as I thought it would give it a more wooden and stiff shape to the structure, trying to avoid perfections so you could imagine this windmill was manmade. I took the middle beam of the blade, and scaled the middle vertices on one axis, so it looks as if the wood is going through the beam from the roof. I also added some more shape to the front of rectangle, making it look like the rotor.
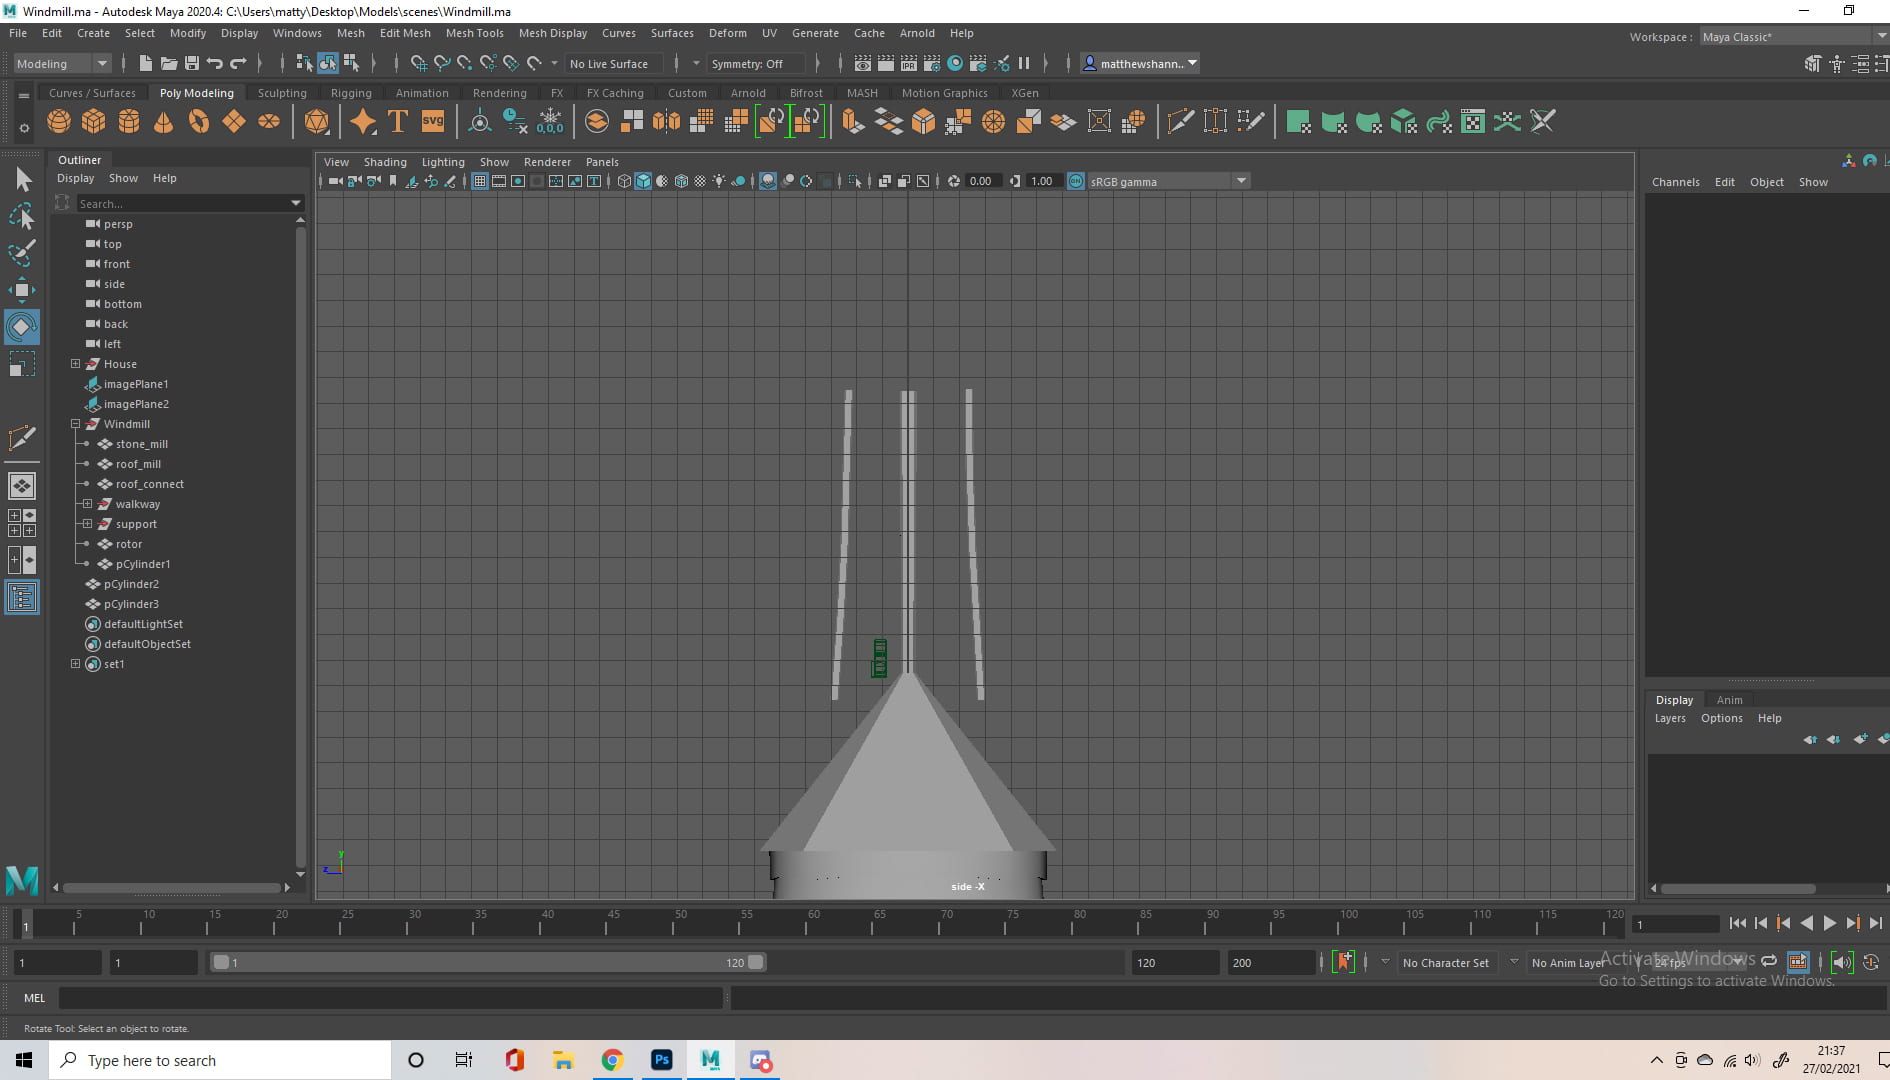


I used the curve tool on two more cylinders, to create a more organic shape for the outer beams of the blade, and added 7 small cylinders connecting the three wooden cylinders. Again, I ensured it was all made up of polygons.


I duplicated the blades, and started to construct what connected the blades to the windmill’s roof. This took a few tries, as it kept coming up as having more than 4 faces on certain sides, but I eventually got it to work and I came up with this mini house-shaped structure for the top of the roof. At this point, I didn’t know if I should just keep the model simple and start my UVS, or continue to add detail.


So I watched a lot of YouTube tutorials on stylised modelling, and how to UV/Texture stylised objects, and decided I would need to add more detail before I started any of the texture work.


I added some rectangular beams to the roof, using the same methods as before. To save time I did it once and duplicated it. I divided 360 by 8 to work out how much degrees I had to rotate each rectangle by when duplicating, as the roof had 8 divisions.


I considered adding roof tiles, but I thought it would take away from the style I was going for. I added further detail to the windmill, and played with the idea of having extruding bricks for added depth, something I saw on sketchfab


I watched a tutorial for clean booleans to do the house’s windows, but it kept messing up my topology, so I just added more cuts with the multi-cut tool and extruded/indented the faces. I then added some more detail to the house before starting to UV.
UV / Textures

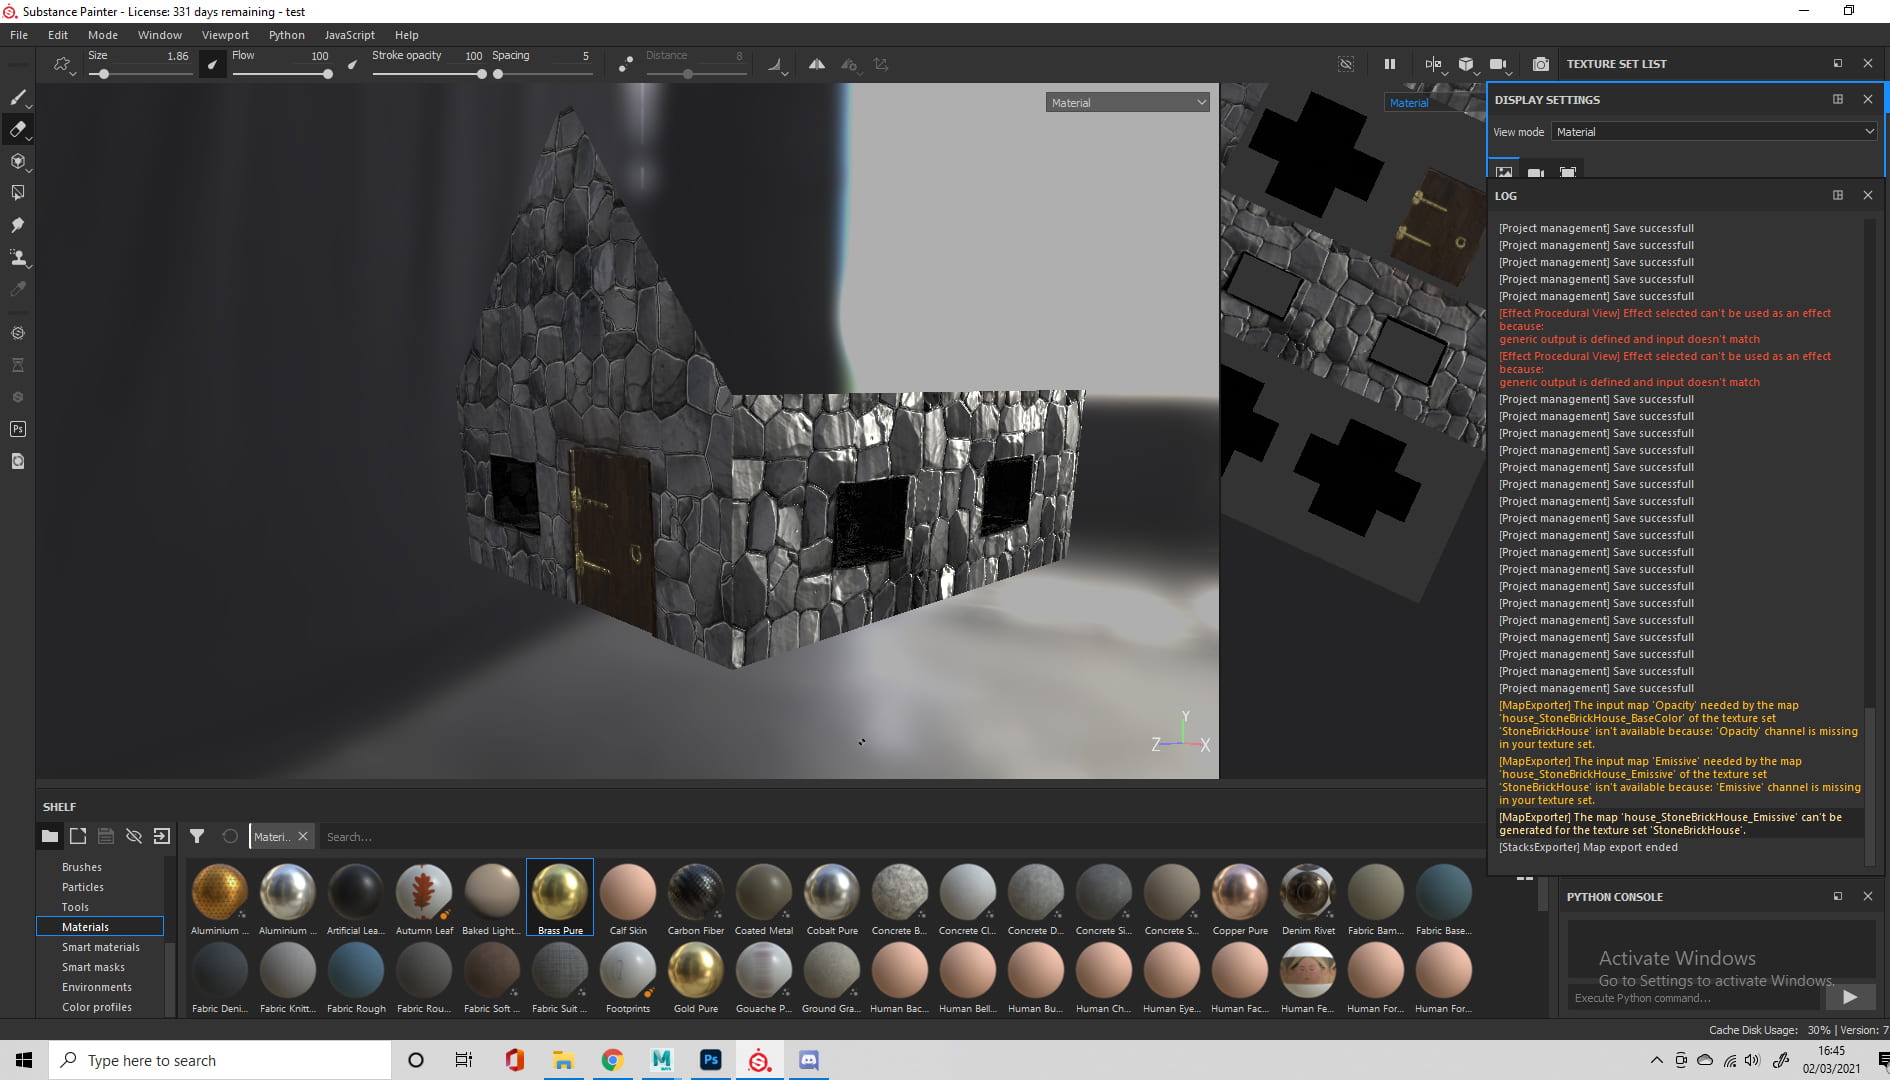

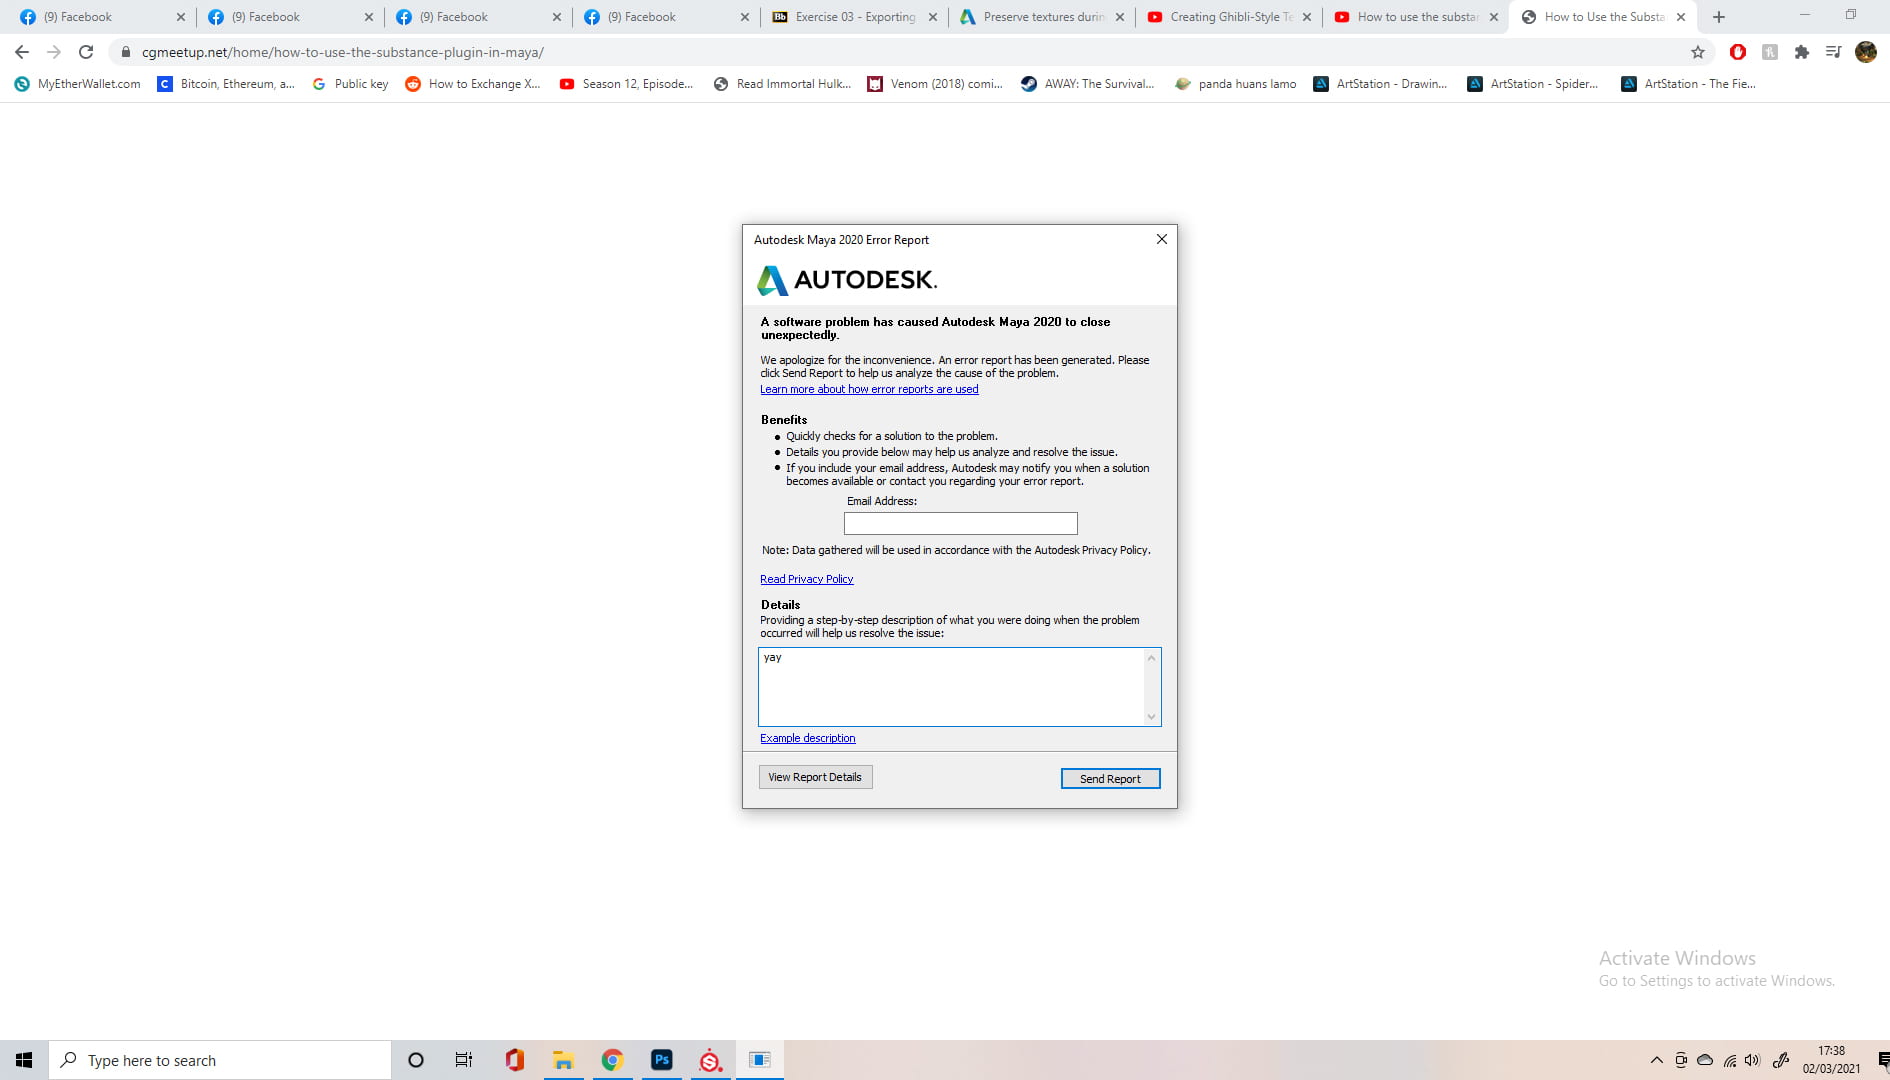


As you can see I didn’t have the best start with my UVs and texturing, I was very new to substance painter and didn’t realise you could export the whole scene, I thought it was one object at a time. So I would UV one object then work on it in substance. I spent about a day on the above, researching, running into a lot of issues with my workflow, textures and even my pc hardware at one point. This was kind of my baptism through fire, before really starting on my textures.

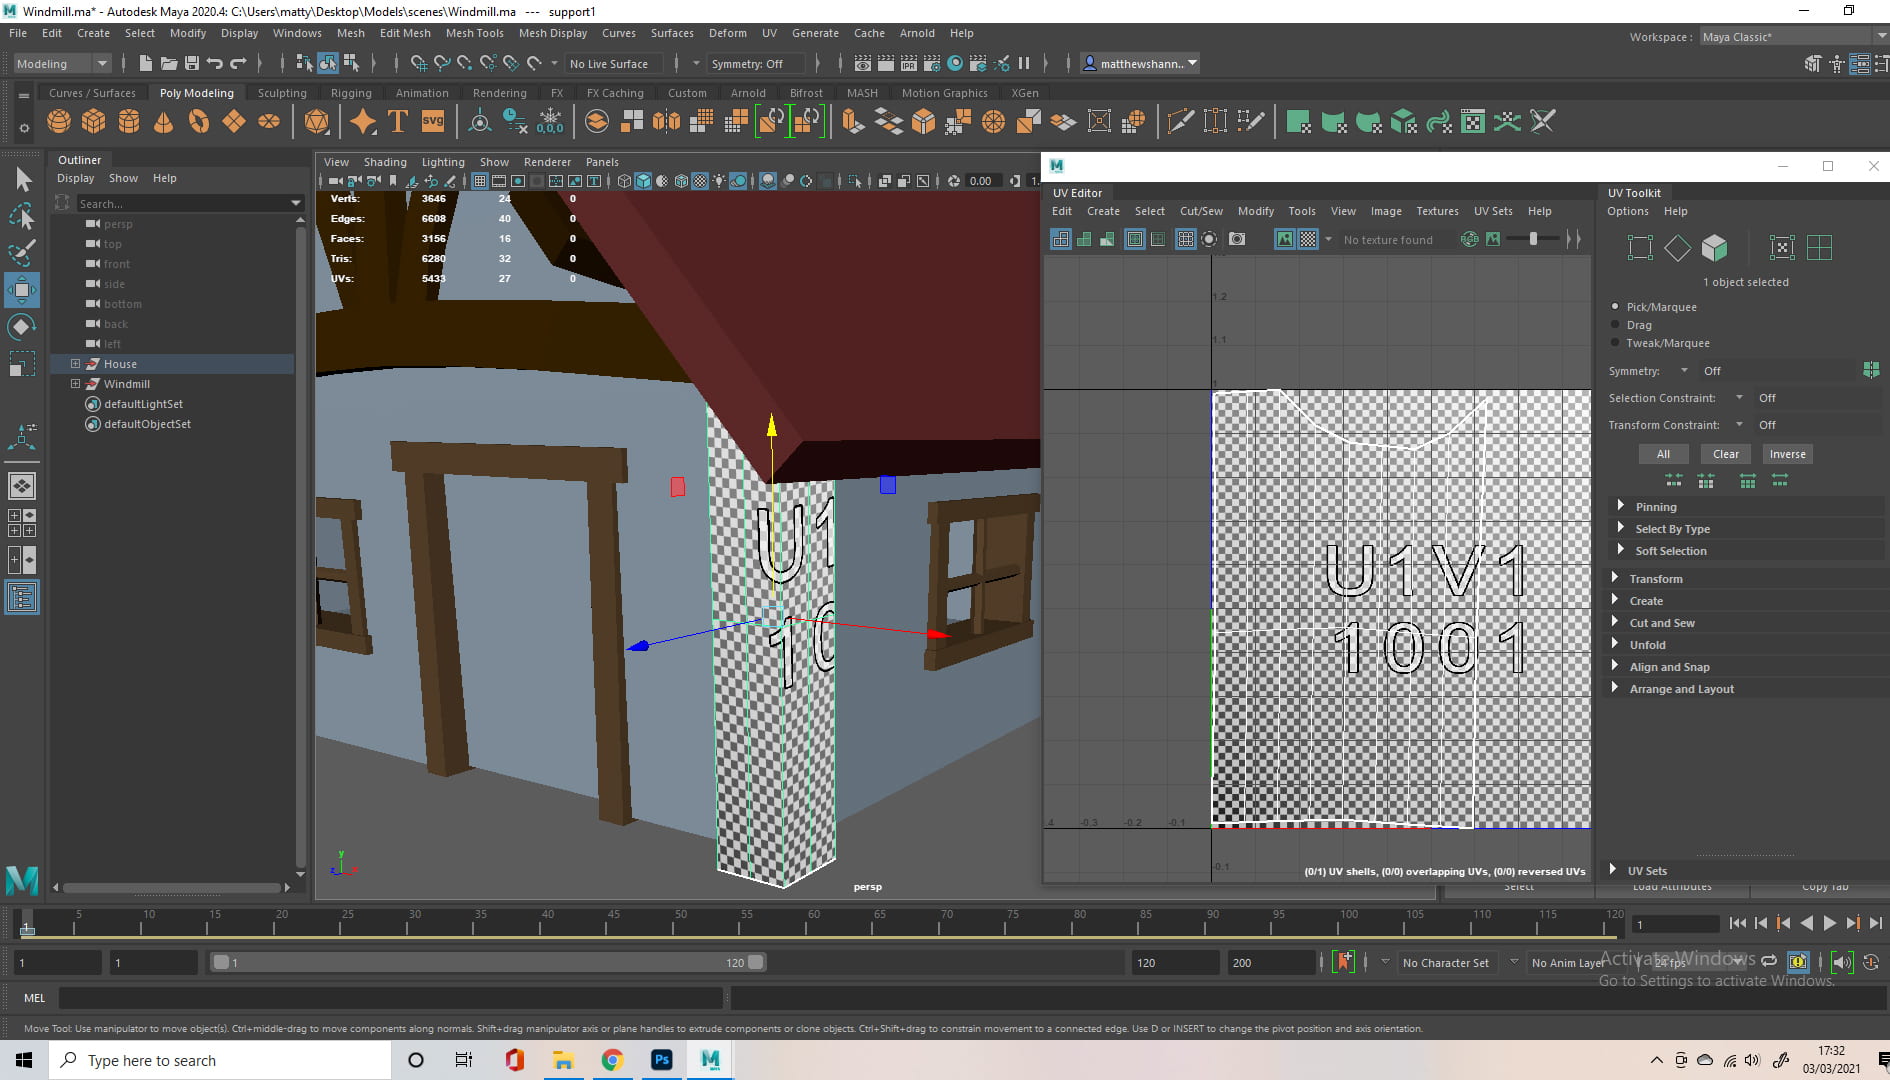

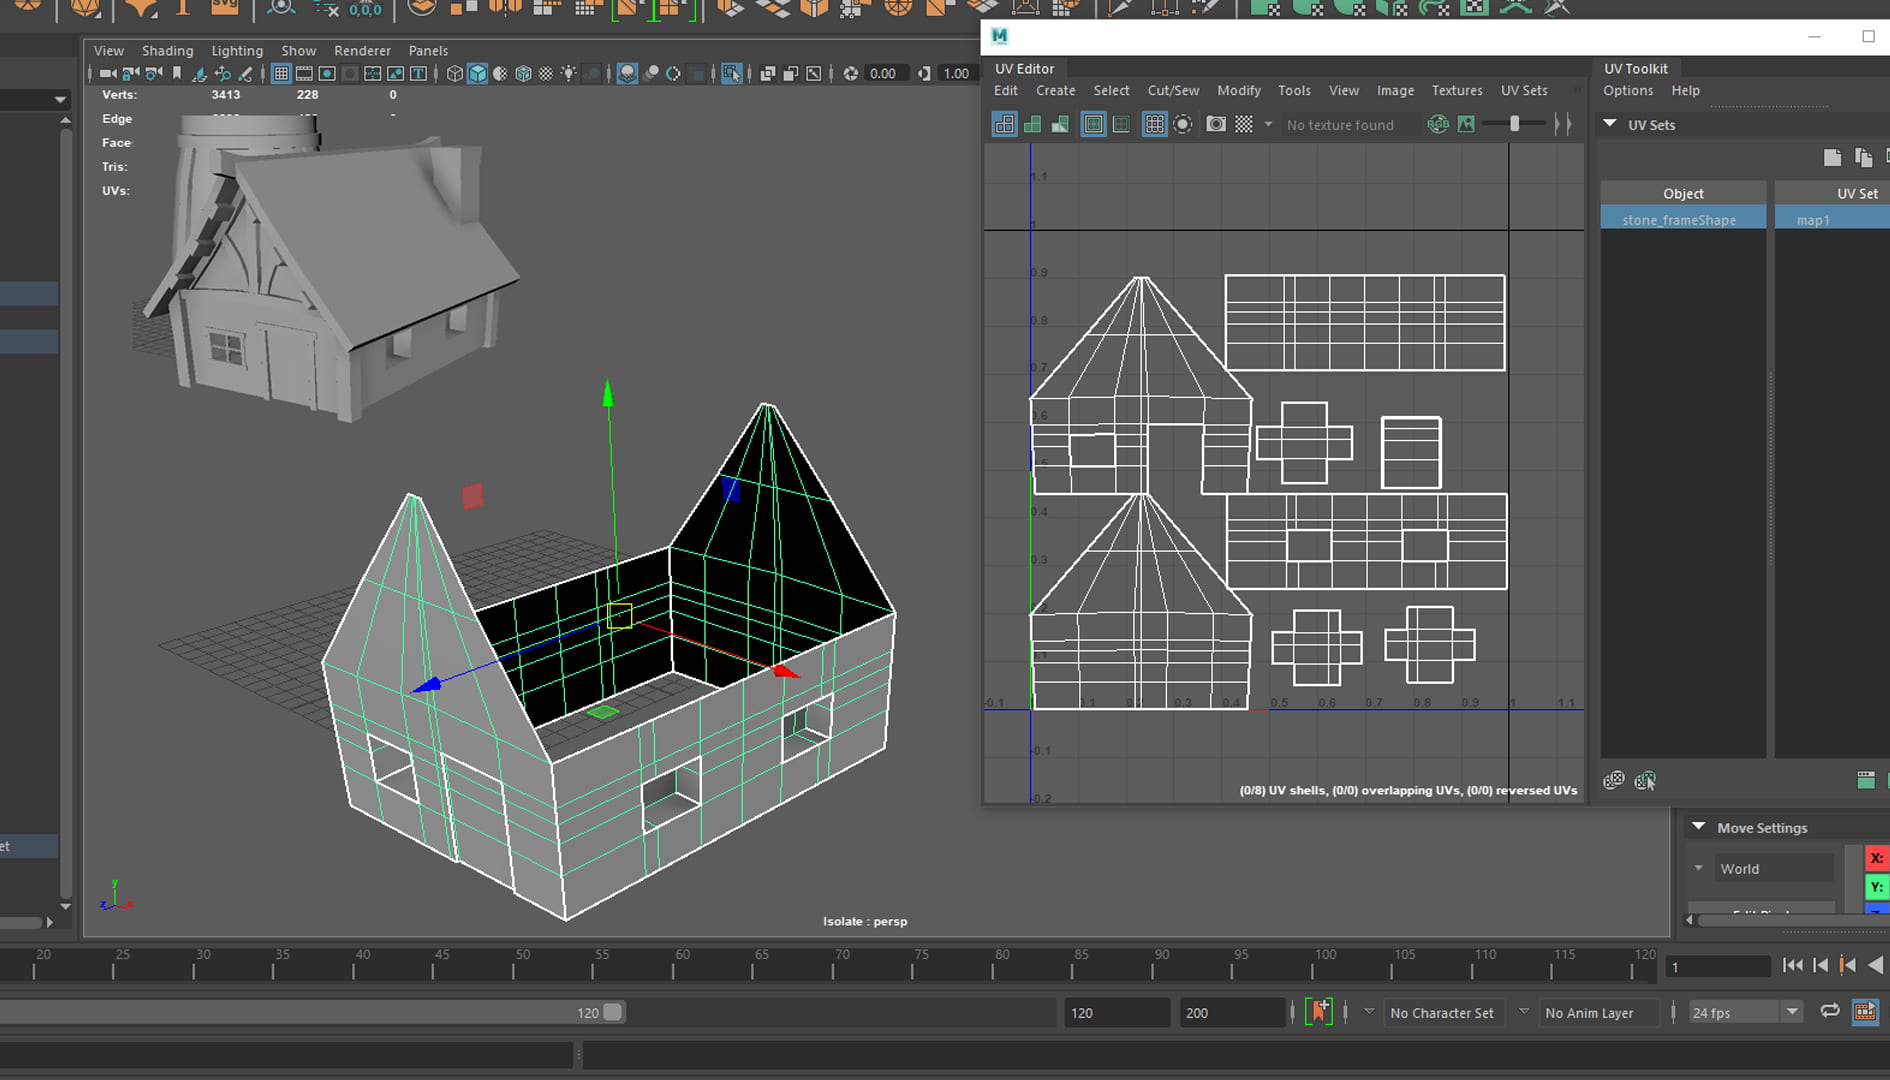
I assigned everything its own material, and started on the UVs, I’m not going to include them all in here as its quite repetitive, and this blog post is getting long. I would generally use planar projection when applicable but if it was a more complex shape, I would use automatic and then manually stitch/cut the edges.


I didn’t realise that the UV maps of objects within the same material would overlap. So I ended up having to redo (layout) them by material. I also didn’t realise I had to put them into the correct (relative to one another) orientation if I wanted the wood grain to travel the right way. So I had to redo it yet again.


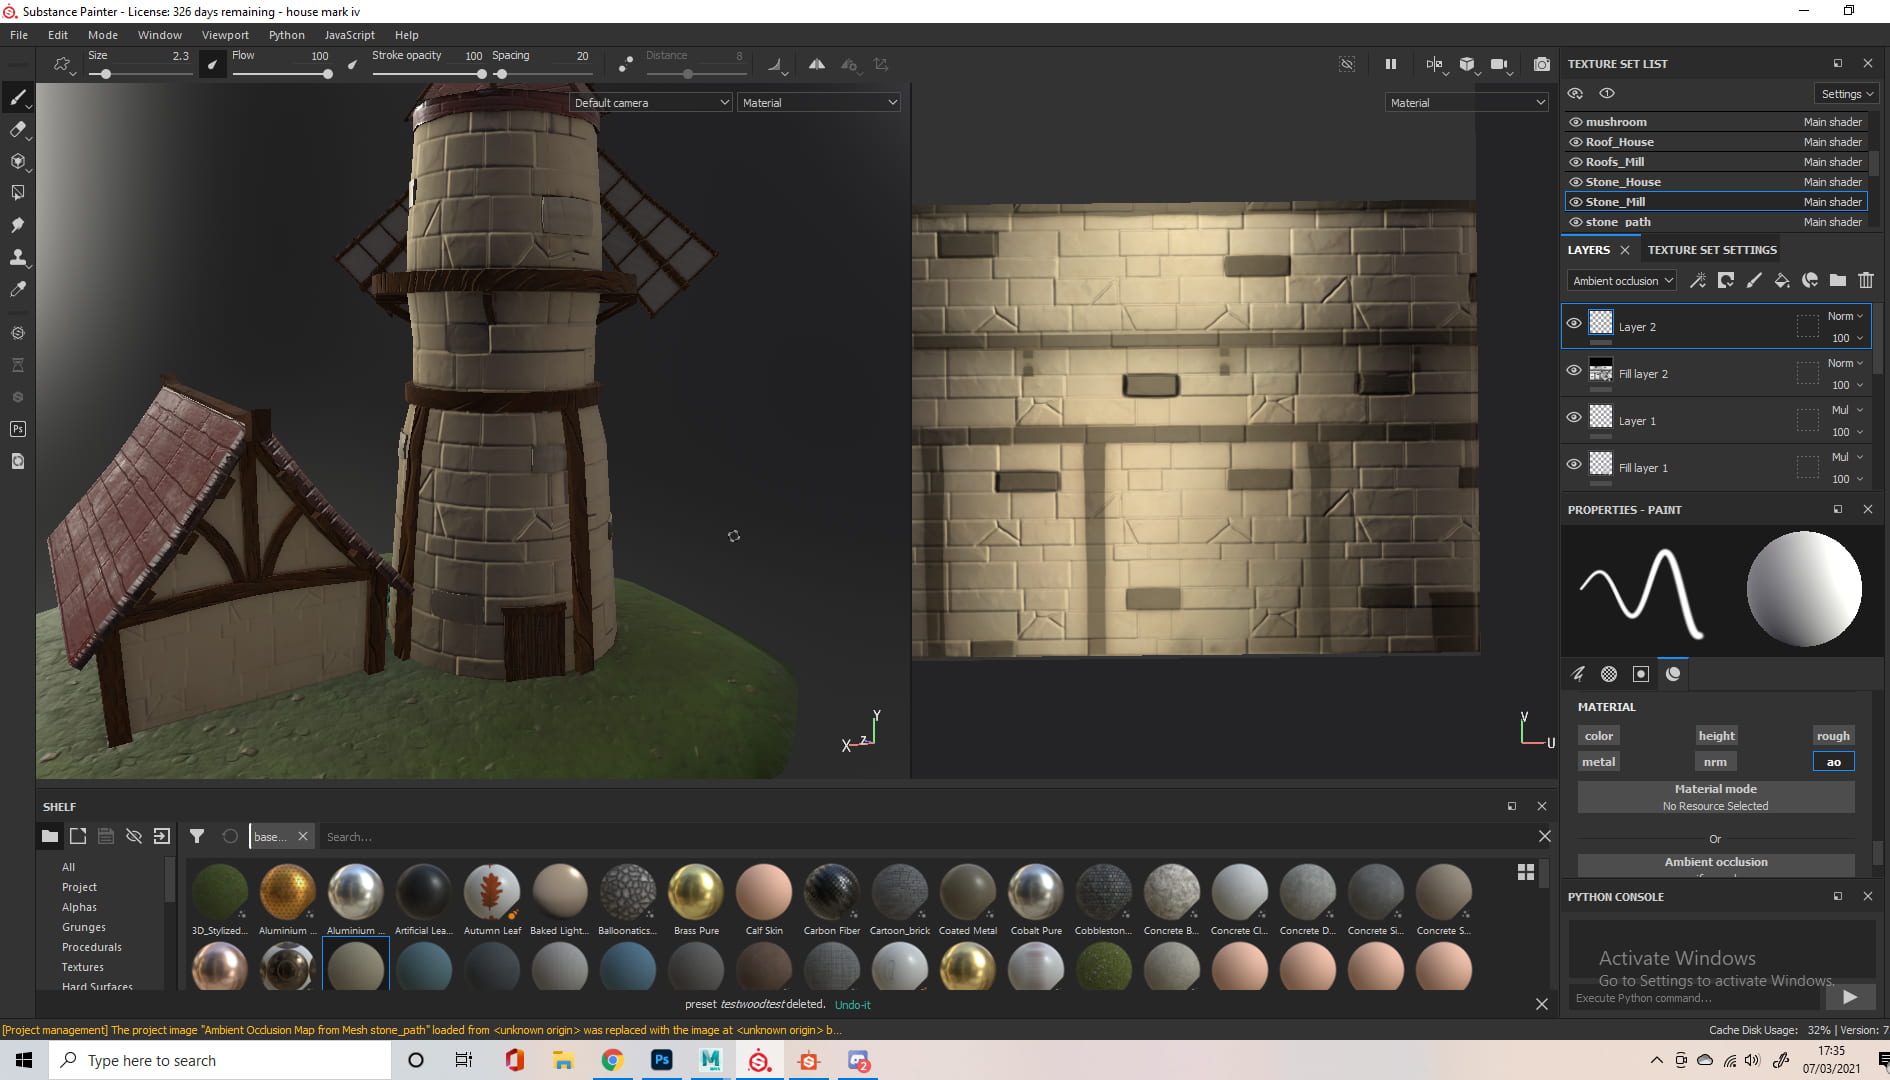
A technique I used a lot on my textures, Inspired by a YouTube video, ‘Creating Ghibli-Style Textures in Substance Painter’ by Stylized Station. I wanted cell shaded, hand painted aesthetic to my textures. I would use fill layers with black masks, using the blur slope and blur directional filter to emulate brush strokes.
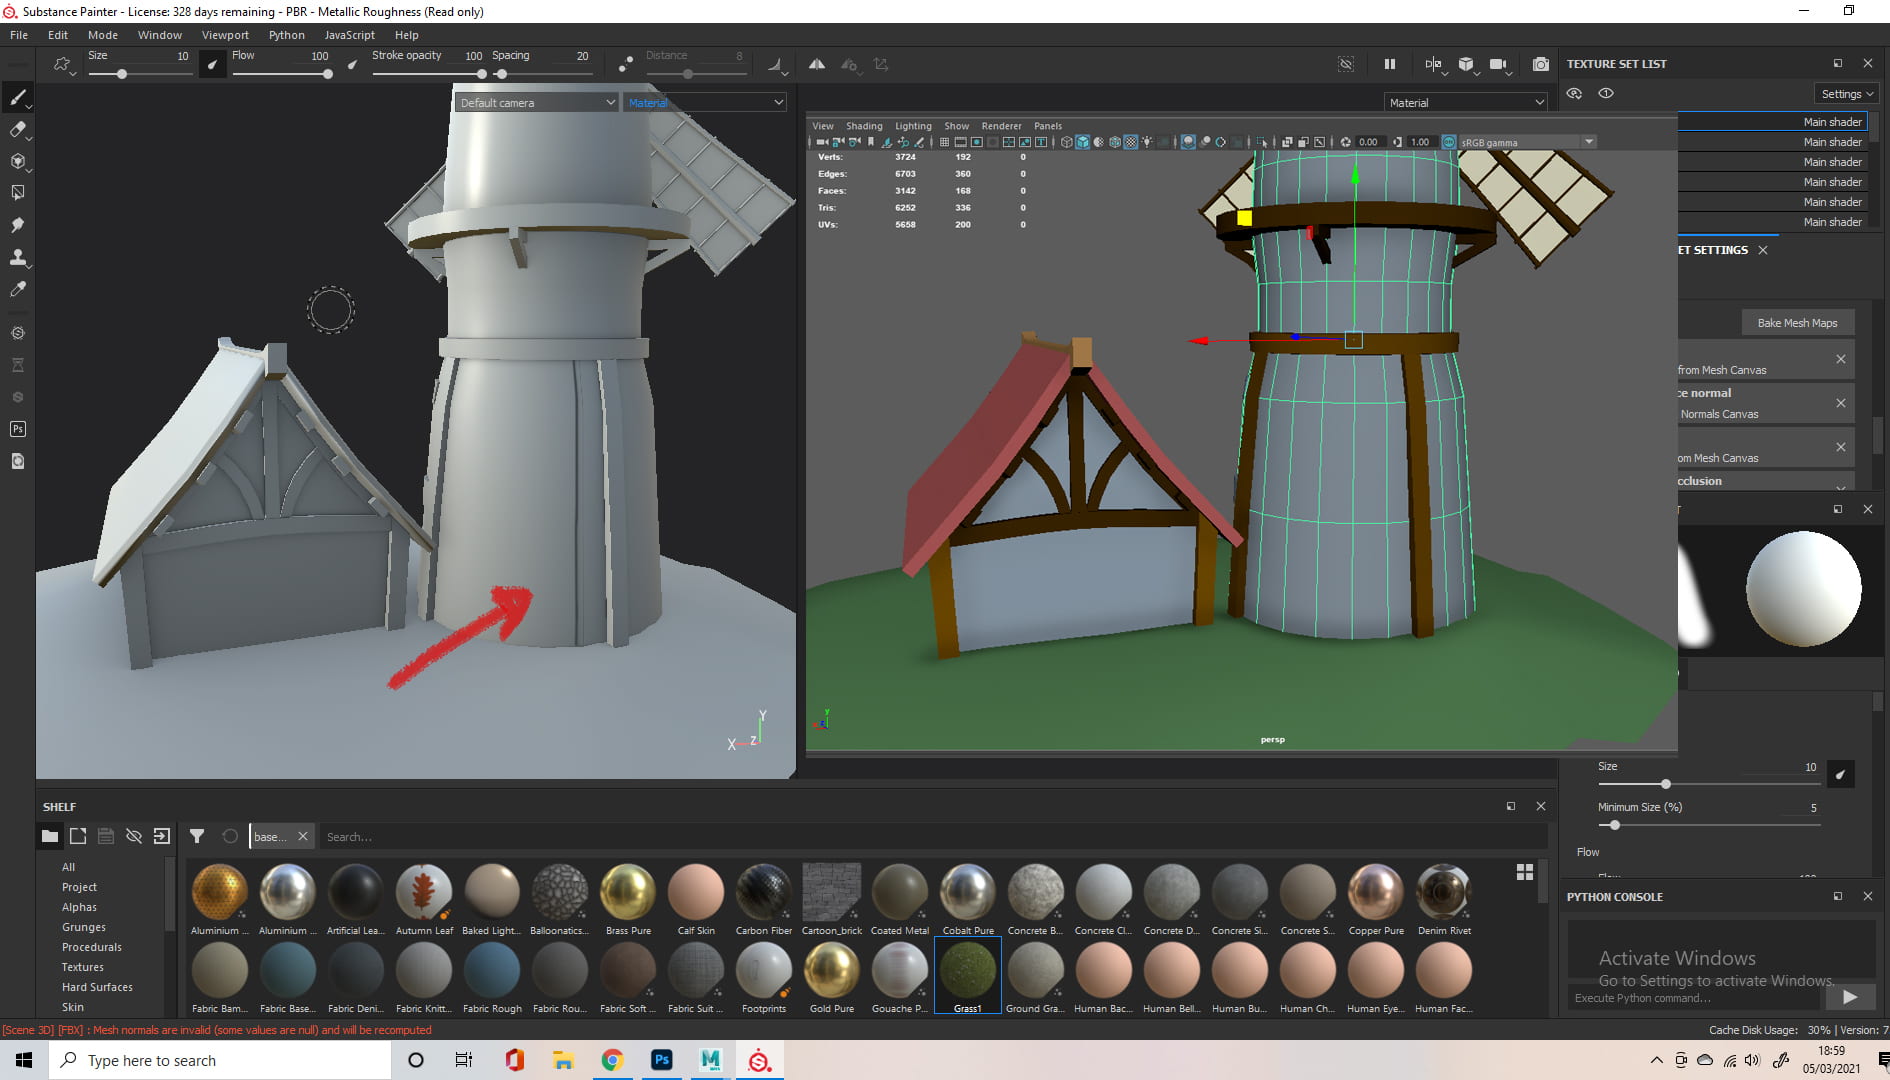


Baking always resulted in some weird Ambient Occlusion and I’m still not sure why, but I managed to find a work around later. I used a combination of hand painting, combining existing materials, and fill layers/procedurals to get the outcome I wanted on my textures. If the texture was similar to another, like the different woods, I would make my own smart material from the first group, and edit it to my liking.


I started to venture off from my concept art, the dark stone brick and wood didn’t translate as well as I hoped. I had to go back into maya, as I wanted the extruding stone bricks from the windmill to match the stone bricks from the texture. I also felt like the scene was missing something, so I added a ground.

I made a grass texture I liked using the method I mentioned previously, but it was missing something so I added stones to it. I used fill layers with black masks, the ‘Cells 4’ procedural with the balance turned right down and a blur filter to get this effect.
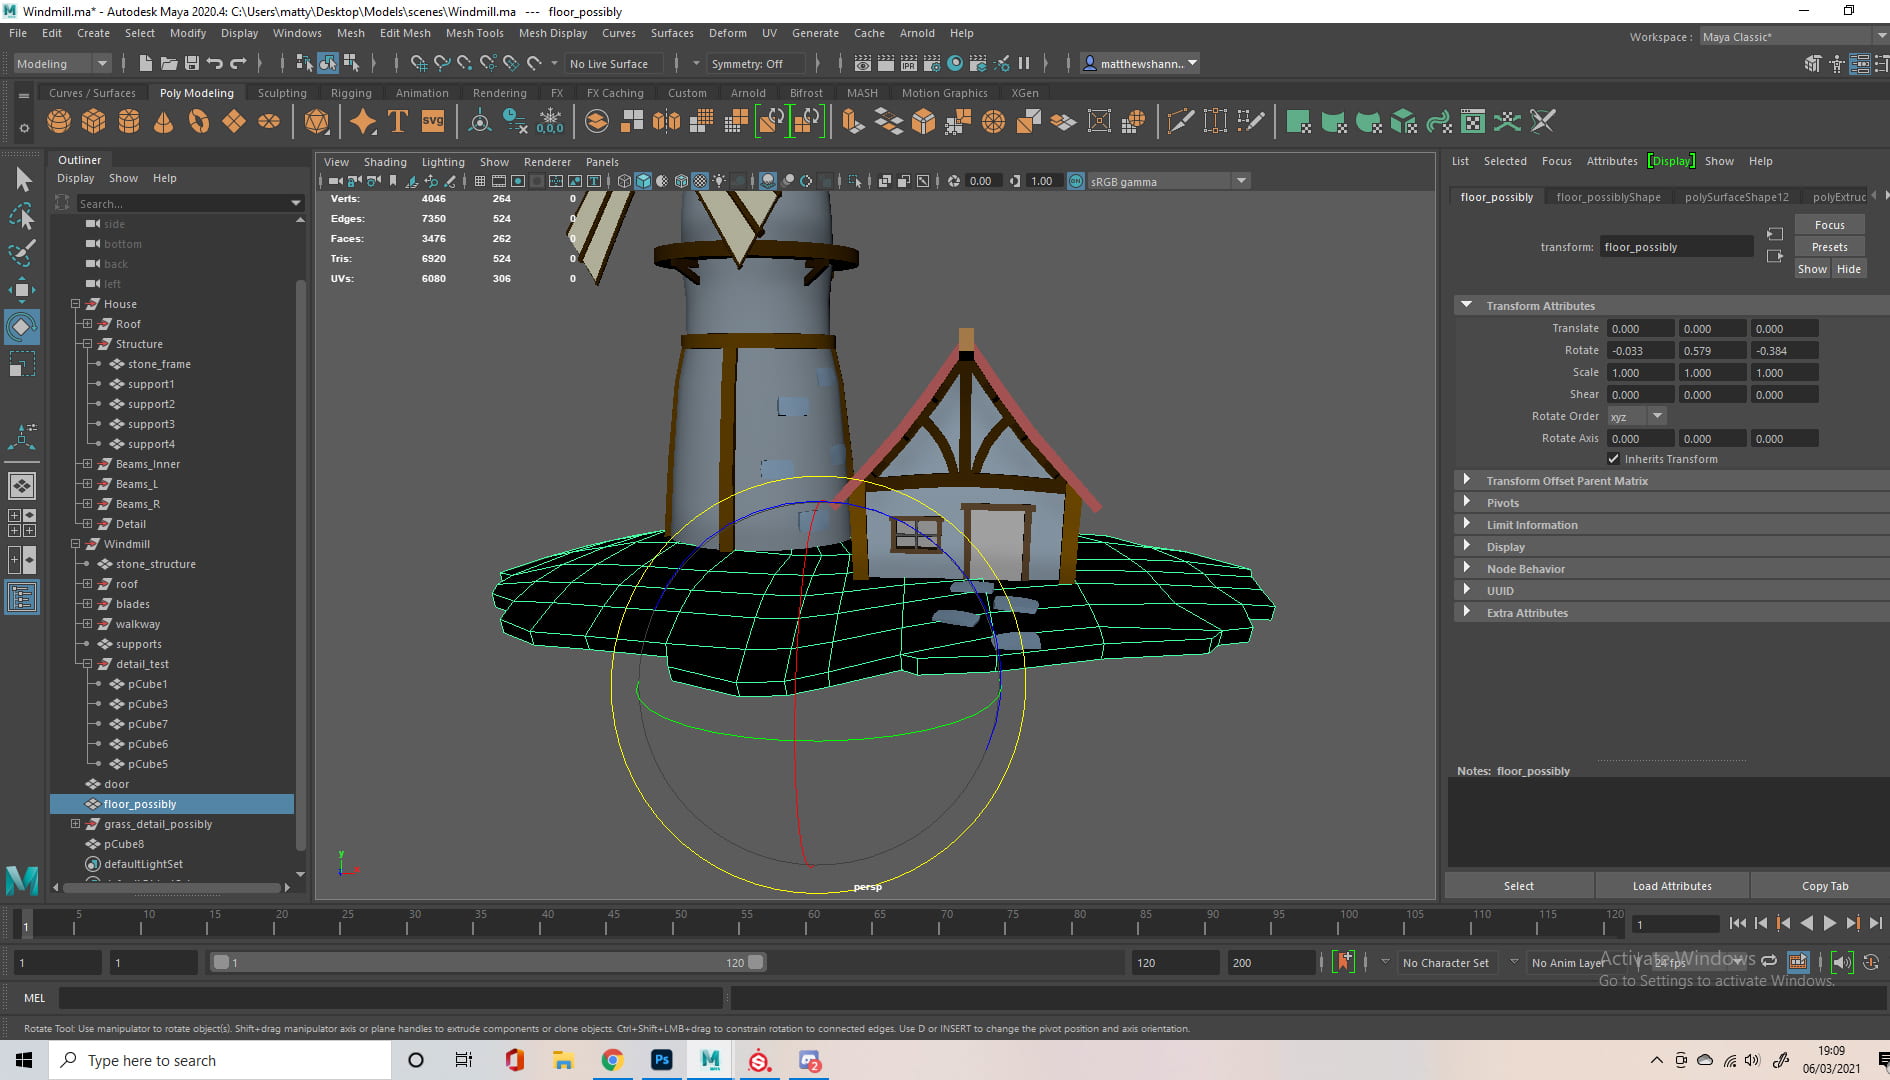
When I brought the windmill texture into Maya to further adjust my stone bricks, I kind of got carried away modelling. The grass looked empty and it was just floating, with no bottom face.


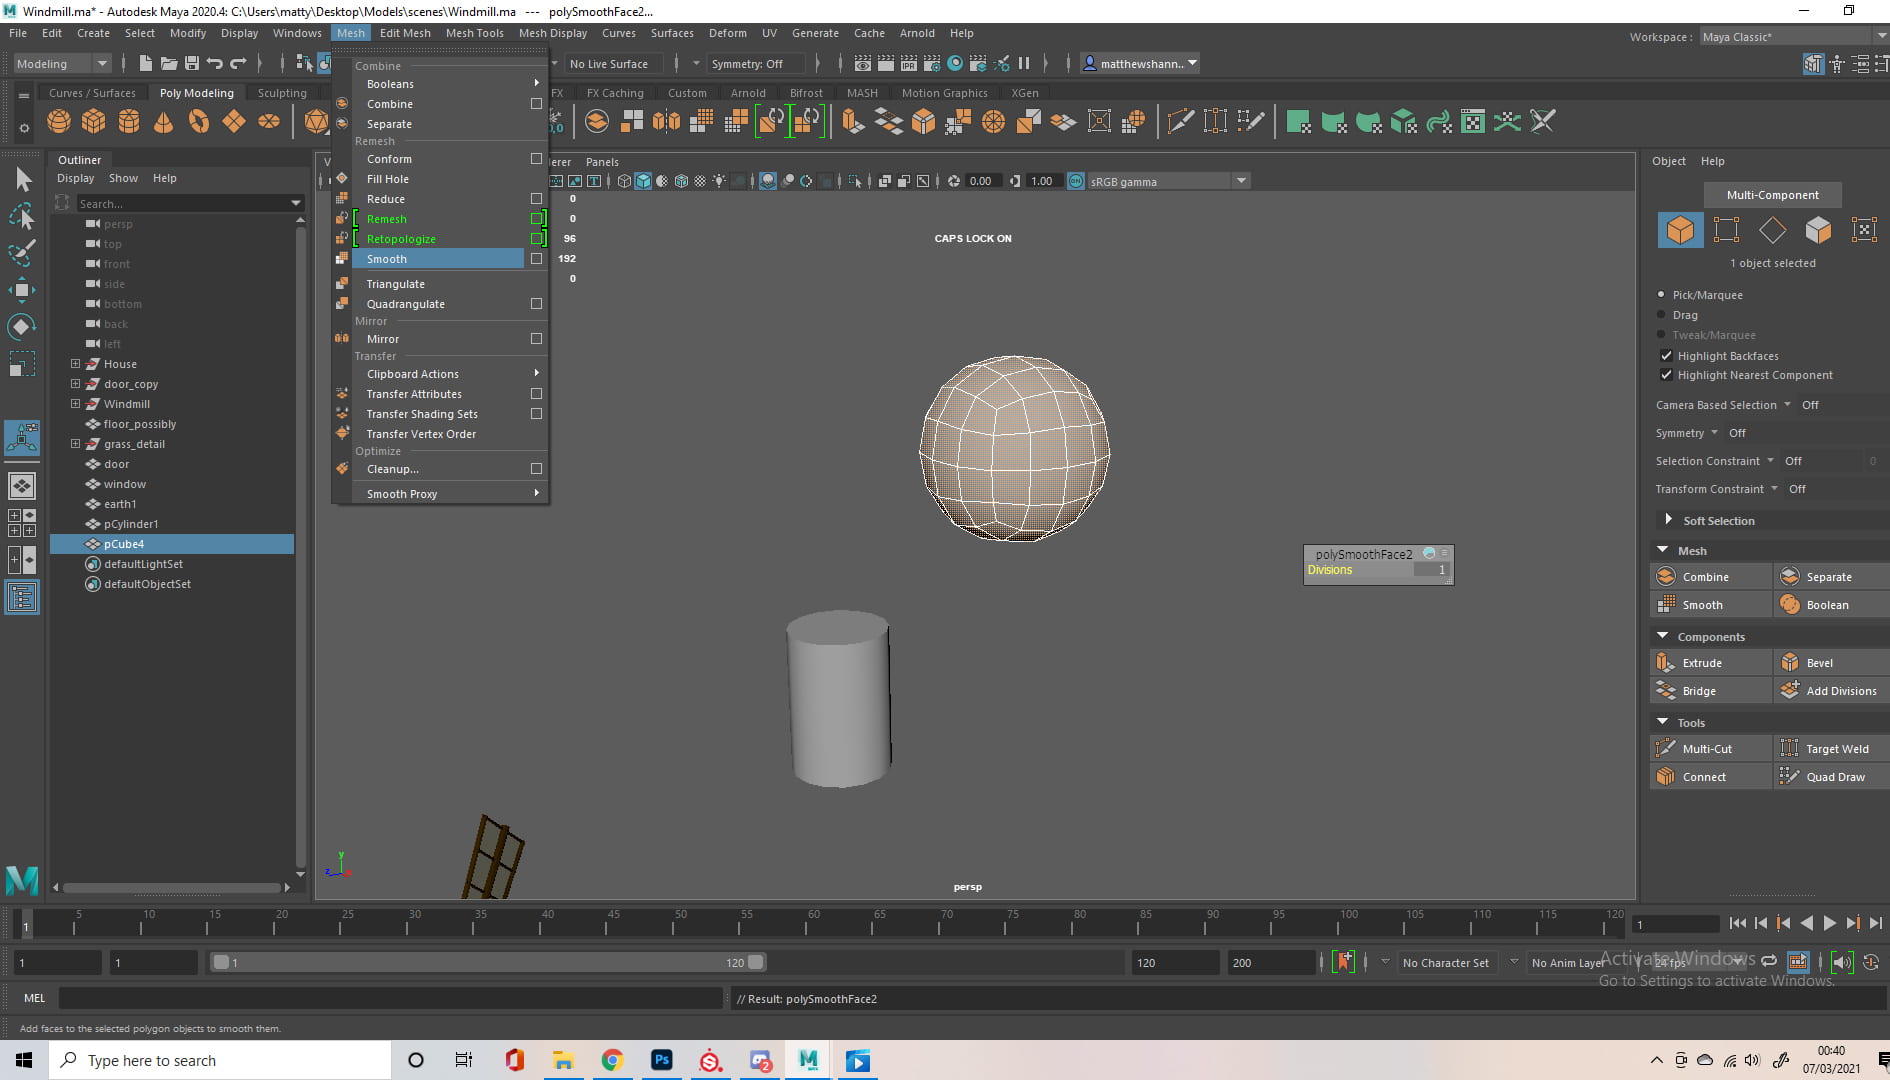


So I added some mushrooms using techniques I got from Michael and Dermott, the curve tool and the soft selection on vertices. I didn’t create a sphere, but instead made a cube and used the smooth mesh tool, something Alec mentioned a while back. I also added a door to the back of the windmill, as my sister asked how people get into it which I didn’t even consider.


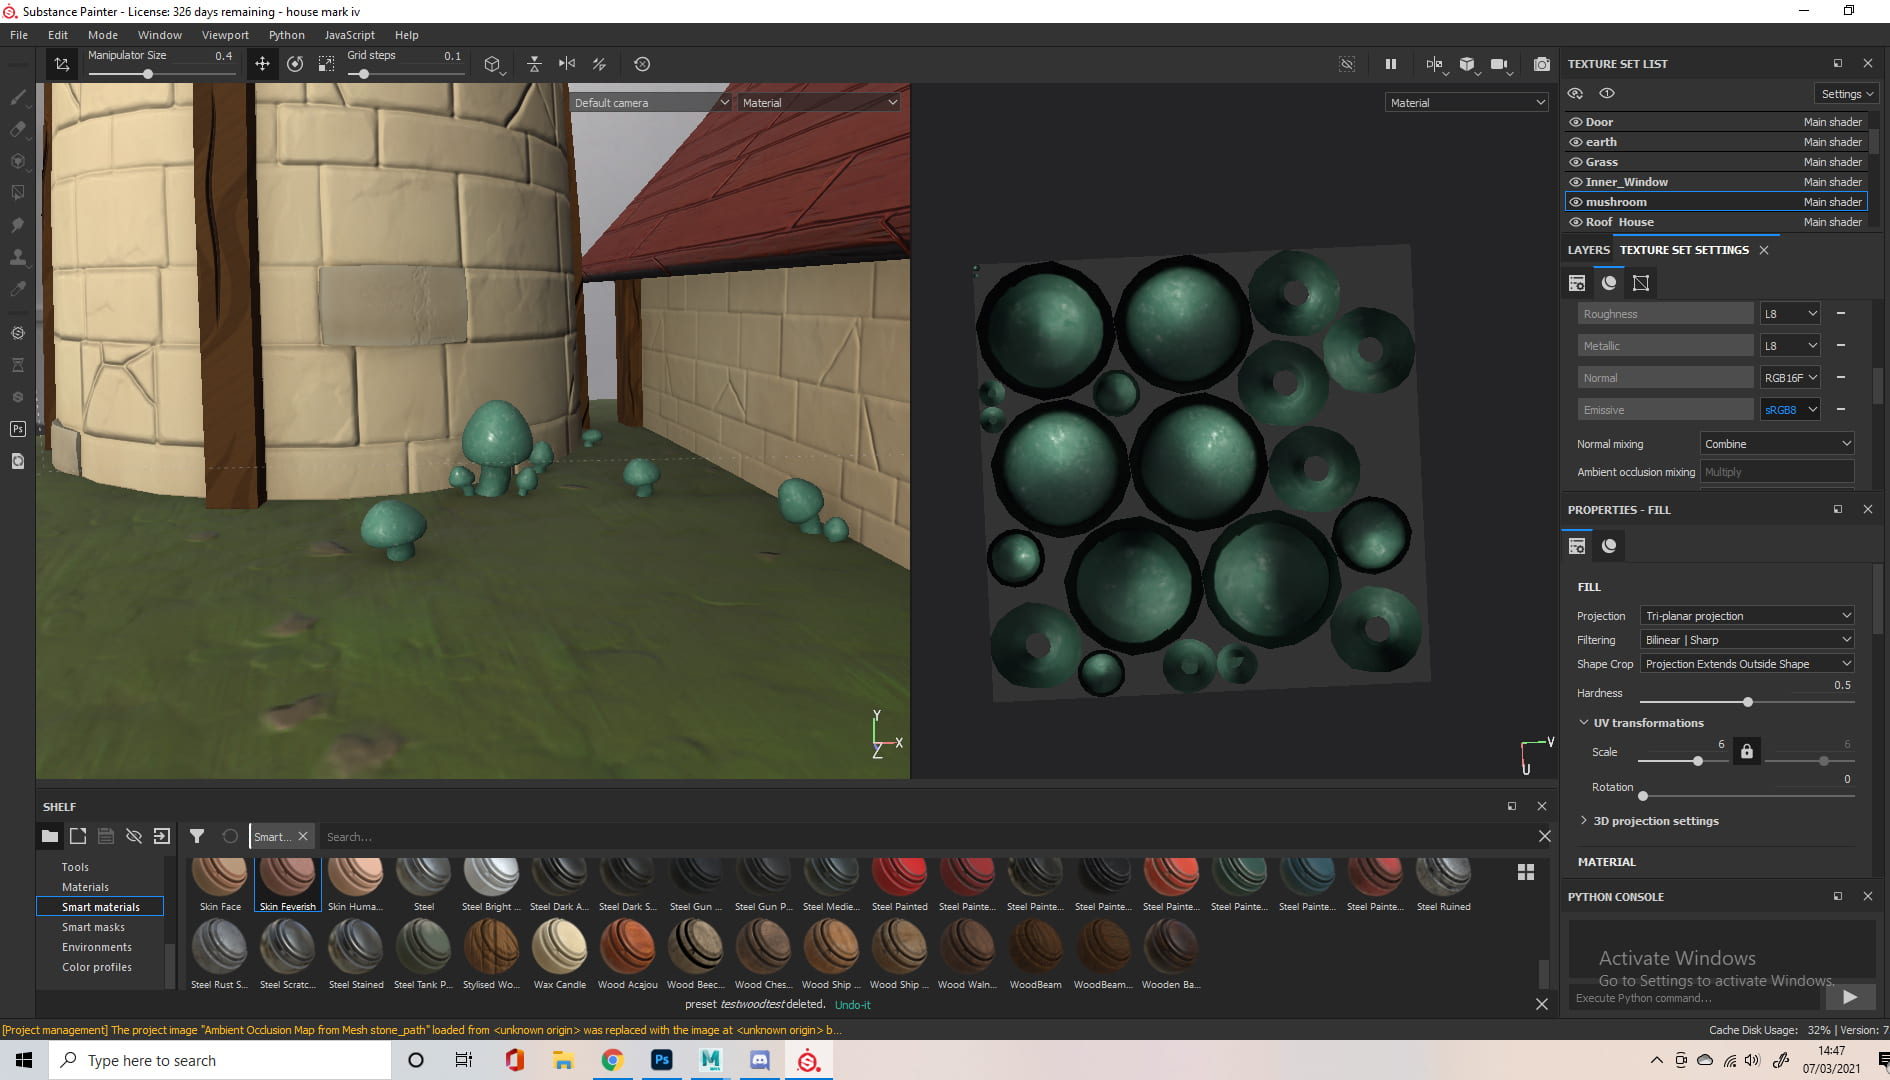


I made some final adjustments, adding imperfections to the windmill and a door to the back, then brought it all back into substance. I managed to figure out how to enable emissive materials using the forums, allowing me to have objects emit light. I used this on the windows, as well as the mushrooms, inspired by the blue mushrooms from the first Fable game.


When adding the emissive materials in the texture set settings, I noticed a section to add ambient occlusion, allowing me to fix the issue I had with the back of my windmill, setting the ambient occlusion I made to replace the baked one.
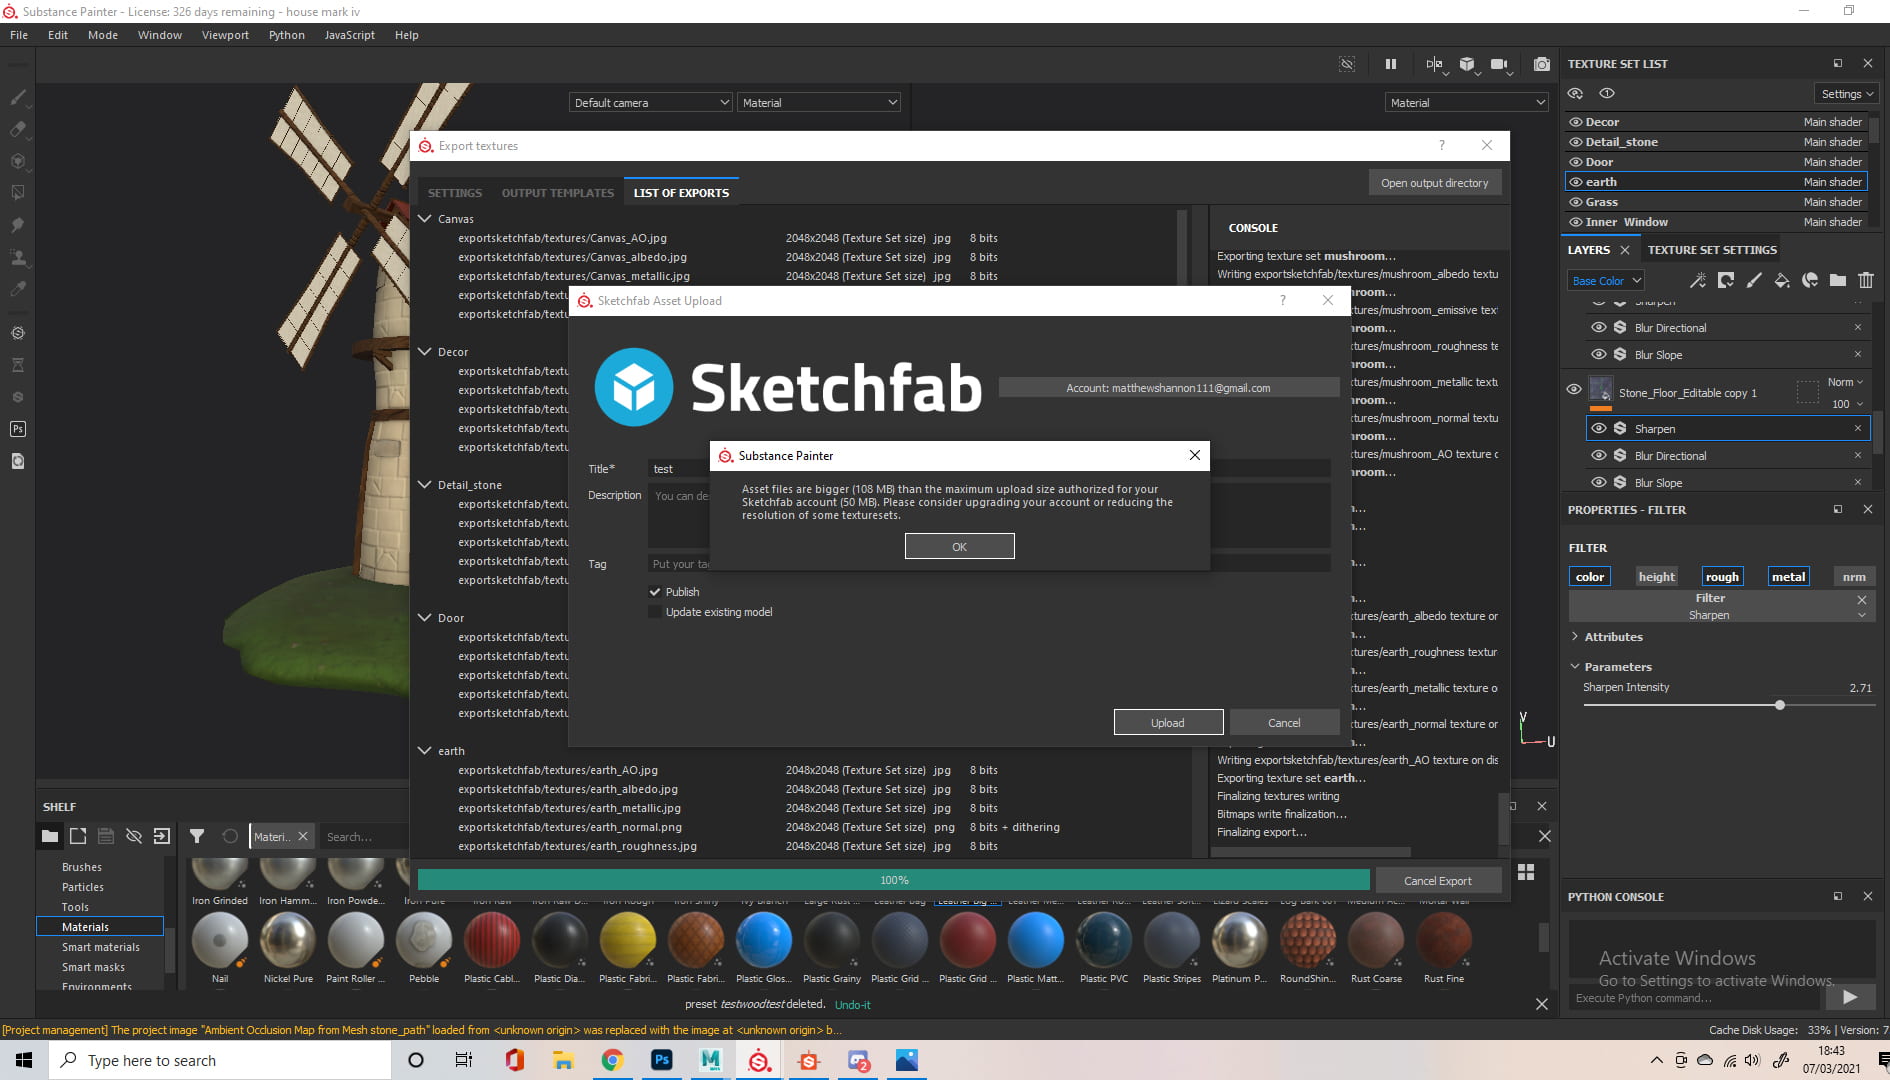


I exported my mesh, messed with the lighting and, choosing to go with environment lighting, finally uploaded it to sketchfab!
Sadly I couldn’t upload it with the full 2048 textures (file too large for free account), so I had to downscale the resolution to 1024. https://sketchfab.com/matthewshannon
Reflection
Just looking at the 3D Digital Literacy section of my blog you can see my modelling development from the start of the year. I was surprised to see the amount of crossover with even just the first two model challenges and the challenges I faced on this windmill, when all else fails the multi-cut tool is always there to save the day. I have barely scratched the surface of Maya, but using just the multi-cut and a few other basic tools I was able to create a full scene that I envisioned in my head, when previously I struggled to model a table leg from reference. The talks from experienced workers in the industry, seeing their workflow, listening to their feedback has already gave me insight into the possibilities within Maya, and the level of progression possible. I tackled numerous different challenges in this assignment and managed to overcome them all. In just a couple months, I was able to go from having no knowledge in a foreign software to modelling a full stylised fantasy scene. This assignment alone has taught me a lot of new skills and I’m excited to see how much further I can progress.