This module has been very fulfilling, as well as presenting interesting challenges I have had to overcome. To have gone from never having created a 3D soft surface model to creating the Whale Shark scene had a lot of learning curves but I believe I was able to overcome them well and develop my skills in modelling and problem solving. I particularly enjoyed the process of modelling in blender and creating organic shapes. I also found that through this module I was able to really develop my skills in substance painter as my project last semester was lacking in this area. I was also able to gain confidence in my UV mapping skills as I have struggled with this in the past.
The area I found most challenging in this module was the process of retopology. Due to my tendency to overthink and complicate things sometimes, this seemed to affect me when I was retopologising my models. I believe I have improved with the practice I have done in this module and I am looking forward to improving my skills over the summer break.
If I were to change one thing about the final upload, I would perhaps likes to experiment with a different base for the scene, or perhaps placing the scene into a fishbowl, using the glass technique I learned for substance painter.
Overall I was very pleased with my final result and I believe I was really able to improve my skills in both hard surface and soft surface modelling. The new skills which I have learned from this module will be crucial to my development in the animation field and so I cannot wait to explore further ways to improve.
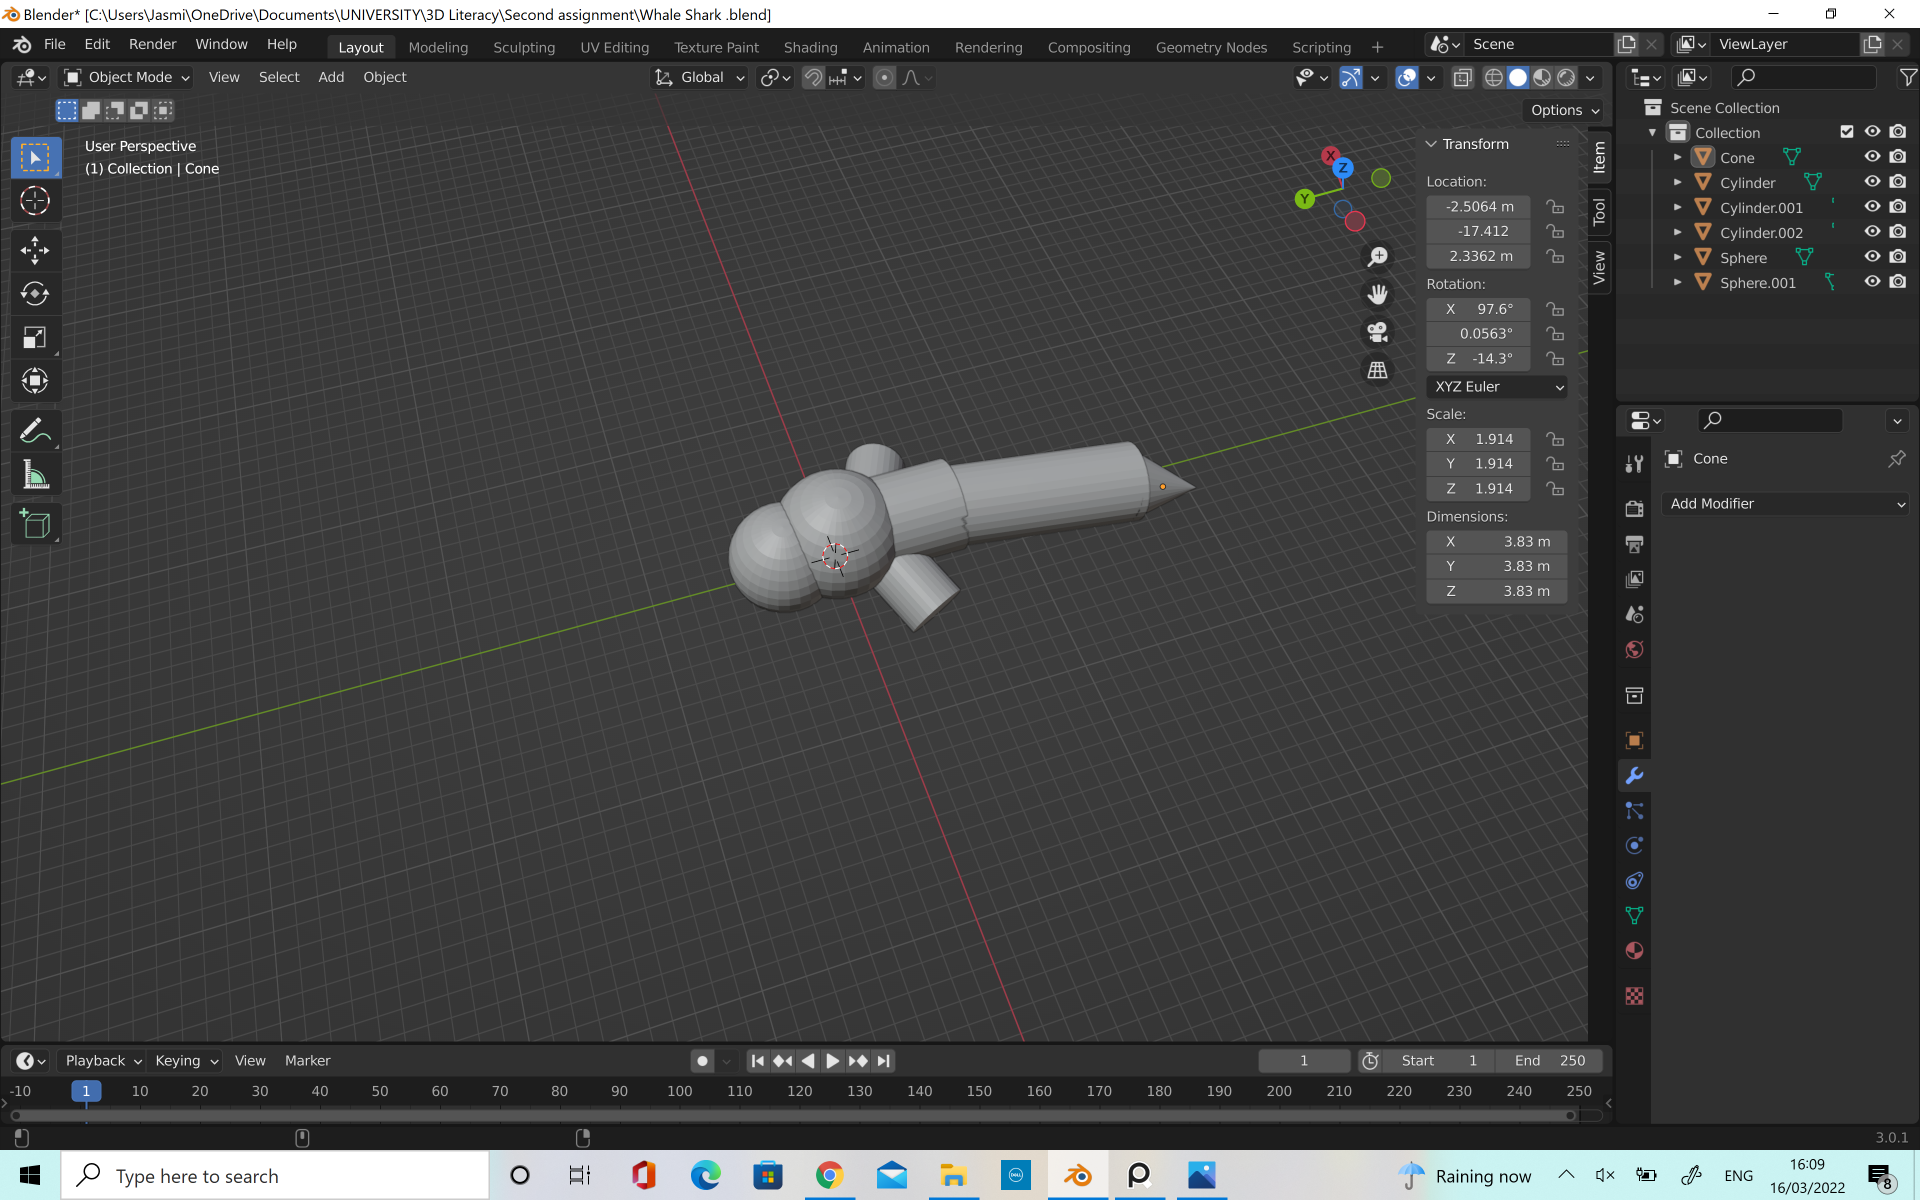
Once I was happy with all of my scene, the last step before uploading it was to pose the characters. Because I had thought in advance about how I wanted the scene to look there wasn’t too much posing to do, but one thing that I knew I wanted to change was the placement of the Ray. At the start I placed him under the Whale Sharks tummy, swimming along underneath but after thinking about it I decided it would be better to have the Ray at the foreground of the scene, and turned slightly as if he had just swam forward. I did this to build motion into the scene as well as to build the excitement by having the Rays expression clearer instead of being hidden underneath his friend.
Once I was happy with these changes, I exported the scene as an FBX and uploaded it to sketchfab. Once there, I realised that I had not smoothed the mesh in Maya and so my low poly upload of my Whale Shark was not smooth like I wanted but rather blocky. This was an easy fix however, as I simply had to load the FBX into Maya and smooth it here before reuploading.
Next, I applied the textures. I was careful to export all of the different textures as Sketchfab format so this was not a problem. However, the mouth and eyes of the whale shark were showing up as one mesh as I had forgotten to apply separate lamberts to them in Maya so I unfortunately had to go back and fix this before exporting and uploading again.
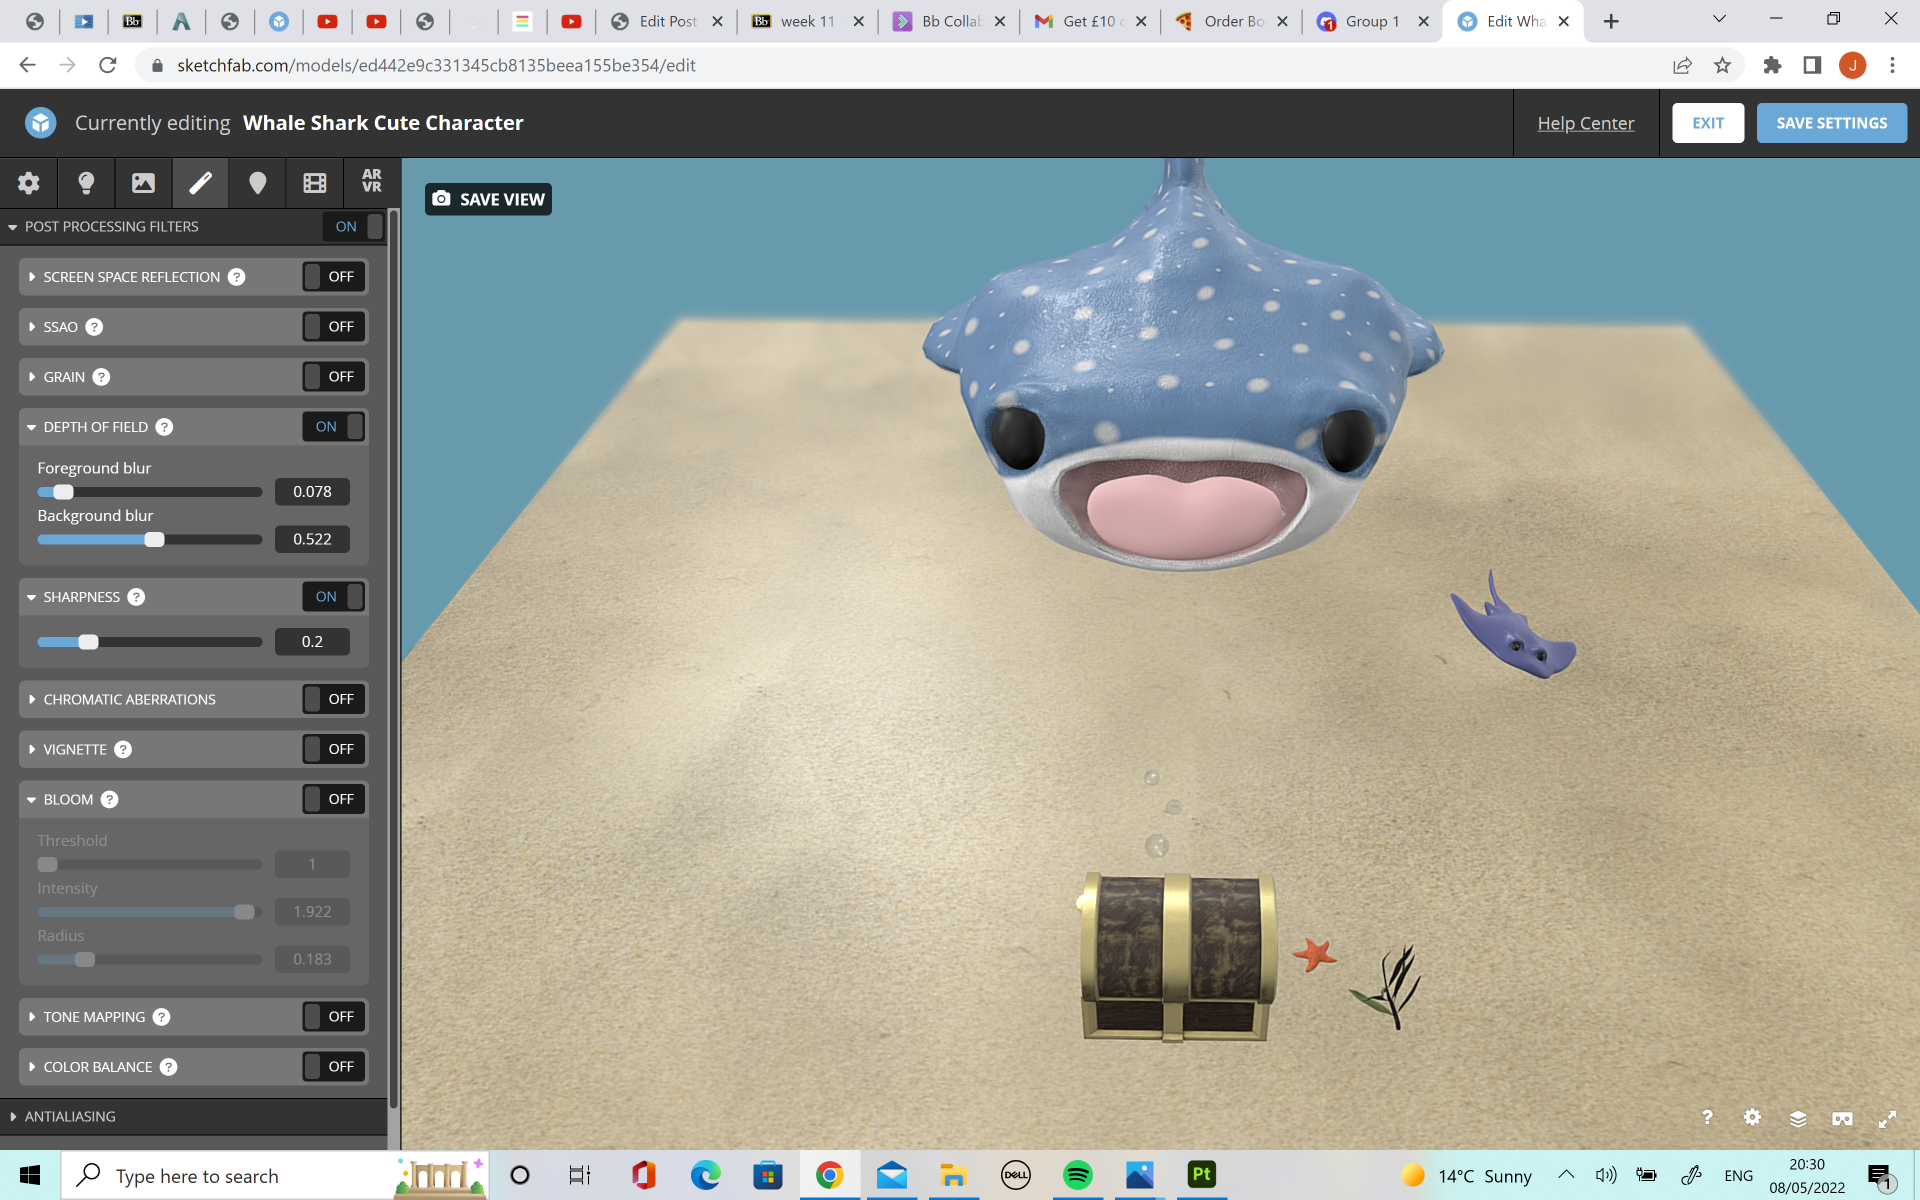
Thankfully, these changes were not too difficult and it will help me to remember the pipeline in future. The textures all applied to the model fine, allowing the baked high poly mesh details such as the gills and stripes to appear on the Whaleshark model. Lastly, I fixed the background and presentation elements of the upload. I tried different backgrounds, but I decided to go with a simple blue background to look like the sea. I wanted to make the coins and gold on the chest shine, so I upped the light intensity but I found that this made the sand look shiny and I did not want this so I changed it back. I also tried the bloom option but again, it affected the roughness of the sand and it looked better without. I did however adjust the background blur so that it softened the hard edge of the plane the scene is set on. This made it look less harsh and as if the sand line stopped suddenly. To combat the blurring of the characters from having the depth of field tab on, I turned the sharpness tab on which evened things out.
Once I was happy with the topology, placement and position of all the models in my scene, I was able to move on to the texturing. One major problem which I faced at this stage was that my original high poly model did not have a low enough voxel count and therefore the edges were not as smooth as I would have liked, particularly around the gills and the pinched lines of detail along the back. To fix this I brought the model back into blender and by using ‘Shift + R’ combined with the smooth tool I was able to get it much smoother and looking better. After I was happy with this, I had to reexport it as the high poly mesh before taking it back into maya.
this was before the smoothing was applied
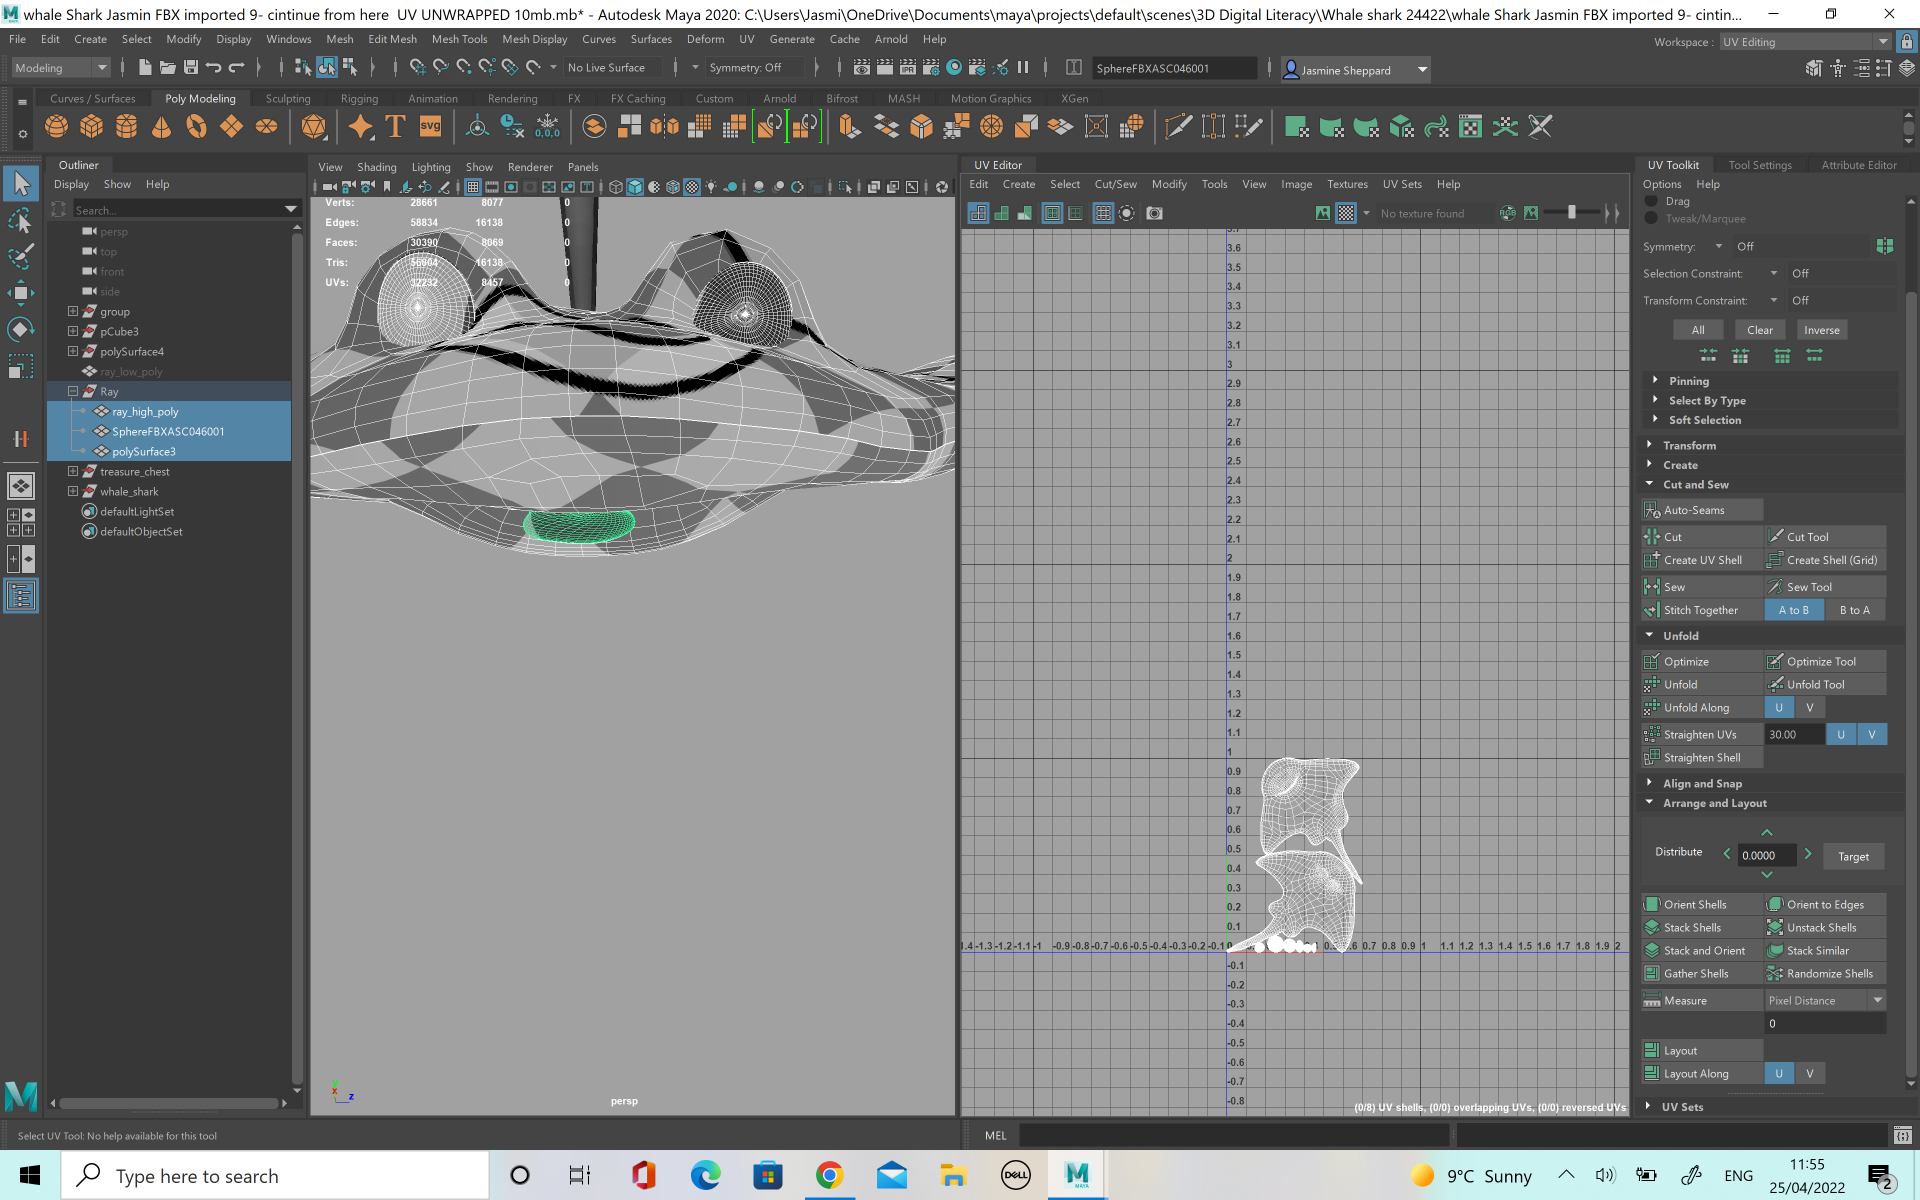
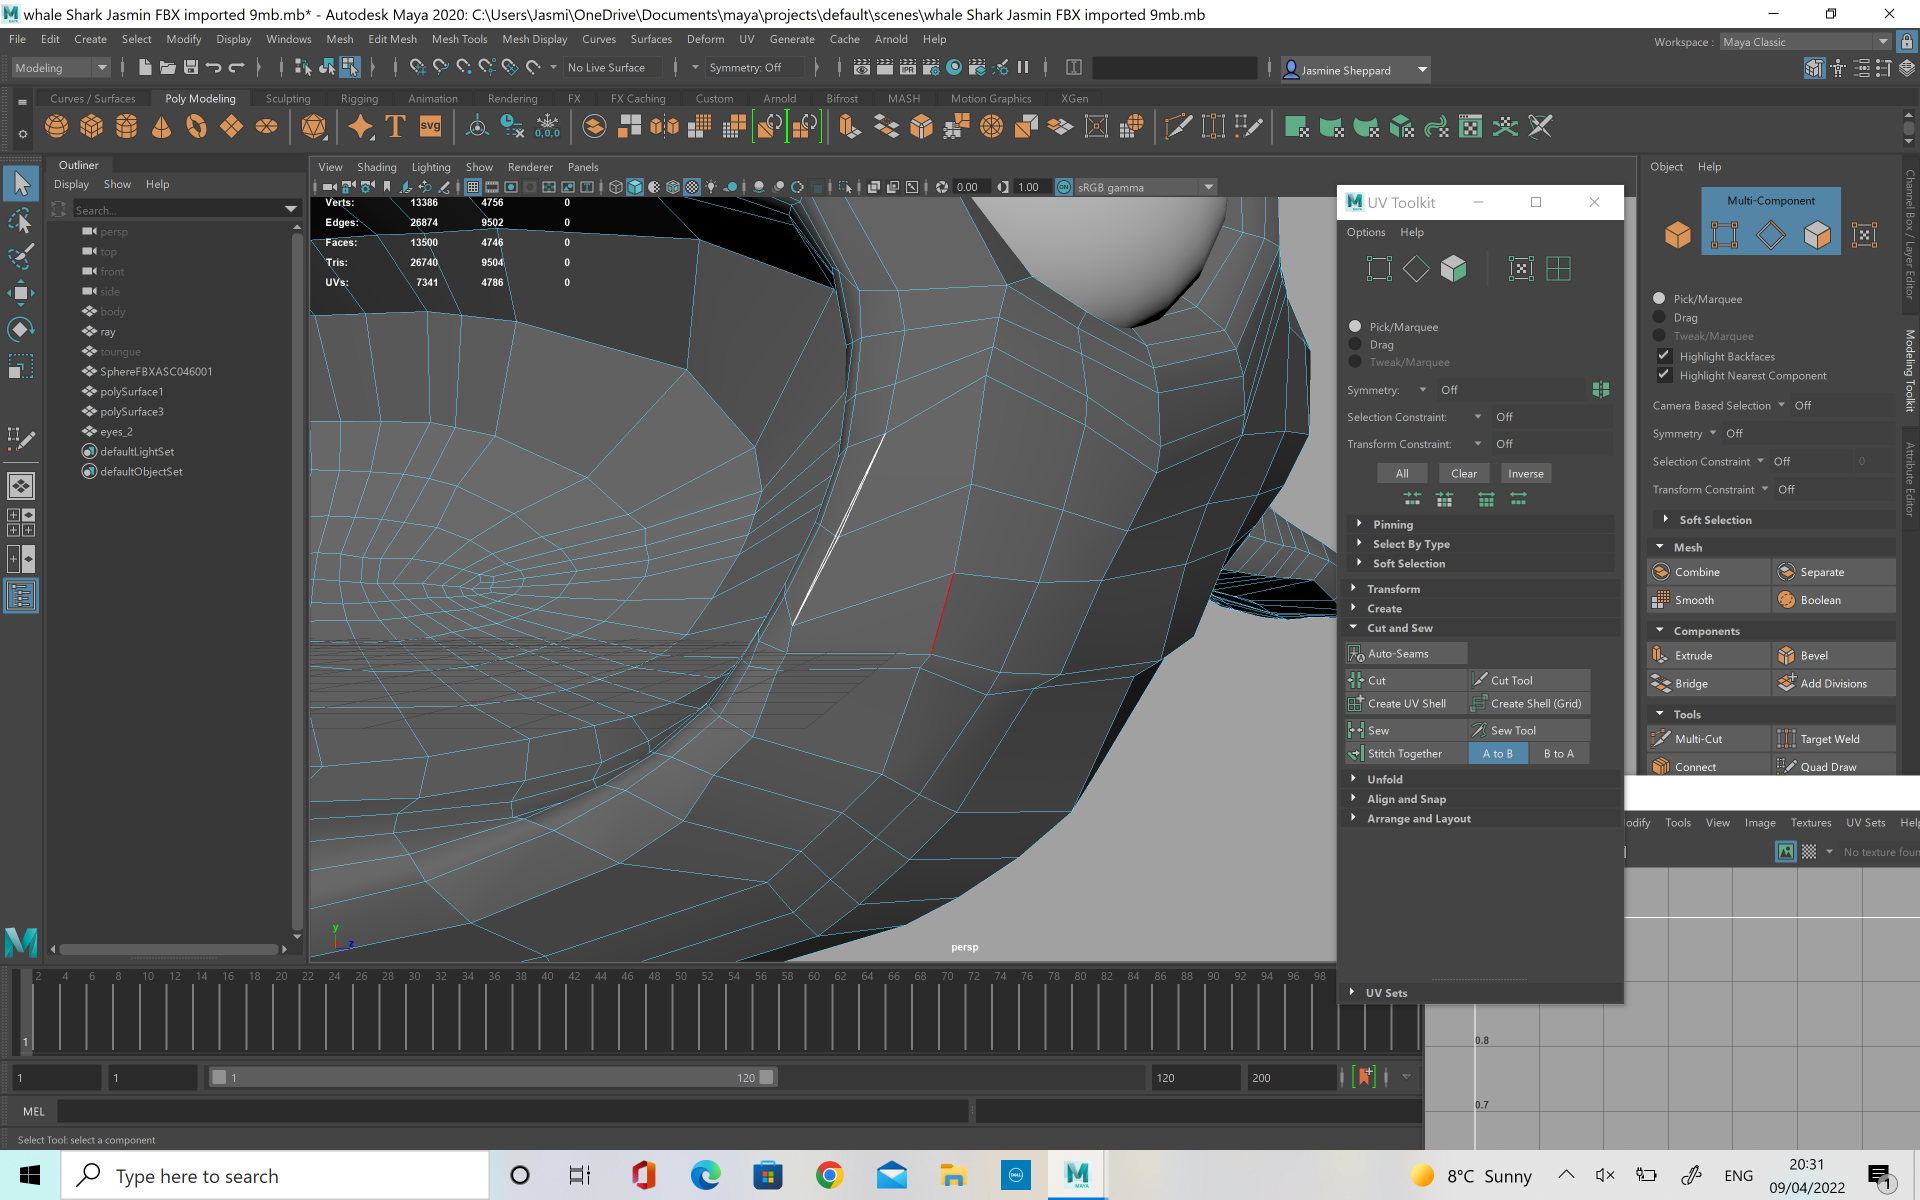
Once it was back in Maya it was time to create a UV map. To start, I selected the whole model and created an automatic unwrap, which I then sewed back together. Then, using the workspace area I was able to select the edges where I wanted to cuts to be. I had a problem with other thinking the UV maps at this stage, and so instead of making simple cuts the first time I made too many pieces when they could have been connected and work fine.
I decided to redo it and only make cuts where needed, such as around the mouth and some of the fins. This made the UV map a lot cleaner and better to work with. It also allowed the checkerboard to show up as a much better fit, meaning the texture wouldn’t be stretched on the model. After this, I made the high poly surface live and conformed the low poly mesh to it. Then I exported both the meshes out using FBX.
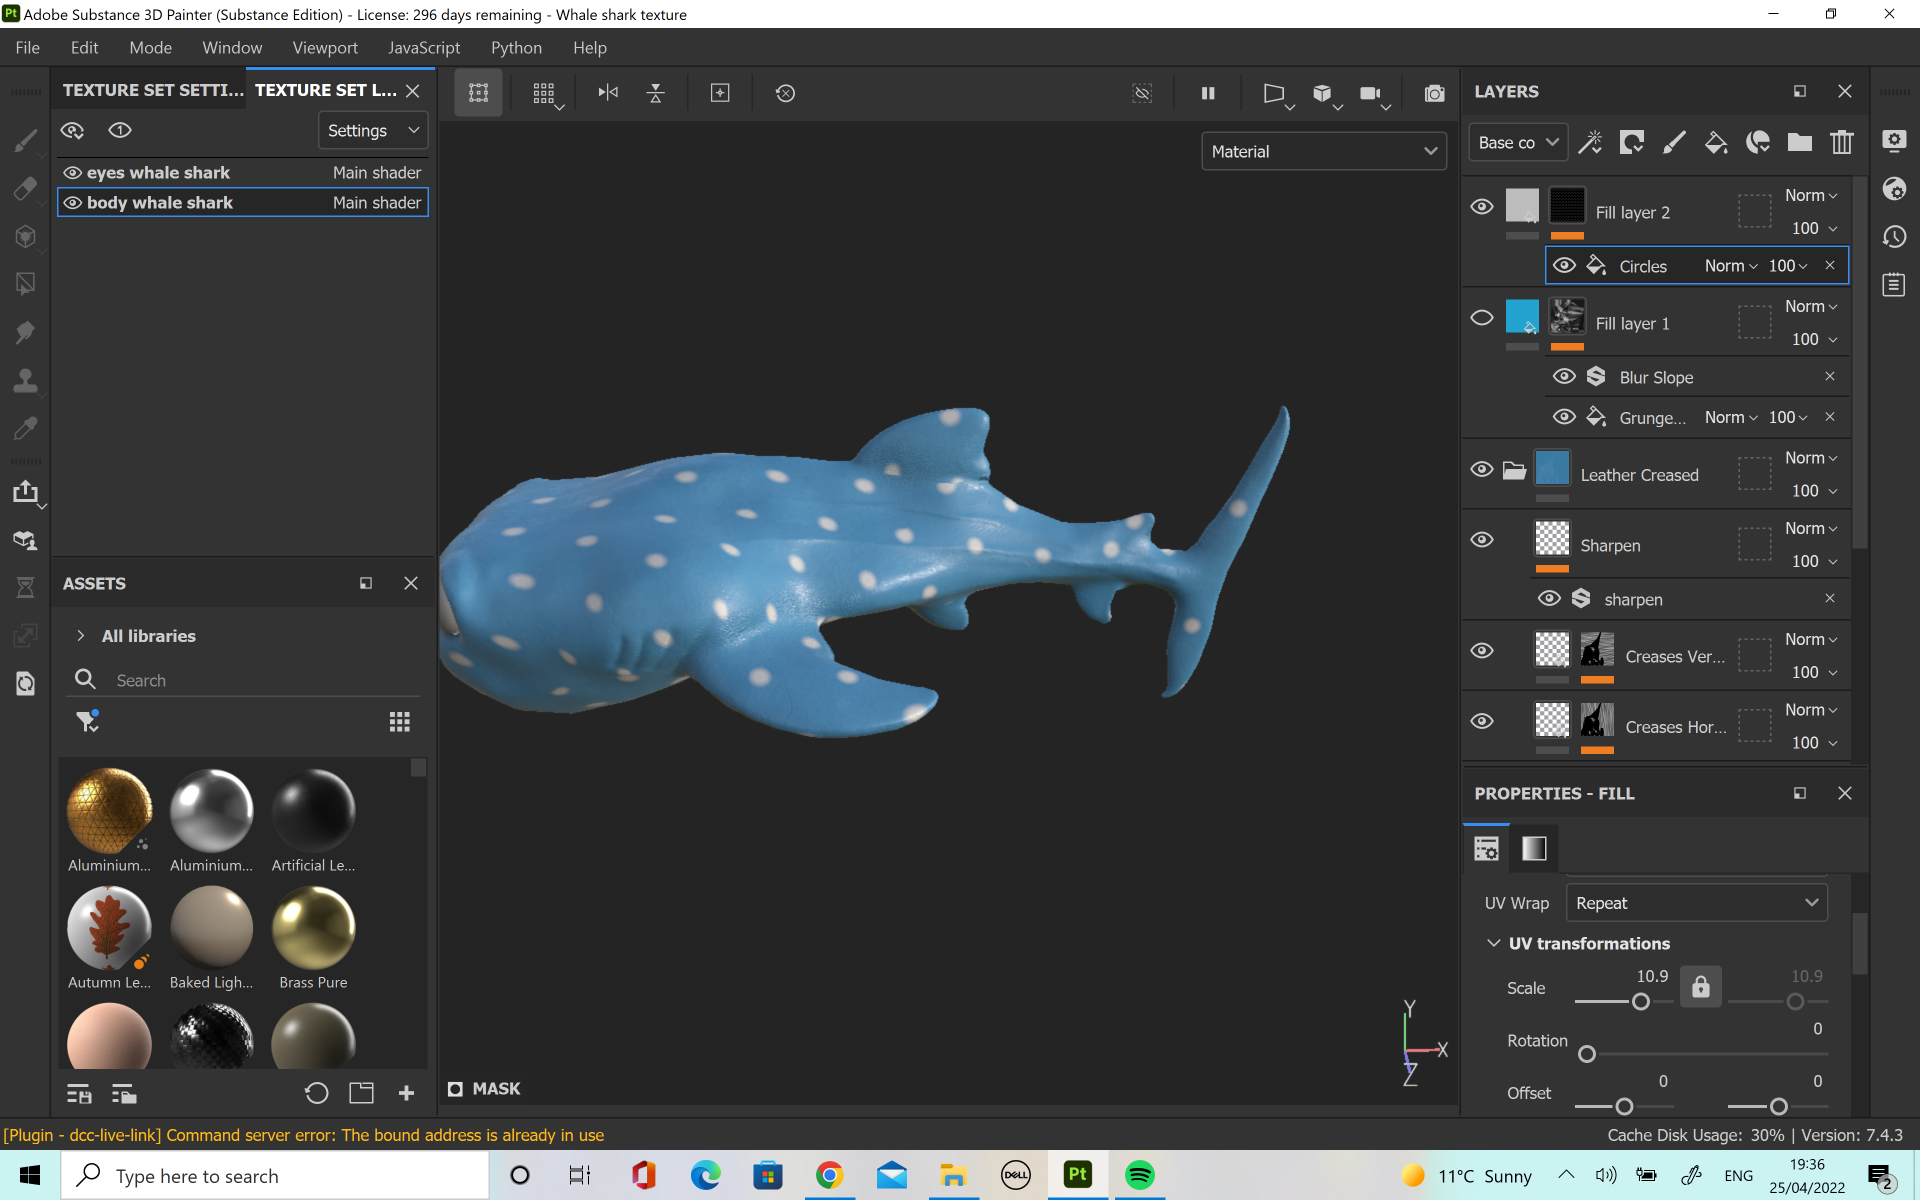
Next I took the model to substance painter, where I loaded up the low poly mesh and went to texture set settings. Here, I clicked the ‘Bake Mesh Maps’ button but instead of using the use low poly as high poly mesh button we have been using previously, I imported my high poly FBX file into the high definition meshes tab. This will then bake the high poly mesh details into the low poly mesh meaning you can keep your detail without having an extremely high poly count slowing down your model or preventing you from uploading.
For my model I tried a few different types of materials but I thought leather was roughly the texture I wanted for his skin as I thought it would match a whale shark well. I also looked at different colorings, from lighter blues to darker blues but in the end I decided on quite a light colour as I thought it would make the character appear brighter and cuter. I used a spotted texture over the top, arranging it until I could the pattern and size of the spots to a size I wanted. This worked well but there was a couple of locations where the pattern was meeting the cuts of the UV map and looking a bit strange so to fix it I was able to hand-paint on the half circles which were missing from these areas.
I also thought that there was not quite enough spots on him as whale sharks quite a condensed group of spots along their back so I added a few more on. I originally tried a variety of colours, such as purples, dark blues and yellows to try and create an almost water colour painting effect however I thought that this was starting to take the design away from looking like a whale shark so I did not keep these changes. Finally for his body, I painted his tummy and chin white to look more like a whaleshark.
For his mouth, I decided to hand paint it pink, and then since I had modelled and UV unwrapped his tongue separately I was able to apply a human skin material to give his mouth a nice natural texture. I think this worked really well and it helped the model overall. For his eyes I tried two different versions. The first was a plain black, shiny plastic material which would reflect the light and for the second I painted the white marks on which would look like the reflection. In the end I decided to go with the first version as I thought it would be better to keep the reflection natural for this character.
After I had cut and unwrapped his UV’s, I moved onto the texture for the Ray.
In the case of the Ray I did not have to bake the high poly mesh into the low poly one so I simply used the ‘Use Low Poly as High Poly’ button when baking the texture maps. Again, I wanted him to have the nice leathery material so that he would have some nice rough texture to him. I went with a darker blue than the Whaleshark as this was more accurate to my references and also I wanted to have some contrast with the other character. For his tongue I went for a light pink so that there would be a nice contrast against the darker pink of his mouth.
When I was happy with the mouth eyes and skin I used a paint layer to hand paint on his cream coloured belly. This was a little difficult at places as I wanted to get the percentage of white/ blue the same on both sides of the model but in the end I was happy with the result.
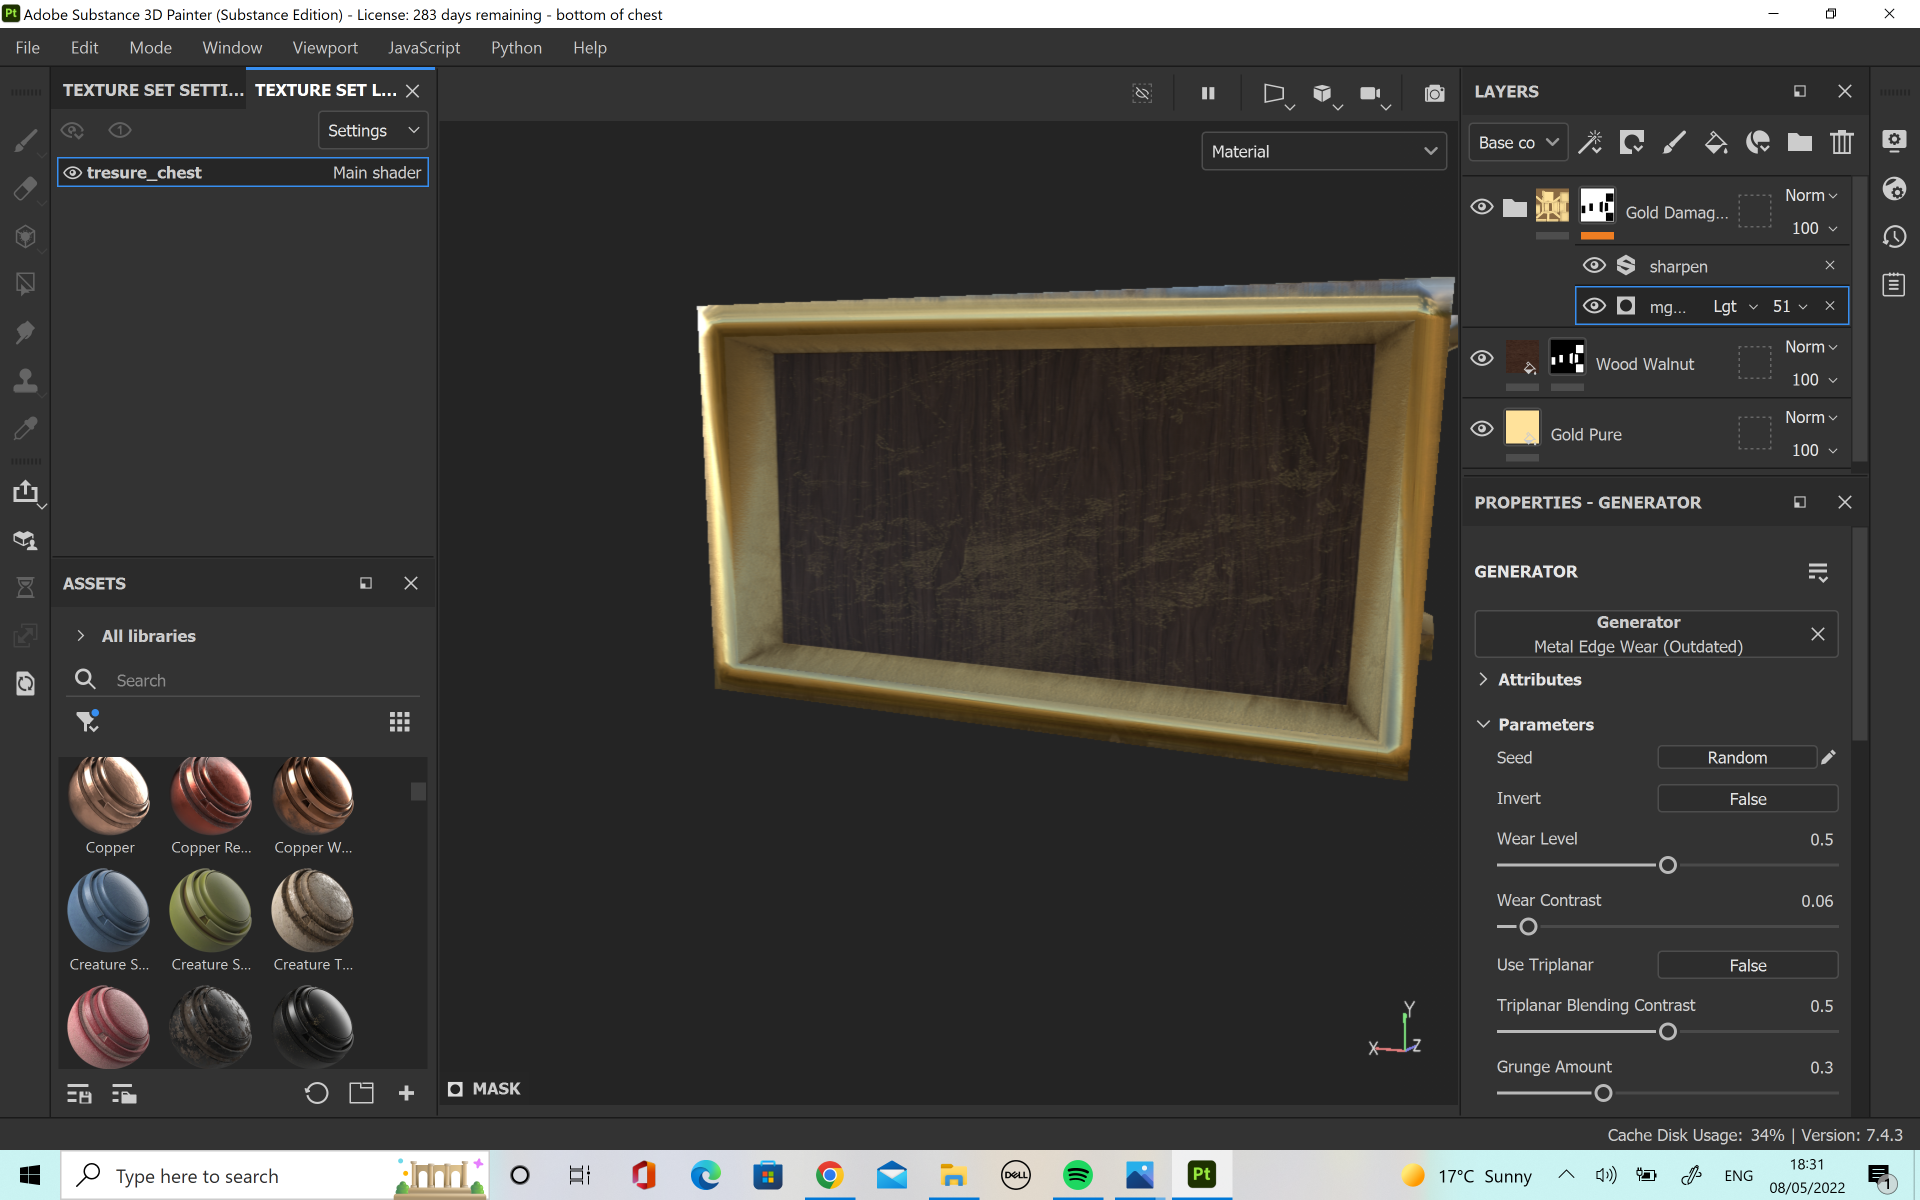
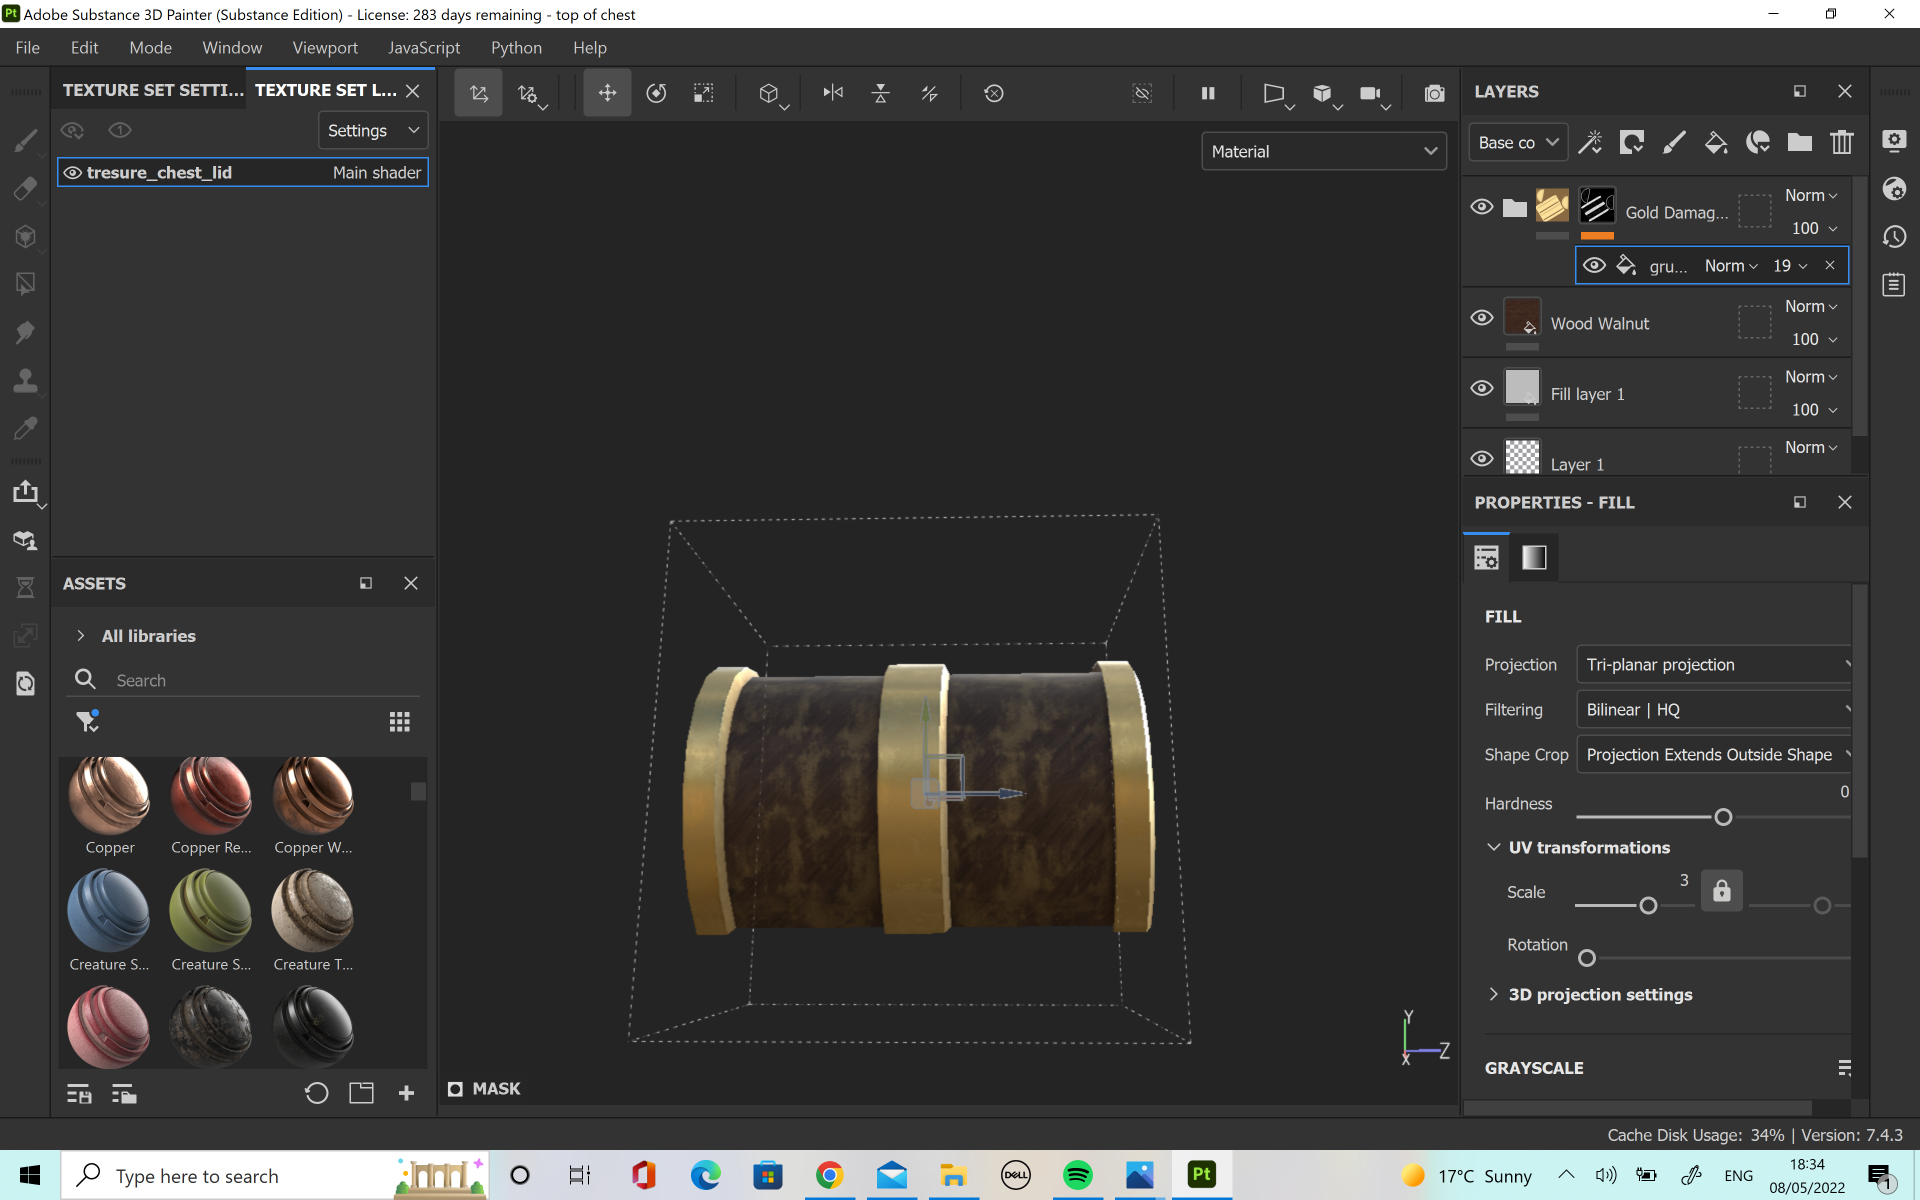
After the Ray, I textured the chest. I had a few different versions of the chest. For the first one, when I exported as an FBX there was a lot of different layers so the details were split up onto different layers. I fixed this by making sure there was only one lambert applied to each mesh in Maya and then using the polygon fill brush and masks on substance painter.
The first one was a dark coloured wood walnut material for the wooden panels, with pure gold for the trimmings of the treasure chest. I wanted it give it a bit more detail and texture so I tried the ‘Grunge Dirt Muddy’ texture map. I really liked how this looked on the pure gold. I also tried ‘Grunge Map 008’ but I thought the effect did not suit the style I wanted.
The second attempt was the same base as above however I wanted to try adding rust onto the chest as it was lying at the bottom of the ocean and water affects metal. I also added some more texture into the wood to make it a bit more realistic. I decided that whilst this one looked the most realistic, it didn’t give as much of a wonderous treasure vibe that I wanted to capture when the animals found the chest.
The third one is the one I ended up using. It was closer to the design of the first one but the damage which I had added helped to bring character. I also chose to use the smart material ‘Gold Damaged’ as I thought it looked better than the pure gold.
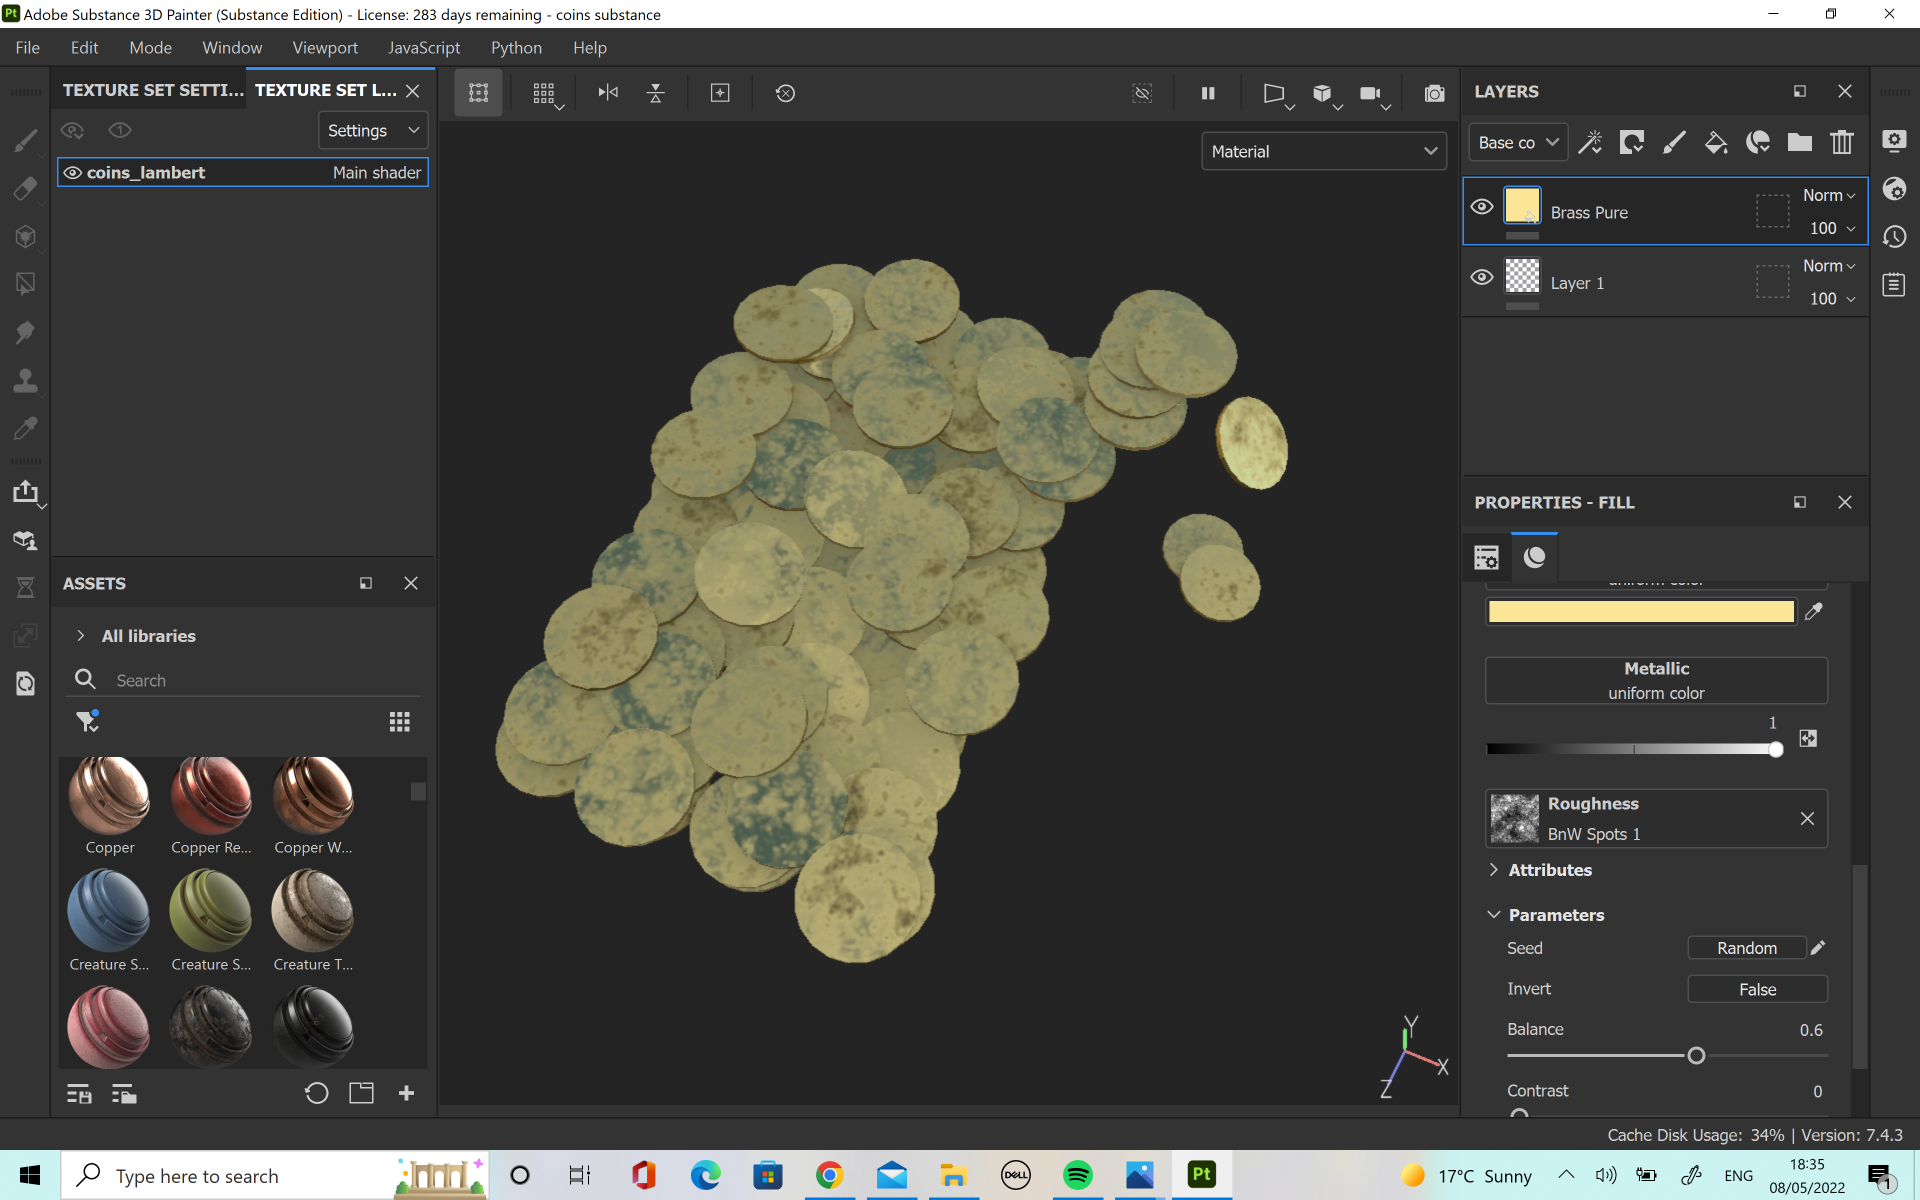
The coins were a lot of fun to texture. I knew I wanted them to be shiny and be reflective to light so that they could look shiny and impressive in the chest so I used the pure gold material for them. However, I thought that they were missing something so I added roughness map ‘BnW Spots 1’ so that they would look a little weathered. This texture was perfect for the look I wanted.
For the pearls I did something a little different. There was no pearl or texture in substance that I liked so I found a picture which had a slightly shiny, pearly look to it and imported it into the project. Then I used this texture to hand paint the pearl look onto the necklace. I was able to capture the nice shiny, pearlescent look I wanted.
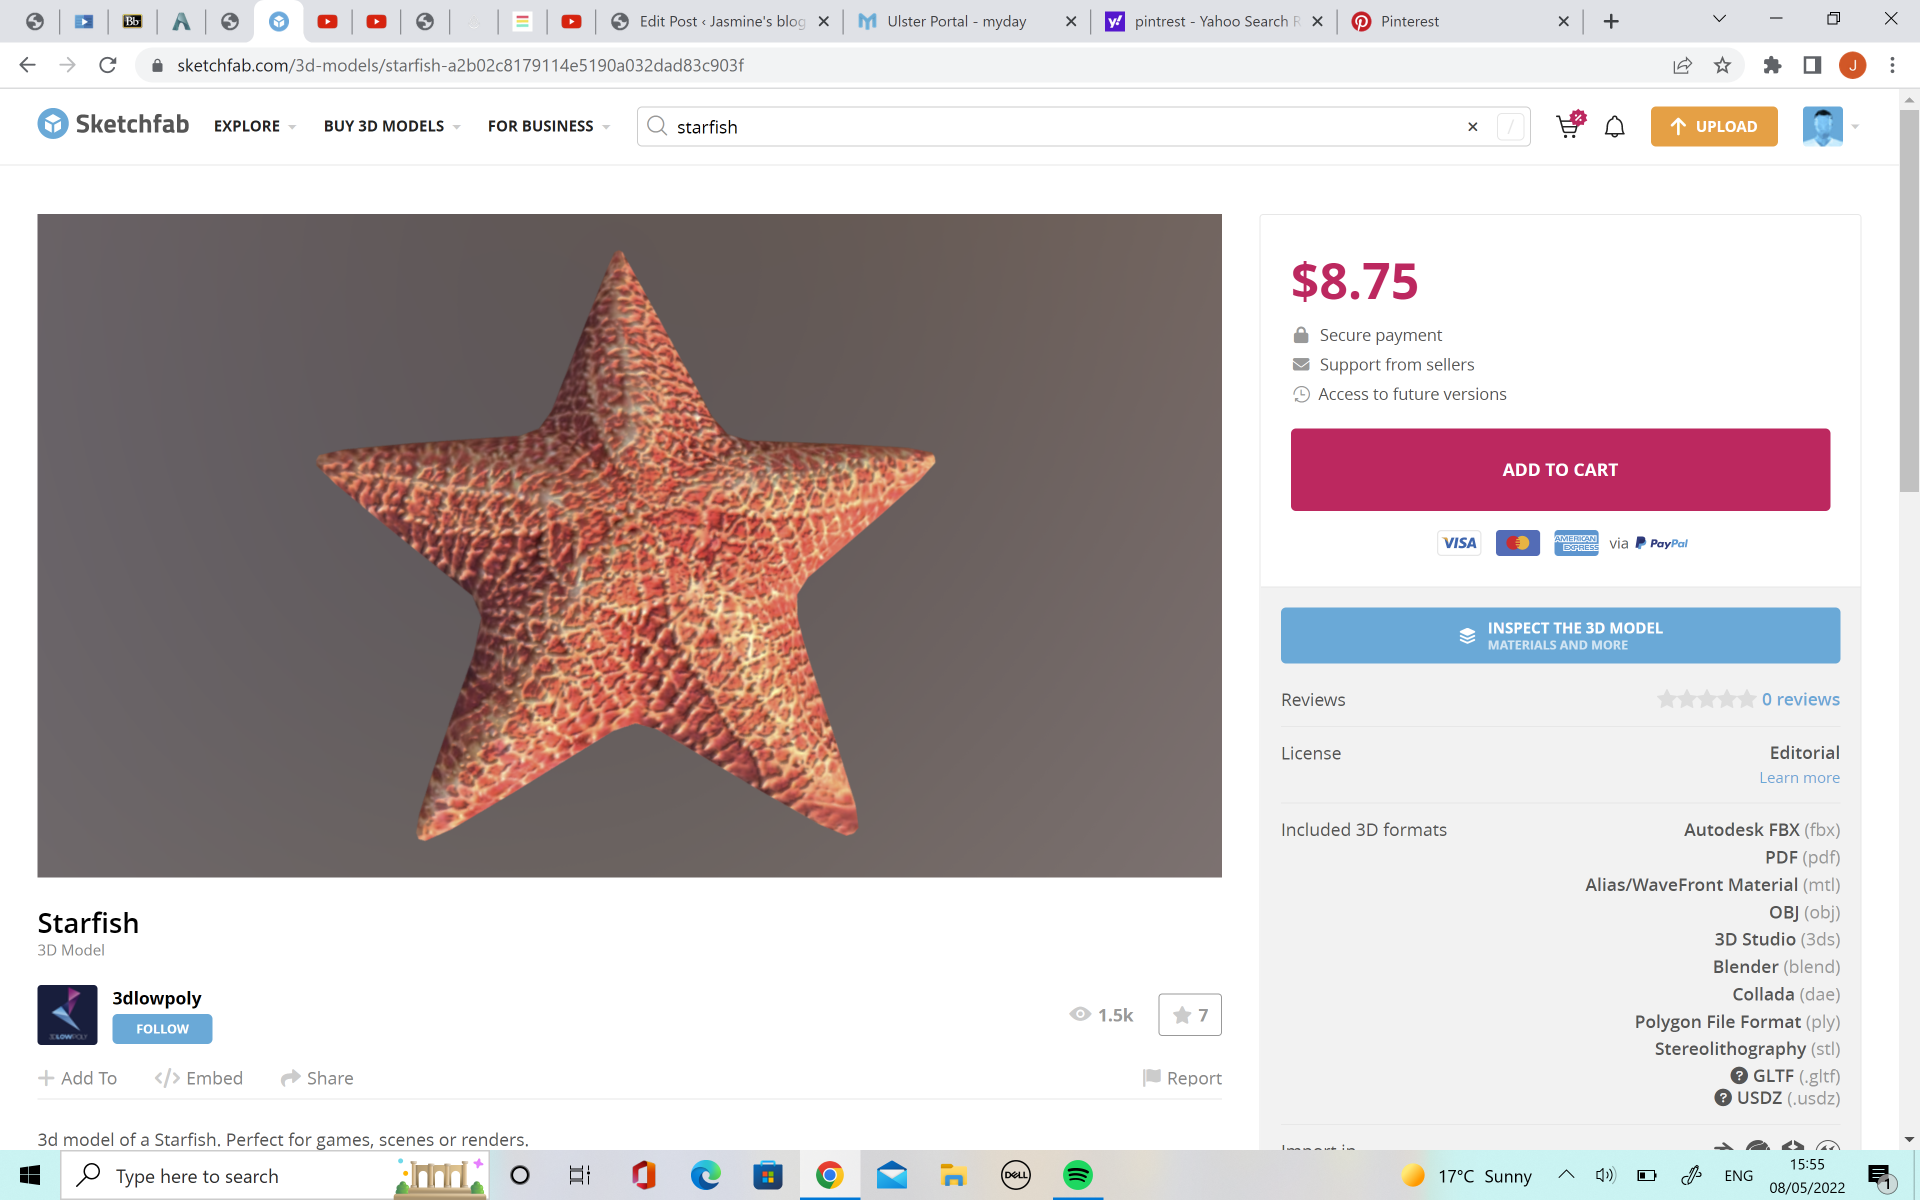
For the starfish I wanted it to be a nice bright colour, as there was a lot of blue in the scene and I wanted to bring a new colour. I chose a nice bright orange, as a lot of the references I looked at had this colour and I thought it would work well with the blue. I started with a rough leather material as a base but I thought this was too plain on it’s own so I added the material ‘Plastic Grid Bumpy’ to give a bit more texture. This one worked really well with the little raises I had made on the original mesh. Overall, the starfish looked exactly how I wanted.
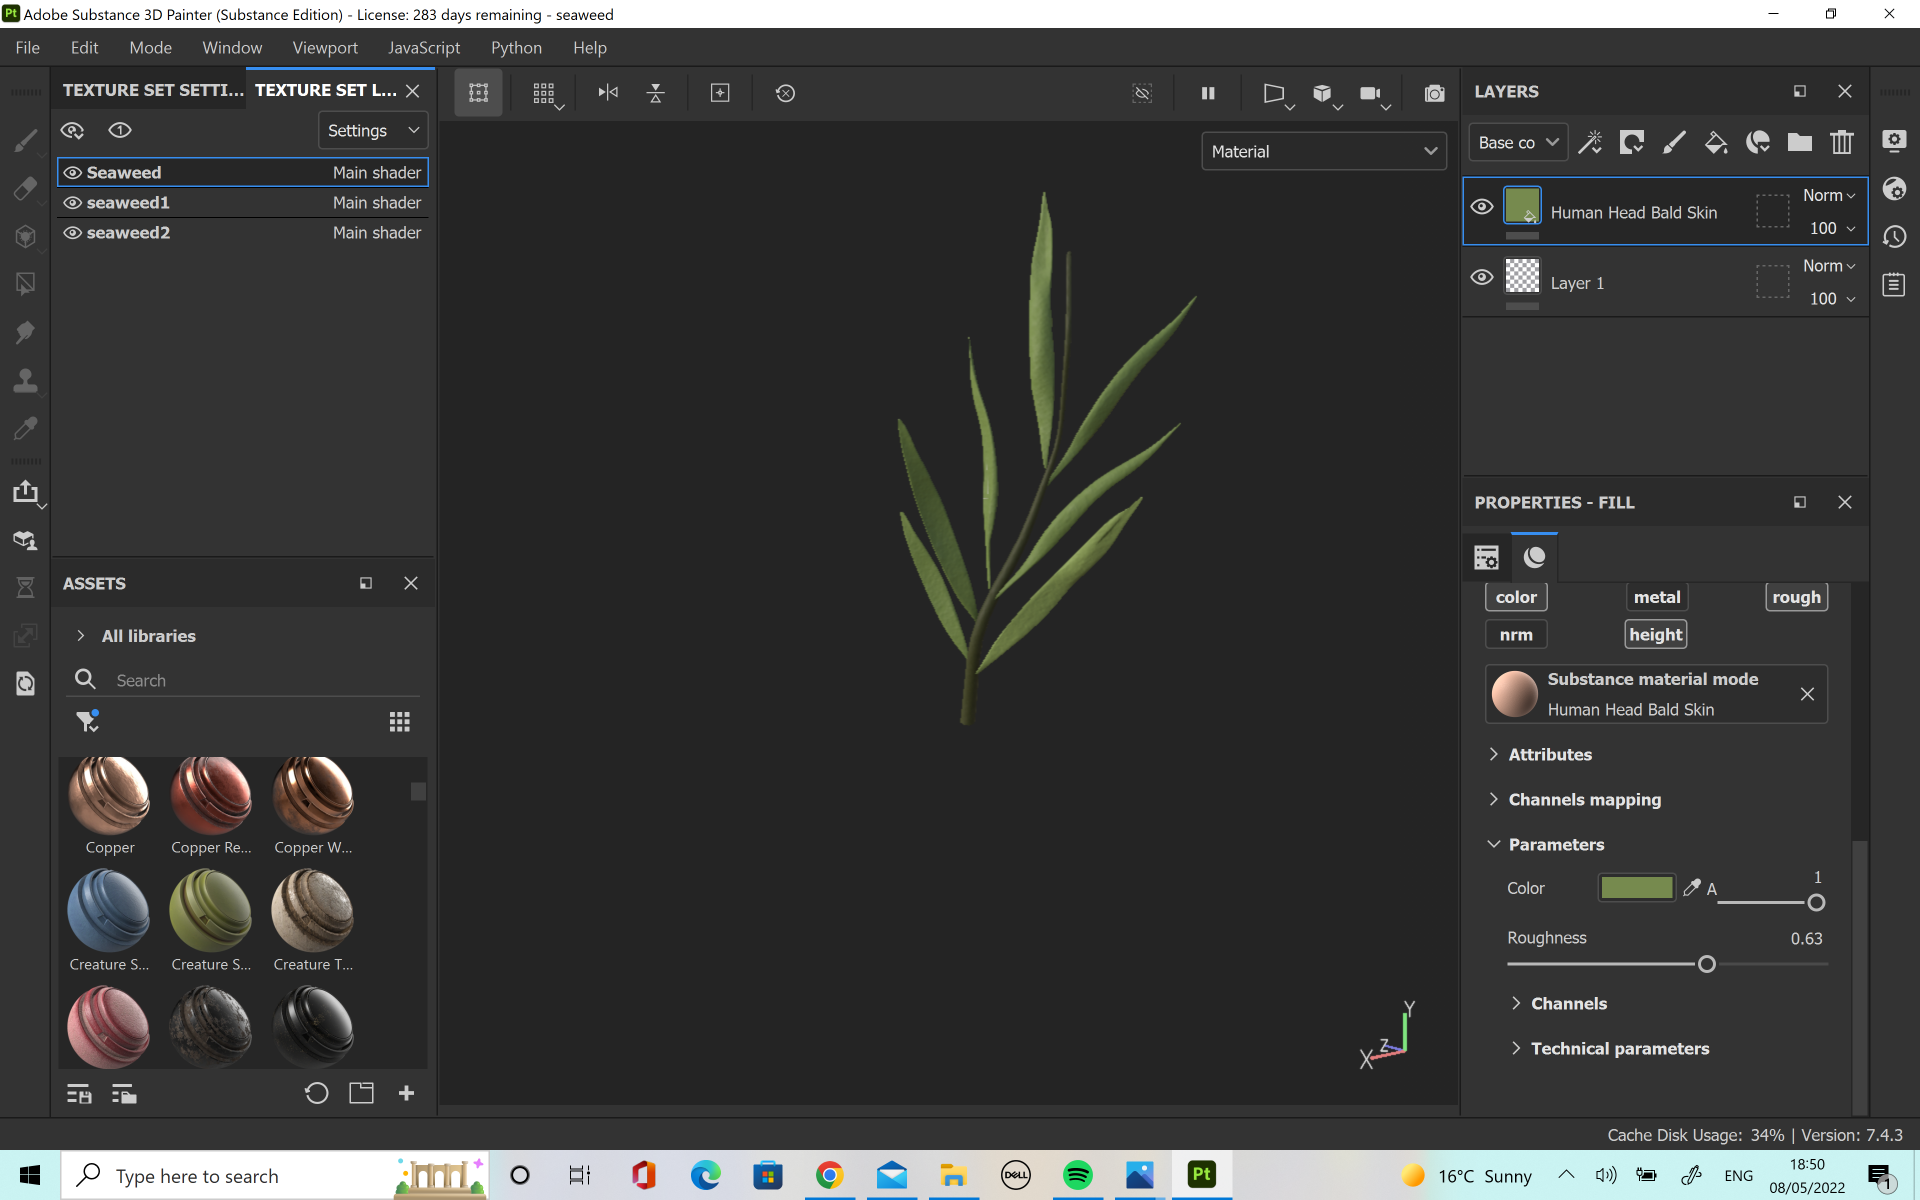
I kept the seaweed quite simple, but I chose to use a material called ‘human head bald skin’ which sounds strange for a seaweed texture but I liked how it added a little texture without being too overpowering.
For the sand texture I applied the same process as the pearls. I tried a few of the preexisting materials that substance offered but I could not find any which matched the look I wanted so I found my own image and imported it to create the sand texture on the plane. I thought this one worked really well as it was able to capture the little rivets of sand which settle on the ocean floor.
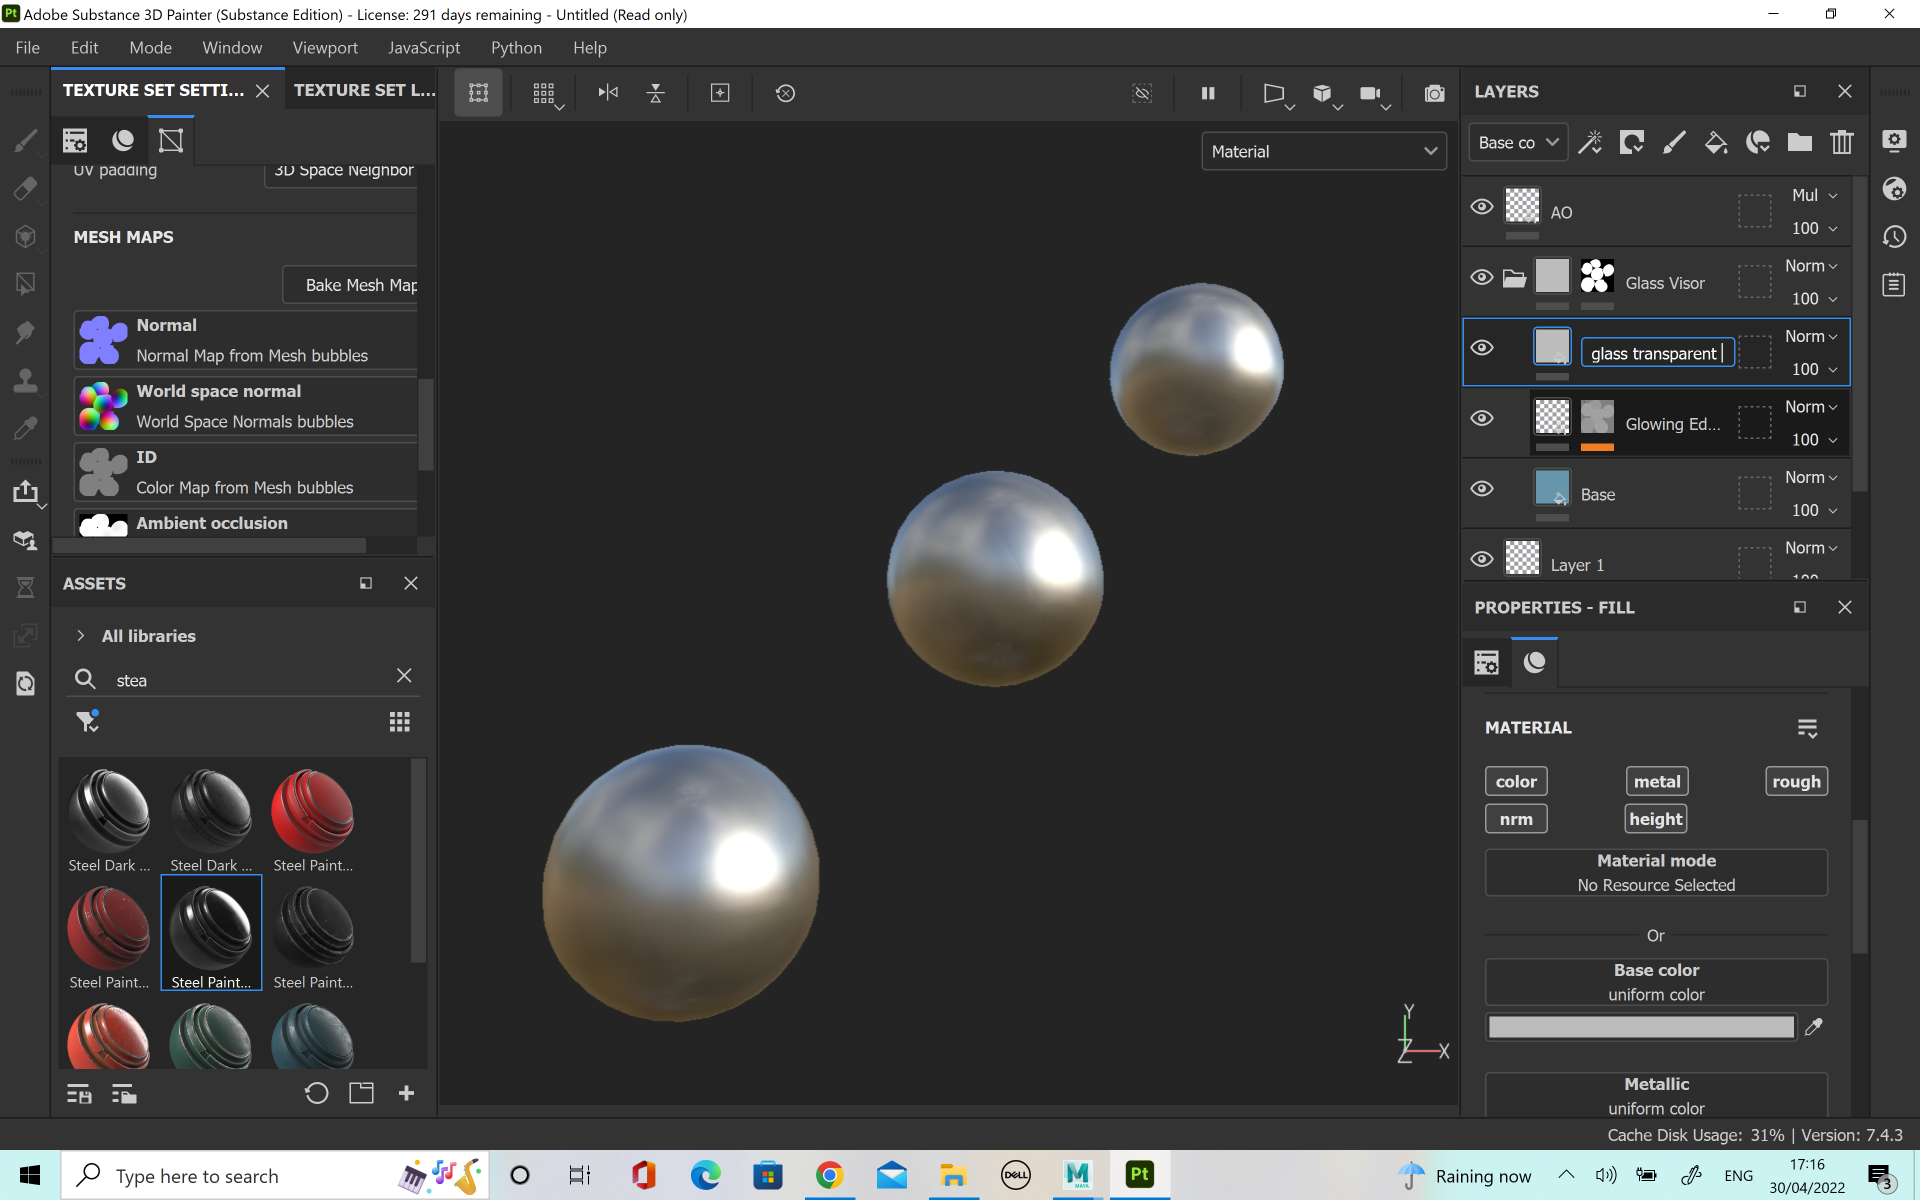
Finally, I did the textures for the bubbles. These were the most challenging, as I’ve never tried to do a see through texture on substance painter however it was a very fun challenge. I found this video extremely helpful (https://www.youtube.com/watch?v=5igvXjMM4Nc&t=1s) in creating the correct texture I wanted, although this was for glass so I had to edit a few elements, such as removing the dirt texture. I also played with the colour and changing the opacity until I achieved the look I wanted. There was quite a lot of steps to creating it. I started with the smart material ‘Glass Visor’ and then a fill layer for the AO. I selected just the colour channel and added the ambient occlusion to the base colour. I changed the normal setting to multiply and then opened the layers folder for the glass visor layer. There, I was able to change and edit the base colour. I added a fill layer just above the ‘glowing edges’ tab which was for the glass transparent. I was able to add the new channel of opacity in the texture set settings. This allowed me to select only this new channel and adjust the shader settings. Here I was able to change the ‘pbr-metal-rough’ to ‘pbr-metal-rough-with-alpha-blending’ so that the textures would be able to export properly. From here, I was able to adjust the opacity in the properties tab. I set my opacity value to 0.1429 as I liked that it was almost see through but still want completely clear, like a bubble.
I wanted to make my scene feel more complete so I decided to add in some extra elements. I wanted to give the feeling that the characters had discovered a abandoned treasure under the sea, so I started with making the treasure chest.
Initially I had a simpler lid for the lid of the box. There was no gold trimming on it though and I thought the design looked a little to simple so I deiced to remake it by adding a little more detail and fixing the shape of it a little to make it more appealing to look at. After I was happy with lid of the box I decided I wanted to adjust the shape of the base of the chest to look better . I used the extrude tool to get the correct shape I wanted. I was much happier with this.
Next, I worked on the coins. These were pretty simple as it was only a case of using a cylinder and hardening the edge to make a bevel around it. Then, I duplicated it lots of times to fill in the space with a lot of coins to give the impression it was full up.
The pearls were also quite simple as it was just spheres manipulated to form the shape of a necklace. The challenging part of these extra elements was capturing the motion as I wanted them to feel like they were being manipulated by the water. I had the pearls arranged in a way where they pointed upwards a little, as if caught on a current. For the coins I stacked a few teetering on the edge of the chest and then added in some which looked like the were floating down to the bottom as a coin would sink.
Next I decided to model some seaweed in blender for the environment and to help place the characters in an underwater scene. The shapes were not too difficult as it was just a case of pulling them to get the shape of seaweed which looked like it was moving in the sea. I also did a starfish as I thought this would also strengthen the location of the scene. I kept the shape quite curvy as I looked at some cartoonish references of starfish and I liked them more than the perfectly even legs and shape of the real life images I looked at, though I did start by making the shape even and then adjusting the curves to how I wanted it after as I thought this would give a better model.
After I had imported these elements into the scene and retopologized the ones made in blender I thought the scene still looked a little bit unfinished. I decided it would benefit from adding some bubbles to look like the treasure chest has just opened. This was very simple as I just used three sphere meshes and moved them to the size and position I wanted. These looked simple but I knew I wanted to apply textures in Substance to bring them to life.
I wanted to get some more references, specifically for the extra elements I wanted to make. I found Pinterest had a few good ideas I wanted to incorporate but for the chest in particular I found sketchfab to be a lot more helpful. Here I was not only able to find inspiration, but I was also able to look at the topology of the meshes which helped me when it came to sculpting my own chest on maya.
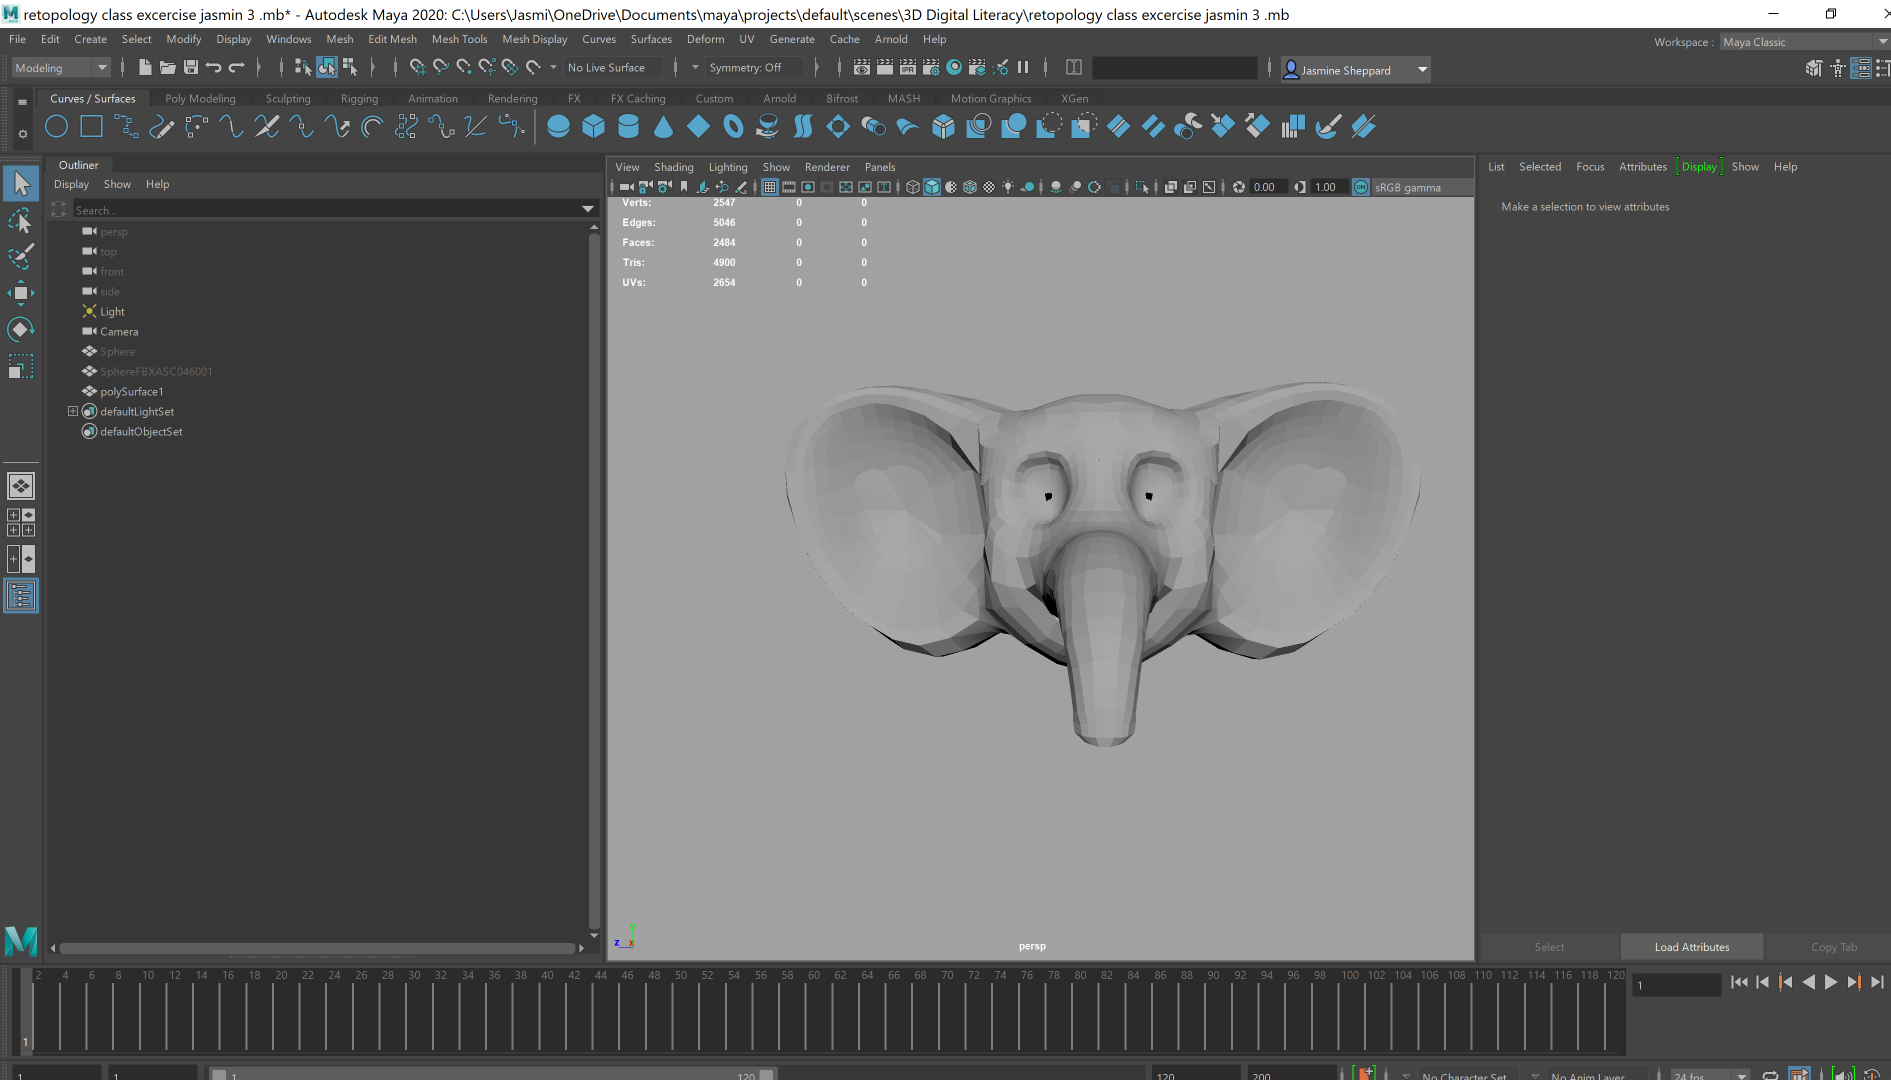
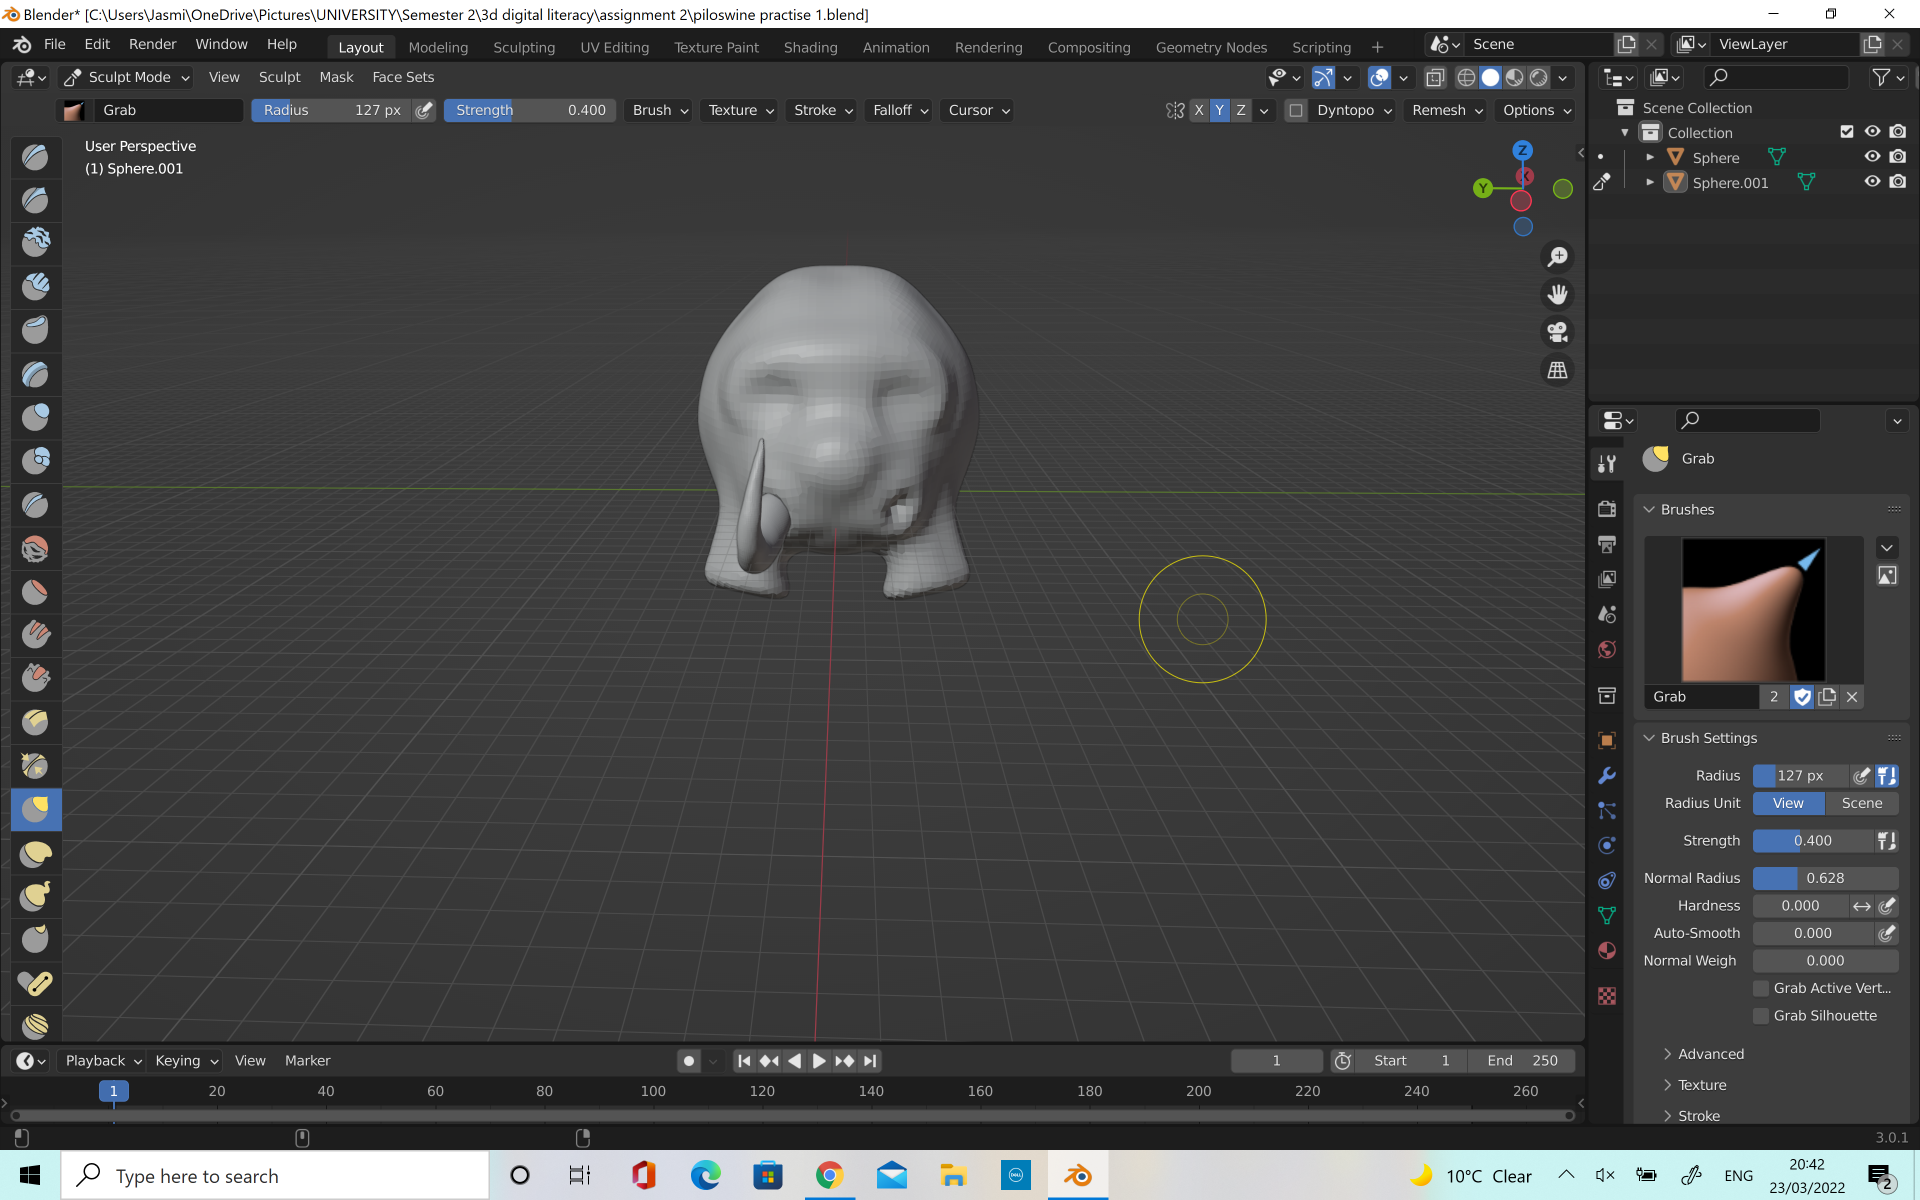
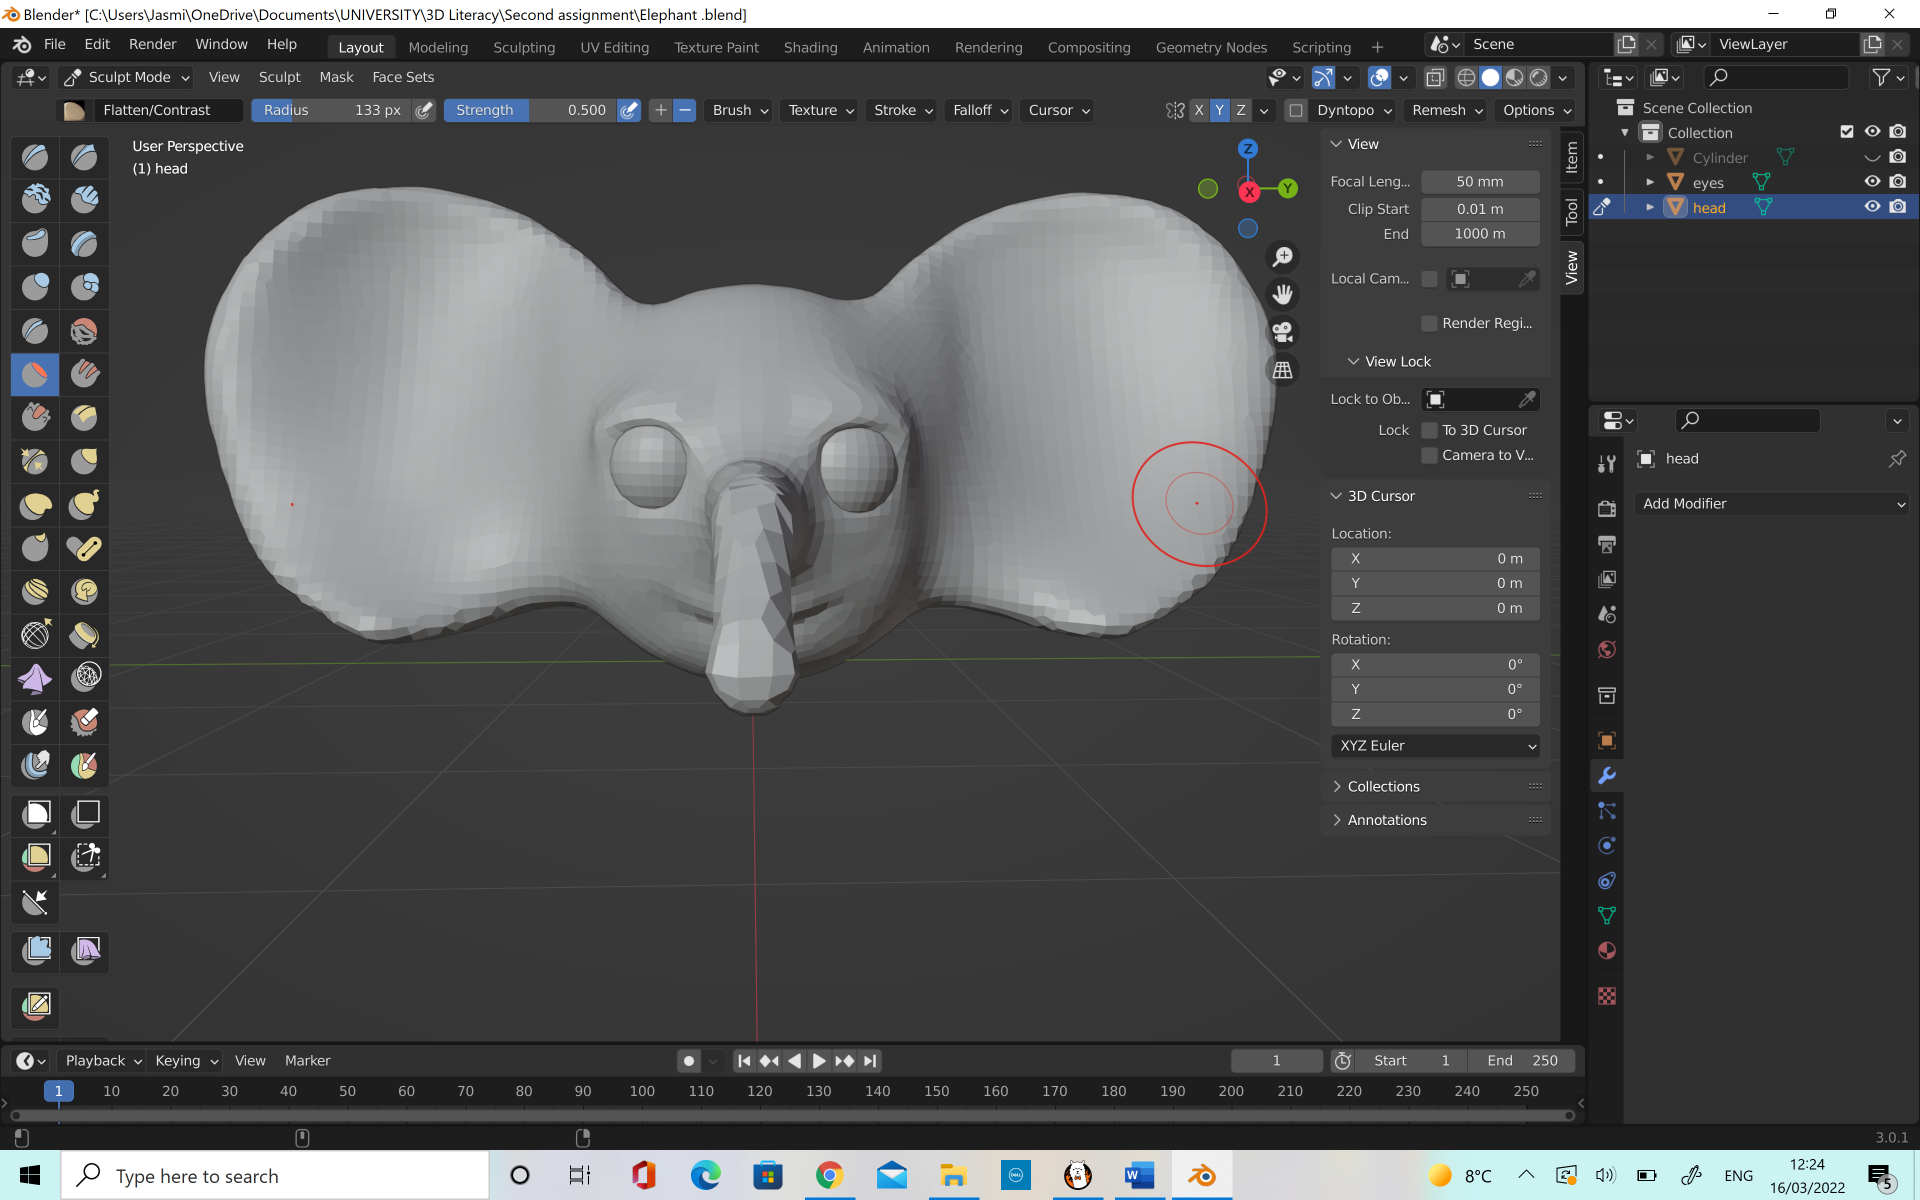
This was my first introduction to the process of retopology and how you use it. Since I was not familiar with the process I wanted to practice it before I started on my own model. I used the practice elephant head model to try and get comfortable with retopology.
I did find it quite challenging at first, particularly at getting everything into neat loops. One problem I had in particular with this model was getting the ears to join in the middle. I struggled with this, as can be seen in the image below. However, once it was suggested to me that it is easier to work outwards from the center to get a circle I found the process to be a little easier.
I had the most success with the trunk area and the space around the mouth as I was able to get nice clean lines and to get the low poly mesh to fit well along the high poly mesh. It wasn’t perfect but once I was happy with how the low poly mesh looked on this project I moved onto retopologising my Whale Shark.
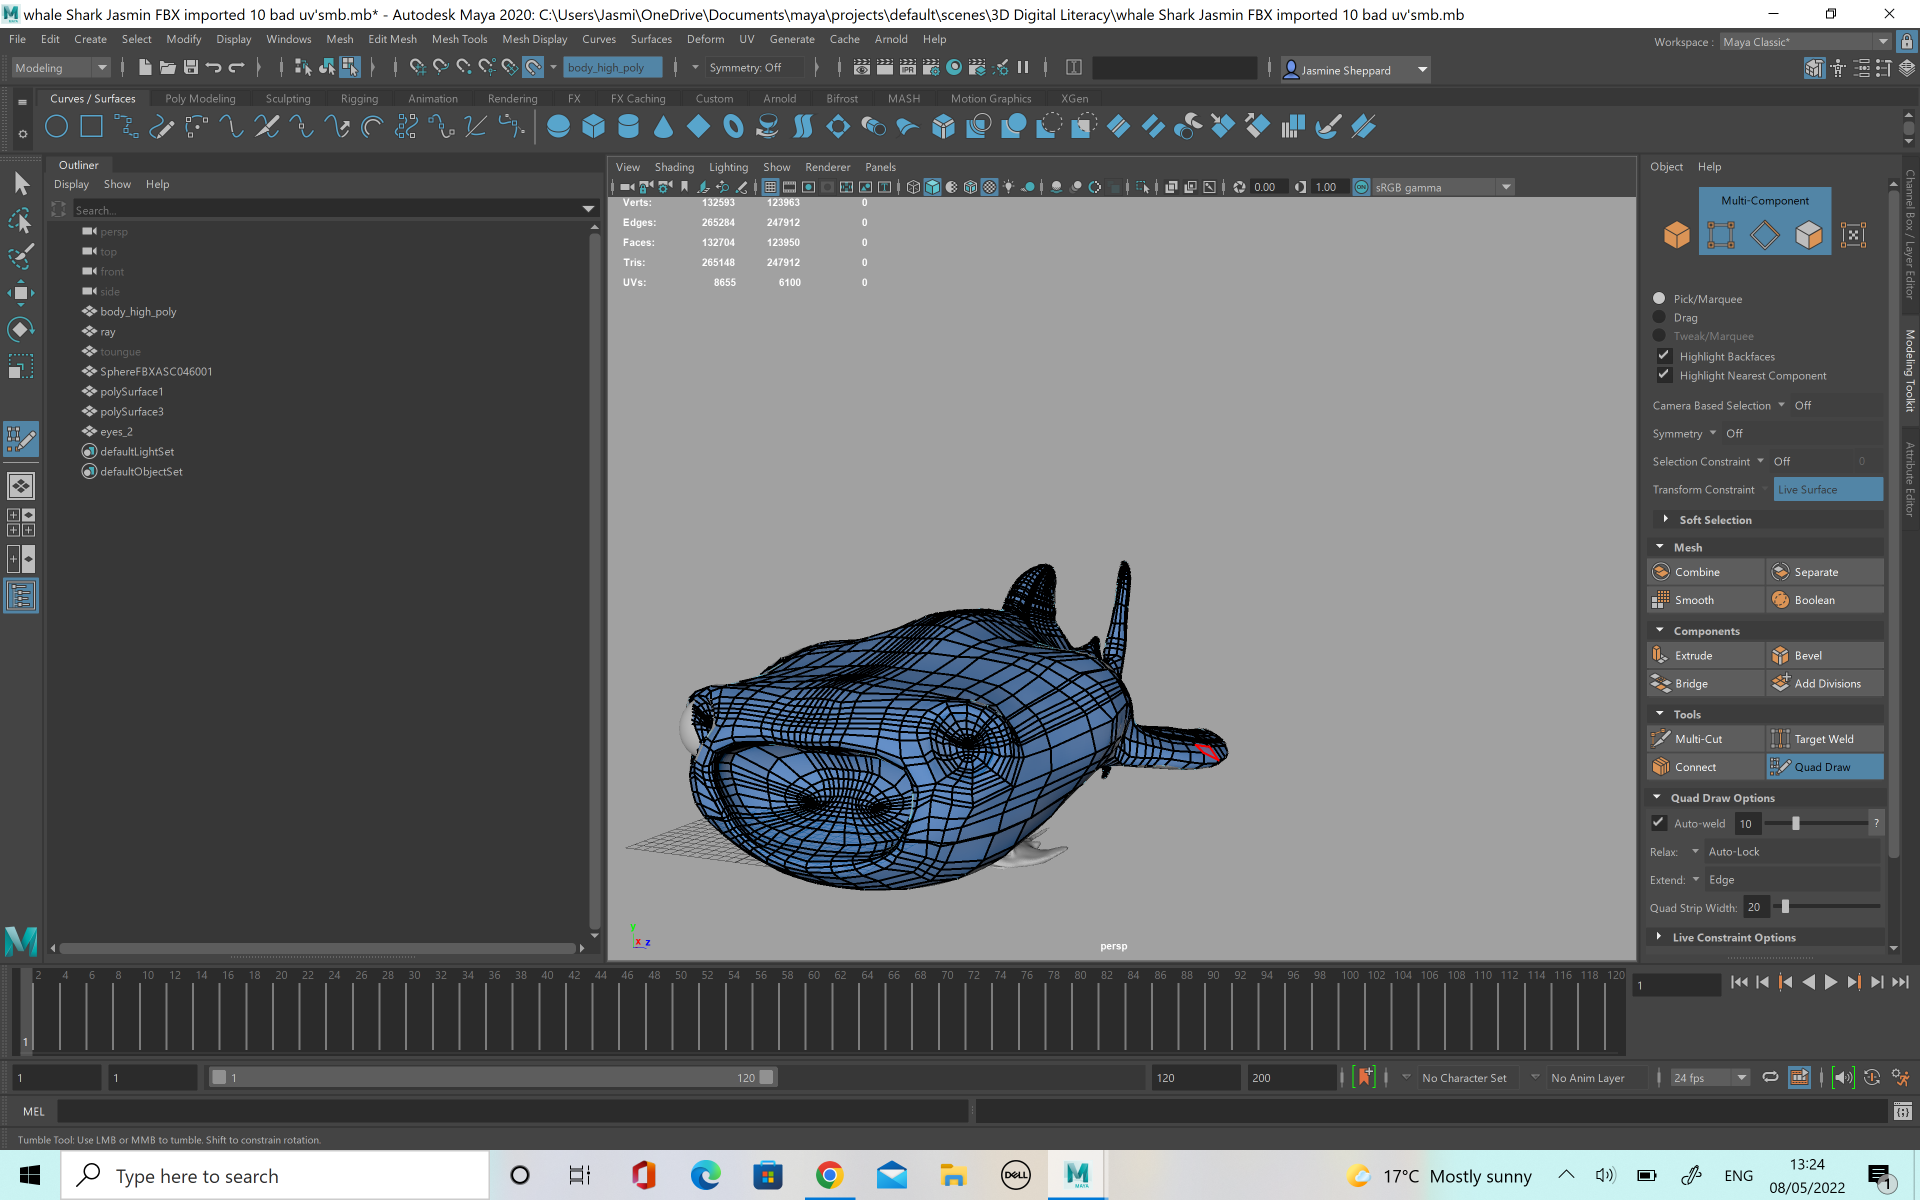
When I first started with the retopology of my whale shark, I struggled quite a bit. The mesh was very large and so started to over think the retopology. Some parts of the model I managed to get to a point where I was happy with it, such as the mouth. I was able to make a successful loop in the mouth area and around the chin which worked well. However, I found that the lines were much too condensed, especially around the back and along the fins. This was inconsistent and I felt like it wasn’t going to be very good for the poly count.
I used the relax tool to loosen up all of the areas which were too clumped together and it helped a lot. I was also able to turn off quad draw, go into edge mode and delete any edges which were unnessicary or that were causing Ngons (though thankfully there were only 2 which needed removed). I was much happier with the retopology of the model following this.
When I was happy with the Whale shark retopology, I looked at the secondary ray character. As it is a much simpler character, I decided to use the auto retopologize in Maya for this originally. Later on however, I had some time so I decided to go back and make an attempt at retopologising the ray character myself.
Despite the ray being a much smaller character I found it a lot trickier than the whale shark, possibly because of it’s shape. the basic shapes of the ray come down to triangles and so I found it quite hard to keep the loops consistent across the body. Some of the areas were alright but some of them where not fitting properly against the high poly mesh, particularly around the chin so i decided to delete it and start again.
The second attempt was a lot better as I was able to cover the mesh properly around the whole body. The loops around the eyes, fins and tail were also a lot better so I was pleased with this. I was able to find a wireframe of the ray from ‘Finding Nemo’ which was very helpful to me when it came to trying to retopologize my own character.
I used both sketchfab and Pinterest to find references for my retopology. Sketchfab was particularly helpful as I was able to see how other artists had done their retopo of Whale Sharks. This gave me a better understanding of what I had I do.
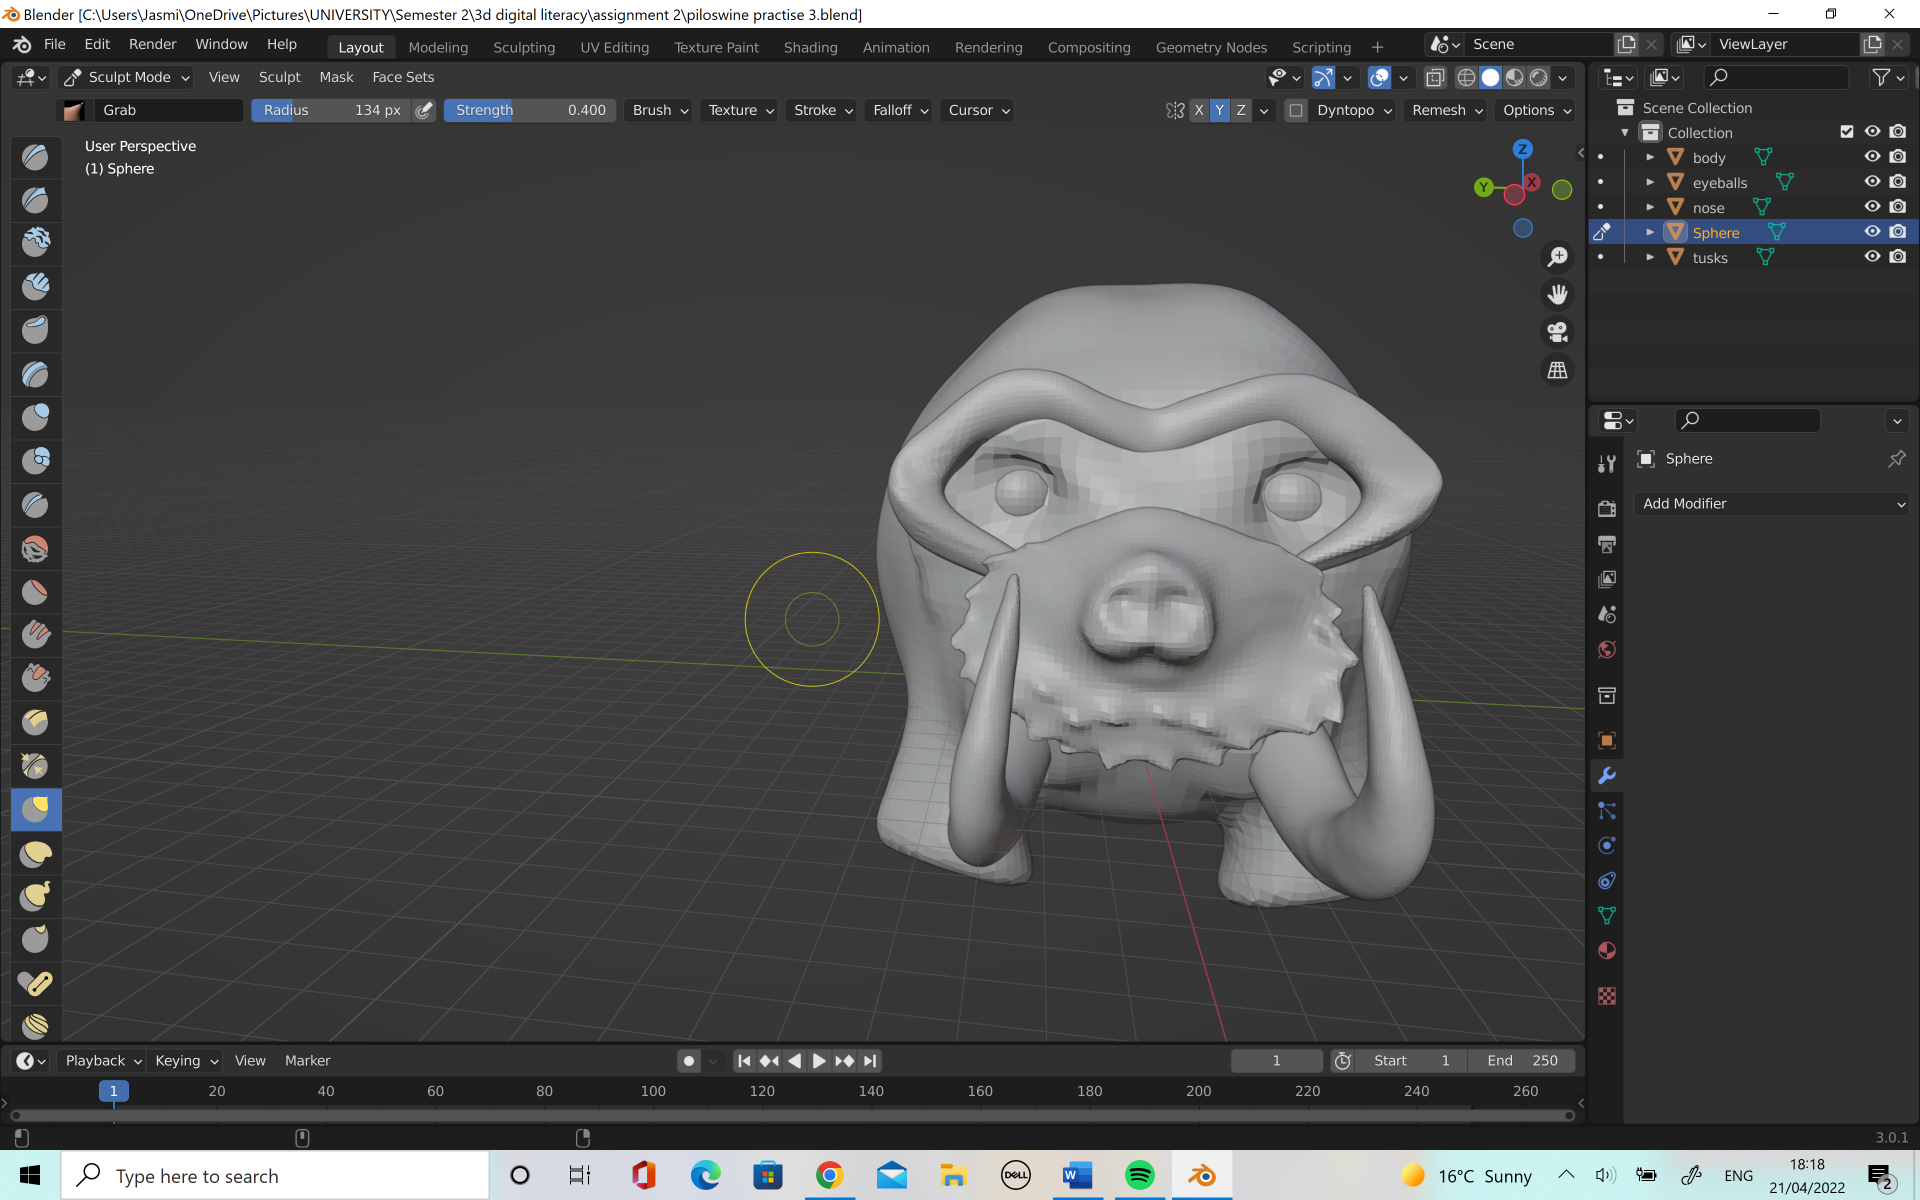
I decided to do some extra practice on blender. I wanted to make a Mamoswine as I love Pokémon and I thought that the characters would provide a great challenge to improve my blender skills.
Once I was happy with the initial block out I started to add the details. I used separate objects for the tusks, eyes, eyebrows and the nose and nose fur were the same object. When I initially did the eyebrows I thought that they were not furrowed enough for the character and so I pulled it down to make it look more like my reference picture.
For our second assignment we will be using blender to create a cute character. The software is new to me, but I found it a little easier to pick up initially than Maya.
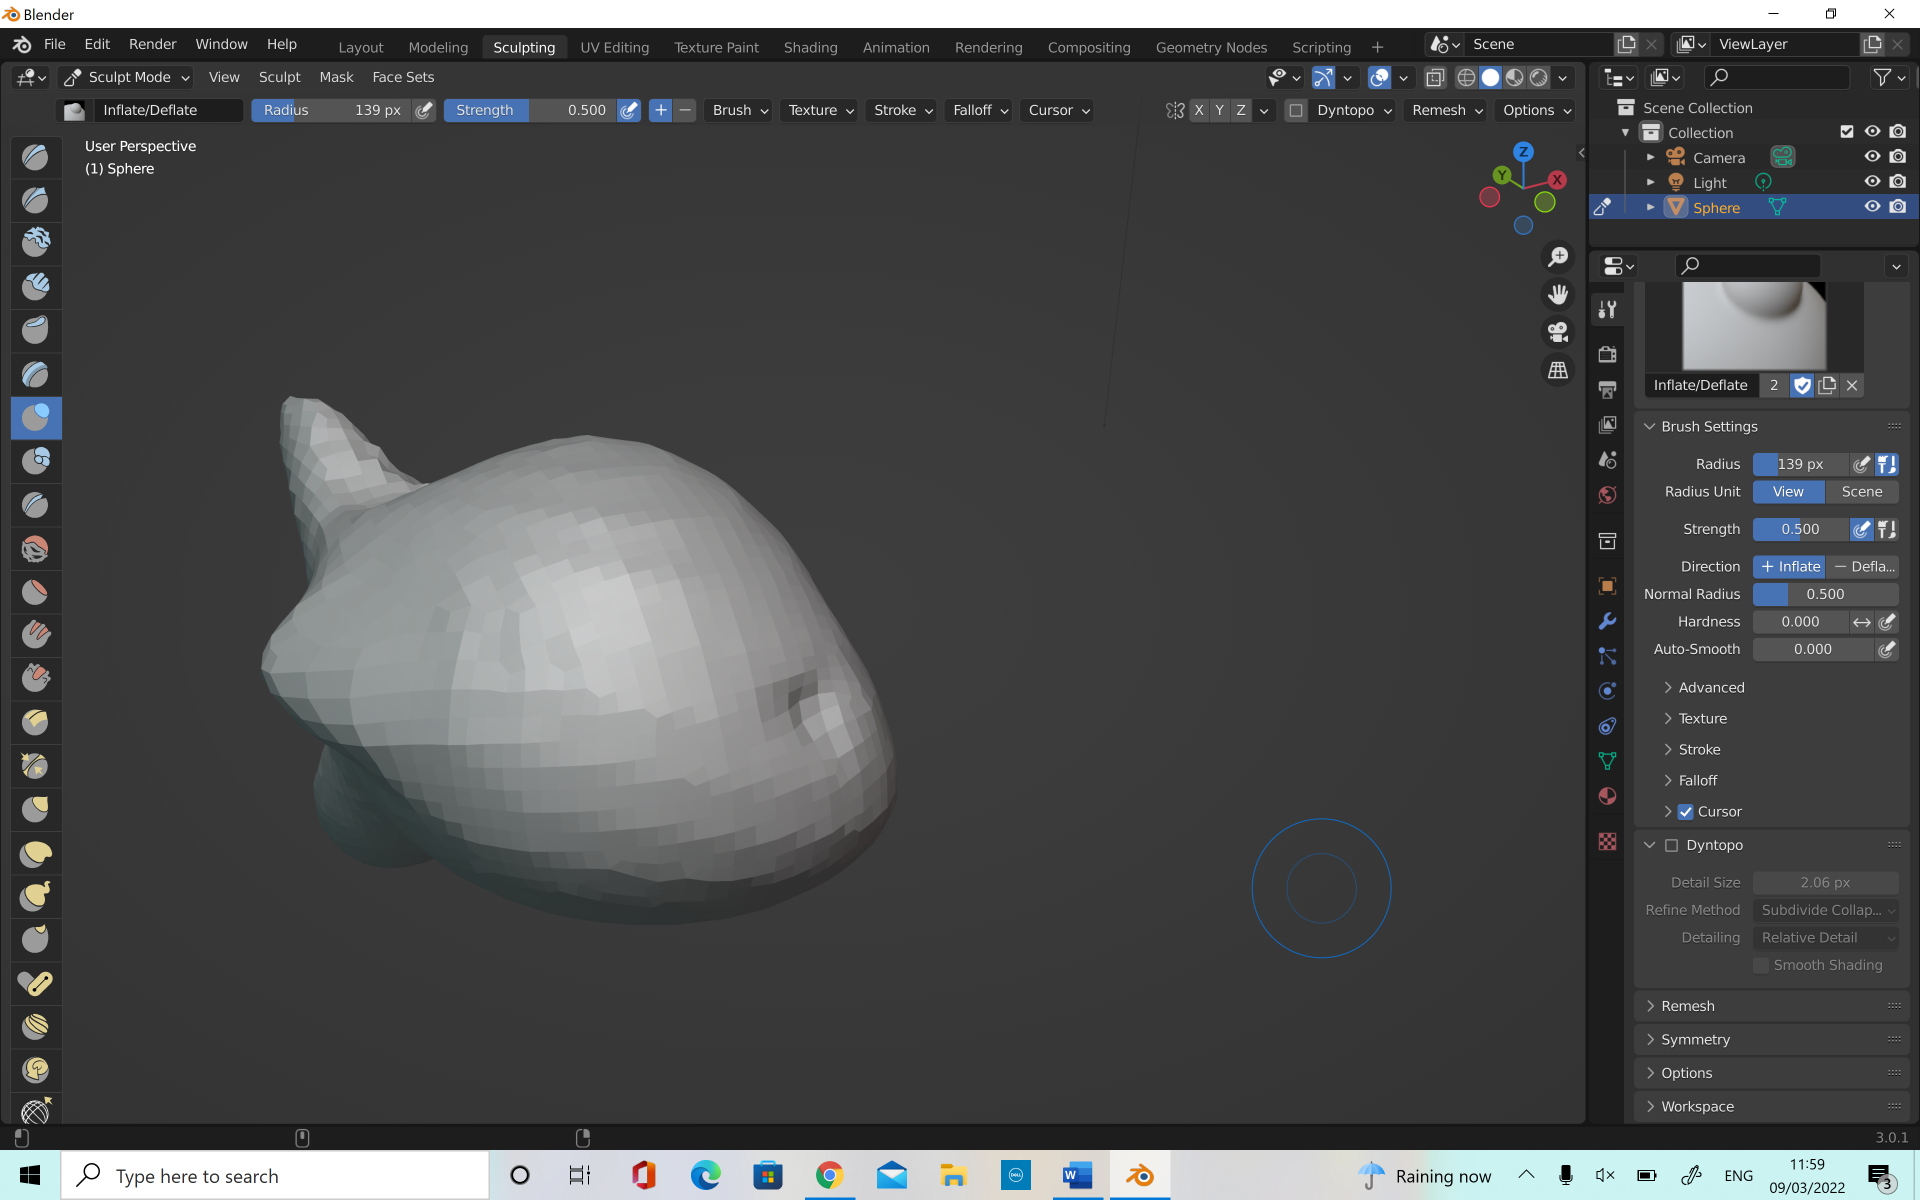
We started off simply getting used to the modelling tools and some of the other options blender has to offer. This was a good way of exploring the different modelling tools, such as clay strips, draw, pinch, grab and snake hook tool and learning what they can do. I tried to make a simple fish shape to get myself used to things. I got the body ok but the fins were a little to big.
Following this we learned about the importance of the remesh tool in blender. You want to start bigger and more broader, with a higher voxel size when you do your first initial blockout of shapes and then reduce it when you are ready to add in the finer details.
I made an alien creature, following a step by step guide which helped me to develop my own learning and explore the modifier tab. I used the modifier tab to duplicate the sphere on the top of the aliens head. This allowed me to have symmetry in my model.
I used the elastic deform button to push a space in for the eyeballs of the creature, and used the draw tool to create a space for his nose and mouth.
I had to remesh the model after this to make sure everything was at the same count. I wanted to smooth it out after this so I used to smooth tool to create a much softer appearance.
In order to make the mouth and nose more like I wanted I used the pinch tool to make it more defined until I was happy.
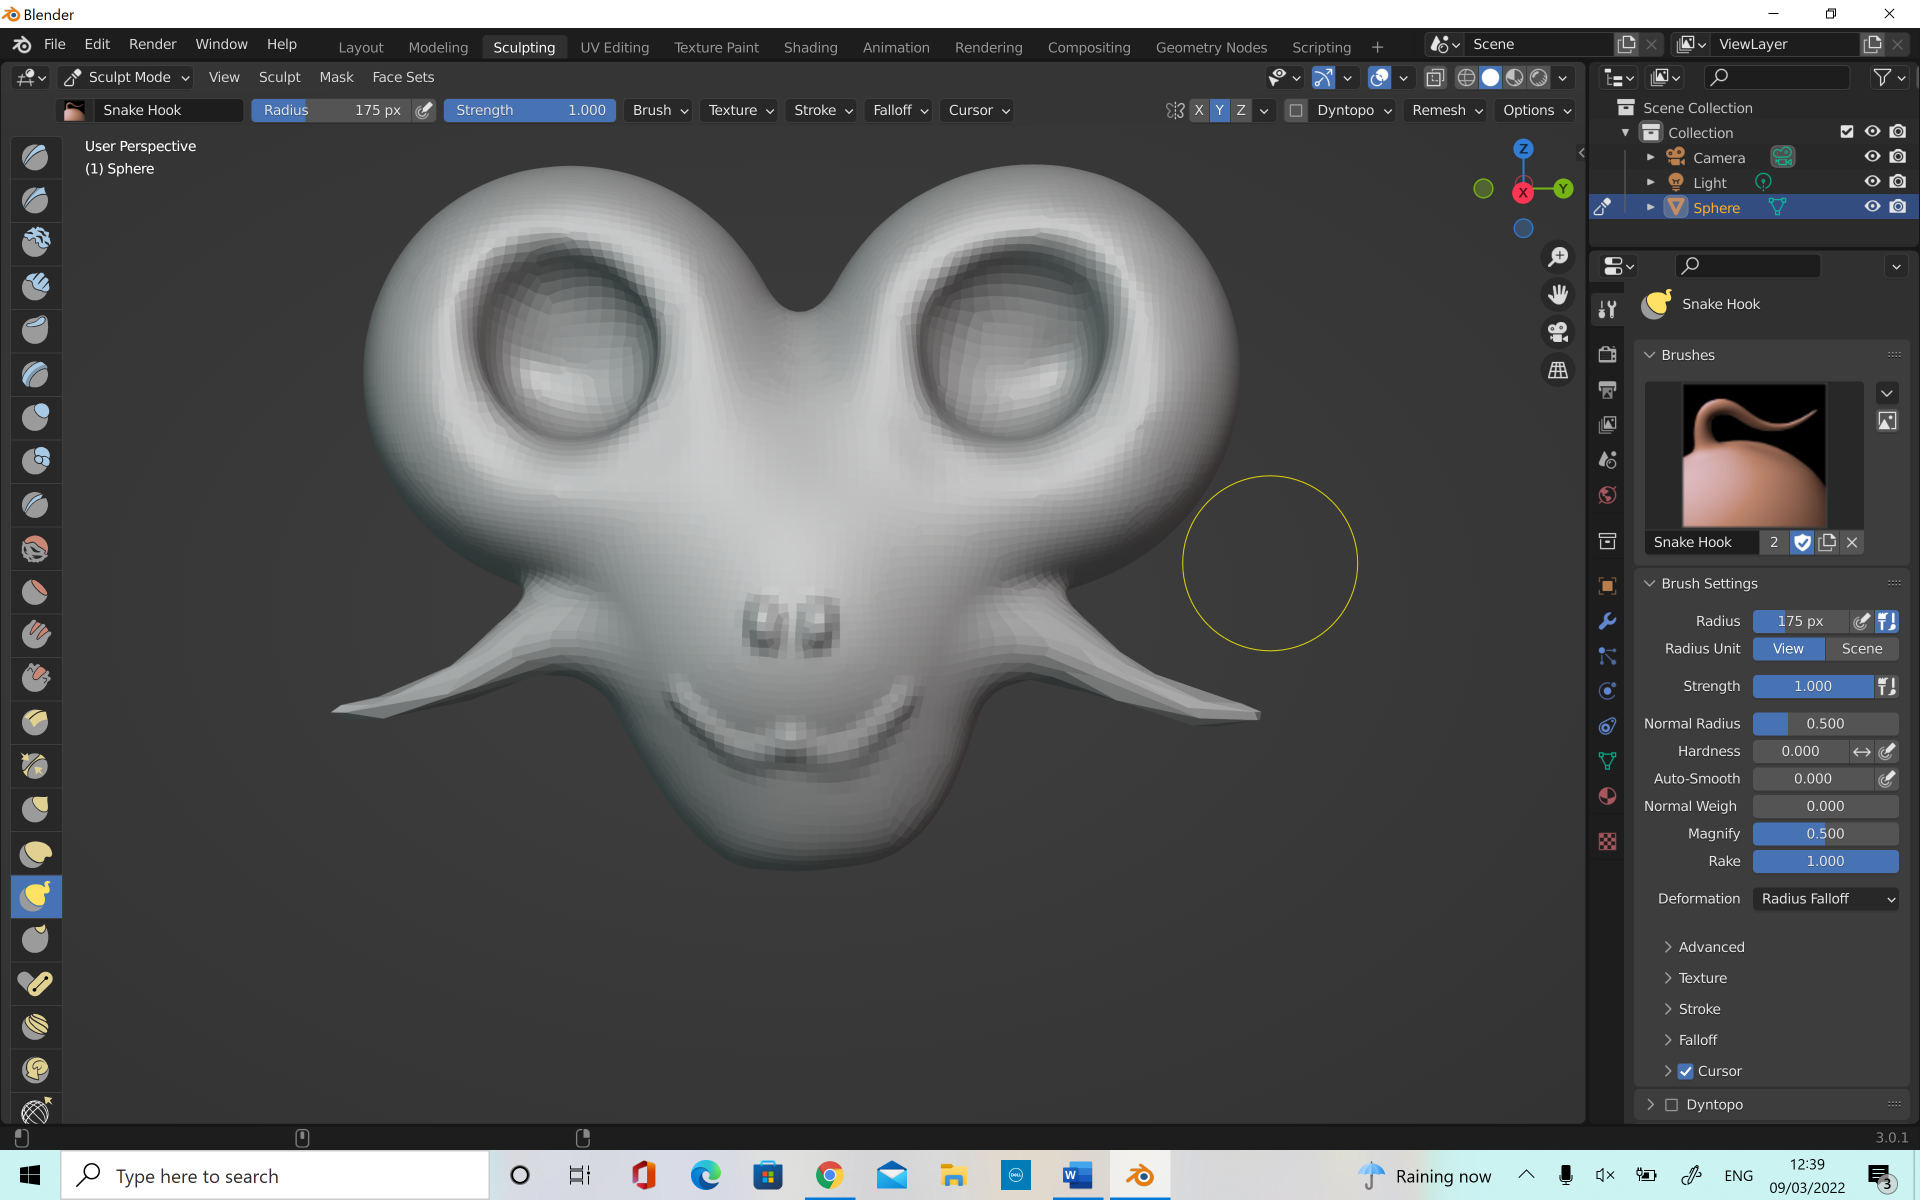
When I was happy with the creatures shape I decided to develop it further using the snake hook tool as well as the elastic deform tool. I used the elastic deform in order to lengthen the chin/ body of the little monster. Then I used the snake hook tool in order to pull out two arms for him. The snake hook tool allowed me to pull both at once and keep the symmetry.
When I was happy with all of this I decided to add final details such as eyeballs and wrinkles below his eyes. I think that the little lines I drew under his eyes give him moer character and the eyeballs make him look more finished.
I decided to change the mouth, and have it go in as opposed to poke out as I thought it would make him look a little more realistic.
Overall I thought it was quite cute and not a bad first attempt at using blender, though I will obviously continue to improve with more practice.
I made an elephant character to get some more practice of the software. I followed the same steps at the beginning as the alien, including using the duplicate modifier to create the symmetry of the ears, and then pushed them back to create a curve in the ear.
For this creature however, I added a trunk onto the front as a separate object and then joined it together, and smoothed. I was again careful to do a remesh here to make sure that the objects were all the same.
I smoothed out the ears first until I was at a point I was happy with, before adding the eyeballs on to bring the character to life. I had the symetry button on so that every change applied to the left side would also affect the right and therefore keep my model as symmetrical as possible.
Initially I had some trouble with getting the nose shape the way I wanted it. It was too thick for the face and the bend was not where I wanted it but with a lot of smoothing, grabbing and use of the elastic deform tool I was finally able to get it to the shape that I wanted.
I also started working on the blockout for my Whale Shark character. Initially I made it too complicated for myself, choosing a lot of separate objects instead of just manipulating all that I could with the one large object.
After I tried to smooth it I saw that it was not going the way I wanted it to se I decided to start again. However, I still used too many objects and therefore it ended up going the same way as I did the first time.
I asked for some advice and Henry was able to show me a way which made the block out look much better, using much less objects.
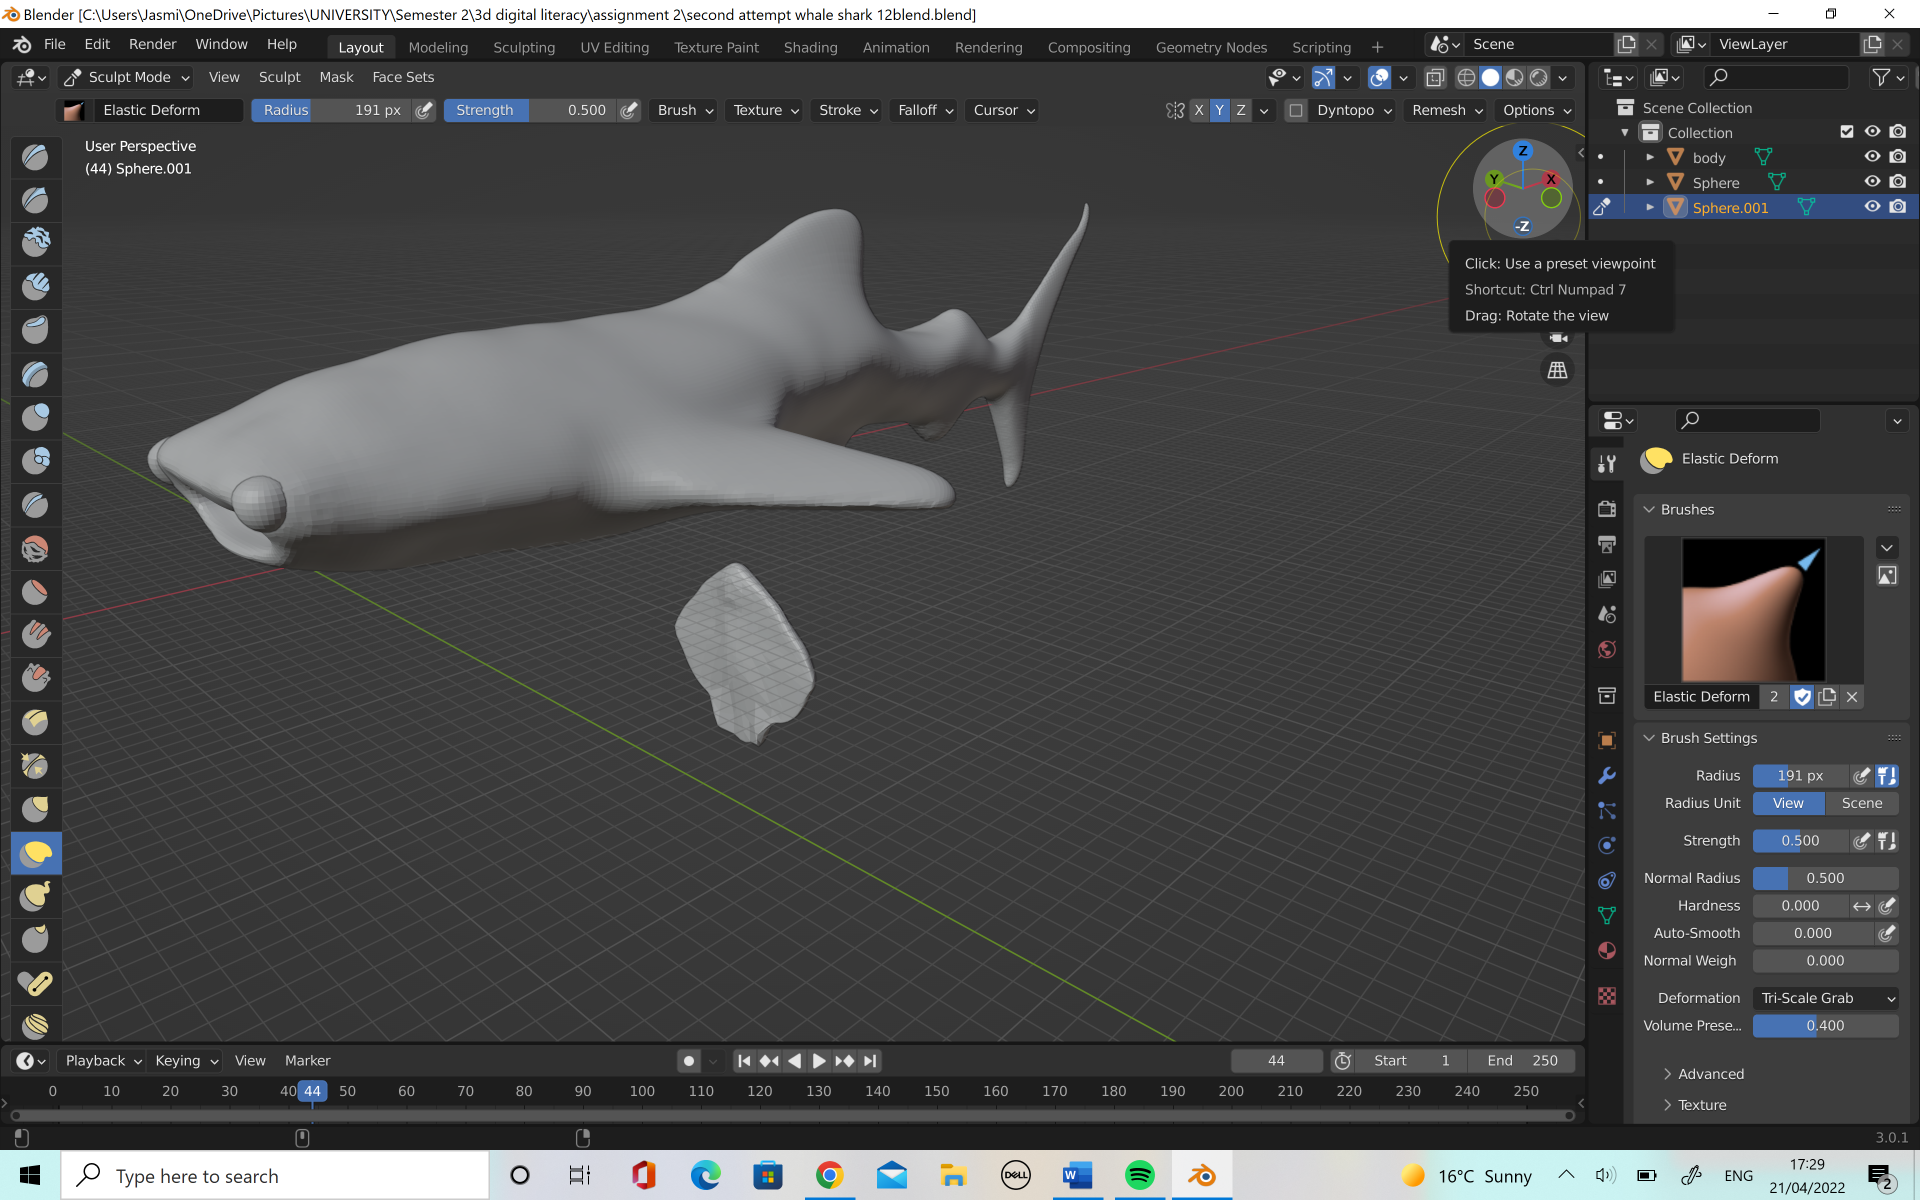
This attempt worked much better as the model started to resemble a whale shark, though there was still plenty of work to be done on it. I was not happy with the shape of the front of the head, and the back of the body so I decided to rework it. I also decided to redo the fins on the back of his body.
I started by changing the shape of the body as I thought it would make it easier to place the fins once I had the shape of the body the way I wanted.
I made his mouth a little wider and his eyes a little bit bigger in order to emphasize his cuteness and I think it worked well. I did think however that it could be emphasized even further so I decided to do a bit more work to get it right.
The image below shows how flat I originally had the model, which looked too much like a regular shark but not like a whale shark so I knew I needed to fix this part.
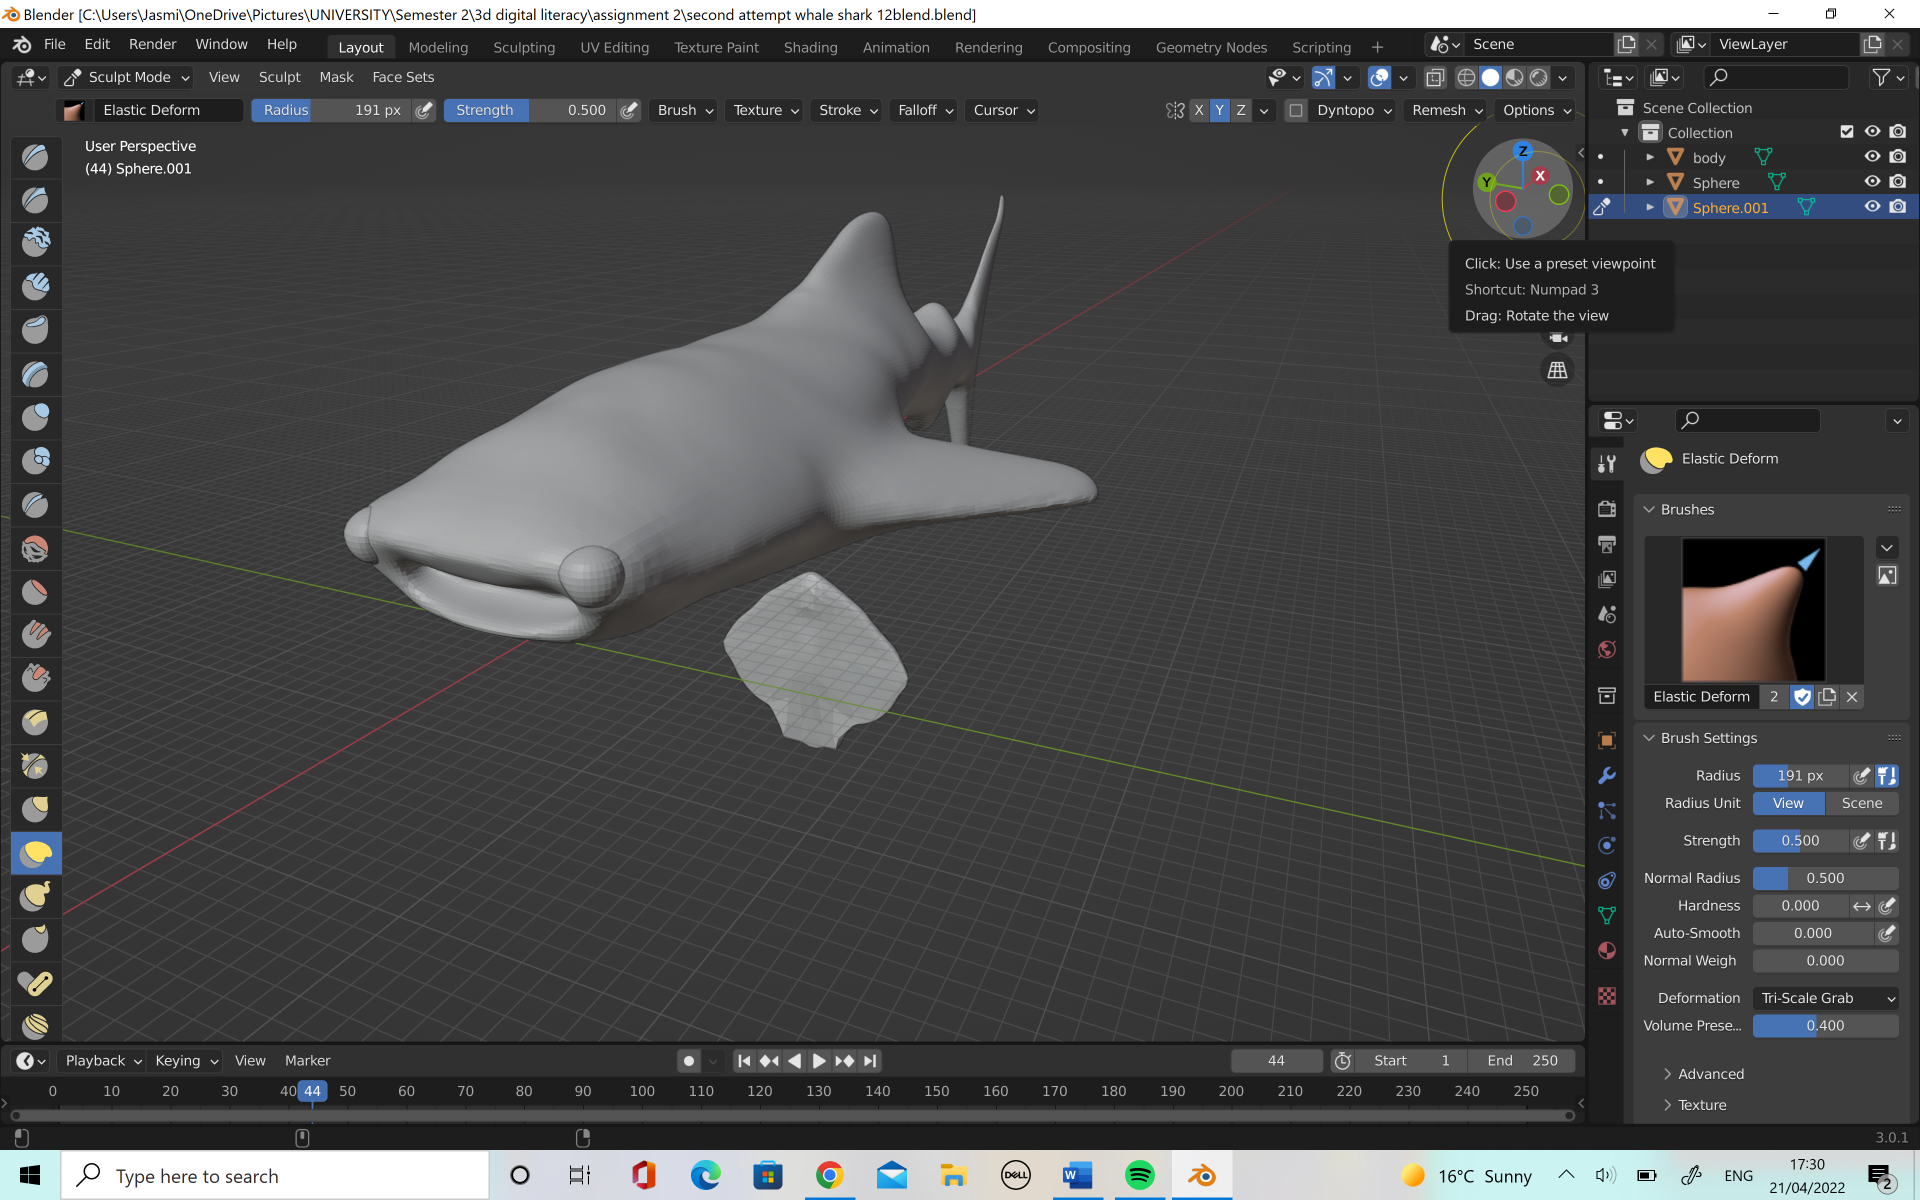
The next image shows the improvement and how it made the whale shark look much better, but puffing out his body and head. This also helped in making him appear cuter.
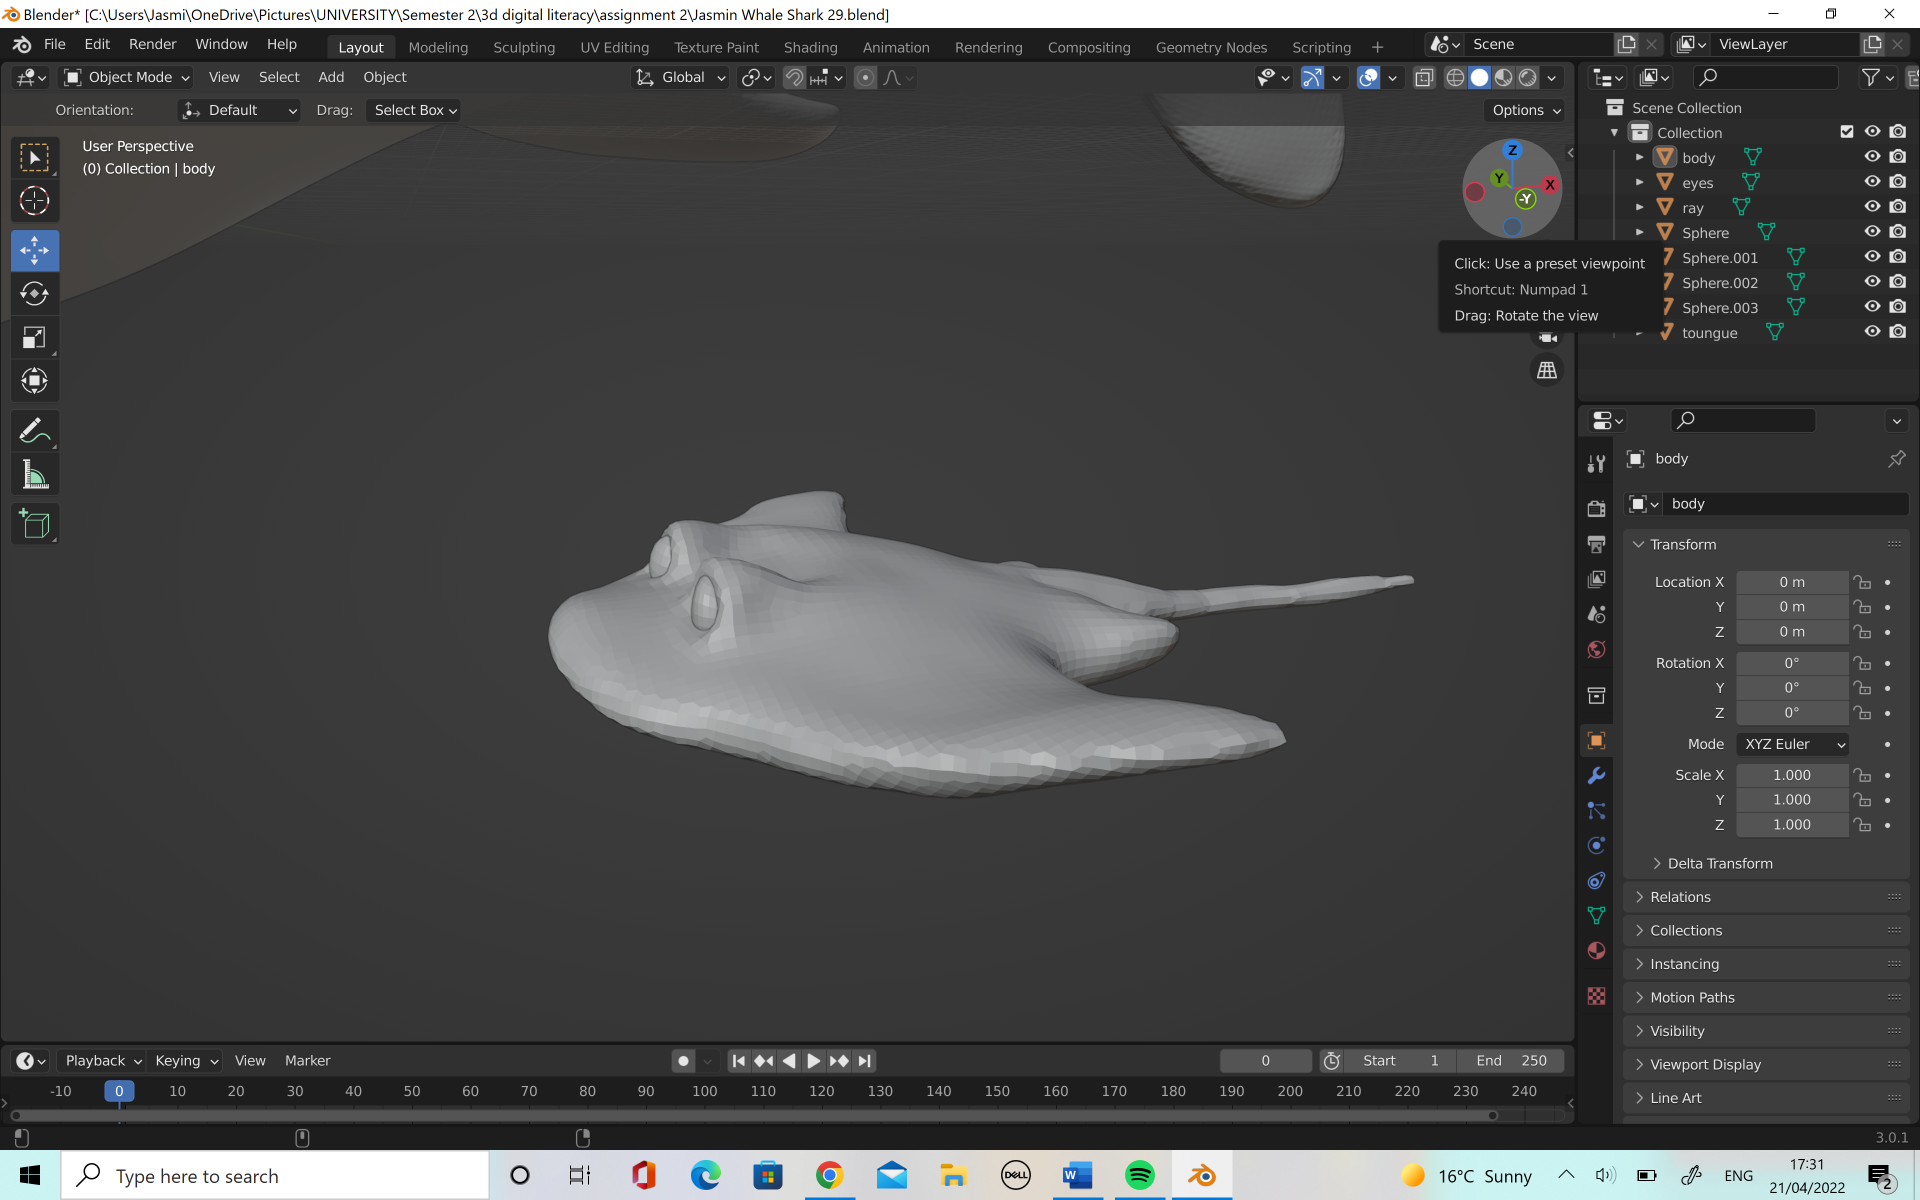
Once I was happy with the shape I was able to add some more details. I added little gills to the side of the fins, as well as the lines which run down the back of whale sharks. I used the draw and pinch tools in order to create these details. I also added a tongue to the character as I thought the hole for his mouth looked unfinished.
I also added a ray character to help build more of a world to my characters scene. I started simply but blocking out the shape, before moving onto the more detailed areas, such as the mouth and eyes as well as the tail. I made sure to make the ray a lot smaller as Whale sharks are very large and I wanted to capture this in my model.
Once I was happy with my models, I was ready for retopology.