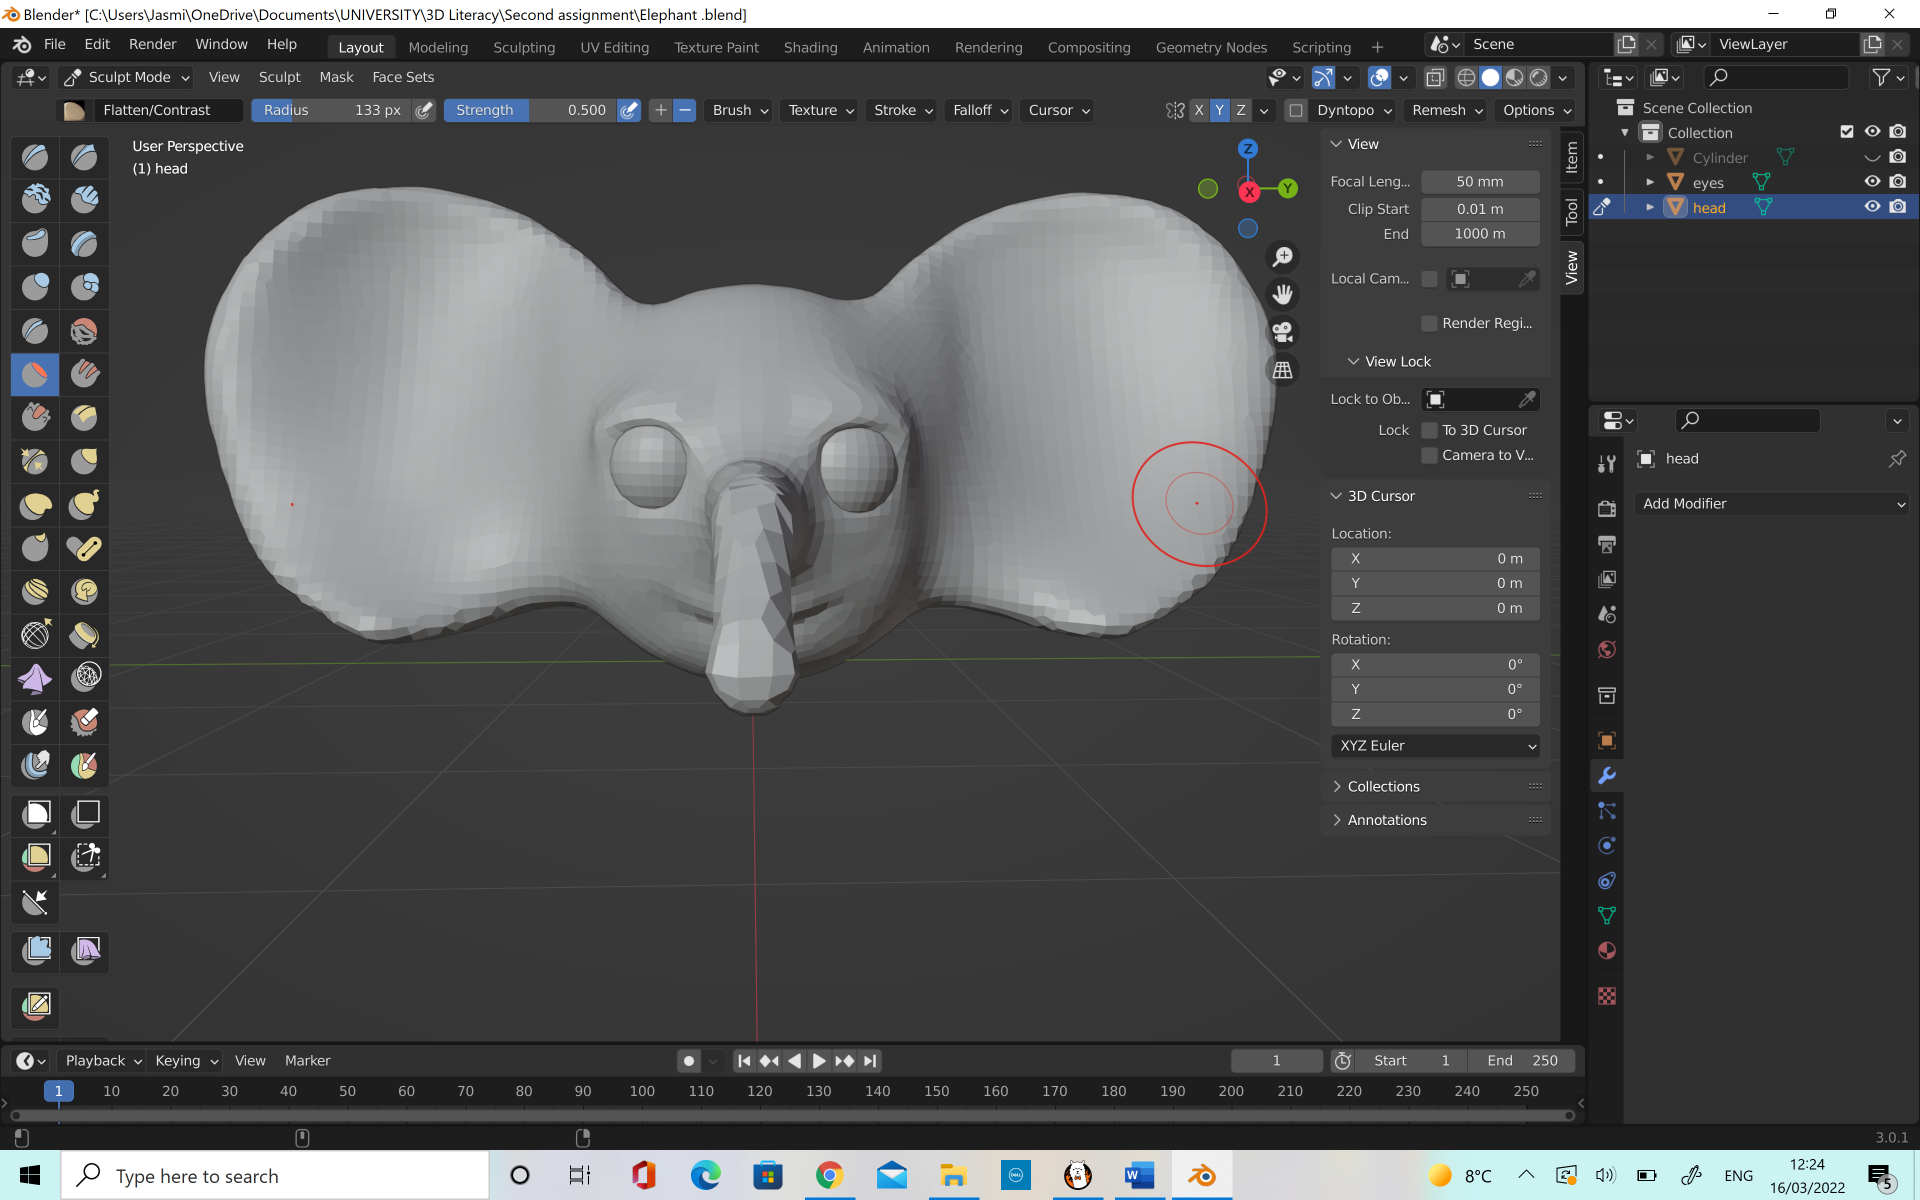
I made an elephant character to get some more practice of the software. I followed the same steps at the beginning as the alien, including using the duplicate modifier to create the symmetry of the ears, and then pushed them back to create a curve in the ear.

For this creature however, I added a trunk onto the front as a separate object and then joined it together, and smoothed. I was again careful to do a remesh here to make sure that the objects were all the same.


I smoothed out the ears first until I was at a point I was happy with, before adding the eyeballs on to bring the character to life. I had the symetry button on so that every change applied to the left side would also affect the right and therefore keep my model as symmetrical as possible.


Initially I had some trouble with getting the nose shape the way I wanted it. It was too thick for the face and the bend was not where I wanted it but with a lot of smoothing, grabbing and use of the elastic deform tool I was finally able to get it to the shape that I wanted.


I also started working on the blockout for my Whale Shark character. Initially I made it too complicated for myself, choosing a lot of separate objects instead of just manipulating all that I could with the one large object.


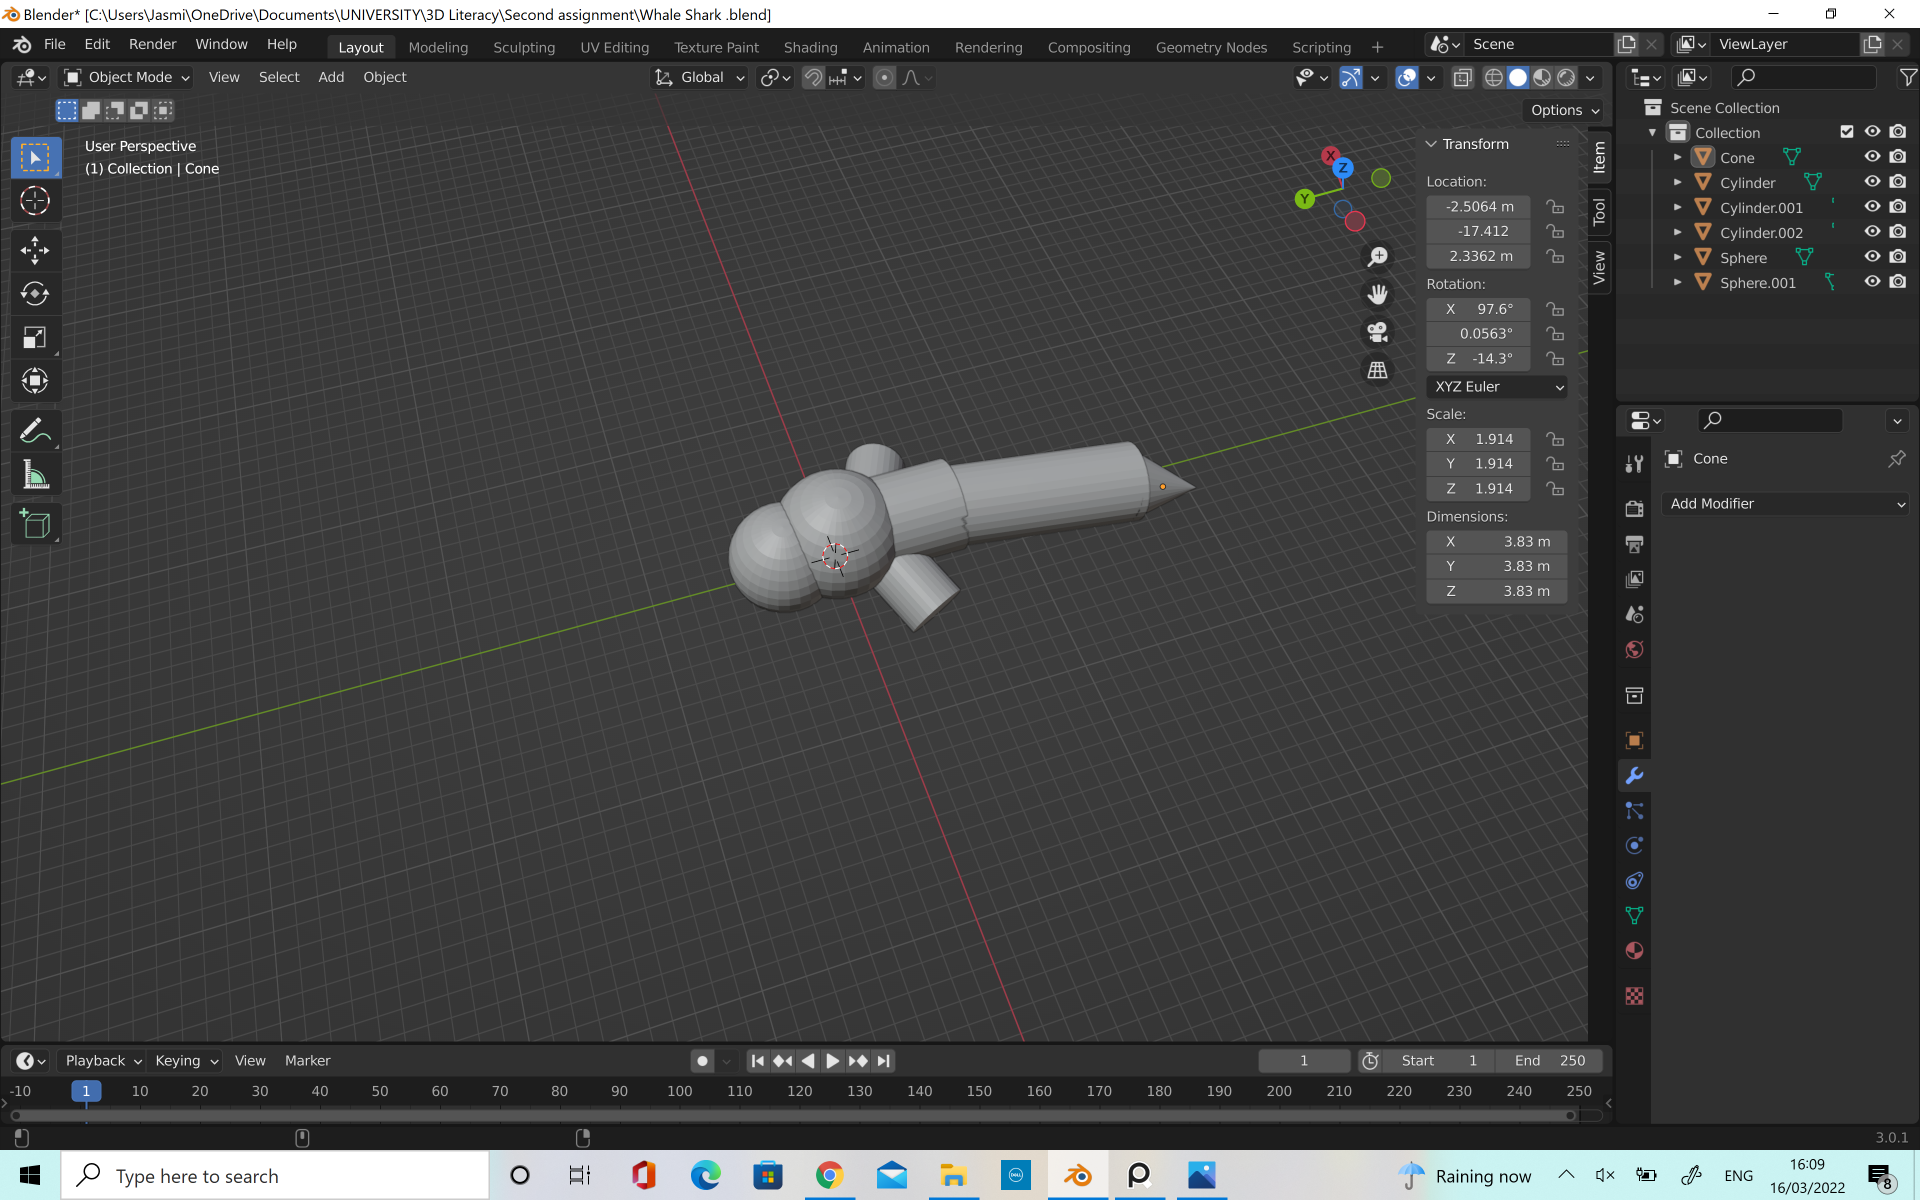


After I tried to smooth it I saw that it was not going the way I wanted it to se I decided to start again. However, I still used too many objects and therefore it ended up going the same way as I did the first time.


I asked for some advice and Henry was able to show me a way which made the block out look much better, using much less objects.


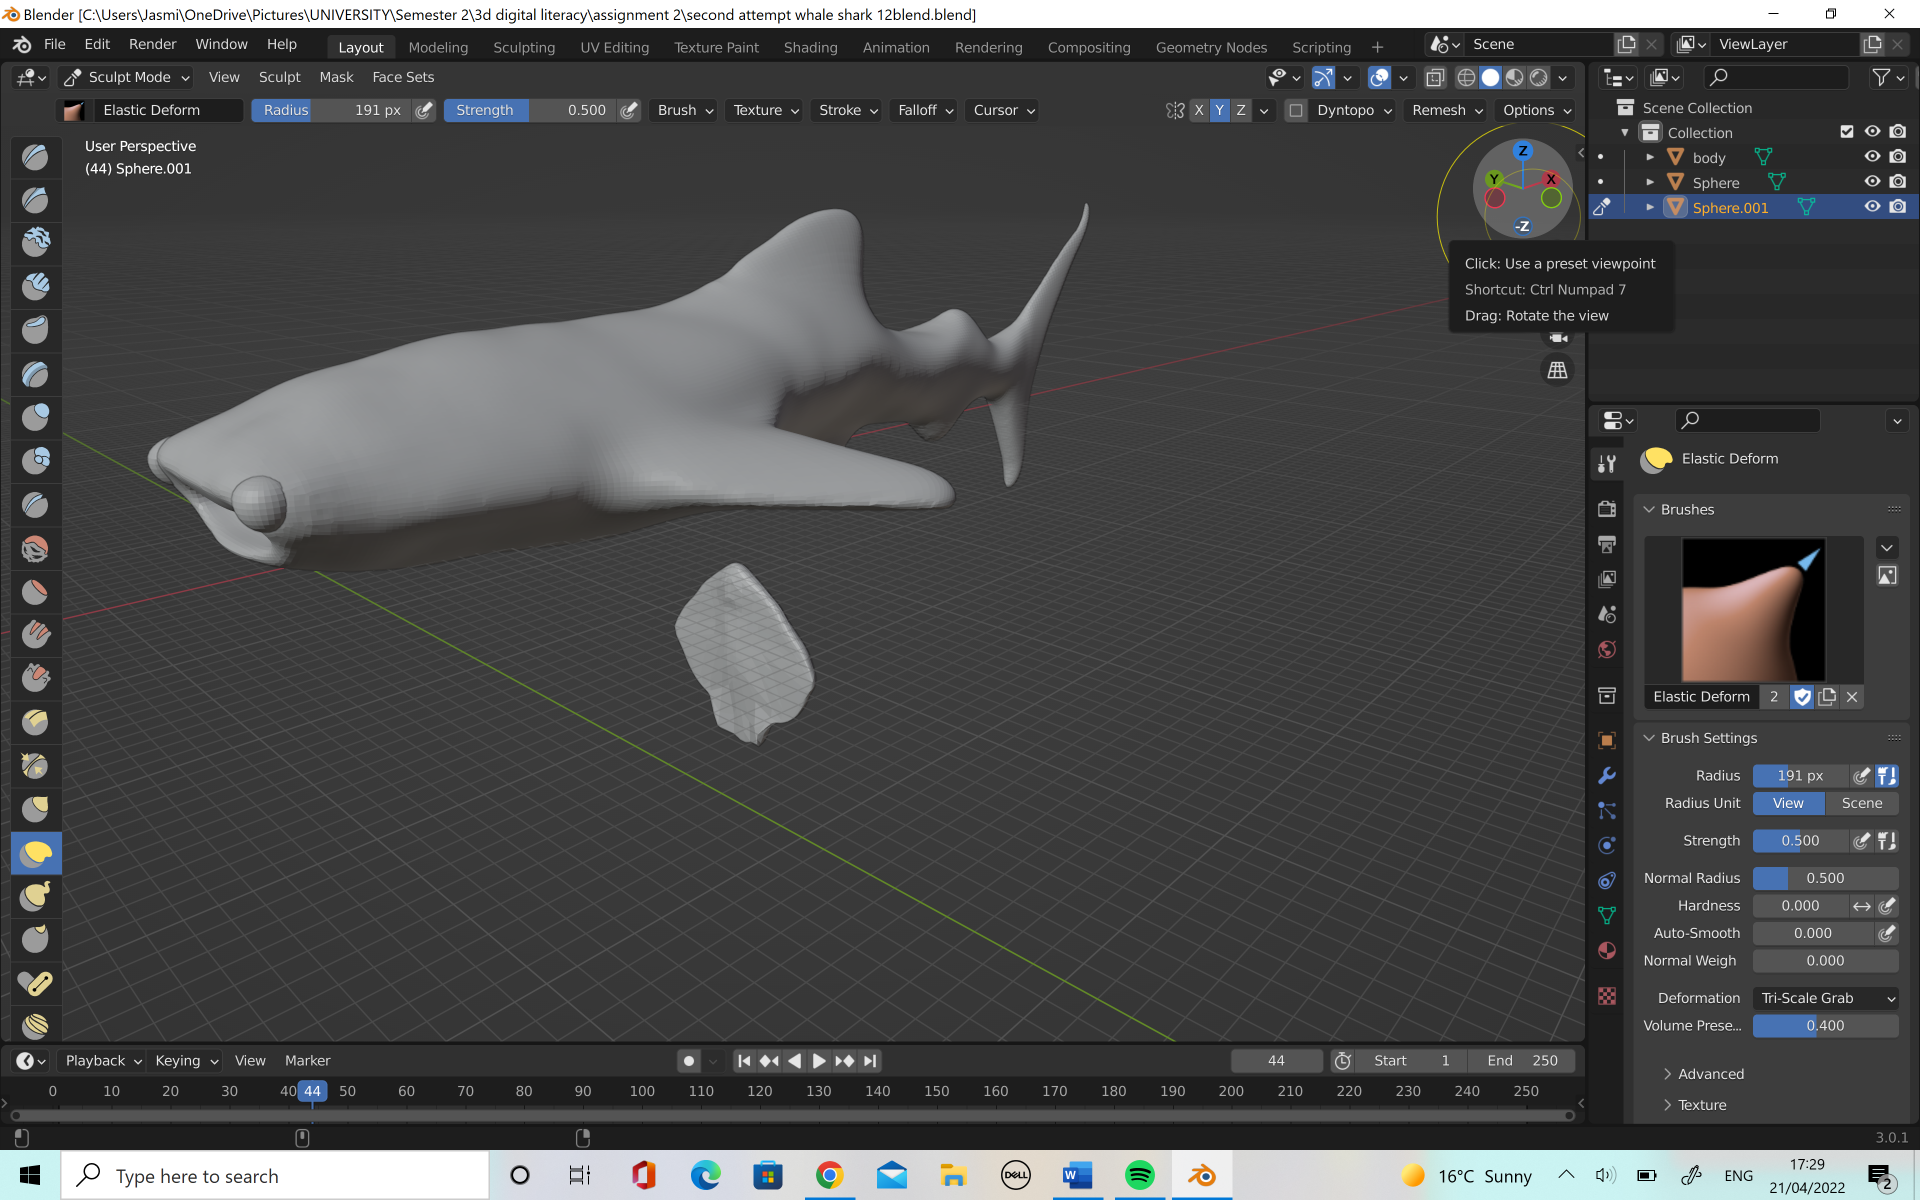
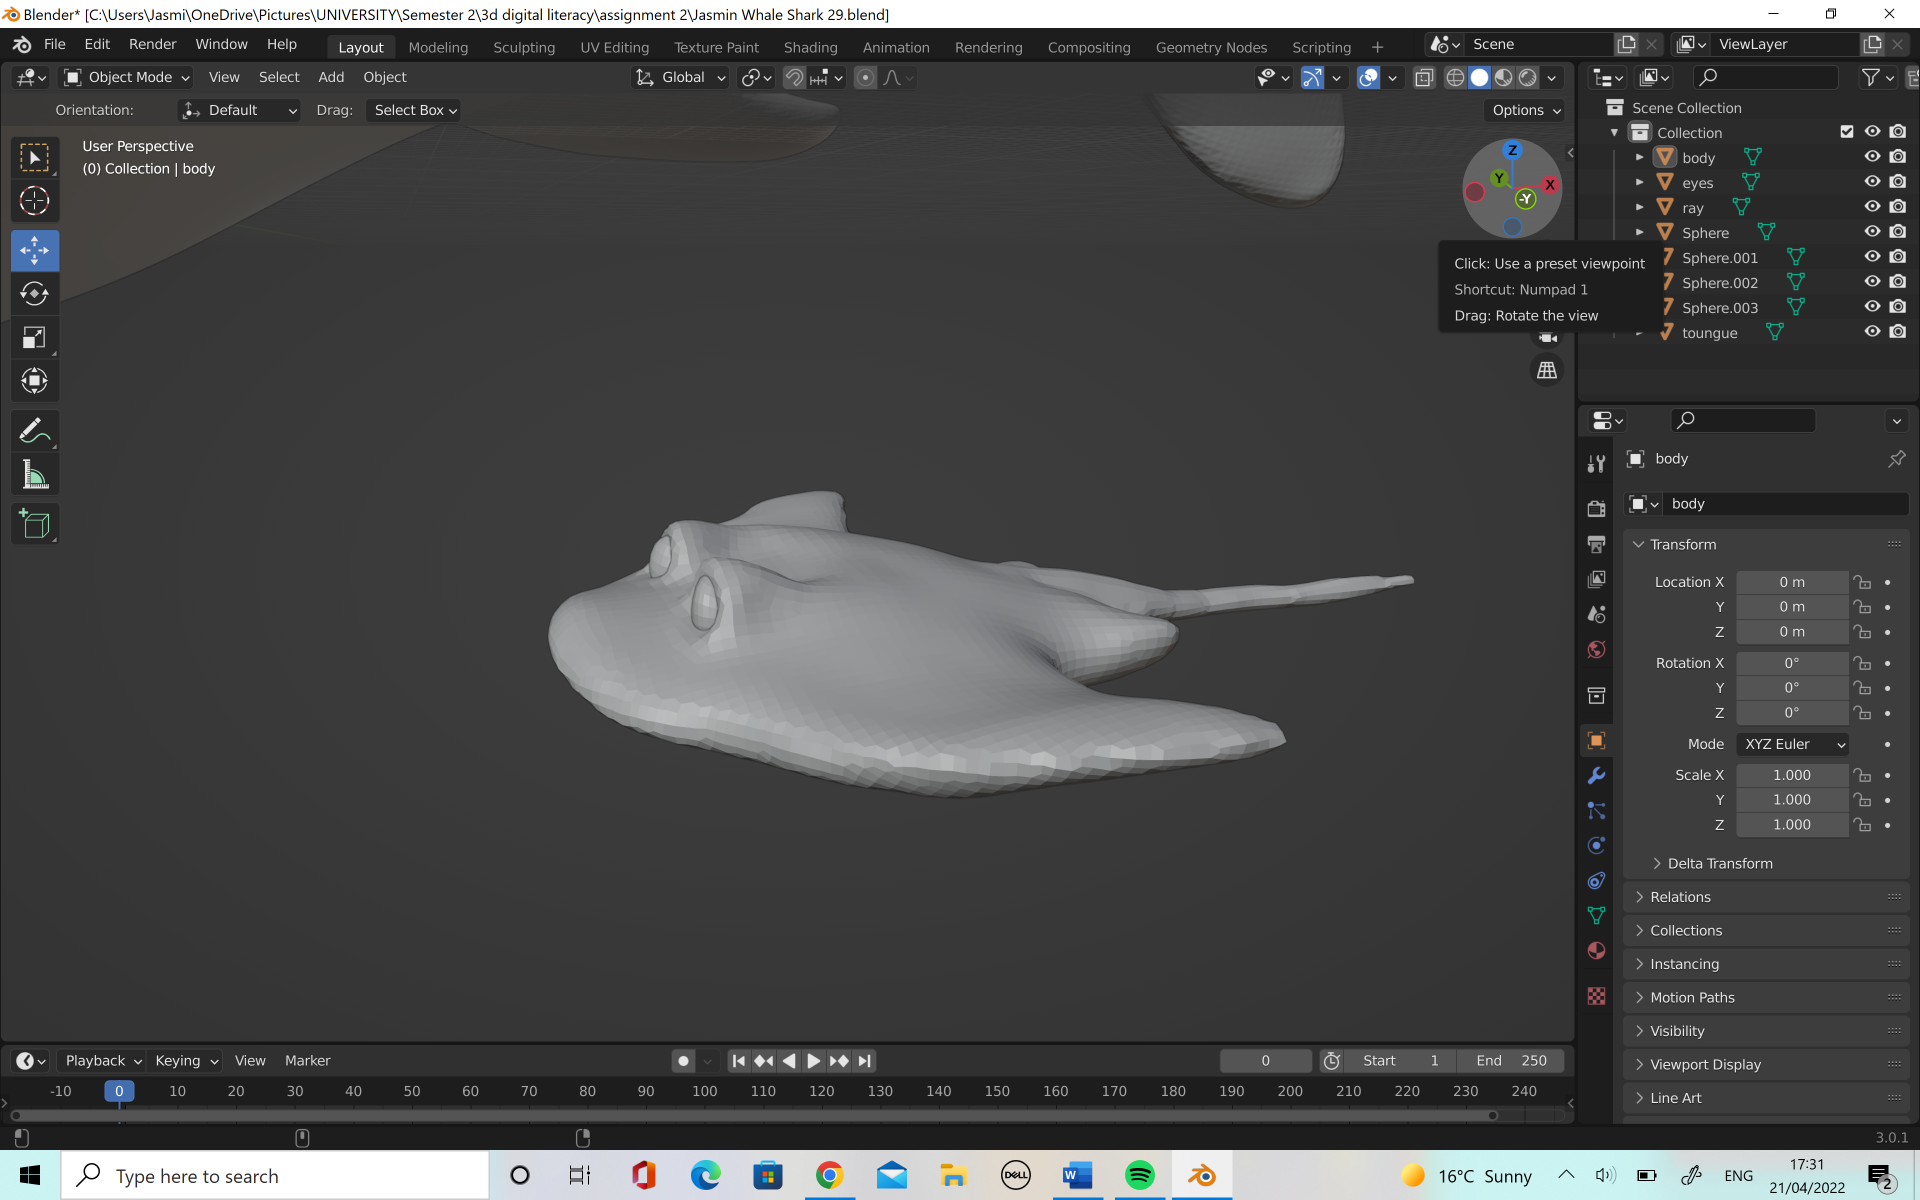
This attempt worked much better as the model started to resemble a whale shark, though there was still plenty of work to be done on it. I was not happy with the shape of the front of the head, and the back of the body so I decided to rework it. I also decided to redo the fins on the back of his body.

I started by changing the shape of the body as I thought it would make it easier to place the fins once I had the shape of the body the way I wanted.


I made his mouth a little wider and his eyes a little bit bigger in order to emphasize his cuteness and I think it worked well. I did think however that it could be emphasized even further so I decided to do a bit more work to get it right.
The image below shows how flat I originally had the model, which looked too much like a regular shark but not like a whale shark so I knew I needed to fix this part.

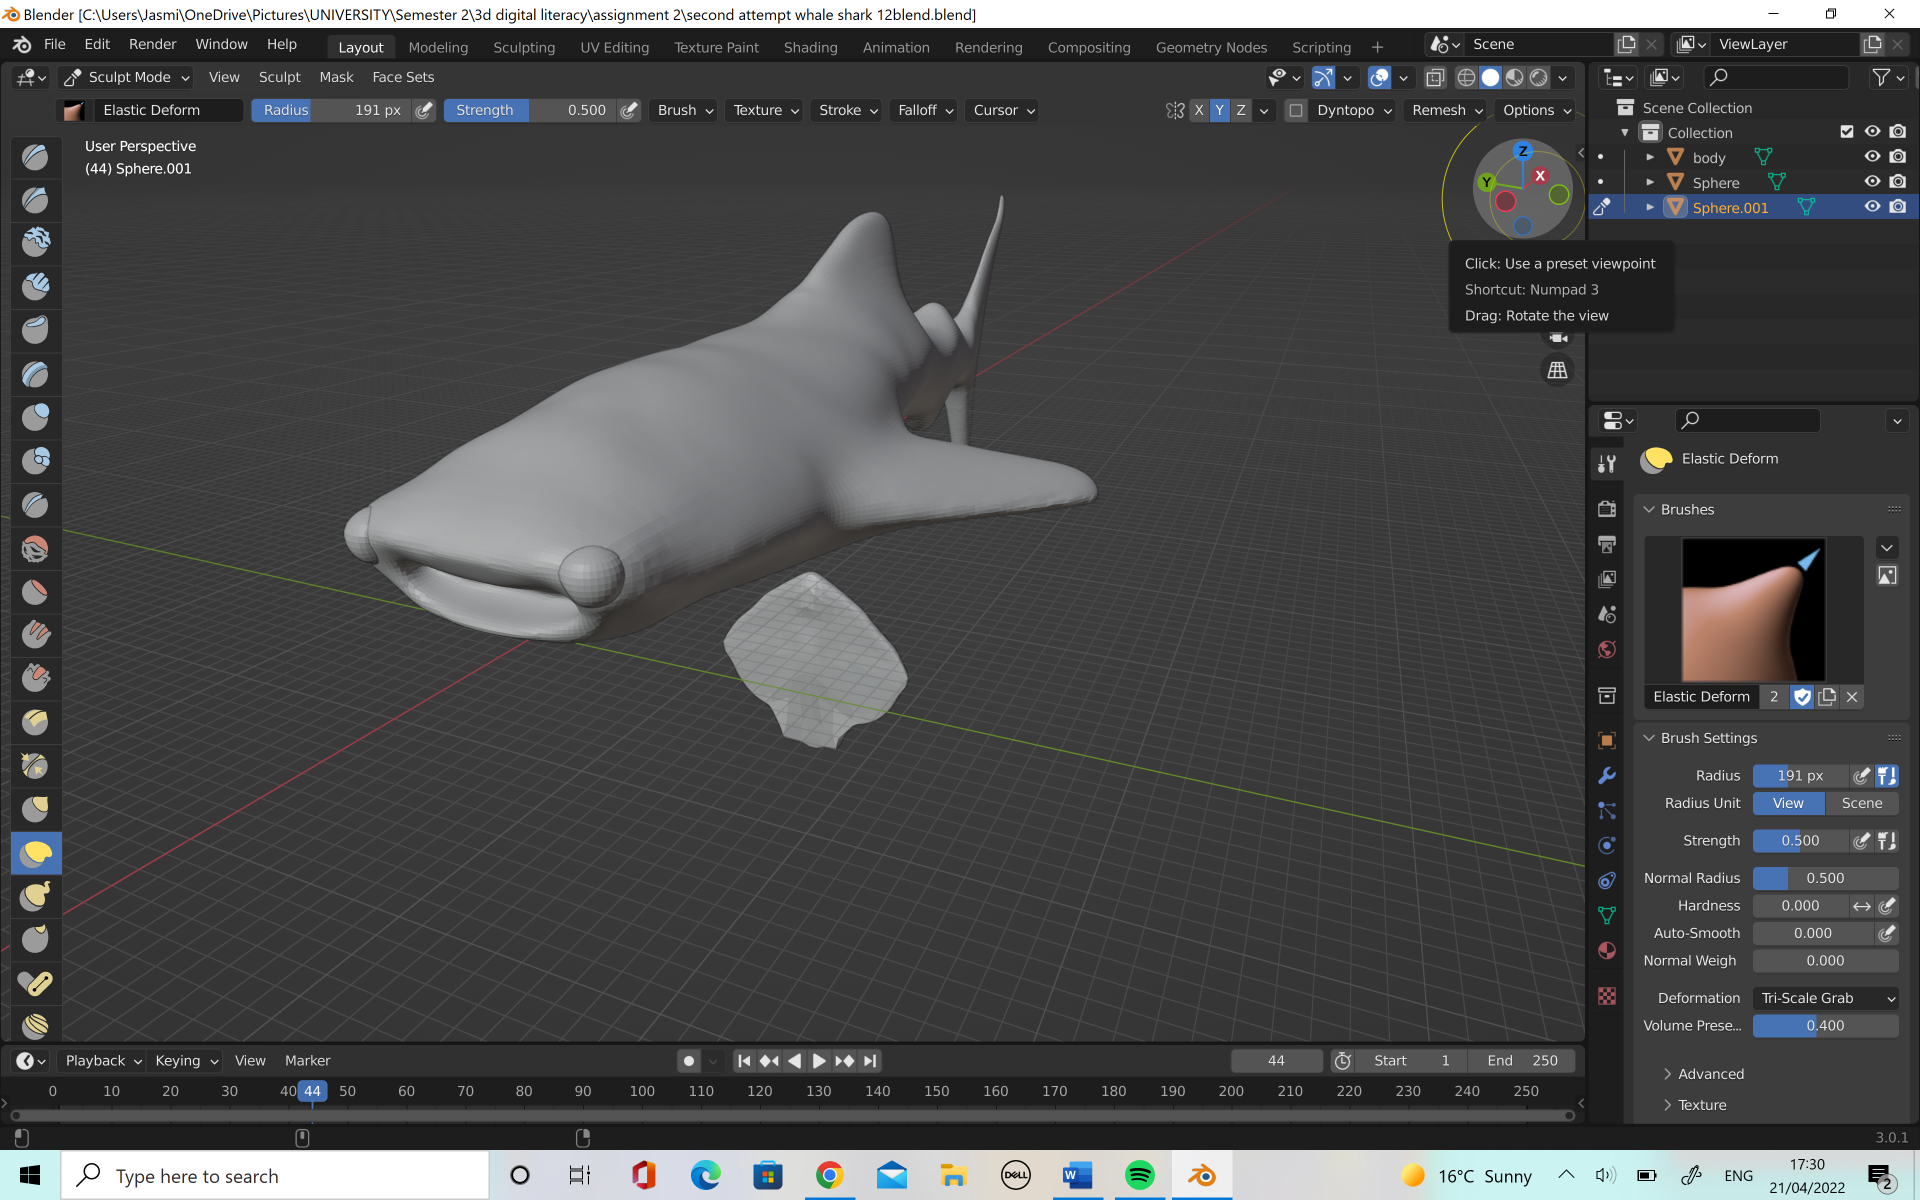
The next image shows the improvement and how it made the whale shark look much better, but puffing out his body and head. This also helped in making him appear cuter.

Once I was happy with the shape I was able to add some more details. I added little gills to the side of the fins, as well as the lines which run down the back of whale sharks. I used the draw and pinch tools in order to create these details. I also added a tongue to the character as I thought the hole for his mouth looked unfinished.
I also added a ray character to help build more of a world to my characters scene. I started simply but blocking out the shape, before moving onto the more detailed areas, such as the mouth and eyes as well as the tail. I made sure to make the ray a lot smaller as Whale sharks are very large and I wanted to capture this in my model.

Once I was happy with my models, I was ready for retopology.