At the beginning of our Easter break for our Creative Industries module, we had just received positive feedback and some further critiques on our lighting test done by our group member Robert, and some of the texturing choices on my props. Afterward, our group discussed plans for how we were going to work and communicate over the Easter break as we wouldn’t be in class for roughly 3 weeks.
I assigned work for everyone to work on, and considering where we are currently at in the project I thought it best to start working on my Sea Bunny’s animations again for the game’s HUD. The things I had to focus on were colouring both the lineart, character and hologram, along with figuring out how to keyframe repeating scan lines and properly frame the Sea Bunny in the hologram’s frame.
I started with the hologram first, and knew that I wanted it to be semi transparent, so I turned the opacity down to roughly 85%, and then started working on the scan lines. Currently, the version of Toon Boom Harmony I’m using is Essentials, and often in the tutorials I looked into used Standard or Premium, and had features I didn’t have access to. So I realised I needed to find away around the issue, and eventually I figured out the Cutter effect. With it, I created a light blue layer underneath the hologram, and added a cutter layer to the base colour and created lines through the base colour to show the light blue colour underneath as scanlines. Lastly, I then learned to keyframe the cutter layer to move down one scanline before snapping back to the original position, giving the effect that the scanlines cross down endlessly, which is what I wanted for the background animation. In addition, when I drew additionals frames when the hologram glitches, the new frames are still affected by the keyframes, making the effect much more successful.
Below is the WIP render I made after I added in the scanlines.

Next on the agenda was to add in visuals for the opening and closing animations for the hologram. Initially, I wanted to have the Sea Bunny visible from the beginning, and have it squash and stretch up as the hologram opens. However, due to the quick pace of our game development cycle, I decided to save time by going for a simpler solution, that being having a static effect on the hologram before it fully opens. My main inspiration for this effect was in an episode of Steven Universe titled “The Message”, which features a message being broadcast to a TV in the episode, which features a wavy, rippling static animation on the screen, as seen below.
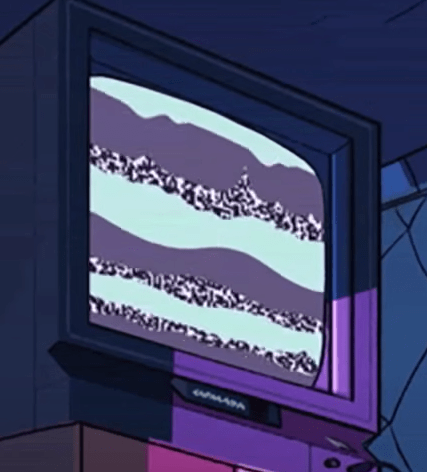
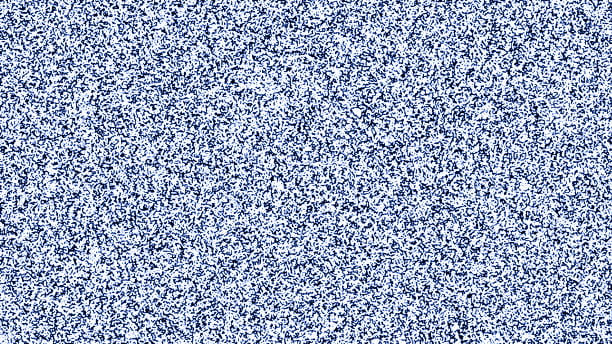
In context, this message is being sent by a water themed character named Lapis, hence I thought using the wave-like animations for our game’s static would be best, and so I used the cutter tool in Toon Boom, and a stock photo static image I had edited to fit the colour palette, as seen below, to achieve the same effect.
Once I created the wave effect layer and properly added in the static layer, I keyframed both to scroll in opposite directions, which resulted in the final effect turning out how I visualised it. The final version of my hologram animation can be seen below.

Moving on, I then coloured in my Sea Bunny character animations, expedited by duplicating the lineart layer and colouring everything in without disrupting the lineart, and then importing the frame from the hologram animation to line up the framing correctly, and then using the cutter effect to hide the sections of the character that stick outside the frame. In order to have all the animations export properly without losing quality, I decided to export all of my animations as separate pieces that would be stacked on top of each other as layers in Unreal, with the hologram frame at the front, all the Sea Bunny animations in the middle, and the hologram background behind both of them, which is something our games design group members will cover.
Below are the fully coloured Sea Bunny animations.
Neutral-
Happy-


Sad-

Glitching-