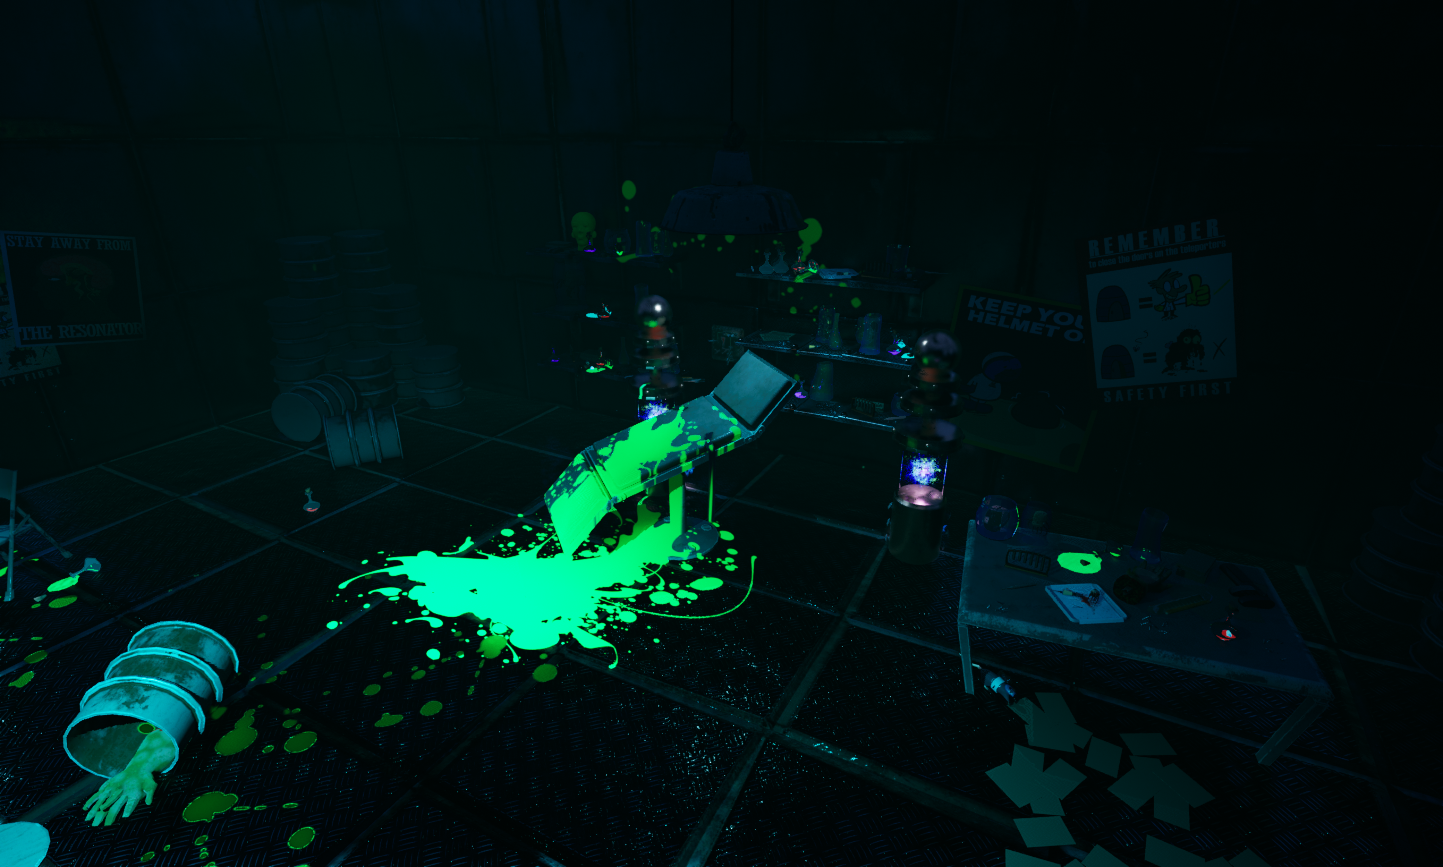
Animated Strategies – Further Updates to lighting, LUT and Rendering the first scene.
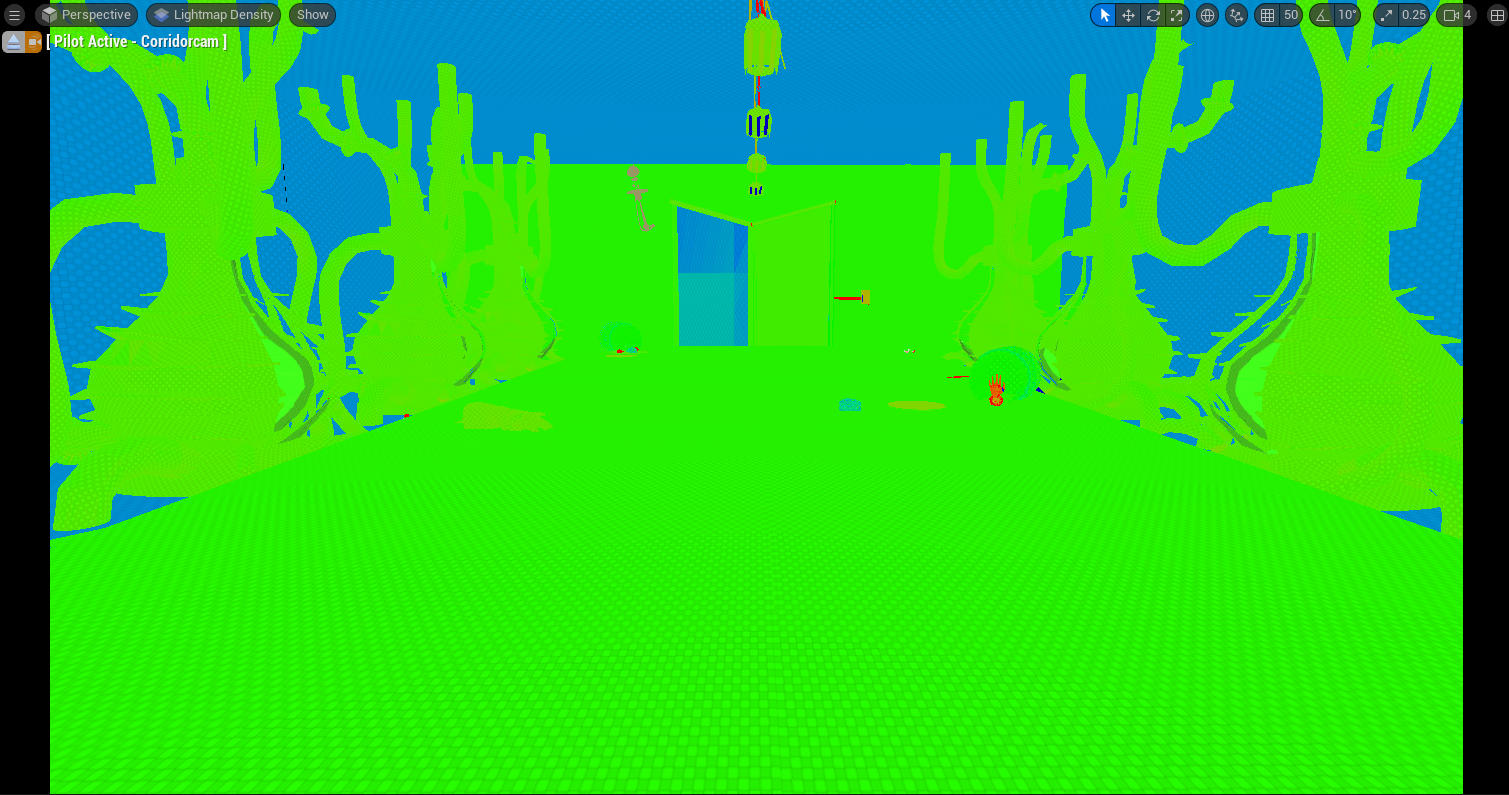
Animated Strategies: Adding a little more lighting and building some light maps.
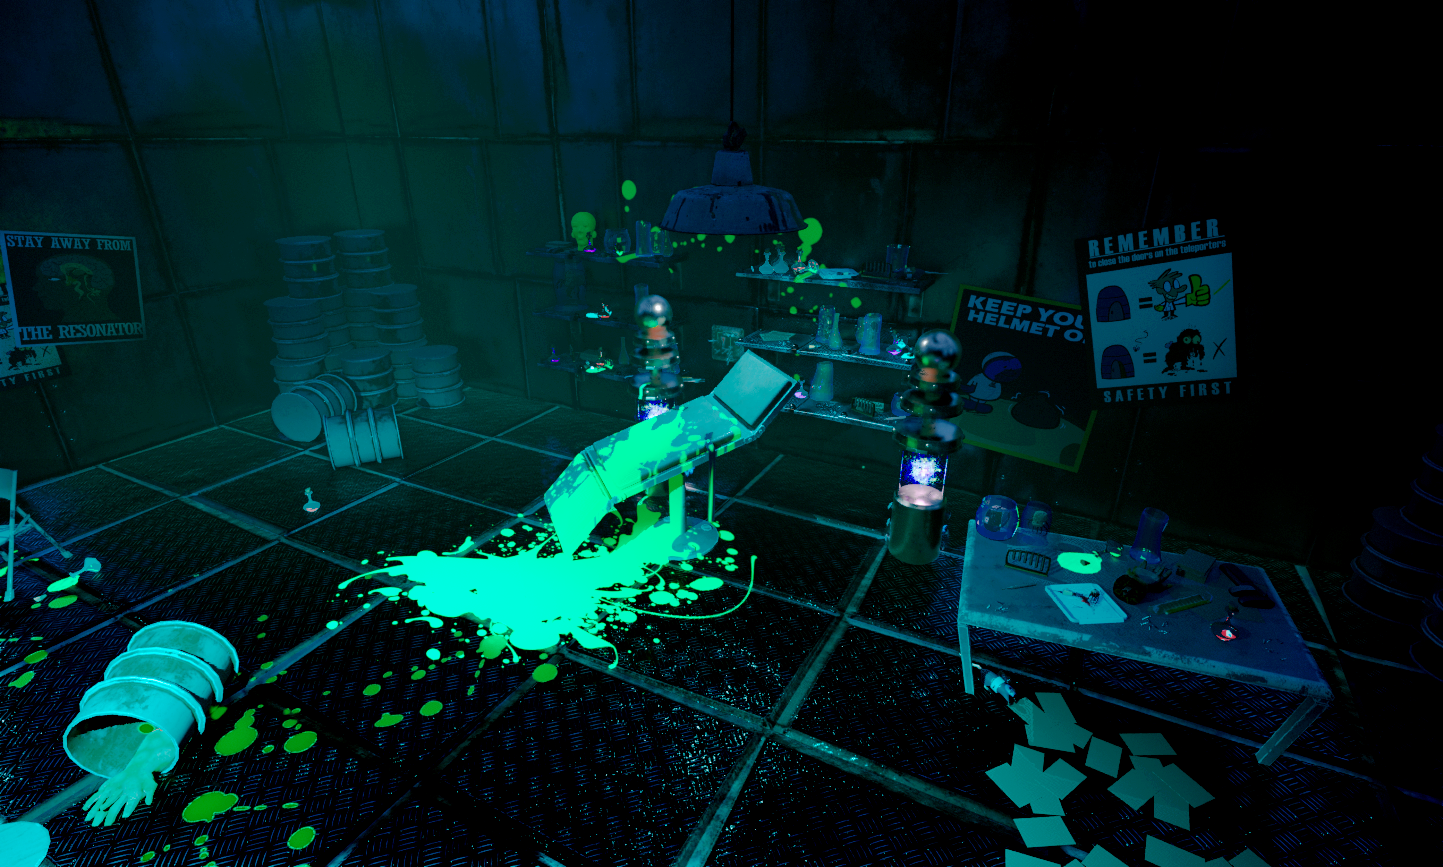
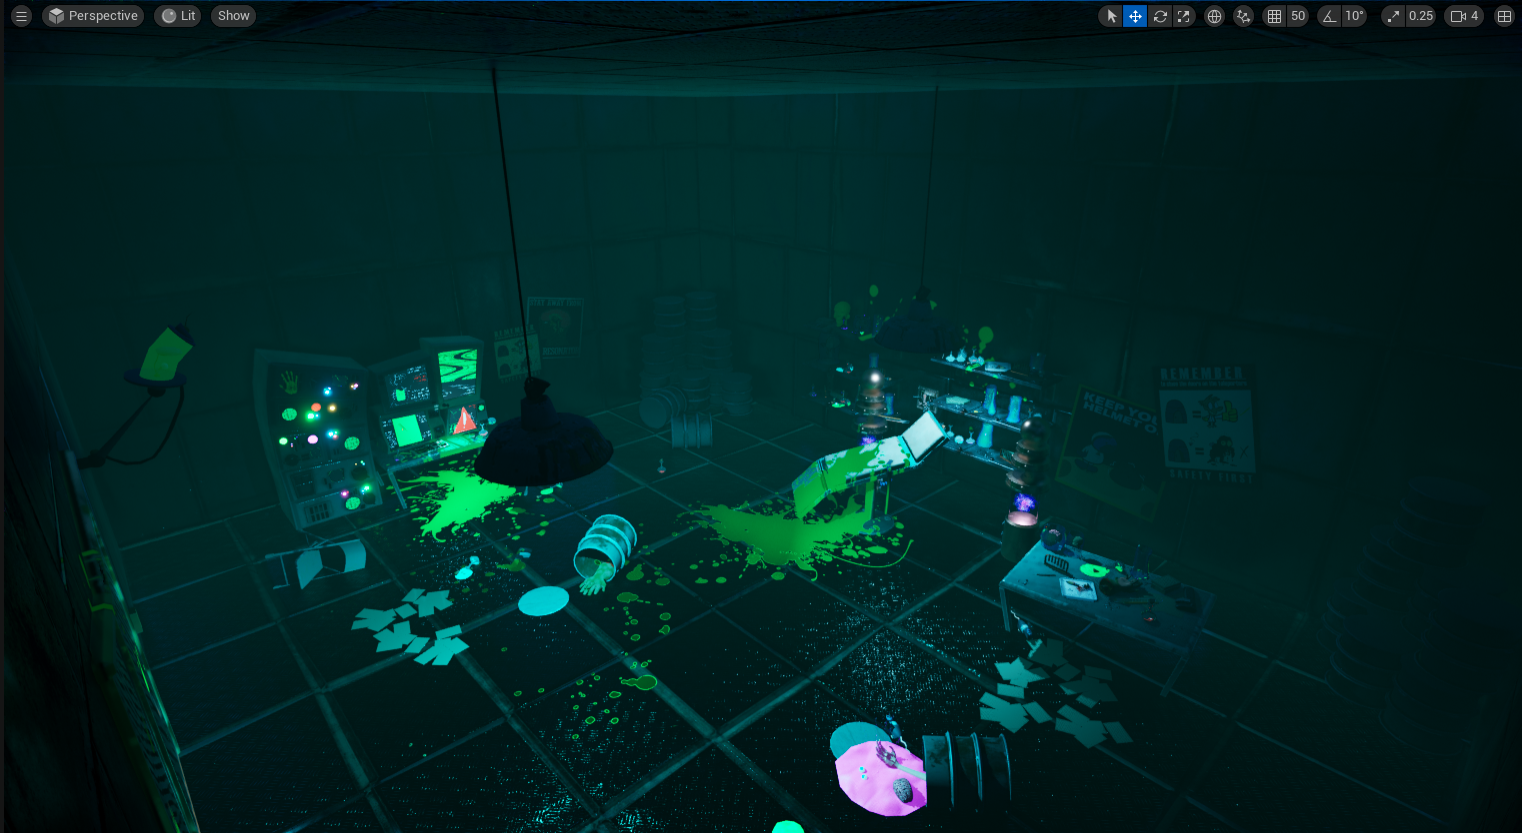
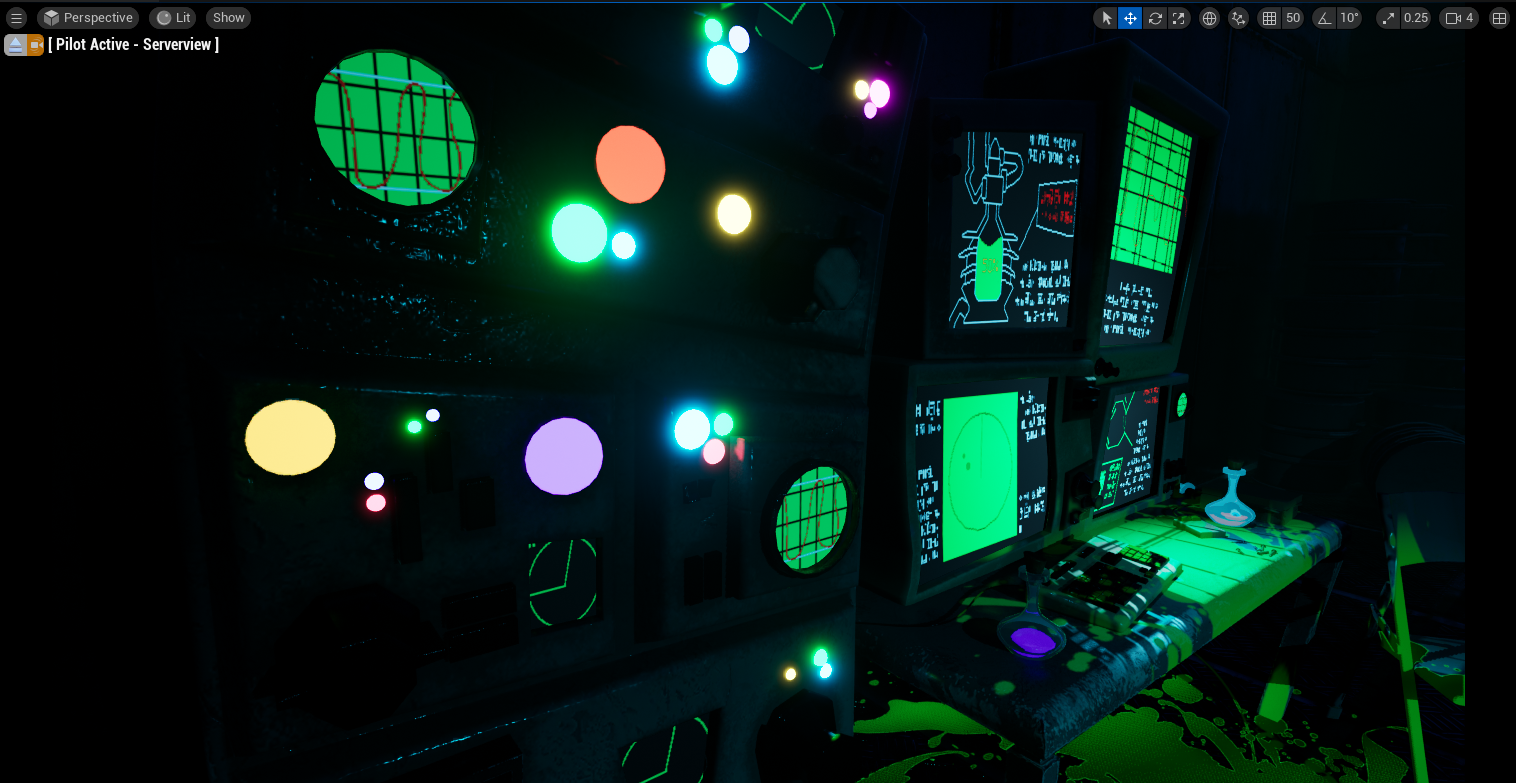
Animation Strategies – More lighting work, post process added and cameras placed.
Animated Strategies – More layout and some lighting actions.
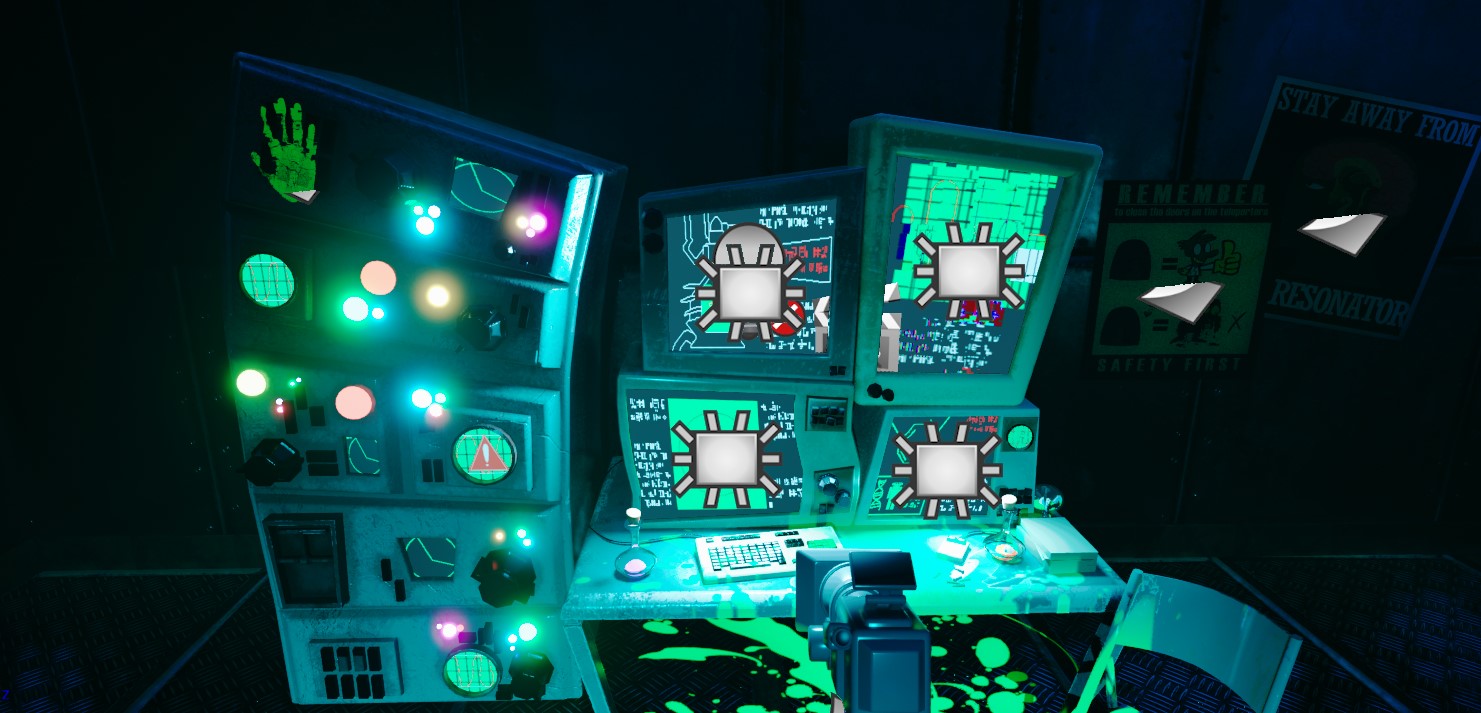
Animation Strategies – Finishing up textures, adding GIF video files to screens.
Animated Strategies – Texturing and final model for UE5 project
Animation Strategies – Week 5, Lighting and Post-process effects
Animation Strategies – Week 4, Bringing textures and applying textures in UE5
Animation Strategies – Week 3, Refresher on Textures and Wall Sculpts
Animated Strategies – Week 2, more concept art and ‘blocking out’
Animation Strategies – Working on some concept art, finalising theme and concept.
Animation Strategies – Week 1, first look at Unreal Engine 5.
Self Reflection:
I found this assignment incredibly challenging in terms of both software and meeting my own personal standards in my work. I really wanted to push myself to create something good personally in terms of assets, to ensure that my team mates were equipped with good props to use within their scene. Whilst there were a lot of moments during this process that I felt incredibly exasperated with myself and my own abilities, I really believe that I delivered with my assets in the end. I also wanted to push myself to use Adobe After Effects in post production, as I wanted to add some spooky ‘found footage’ aspects to my cinematic. Again, I believe I really did myself proud in my progress with this.
I regularly sought out feedback for my scene, and acted upon it where I could – time permitting. That’s another thing that I’m really proud of myself for; I think I’ve benefited from seeking out feedback. Where before I would find this quite uncomfortable, I think I’ve grown a much thicker skin when taking criticism and I feel that I’ve done well to act on the criticism I’ve been given.
There is much to be improved upon, however, and there are a lot of aspects of this pipeline that I do not feel that I am particularly strong. For one, I feel as though I could have done a lot more with my flooring and my roof, and the layout of my environment as a whole. There were no pillars, no specific roof textures, no skirting. I think, were I to go back and do this again, I would have modelled some larger pipes and done more with the skirting and the roof. Mike also made a great point about making my textures tile-able, which I think would have improved the overall look of the scene. When it comes to post production, I was not hugely adventurous when it came to cameras or camera movements, nor lighting. I’m sure much cooler things could have been done with both of these aspects. Finally, my grasp on After Effects – which, admittedly, is better than it was – is still very limited. I am sure that I have made my cinematic pretty repetitive. I must try to improve on my editing in the future.
Overall, I’m very pleased with my performance in this class. I really believe I did the best that I could — I can’t ask much more of myself than that.
 After speaking to Henry and Mike today, I was given the following feedback: