3D Literacy: Gus the Axolotl uploaded to Sketchfab; Self Reflection.

3D Literacy – Introduction to Blender, Fruit Homework Sculpts and ‘Cute Character’ Concept Designs.

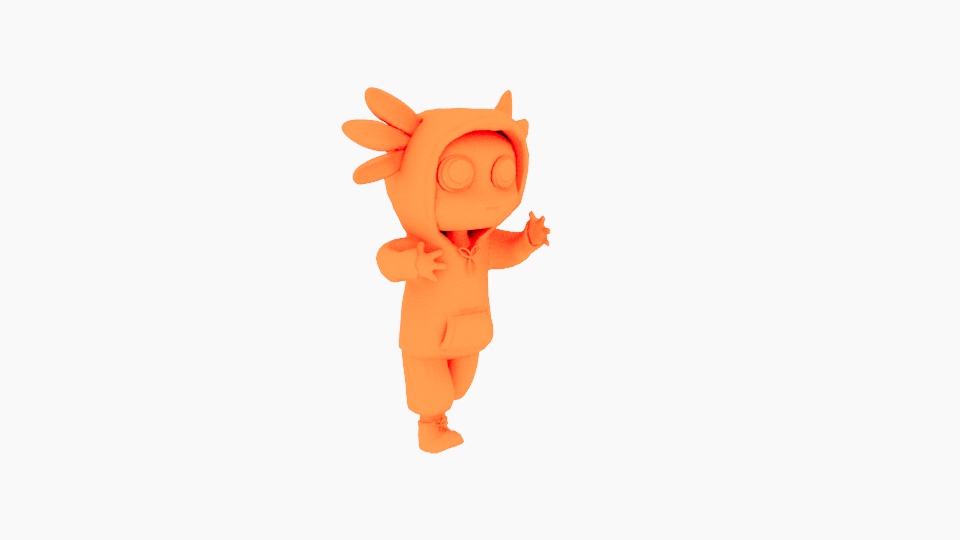
3D Literacy – Class Activity, and starting to block Gus the Explorer!

3D Digital Literacy – Homework, Mike’s introduction to sculpture.

3D Literacy – Gus the Axolotl progress.

3D Literacy – Gus the Axolotl progress

3D Literacy – Gus the Axolotl Progression

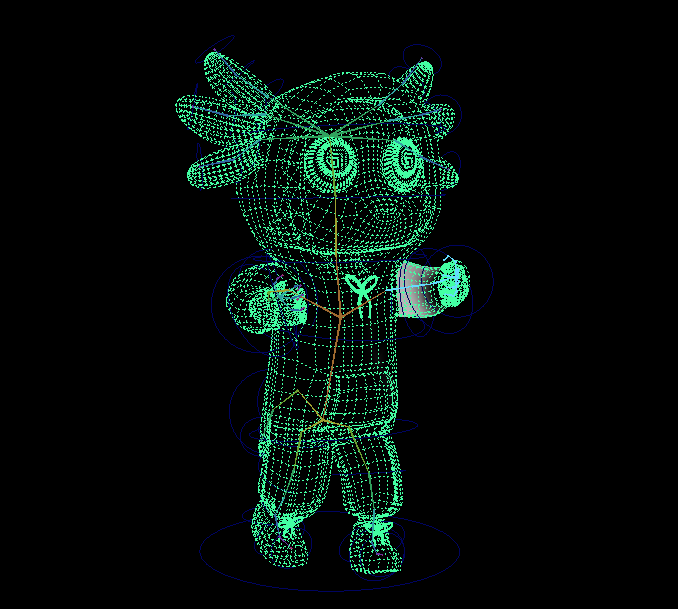
3D Literacy – Gus the Axolotl progress and retopology exercise.

3D Literacy – Gus the Axolotl Progress

3D Literacy – Modelling some basic Props

3D Literacy: Gus The Explorer Progress – Starting Retopology

3D Literacy: Gus Topology and UV Unwrapping

3D Literacy: Texturing Gus and his Lantern Staff.

3D Literacy: Finishing off texturing.

3D Literacy: Playing with shaders and starting to rig Gus.

3D Literacy: Finishing skin weights and posing.

Self-Reflection:

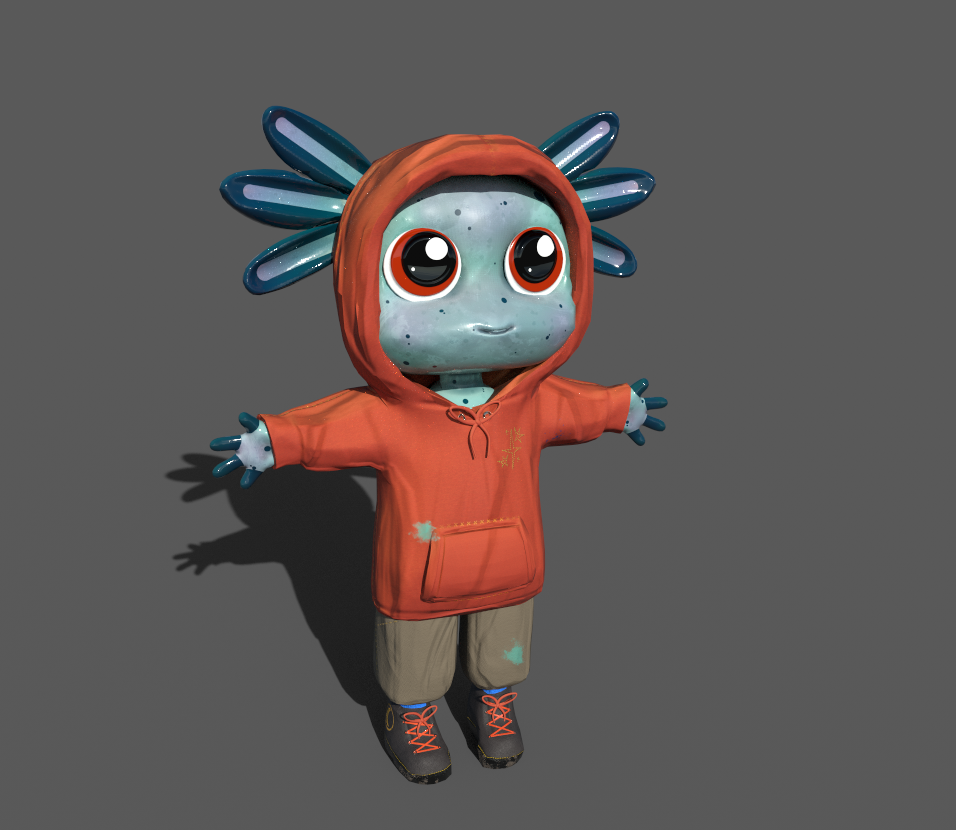
The organic modelling assignment, to create a cute character, was incredibly good fun. I was looking forward to using Blender as a different way to create 3D models, and I felt that I worked a little more intuitively with this programme in comparison to Maya: it felt a lot more natural to me. As a result, I worked quite a lot of hours on Gus, and therefore finished the assignment quite swiftly, as I was having a great time!

This project also helped me feel much more confident in processes that were previously quite daunting (And that I desperately needed more practice with), such as UV mapping, rigging and painting skin weights. I cannot thank my lecturers enough for all of the fantastic help they provided me with in this project – I followed all of the tutorials that were helpfully provided by my professors, and as a result I feel so much more confident in UV mapping and rigging in particular; something that’s been incredibly useful for my other module, too.

I was also able to dive a little more into Substance Painter, and had a lot of fun experimenting with all of it’s features. I feel that I have a much wider understanding of the software as a result. I think that I have a tendency to take the textures a little too far, and in future I am going to try to keep things simpler; I managed to scale back on a lot of things with this project, however, so I am counting it as a success in moderation. Over the summer I would love to look a lot deeper into hand painting textures, shaders and other techniques – I would love to be able to create some more stylised pieces.

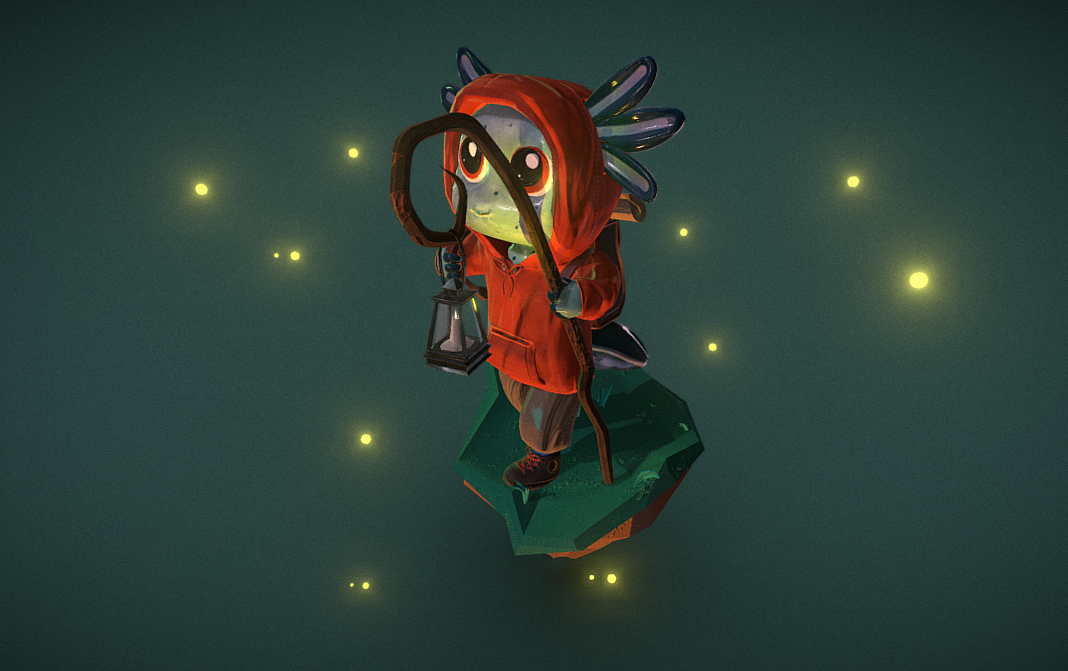
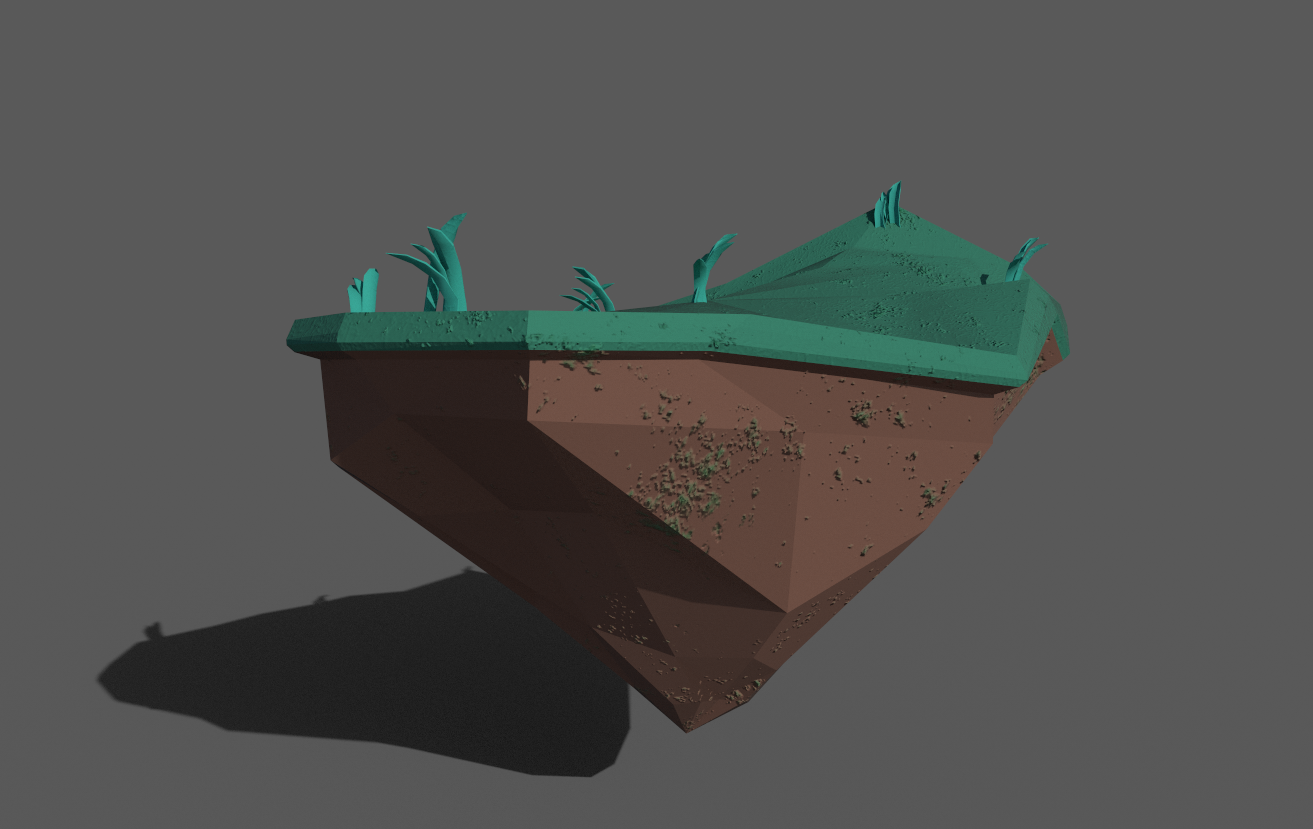
Over all, I am very proud and overwhelmed with how much I’ve learned in this project, and the entire 3D Literacy module as a whole; I was so scared of this class when the semester started after Christmas, but I have enjoyed it all immensely. I feel that Gus the Axolotl Explorer fits the brief, and I am extremely pleased with how he turned out – a little lad with an insatiable love for adventure. I love this new medium for creating, and I am looking forward to learning more in future!

3D Literacy: Finishing skin weights and posing.

I spent the day sorting Gus’ skin weights, and posing him. I’m really happy with the finished look for this character, and I think sorting the skin weights really helped the model to look crisp:

The skin weights for this model ended up being fairly simple; I only really needed to ensure that the arms and legs didn’t alter the hood too much. Nothing else was moving enough to warrant going into too much detail with it!:

I added some simple little spheres around the model, just to convey fireflies and to add a bit more visual interest to the model:

After a few little tweeks and adjustments, I finally got my model to a place where I was happy with it, and uploaded it to sketchfab:

I noticed after this upload that he looked a little lop-sided, I didn’t like that – I had originally adjusted his backpack to be lop sided on his back in favour of his right arm, to show that it was being held there, however I decided to stick it back to being flat against Gus’ back to keep him looking stable on his feet:

3D Literacy: Playing with shaders and starting to rig Gus.

I decided in order to pose Gus, I was going to have to rig him: When I attempted posing in blender it didn’t work well. Rigging was fairly simple, but the skin weights are going to give me some issues I suspect:

After I was finished, I tried posing out the character as it was, without any skin weights applied:

I’m actually pretty pleased with how the model looks even without skin weights: It’s not perfect, but it still looks pretty good, and I can only assume that after skin weights are applied it will be manipulated even cleaner.

I decided to pull in his props and cliff, just to further gather an idea of how this might look when it’s finished:

Again, I’m really pleased with these even without skin weights: I think they look pretty cute!

I also had a little look around at applying some toon shaders to my model, and looking at how those shaders might alter the appearance of the Gus:

I really love how these turned out, I think they look so cute but they also detract from a lot of the effort I put into the original texturing: I am going to try and apply the same look to the Sketchfab upload and see how I feel: I might even end up uploading both versions for review, just so that I am able to demonstrate both appearances and show that I did some experimenting and research.

I have used/will use the following tutorials and articles in order to research the toon shader look I am interested in when I am uploading to sketchfab:

Creating a Cartoon Outline for Sketchfab.

Simple Toon Shader for Substance Painter.

3D Literacy: Finishing off texturing.

I finished off the texturing for my remaining prop – the backpack – and the cliff that Gus will stand on:

The next issue I have encountered is a problem with posing Gus in blender: I’m honestly considering rigging him in order to pose him; blender does not recognised the mesh as combined and therefore parts of his mesh move without others. For example, his legs and feet move without their laces. His arms of his hoodie move without his hands. I think rigging the model will help me achieve the look I want easier!

3D Literacy: Texturing Gus and his Lantern Staff.

I managed to finally get Gus into substance painter without any warping to his mesh around his face or otherwise: I had to separate his head, hands and tail into one FBX file, his hoodie into it’s own FBX file, his legs into it’s FBX file and then his ears into separate FBX files.

Whilst I was organising his model, I altered the high poly mesh so that his hoodie came down lower on his legs, as I didn’t like the appearance of the legs when it was further up. I conformed his low poly hoodie to the high poly hoodie and the details came through well! I’m really happy with the quality.

I started texturing Gus:

I felt like there still wasn’t much visual interest with this – I wanted the stitches around the seam of his shoes to pop a little more, and I wanted some more noticeable creases in his trousers:

I added some creases to the model, applied to add a baked stylized lighting filter to give it a little more contrast:

I duplicated them and added a filter with a slightly darker colour to add more variation:

However, after I looked at this along side the staff, I wasn’t happy with it – I felt that it looked a little too complicated and that it wasn’t the look I was going for. I decided to take back some of the details to give it a simpler look, whilst trying to keep the characteristics of a Gus’ explorative personality: I didn’t want his clothes to be immaculate, because he travels a lot – but I didn’t want him to look too detailed either:

I’m really happy with the end result, and I’m happy I scaled back all of the grunge and stains. I think that he looks like he’s a little worn and torn from all of his adventures, but still very cute and childlike!

I textured his staff:

After the scale back of Gus, the staff started looking a little too detailed for me also; I decided to take out some of the grunge maps and dirt masks to bring it back to something a little simpler; I also added a baked stylized lighting filter to make it pop:

I think the two look quite coordinated! All that’s left now is Gus’ backpack, however I’m not happy with it at the moment – I want to add the back of the bag to the main body as I’m worried that the inside of the backpack is going to show after I pose Gus’ body.

I also modelled a low poly cliff for Gus to stand on: I’m still not 100% sure about the grass on this, and I need to figure out how I am going to get the stars around the entire scene, but I’m sure it’ll be fine:

I am quite apprehensive to finish this project and get everything sorted, as I want to dedicate as much time as I can to the Animated Narrative module!