Class:
Morning class:
For this week’s morning class we reviewed the presentations that we have been working on for the past few weeks. After watching our presentation we received some feedback from Henry, Aodhan and Sarah;
– the sprites should be smaller than the images used as they may be a distraction.
– We should have had an introduction to our presentation.
– Should have had the ‘Narrative/Hero’s Journey’ as the first slide as it would have made the presentation flow better.
I agree with the feedback and will take it on board when it comes to the next presentation. I found that the presentations with video clips felt more engaging to me so next time I will try to include some video where possible.
Afternoon Class:
After lunch we reviewed the final presentation. I found all of the presentations to be engaging and packed full of information about the shorts.
After this Henry and Alec looked over assessment 2 & 3. In assessment 2 we will be using the Monty character model to create two short animations and we reviewed what we needed to do to achieve the marks. We took a brief look at assessment 3’s success criteria before we were split into groups. I wound up in Group 1 alongside:- Danielle Thompson
– Tori Gray
– Amber O’Hara
– Curtis Girvin
After this we all watched Sarah’s lecture on ‘Designing a Short Film-Pipeline and Planning’. I found it to be very useful as Assignment 3 involves creating a 30 second animation in Maya with a team so knowing what process other animators follow is very helpful.

____________________________________________________________________________________________________________________________
Homework/Assignment 2 & 3 :
This week we were tasked with watching tutorial videos on how to animate in Maya and discussing within our groups what we want to animate for assessment 3.
—Video Tutorials—
In the first video we were shown how to set up Maya for animating, setting keyframes, where the timeline is and where the ‘animation preferences’ menu is.
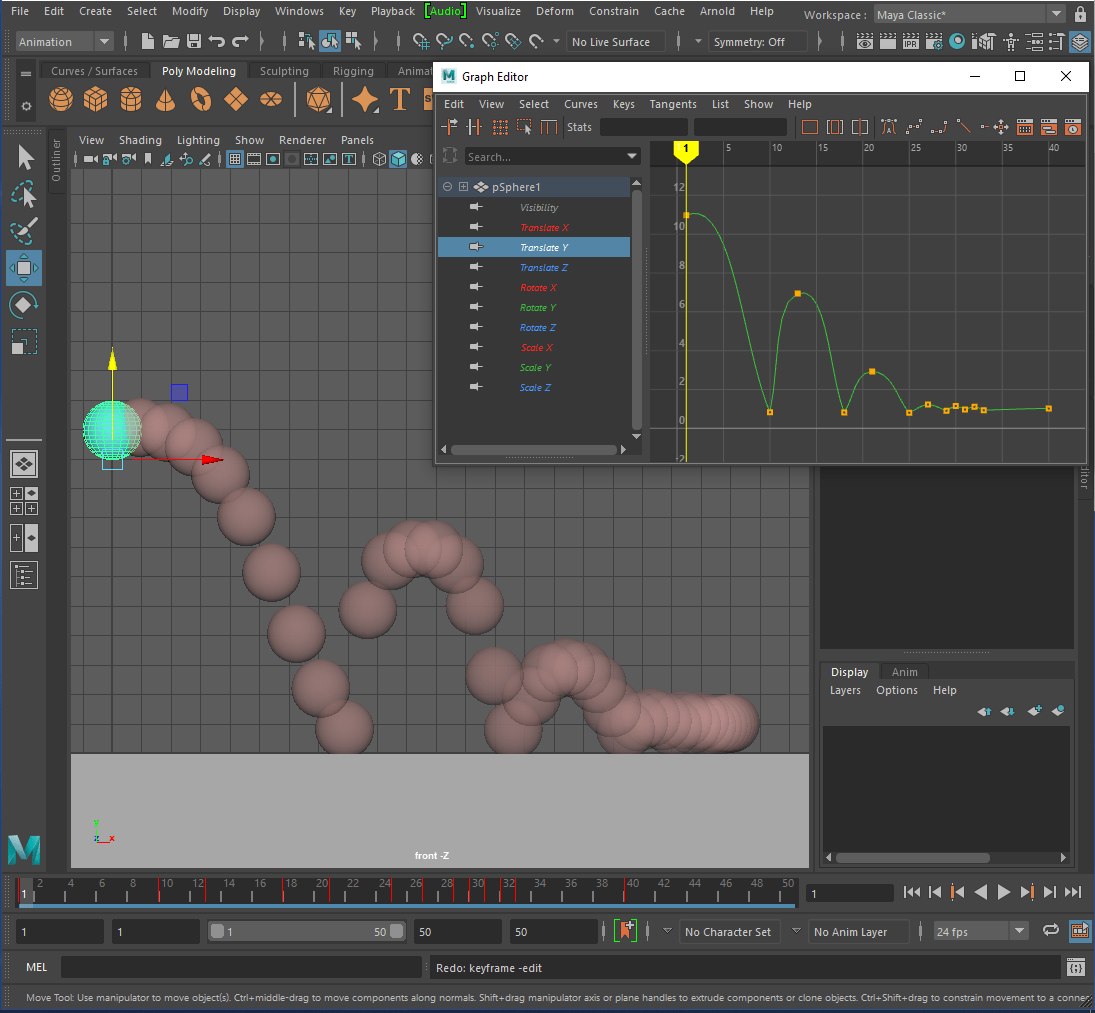
In the second video we had a recap of timing and spacing in animation. I animated a sphere and was shown how to alter the timings in Maya.
In the third video we were given a short introduction to the graph editor.
____________________________________________________________________________________________________________________________
—Alec’s Video Tutorials—
In video 1 we were shown an example of a 3D ball bouncing in Maya.
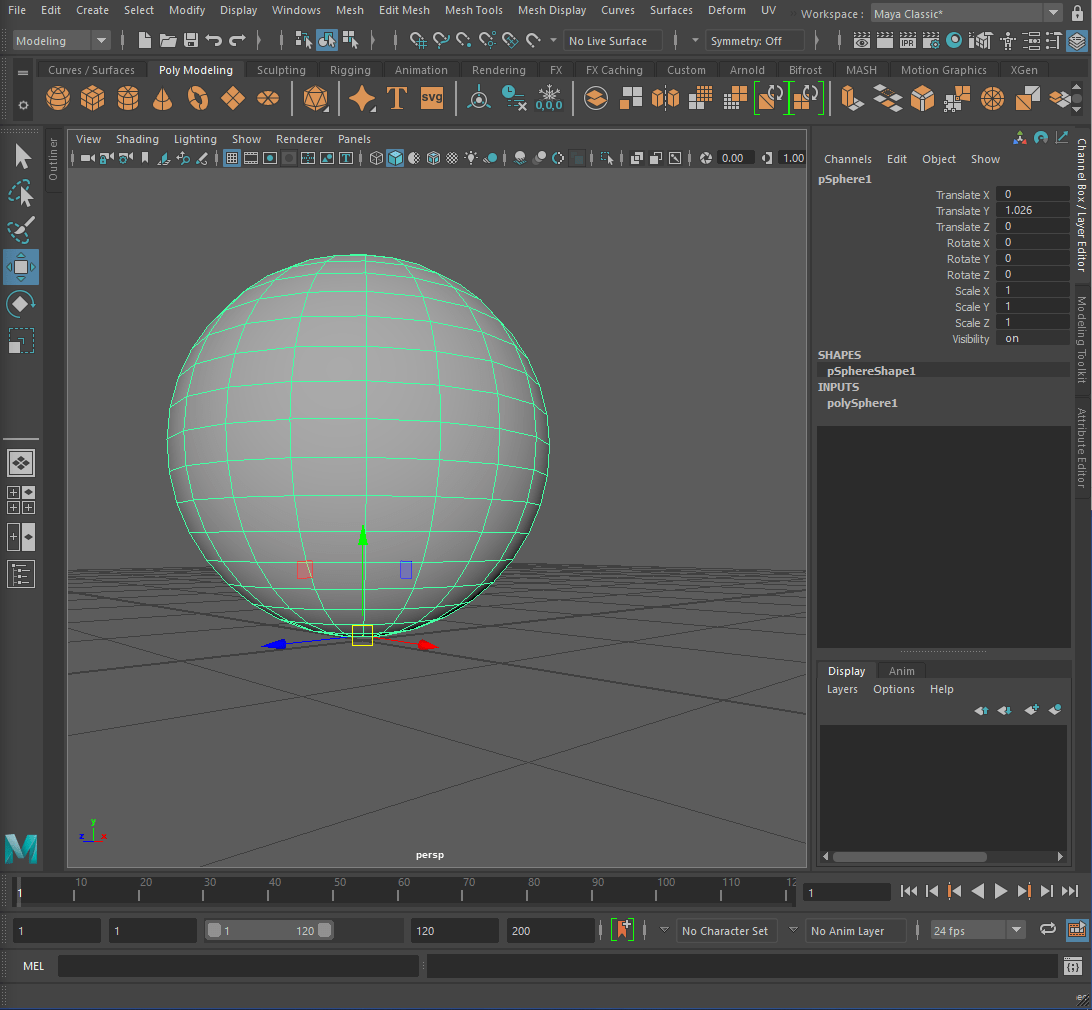
For the second video we were shown how to set up Maya for animation. Firstly I ensured that the playback speed was at ‘24 fps x 1’ and created a sphere to animate. I had to change the pivot point to the base of the ball and adjust the amount of frames that I could see at once on the timeline. After that I created a ‘ground’ for the ball to bounce on using a cube that I stretched out.

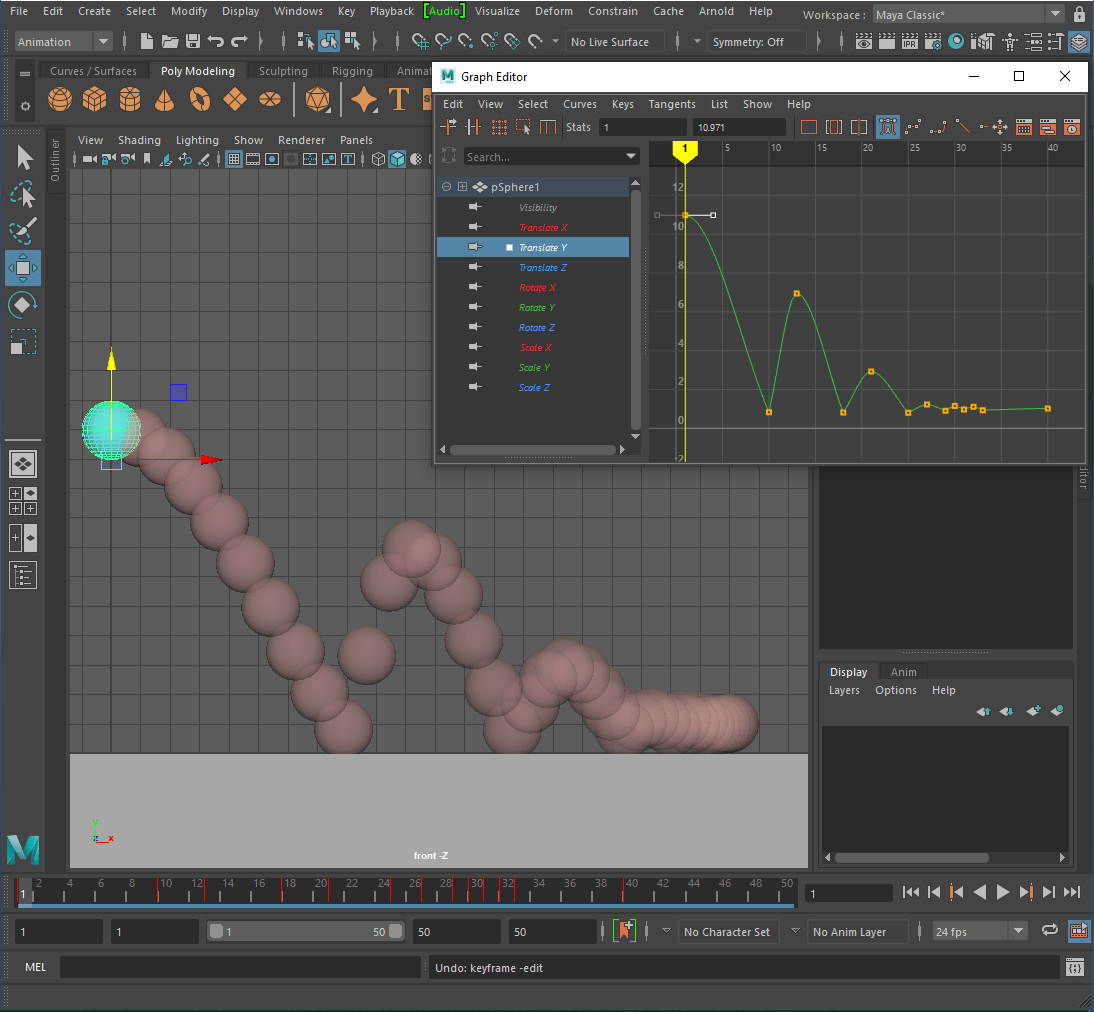
For the third video we were shown how to animate the ball. I set the first ‘keyframe’ and went into ‘graph editor’ to adjust the ease in and out of the ball. After altering the first ‘anchor’ so that the ball travels at a faster speed at the start. I raised the ball and set the next ‘keyframe’. I repeated this process for all the bounces that I want the ball to make.

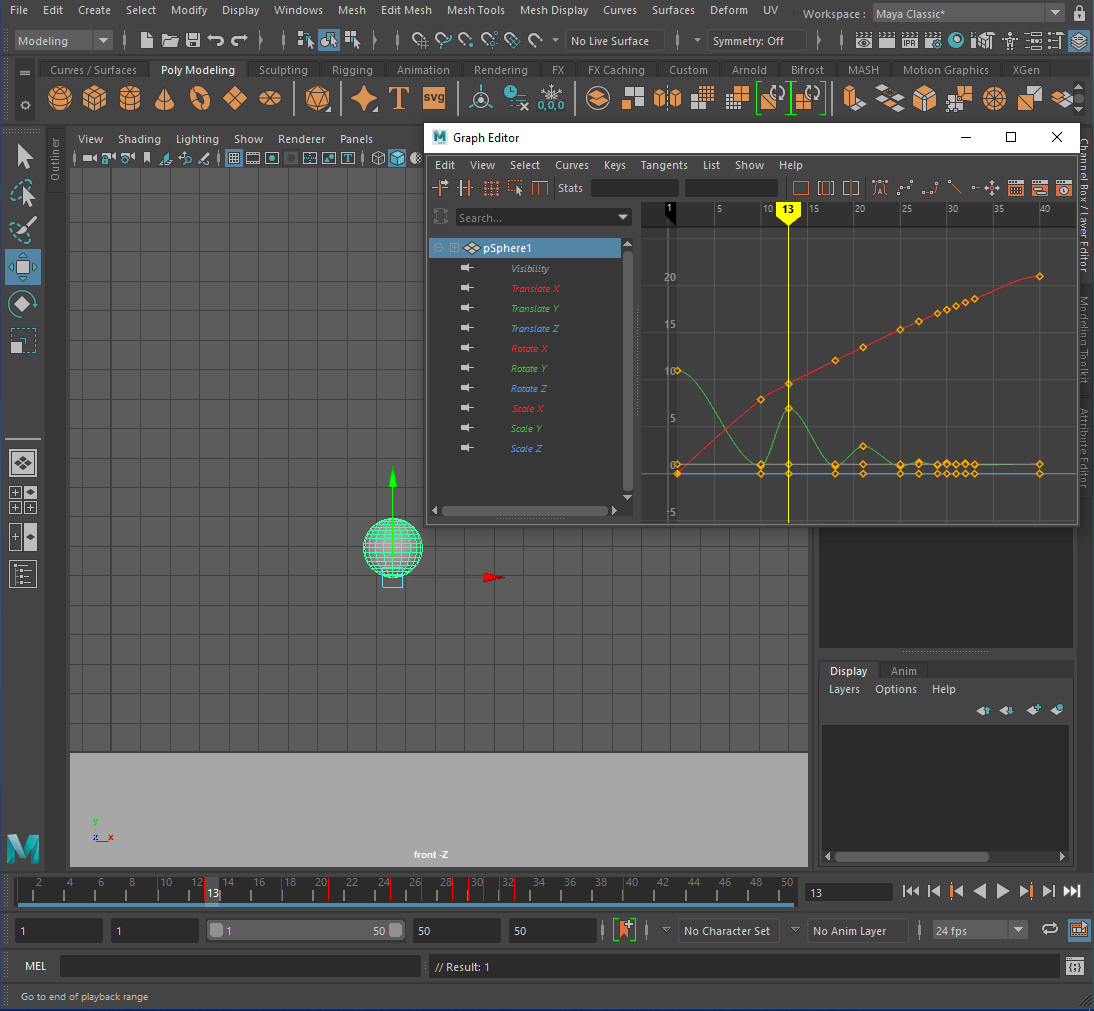
I then deleted the extra ‘anchors’ from the ‘graph editor’ in the ‘translate X’ tab and altered the speed that the ball hits the ‘ground’ using the ‘graph editor’. I also extended the ease in and out at the top of the jumps. Finally I broke the bottom tangents to exaggerate the ball bouncing more and then I was finished.

____________________________________________________________________________________________________________________________
—AnimDojos Animation Tutorials—
- Showed how to set up Maya for animation.
- How to change the timeline, import a character as a reference and how to move different parts of the rig.
- We saw an example of the ‘orange rescale’ animated and ALWAYS make a new key frame for every object.
- The farther the key frames the slower the movement and vise versa also add subtle extra movements to make a movement softer.
- Hold the middle mouse to move keyframes along the timeline.
- ‘Overlap’ is when two actions occur at the same time. This is good in animation and gives it more life and ‘follow thru’ is when overlapping parts catch up. Also ‘squash and stretch’ makes animation feel more organic.
- The command, ‘tweenMachine;’ helps to adjust timing in Maya.
Thoughts:
I found all of the videos really helpful as I wasn’t really sure where to start when it comes to animating in Maya. It was nice to get the practise of animating in Maya and I now know to not always rely on Maya to fill in the gaps between frames as it can be stiff and look a bit boring. Like in 2D animation, always work in stages and refine the animation when the base movements are in place.
____________________________________________________________________________________________________________________________
Assignment 3
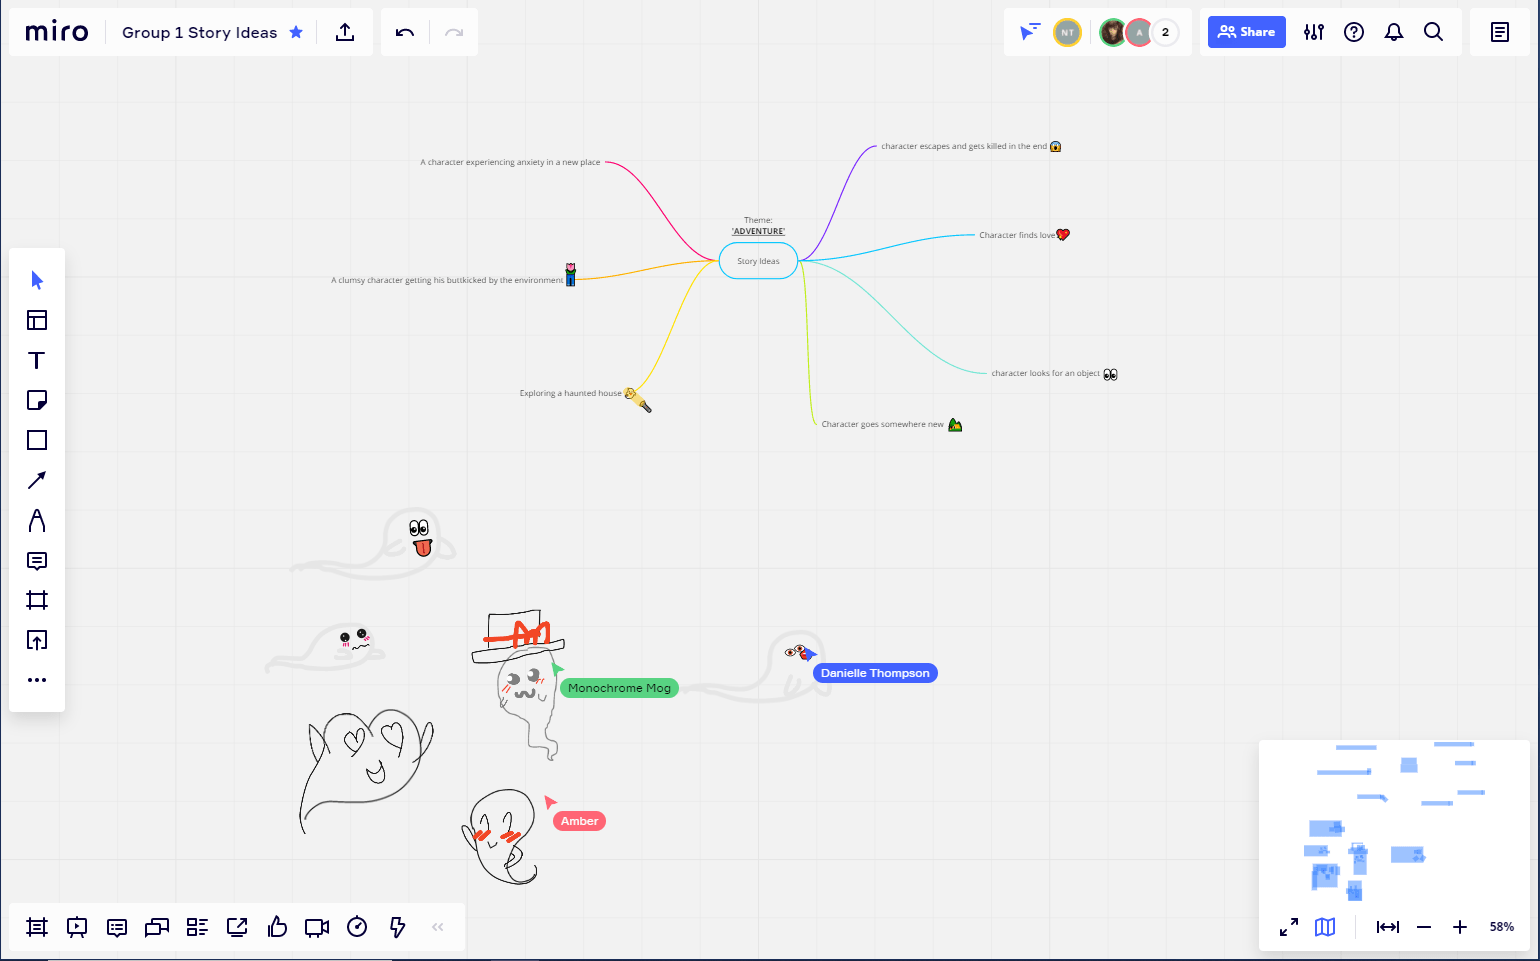
During the week our team arranged a meeting for the 14th of February at 4 o’clock. Everyone arrived on time and we discussed some story ideas that we could use for the 30 second animation. After some discussion our group seemed to really like the idea of a ghost story so we had a small doodle break and discussed some more ideas.


Thoughts:
I’m happy with the ideas that our group was able to make and we all seemed to communicate well together. I’m looking forward to working with this group and receiving feedback about our initial ideas.
____________________________________________________________________________________________________________________________
Final Thoughts:
Overall, I enjoyed following the tutorials on how to animate in Maya as it has now given me a bit more confidence in using Maya’s animation tools and I’m looking forward to making more progress with our group.