Induction Week


For our induction week which took place on the Monday 18th September, we were introduced to the first and seconds as well as our modules this year. We were sorted into mixed years with the 1st and 2nd years which Connor Presley and I Lauren Maxwell as 3rd years with other years such as Oliwia Zembala, Sarah Dobson and Felix.Β 

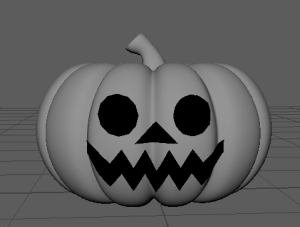
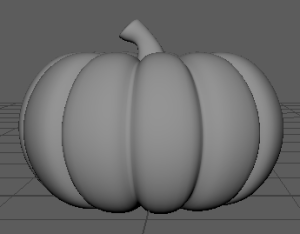
Our task for the week was too take photos of our surrounding areas with google plate eyes to make objects and props look alive. After collecting our photos and posting them on discord we quickly took the characters and made them feel alive by adding expressions. It was a fun activity for the week for all of us. Here is my piece I have done from the past two days which I’m happy with.Β 

Assignment 1 Vertical Slice Group Project Final Designs, Models, Animations and Video

Final Designs On substance

Updated Mug prop and Final designs on Unreal


Final Animation (Maya and Unreal)


Gameplay of Murder on the Wire


Also for the project and files

https://drive.google.com/drive/folders/1tNfWdWjzy31xZScgFxjCl1Q8SsKVv5dP?usp=sharing

https://drive.google.com/drive/folders/1P6es1clCDiX4JJGEjLpFg8q4Vepe_tOl?usp=sharing

Assignment 1 Vertical Slice Project Research, Development and Reflection

Research and Development

(Everything from previous blog posts)

For the project I was in a group of 12 with some of us animation students collaborating with the game designer students and were known as Group G. We were put into sub groups of 4 to come up with ideas for the game with the selected theme being connection and isolation, which then we quickly listed down with any ideas that came into mind, I was teamed up with Nicole, Dominik and Alexander and came up with fascinating ideas on the our whiteboards which we then narrowed down to 3 to 2 and to 1. For the other sub groups we shared our ideas with the others and picked our top 3 for each one like for our sub group we chose the lighthouse idea where someone has guide the ships to safety and presented it out. Unfortunately for the top 3 the lighthouse wasn’t picked but we all went the other’s idea involving telephone and communication at an office which then became murder on the wire. By then we found out about our roles within the group.Β 

Image

Image

Image

Together in one big group again we were discussing about roles, what year is it set in and what is the story with the main character. We talked amongst ourselves and agreed on the plot of it being a murder detective game on finding clues and finding the murderer at the very end, for the the timeline it would be set around the 1960s-70s to make it old fashioned and finally our roles which we are given. My role involves modelling props and a bit of animation as being an animation student I have to put some animation into the game after the props were finished. We then created a timeline to balance between our work with other assignments we had and what we were aiming for to get done before that week, after all we were all aiming for at least week 8 or 9 to finish all assets before the game was finished.Β 

For our first list of to do’s for the project we decided add in what would be included within an office, special props which the player would grab to move to next story of the game while we worked on the art style that would be the main theme we would be looking for to match the environment and plot of the game. For me my props were two things at the beginning headphones for the person’s work station and a cup that anyone would see at the office for breaktime. Others did the bottles, lights and computers. This was involved in for our first pitch presentation for the second week until moving onto the next. While Jasmin, Ciara, Charley, Timothy and me being the main modellers for the props and putting our names on the props list.Β 

The headphones and cups where easy enough as I got inspiration from the 1970s cups and headphones and the links is where I got the help to model it in maya and put my references on Miro to share with the whole team for any comment as they were my first two models for the projects with clean UV’s and found YouTube videos to aid me in their creation.


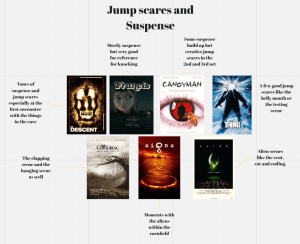
When we were finding and presenting our ideas we were mostly focused on the game itself and what other inspirations we could collect to match the theme of the game with it being a murder mystery. On discord we given some references from games we played or seen from other people’s gameplays on YouTube which Ciara then collected and placed onto Miro including some of the weeks previous presentations. That way we knew what direction we are heading for the game itself. Some games or films that are included for our references are:

  • The cardboard or the digital game Cluedo
  • We happy few
  • Job SimulatorΒ 
  • Jazzpunk
  • Who framed Roger Rabbit
  • La NoireΒ 
  • The man from u.n.c.l.e.
  • Knives Out

The films Knives out, Who framed roger rabbit and game La Noire almost follow the plot for the game. Also identical from the game Cluedo for our game when it comes to the significant of elements of props, characters and the environment involved to catch the murderer and which suspects to narrow down on who is innocent and who is guilty. For the environment itself we were looking for certain themes to match the art style we acquire from the references we collected. Jazzpunk was one with the text style appearing throughout the game for the player to read and it’s assets inspiring us prop modellers to craft in maya and would be essential to the game’s office. For character design, we saw the game we happy few with it’s characters when it comes to identity, for it was Jasmin’s role to sculpt the characters we had created in the game and follow that specific art style for the characters. Ciara had done the 2D art of the characters in the game (the suspects) while Jasmin sculpted the main character who the player then plays within the game and the boss character who is gives this mission to the MC to then the culprit and appear within cutscenes.Β 

Then for our last sources we had left, would then fit into what kind of environment, we would go for our 1960-70s theme of murder on a wire. Since the areas of the game would involve the main office with the player, the boss room and the main big area with tabled and chairs connected to smaller rooms with toilets and coffee rooms. From job simulator, the man from u.n.c.l.e., we happy few, who framed roger rabbit and Jazzpunk we had seen their areas with, colour schemes, type of assets and props and the environment. Certain areas that us the group we would then create in maya, then add in to make the player feel they are within the office, along with the entrance of the building and with a reception desk that would lead the player to the lift.

As that is what the game will be, in first person with player being in the detectives shoes solving the mystery to find the murderer. It wasn’t too long that I started to model more of the assets included within the asset list and afterwards to texture the models in substance painter to match with the art style. But since I’m in charge of the models I’m the one who has to pick the colour scheme for the project itself with a total of 24 colours to match the theme of being in the 1970’s thanks to other mystery murder games to match with the colour scheme.Β 

Thanks to Ciara bringing everything to the art style guide ‘Knives out’ we knew what to follow with colour, lighting, perspective, characters, shading and props. With collecting prop mood boards, 1970’s fashion, environment mood boards and Ciara’s and Jasmin’s 2D artwork of characters and the environment.

The game designers had discussed about adding more assets for the game which would be more involved with the plot. Using Miro, us modellers put our names down for the asset list 1.0 which would be added into the game on different floors and highlight what we have modelled and textured which would then be posted onto the shared OneDrive.

To keep everyone updated on our assets and roles, we used discord to send messages of any answers or questions we had for the assignment. We often held group meetings over the Thursdays and Sundays and sometimes the Tuesdays or Wednesdays if we couldn’t meet online for those sessions. Even during our classes on Monday’s to see our progress each week and else we need to improve or add in to the game. As well as group members including myself coming in and being present for those Mondays have been at least 8 – 10 for our group with both games and animation students.Β 

My first assets were a pencil, headsets, a key, hats, vase, cups and table. Each week I collected references/inspirations for the models, modelled them on maya using support from YouTube and texturing them on substance painter and share with the others to put into the game. I shared my thoughts and model designs with the others Jasmin and Ciara if it was suitable for the environment and helped with Timothy’s problems with some assets on Maya he had trouble with. To model them just as the same as the previous models I went online and seen tutorials for the hat, pencil and key which became simple enough to follow and showed me new ways with Maya’s tools to make these assets such as the hat when when making new edges or the key with meshes to shape the asset out.


How to model a Pencil in Maya – YouTube

There were minor errors with the pencil mesh especially the textures of the prop which Nathan from the other class spotted on unreal and notified me about the error. I found the problem with the textures as I went into substance painter to fix the colour and test it on my unreal that way to see that it worked. Thanks to Nathan I immediately sent it too One drive for the game students until our next week of any updates for next assets we would create.Β 

We then created an asset 2.0 with the assets already added from the 1st list to the new list by adding more assets with our names beside them on who has finished or is planning to do them for this what we talked with the game students on what else the player might see in an office or an ordinary office in real life with more references. My second batch of assets were then created which were the overhead lights, plastic hairs and redoing a table I had to work on for improvements from the last presentation talk we had in class. For us modellers Jasmin, Ciara, Charley, Timothy and Oisin we knew what our tasks for when it came to modelling and texturing them afterwards because once all models were done we would then move onto the animation stage cause for us animation students we had to show off our skills to animate.Β 


A couple of inspirations and references for my next models before creation, thinking about the environment and how I would create them to match the timeline of the 1960’s-70’s. For the vase, key, chair, table and overhead lights. Afterall I talked it over with the other animation students and they agreed before moving onto Maya to model my assets.

Completed all mesh from Maya with clean UV’s.

Completing the models from both asset lists were effortless for the last remaining weeks before moving onto our animations. The UV’s for each mesh were hard at first but from first year and last semester this 2nd year I was really improving with the UV each step of the way and since our lectures were strict to not use the automatic tool for the UV’s as it would mess with them creating problems for group when texturing or bringing them into unreal.Β 

Afterwards we talked about the animations in class which would involve the characters such as the boss, the main character and the title sequence with certain actions involved standing, sitting, kneeling, walking and finally cutscenes between characters. Animation students such as us discussed these actions and who was doing what. I had taken this time to do the other projects with the animation project and essay, so I took one task which involved the boss character sitting up from his chair using Maya. Using Jasmin’s sculpted character and Alex rigging them I started animating the character which was easy enough since I used references online YouTube to understand the strength and energy it comes from when standing up.

For the aftermath when we showed the game to newcomers and the lecturers they made suggestions for the game involving the text, environment and props which we then quickly talked about how to improve the game with the recommendations we received. For the props we till needed done although one member was supposed to do a few took an absence of leave and others were still texturing some of the models to match the art style of the game. Some models needed redone or needed more pizzaz added to make it more enjoyable to look at. Which included the mesh of my cups which needed to not look symmetrical or ‘simple’ to look at so it has an cartoonish art style to it.Β 

Using the lattice tool on Maya it was quicker to shape the model and make it unsymmetrical for the unreal engine. I have faced difficulty trying to export it onto unreal since it always appeared invisible or certain parts of the mesh were missing and tried to fix it till I notified the team about. Alec checked out my Maya file and showed a quick video on what to do to export it correctly since I used the lattice tool within maya. Beforehand I listened to advice on deleted history and freeze transformation which I did but nothing happened, but watching the video made me realise that I had to change the model to centimetre’s, export under smoothing groups and advanced maya to export it as FBX. Testing it on unreal it worked thanks to Alec giving me the support I needed and uploading into onto the one drive for the game students to upload the new version of the cup and replace the old model with the textures still the same applied with no issues what so ever.Β 

For the animation itself, Jasmin had fixed her textures of the boss and main character so for those who had done animation for those characters had to redo them by exporting the frames into the new rigs. Jasmin gave us instructions how to export the animation frames into the new rig itself which saved us a lot of time instead of starting from scratch. Later on I found difficulty to trying to export the new animation into unreal as the model appeared but the animation did not play however on the 24th April, the last Monday class in Jasmin helped me on what to do for exporting the animation onto unreal engine. I had to export the joints then the mesh with rigs separately which worked with her help and then uploaded it onto the OneDrive for the others .

Reflection

Throughout semester 2 in Animation for the Creative Industries course, I really enjoyed this part of the module working with other game students and what they have done in their year and what they had contributed into our group assignment. Even as a group of 12 it felt particularly weird at first with many people with 6 animation students and 6 game students plus the sound designer to request sounds for the game. My role being the head modeller for props worked out since Jasmin and Ciara helped with discussing about art style, picking colour schemes and who is doing what for each one.Β 

There were some problems on the way when creating the models throughout the weeks when it was fixing the UVs’ for substance painter, redoing one of the previous models with the lattice tool and exporting the animation into unreal for testing before sending it off onto One drive. Luckily I had assistance with these problems with Alec helping me with the model which I used for the lattice tool for the last model needing done and Jasmin for exporting the animation properly from last Mondays class. There was also problems trying to balance between work with the essay and game project so I wished we had more time for both to finish as well as the 11 second animation back in April. I wish I got more time to to look at Zbrush, learn new techniques and do more animations during the weeks even I think I could have done more the project. Overall It was a great semester with with the game’s students and making a game for ourselves and others to play the game we had created.Β 

Animation CI for Industries Week 12

No class on Monday but an online talk on the Thursday around 1pm with our team Group G but only the game students to test the game out and make improvements. For me I had to help with Jasmin find my animation on OneDrive to input into the game on unreal engine as were almost at our end. I did have some trouble with certain models for instance from the last review of our gave we needed some more models or pizzaz added to the quality of the game so that’s what we did. For me I had to add pizzaz to my cups by not making it symmetrical or to be specific simple looking, the other animation students requested to use the lattice tool on Maya to be quick on making it look unsymmetrical.

Once I used the lattice tool for my cup I was going to test it on unreal as FBX to see how would the outcome be, but unfortunately it had mesh missing, again and again I did not not what was happening and asked my team to assistance. Alex on discord had helped me out since I needed to delete my history then go into settings to put the option smoothing groups on with a video he posted which lasted a minute. It had worked successfully thanks to Alec and then shortly upload it onto One drive for the others to add into the game to replace the old model.

Animation Discourse Week 12 Tutorial Week

Last week before submitting our essay assignment I followed through what Ryan had said and made my way of completing the essay although I still had to clean up references, proof read for grammar mistakes and checking the word count before submission on the Tuesday. I went back to the titles to make sure the titles were the question and the essay is answering their questions.

I really enjoyed this course this semester watching documentaries, horror and music bands with Ryan to give ideas on our essay’s, doing the PowerPoint with my team in February with the article we chosen on puppetry displaying emotions through verbal communication. Also Yuan our lecturer helping us out with our Essay’s during our one to one tutorial talks in the last four weeks with Ryan as well. Asking our questions and better ways to improve our essay’s, as well as using discord for communication if we had any problems. This course was enlightening and fun with the essay and the groups we joined this semester 2, for I thoroughly enjoyed every minute of it.Β Β 

Animation Discourse Week 11 Tutorial week Part 2

For our tutorial week part 2 (week 11) I had worked on my Animation, my blog and essay that day before my session with on of the tutors. I had my chat with Ryan near the end of class and shown him my essay on virtual bands. He had given me tips and suggestions on my essay even if he hadn’t read it all. For one the titles making sure it relates to the question and answer, breaking paragraphs into sections and finally focus on the good for one thing and the bad thing for the other for the section overall it was a good lesson.

Animation CI Animation Practice Week 11

Our last Monday in class for week 11, for the morning session Alec had given us our last animation practice exercise and told us that our presentations were cancelled since that people would come into the afternoon to show their game experiences in animation and to show our progress within our game before we move onto capturing video of the game playthrough.Β 

Here is what I’ve done for the last class exercise with Alec which is in between frames from last week with more smoothness of the character.Β 


Meanwhile I had been working on the assignments, for the group project I had problems uploading my animation to Unreal for testing but Jasmin had assisted me with that problem and what I did wrong. I was able to test it successfully and put it into the OneDrive for the game developers to put within the game. For the animation project for this Friday 28th I worked on it day and night after making improvements that Alec had given me to work on to make it look better from Mondays class. I was able to get it done and send it off for submission too focus more on the game project and essay.

Assignment 2 Animation Development Project Final

ResearchΒ 

Before going straight into the animation, I had to think, plan and create my animation based on what studios it would be targeted for my placement and put into my showreel and what art style I would go for before sending it off. When I searching through studios that Alec had recommended for us, along with students who had finished their placements and came in to show off their work and answer our questions which involved their roles, how they got help with unfamiliar software they never used before, how long they worked for, how they were able to adapt to different art styles and finally what they had learned after they left.Β 

Looking back at the animation studios with the knowledge I received from each student who had experienced each one including the game companies and what they got out of it with communication and good teamwork. From the most certain to the last backup my choices are JAM, Flickerpix, Alt Animation and Paper Owls which are my top companies I would be applying too. For studios being targeted towards children with kid friendly animation I had the most interest for each being 2D and having other animation styles like 3D and stop motion with a wide variety of animation. For art style I was fascinated with the characters with dot like eyes and plushie faces I knew that I would choose that style to put into my showreel.Β  Β 

For character creation I had went through a various of different art styles with dot like eyes and seen quite a few that had sparked my interest. Then I had an idea to make the characters human looking but have a toys appearance like talking dolls of sorts like Pixar’s Toy Story but with a 2D look.Β 

Black Bead Eyes - TV TropesChanged w/o discussion: Black Bead Eyes - TV Tropes Forum


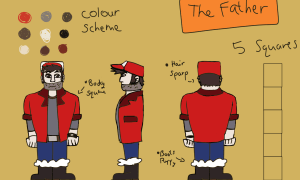
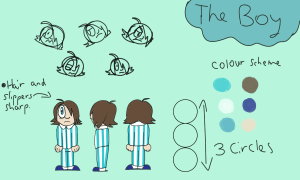
Here are references for the Toy girl’s appearance called Dolly. As well as some ideas for the sock puppet hand with the Man toy known as Benny.

Afterword’s I drew concept art and the final design of the characters (with colour) to see if they would make it into my 11 second animation short. I coloured them in in hopes of finishing the rough animation and fill in the in-betweens of each frame.Β 

Animation ReferenceΒ 

For collecting references for my 2D animation, I thought I would follow other peoples animation ideas while looking for a way to animate my 11 second scene I decided not to use someone else’s instead make my own. Since many animators collect references for animated movies and tv shows which I would often see on YouTube, by recording their self or other team members in a single room to capture their characters’ expressions, speech and body movement. I did the same with my characters so I would capture their personality and what they are meant to do for those 11 seconds while editing the clips together and follow the timing of the sequence of the audio to match up with the clips which wasn’t hard for my first time around.Β 

I chose my eleven second clip from the movie Coraline, the scene which she is talking with her father before exploring the house but only those 11 seconds with the snipped audio added here.Β 


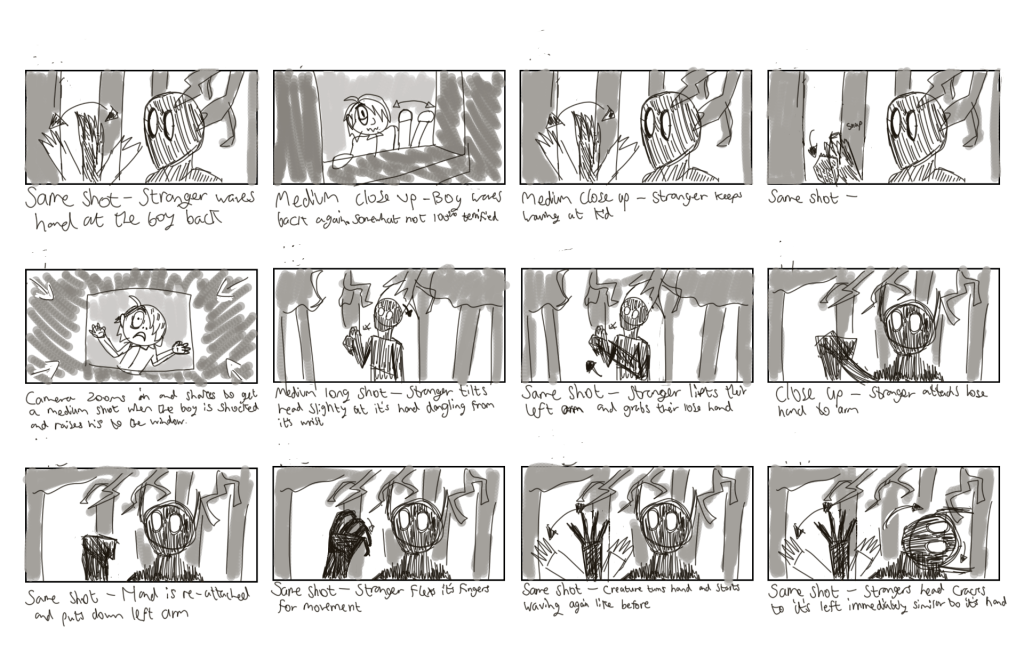
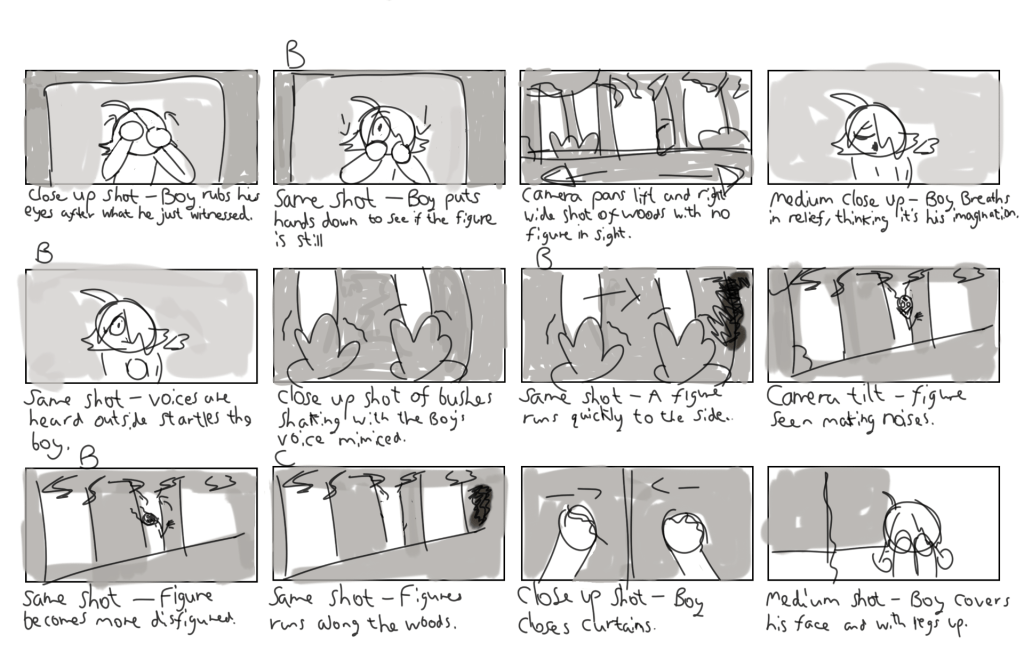
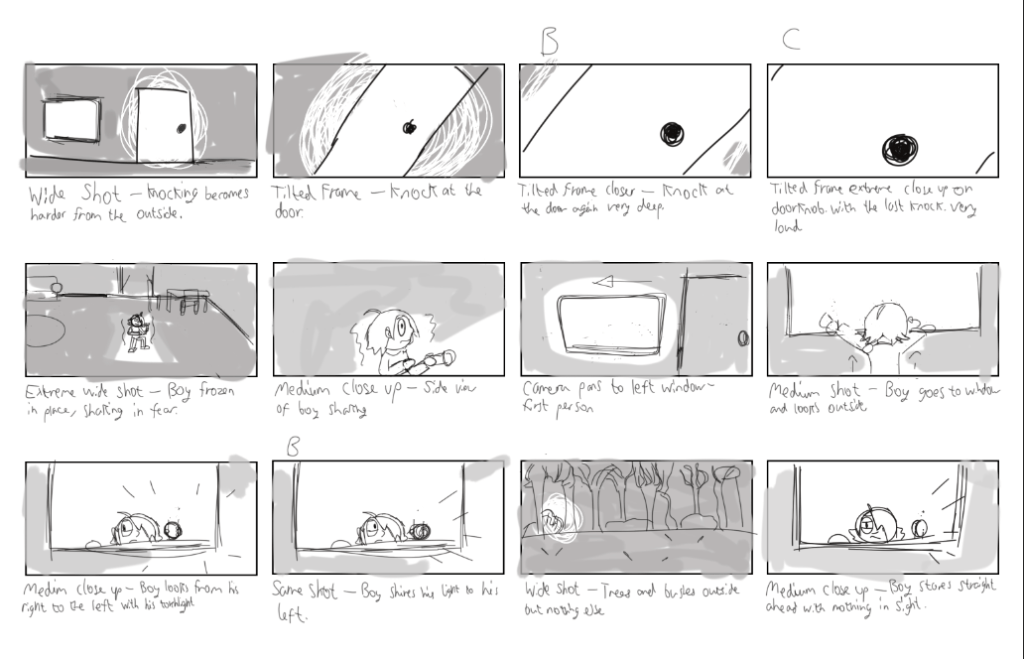
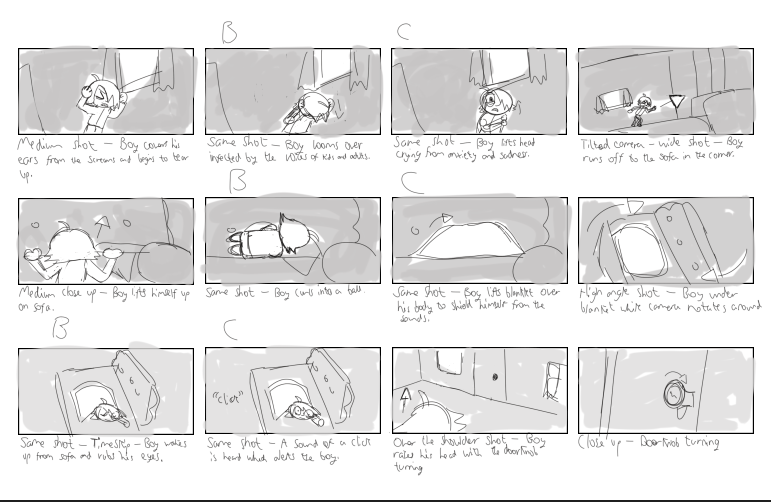
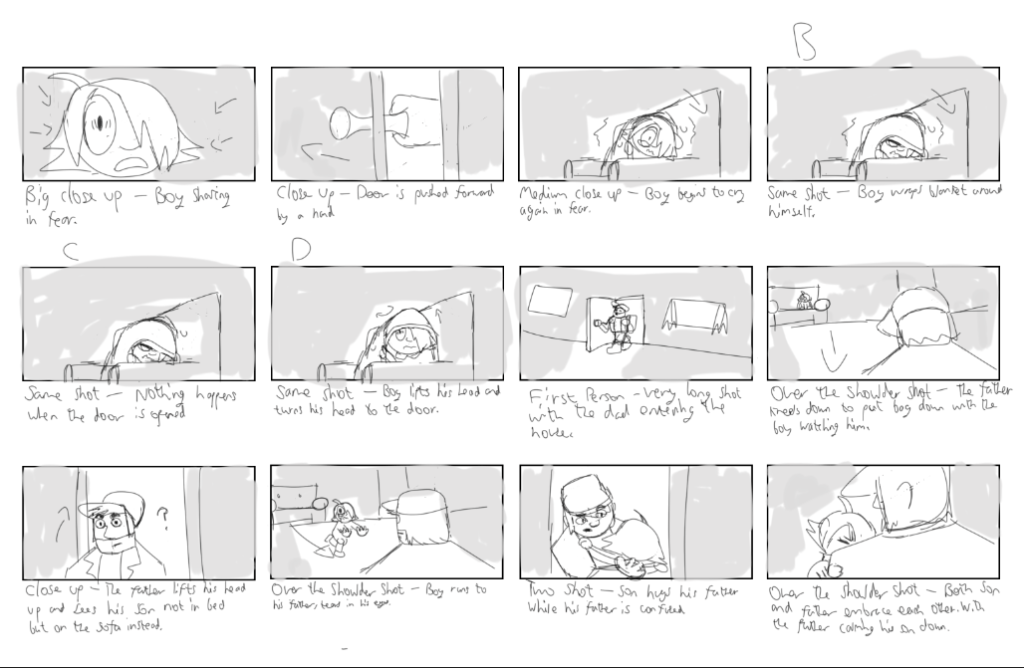
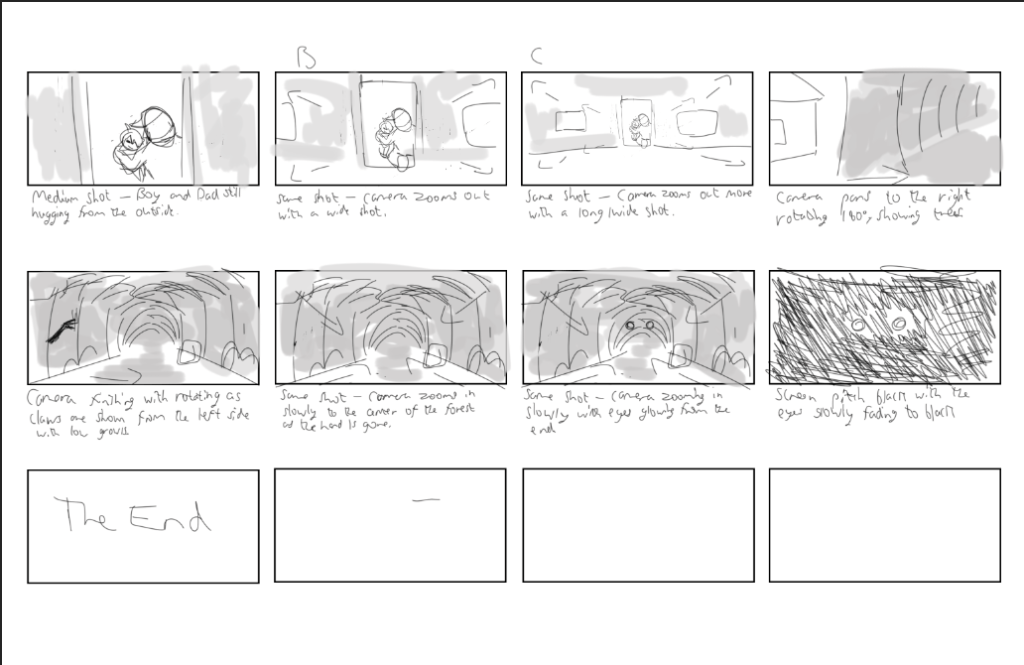
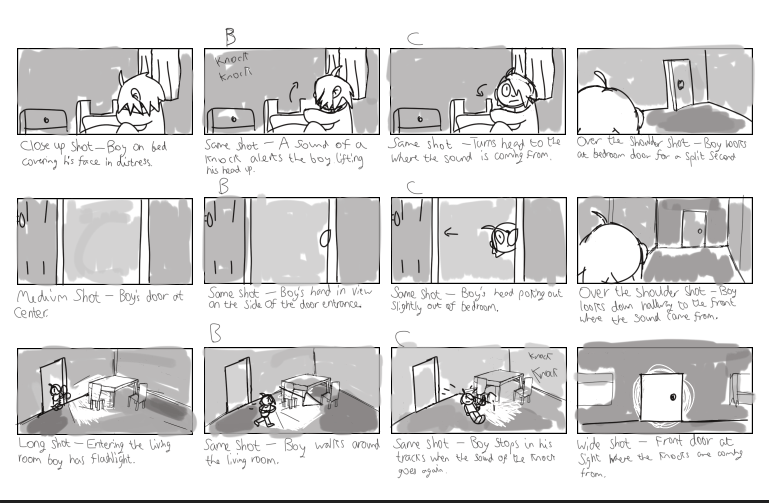
Here are my references collaborated together and storyboard.Β 

For body movement e.g. lifting the cup or the puppet moving from the hand. I scrolled through the net and found a couple of live action, 3D and 2D clips for my secondary character to break down that simple action here of drinking tea.Β 

After moving on to the lip sync I went to over sites and blackboard to find out how to shape the mouths when one letter comes out of the mouth thanks to the internet I found solutions to the lip syncs. The puppet was easy enough since like a puppet it doesn’t make much mouth shapes.Β 

Rough Animation


Problem Solving and FeedbackΒ 

I had shown Alec my progress with the rough animation I had just done last weekend, if it needed any improvements it would be a good time for lecturers to view it from Mondays class. Near the last seconds of the rough sequence he suggested on making Dolly (the blue character) fix her stepping with taking a step forward or to the side and his 2nd suggestion was with her only moving her legs but not the feet so she’s still in the one spot and not gliding off by the feet with the knees coming down with in between poses for the last seconds of the sequence for more movement. So that was something I worked on from the last couple of days before submission while I was looking ways to fill in the in-betweens and fix the legs for Dolly, so the animation becomes more smooth and everything would have been cleaned up.

Reflection

Throughout this module, I very much enjoyed this semester doing practical animation again whether it being 3D or 2D animation, while the assignment itself there were ups and downs during the process. The pros were selecting our own type of animation and art style we would have to follow for our future placements which would be part of our showreels. But the downs were having to do it while completing our essay’s and group project models assignments which wouldn’t’ be finished until May.

As well as the animation project introduced to us at week 5, but didn’t have any animation classes till the last three weeks that was all 3D animation exercises but none being 2D involved. They were still handy exercises to follow for my 2D project for notes and references to add into my 11 second animation with the lip sync and timing to help me out. If I had to say what I would’ve done better this semester is wishing we had more time to do the second assignment animation that way the animation short can appear much smoother and cleaner itself and done more animation other than university work while on my free time but trying to balance between assignments and exercises was difficult. Overall I was really satisfied this second year in animation with everyone else.

Animation for CI Week 10 Animation Practice

Week 10 for the morning session was animation practice where we had to fill in the blanks for our azui character from Alec’s reference (which had problems uploading onto maya) but was able to fill in the missing frames. It was fun for the morning session.Β 

Meanwhile I was looking at lip syncs for my animation to follow along the lines of speech with both characters and went back onto blackboard to understand the expressions and acting of the characters using my references and going into the rough animation. I even went back to my boss rig for fixing as Jasmin gave us her new modelled character that she made improvements to so that we can export our animations to the new rigs.Β 


Lip sync tutorial | Patreon | Animated anatomy, Mouth animation, Drawing tutorialFor all of you dude making animations an doesn't know how to lip sync here's a little thing to help you out : r/animation

For my animation for the most part I have finished the second version of the animatic and did a rough start up with lip-syncs added.Β 

No audio added for the first one


1 3 4 5 6 7 15