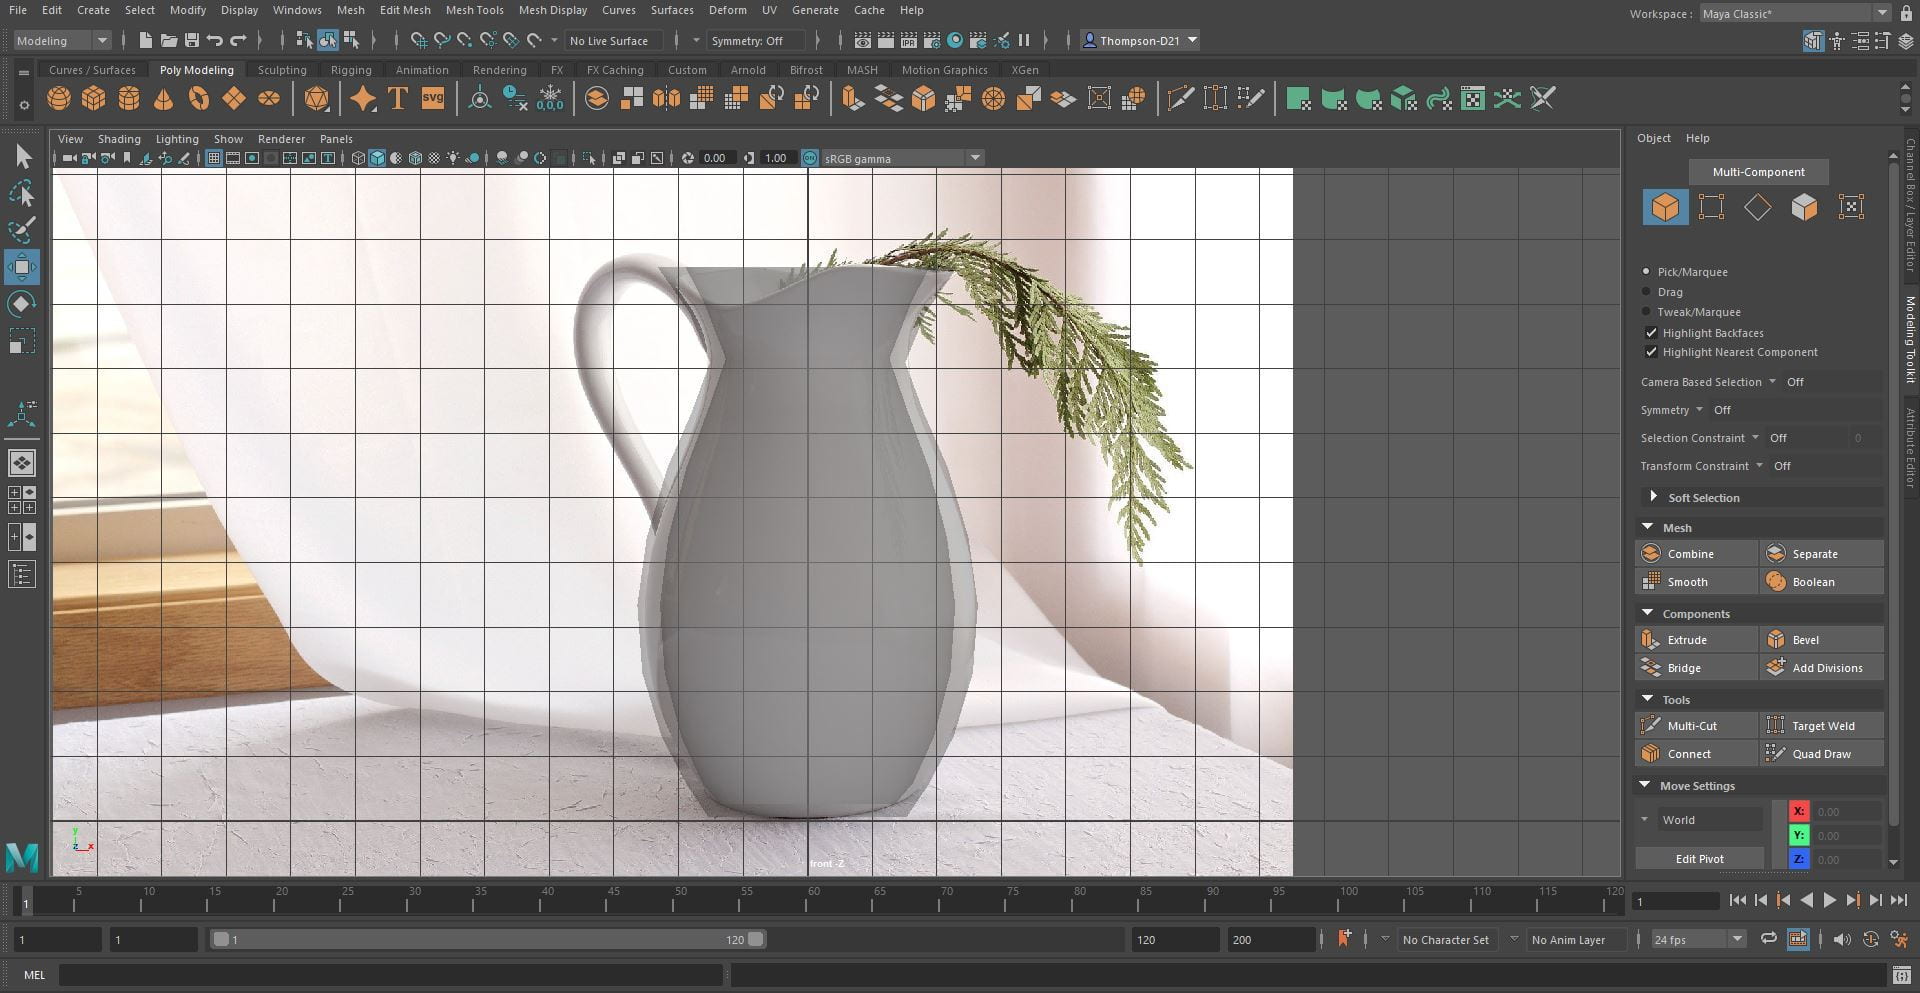
Story Ideas for the Animation
To start the project, I met up with my group to discuss what we wanted to do or ideas we had; this is the Miro boards we all worked on:

We all seem to like the idea of a little ghost character roaming around an old house. We still had not decided on what he will be doing but we have made a small list labeled story ideas. We decided to go with the ghost eating a moldy sandwich. This is the outline of our story.

Character and Environment Referencing
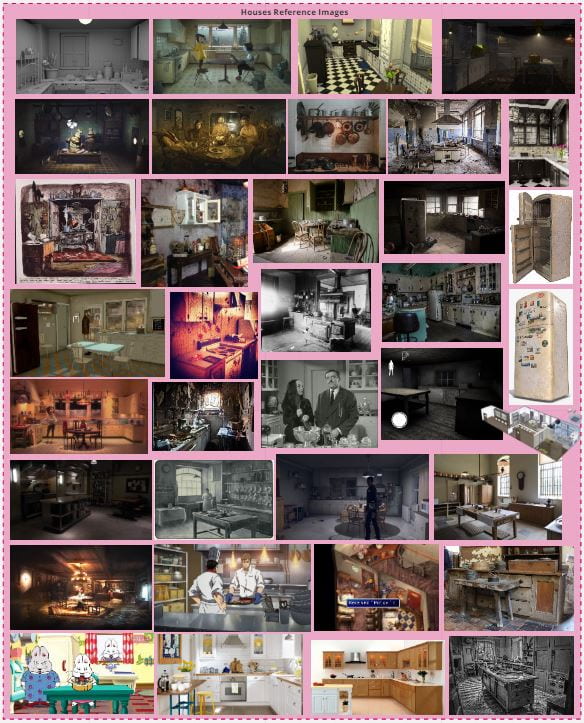
Using the internet, we went and gathered references for the ghost and the kitchen. For the ghost we wanted to use simple shapes as this would be easier to create and animate. For the kitchen we looked at kitchens from different time periods as we wanted the kitchen to look old and run down.

Environment Design
The next step was to discuss who was doing character design and who was designing the background. Amber, Tori and Curtis were given character design. Nicole and I were given the background. Both Nicole and I designed a kitchen using the references we had gathered on the Miro board; this was my design:

We received feedback from the group and made a third design incorporating the elements they liked. I drew the line art for the third design and sent it to Nicole to create a colour scheme for it, I also designed a colour scheme.


The group preferred the warmer colours in Nicole’s design.
I then discussed with Nicole what parts of the environment I would be modeling; I made this diagram of what parts we would be modeling so it would not get confusing.

Storyboards
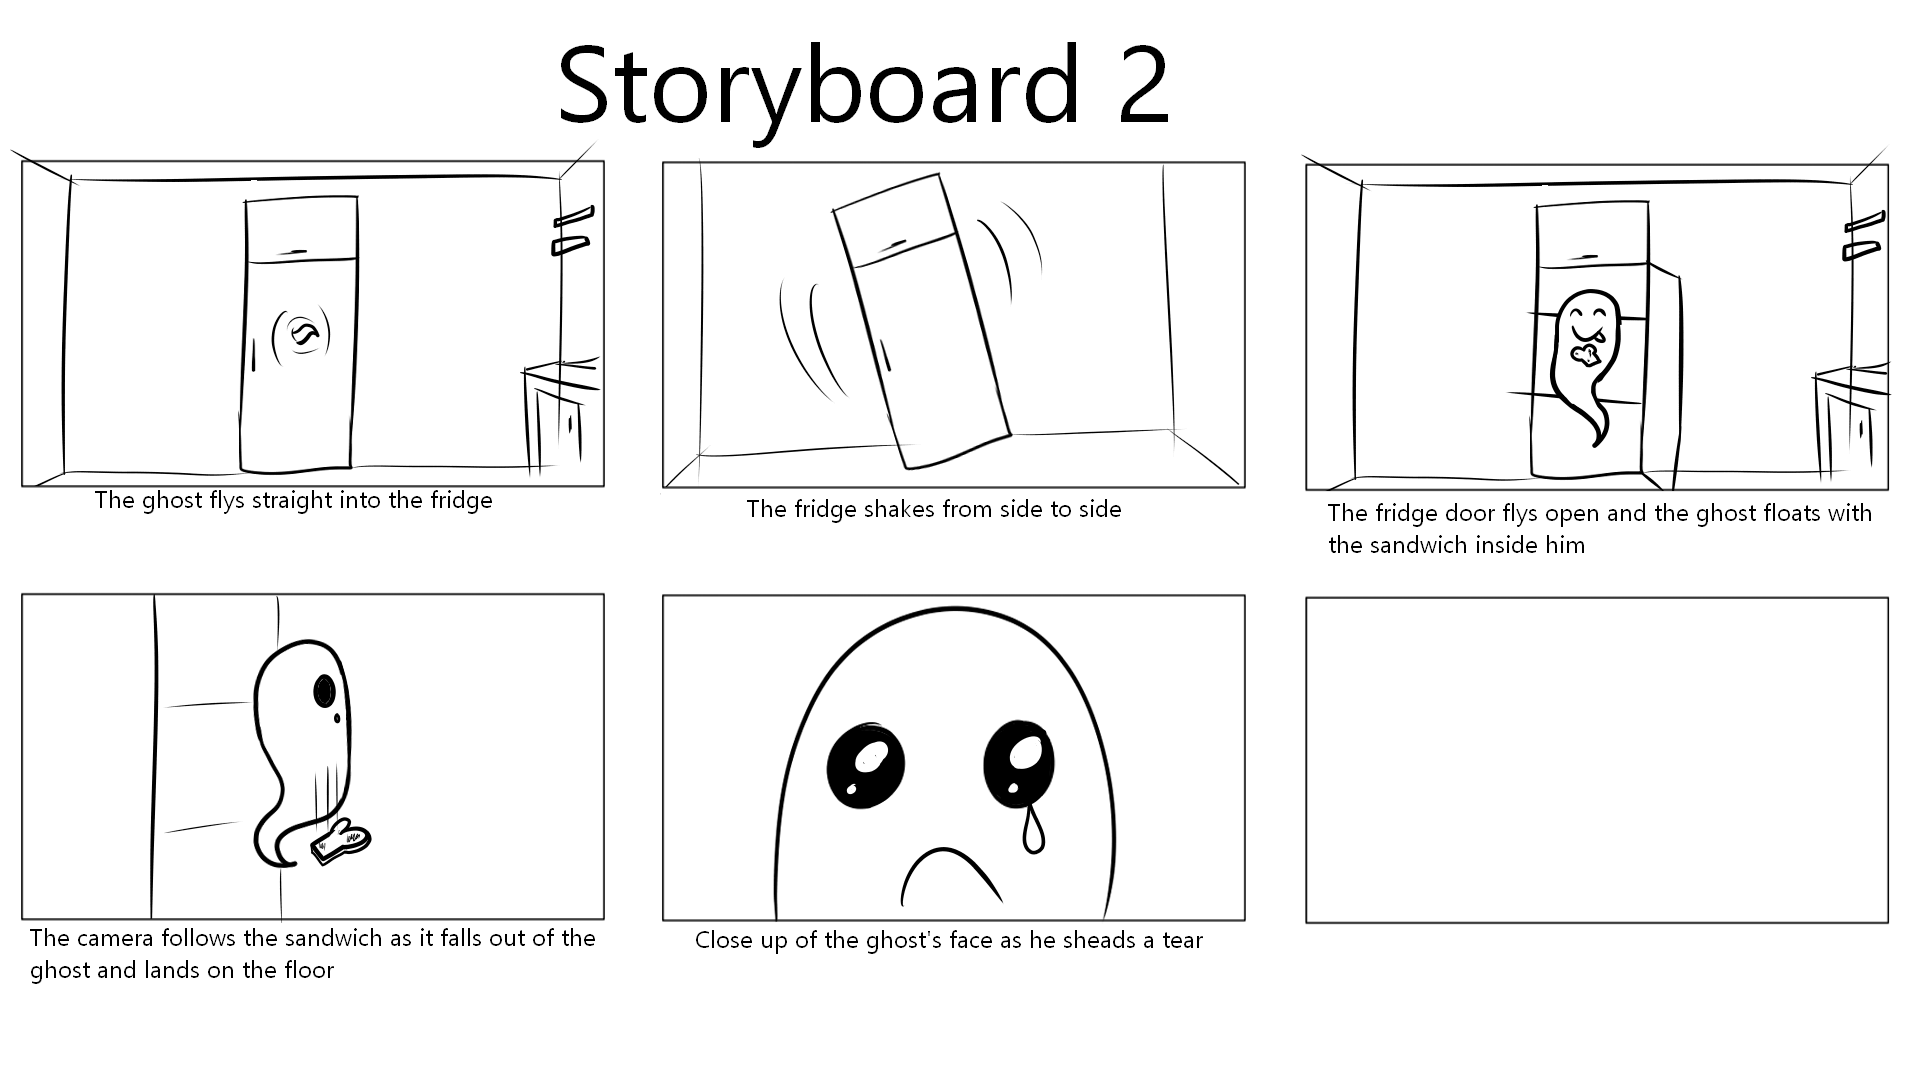
Amber drew the first version of the storyboards, after getting feedback from Alec I created the second version of them. Here are my storyboards:

3D Previs
Nicole made the furniture for the 3D previs, while I animated it. This was my first draft of the 3D previs:
After receiving feedback, I adjusted the aspect ratio to 1920 by 1080 and turn down the opacity of the border as it would show what the camera will render. I also was told to stop moving the camera as much as it was a bit disorientating for the viewer, hold the shot of the ghost floating out of the fridge a little longer and to hold the shot of the sandwich in the ghost a bit longer as it did not let the joke settle.
This is the updated previs:
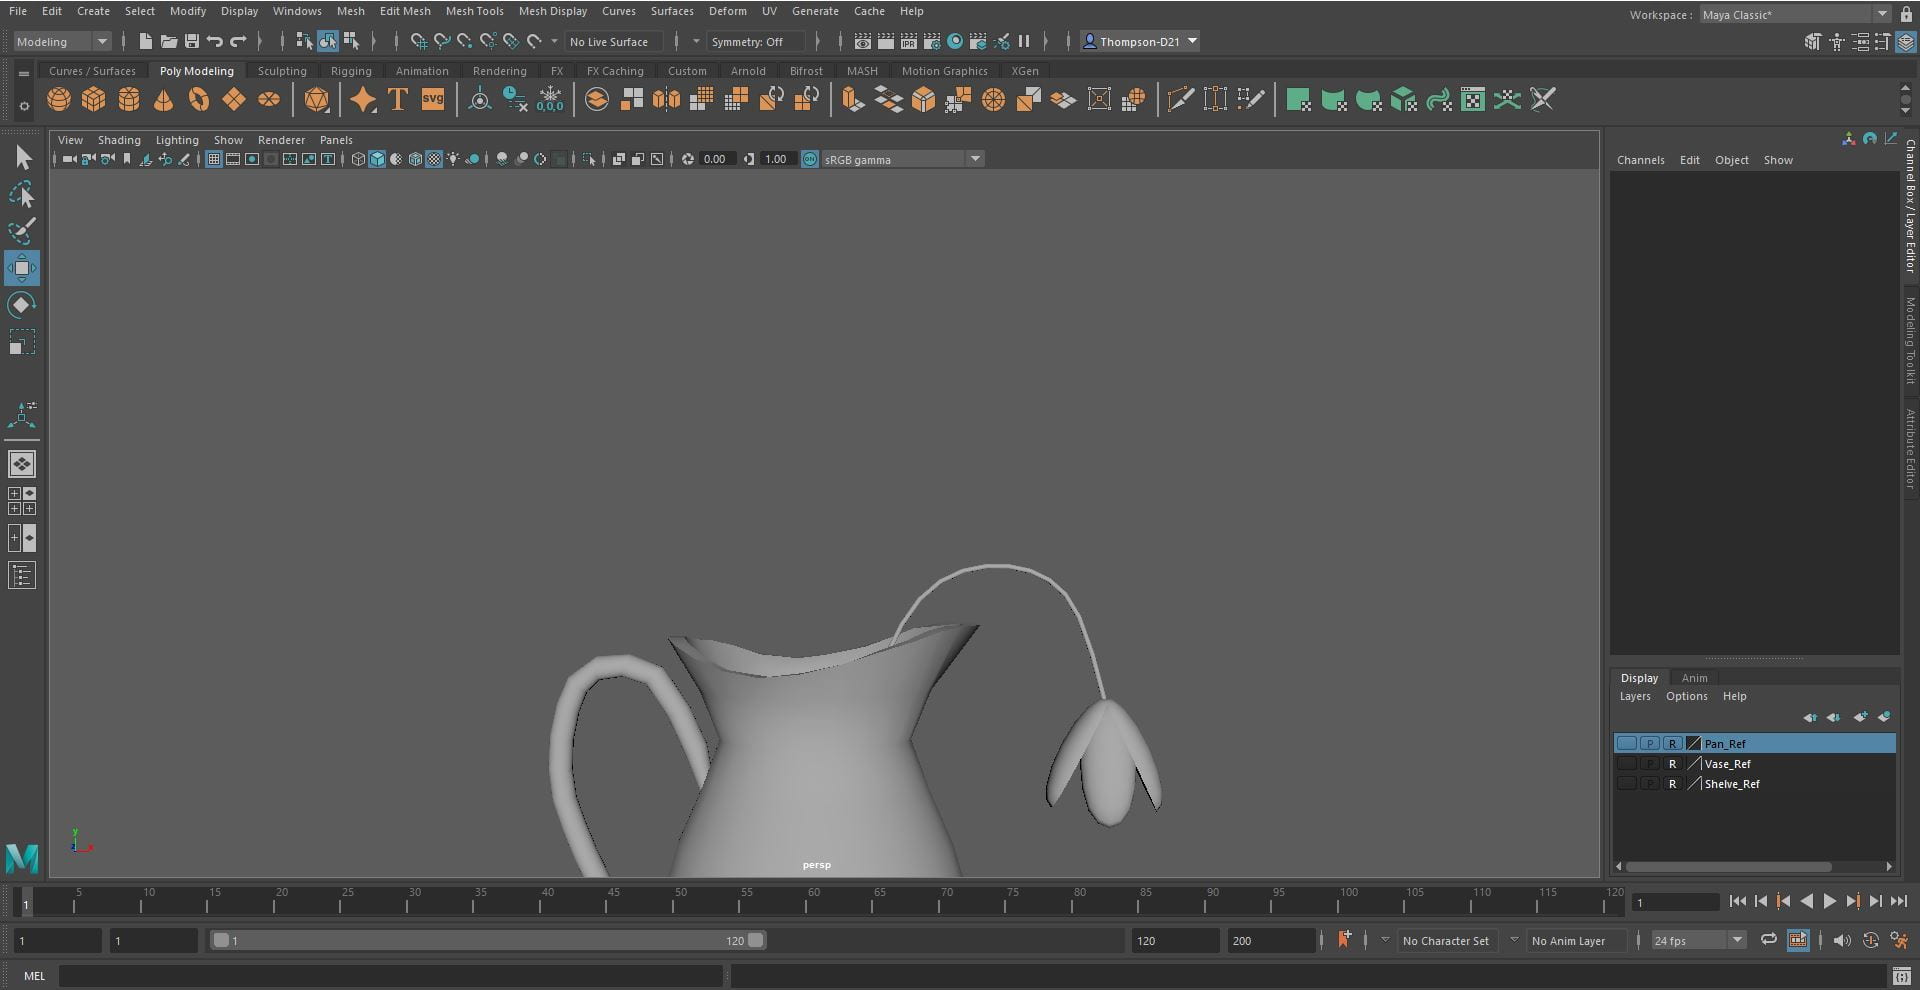
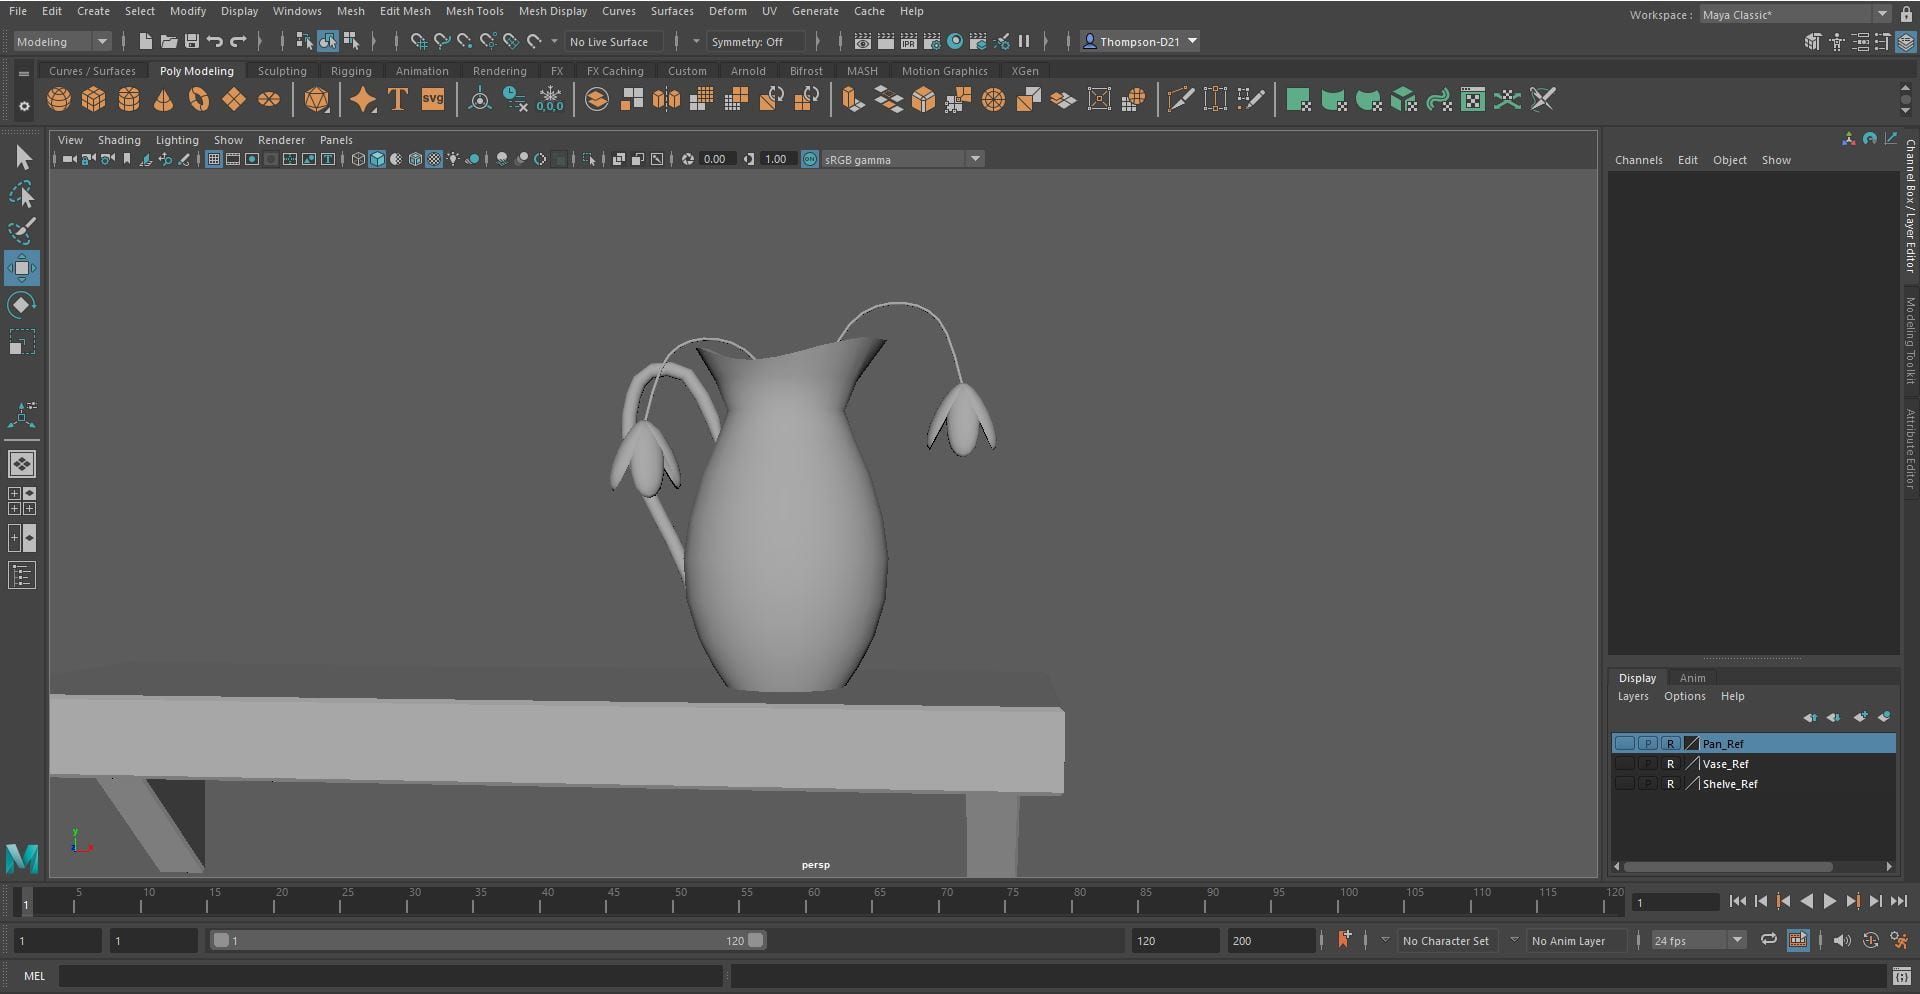
Environment Modeling
I found my references on Pixabay.com
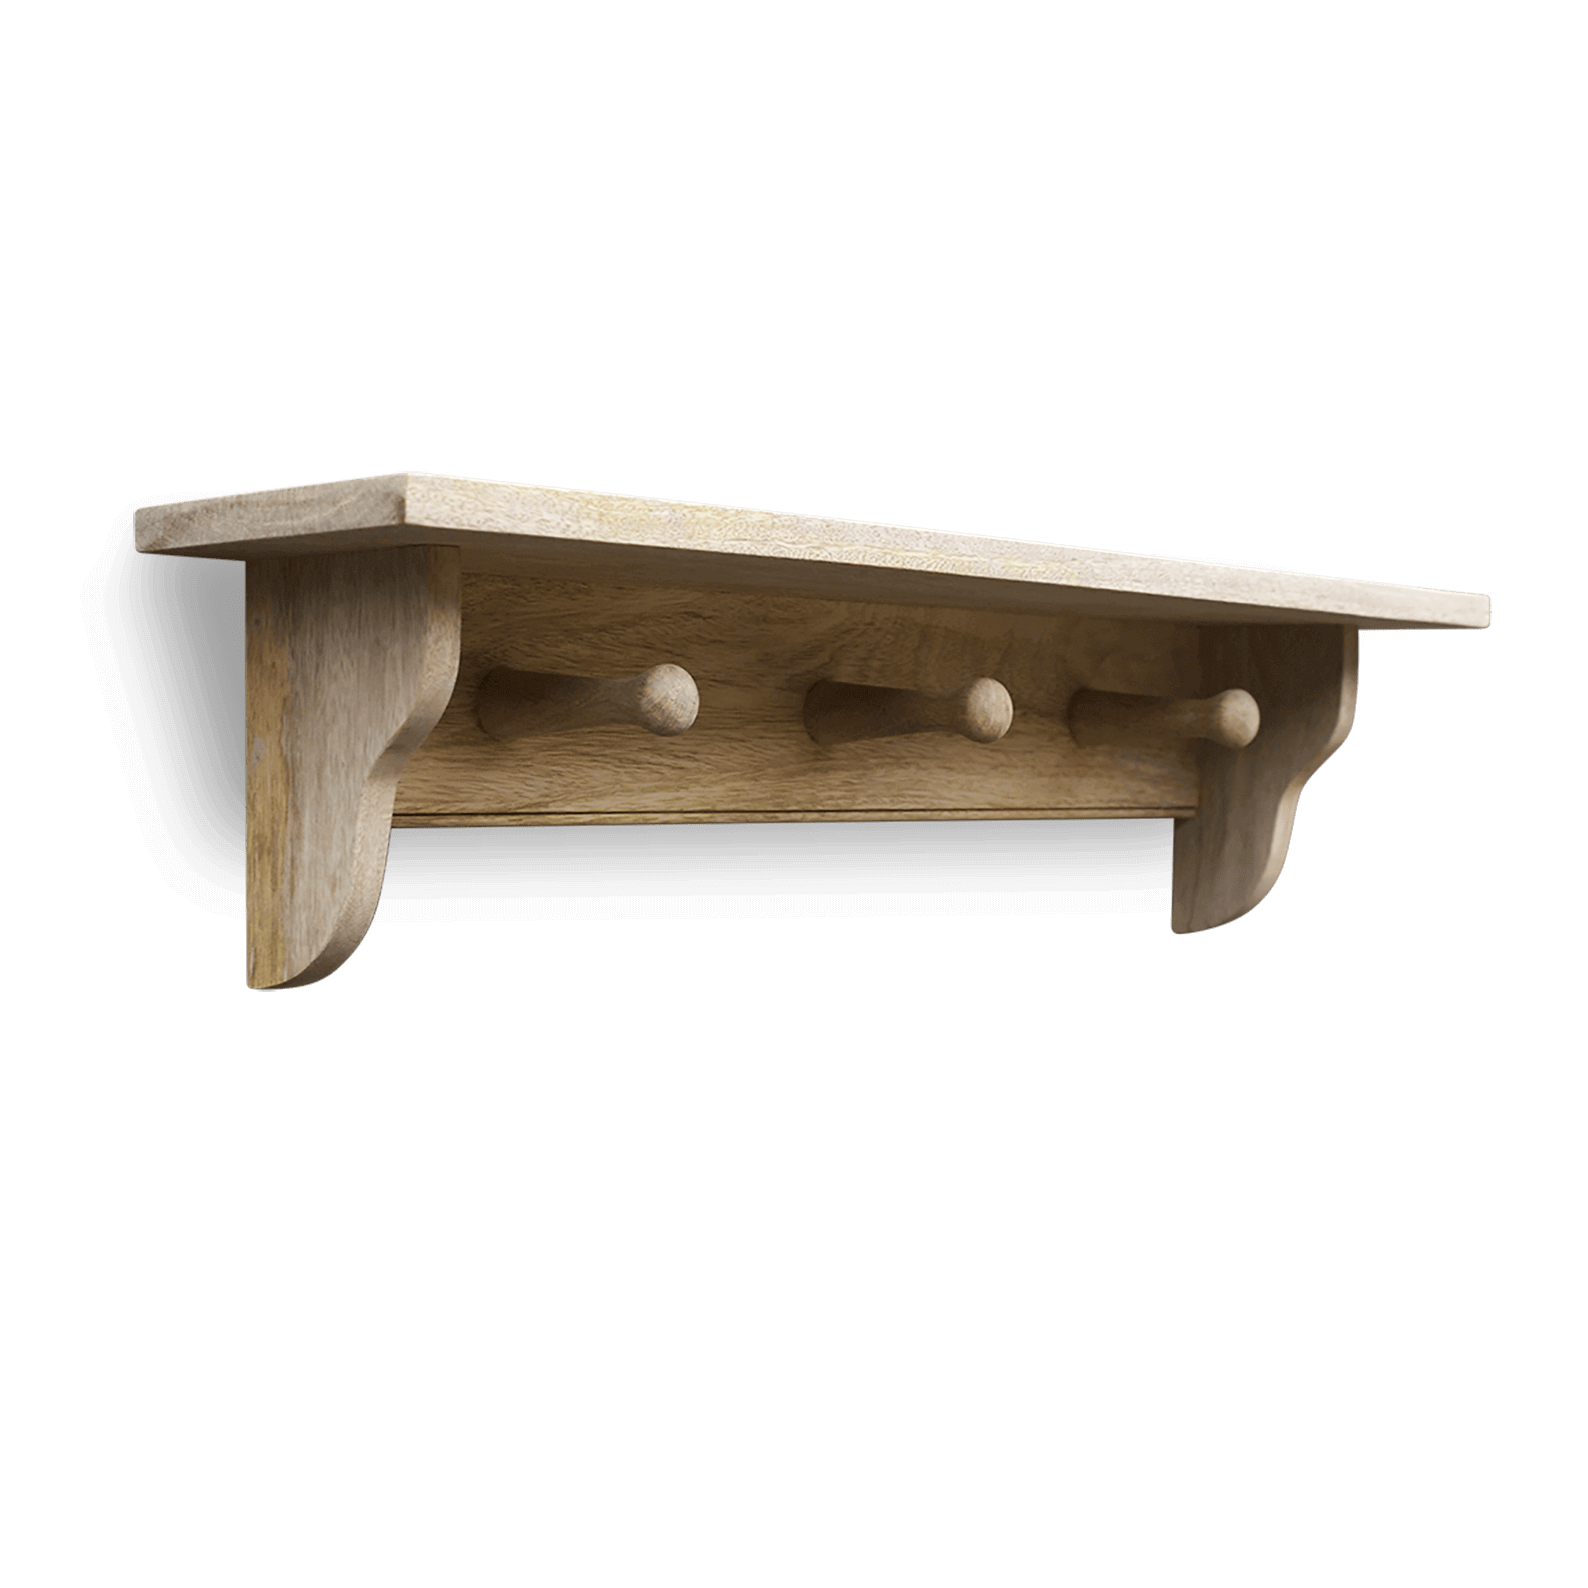
The Shelf
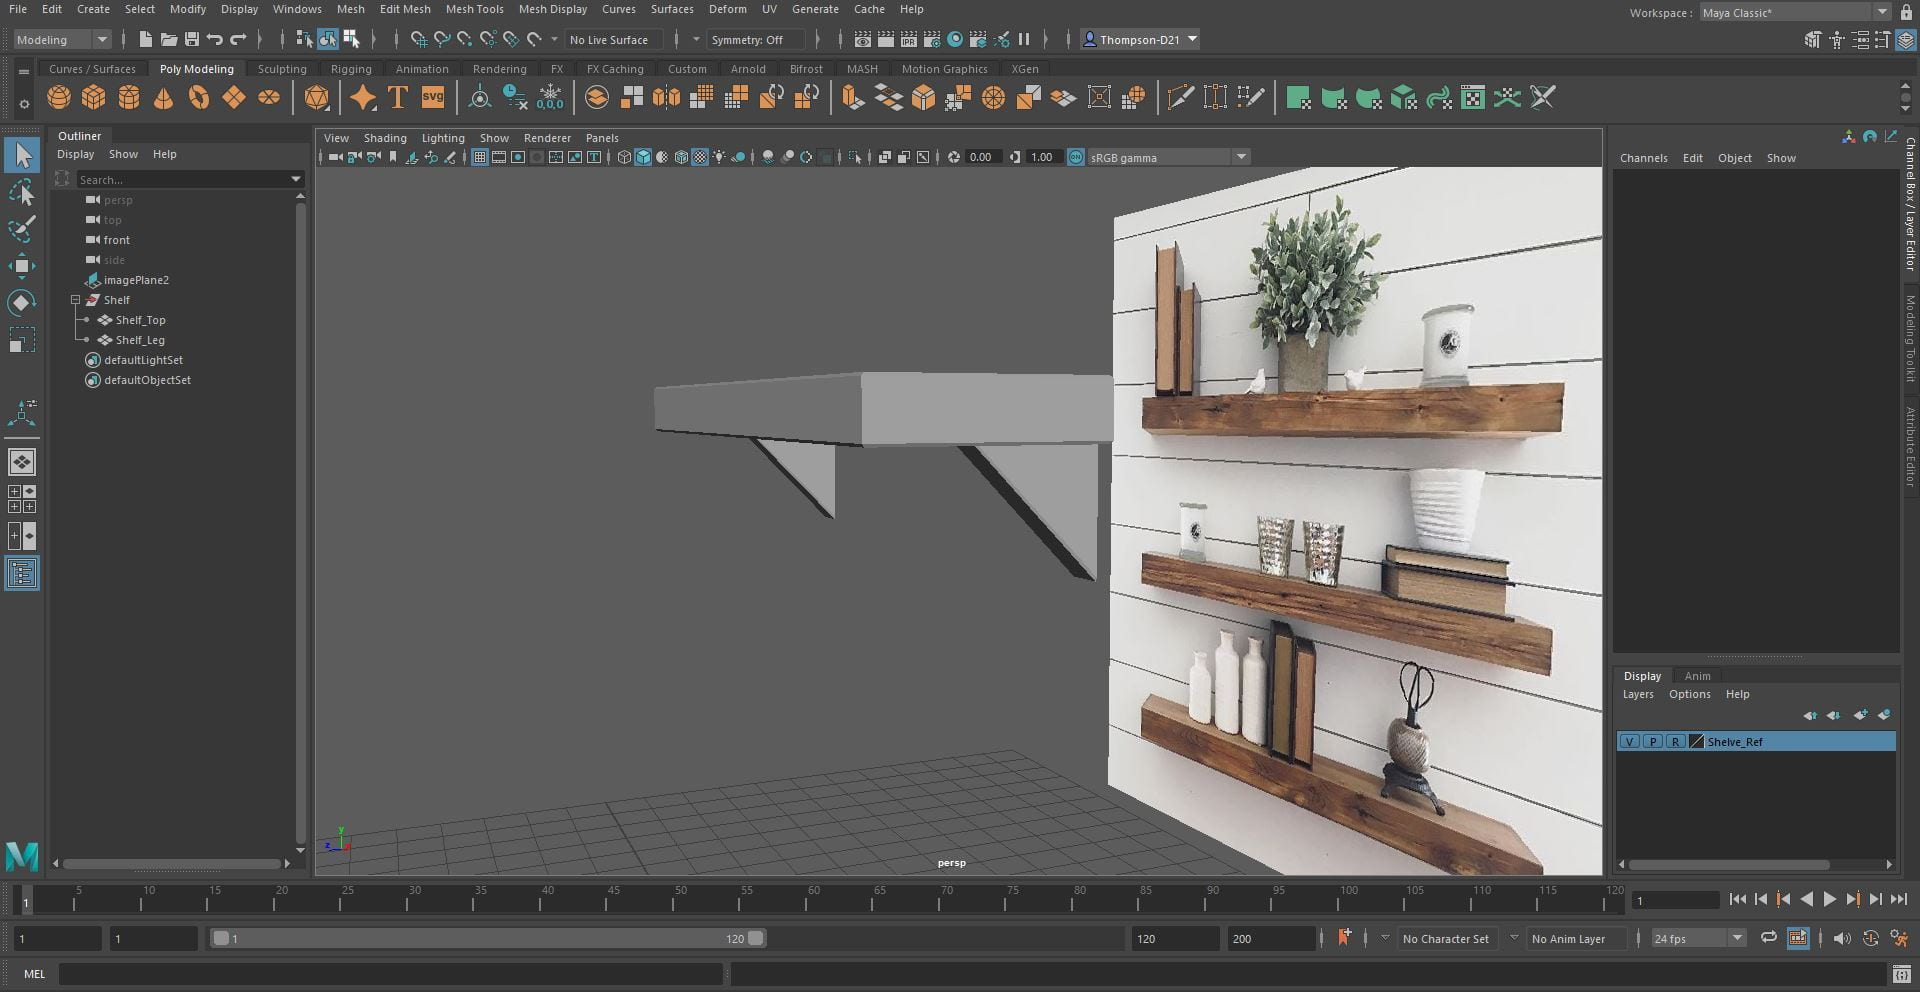
I started with the shelves in the corner of the room. I added the reference to the scene and created a cube. I stretched the cube into a rectangle and beveled the edge to 0.1.


For the supports on the shelf, I added another cube and stretched it to the right height, I merged the bottom vertex to make a triangle and straightened the back edge. I beveled the edges to 0.1.


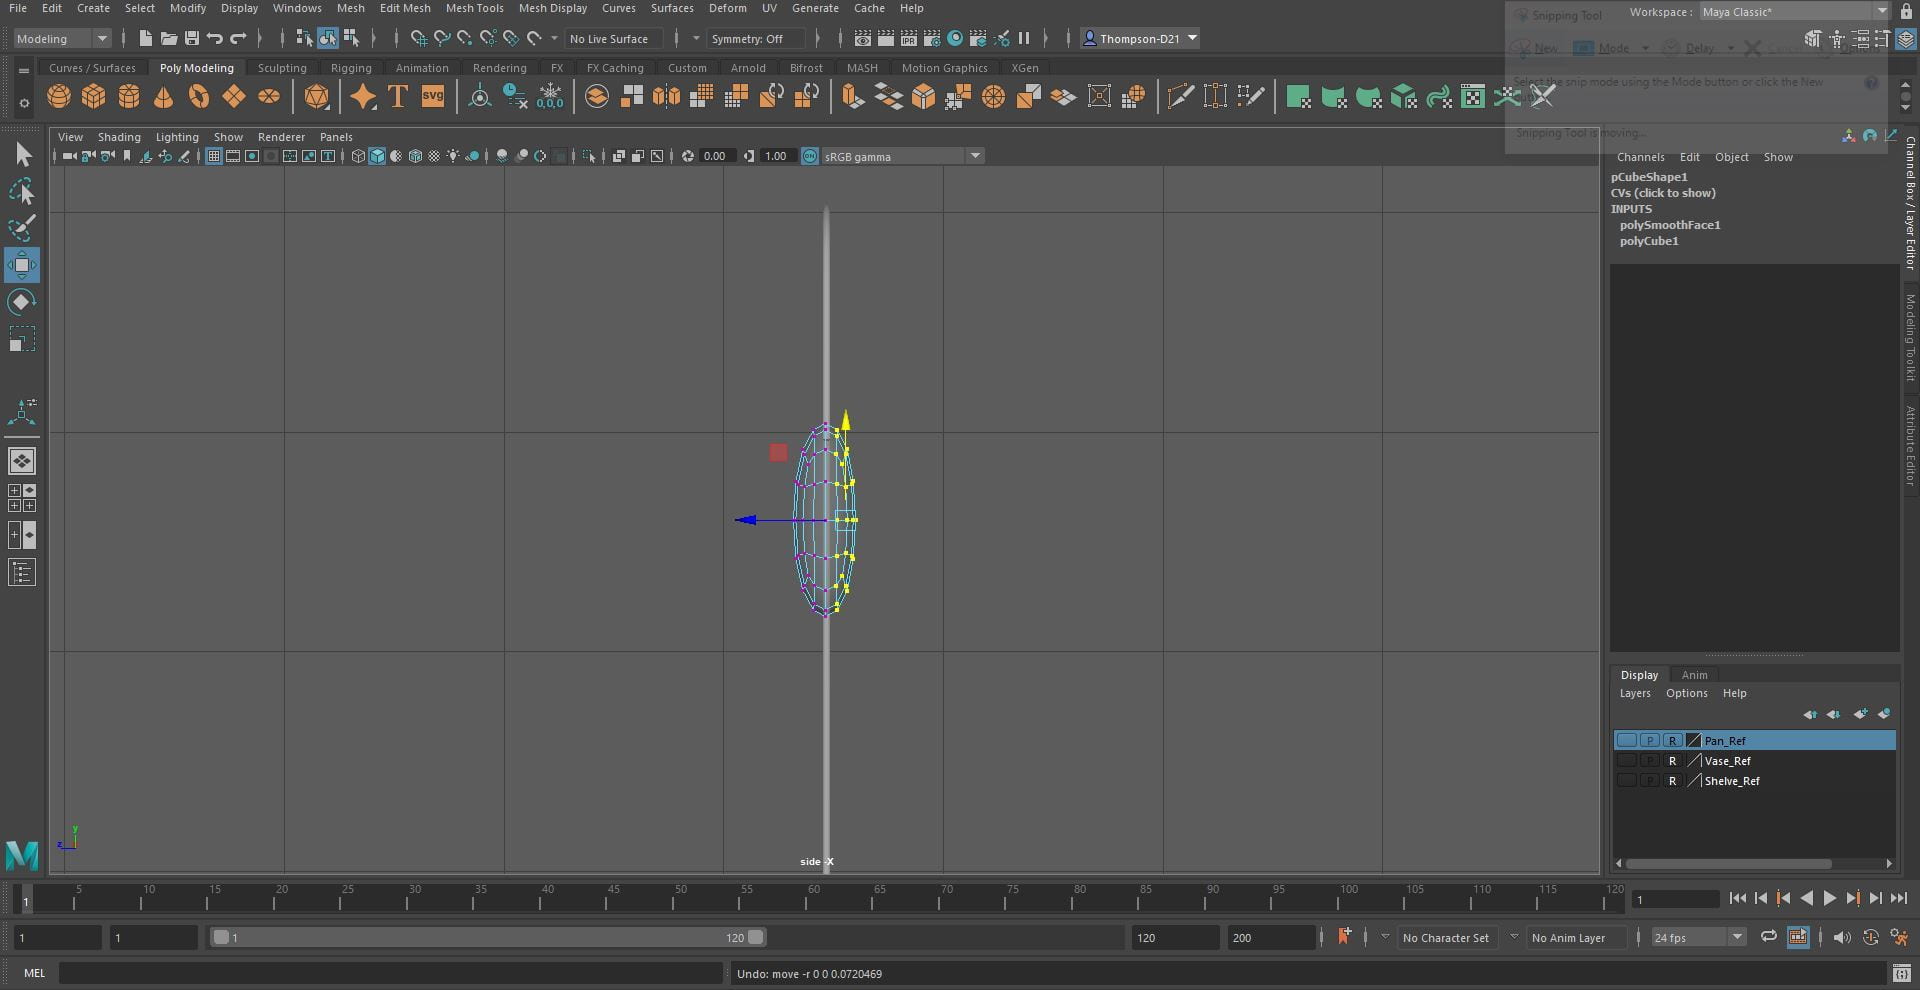
I added the supports to the shelf and duplicated it to make another one. I then grouped them in the outliner, deleted the history and froze the transformations.
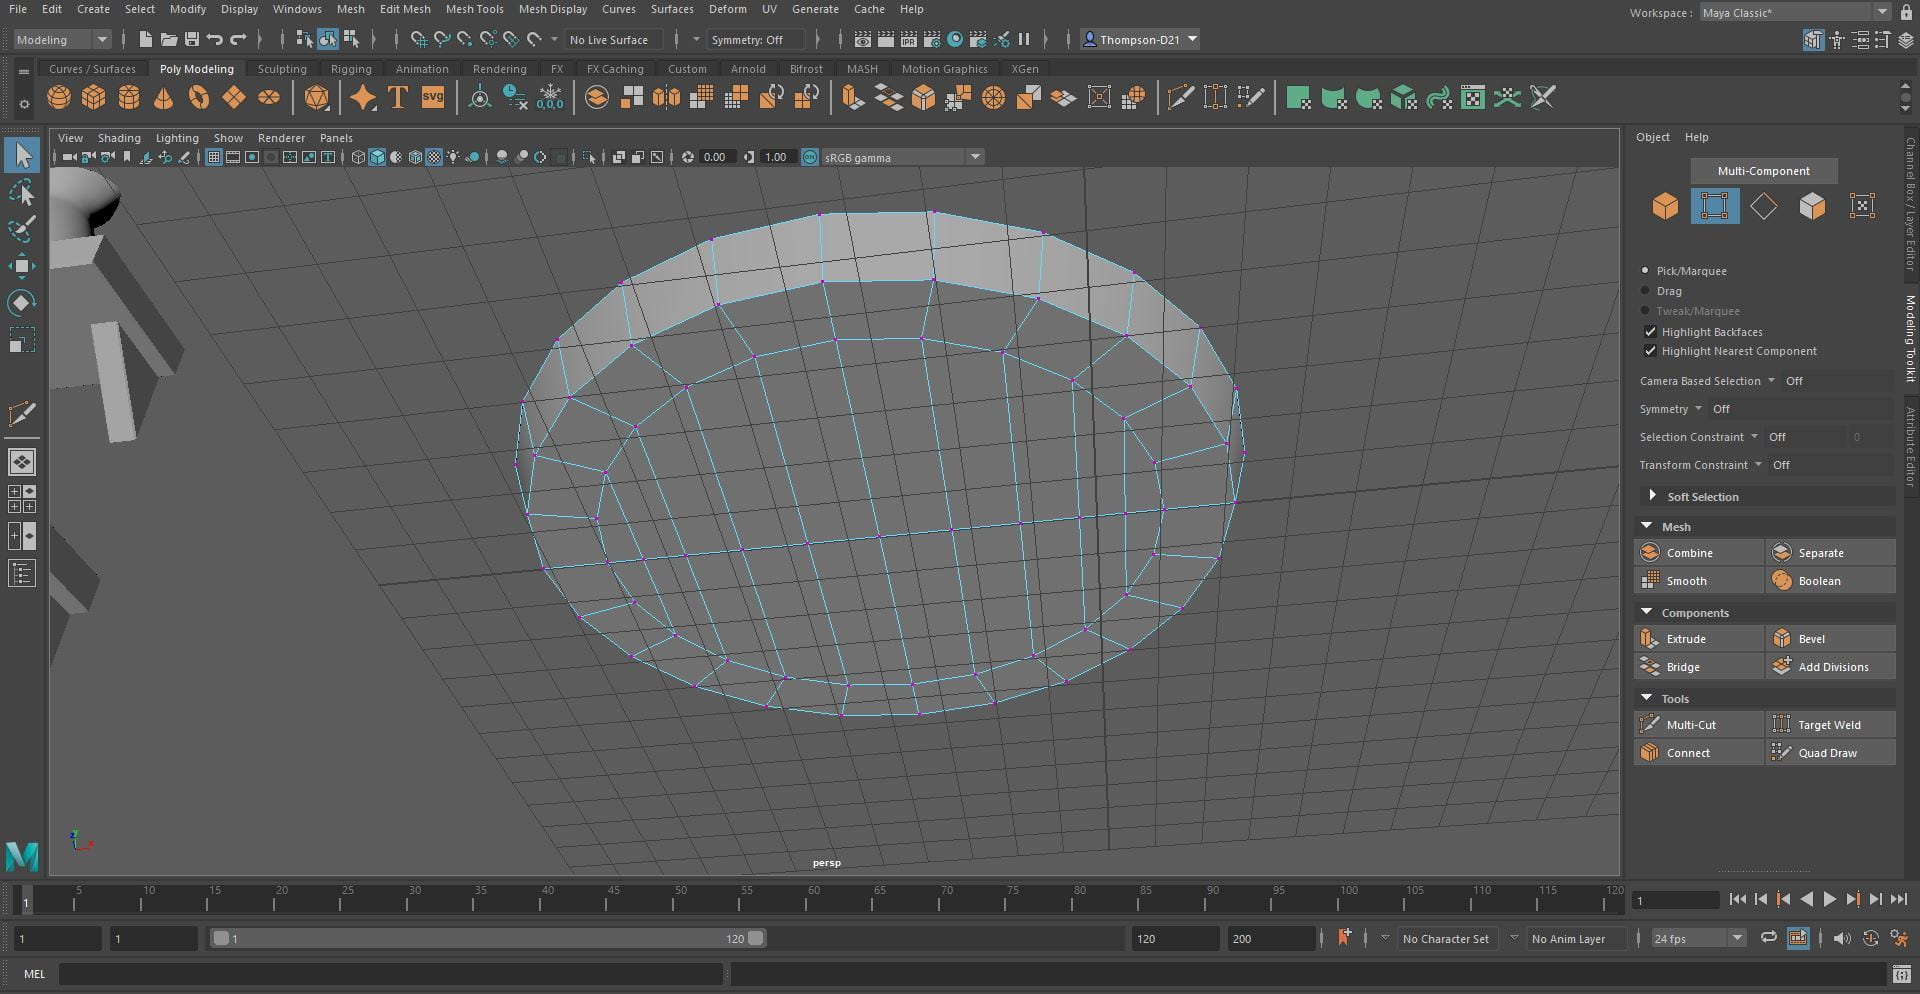
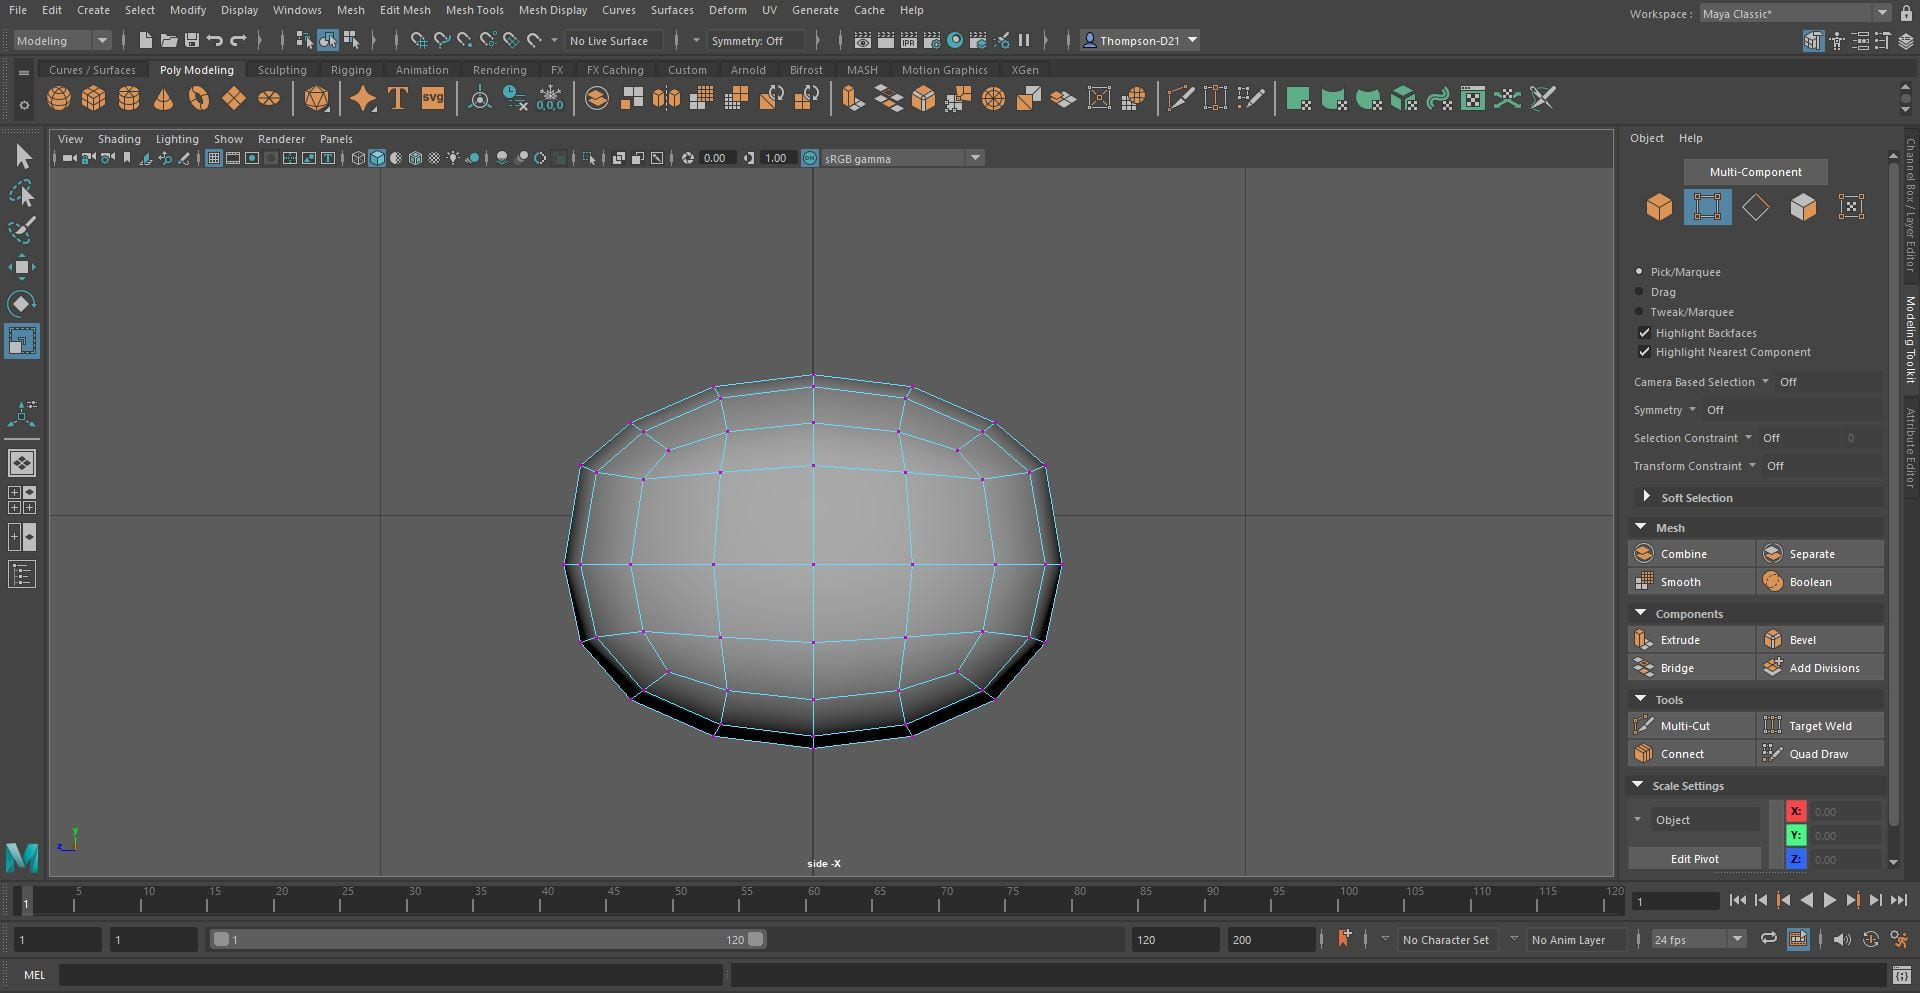
Vase
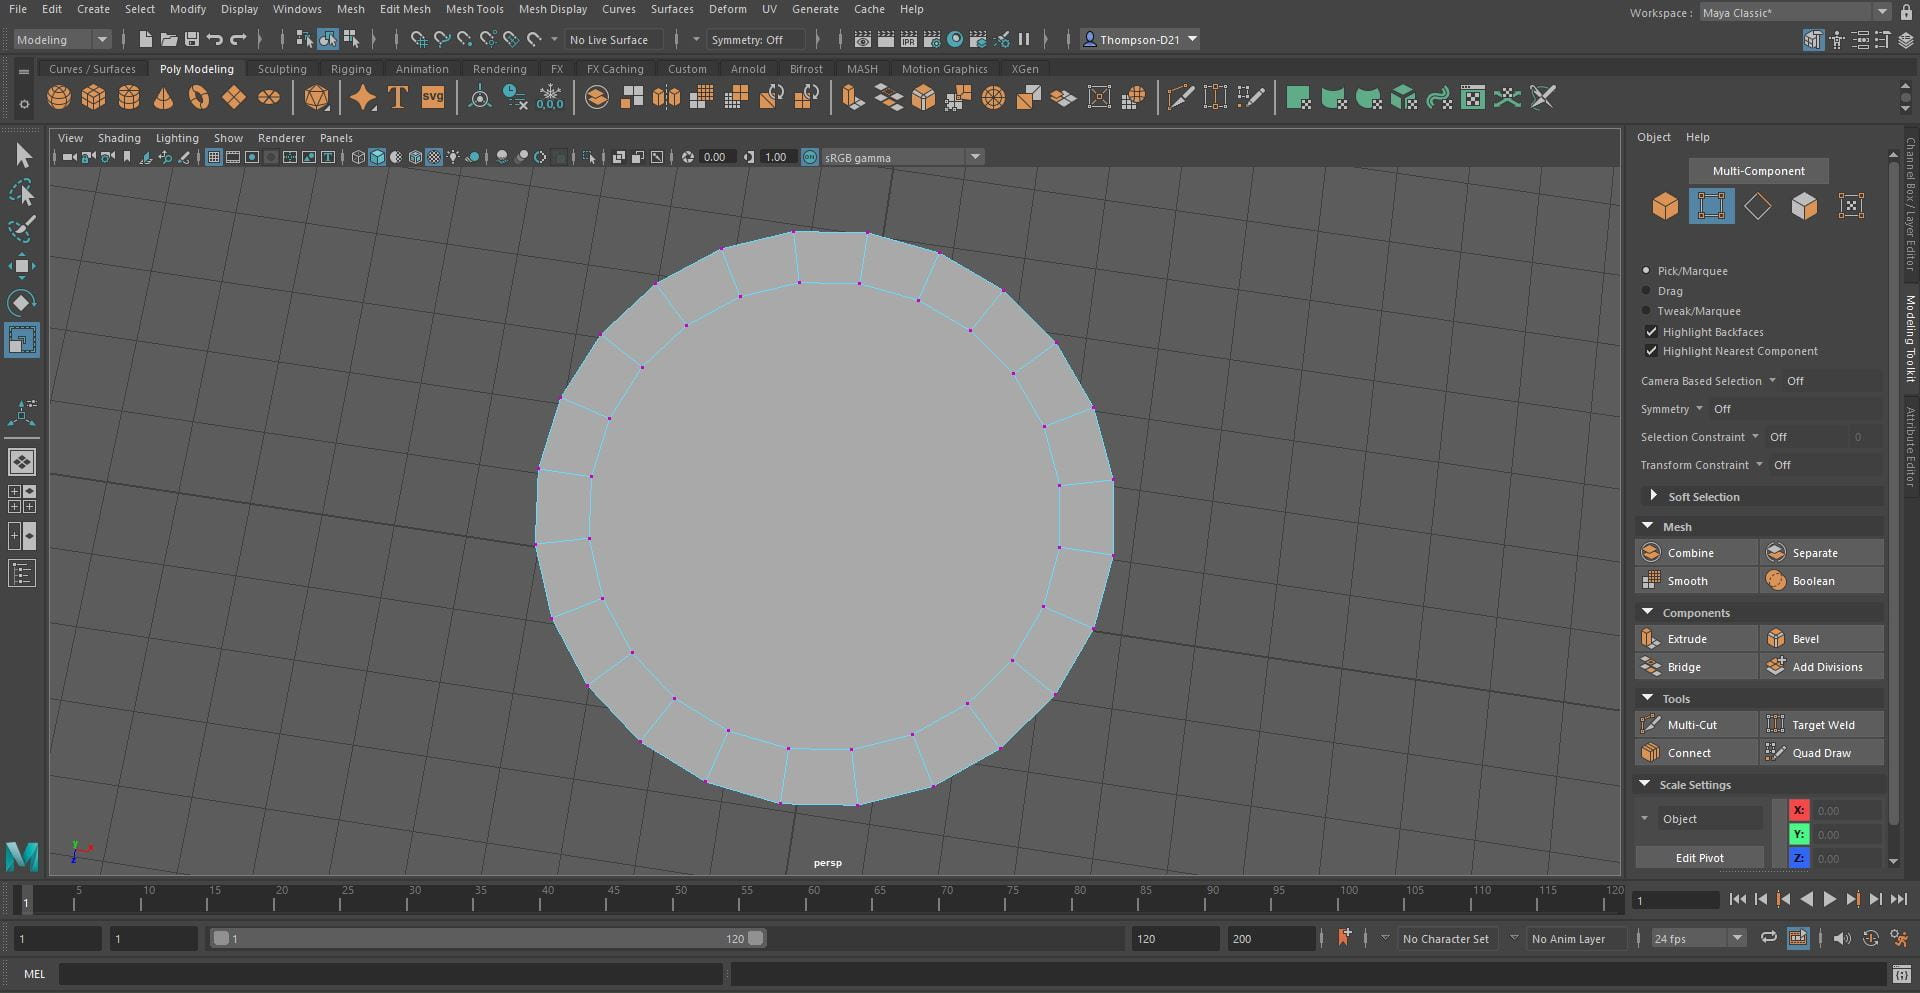
For the vase I added a cylinder to the scene and stretched it to the right size. I added edge loops up the cylinder and stretched them to form the basic shape. I continued to add edge loops to smooth the shape.


Next, I beveled the bottom and cut it into sections using the multi cut tool to avoid ngons.

To make it hollow I beveled the top point and extrude the surface to make the inside of the vase. I also beveled the bottom and cut it into sections to avoid ngons.

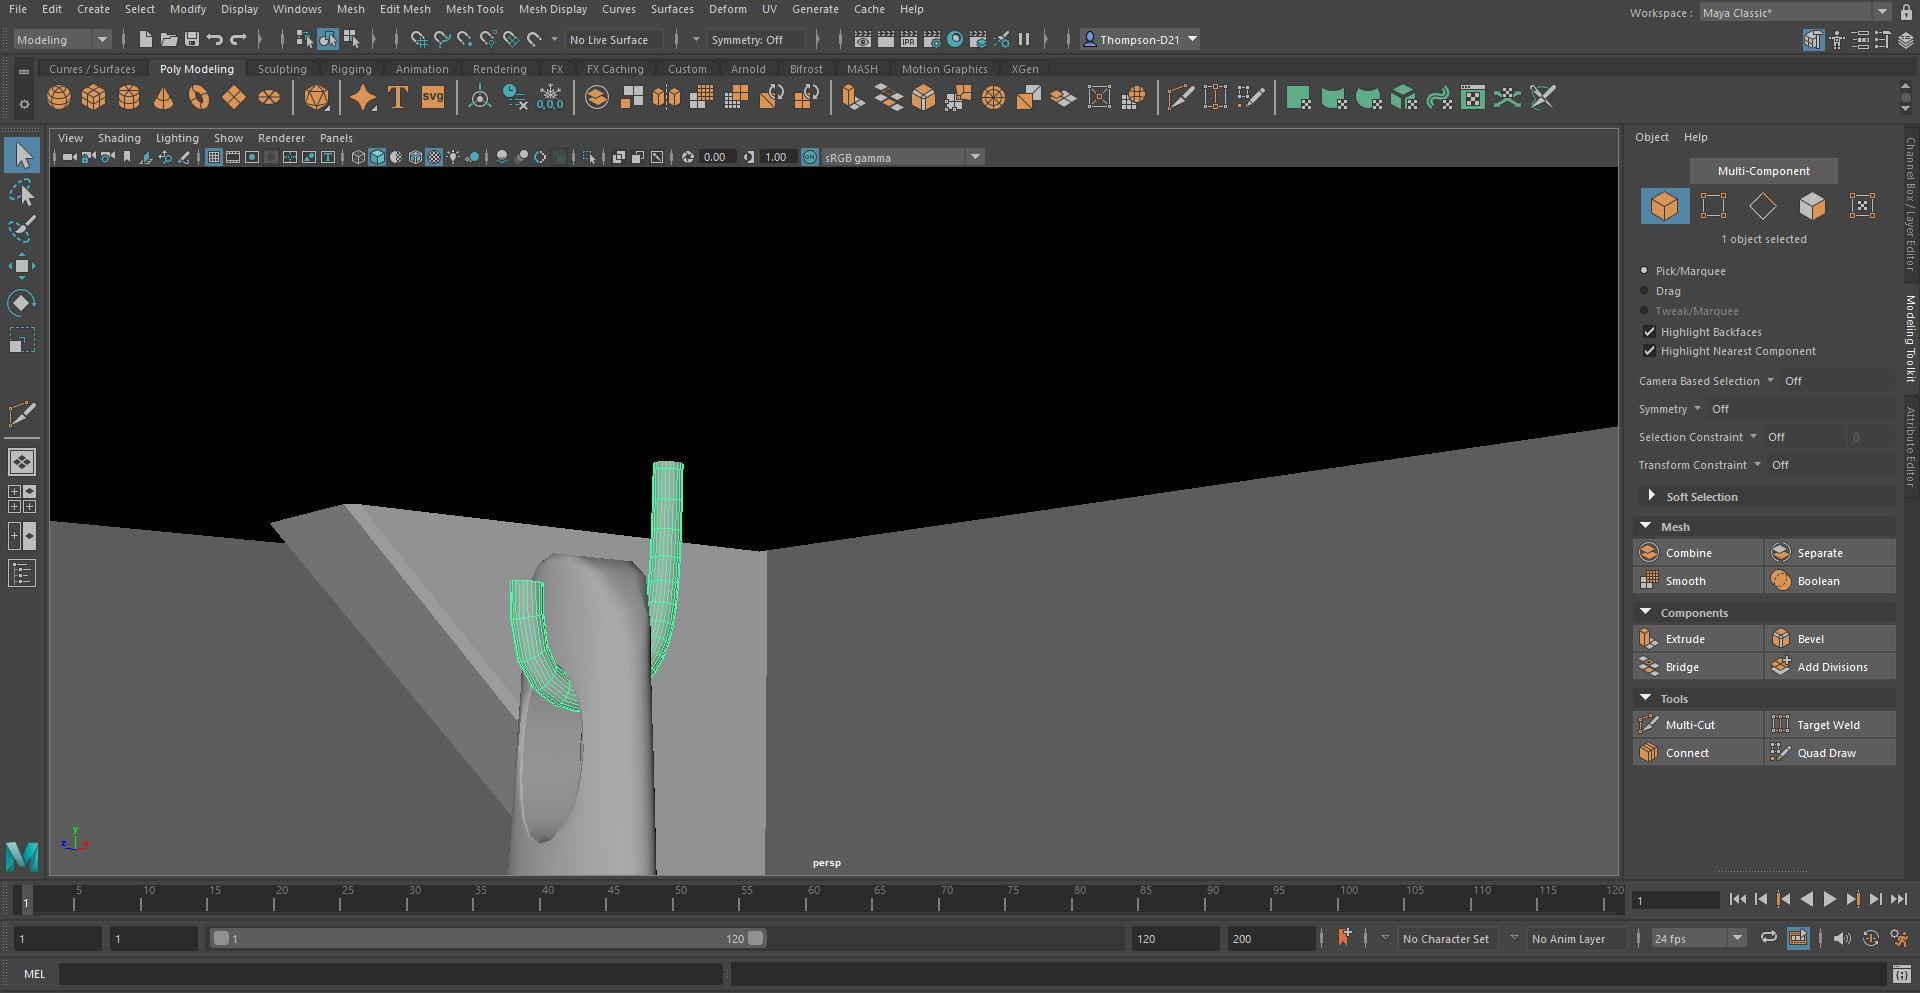
I then curved the top to make the spout by selecting the vertices and moving them up and down to create a smooth curve. To make the handle I used the EP Curve Tool to draw the shape I wanted, I then add a cylinder and delete everything but the face, snaped the face to the curve and extruded it. I add divisions to shape the handle. Lastly, I grouped it in the outlined, deleted the history and froze the transformations.


Frying Pan
To make the frying pan I added cylinder and stretched it to size, beveled the bottom and split it using the multi cut tool. I add edge loops to side to round shape and beveled the top so I could extrude it.


For the handle I added another cylinder and stretched it. I add edge loops up the cylinder and shaped it. I cut an oval out of the end to make a hole and beveled the oval edges to 0.3. I added another cylinder and shaped it into an oval to make the connector between the handle and the pan.


Hook
To make the hook I drew the shape using the EP Curve tool, added a face and extruded it. I set the divisions to 20 to make it curve around the shape.
Flowers
To make the flowers I started by draw the steam using EP Curve tool, adding a face and extruding it. I set the divisions to 20.


For the petals I added a cube and smoothed it to 2. I then flattened it to make an oval shape and deleted the back. I duplicate it twice to make the other petals and put it in the vase. I duplicated the flower to make two.

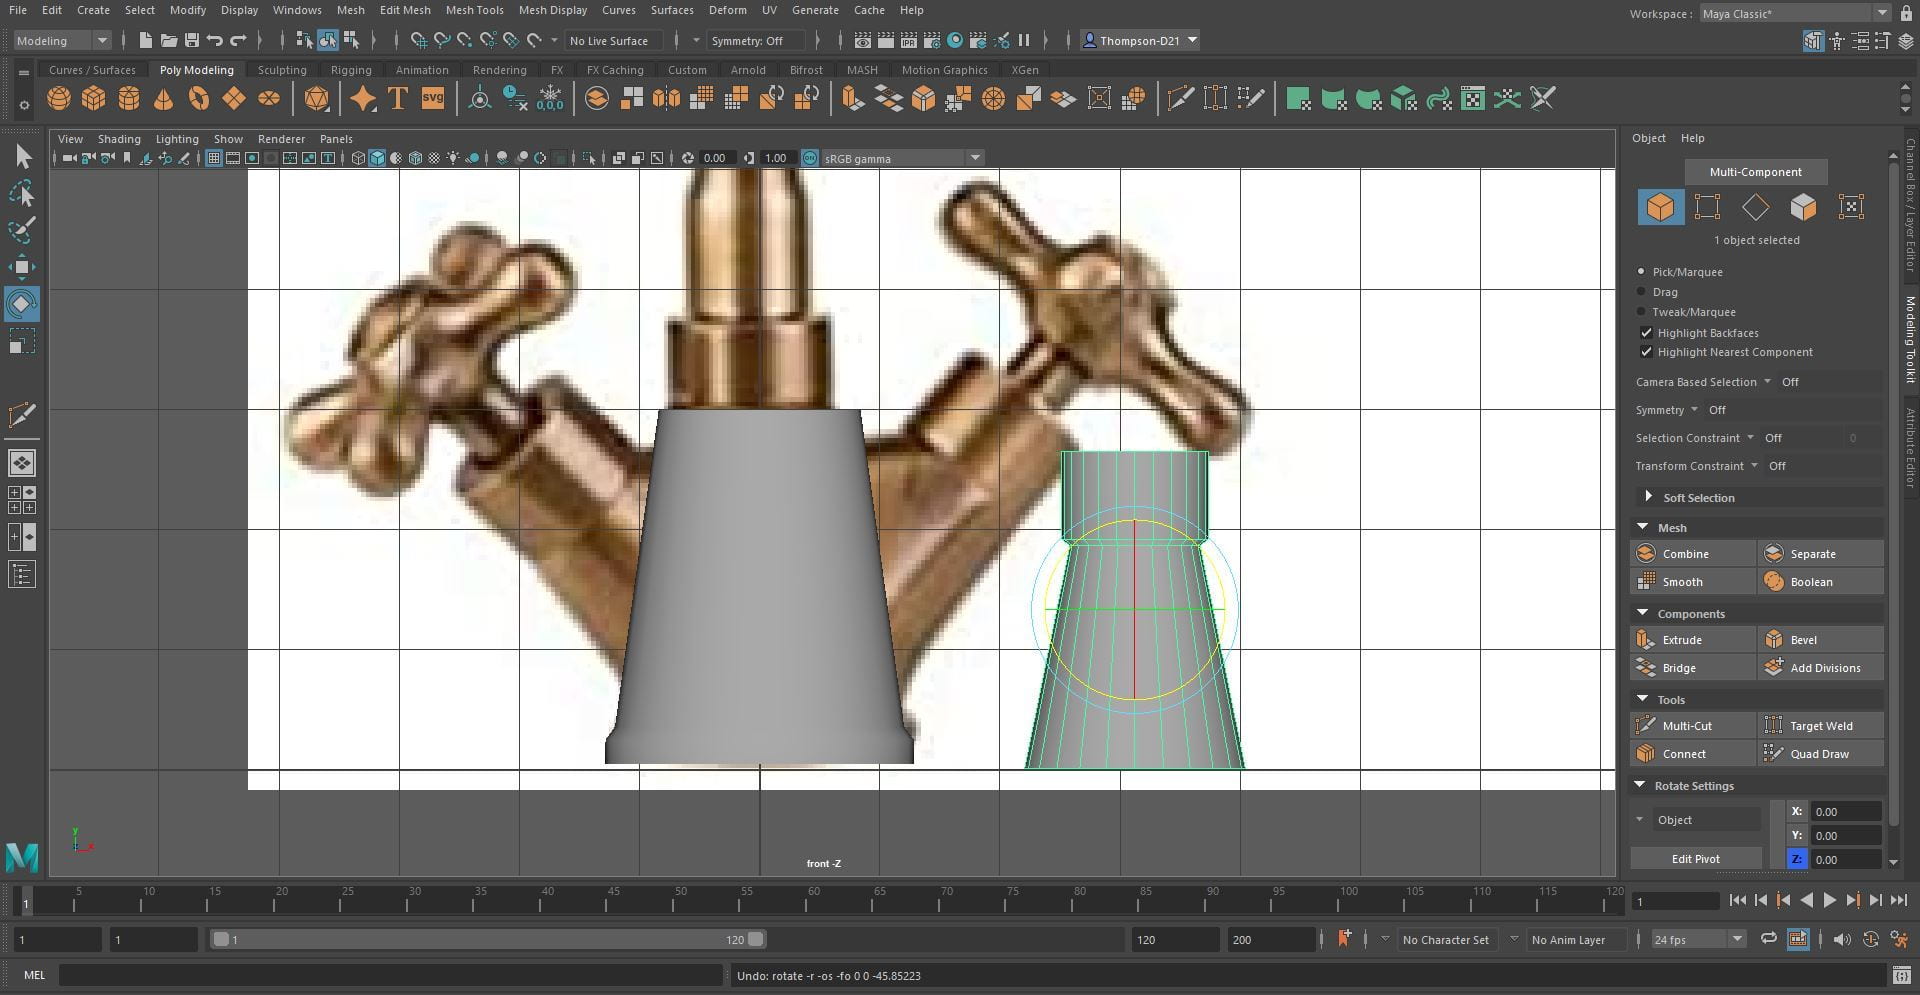
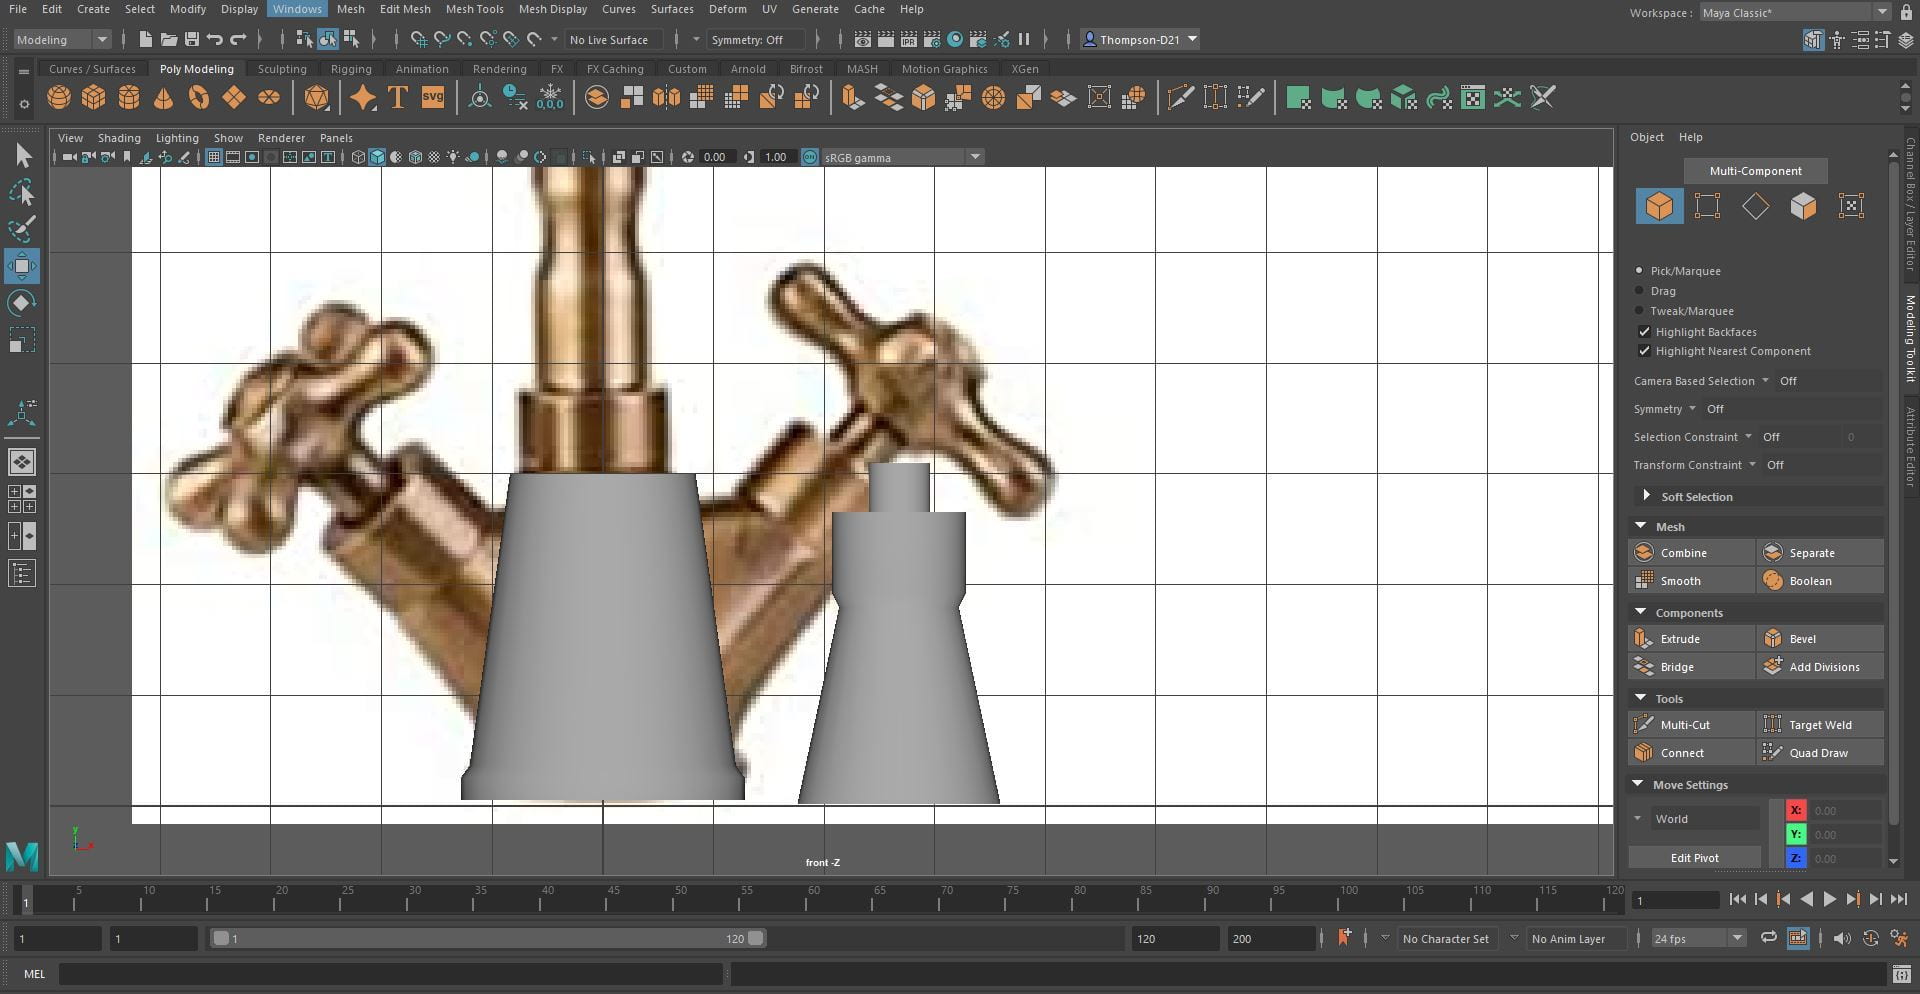
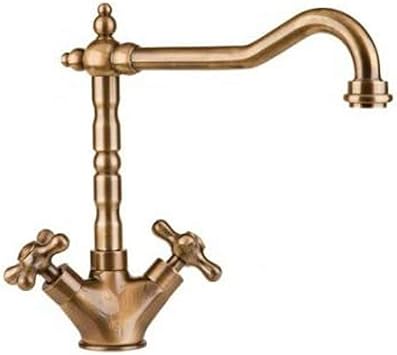
Tap
To make the tap I started by making the base. I add a cylinder, added edge loops to form it to make a v shape. I did the same process for the base of the handles. I added a cylinder to make the connector between the base and the handles.


To make the handles I added a cube, smoothed it to 2 and shaped it to make an oval, this will be the middle of the handle. To make the grips I added another cube and smoothed it to 2. I shaped it by stretching it to make a long oval. I duplicated it to make the other three grips and added them to the middle of the handle. I then duplicate the whole handle and position them on the base of the tap.


For the spout I added a cylinder and stretched it to size. I added edge loops to the cylinder and shaped it to make the details on the spout. I also made the decoration by using smoothed cubes.
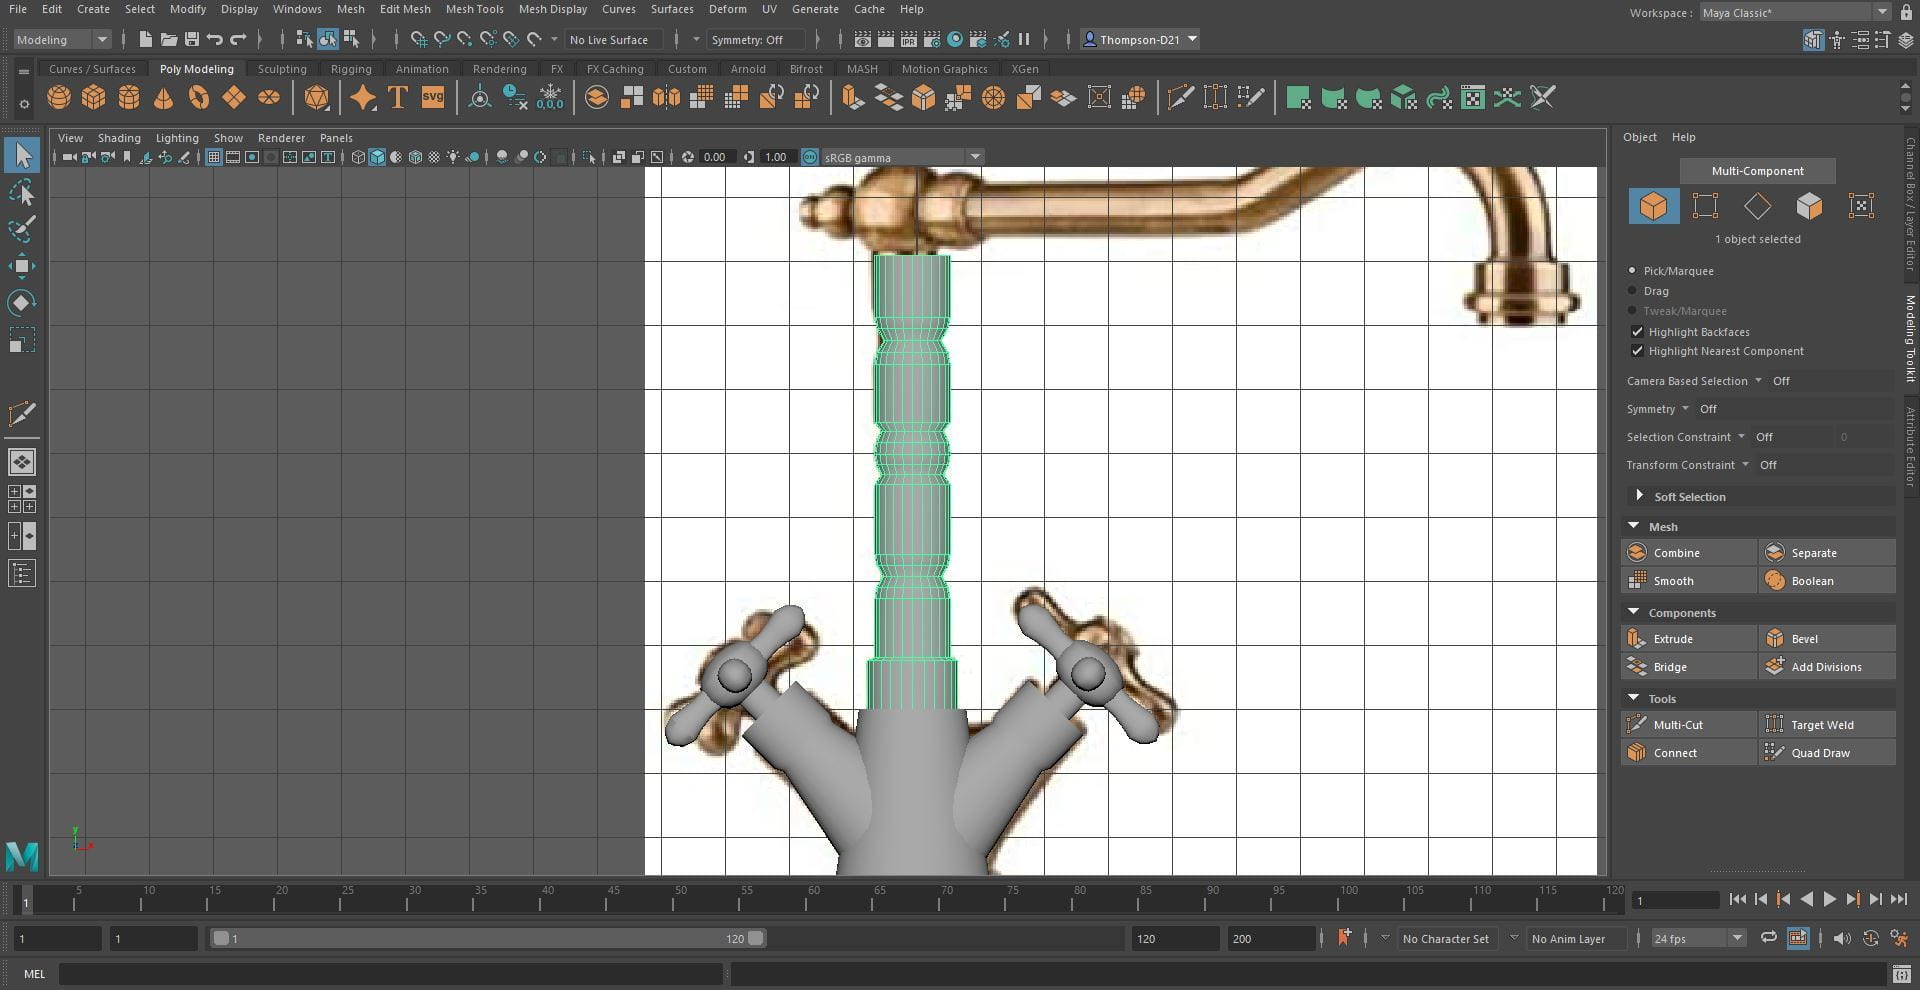

To make the rest of the spout I added another cylinder, stretched it to size and added edge loops to form the shape. I extruded the inside of the end of the spout to give the illusion of it begin hollow.
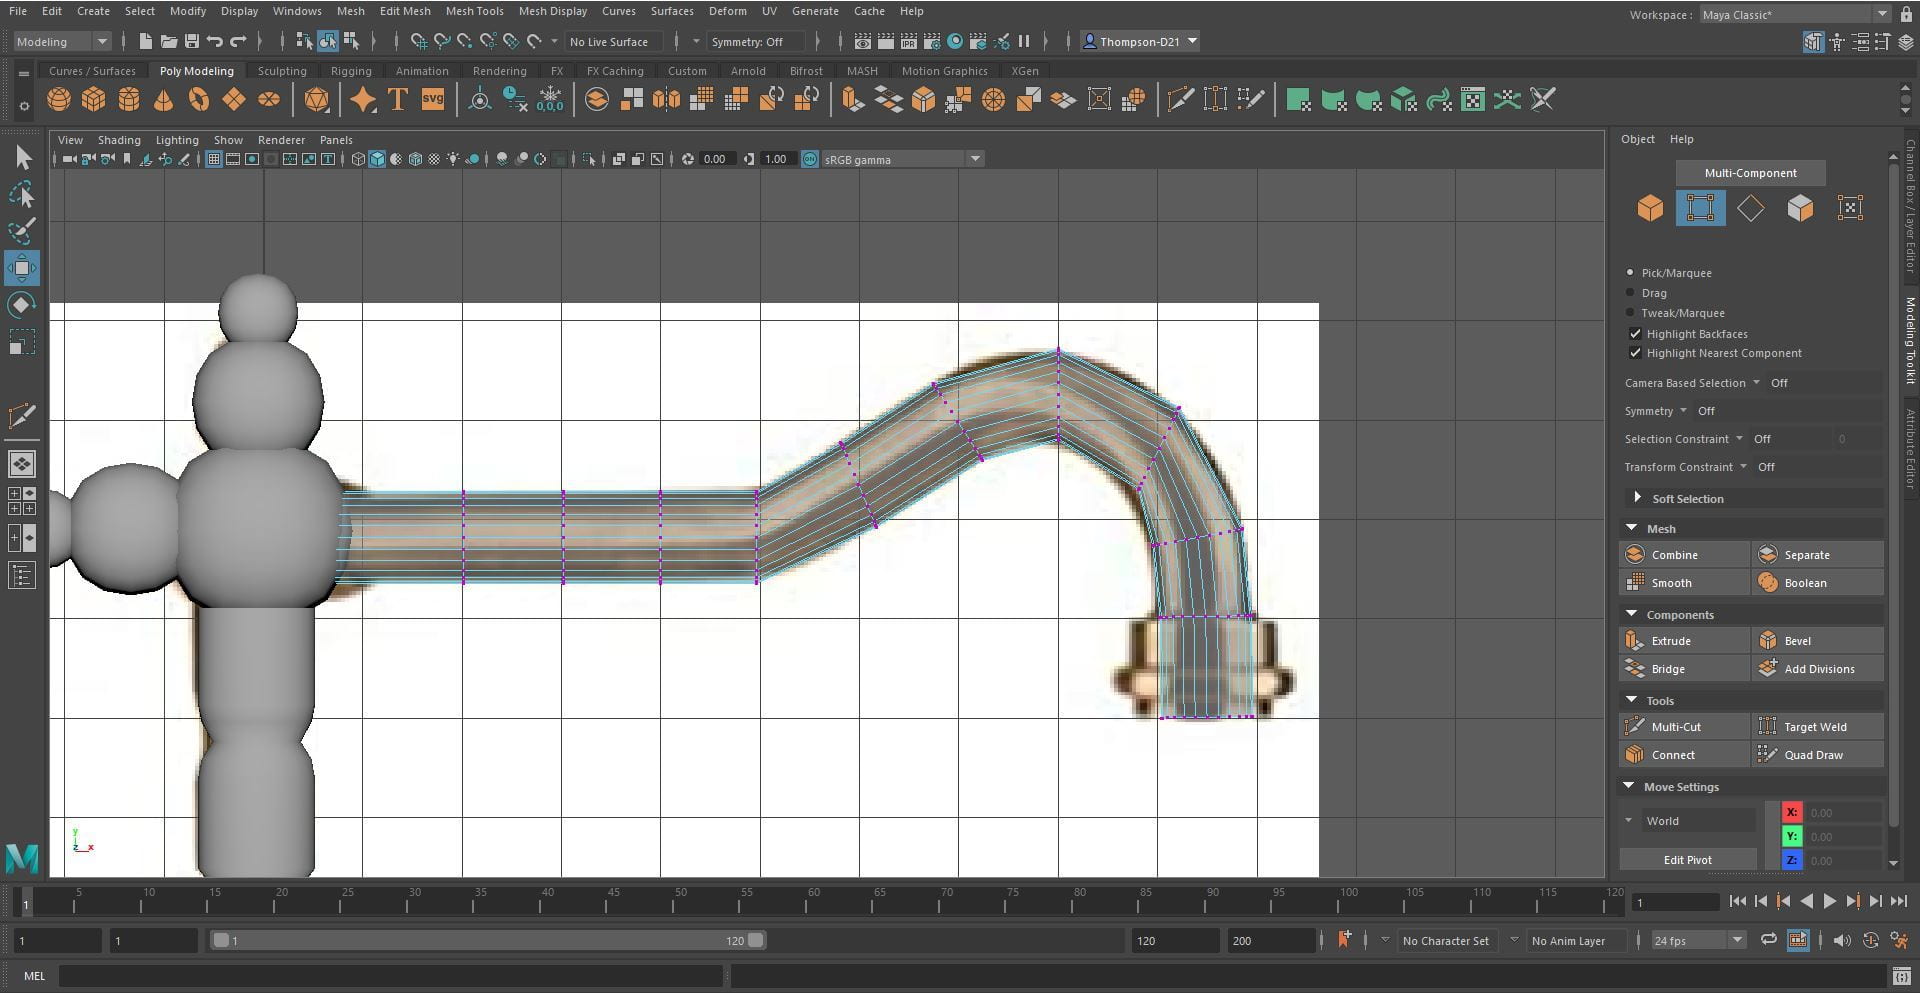


Window
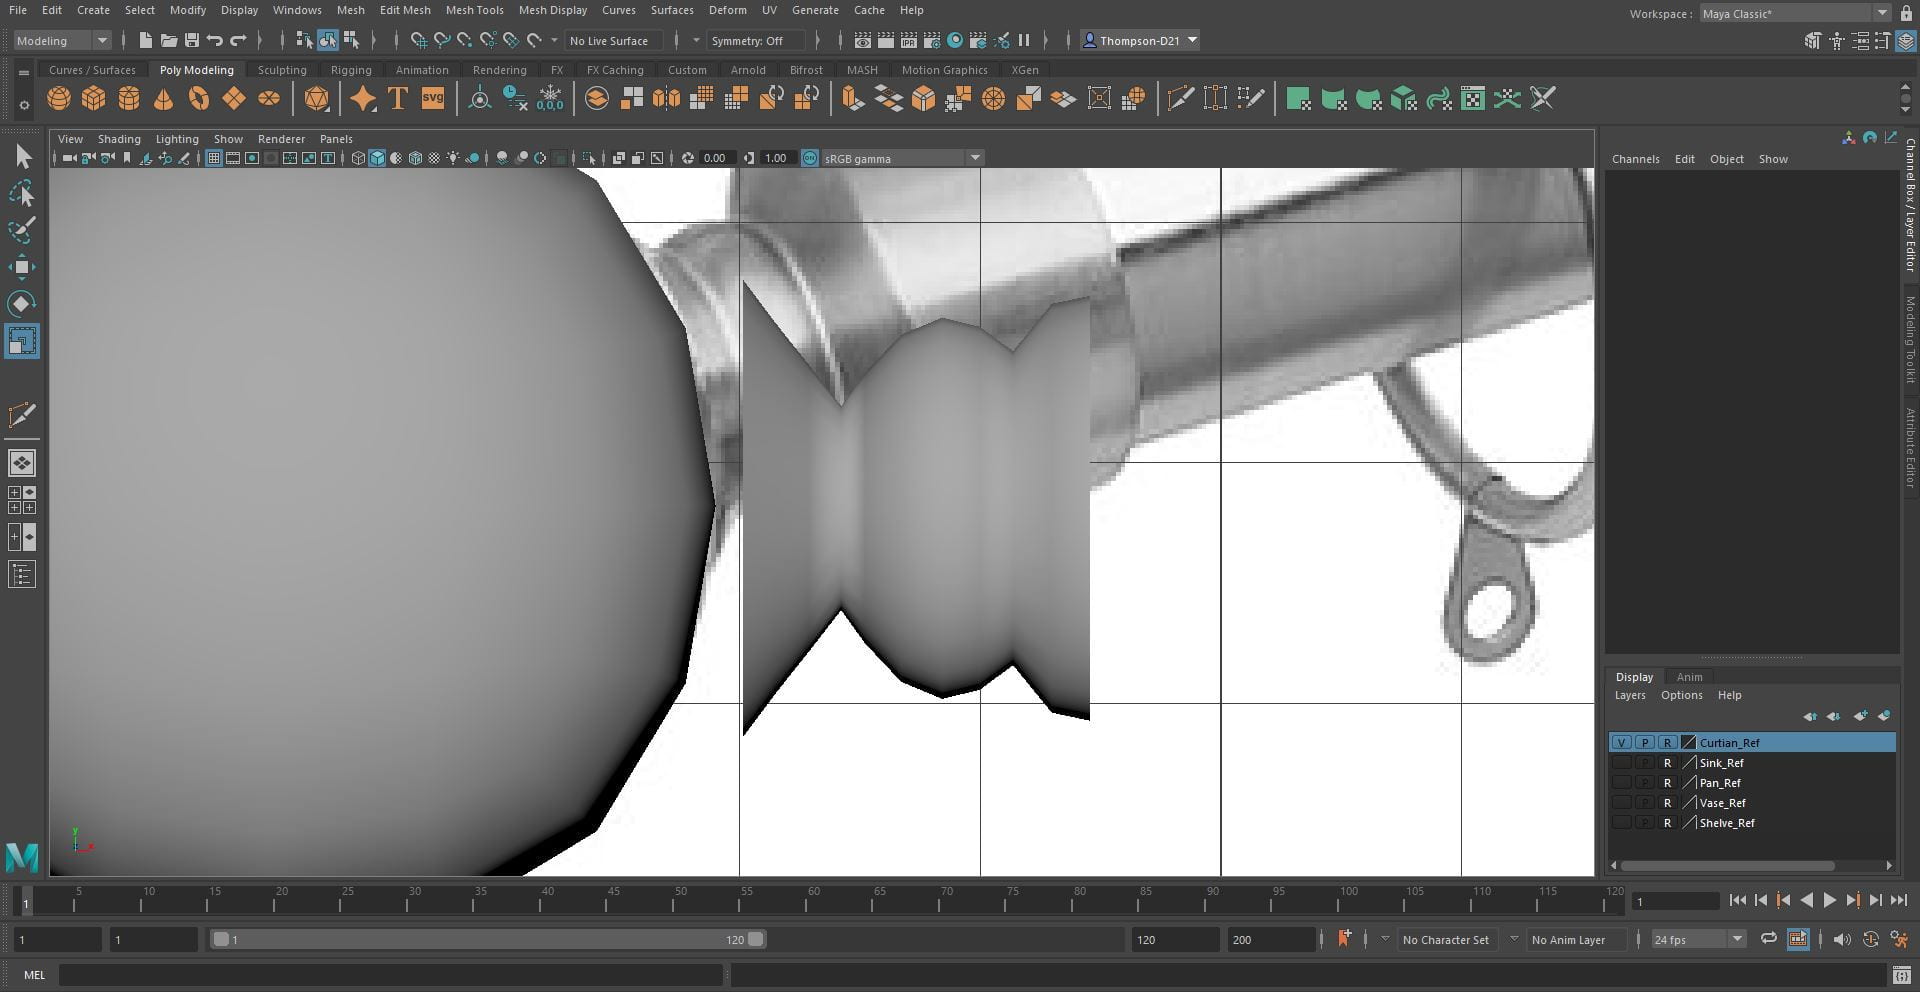
Next, I worked on the curtain pole, I added a cube and smoothed it to 2. I added a cylinder to make the connector between the pole and the balls at the ends, I added edge loops to shape it. To make the pole I added a cylinder, stretched it to size and put in between the two balls.


To make the curtains I followed this tutorial, https://www.youtube.com/watch?v=iGFY5rN0lAk

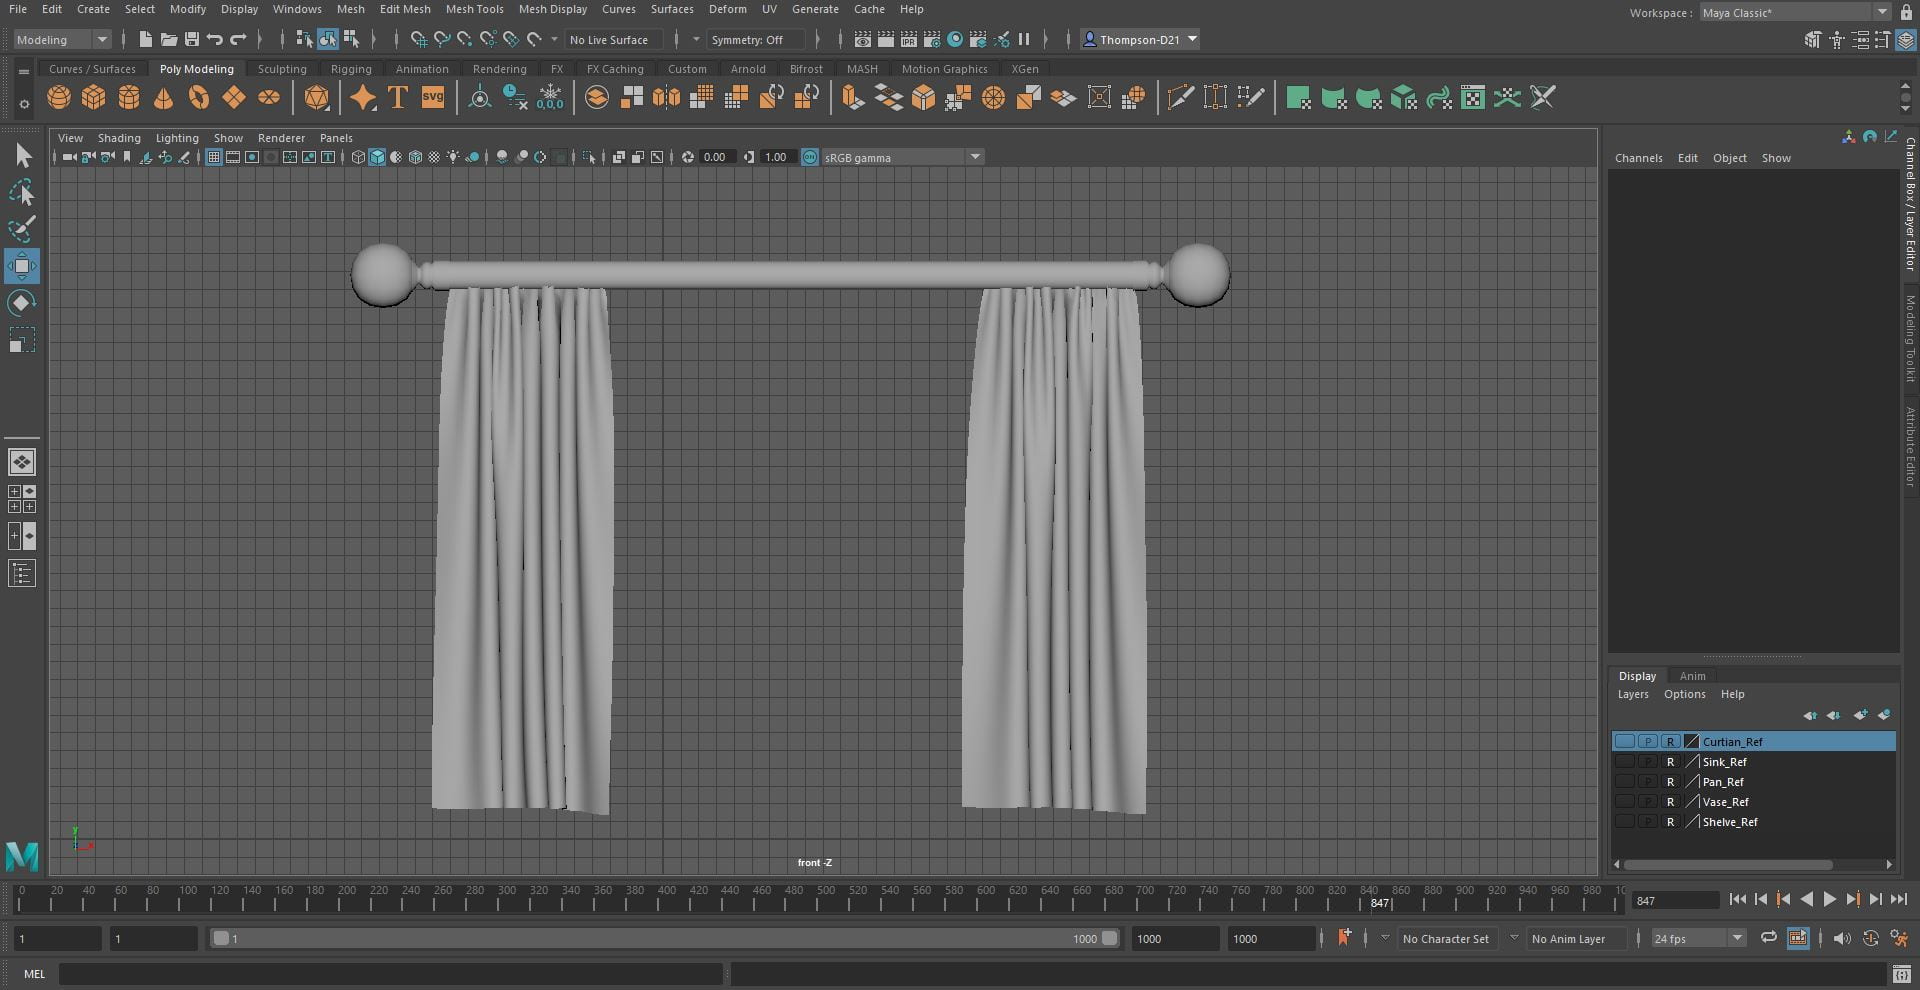
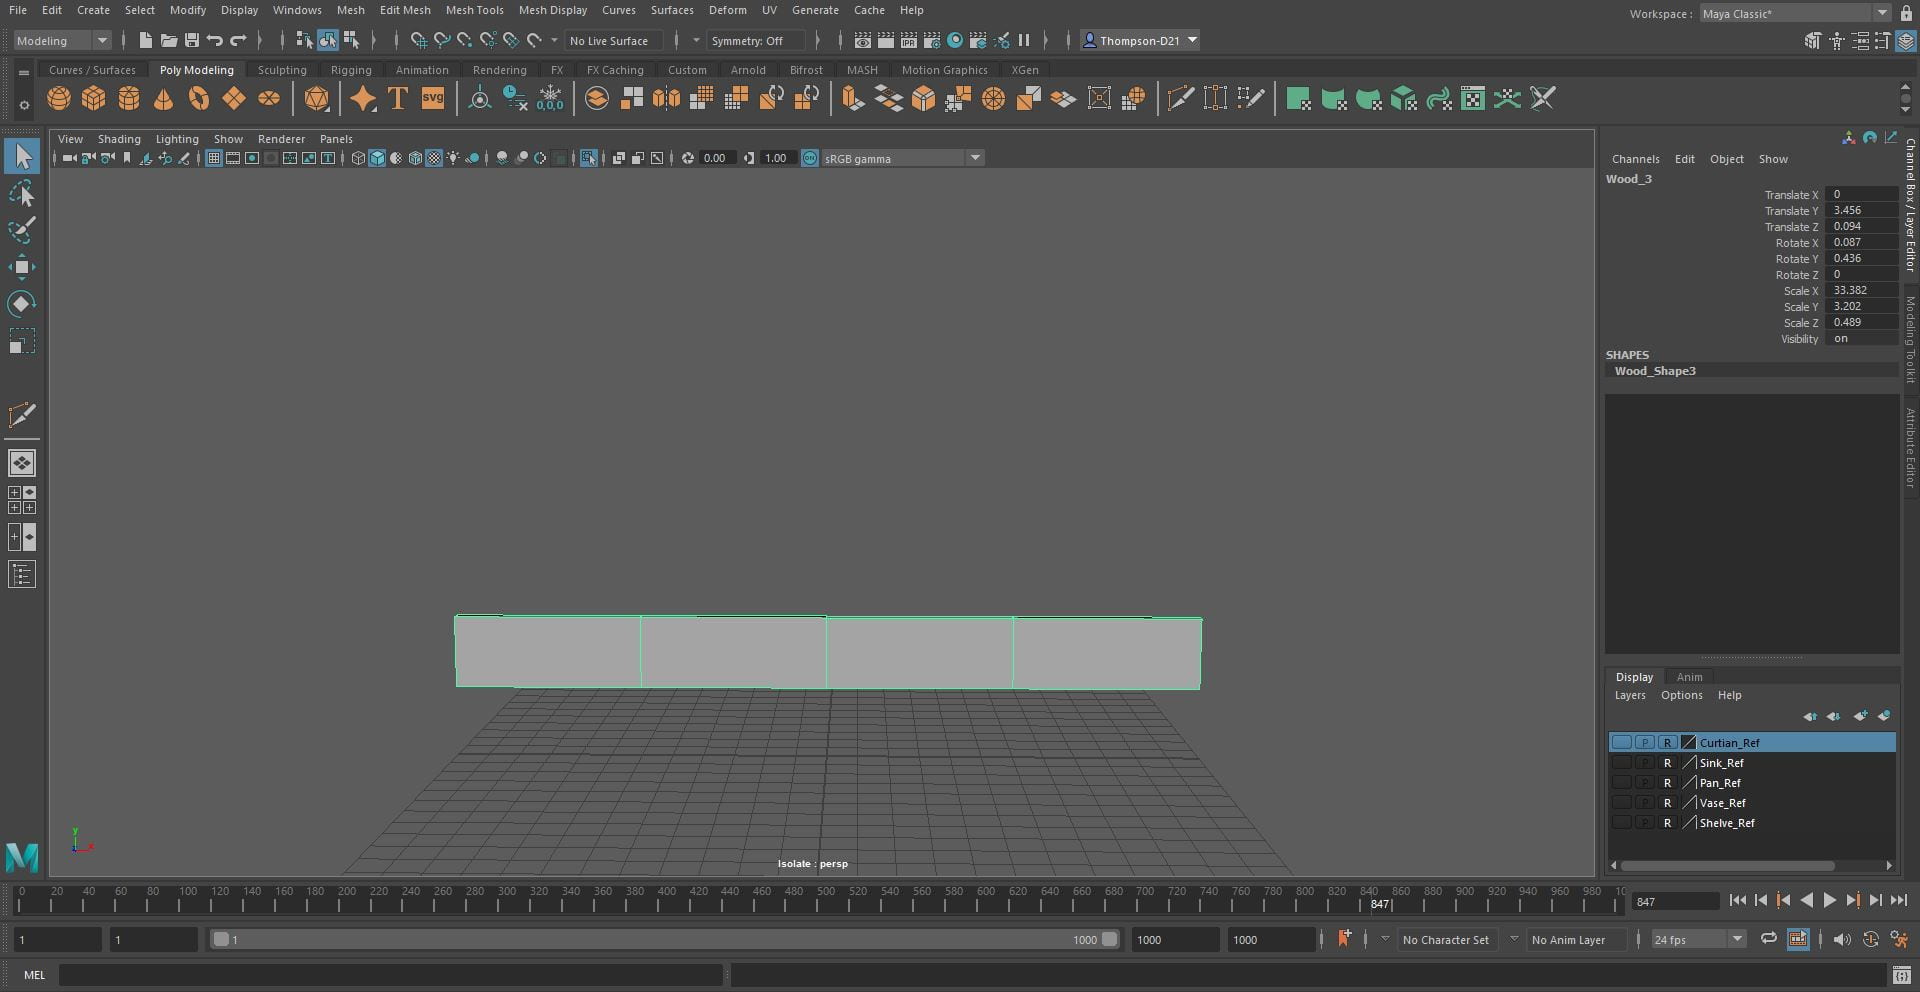
To make the wooden planks that covered the window I added a cube and stretched it to size. I then duplicated it to make the other boards.

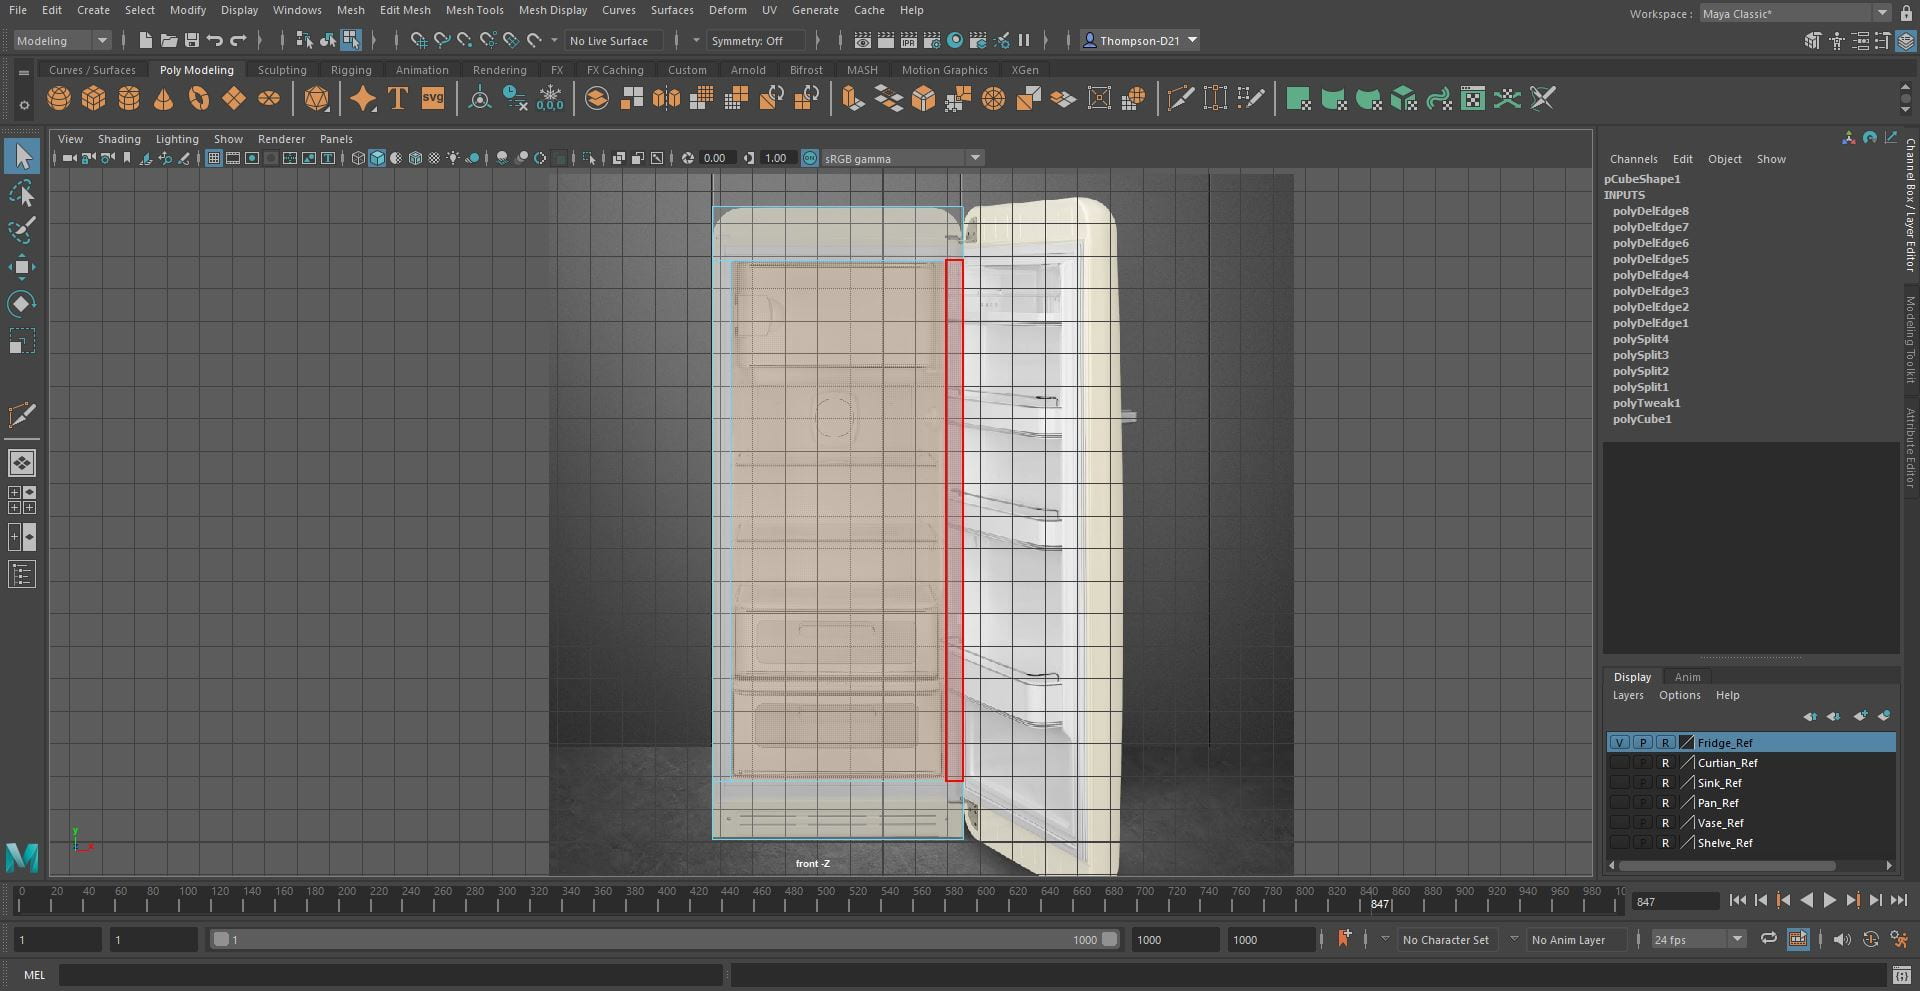
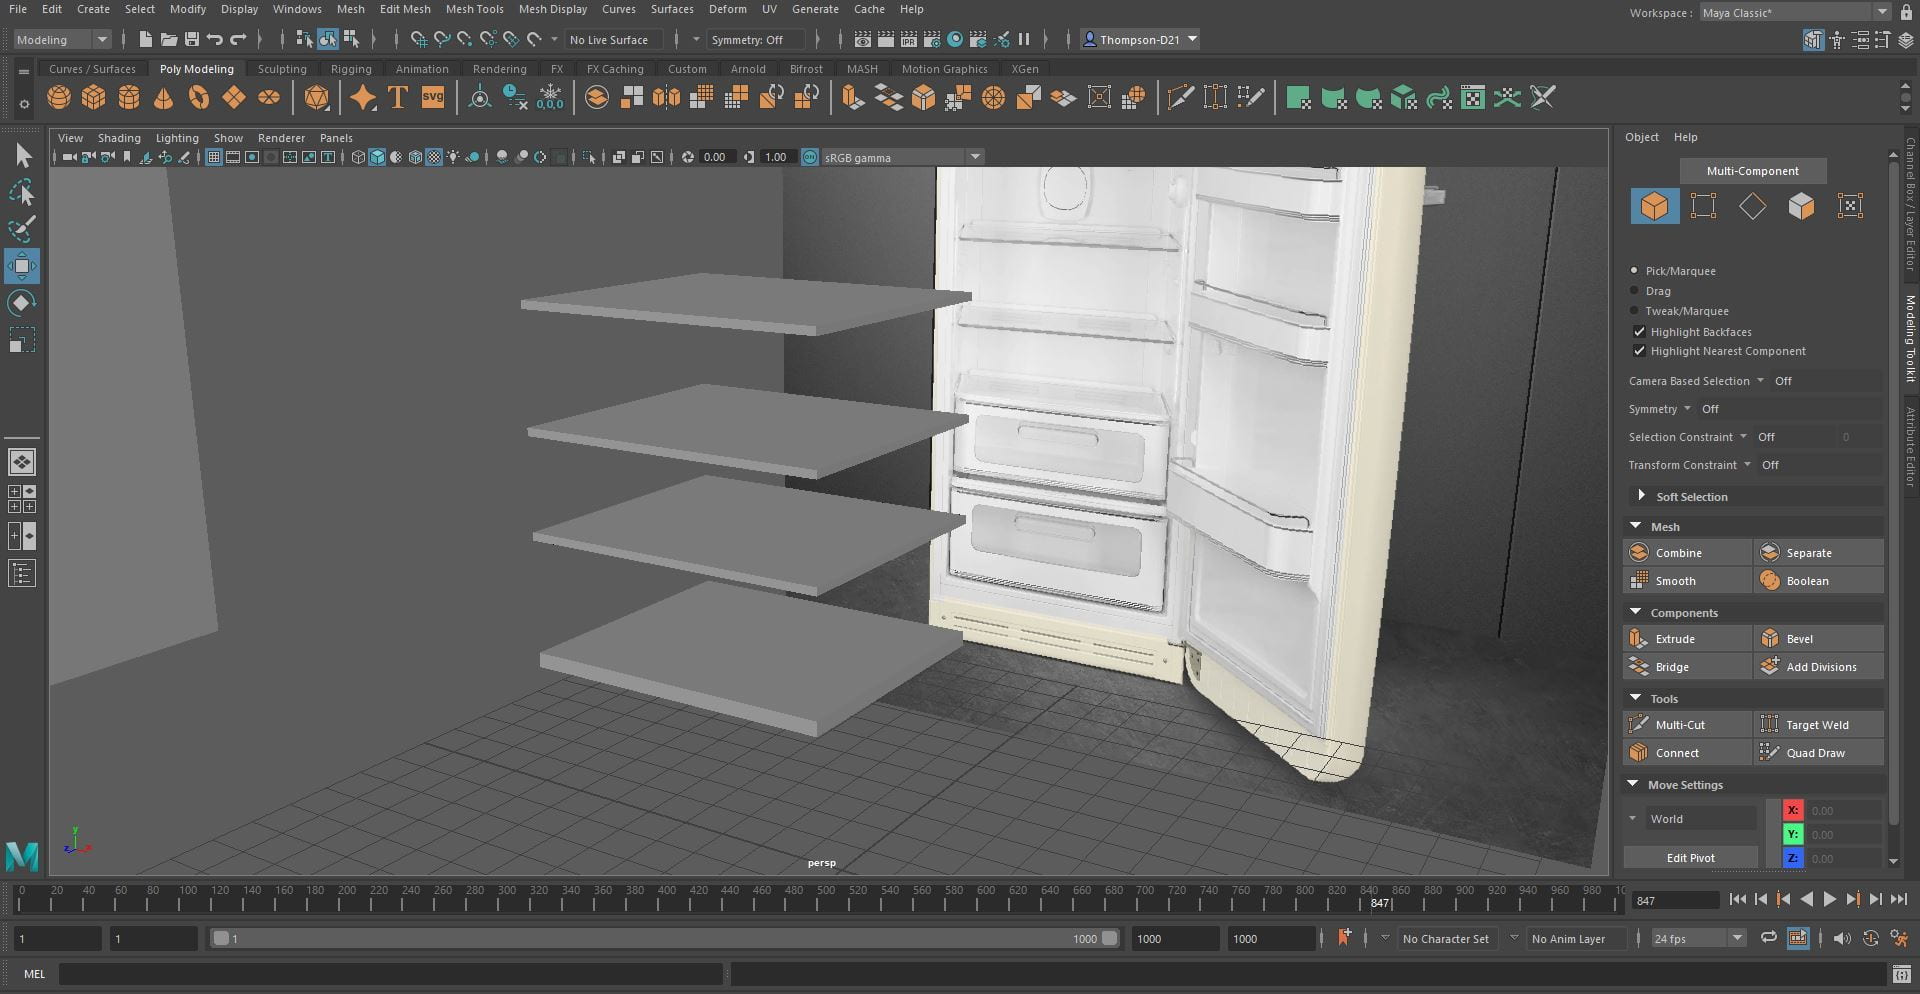
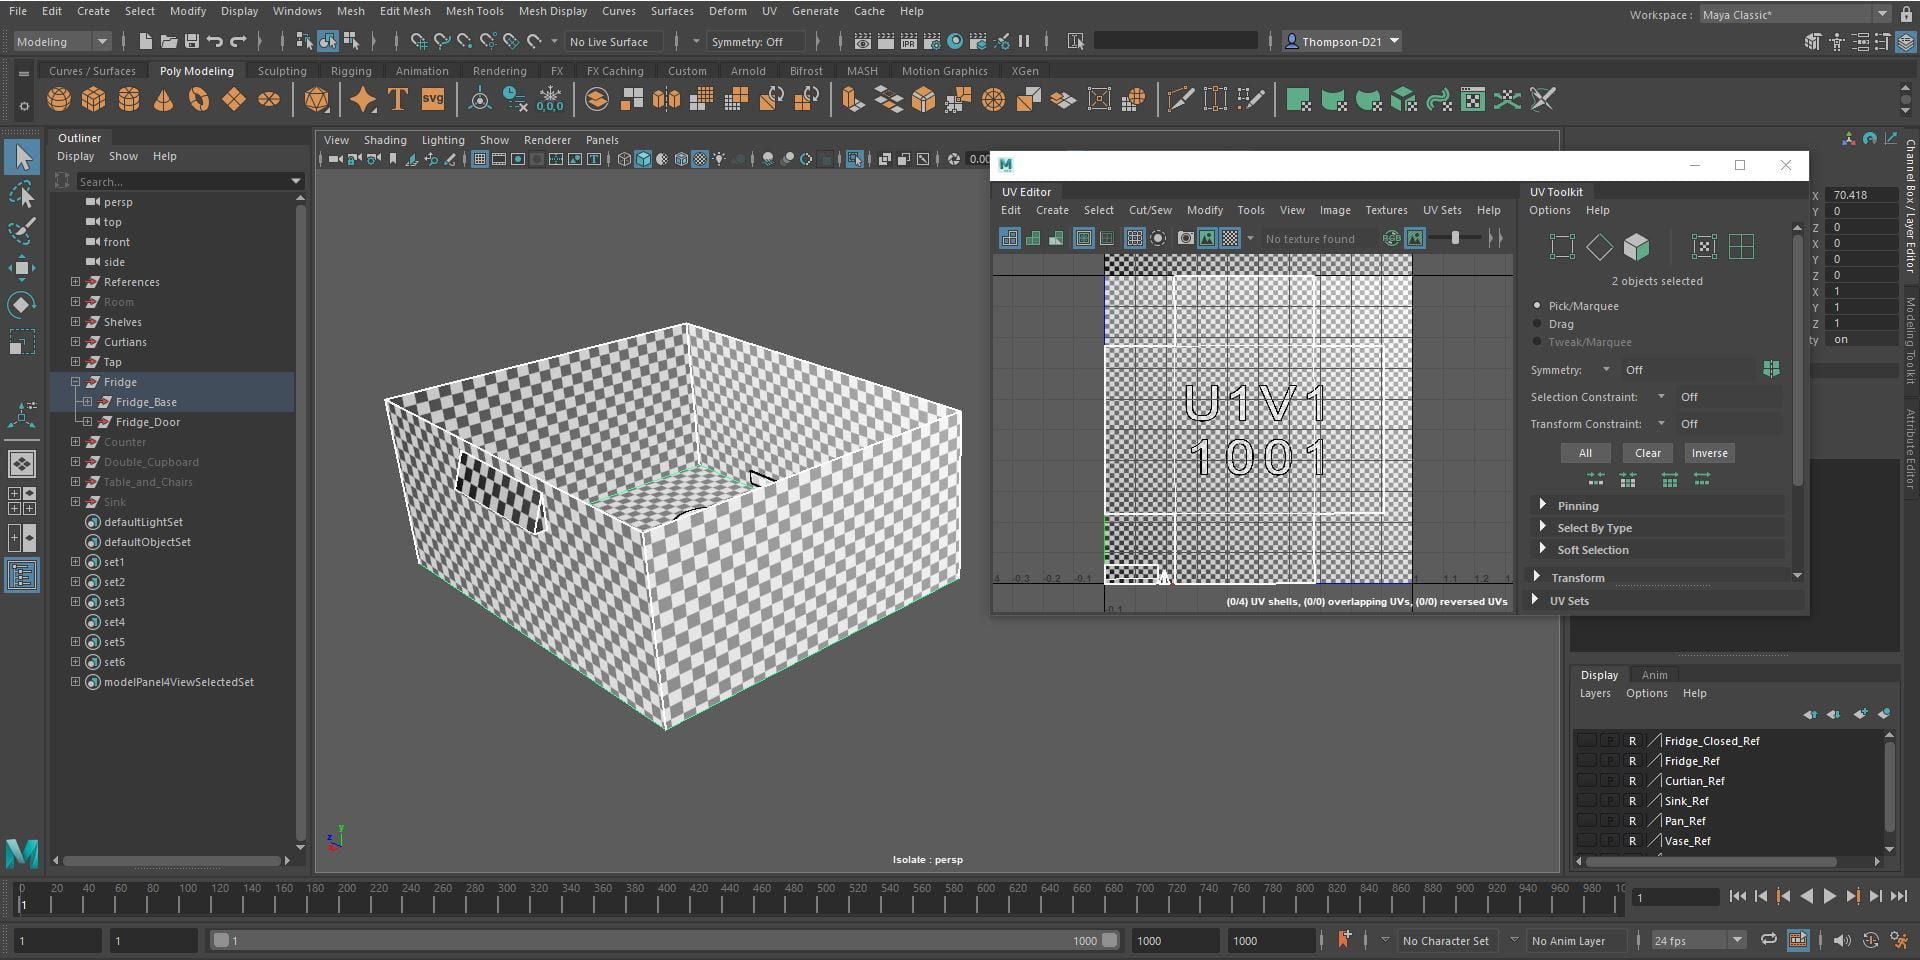
Fridge
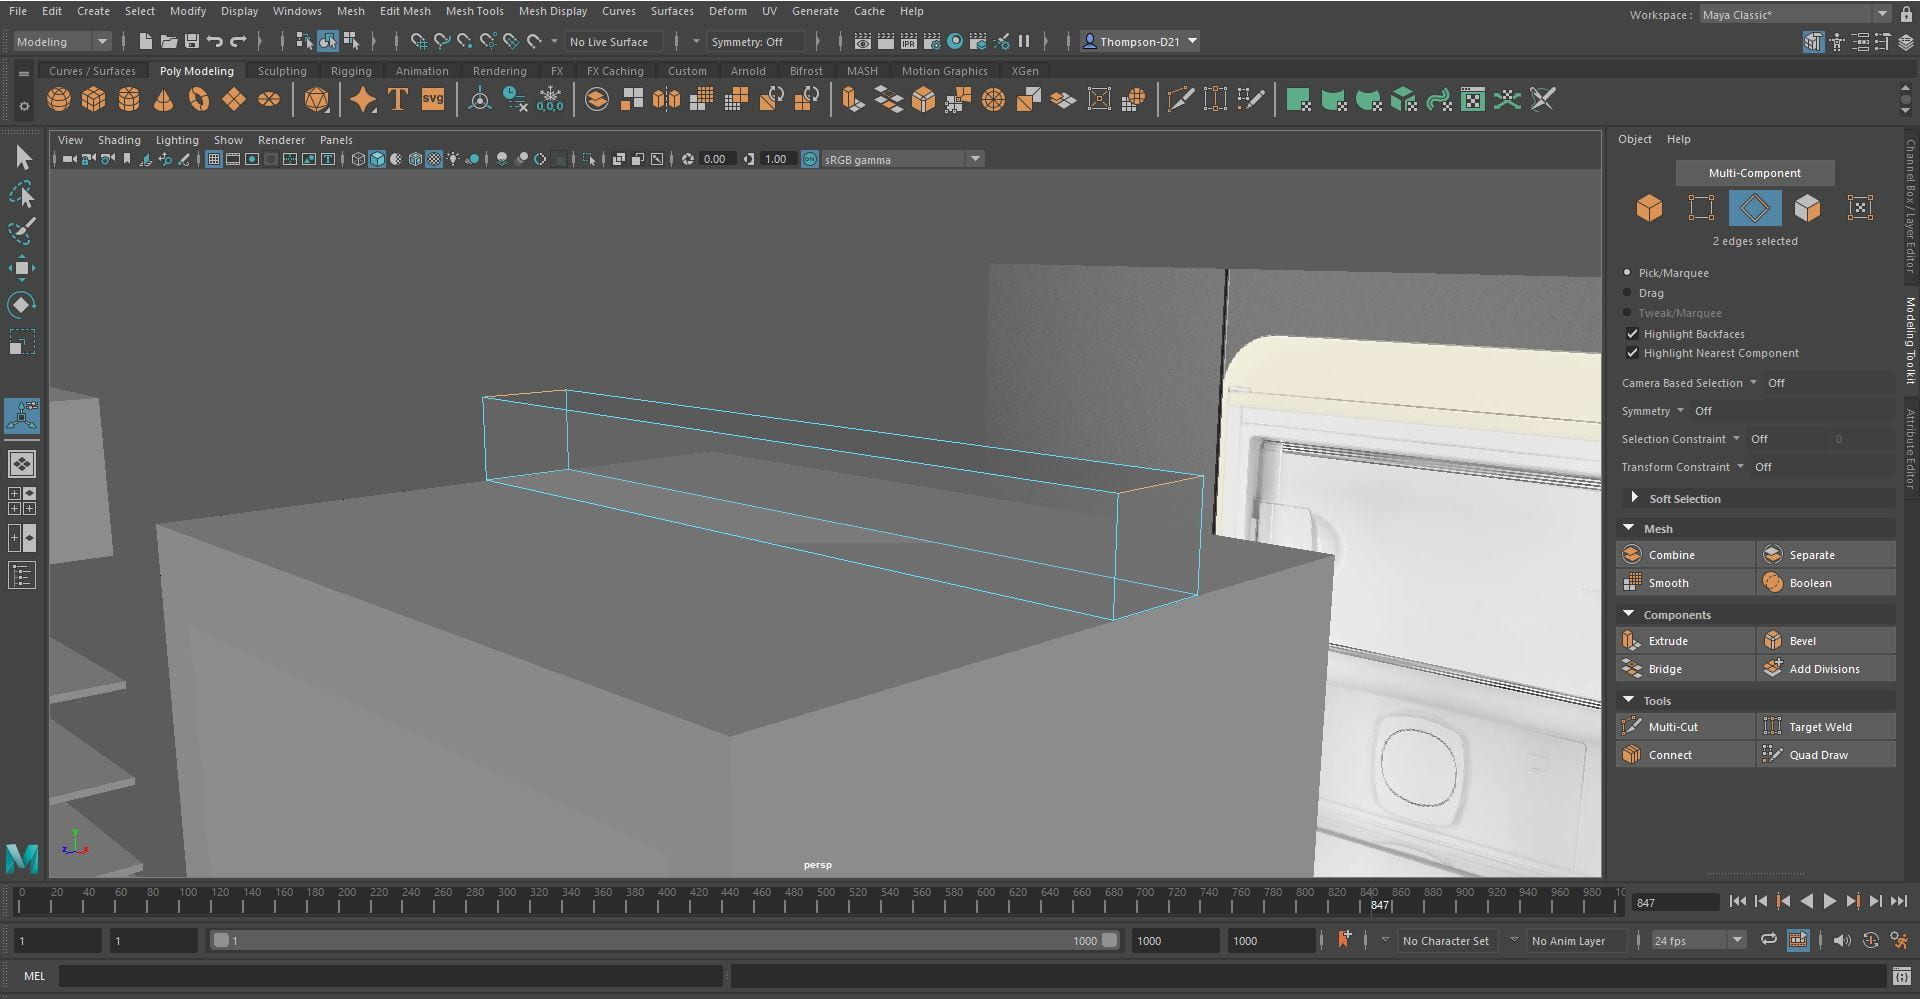
This was one of the most important parts of the environment, the fridge. I started by adding a cube and stretching it to form the base. I then added edge loops to the cube and extrude the inside to make it hollow.


To make the shelves I added a cube, stretched it to fit inside the fridge and duplicate it to make the other shelves.

For the drawers I added another cube and stretched it to fit. I then added edge loops and extruded the face to make it hollow. I added a prism to make the handle.

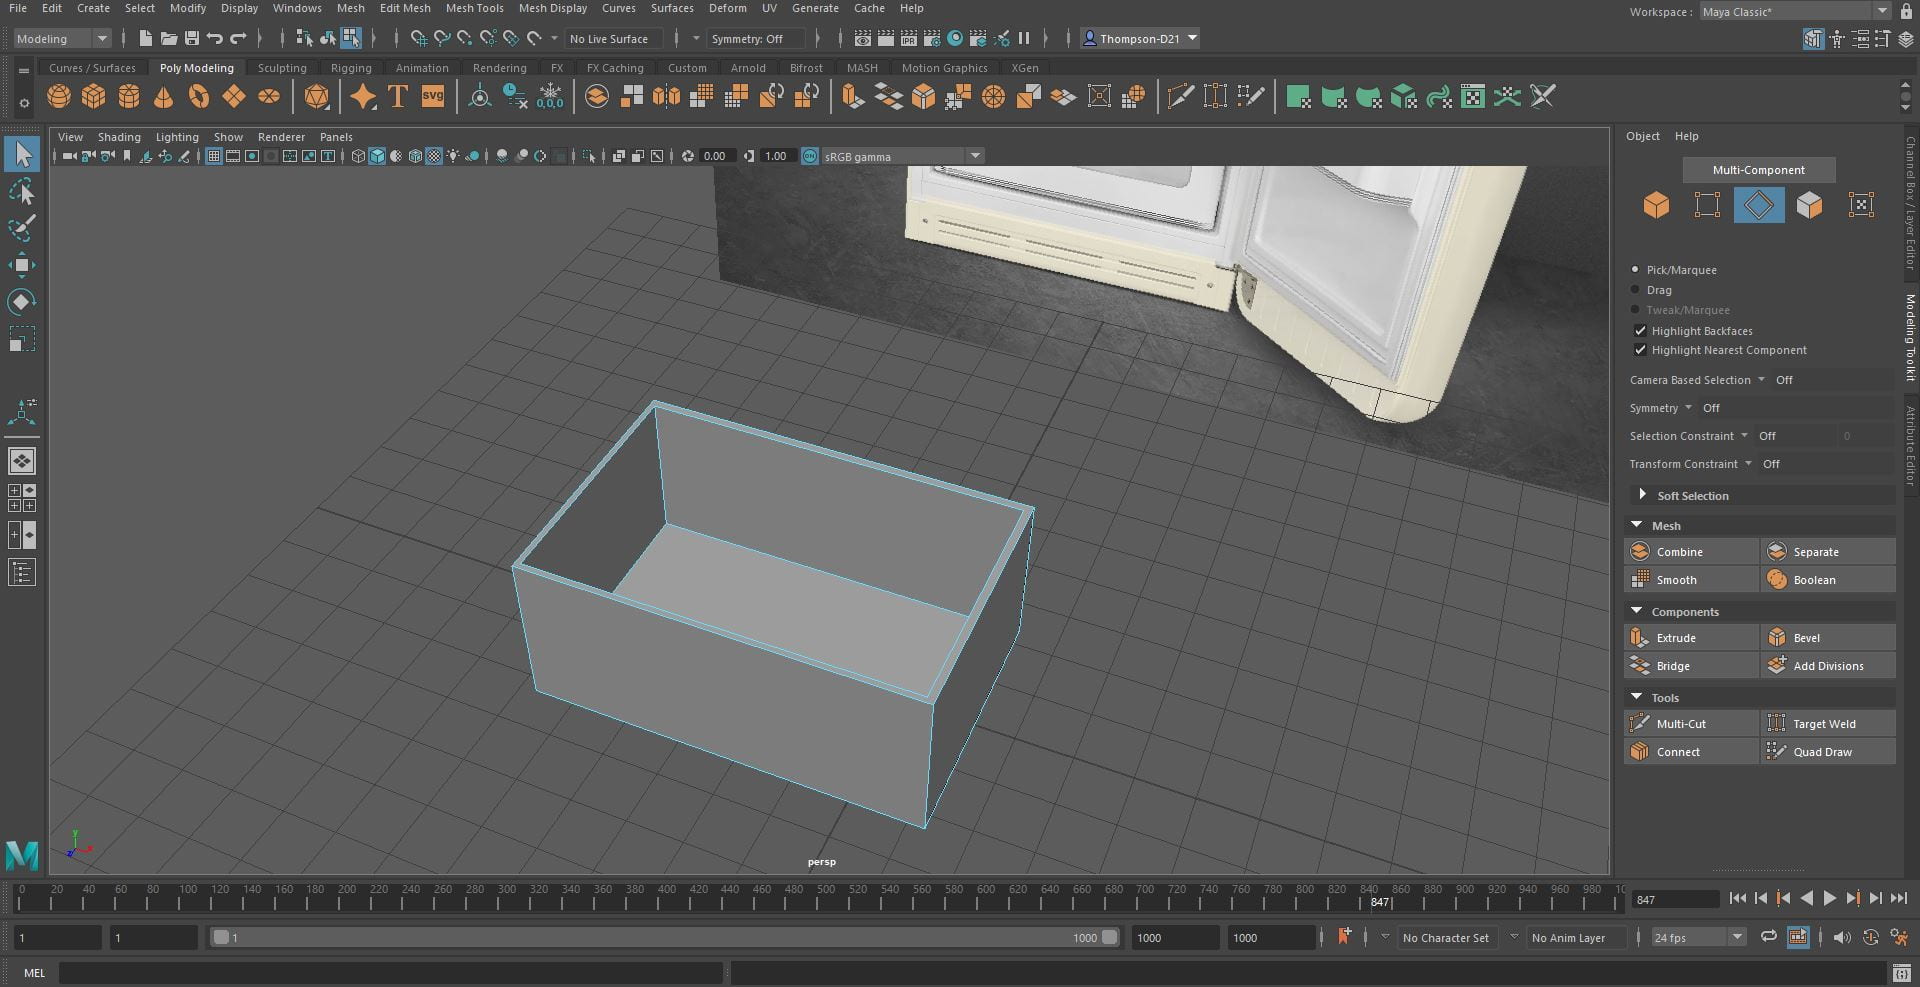


To make the freezer I added a cube, scaled it to make the base. I then added another cube, and shaped it using edge loops. I then added all the pieces into the fridge.

To make the top of fridge I added a cube and scaled it to fit. To round the corners, I used the bevel tool. I deleted the inside faces and merged the vertices.
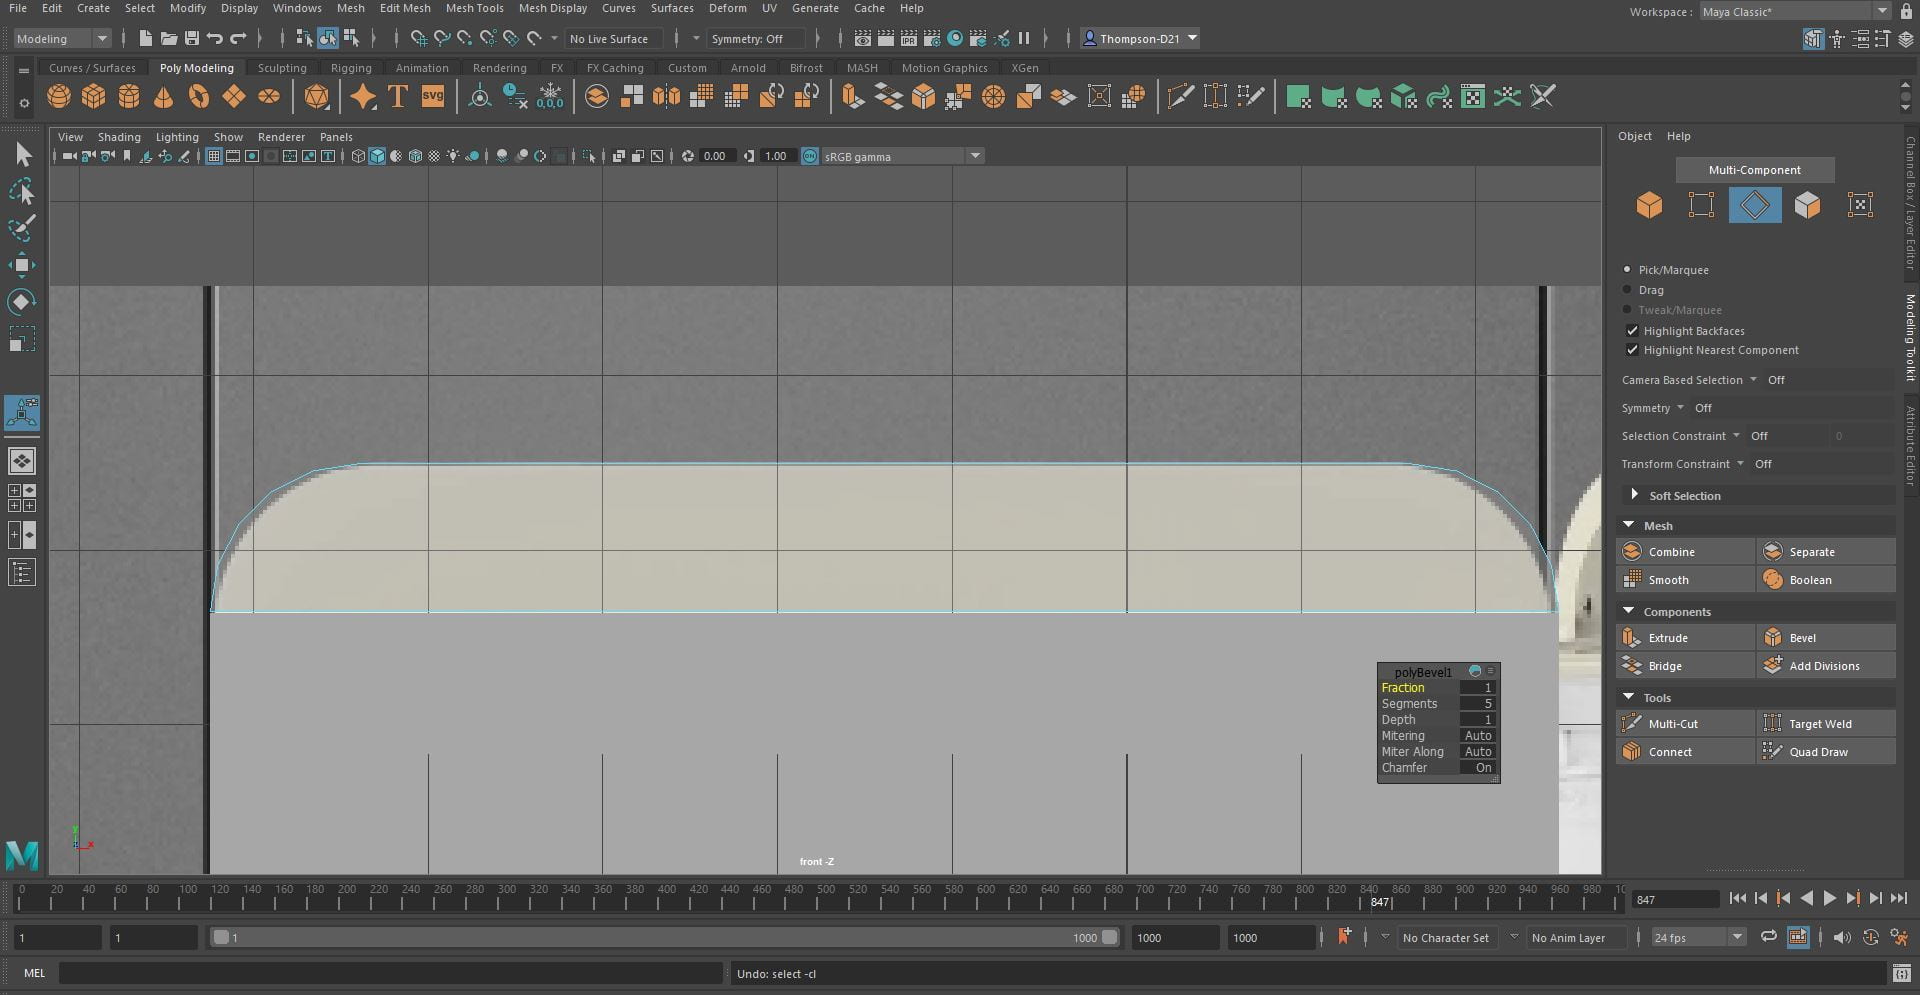


For the door of the fridge, I started out with a cube and scaled it to fit the base of the fridge, I then added another cube and beveled the edges to round them, deleted the inner faces and merge the vertices. I repeated this for the bottom of the door.


For the shelves on the door, I added a cube and scaled it to size. I made the back a little wider than the front. I then added edge loops and extruded the face to make it hollow. I then duplicated it to make 4.


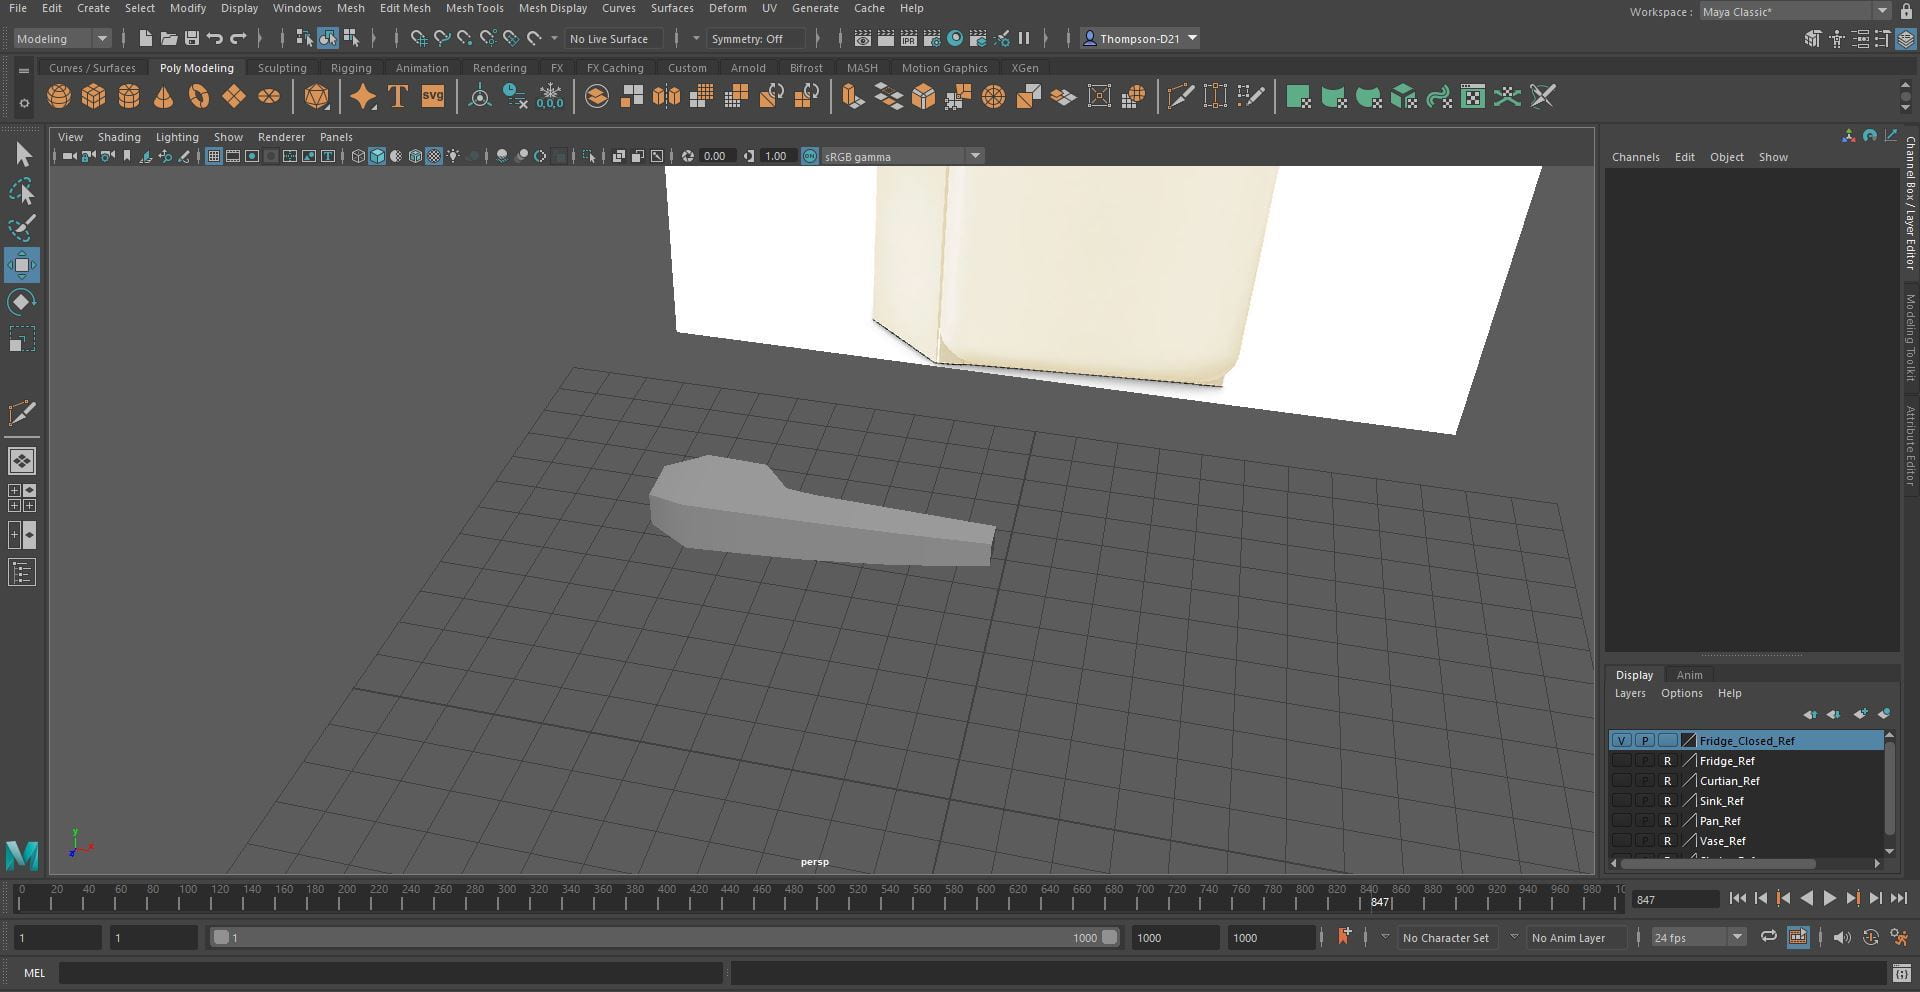
To make the door handle, I added a cube and scaled it to size. I added edge loops to the cube and shaped the handle.

Walls
For the walls of the room, I added cubes and scaled them to form the walls, floor and ceiling.
To make the wall with the window I followed this tutorial, https://www.youtube.com/watch?v=jzQ5kKOm2iA


I then coloured all the furniture in different colours to make them more visible in the room. Nicole gave me her models to add into the room and I roughly position all furniture. To match the block out.


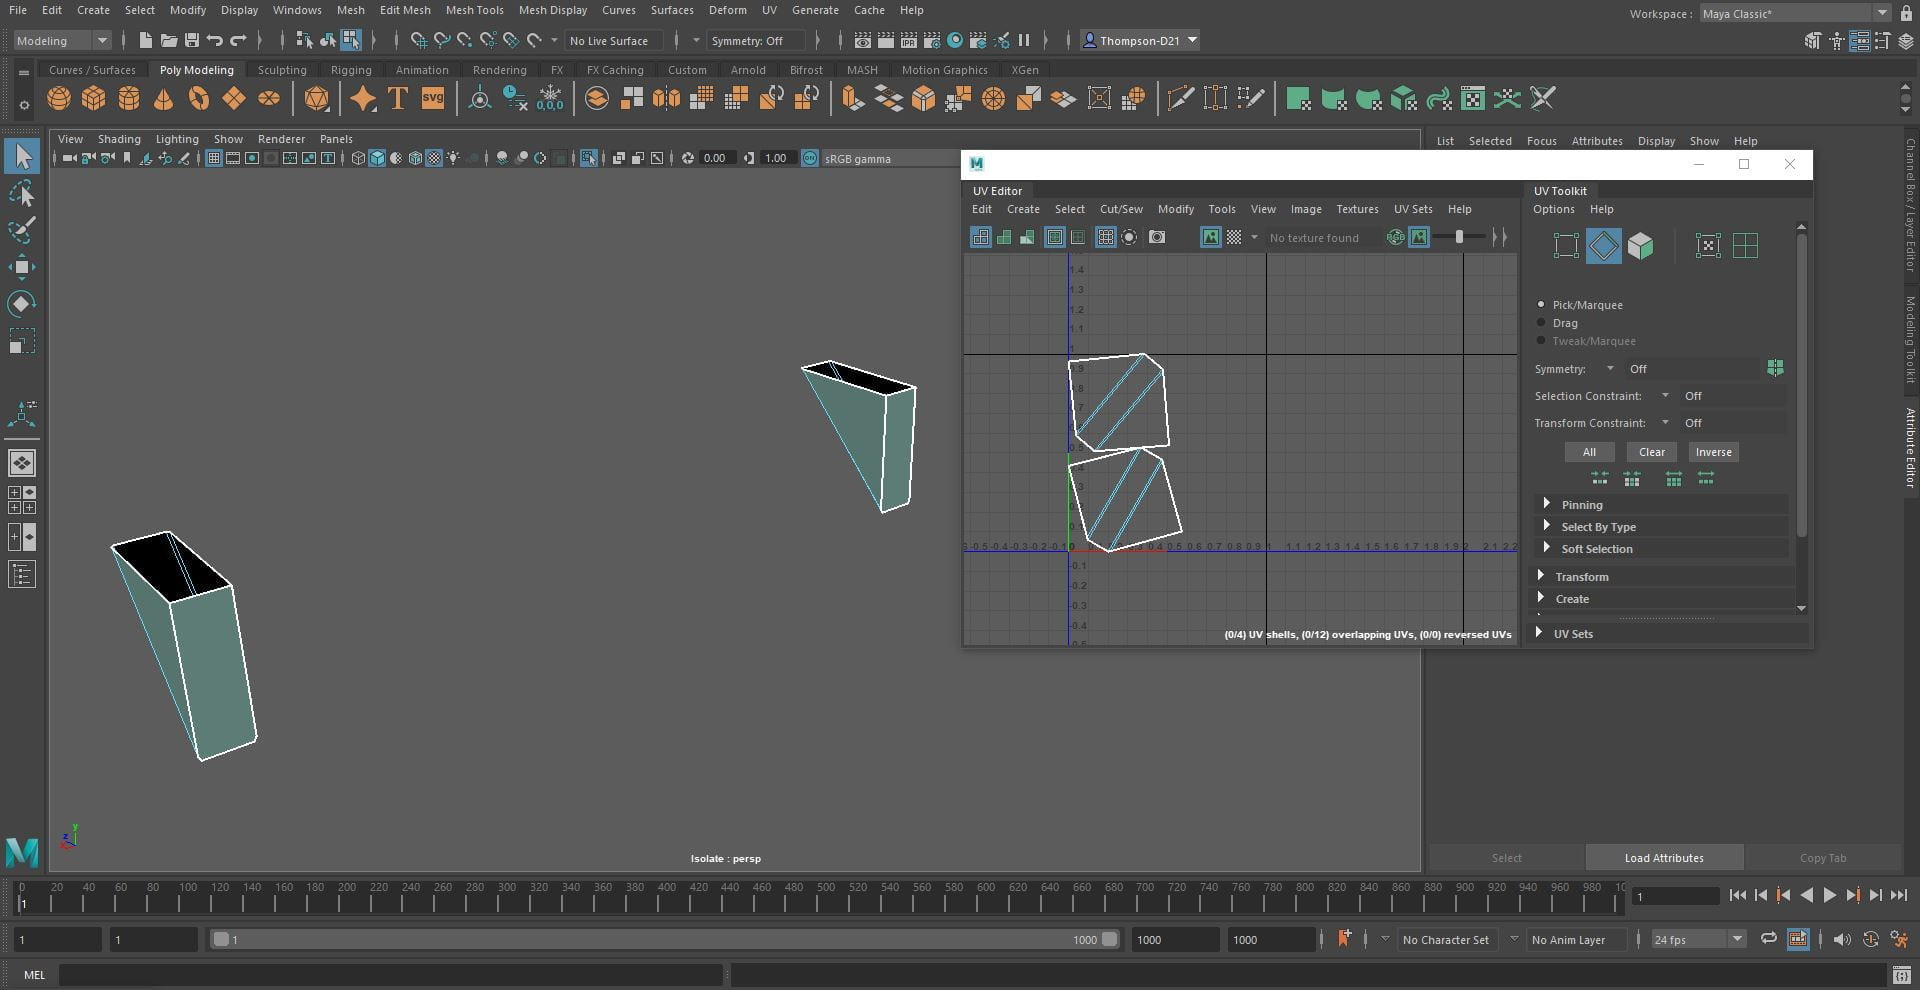
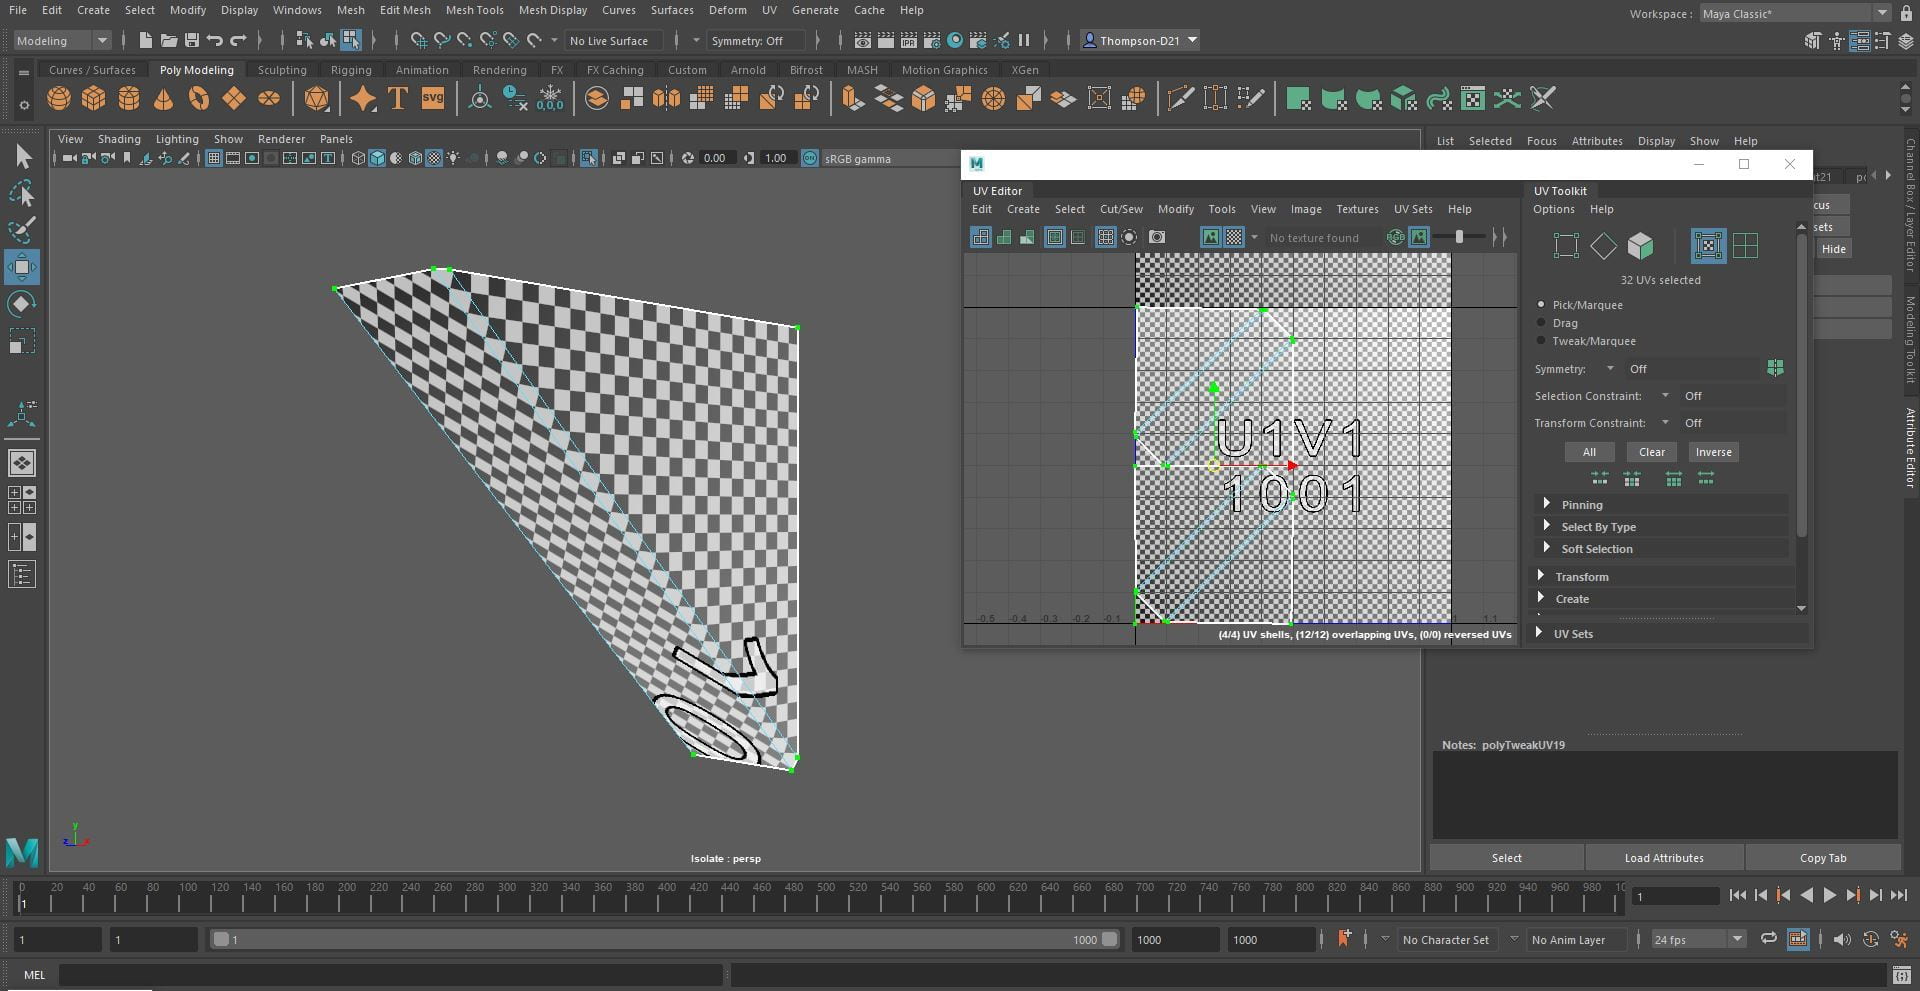
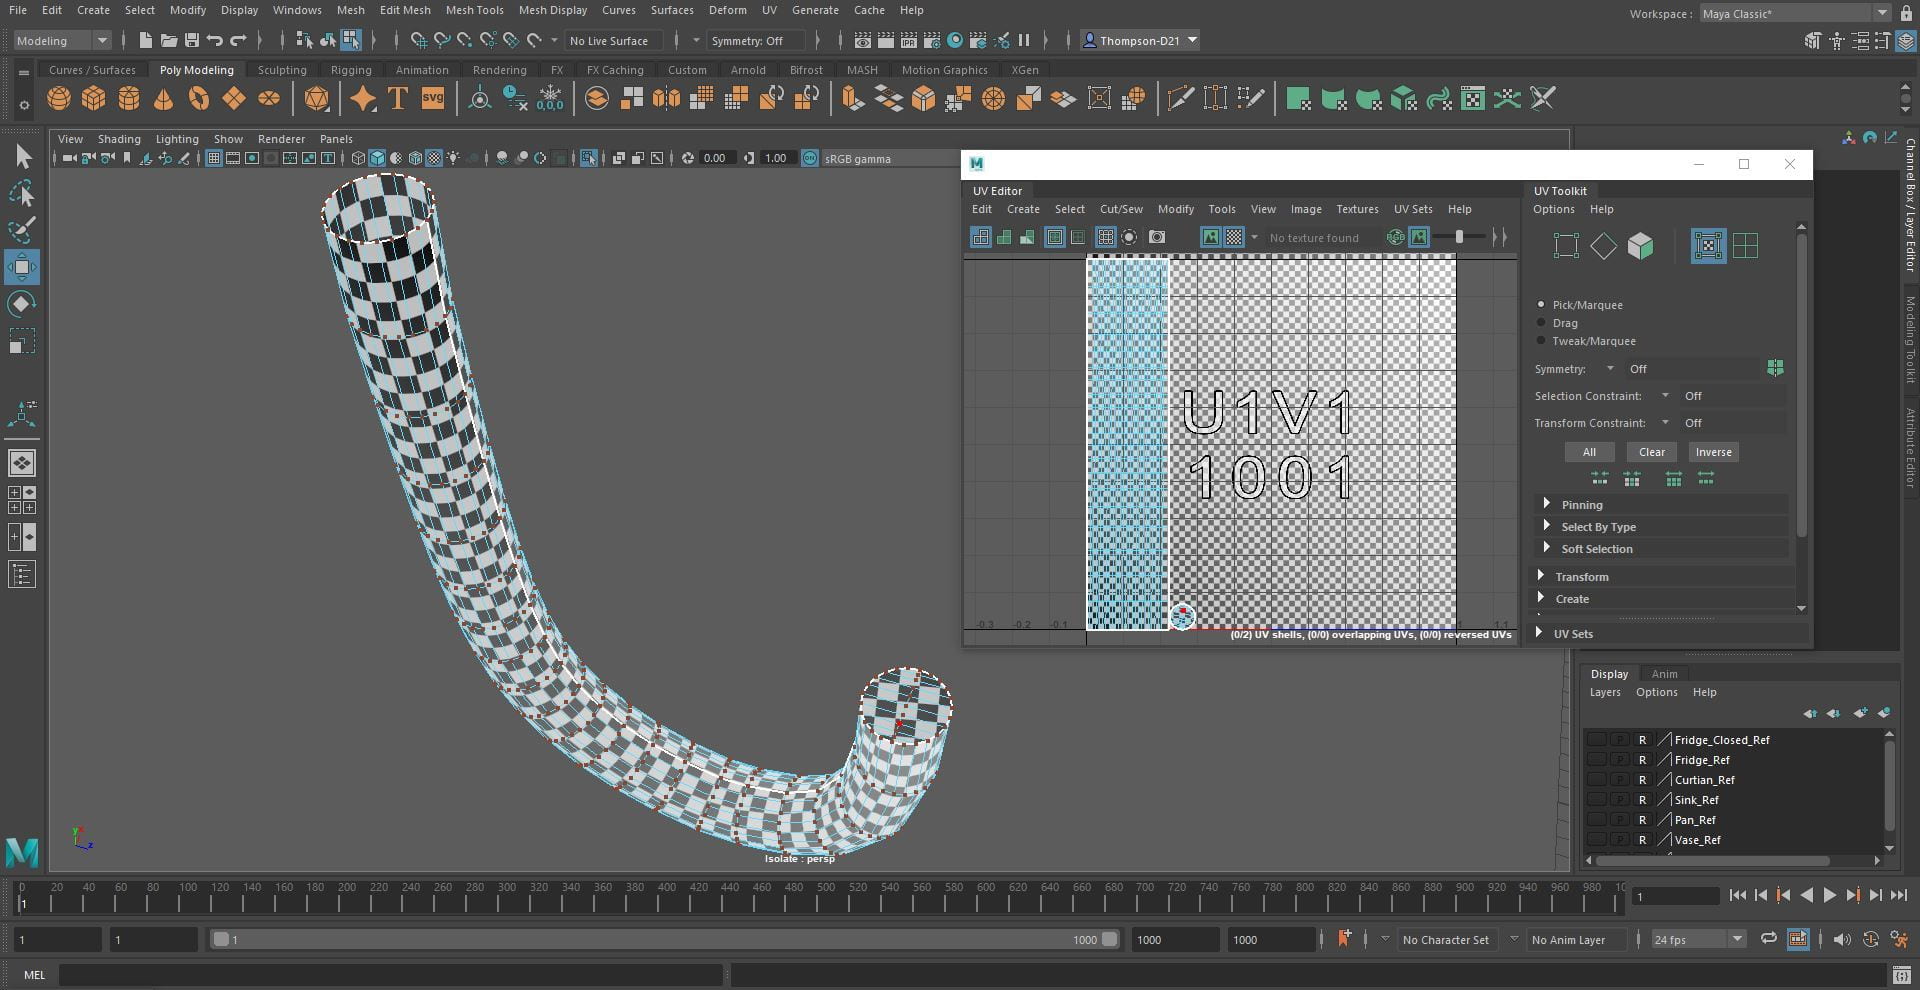
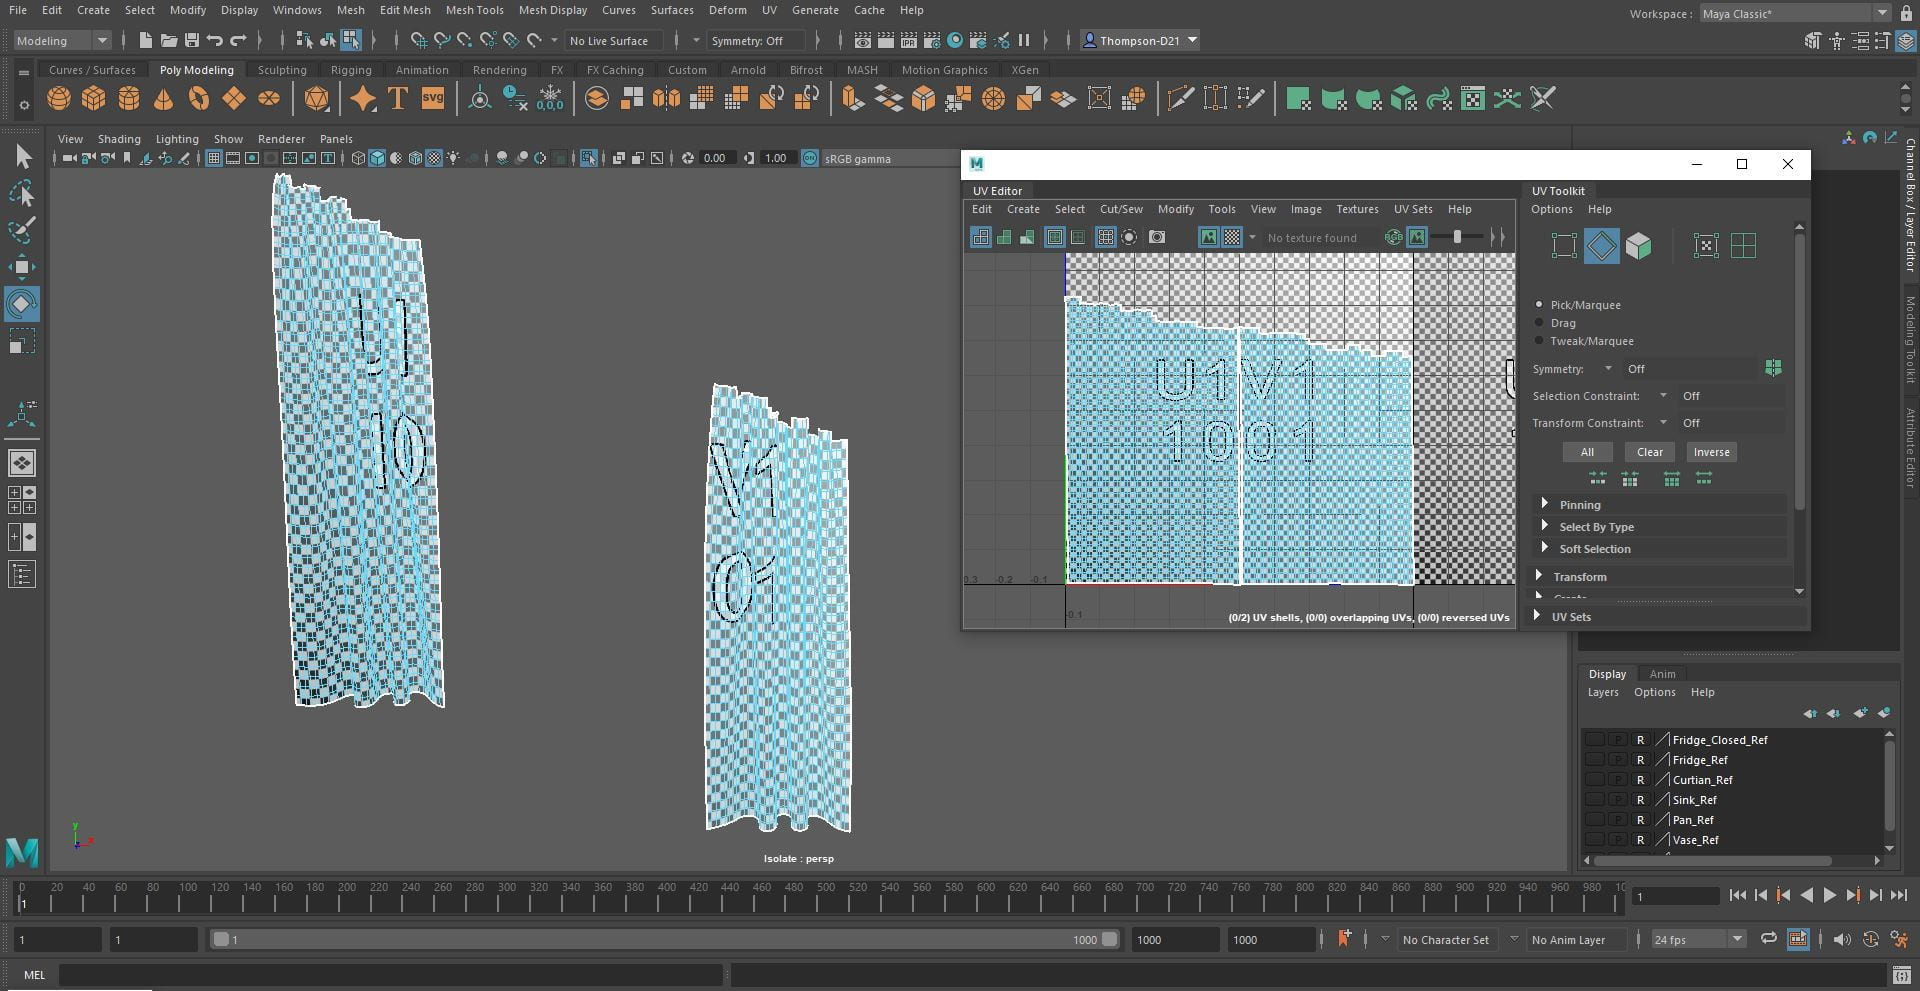
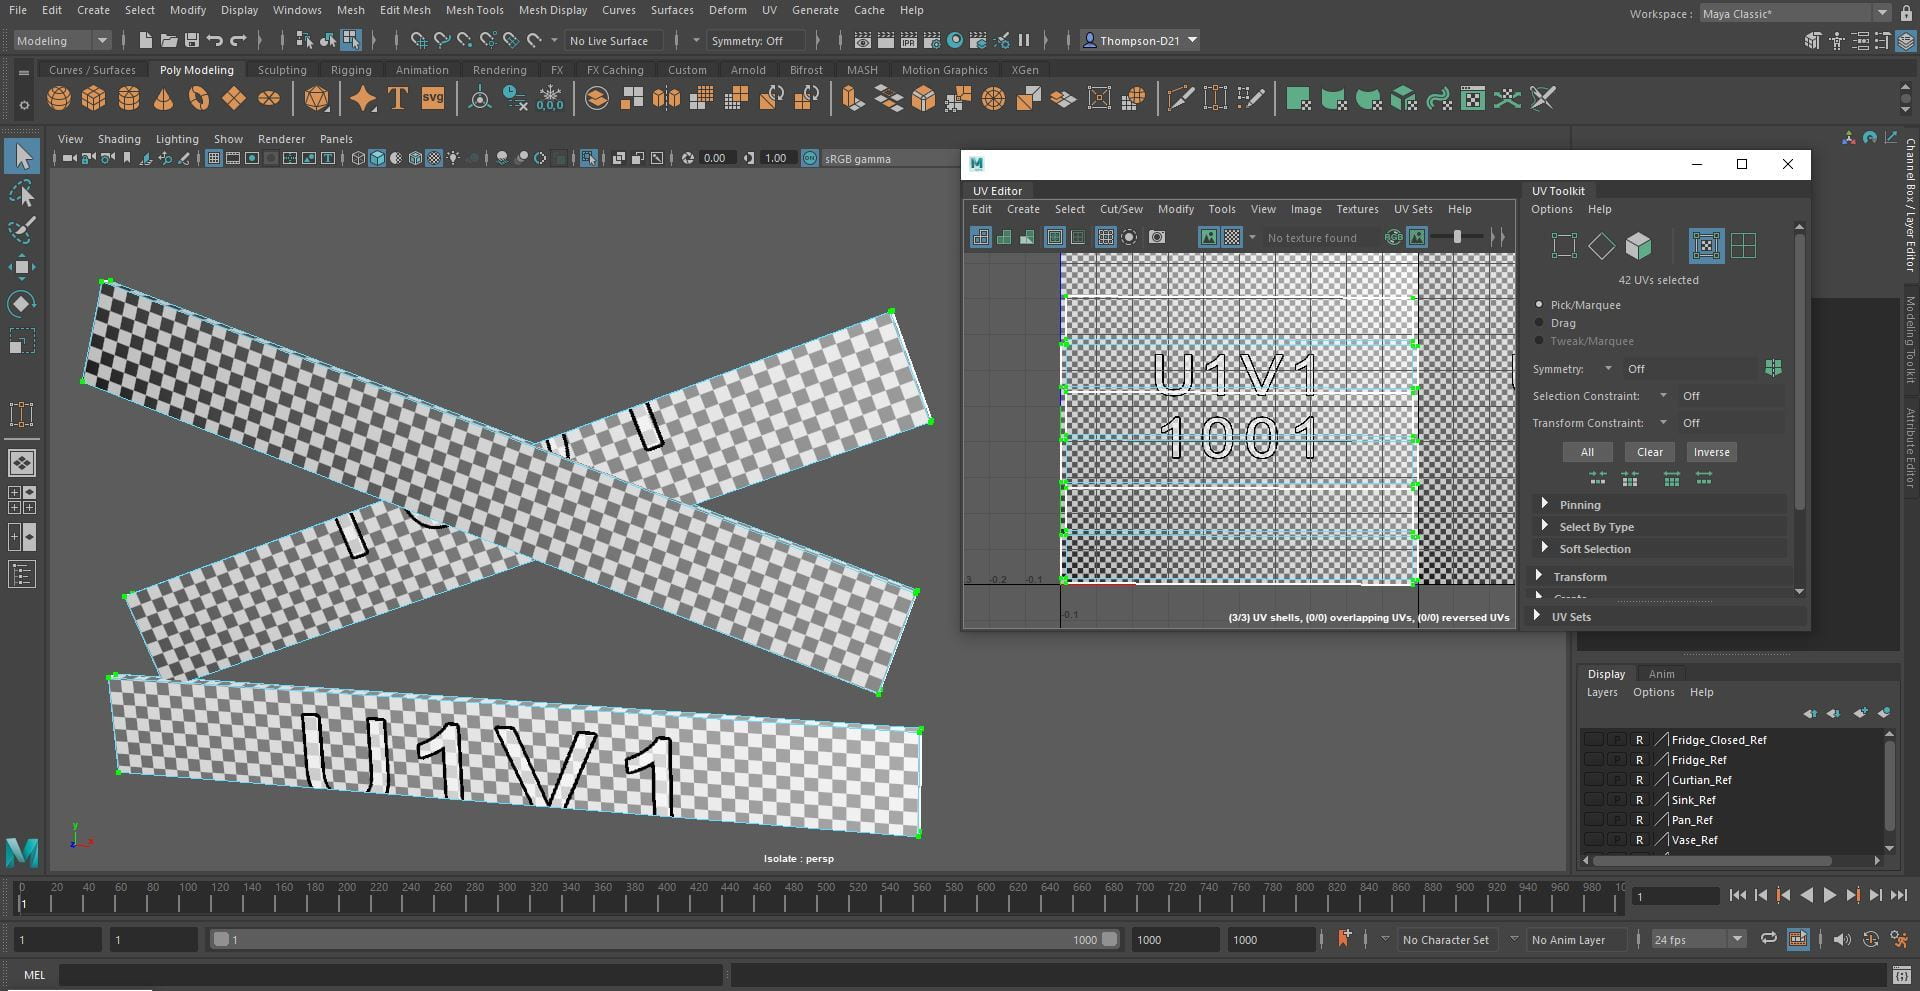
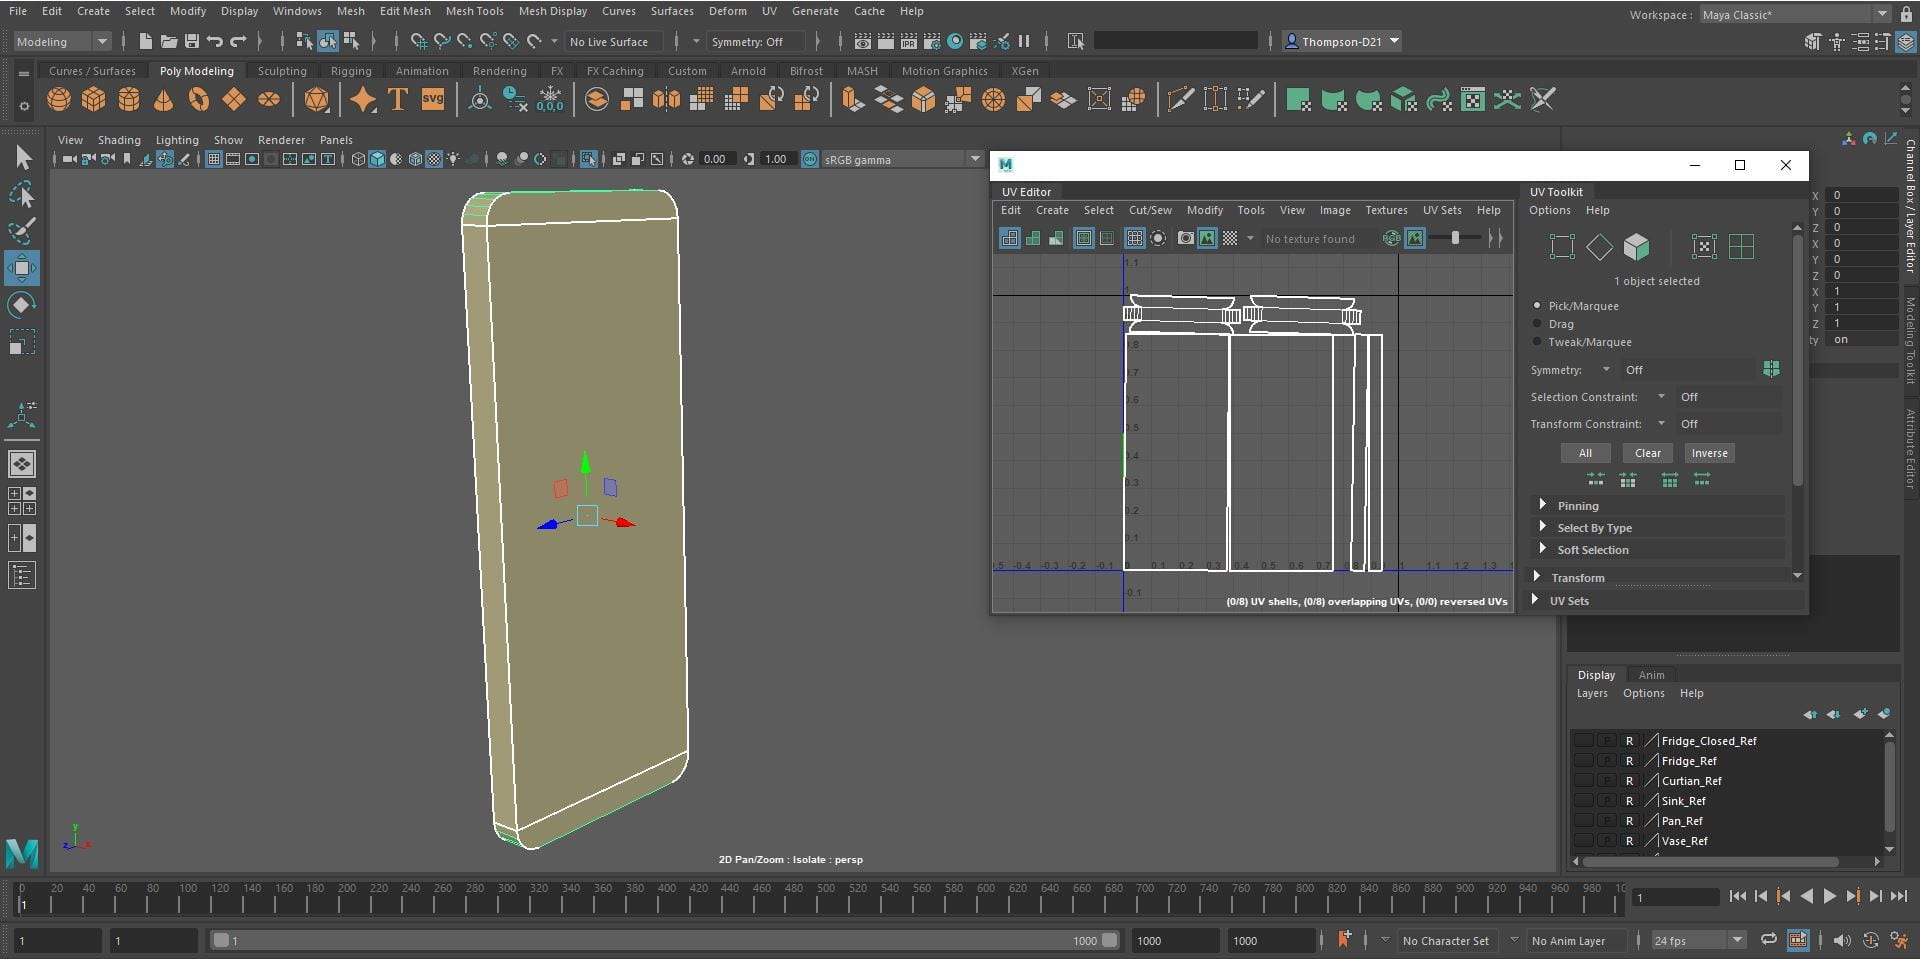
Environment UV Unwrapping
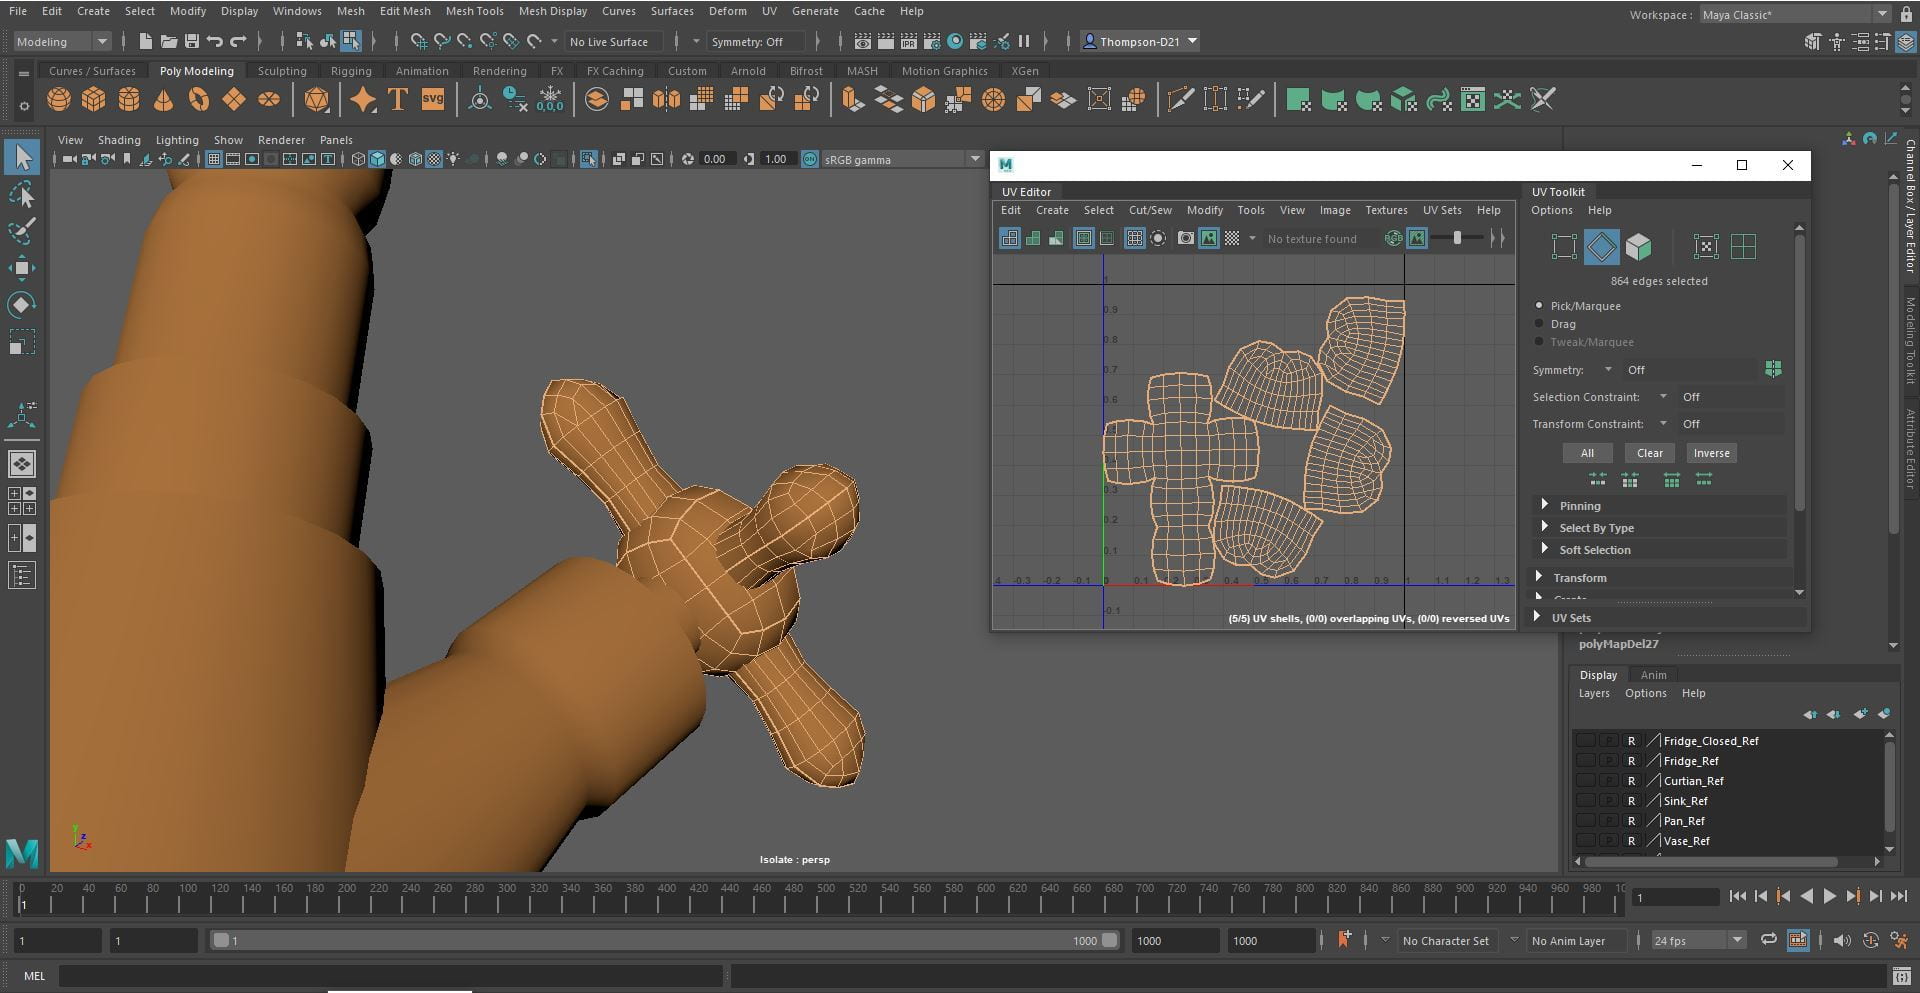
The Shelves
I started the UV unwrapping process on the shelves. For the vase I cut up the back and cut the top and bottom off. I then cut down the inside and cut out the inner base. I then straightened the UV’s. For the handle I cut up the inside, deleted the end faces as they will not be seen and straightened the UV’s.


For the flowers I cut up the back of the petals, cut up the back of the stems and straightened the UV’s.


For the shelves I cut down the sides and bottom of the shelf. For the supports I cut up the back and deleted the top face as they will not be visible.


For the hook I cut down the inside and cut off the bottom, I straightened the UV’s and deleted the top face as it will not be visible.

For the frying pan I cut the up the back, cut off the bottom and cut out the inside of the handle. I then cut the back off the pan.


The Window
For the curtain pole I cut down the back, I cut the connector down the back and straighten the UV’s. For the balls I cut up the back as well.


Since the curtains are one plain thick, I just had to straighten the UV’s.
I cut down the back and up the sides of the wood planks.


The Tap
For the tap I tried to keep the seams in at the back so they would be hidden. Straighten the UV’s. Cut the decoration spheres to make them square shaped and cut the handles up the back and unfold them.
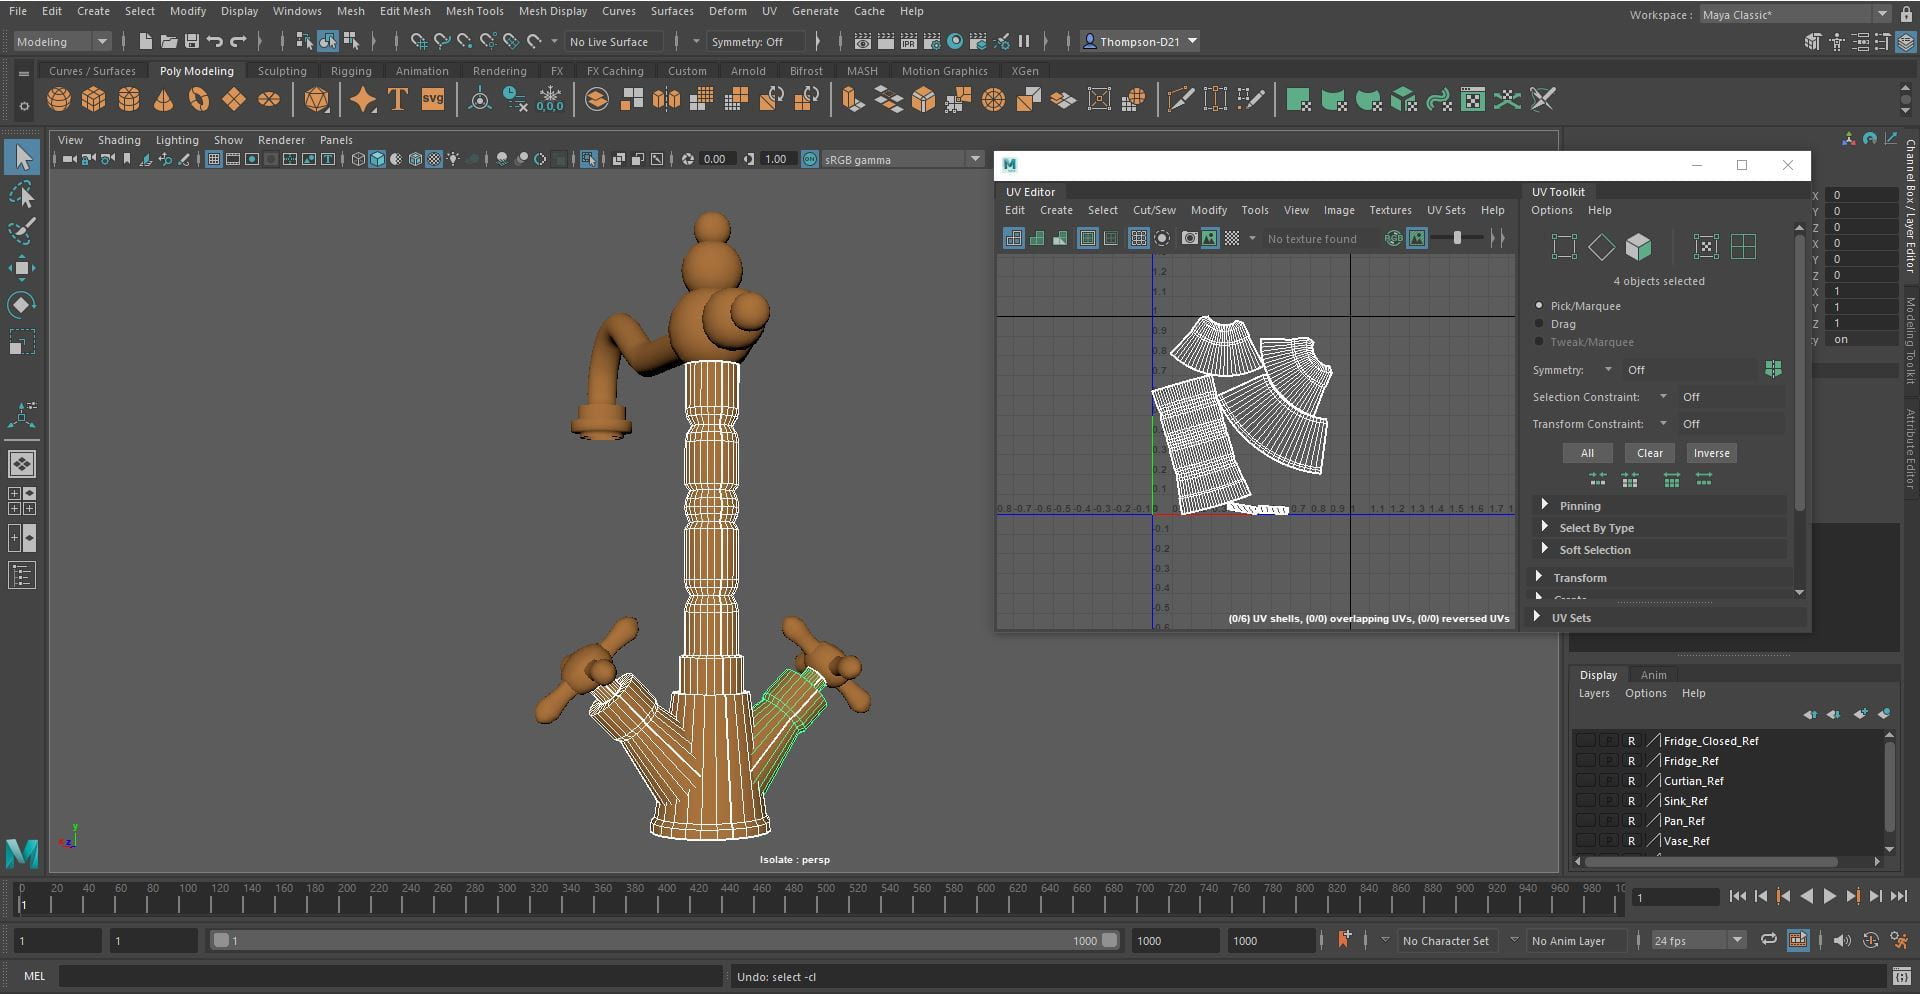


The Fridge
For the fridge I deleted the interior of the drawers as it will not be seen. I cut up the sides of the drawer. I also deleted the back of the handle as it is not visible and cut the sides off the handles.


For the shelves I cut up the sides and back of the shelves.


For the freezer I deleted the faces that were not visible and cut the sides to make it open like a cube.

For the door of the fridge, I cut the door handle down the back and cut the door down the sides to separate the front and back.


I deleted the drawers on the inside of the fridge door as they were not necessary. For the base of the fridge, I cut the inside out and unfolded it, I then cut the top off the base and unfolded it.


The Room
For the room I cut the walls, floor and ceiling like a cube. For the wall with a window in it I cut the front and back off the wall and cut the interior of the window into a strip.


After receiving feedback about my models, I added a bevel to the edge of the fridge door to make it look smoother. I was also advised to group all the small accessories onto one map the walls onto another and a fridge onto another as this would allow for more resolution on the texture’s maps. When all the furniture was in the room it looked too cluttered, so I enlarged the room and moved the furniture around to give the room more space.


Environment Texturing
To start I exported the model as an fbx file and opened it in Substance Painter. I then clicked Bake Mesh Maps.
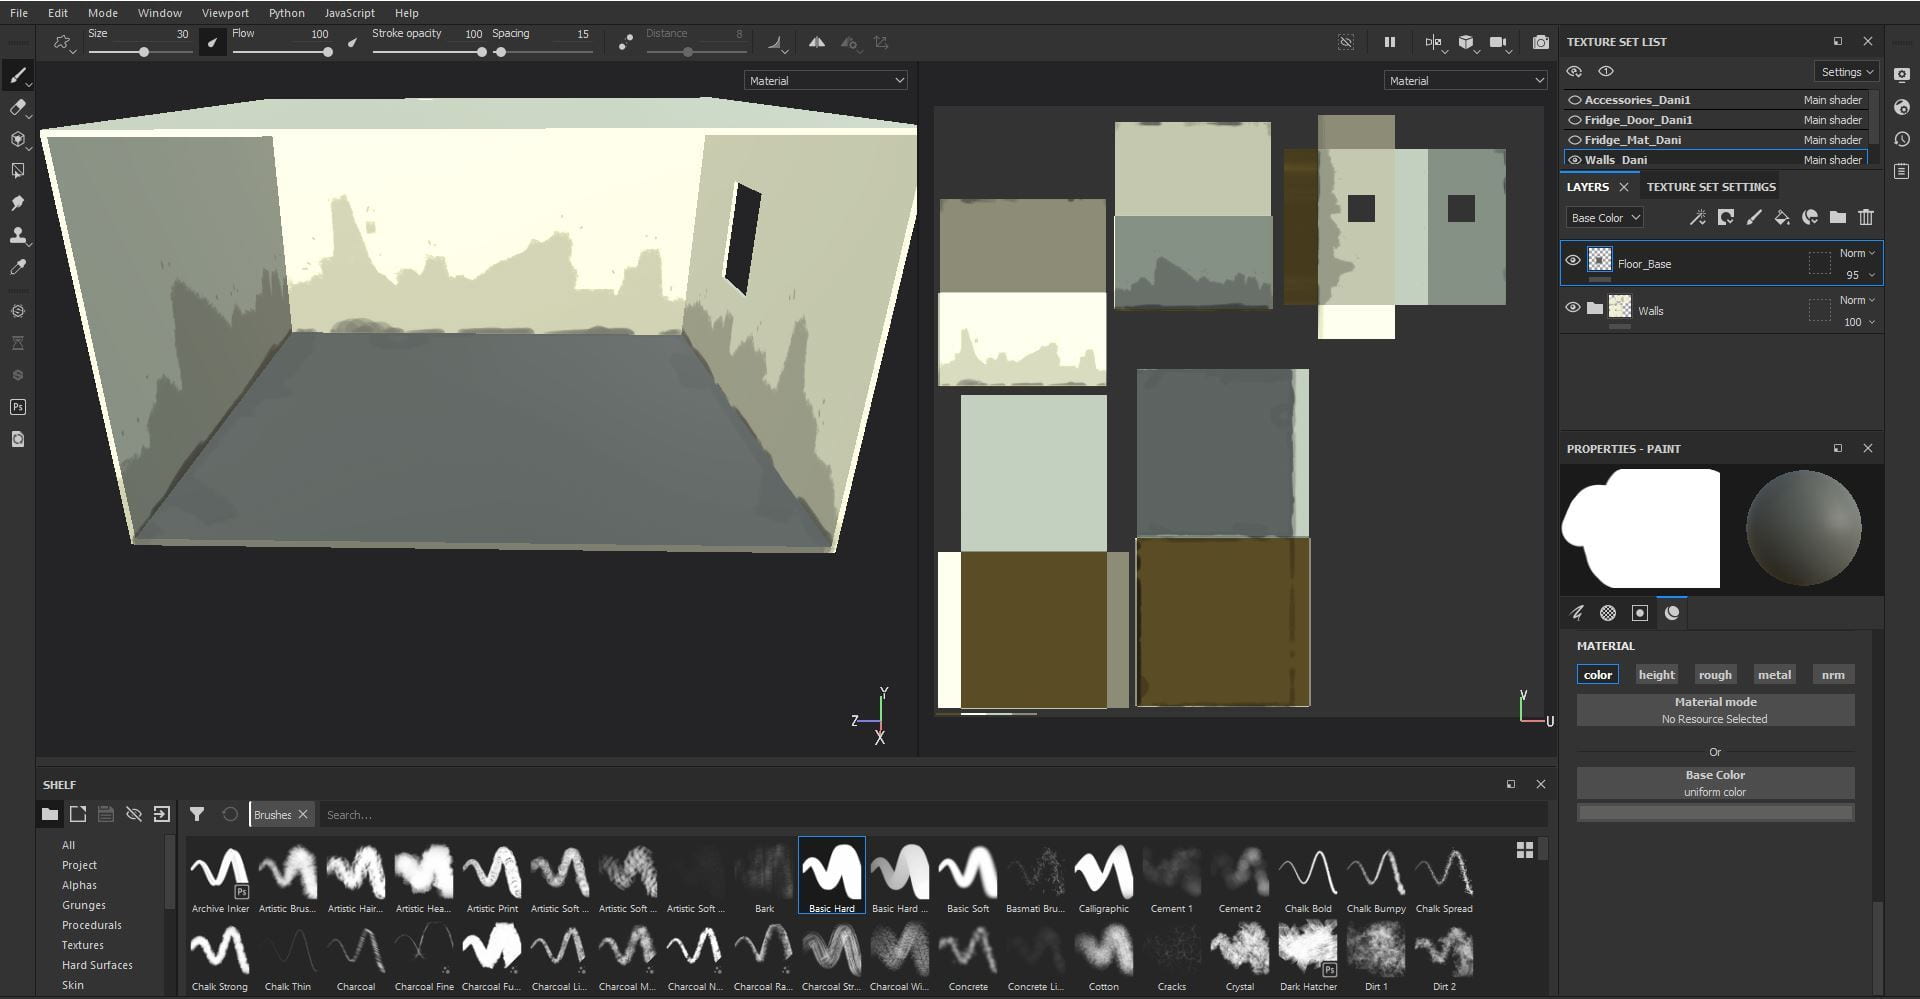
The Room
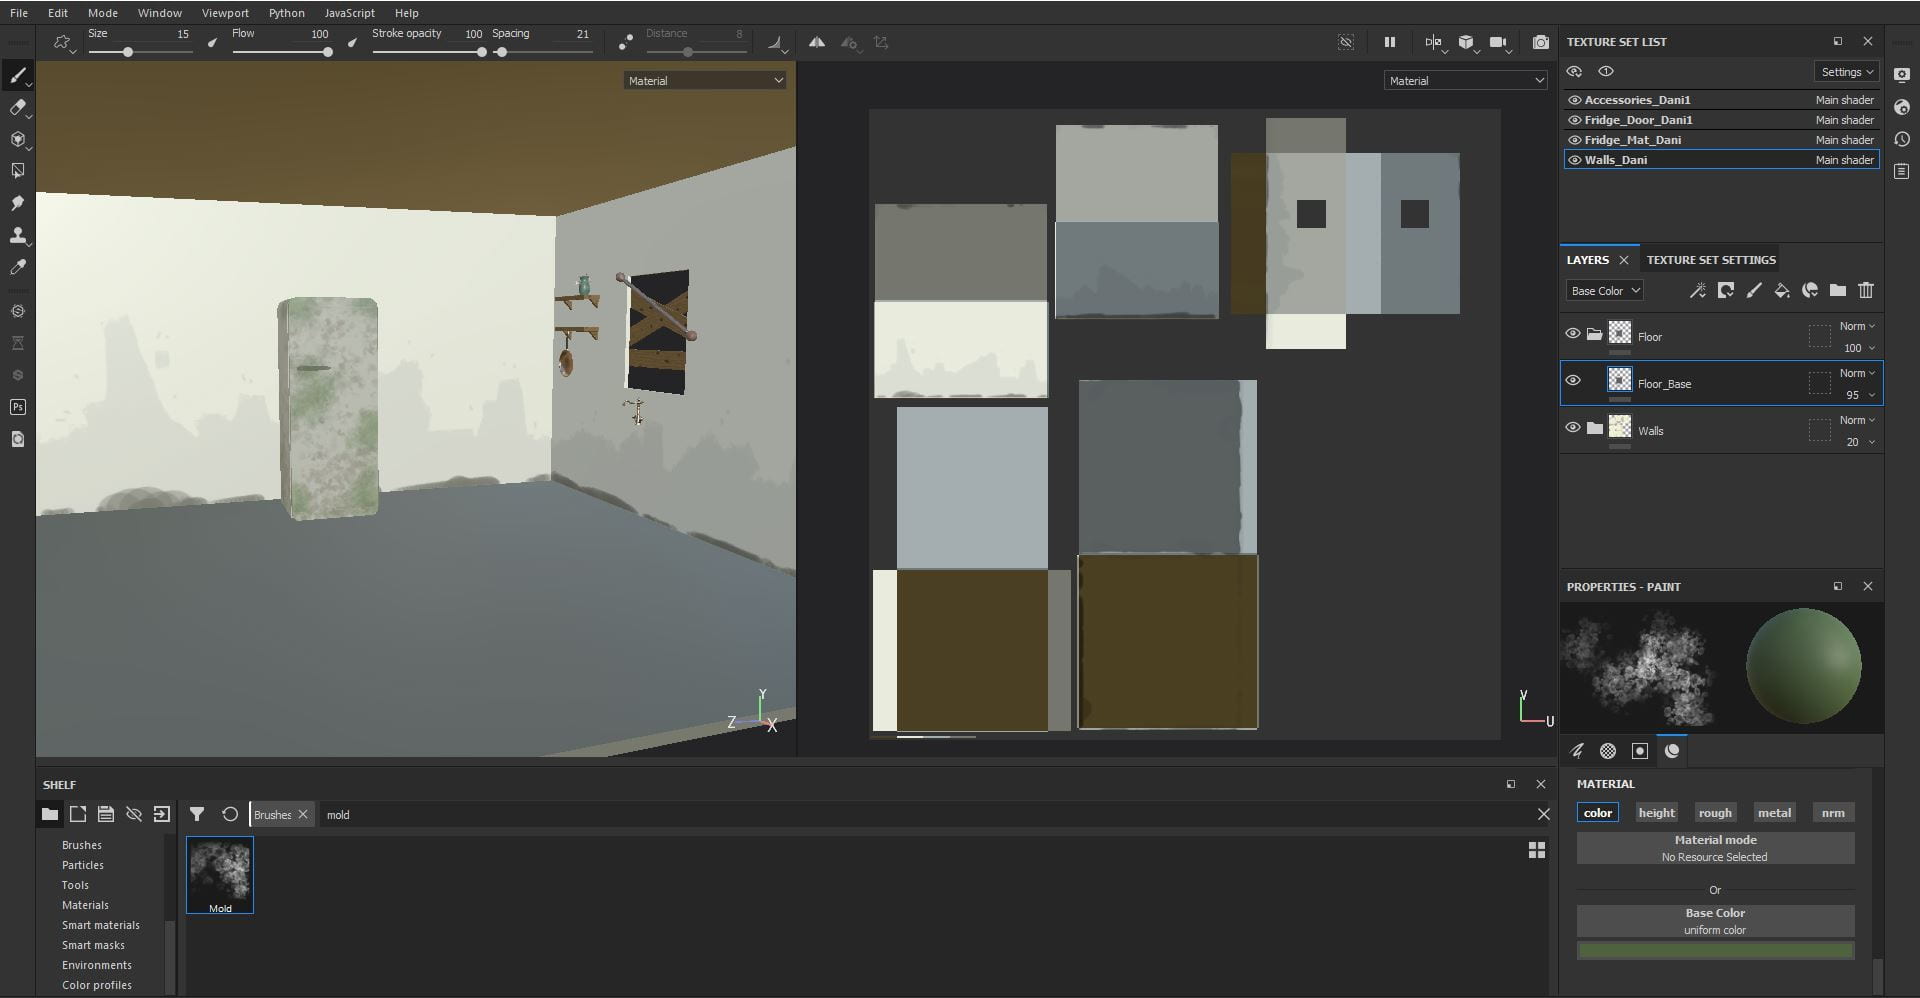
For the base of the walls I used a cream colour. The dirt was created using the ‘Charcoal Full Frame’ brush and a darker version of the wall colour. I turned down the opacity of the dirt so it would not be as intense.
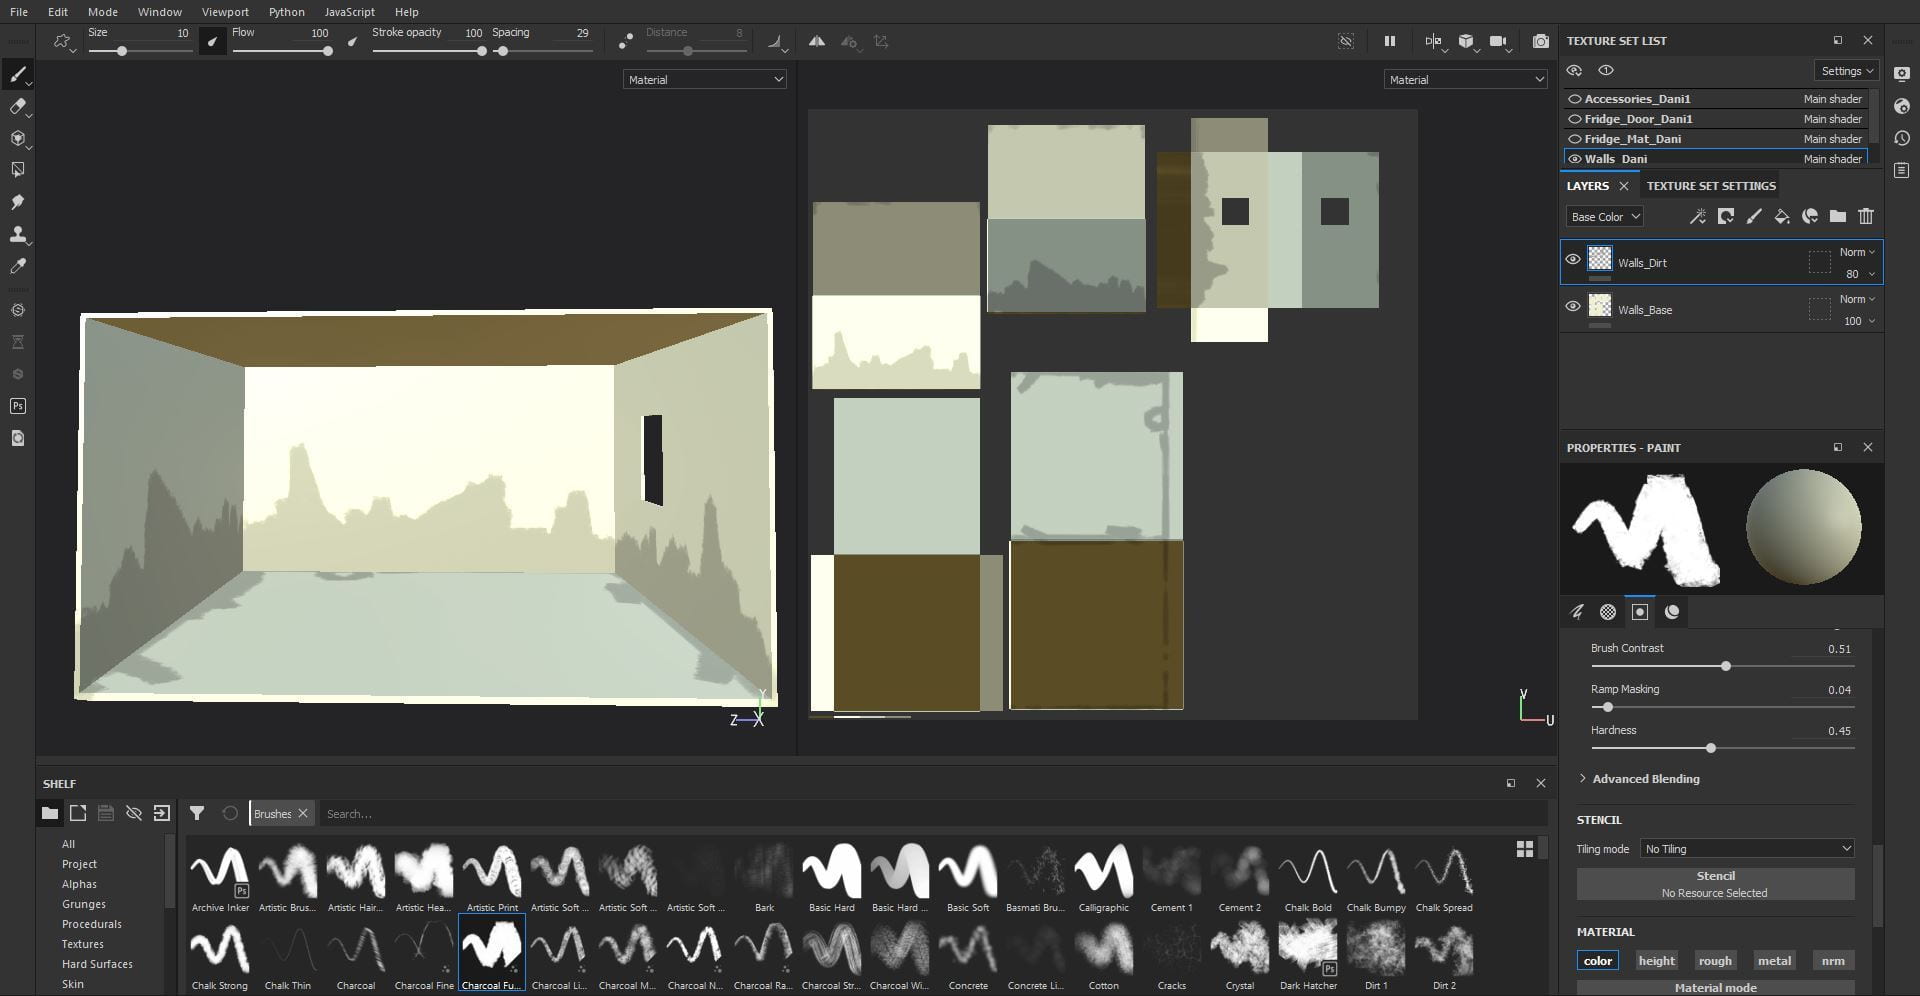
For the floor I used a dark grey colour and the ‘Basic Hard’ brush, I tried to make the floor colour bleed onto the walls to make the walls look more stained and worn.
The Shelves
I had a few problems with my accessories map as the UV’s were rearranged when I put them into Substance painter. I ended up redoing the texturing for this part around 3 times. I asked Alec for help, and it was because I had duplicated the models and it was messing with the UVs, so once the duplicates were removed, I was able to texture it properly.
For the wooden parts I used a light brown as a base colour and added the grain using the ‘Charcoal Fine’ brush in a darker brown and the height set to 0.3

For the base of the tap, I used the material ‘Copper Pure’. For the mold I used the brush ‘Mold’ in different shades of green.
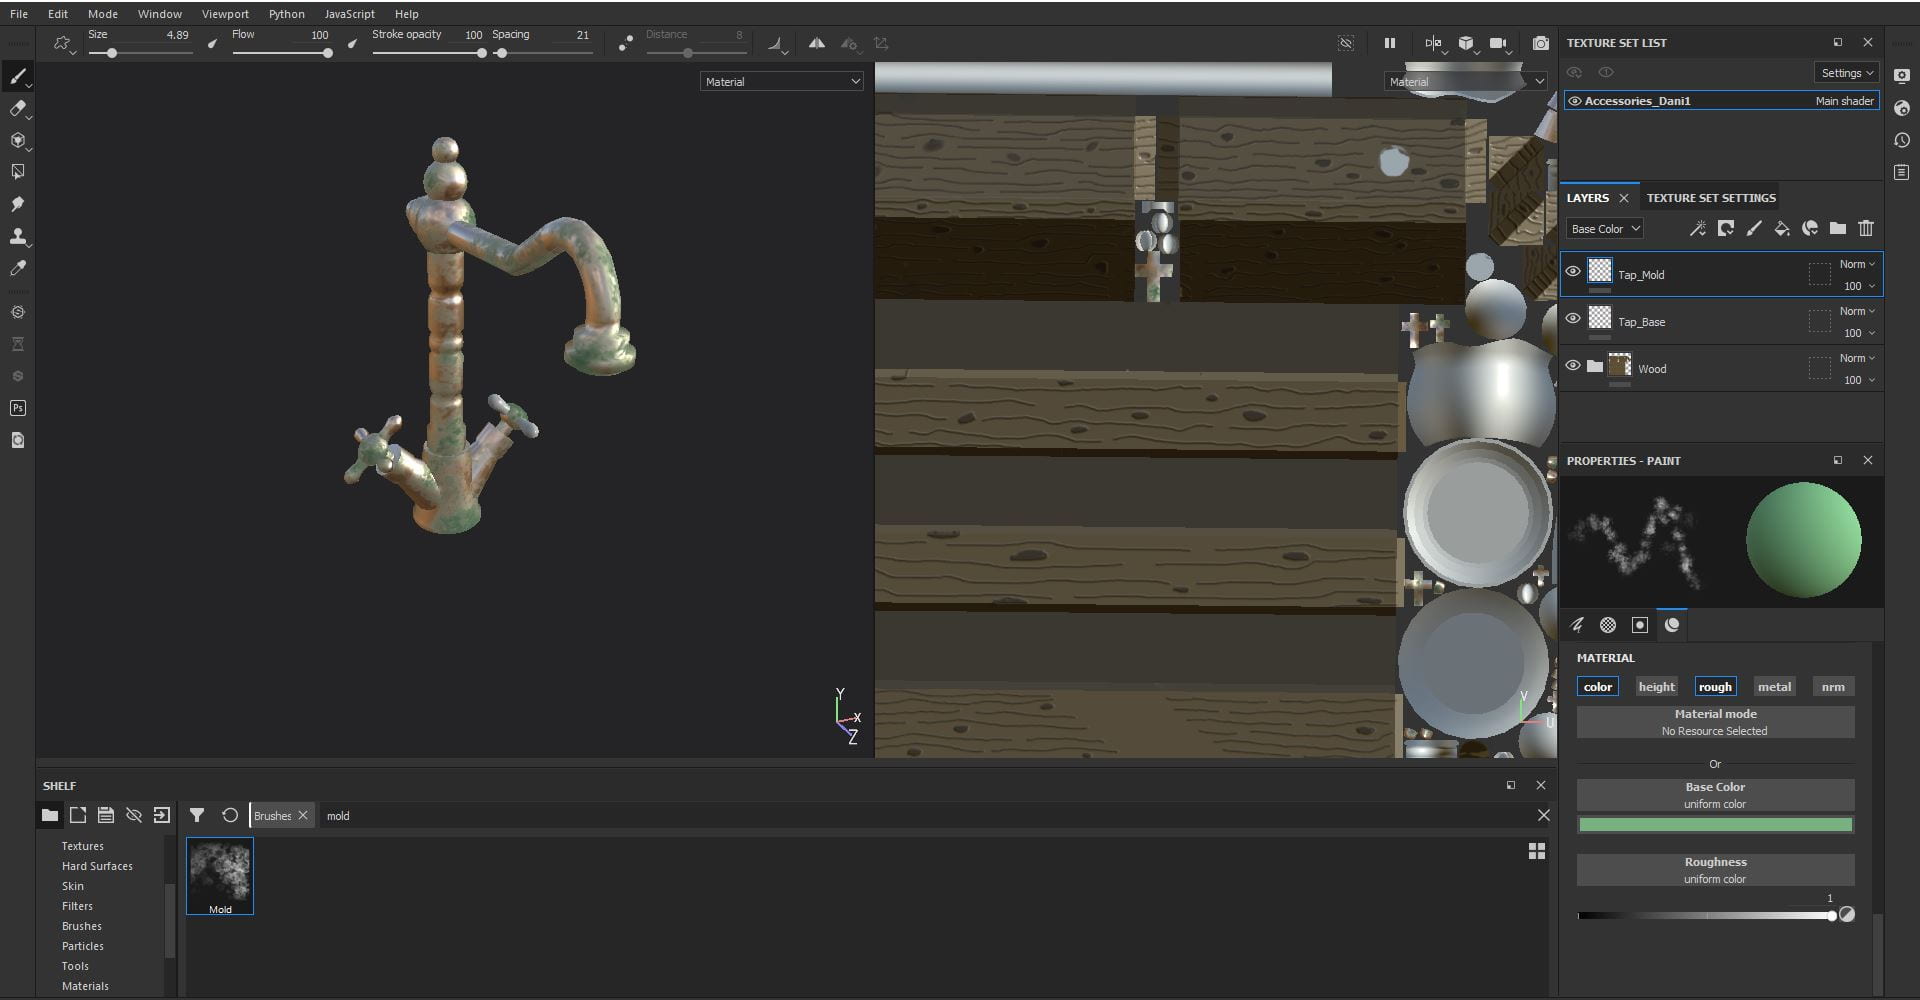
For the base of the pan, I used the material ‘Copper Pure’ and added the mold the same was as I did for the tap. For the handle I used the ‘Basic Hard’ brush and a dark grey colour.

For the vase I used a blue green colour and added the dirt using the ‘Dirt 2’ brush in different shades of brown. For the steams of the flowers, I used brown and the ‘Basic Hard’ brush. For the petals I added a fade from pink to grey on using the ‘Charcoal Wide’ brush.

For the curtain pole I used the material ‘Iron Raw Damaged’ as the base, I added the rust using the ‘Rust Coarse’ material and the ‘Dirt 1′ brush.

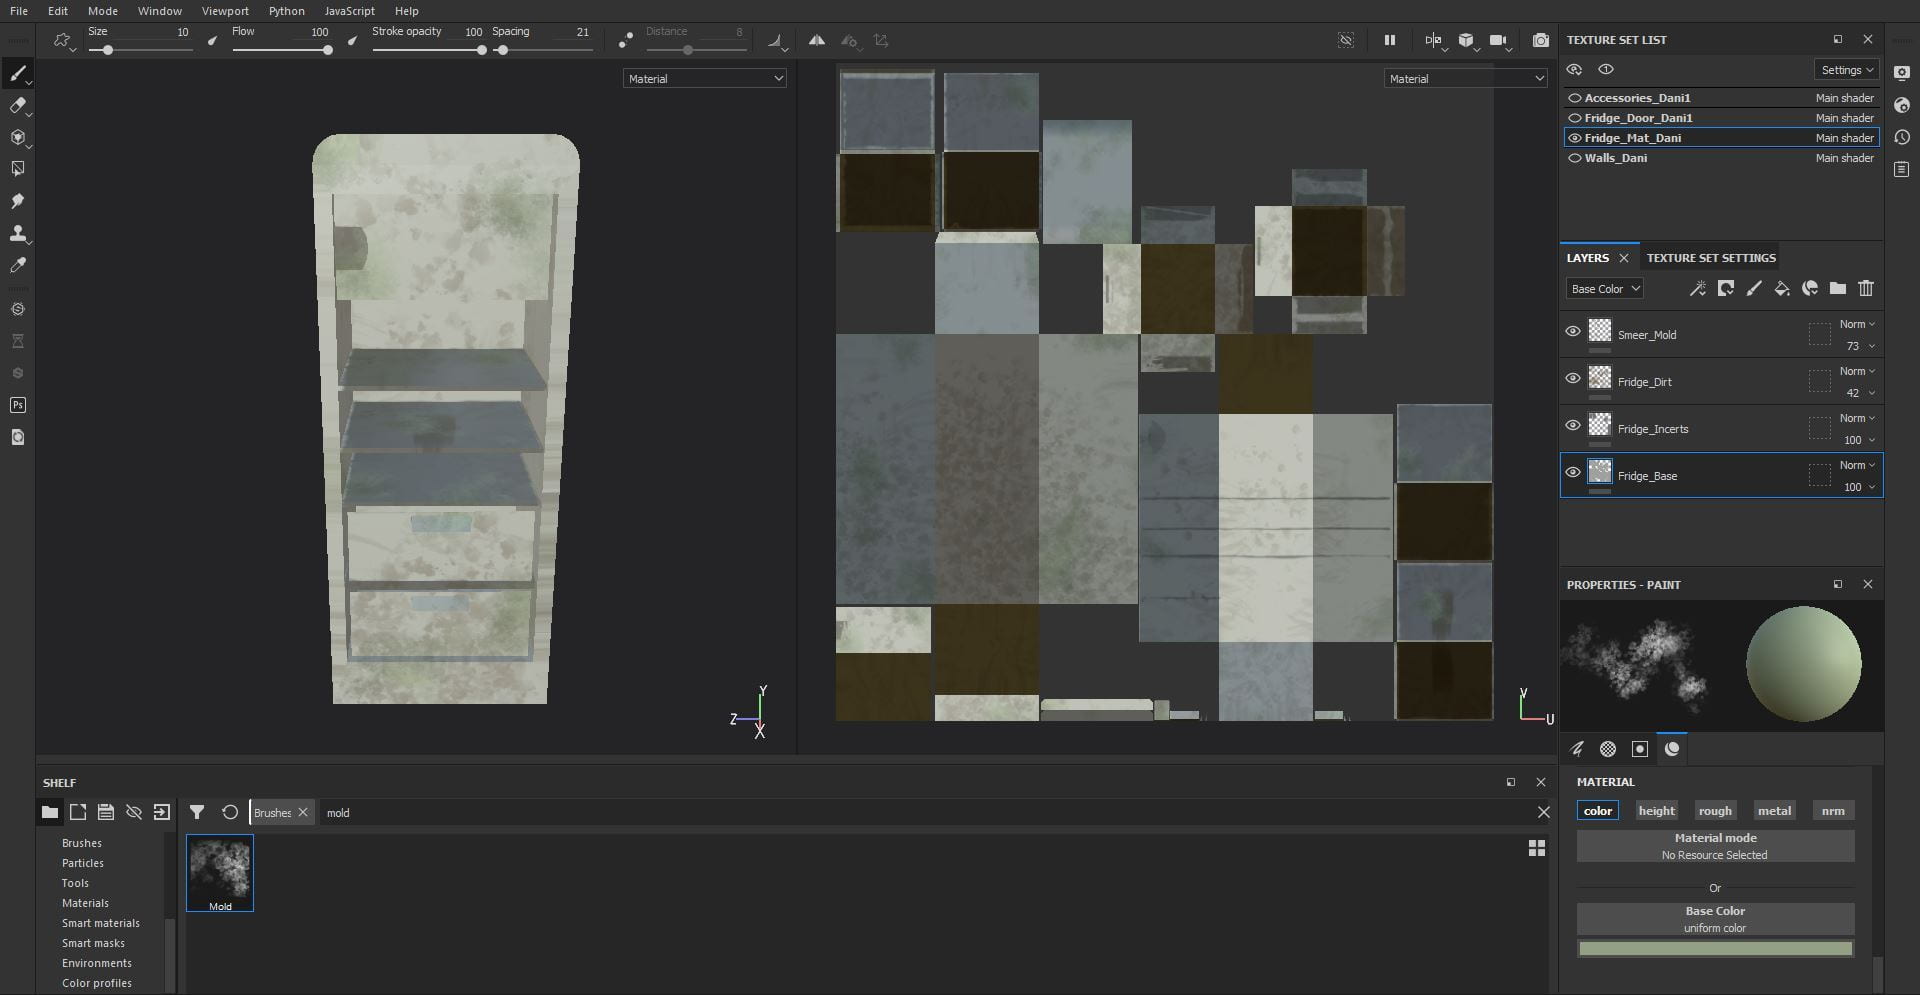
The Fridge
For the body of the fridge, I used a cream colour with the rough and metal turned on to give it a little shine. The inside shelves and handles were coloured using a grey with the rough and metal turned on to make it look like metal. I used the ‘Dirt 3’ brush to add the dirt all over the fridge. To add the smear where the sandwich will be sitting, I used the ‘Knife Painting Heavy’ brush in a brown colour. I also added mold around the fridge using the ‘Mold’ brush. I used the same process for the door.

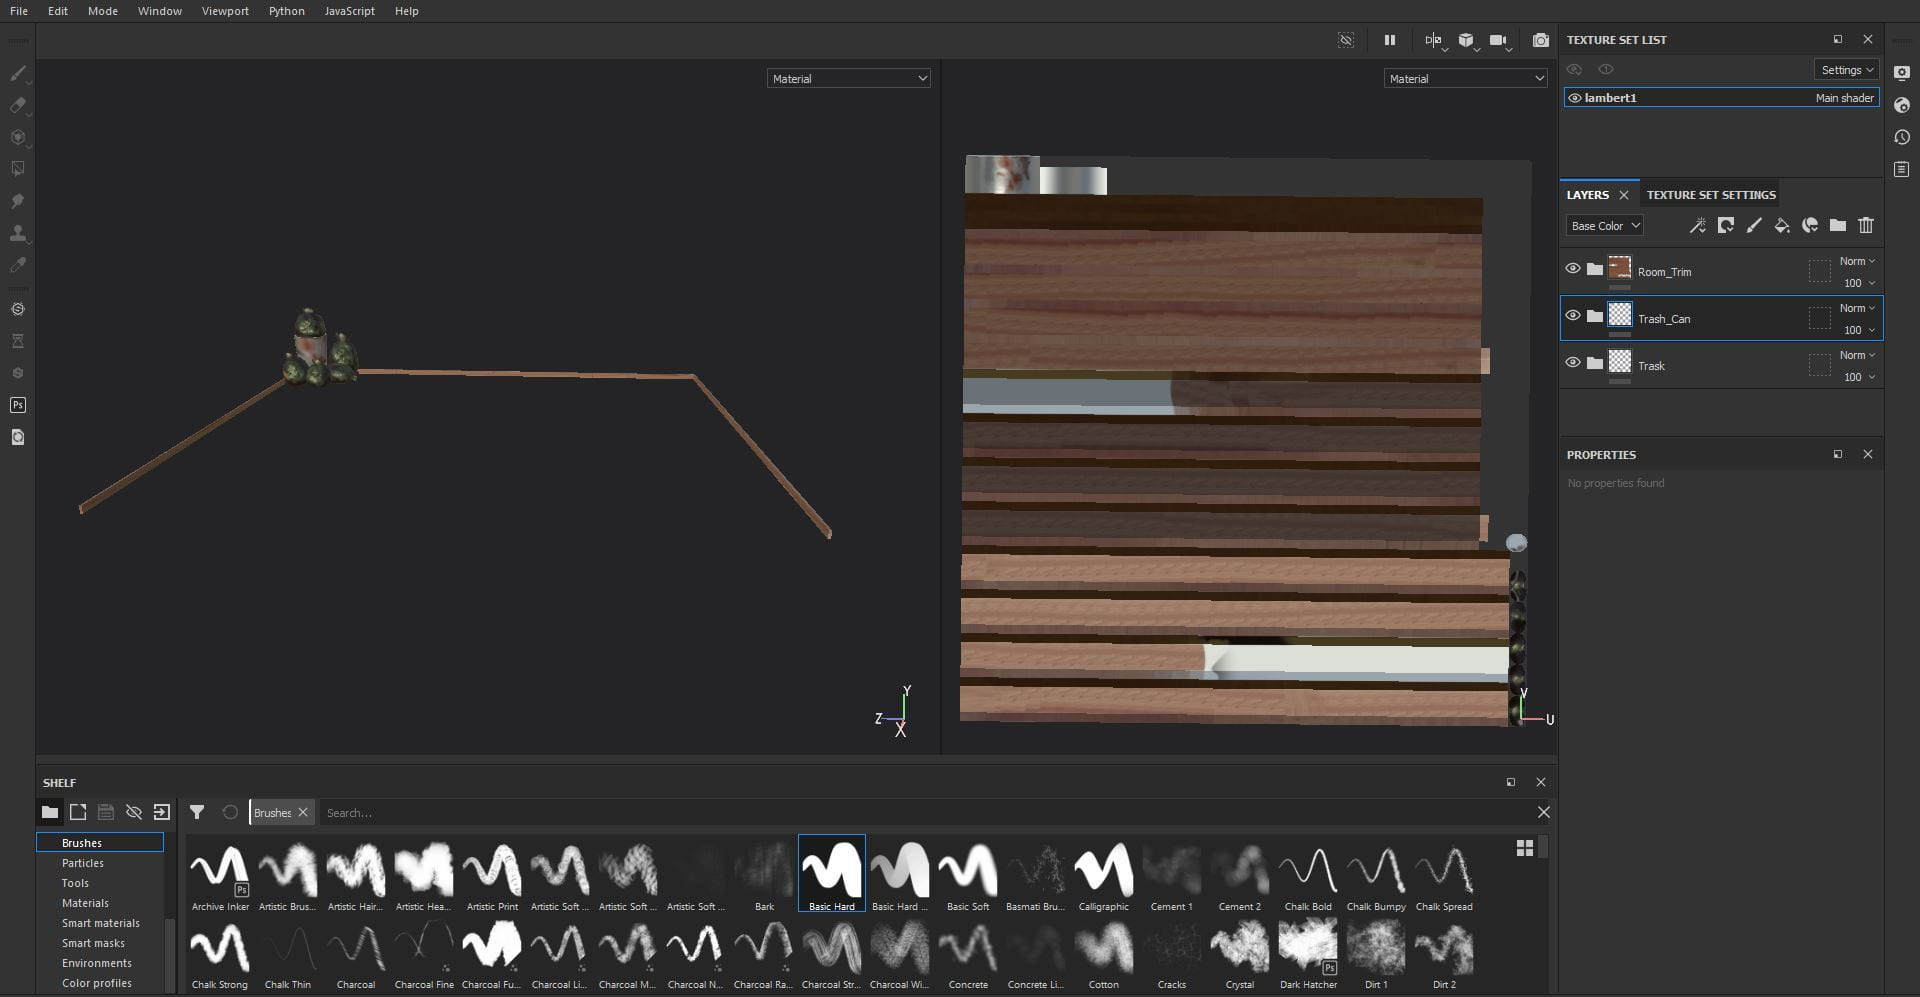
Room Trim and Trash Can
After receiving feedback on the room, I was asked to make a trim to go around the floor of the room as it looked incomplete without it and a trash can for the corner beside the fridge as it looked empty. I made these new items using cubes, smoothed cubes and a cylinder.
For the trash bags I used a dark grey colour that had a shine so it would look like plastic. The mold was applied using the ‘Mold’ brush and different shades of green. The trash can is textured using the material ‘Iron Raw Damaged’ and the rust was applied using the ‘Cement 1’ brush and the ‘Rust Fine’ material. For the trim I used the material ‘Wood American Cherry’ and darkened the colour to match the scene better.
Applying the Textures
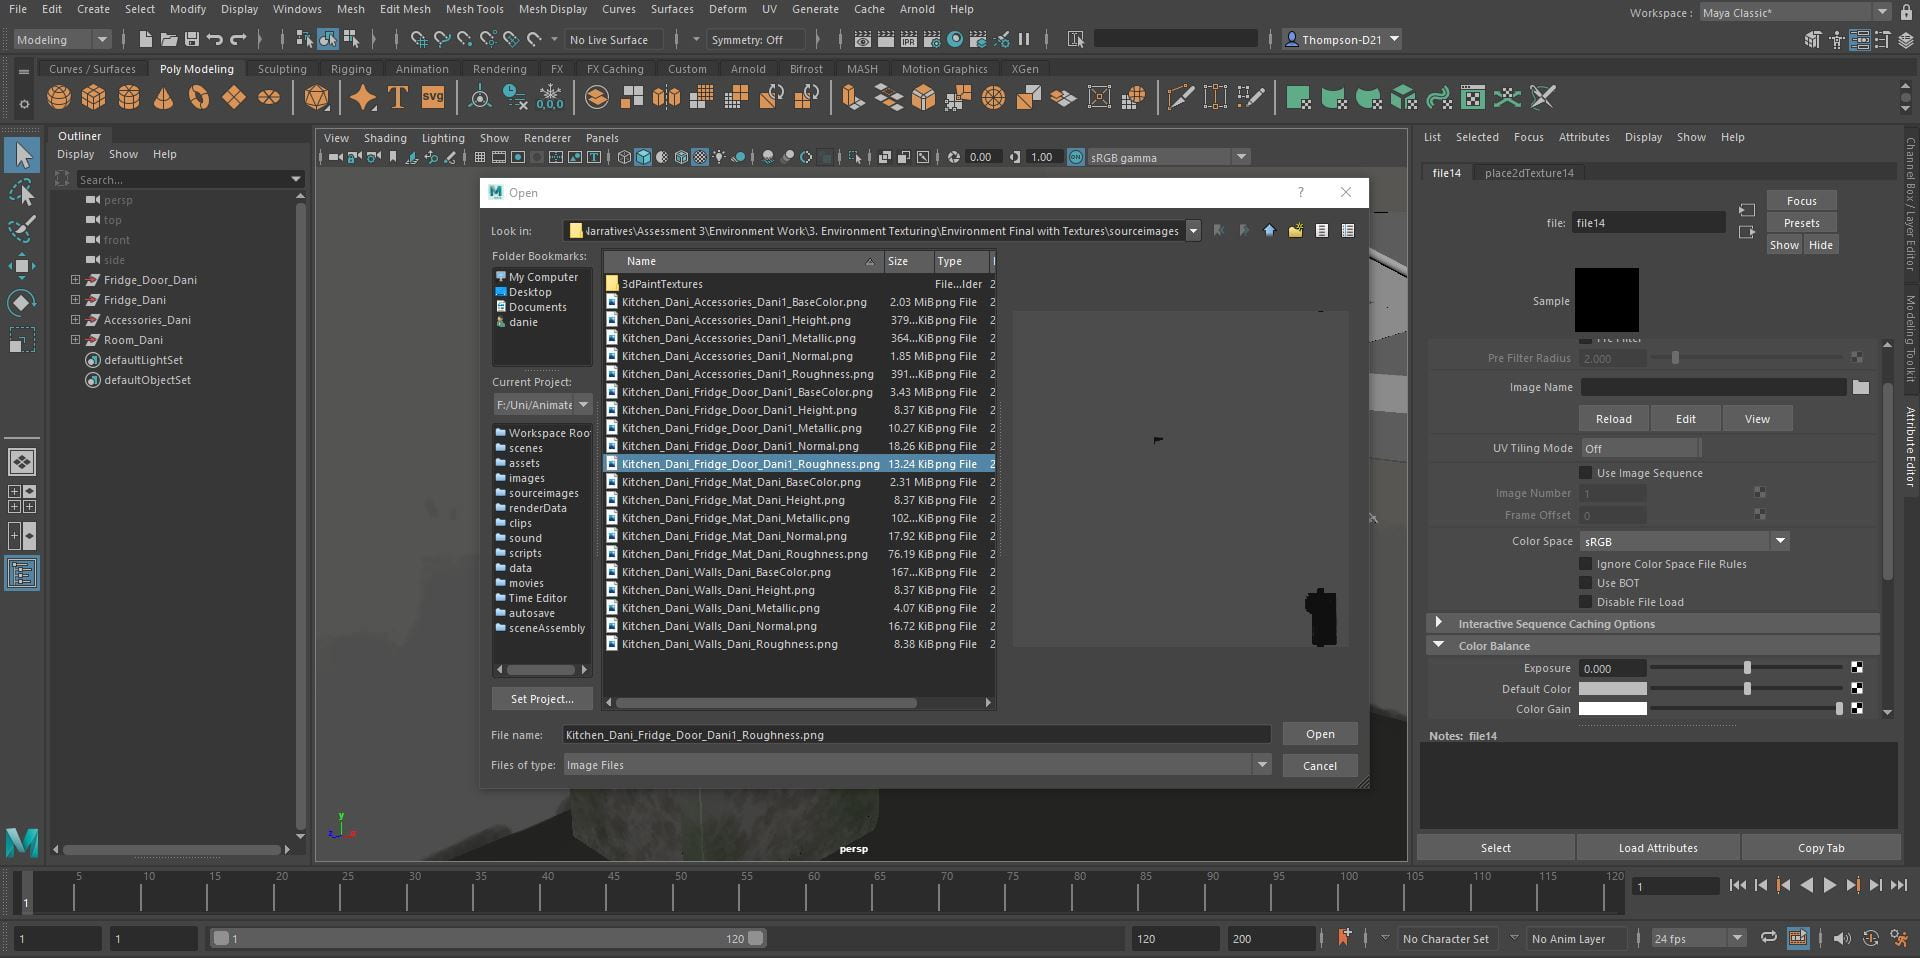
To apply the textures, I selected the room model, right mouse and clicked assign new material. Click the Arnold tab and click aiStandardSurface.

Under the base tab, click colour and select the base colour map.


Under the base tab, click metalness and select the metalic map. Click the colour space option and change it from sRGB to Raw. Under the colour balance tab, click alpha is luminance.


Under the specular tab, click roughness and select the roughness map. Click the colour space option and change it from sRGB to Raw. Under the colour balance tab, click alpha is luminance. Under geometry, click bump mapping, change the ‘Use As’ option to ‘Tangent Space Normals’. Select the normal map, click the colour space option and change it from sRGB to Raw.

I did the same process for the other models in the scene.


I also made the night sky texture for the backdrop in the animation.

Animation
I started by blocking out the animation, I did not use the all the control curves, I just moved the ghost across the screen to see if I liked the speed and positioning of it. I also blocked out the camera movements. I hid the left wall as it is not needed, and it gave me more room to work when animating as it got in the way of the camera. I blocked out the fridge bouncing from side to side, but it looked to slow so I will speed it up when adding the inbetweens.
For the inbetweens I tilted the ghost to look like he is pushing forward, I also bent the tail to look like he is flying. I struggled a little with the tail rig as it only allowed me to bend it so far before the rig would break or the ghost would deform so the wiggle is a little more subtle than I wanted. For the fridge I speed up the bouncing from side to side to make it look more violent and the ghost is trying to devour the sandwich. I also adjusted the timing of everything as the ghost moved to quickly and the fridge moved too slowly.
I was able to make the tail move more after trial and error with the position of the rings around the body.
I went over the animation again to polish the movements and fix any problems. I extended the shot of the fridge sitting still to let the punch line breath as it was a little quick. I also made the ghost cross the screen faster as he is supposed to look like he is rushing towards the fridge not just floating. I changed the mouth so it would gradually open as the ghost approached the fridge, it looks a little weird as the ghost is transparent and you can see the mouth bend in to close the mouth.
Lastly, I used the graph editor to tweak the movements. I adjusted the fridge by changing the bottom points to tangent as it made the fridge move faster and more violently. I also adjusted the ghost flying by moving the points to make the bobbing look smooth.


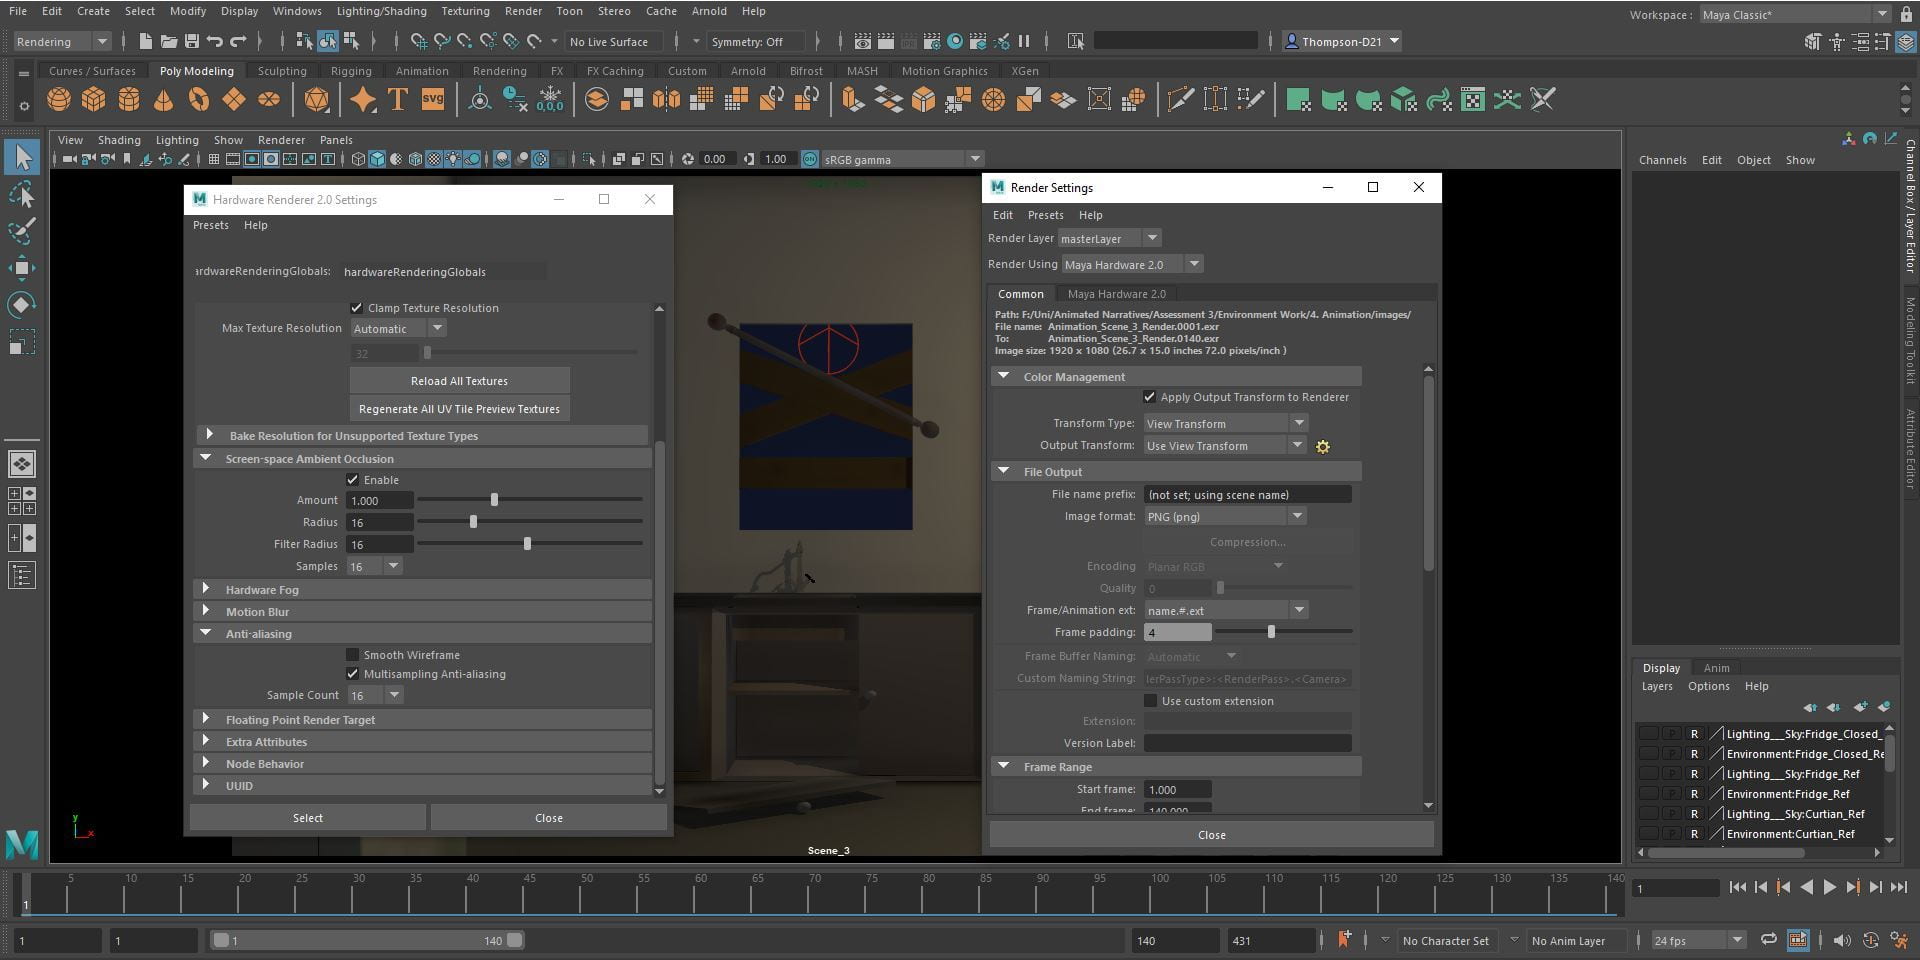
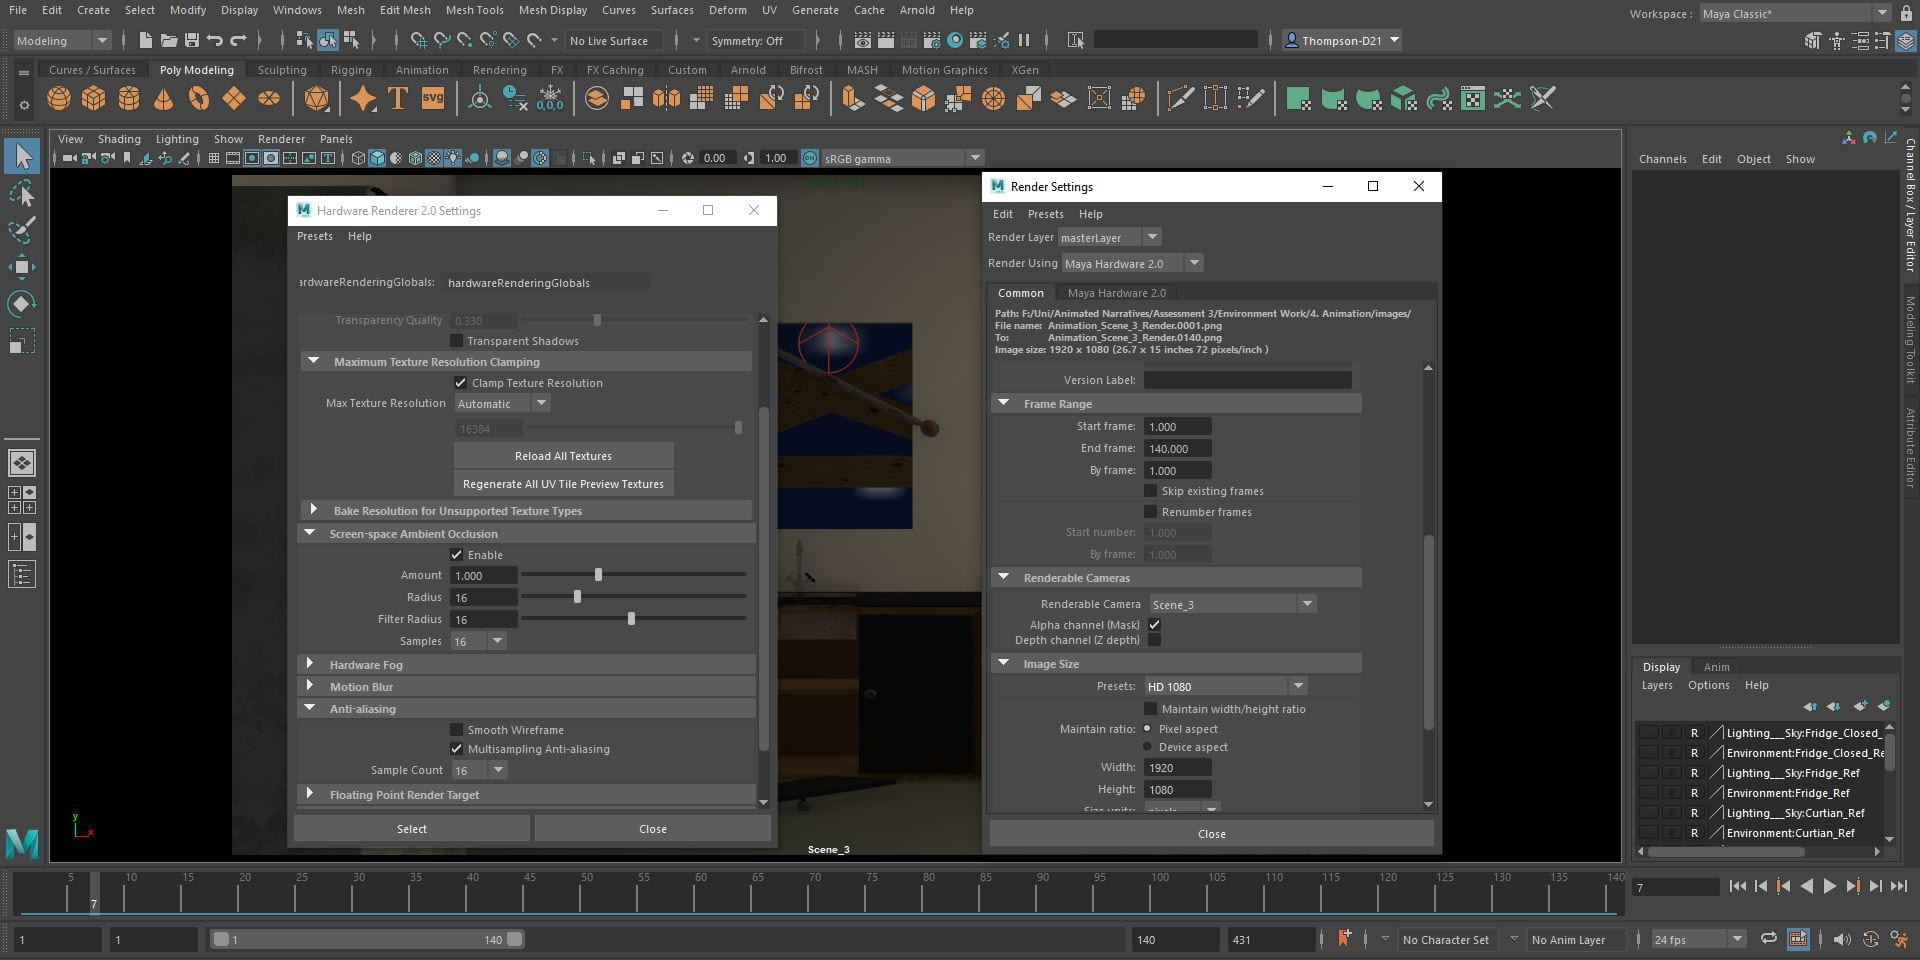
Rendering
Our group decided to use the viewport to render as it is faster and is easier on the computers. Click the render tab and click Viewport 2.0, click the ‘Screen-space Ambient Occusion‘ tab and tick enable. Click the ‘Anti-aliasing‘ tab and tick ‘Multisampling Anti-aliasing‘, change the number to 16. Click Windows, Render Editors, Rendering Settings. Change the ‘Render Using‘ to Maya Hardware 2.0. Under the ‘Colour Management‘ tab tick the ‘Apply Output Transform to Render‘. Under ‘File Output‘ change ‘Frame/Animation ext‘ to name.#.ext. Under ‘Frame Range‘ change the end frame to the last frame of the animation. Under ‘Renderable Camera‘ change the camera to the camera used. Change the menu to Rendering, click the render tab then click Render Sequence. This will take a few minutes to render the animation.


Rendered Animation
Final Animation
Reflection
I really enjoyed working with my group on this project as it gave me great experience communicating within a team to create a 3D animation from scratch. This really showed me how important planning and communication is, if a member does not communicate to the group, then everyone is left in the dark about what they are doing or how far along they are. I found that managing my time became an issue near the end of the project as I lost track of how much I had to do, in the next group project we will make a Calander of where we all should be by a certain time and give weekly updates on our progress. I am very proud of what this group produced; I think the animation turned out great.
Overall Experience
Overall, this year has been a weird one as we did not get on campus to physically talk to our lectures and classmates, but I have had a lot of fun. I think the recorded lectures are great as I can go at my own pace and rewind a part as many times as I need till, I understand it, I can also go back and review them if I forget something or get confused. I am also very glad at how many ways you can get in contact with the lectures, it makes it very easy to fix the problem you are having or get great advice about how to do something. I think I have learnt a lot this year about Maya and Substance Painter, I felt a little intimated by Maya due to the number of menus and settings there was, but the tutorials took it nice and slow and explained things very well. I can’t wait to see what the next year will bring.
References
Image References:
- Vase – https://pixabay.com/photos/still-life-white-twig-natural-598317/
- Shelves 1 – https://i.pinimg.com/originals/e0/ba/cd/e0bacd17c4d8974cb9c918c542136cd8.jpg
- Shelves 2 – https://theenglishpanellingcompany.co.uk/wp-content/uploads/2020/06/Peg-Shelf-3.png
- Shelves 3 – https://pixabay.com/photos/saucepans-copper-kitchen-food-2912191/
- Window 1 – https://cdn.gamer-network.net/2016/usgamer/RE7E3ImpressionsSPOT1.jpg
- Window 2 – https://asda.scene7.com/is/image/Asda/5051347020027?hei=662&wid=662&qlt=85&fmt=pjpg&resmode=sharp&op_usm=1.1,0.5,0,0&defaultimage=default_details_George_rd
- Sink 1 – https://pixabay.com/photos/basin-sink-kitchen-sink-tap-drain-1502544/
- Sink 2 – https://m.media-amazon.com/images/I/51LsDnsuwGL._AC_SY355_.jpg
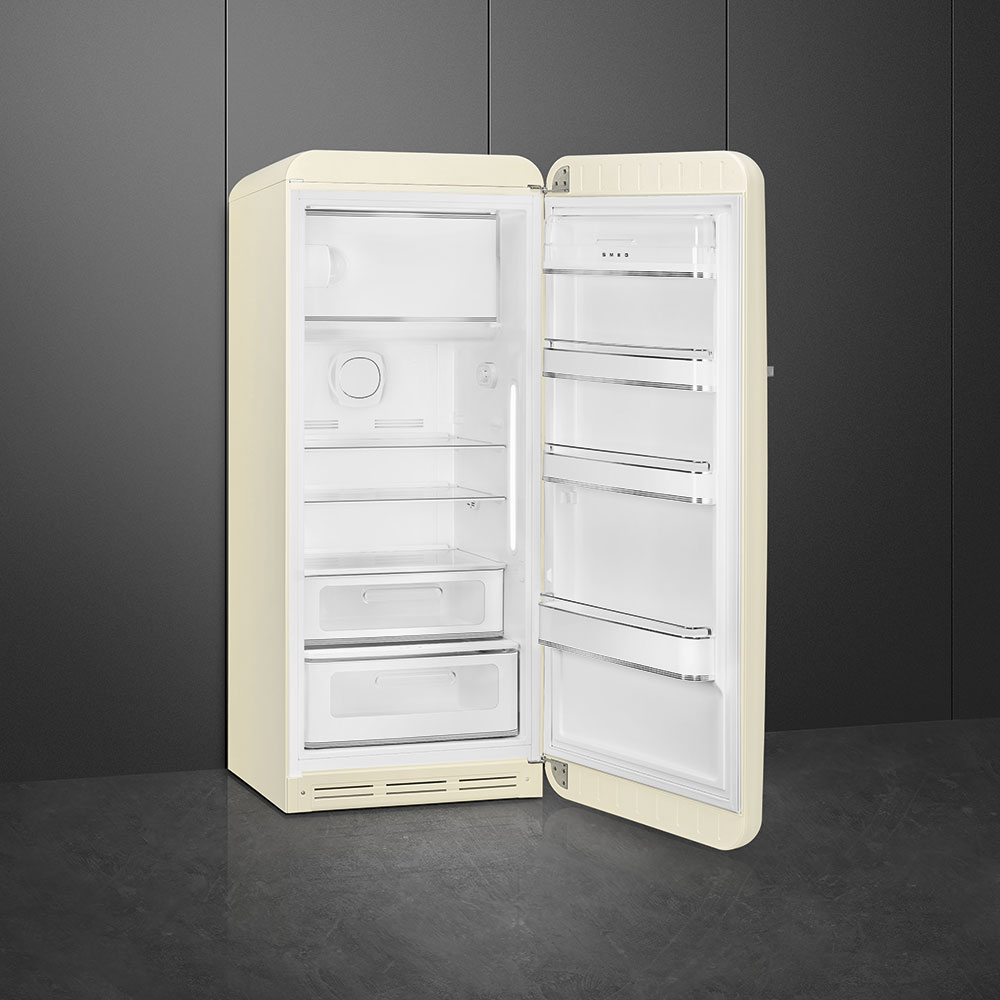
- Fridge inside 1 – https://assets.4flow.cloud/FAB28RCR3_1.jpg?pEFs=cVY2M1MyN1ZOMFFadEQ5ZlVOMzhVNFY3MjVTSTN5cWc1Q0dBTEZvL0RzMD0
- Fridge inside 2 – https://d2o7dtsnwzl7g9.cloudfront.net/gcraggs/media/image/f2/50/47/Smeg-fab28r-2018-open.jpg
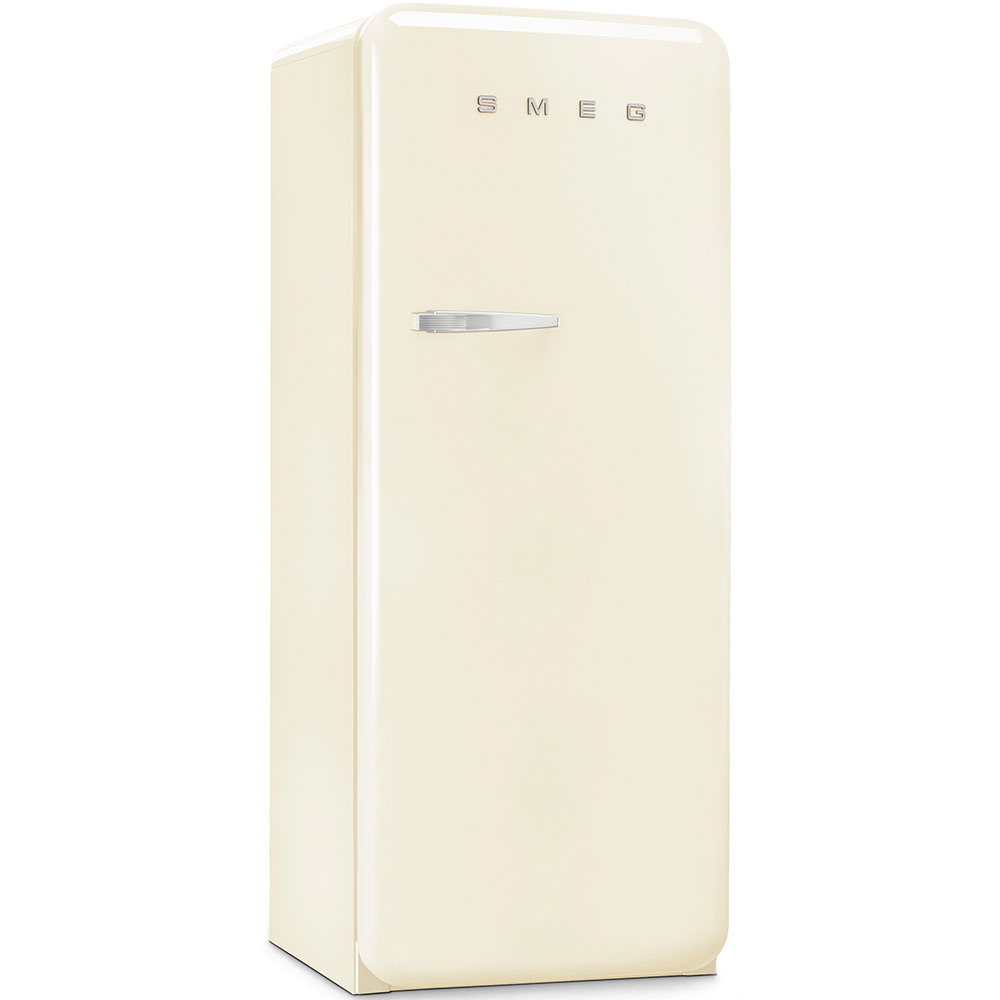
- Fridge – https://www.discountappliancecentre.com/wp-content/uploads/2018/07/Smeg-FAB28RCR3UK-Cream-50%E2%80%99s-Style-Fridge-image-2-1.jpg
- Pan 1 – https://pixabay.com/photos/frying-pan-food-kitchen-cooking-2618192/
- Pan 2 – https://pixabay.com/photos/pan-cook-sear-frying-pan-554072/
Video References:
- Fabric tutorial – https://www.youtube.com/watch?v=iGFY5rN0lAk
- Window tutorial – https://www.youtube.com/watch?v=jzQ5kKOm2iA