Assignment 2: Organic Modelling blog

Intro & Reference:

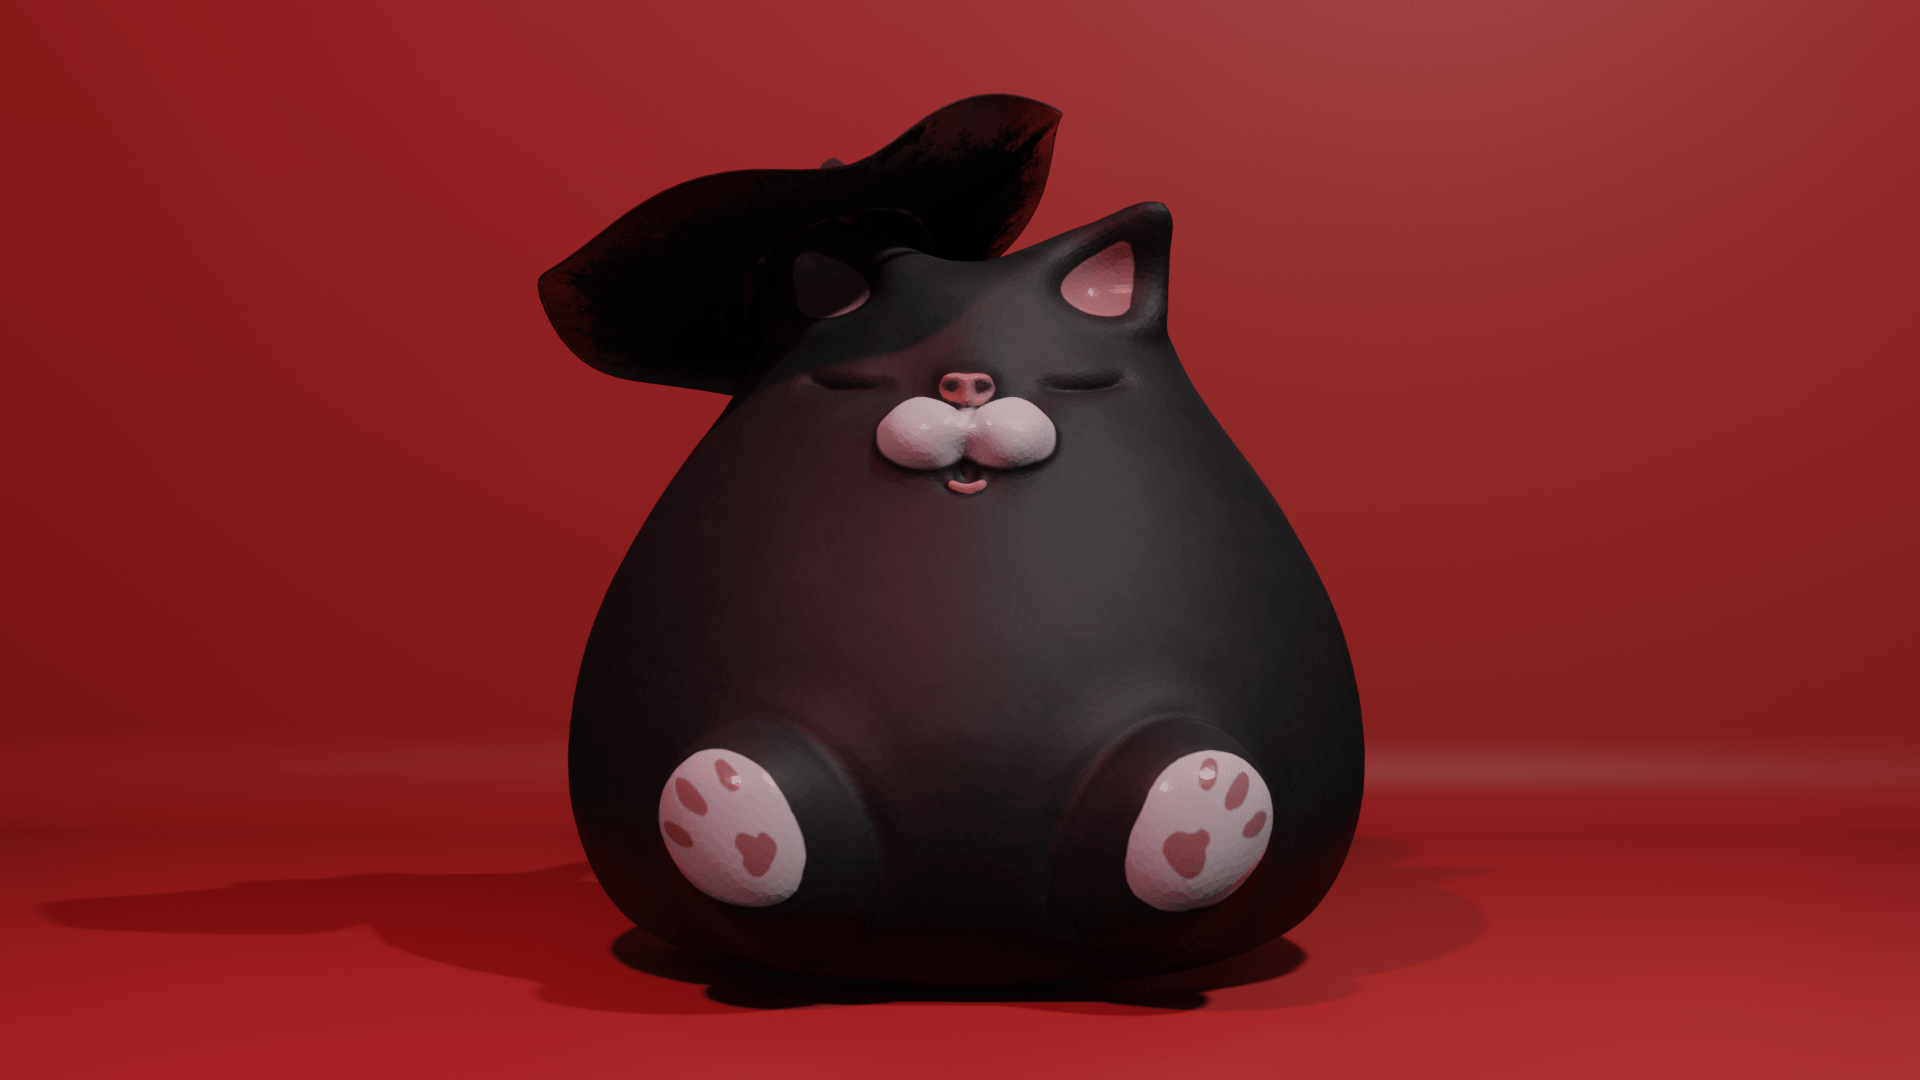
So for this assignment we were given the task to model/sculpt, UV unwrap, texture and present a ‘Cute Character’ of our own choice. We also given a limit of 40000 polygons for the scene. Immediately I thought of an Instagram account for a cat called Bone Bone. He a fat cat with big eyes and usually wears a backpack. Now in one of his posts the owner of the account photoshopped a cowboy hat on to his hat. And this gave me my idea for my model.

Development:

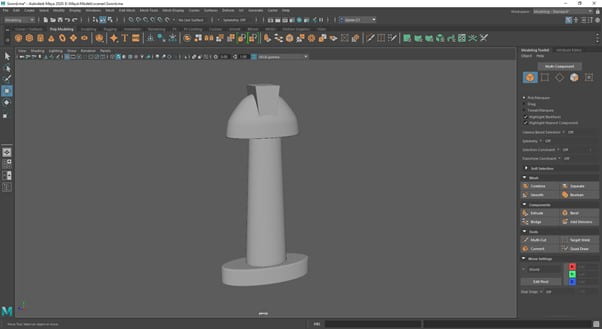
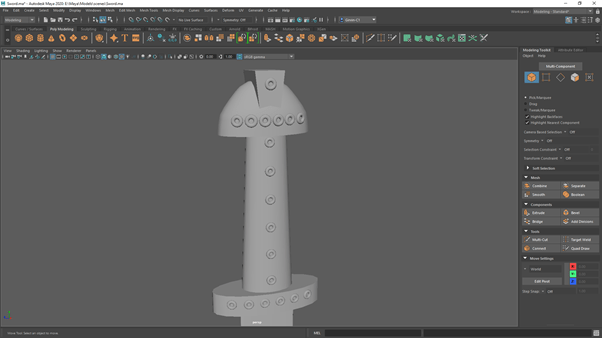
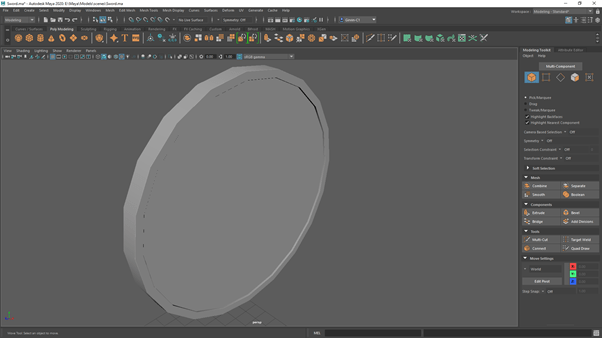
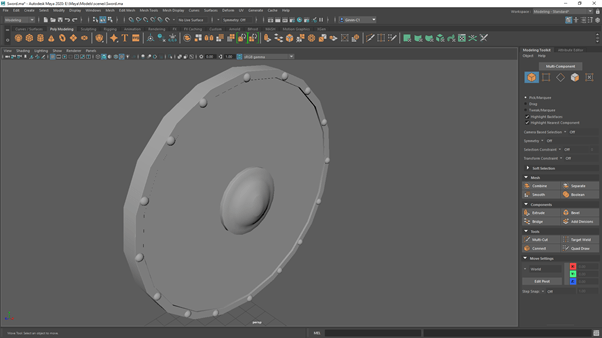
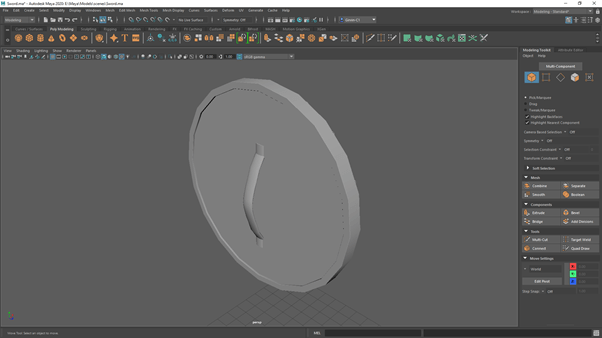
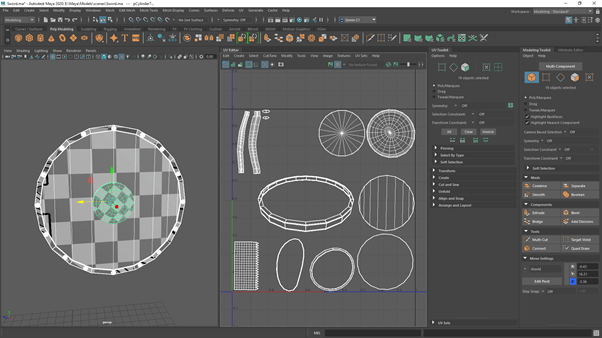
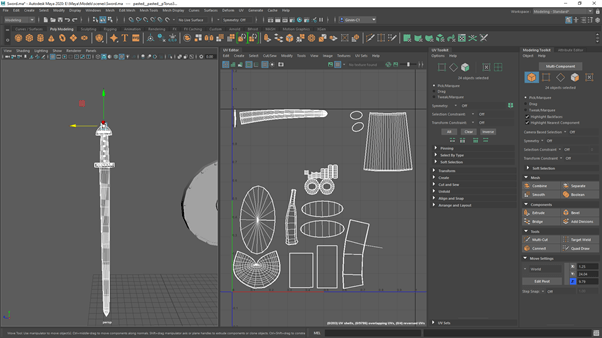
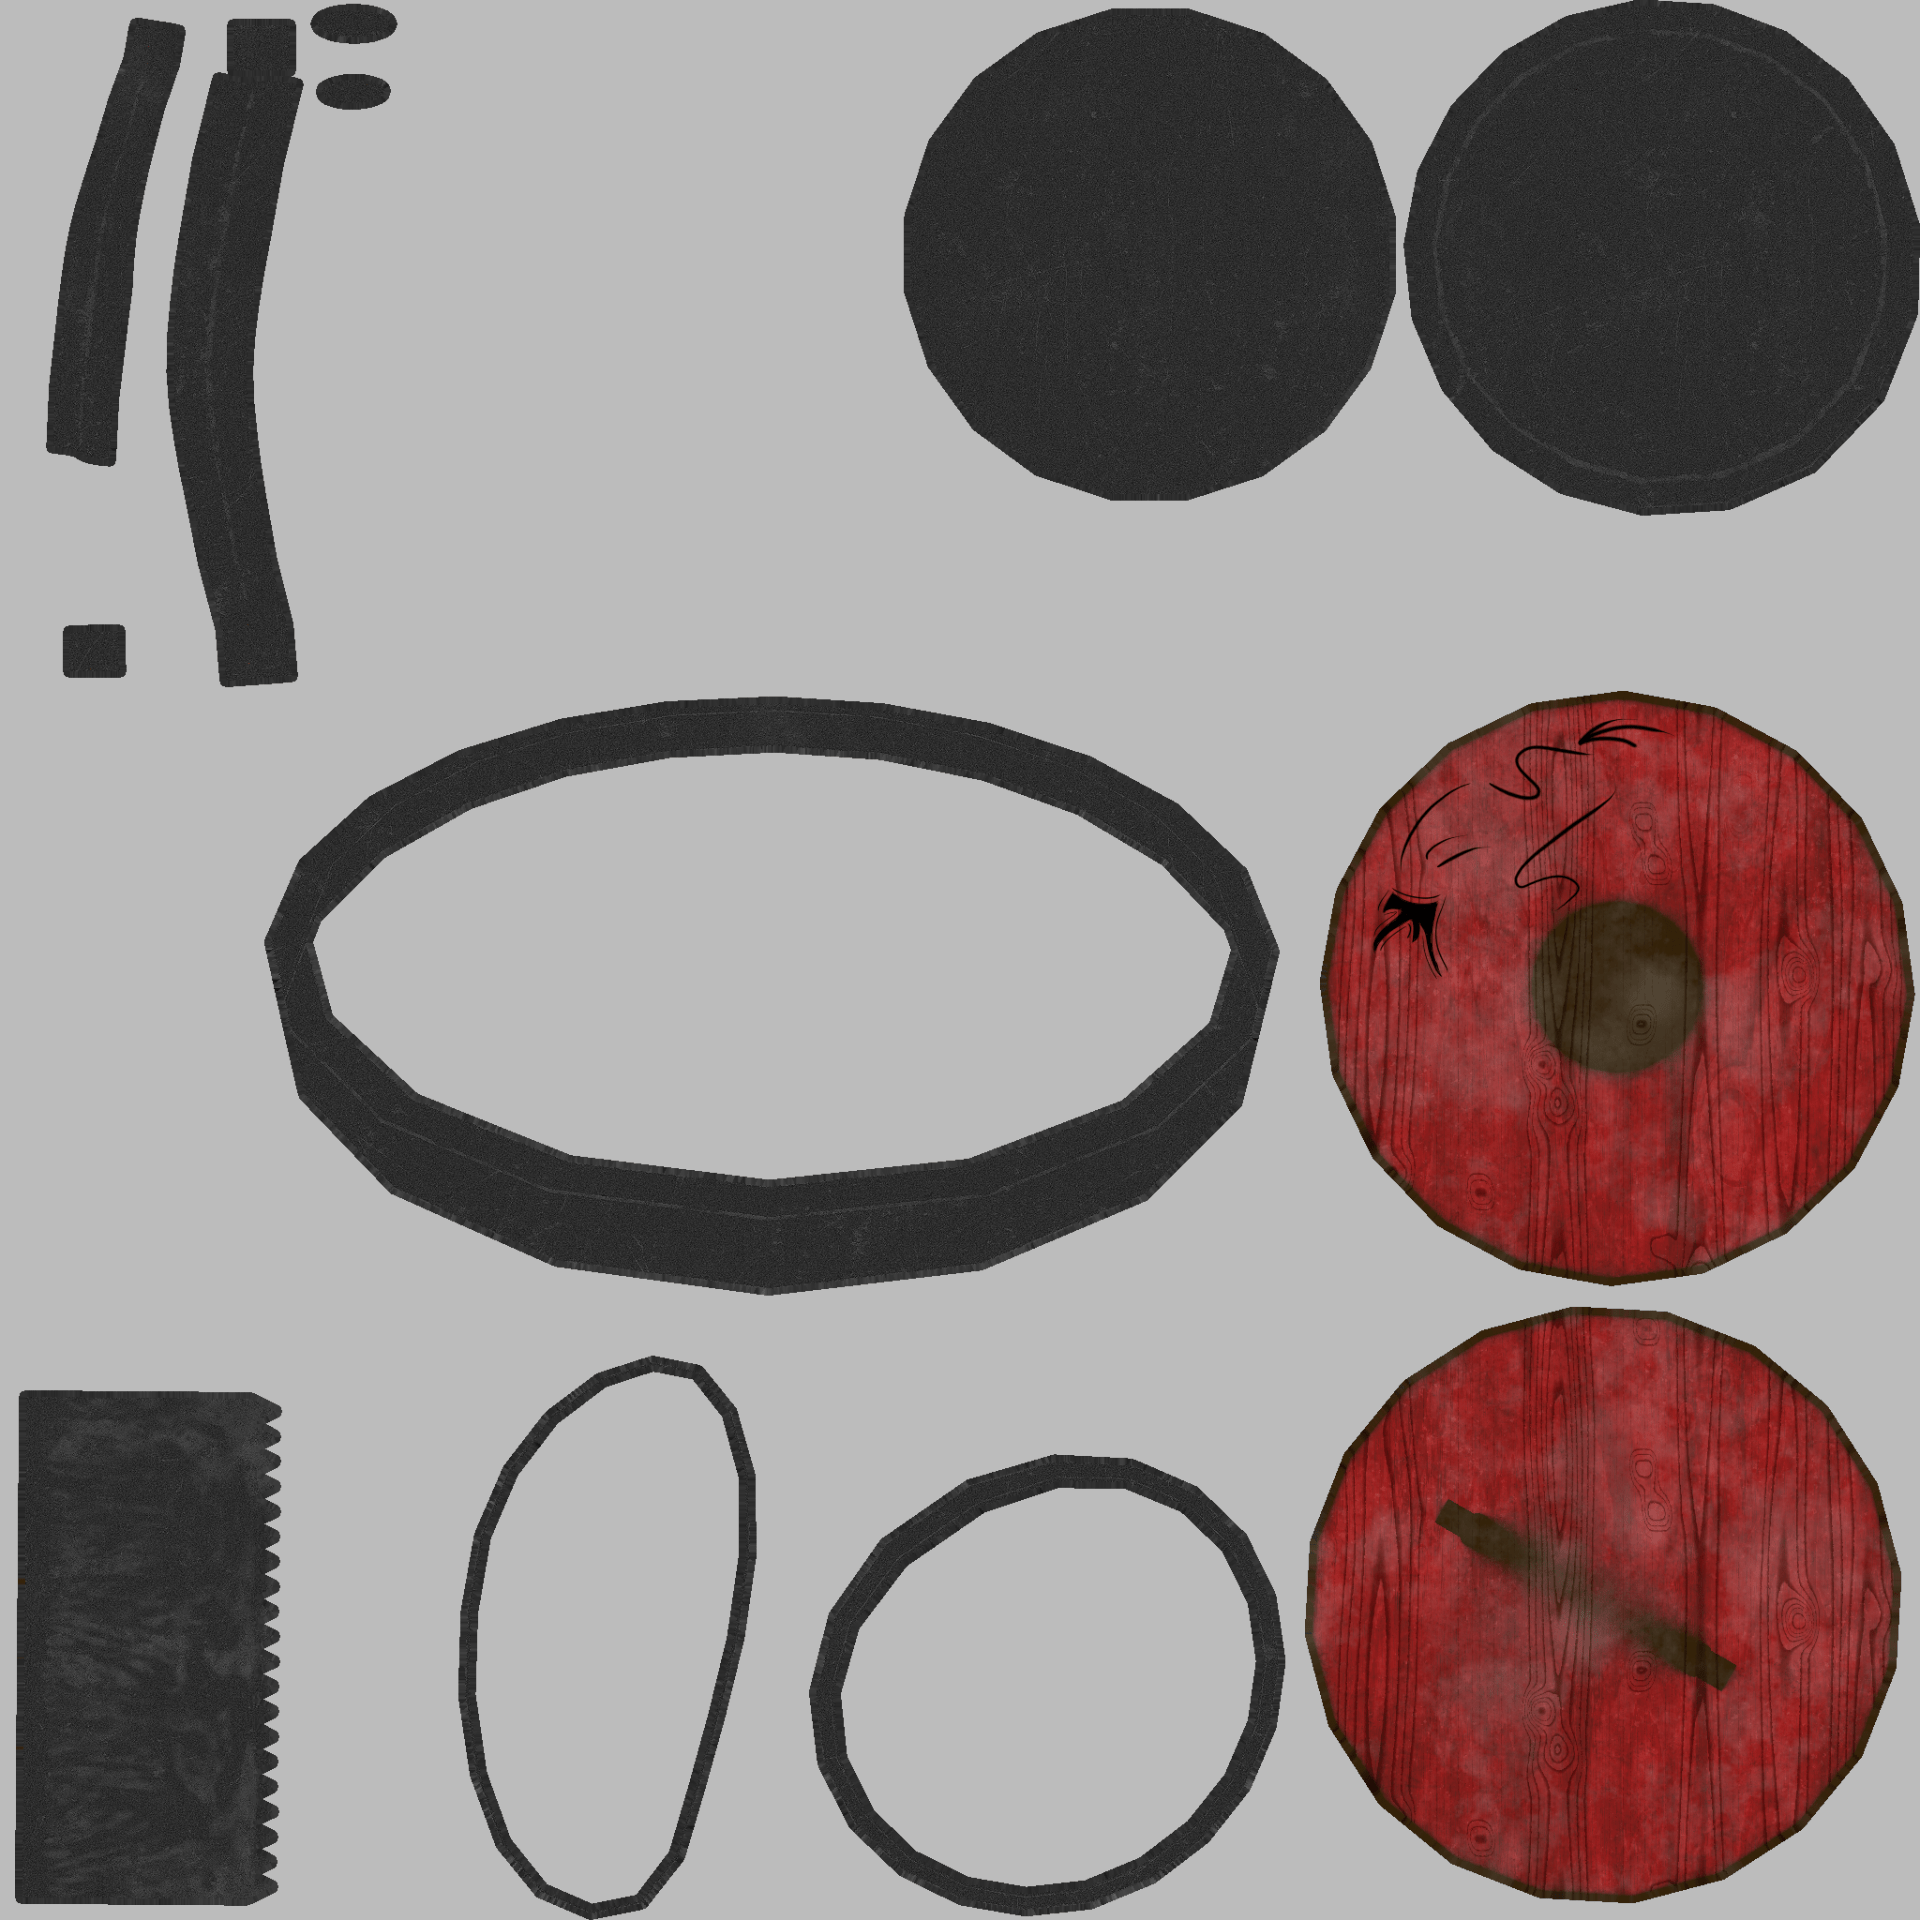
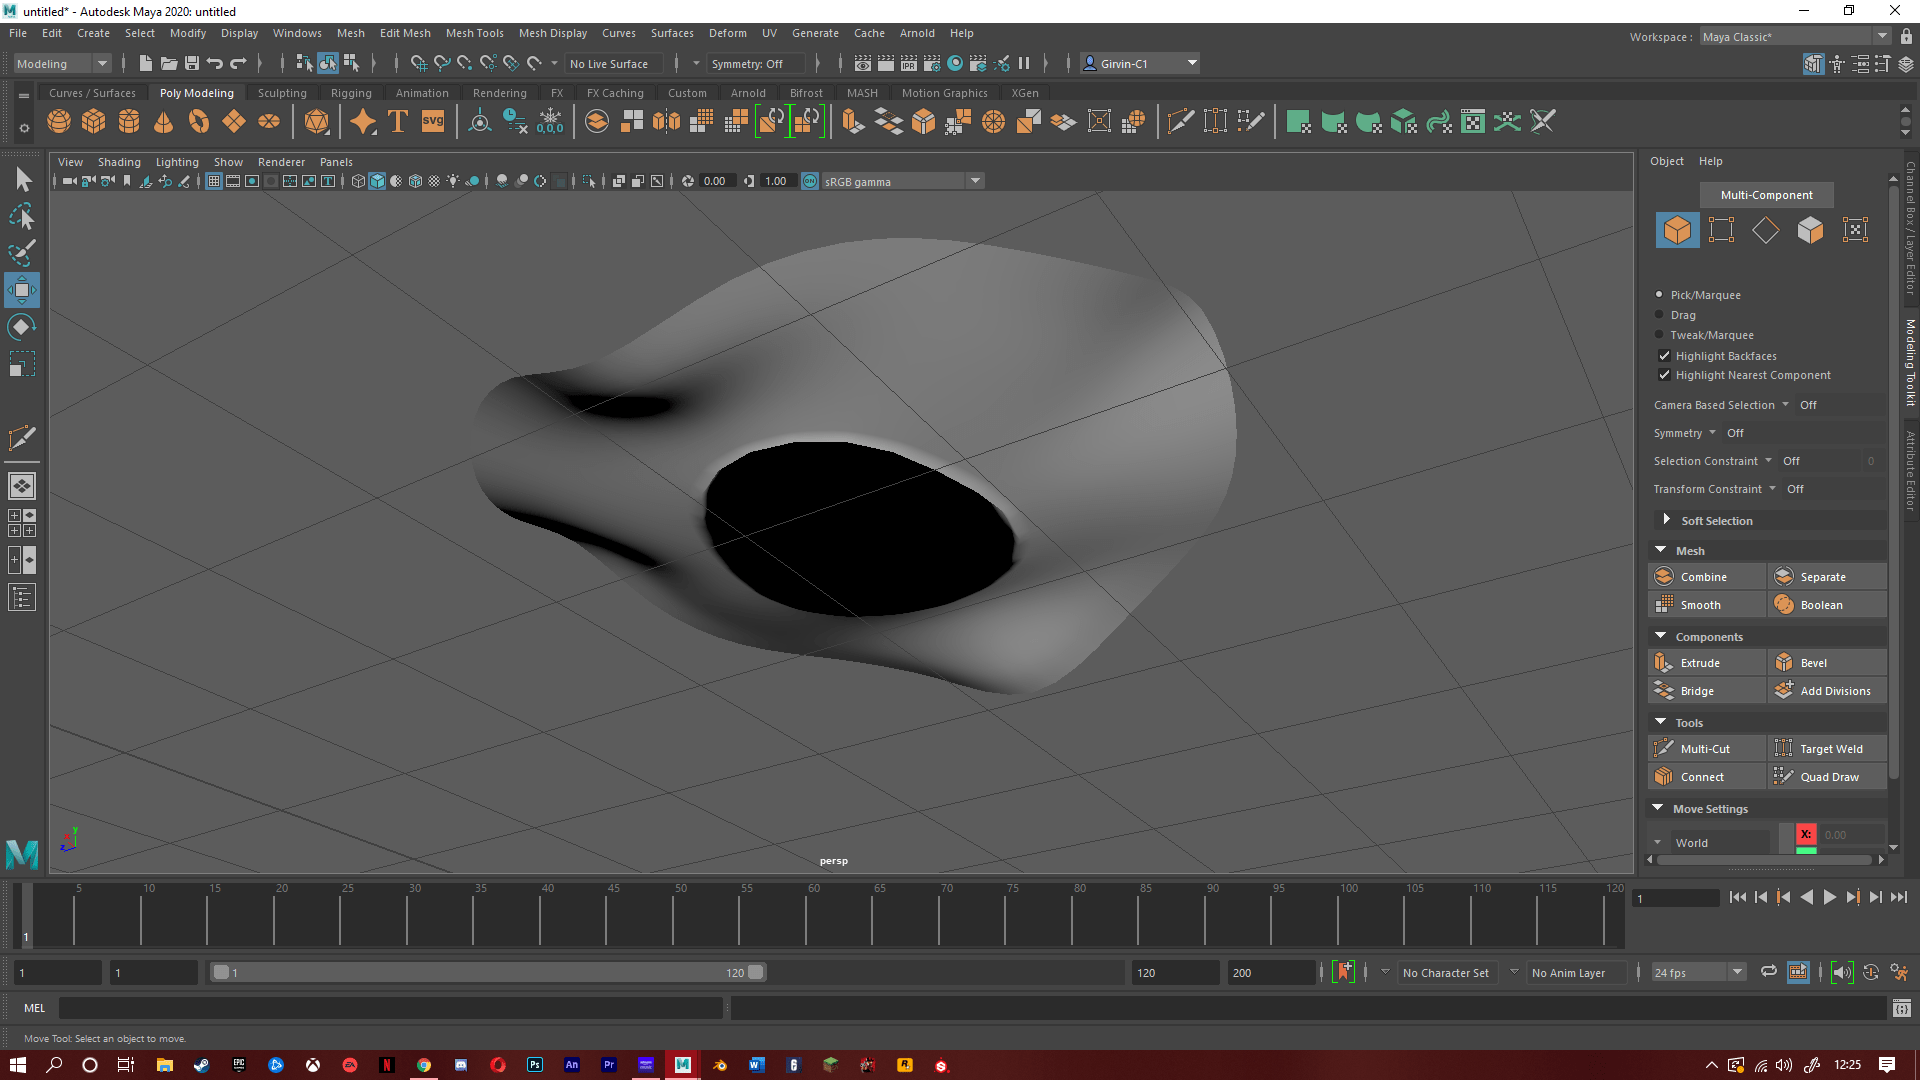
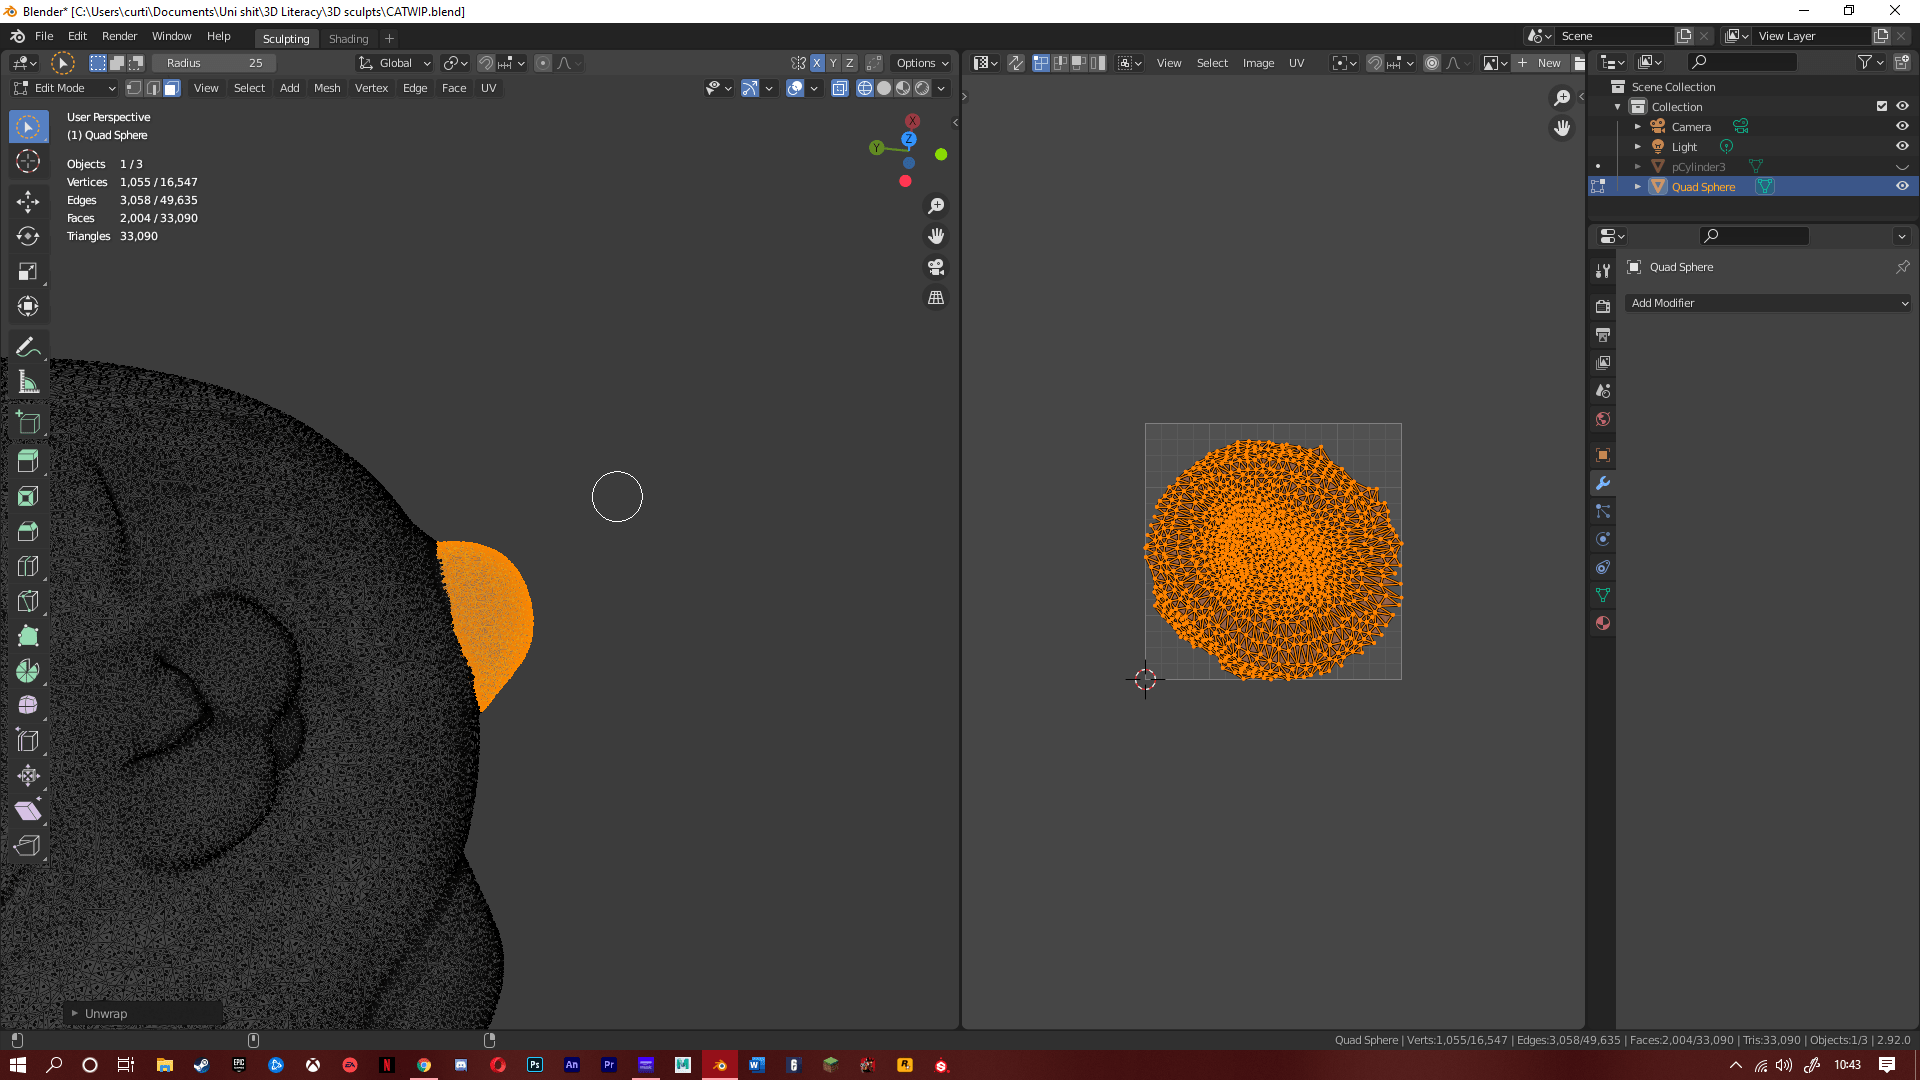
I began by doing some quick concept art for the model and assets. I then started in blender to block out the model to get a rough idea of the proportions. Now this is where I started to struggle; as I was used to using maya for all of my modelling I now had to use a different software. This made my workflow quite slow and frustrating. And because of this I just couldn’t get the proportions right on my model so I looked up tutorials on YouTube to help me. In doing so I found a tutorial for a cat sculpt. I decided I was gonna try to follow the tutorial but add and change things to make it my own. This made the whole assignment much more enjoyable. After I had sculpted the cat, I then went into maya to create the hat. To create the flow of the brim I turned on soft selection which would move other vertices around the selected one. I then ran into a problem where the top side of the brim had black faces, meaning they wouldn’t show up in substance of blender. I realised I created this issue early while making the hat. So I made another but this time added another layer around the brim to give it another face. Next I UV unwrapped it and imported to substance, again I ran into another problem where I couldn’t get the model to export while smooth. This was an easy fix, I just had to covert the polygons to the smooth mesh preview. Once the Hat was textured and ready, I went back into blender to UV map the cat. This was when I realised that I was way over the limit for polygons; around 800,000. To cut this number down I added a decimate modifier. Once it was under the limit I UV mapped the cat and imported it to substance for its textures. The model was then basically done so I uploaded it to sketch fab and also done a quick render of the cat in blender.


Outcome:

Reflection:

Overall I have really enjoyed doing both hard surface modelling and sculpting. I did struggle a bit with sculpting, particularly in the beginning of this assignment. Because I was now used to the UI and shortcuts for maya it was a little frustrating switching to blender. But I’ve a good bit more knowledge in it now. But in the end I think I was able to produce a decent model; with the help from the YouTube video. I think the area I’ve improved most in would be UV unwrapping. I struggled with it during assignment 1 but through practice and our group animated shorts, I’m confident in it now. I really enjoy the modelling aspect of animation and I cant wait to see what we do in the future.


Assignment 1-Intro to 3D Modelling

Assignment:

For my assignment we had to chose from a list of options to model, UV map, texture and real time render. Our options were

  • Windmill
  • Mantel Clock
  • Treasure chest & treasure
  • Sword & shield
  • Sci-Fi door
  • Old Well
  • Magic Witch / Wizard Staff

Originally I had chosen Sci-Fi doors, and my idea was to recrate the Star Wars imperial blast doors. I then changed my mind to the sword and shield as I thought this would be a more challenging task for me. Instead of creating my own design, I decided to use the ‘Kings Sword’ and ‘Ragnars Shield’ from the show ‘Vikings’ as a reference point for my project and I then began to gather photos.

Research:

Modelling:

I started with the ‘Kings Sword’ first as I was excited to recreate something from one of my favourite shows. In Maya I began to block out the shape of the hilt, by using different shapes, controlling the vertices and manipulating the wireframe. Early on I decided to simplify to detail on the hilt but still try to achieve the recognizable look. This would allow me to split my time better between the sword and shield. I then added the blade of the sword and added torus’s for where the gems would be placed on the sword. After I had finished the ‘kings Sword’ it was time to model ‘Ragnars Shield. This process was quite straight forward, I didn’t run into any issues during the modelling phase.

UV mapping:

After I had finished modelling both the sword and shield. I then began the process of UV unwrapping each of the objects. I found this to be the most challenging part of the process by far. I tried multiple techniques that I found on YouTube but I was still struggling. The UV maps are still not great and some aren’t even straight or properly unwrapped but eventually I was able to get to a point where I was able to apply the texture within substance painter without a problem. The UV maps are a bit of a mess bit I wanted to at least be able to apply the textures without any major issues or obvious seams This is an area I would definitely want to improve upon in the future.

Texturing:

After I had created the UV maps as best I could, it was time to import each model separately, and I started with the shield. After baking the texture maps, I applied smart materials to model. But as I had made the wood and outer rim of the shield from the same object, when I applied a material it would apply to both. To fix this I used the polygon fill tool to select the polygons that made up the metal outer rim of the shield and apply a different material. After I had fixed this I created a paint layer to add the decal and changed the colour of the wood material to better match the reference. Again, with the sword I baked the texture maps, then applied the smart material ‘Bronze Armor’ to the hilt, then ‘Stained Steel’ to the blade. I then created a paint layer to add the gems on the hilt along with the old Norse runes on the blade. Originally I had changed the height of my brush to give the effect that the runes had been inscribed on the blade. But later I realised height maps couldn’t be used on Sketch Fab. This also made the runes barely visible so I went back add just used a black brush instead, however I still think it looks good.

During the production of my models I ran into quite a few problems, Most of them I was able to fix using the help of YouTube videos and online forums. Firstly, when I had finished my models and imported them into Sketch Fab I had some problems with the textures where they would apply to both models. I realised I had used the same Material in Maya for both the sword and shield but had separate UV maps. To fix this I first went into Maya and created a new material then applied it to all the objects in the sword group. After this I imported the model back into Substance painter and redone the textures. Once I uploaded the models to Sketch Fab again I was able to apply separate textures to each model. I had gotten the textures to work for the shield but I still had a problem with the sword. This is when I realised I had forgotten to UV map torus’s on the model. This meant when I imported to model to substance painter is was automatically creating a UV, but it had also stretched the other UV maps for the other objects, thus meaning the UV maps for the model and textures were not matching up. To fix this I simply made a UV map for the torus’s, moved to model to Substance painter and once again redone the textures, hoping it would be the last.

I definitely see room for improvement but overall I enjoyed creating both models. I thought parts of the project were challenging especially UV mapping as I found it quite complicated. But I believe this gives me more experience for future models and being able to resolve issues I ran into has given me more confidence within myself and using each software.

Below our my final models.