Assignment 1-Intro to 3D Modelling

Assignment:

For my assignment we had to chose from a list of options to model, UV map, texture and real time render. Our options were

  • Windmill
  • Mantel Clock
  • Treasure chest & treasure
  • Sword & shield
  • Sci-Fi door
  • Old Well
  • Magic Witch / Wizard Staff

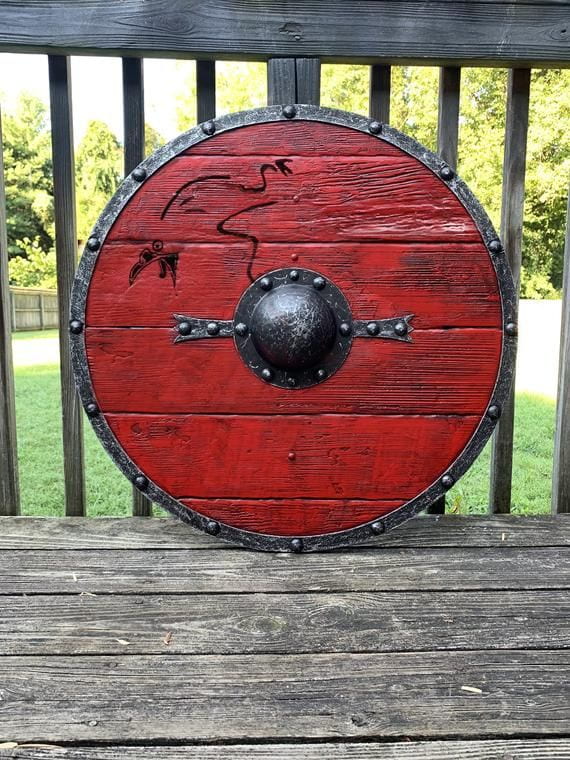
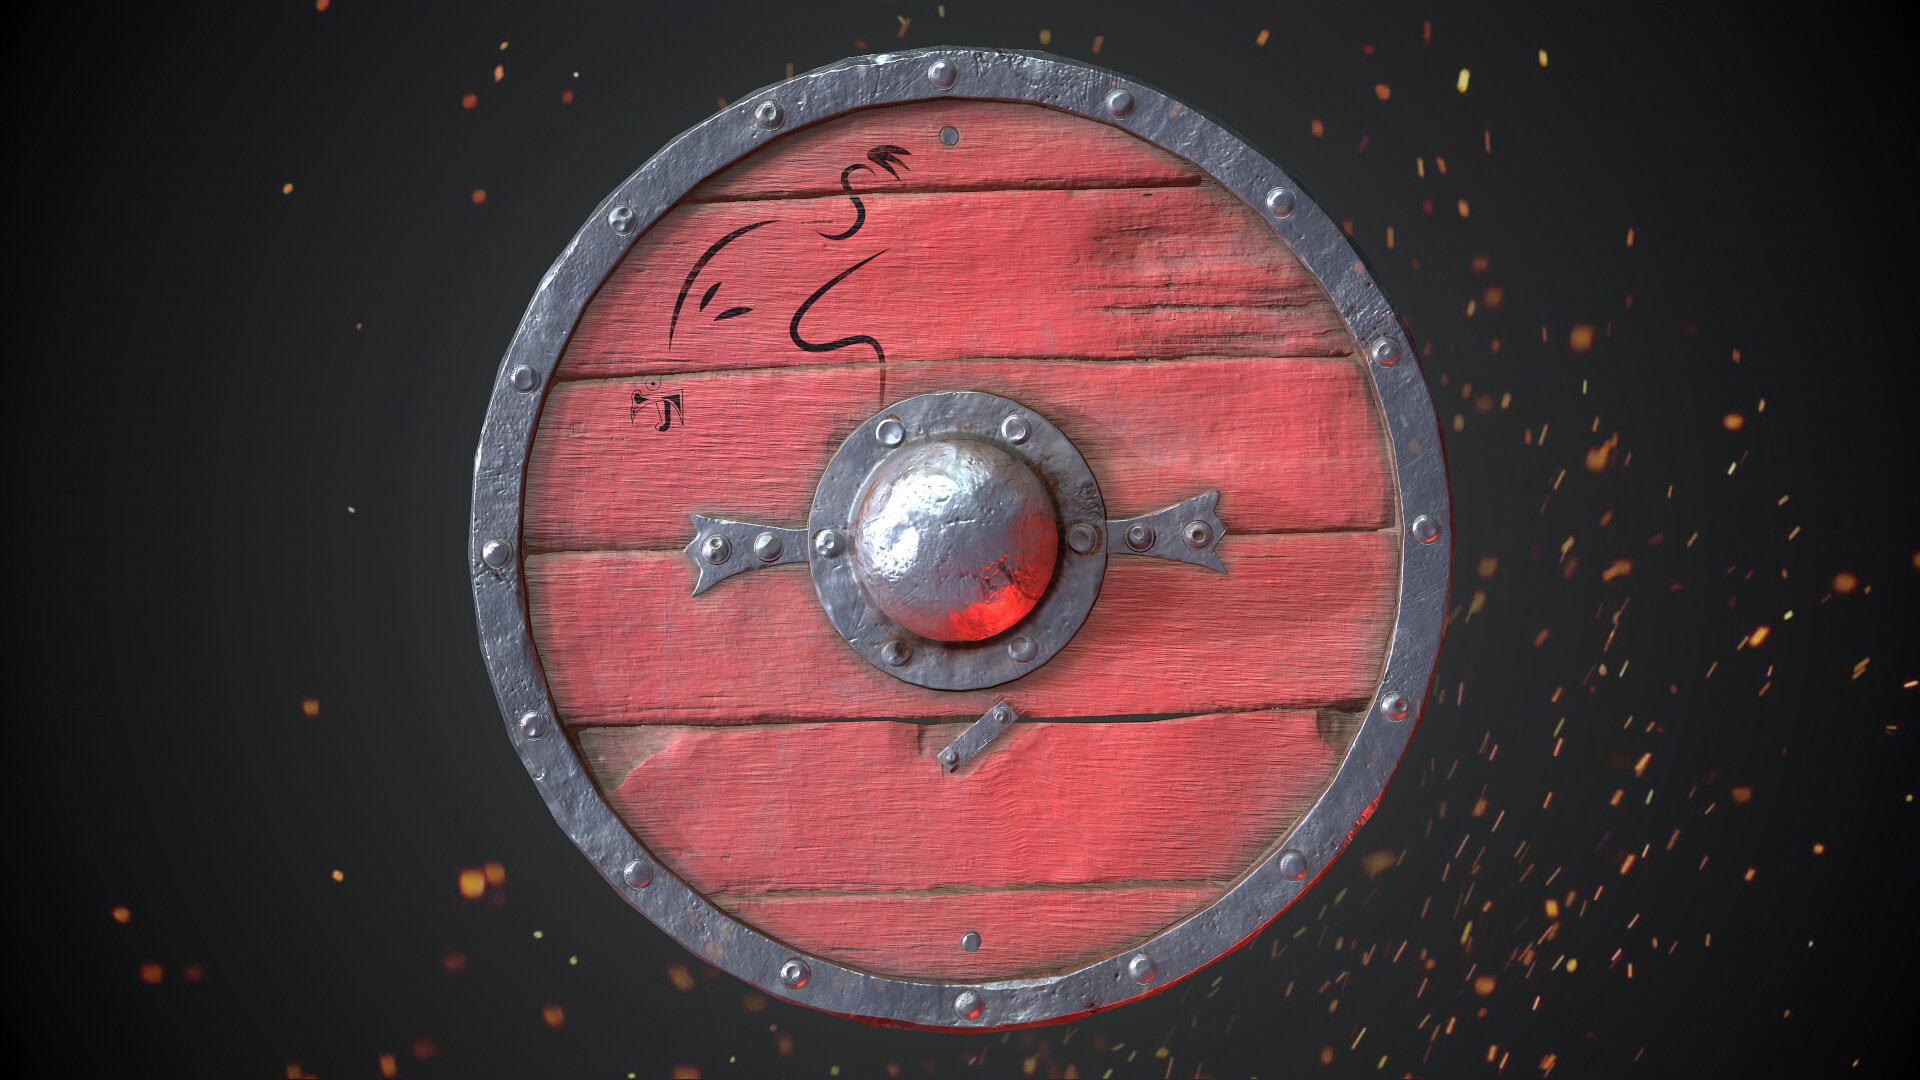
Originally I had chosen Sci-Fi doors, and my idea was to recrate the Star Wars imperial blast doors. I then changed my mind to the sword and shield as I thought this would be a more challenging task for me. Instead of creating my own design, I decided to use the ‘Kings Sword’ and ‘Ragnars Shield’ from the show ‘Vikings’ as a reference point for my project and I then began to gather photos.

Research:

Modelling:

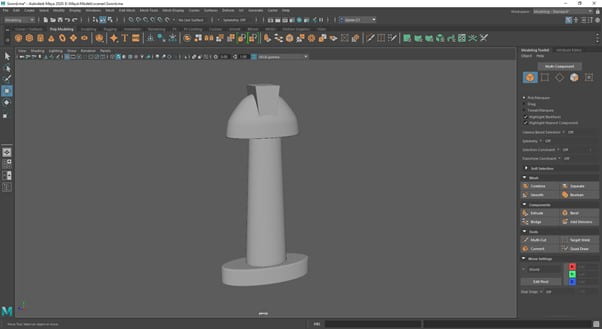
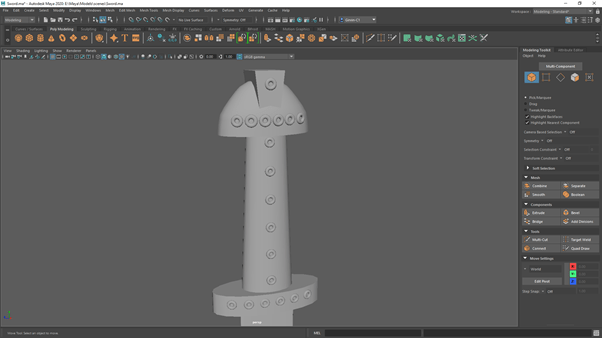
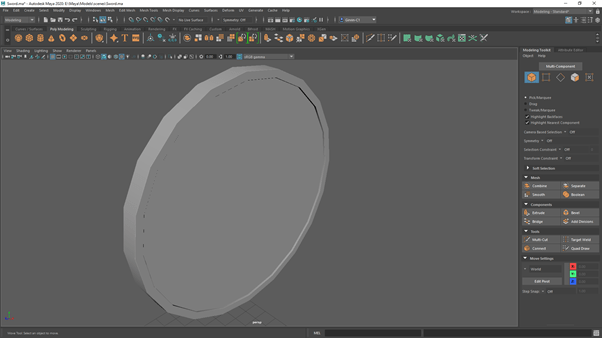
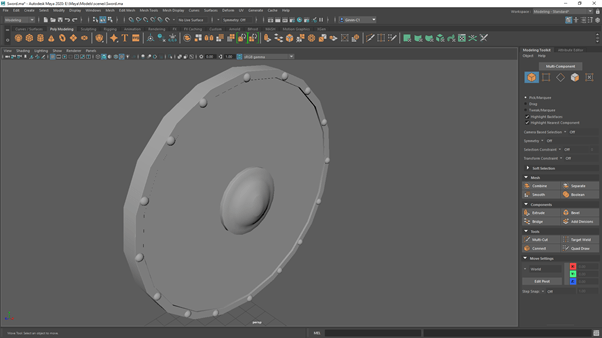
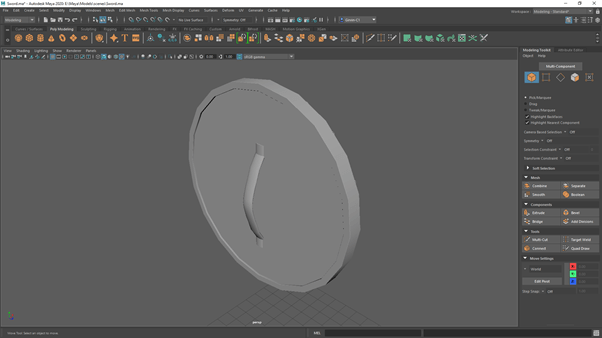
I started with the ‘Kings Sword’ first as I was excited to recreate something from one of my favourite shows. In Maya I began to block out the shape of the hilt, by using different shapes, controlling the vertices and manipulating the wireframe. Early on I decided to simplify to detail on the hilt but still try to achieve the recognizable look. This would allow me to split my time better between the sword and shield. I then added the blade of the sword and added torus’s for where the gems would be placed on the sword. After I had finished the ‘kings Sword’ it was time to model ‘Ragnars Shield. This process was quite straight forward, I didn’t run into any issues during the modelling phase.

UV mapping:

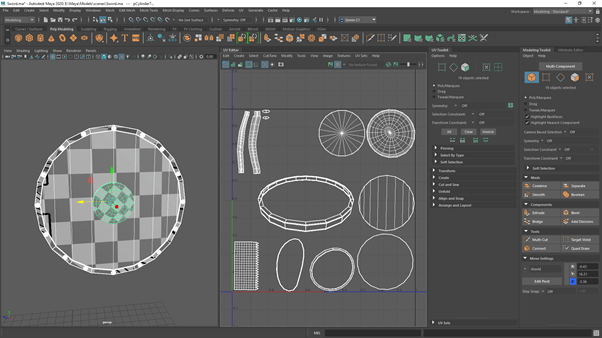
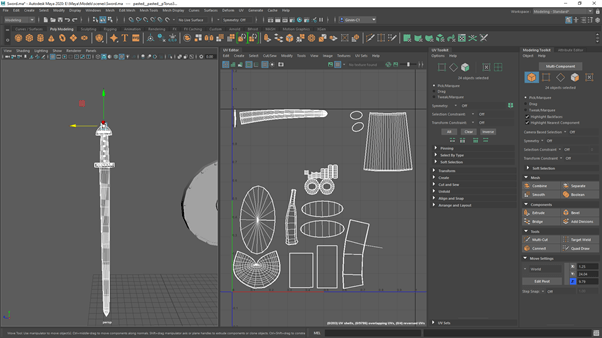
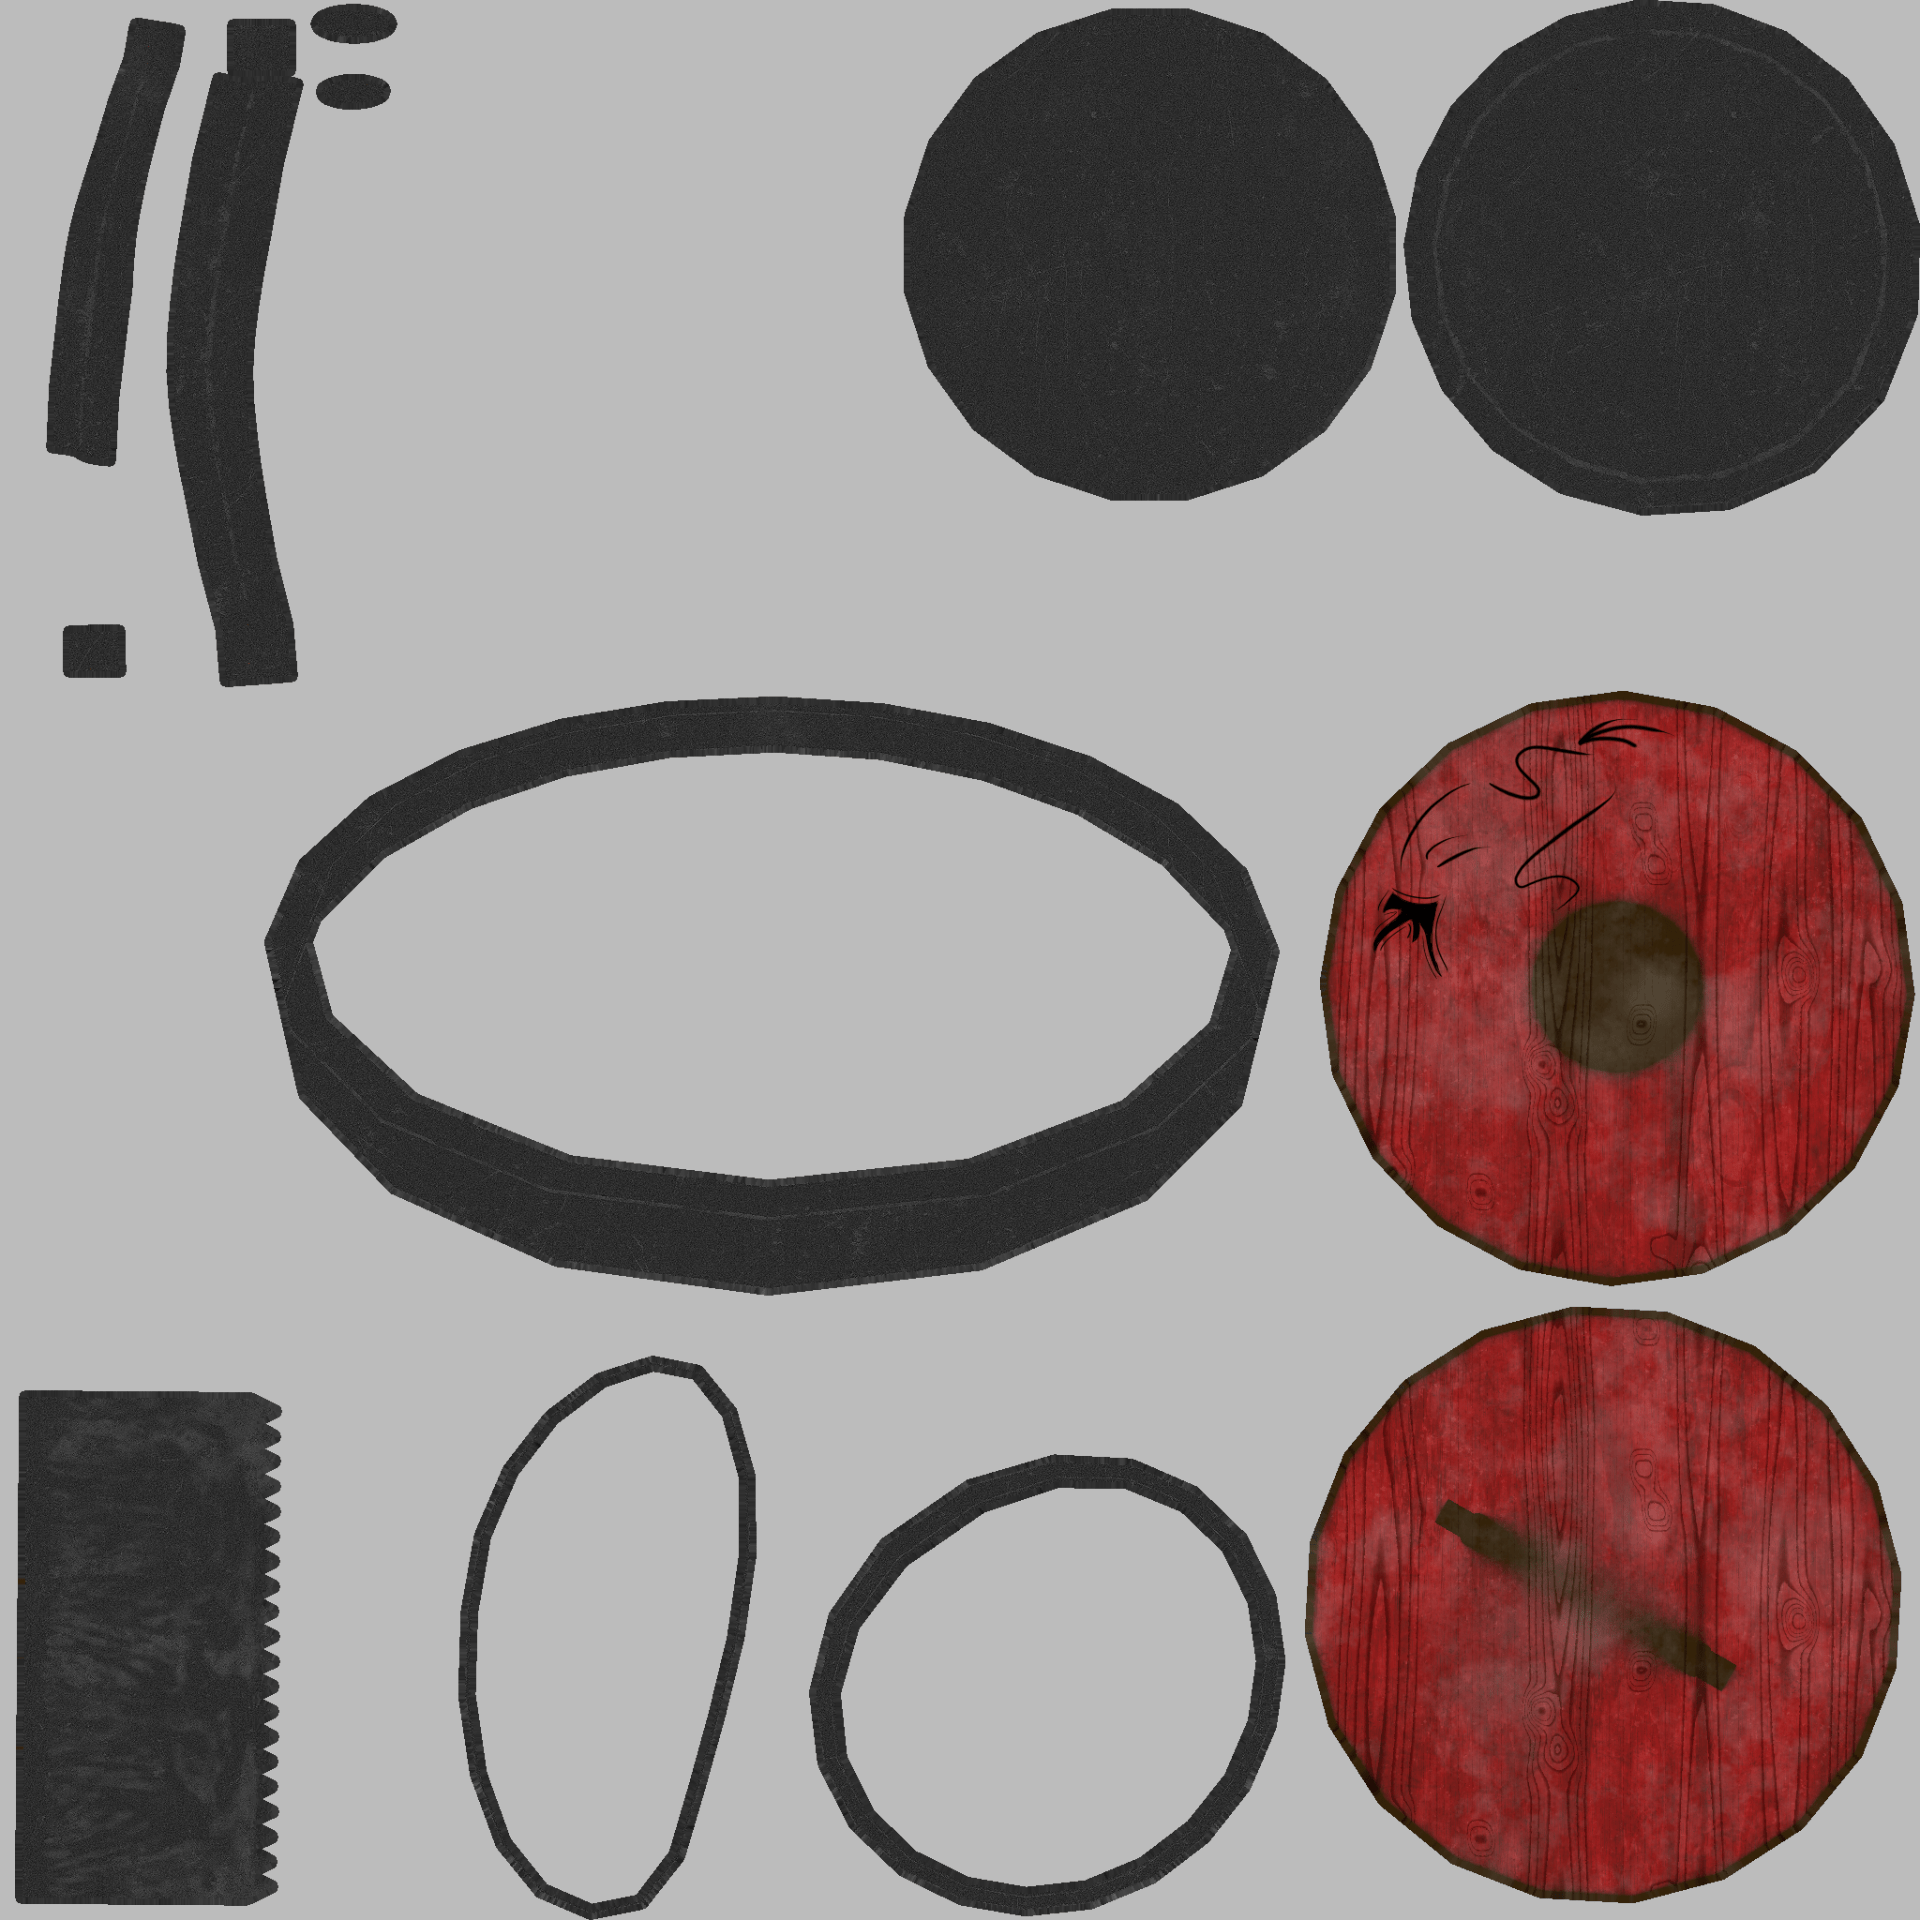
After I had finished modelling both the sword and shield. I then began the process of UV unwrapping each of the objects. I found this to be the most challenging part of the process by far. I tried multiple techniques that I found on YouTube but I was still struggling. The UV maps are still not great and some aren’t even straight or properly unwrapped but eventually I was able to get to a point where I was able to apply the texture within substance painter without a problem. The UV maps are a bit of a mess bit I wanted to at least be able to apply the textures without any major issues or obvious seams This is an area I would definitely want to improve upon in the future.

Texturing:

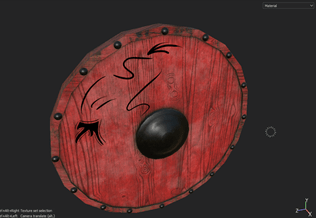
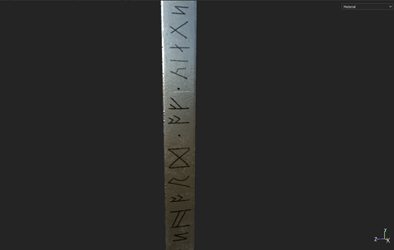
After I had created the UV maps as best I could, it was time to import each model separately, and I started with the shield. After baking the texture maps, I applied smart materials to model. But as I had made the wood and outer rim of the shield from the same object, when I applied a material it would apply to both. To fix this I used the polygon fill tool to select the polygons that made up the metal outer rim of the shield and apply a different material. After I had fixed this I created a paint layer to add the decal and changed the colour of the wood material to better match the reference. Again, with the sword I baked the texture maps, then applied the smart material ‘Bronze Armor’ to the hilt, then ‘Stained Steel’ to the blade. I then created a paint layer to add the gems on the hilt along with the old Norse runes on the blade. Originally I had changed the height of my brush to give the effect that the runes had been inscribed on the blade. But later I realised height maps couldn’t be used on Sketch Fab. This also made the runes barely visible so I went back add just used a black brush instead, however I still think it looks good.

During the production of my models I ran into quite a few problems, Most of them I was able to fix using the help of YouTube videos and online forums. Firstly, when I had finished my models and imported them into Sketch Fab I had some problems with the textures where they would apply to both models. I realised I had used the same Material in Maya for both the sword and shield but had separate UV maps. To fix this I first went into Maya and created a new material then applied it to all the objects in the sword group. After this I imported the model back into Substance painter and redone the textures. Once I uploaded the models to Sketch Fab again I was able to apply separate textures to each model. I had gotten the textures to work for the shield but I still had a problem with the sword. This is when I realised I had forgotten to UV map torus’s on the model. This meant when I imported to model to substance painter is was automatically creating a UV, but it had also stretched the other UV maps for the other objects, thus meaning the UV maps for the model and textures were not matching up. To fix this I simply made a UV map for the torus’s, moved to model to Substance painter and once again redone the textures, hoping it would be the last.

I definitely see room for improvement but overall I enjoyed creating both models. I thought parts of the project were challenging especially UV mapping as I found it quite complicated. But I believe this gives me more experience for future models and being able to resolve issues I ran into has given me more confidence within myself and using each software.

Below our my final models.


Portfolio

Week 1-Form and Shape

Week2-Composition and Perspective

Week 3-Tone/Value

Week 4-Colour

Week 5-Character

Week 7-Animation Introduction

Week 8- Storyboards and Flour Sack

Week 9-Animatic and Backgrounds

Final Animation

Week 10- Animation and 2D/3D hybrid test

This week I made a few changes to my to storyboard to help with timing and the flow of the animation. I removed the shot of the panning skyline and instead added a pan down to reveal the ‘Cyber guards’. I also change the alley way scene to pan from behind a building instead of zooming in.

I also started work on my animation, but I was having trouble with the software I was using; Blender, as I wasn’t very confident in using it and was running into problems. So I decide to switch to Adobe animate. Which made the process a lot easier. However, I wanted to experiment with 2D/3d Hybrid animation. And I was able to achieve this with blenders grease pencil. Currently I trying to decide between which shot I should use for the animation.

Click the image to view the gif ( Cubes are placeholders for the robots heads)

Below is how the animation would look with the 2D/3D hybrid shot.

Below is how the animation would look with a 2D shot of the robots, (Robots still need to be added)

I took reference for the Hybrid shot from Star War EP2: Attack Of The Clones and Rick and Morty.

Week 9- Animatic and backgrounds

This week I turned my storyboards into a rough animatic for what my scene in the animation would look like, For this I used Blender. I feel like my scene connects nicely to the next scene in the group animation. But I think I may need to make a few changes to help with the timing as I think some of the scenes move by to quickly and you cant really get a sense of what is happening.

I also made some backgrounds for when I start on the final animation. I made each of the backgrounds in a ultra wide resolution ( 3440×1440) to give me more space for panning shots.

For the city skyline and alley way I made colour swatches from a background another member in my group made so I could better match the colours to the next scene in the group, I feel this would help make the transition between styles more smooth and flow together better.

(WIP)

Week 8- Storyboards & Flour sack

This week we were asked to create a short animation of a flour sack and produce storyboards for our group animation. The flour animation was to help with pose to pose animation and the motion of certain objects; anticipation, jumping, falling etc. I created this in blender as its the software I’m most comfortable with and decided to go for a simple jumping motion. I think it turned out well.

For the storyboards, originally my place in the animation was at the end. My idea for my scene was to sort of recap everything we had seen throughout the animation, Including the planets and characters. It would start with panels sliding in from each side of the screen showing each planet in order of appearance. It would then cut to each character, again in order of appearance with A13X being last in the middle as she is the main character. It would then cut to black. I felt my part made the animation seem more like an opening or trailer for something bigger. The group then decided it would be better if I went at the start of the animation instead, as another member had a better idea for the end which also lined up better with the music we would be using.

Week 7- Animation Introduction

This week was our first week doing frame by frame animation or pose to pose, and personally was my first time doing any kind of animation. We were asked to create 3 animations of a bouncy ball each with 3 different weights which would impact the balls motion. For this I used Adobe Animate and I think the animations turned out well, you can clearly see the difference in weights between each. An improvement I could make is to make sure to ball stays the same size throughout the frames, I think this issues is present in each video but it is especial obvious in the third (medium weight).

Heavy weight

Light weight

Medium weight

Week 5- Character

This week our team began to come up with ideas for the characters that would live in our worlds; Their appearance, location, gender, personalities etc.

Name: A13X
Alias: City
Age: 18
Height Medium Height/5’5
Sex: Female
Eye colour: brown/green
hair colour: natural black with pink ends
Clothes: Baggy clothes, raggedy, patched up, Gloves/boots
Mannerisms: Grungy with a soft side, impulsive, need to fix stuff
Walking style: Slumpy
Skills: mechanic, sweet flips on a skateboard
Intelligence: Street smart/book smart, bad at socialising
Motive: Wanting to get away and help her friend
Fears: City Authority’s

When I heard A13X was described as mechanic my mind immediately thought of Lizzie Carmine from ‘Gears Of War 5’. I used her as a reference as I thought she had a very similar asthenic to A13X.

Name: Aqua
Alias: Ice place
Age: Late 30’s
Height: 6”
Sex: Male
Face: Angular/sharp/pointy
Eye Colour: Purple
Skin: Blue
Hair: White/Silver, Long braided hair
Clothes: Warm, scarves, Gloves
Mannerism: High class, Snobby, Regal
Walking: Snobby
Skills: Social when he has to be
Flaws: bad person
Other: Exiled from the safe underground to the dangerous surface

For Aqua I done quick sketches of his face, focusing on his Sharp and angular features. I also took references from ‘Vikings’ for his hairstyle.

Name: Beau
Age: 24
Height: 7”
weight: lil chunky/rounded
Eye colour: black
Clothes: none
Mannerisms: Sluggish, Over it, Slow
Walking: stompy
Skills: he’s strong
Other: allergic to mushroom, sneezes a lot, jumps in the air when he sneezes (causes a thud)

These last three sketches are early concepts of what the animals could look like on the Ice planet and mushroom planet. There is also an example of what the civilians of the ice planet could wear.


Week 4- Colour

This week we looked at Colour Theory, including colour schemes and colour emotions. I started with using a template which was provided for us to practice how colour and light would interact in the environment. This was only a quick task so there isn’t much detail involved. I then took ideas for the planets from last week and applied colour to them. I think the thumbnails look alright but I feel they could be a lot better. I am more used to doing traditional art and this course is the first time I have tried digital art, however I am enjoying it and am eager to get better.

(WIP)

I also took a still Star Wars: The Clone Wars and made swatches of the colours used in the scene. The scene is mostly made up of dull colours; browns and greys. This is due to the scene taking place beside a wreckage along with the emotional and dark story of the episode entitled ‘Victory and Death’.

Week 3- Tone/Value

This week we focused on tone and value. I haven’t been able to do much work this week as I have been working quite a lot, But I was able to complete two thumbnails for the planets in Photoshop. The First, is of the city planet, I took reference from a map in Call Of Duty zombies- Die Rise. It includes skyrise buildings above clouds with pieces of debris floating in the sky, similar to my idea of what the city planet could look like. The second is of the mushroom planet, again I used the idea of debris floating round the planets sky as a result of the explosion.