Blocking in Blender
I began by taking my first-pass Mark 15 concept and blocking out the shapes in blender. When it becomes 3D, there’s a real pull to focus on the proportions in order to make sure it feels human-like and believable as a protagonist. I actually referred to a lot of anatomy reference when modelling. I’d been going to the life drawing classes on Wednesdays so I think that pushed me to do so.
See .ma files of MK15’s progress here.


Here is the ‘finished’ blockout.
Detailing

I actually moved it into Maya for the details, simply because I’m more familiar with hard surface modelling in Maya (as well as UV mapping), and that’s where our art style is.
One realisation I had immediately was, how on Earth or those arm’s gonna move? It’s just not working the way it is. It took me a bit of thinking, and then Conor told me he was going for a “toyetic” style for his prop modelling. I added this to the style guide because I think it’s a great word that encapsulates our style.
It suddenly hit me; I have a lot of Star Wars action figures, and somehow their arms move, right?


Consequently, I used toy ball-joints for reference in modelling the arms, feet, torso etc. Also, Disney Infinity was a great game reference for this, as they apply this exact same approach.


Cutting circles out of objects is not easy to do without creating NGons, though. I spoke to Alec about it and he suggested using Circularise on Blender, which was a gamechanger. It effectively creates quads out of a circle boolean operation, without requiring a lot of multicut work after.

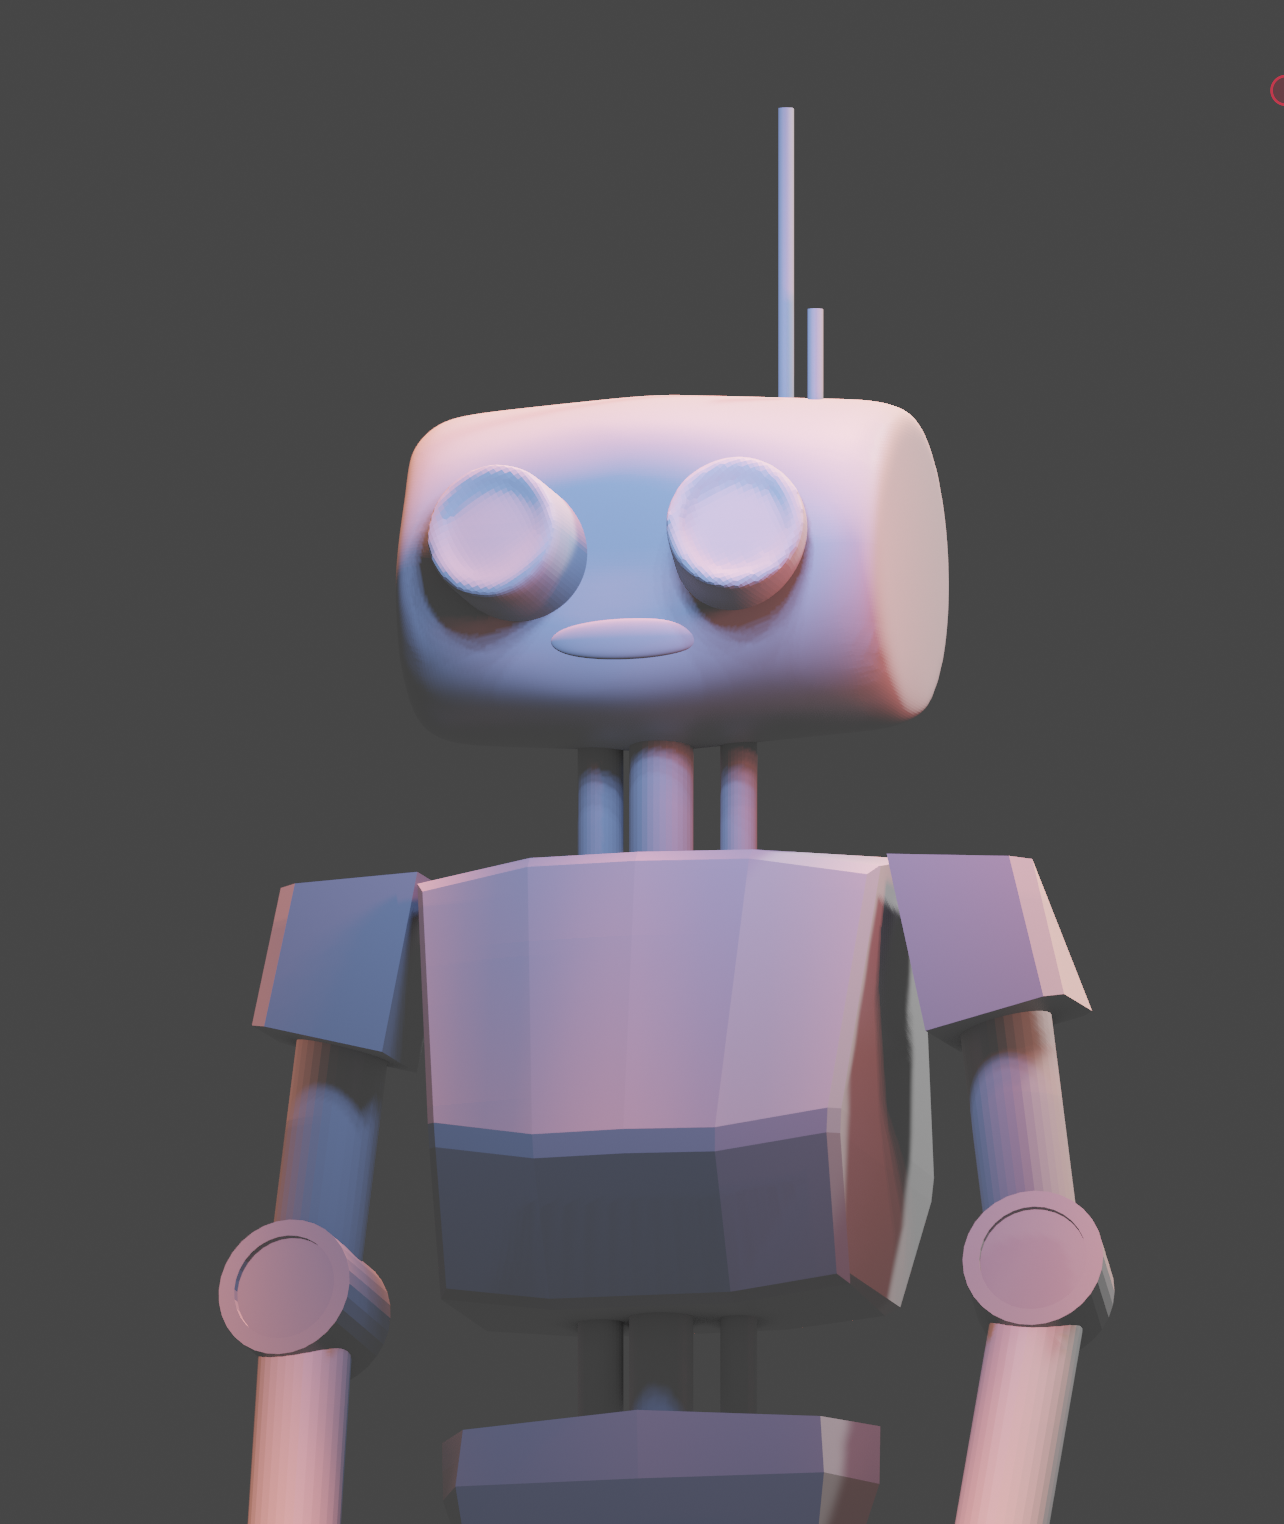
I then worked into this in ZBrush to create a sculpted look. I followed Alec’s tutorial and used the Clay brush to create a subtle, painterly sculpted effect.


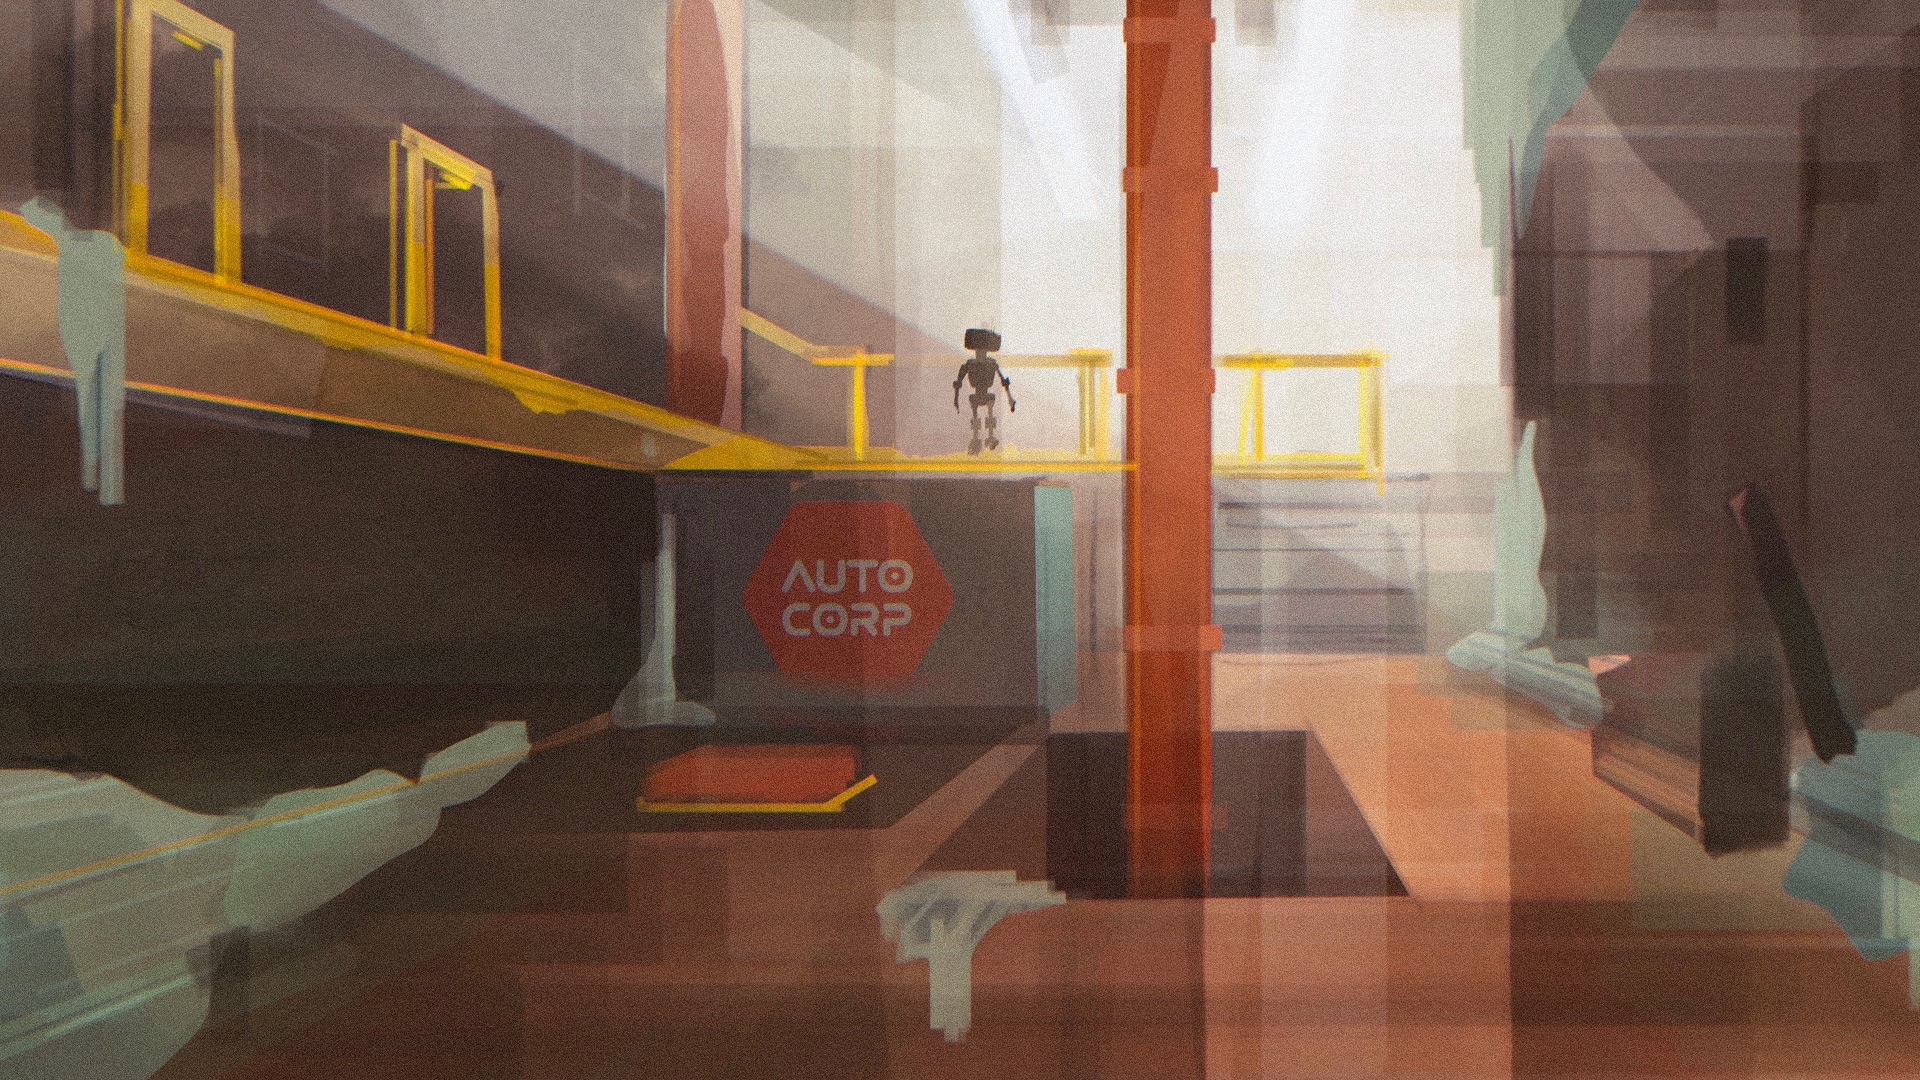
Mike reminded me when looking at my model how key it is to look striking from a faraway, isometric viewpoint. I decided that a backpack would be a good addition here, as it can be a different colour, whilst also creating more solid proportions. He also suggested doing the sculpt details as a normal map later during texturing.


I ended up with this:


UV MAPS
I started UVs by unfolding everything and cutting in whatever ways would make sense to me. I chose to do two texture sets as I felt this wasn’t overbearing, but also detailed. This was working OK, but definitely not perfect.
Alec helped me refine a bit, and suggested using the settings for layout to create a more even spread. He also identified some more areas which could have a more optimised cut, such as the cylinders and torso.
These were my final UVs:


I also showed Philip the potential blend shapes he could have:


Leave a Reply