
This week saw me UV map, and texturise my completed 3D model using normal maps, and given my experience from my first assignment, and that I’d just used the normal mapping process in class to texture an elephant model, all went to plan.
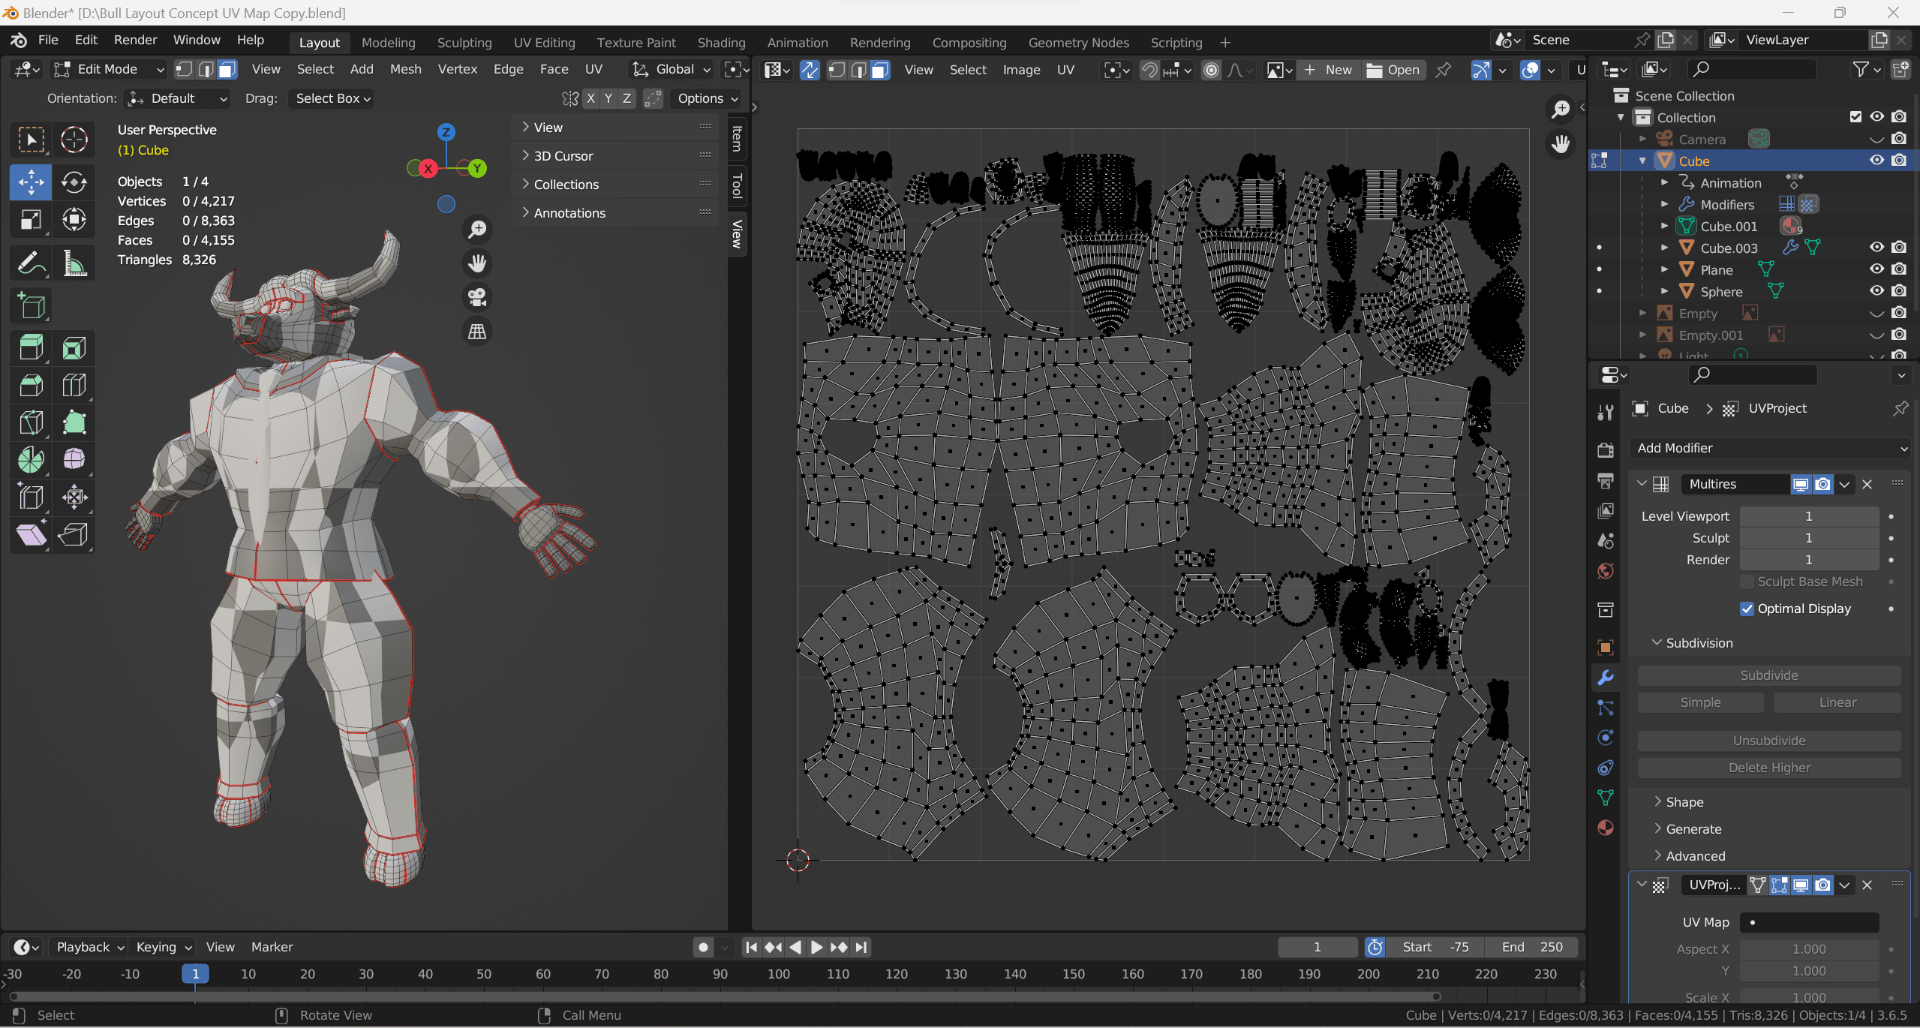
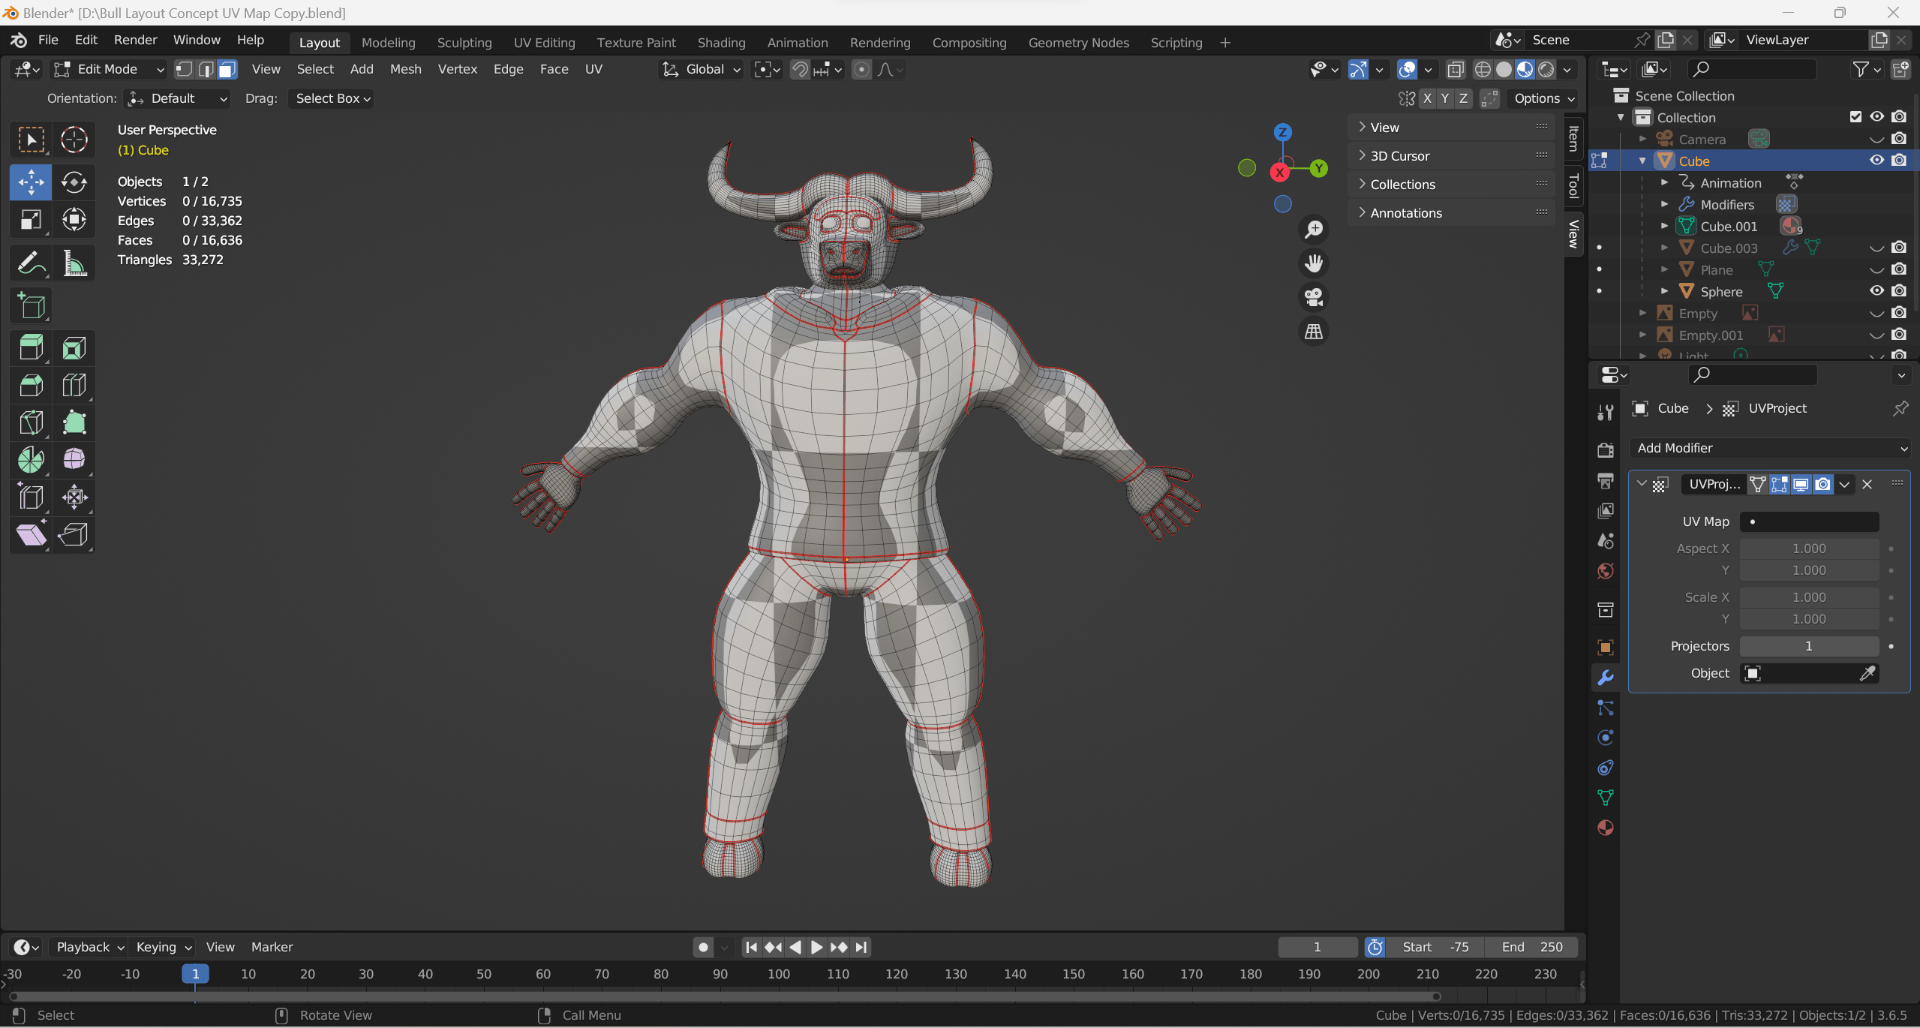
First of all, after marking the natural edges and seams, I unwrapped my model, and combined the mapped pieces into an ordered UV map, which I then baked as a ‘normal’ map that I subsequently exported into Substance 3D Painter as as an .fbx file, using the process detailed in my previous post.
Next, I added textures to the various sections of my model that I felt would best reflect his character and personality. For example, this included choosing a brown skin colour to not only reflect my Minotaur concept, but to mimic the fake tan applied by competing bodybuilders, and chose red, a strong primary colour, to draw attention to the physics of the tie hanging down as he falls in my final pose. Knowing that I also wanted to make the waiter’s uniform skin tight in order to highlight the bull’s bodybuilder physique, I chose a stretchy, shiny nylon fabric texture, and amended the weft roughness value to make it appear as though the uniform was made from a cheap fabric. Also, in addition, I now made his shirt sleeveless, which allowed me to better relay the body building obsession that has created his exaggerated form, and increased the roughness value of the figure to mimic the glossy sheen of oil on his skin that bodybuilders apply to accentuate their muscle definition prior to competition. Finally, to add visual interest I used contrasting blue tones for his shirt and trouser turn-ups, and reminiscent of fancy dress, added separate white cuffs, to emphasise his occupation.
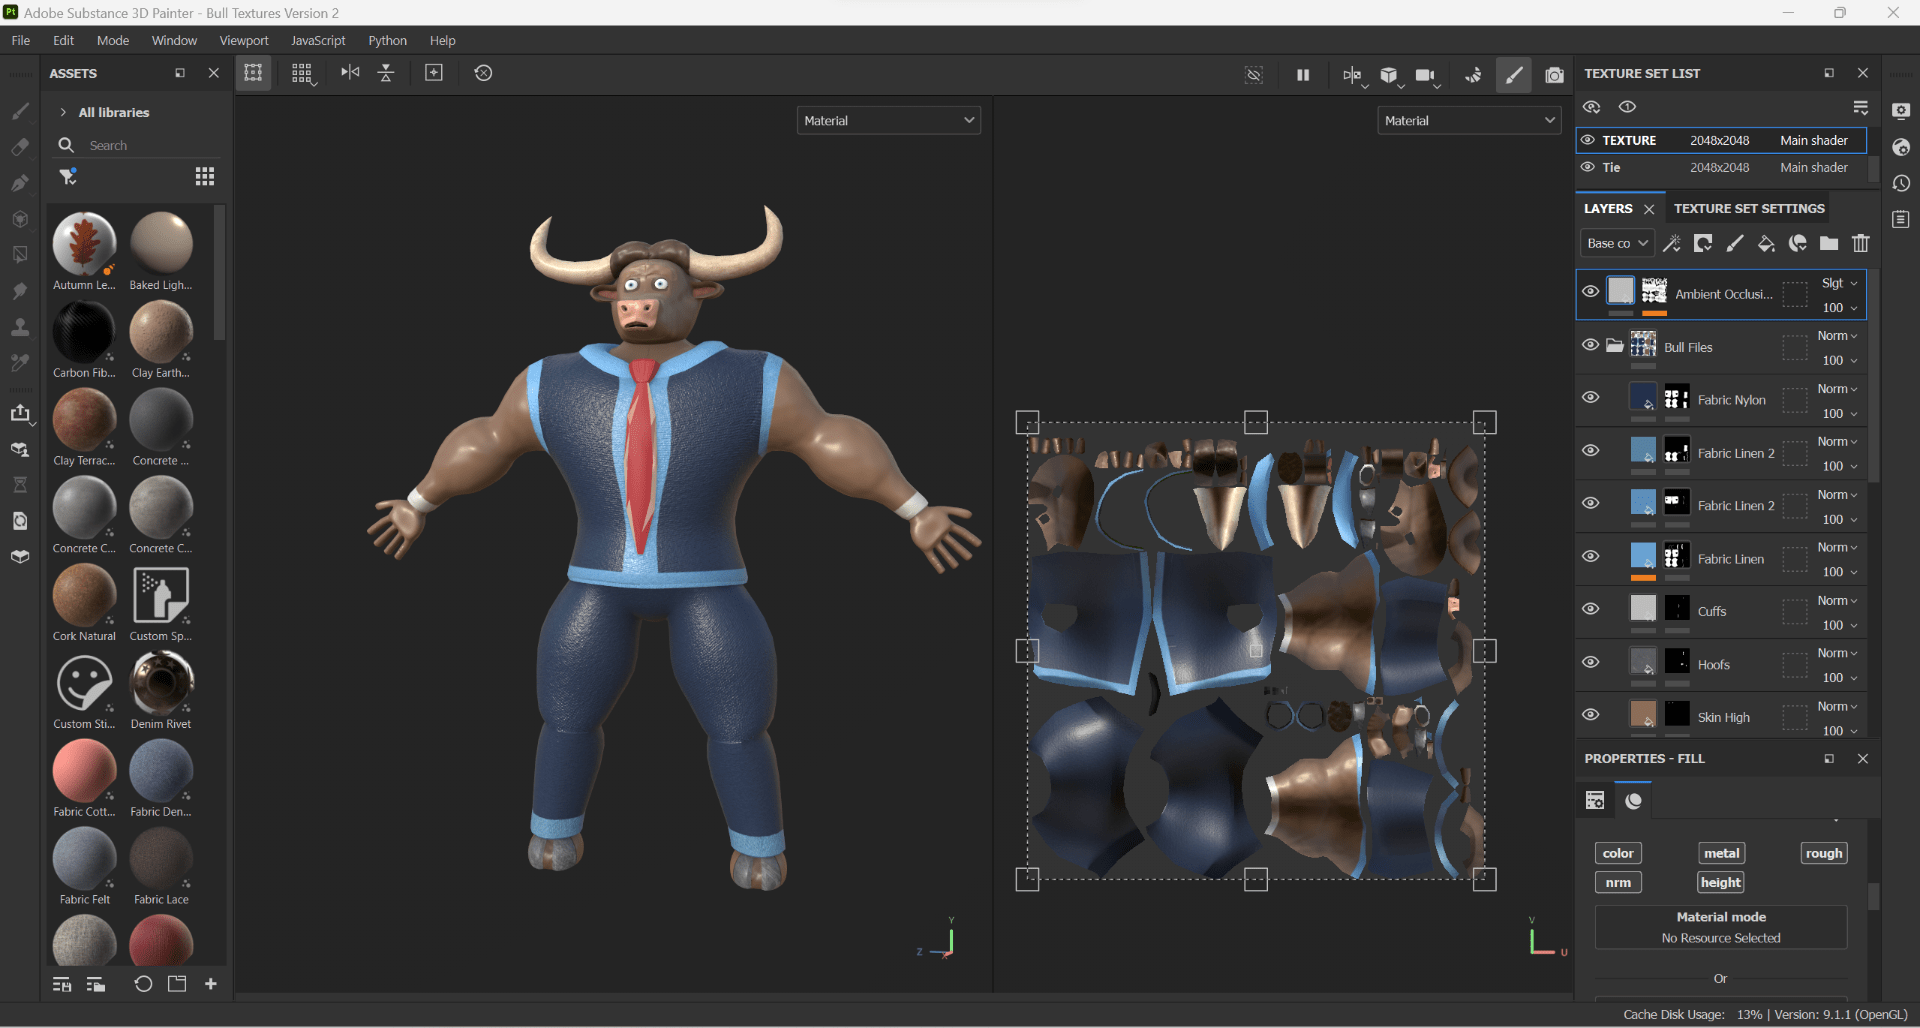
I then baked my normal map, and to simulate a more natural lighting effect, applied an ambient occlusion layer, before exporting, and applying my texture maps to my model in Blender. Finally, while bulls would normally have brown eyes, to set mine apart, and to make his wide-eyed expression more noticeable, I coloured the irises blue in my completed textured model below.
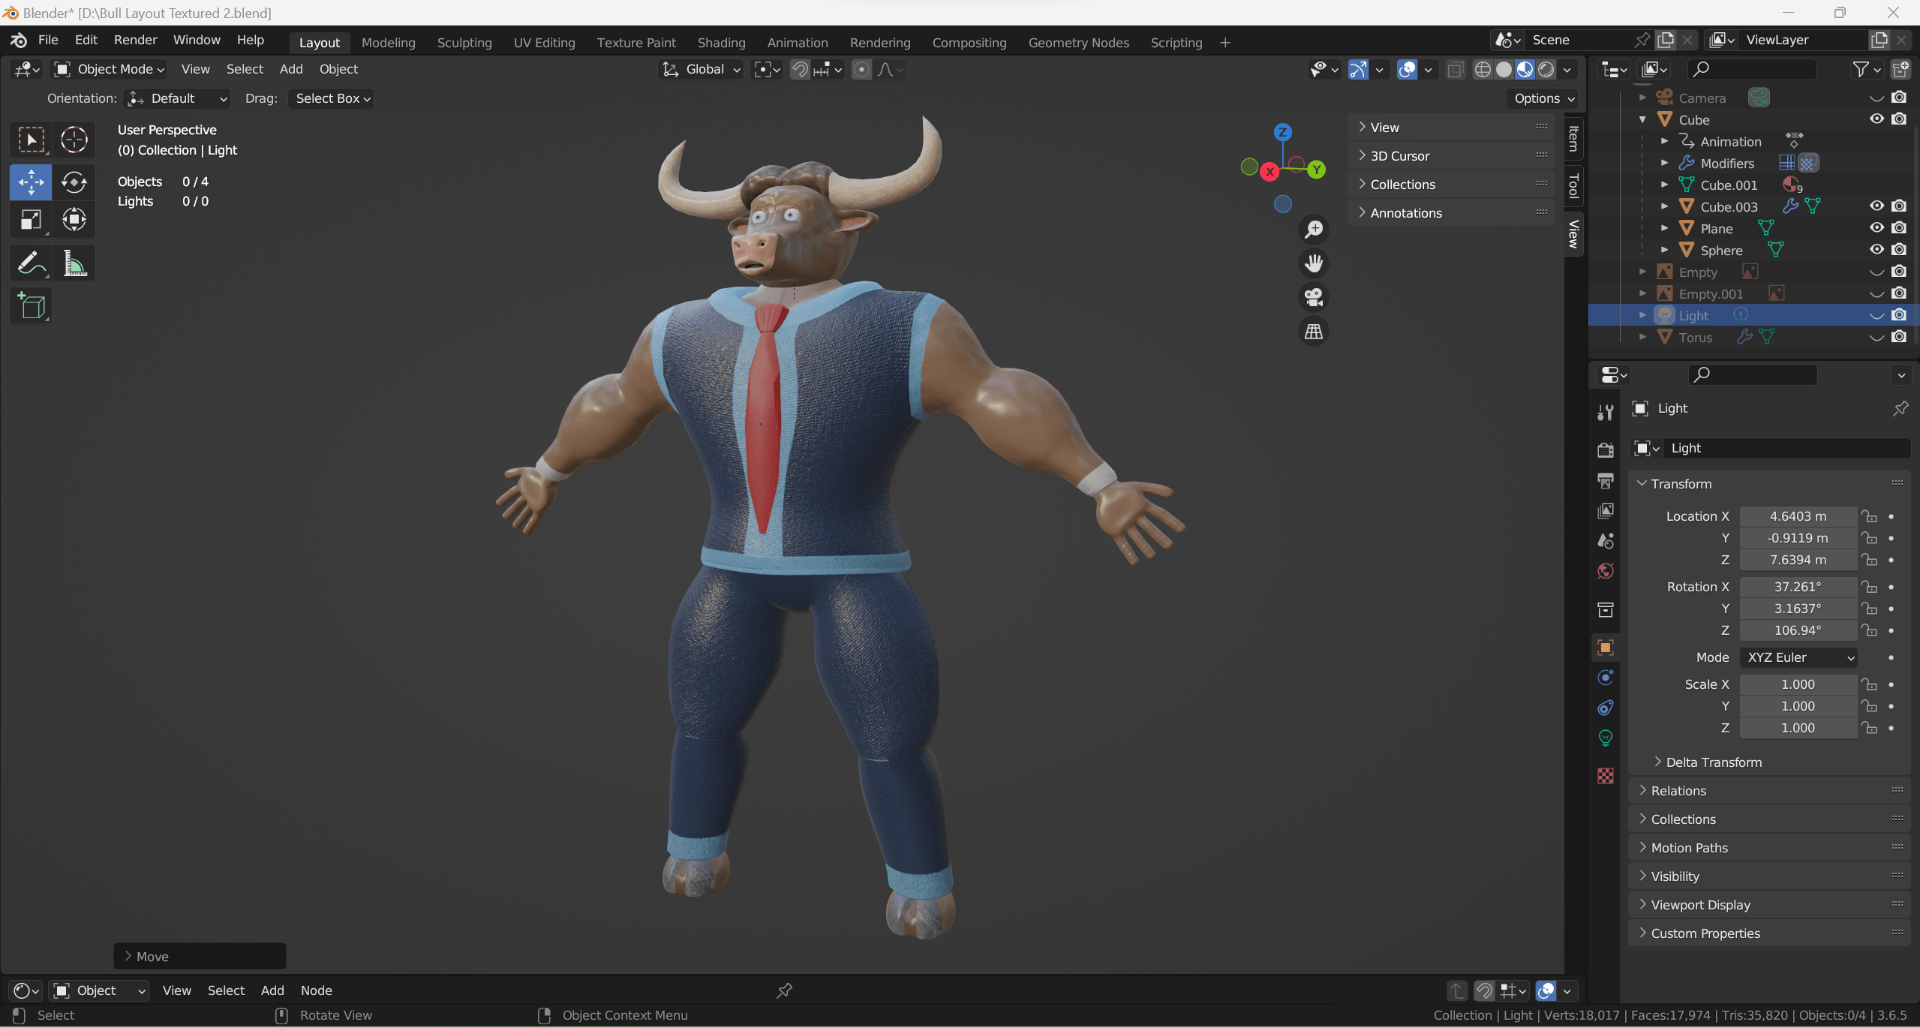
Having completed the the UV mapping, and texturing processes, I realised I’d become much more confident in my ability, and knowing exactly how I wanted each part of my bull to appear had made the whole process not only faster, but considerably easier. Also, apart from the knees, which have become less defined as a result of exaggerating my model’s proportions, I’m very pleased with the overall result.