Class:
Morning class:
During this morning we were tasked with completing the videos uploaded to blackboard.
—Exercise 1: Jump Intro—
Shown an example of what the final animation should look like.
—Exercise 2: Jump Setup—
Shown how to use the ‘grease pencil tool’ to roughly plan out the poses and timing of the animation. We were also shown how to use a sphere to rough out the animation.
—Exercise 3: Block Pass—
Created the main poses for the character with step preview on.
—Exercise 4: 2nd Pass—
Refined the poses a bit more and added more frames.
Afternoon Class:
After lunch we were to finish off the exercise from this morning and begin working through the rig exercises now available on Blackboard.
—Exercise 5: Polish Pass—
Adjusted the timing of the animation and tweaked some frames. Used the graph editor to further adjust the ease in and out of poses.
-Intro to Rigging-
—Video 1: Intro to Rigging—
Shown some examples of different rigs and the skeletons that the rigs create.
—Video 2: Rig Hierarchies—
Shown what parenting is and how to parent objects.
Shown constraints which are like an invisible parent.
Control Curves are the best for more detailed animations as they allow you to change out the objects if needed and allow more independent movements.
-Exercises-
—Exercise 1: Parent Rig—
For the first video we were tasked with rigging the provided character.
Parent the ‘arm’, repeated the same process for the other ‘arm’ and connected them to the ‘torso’.

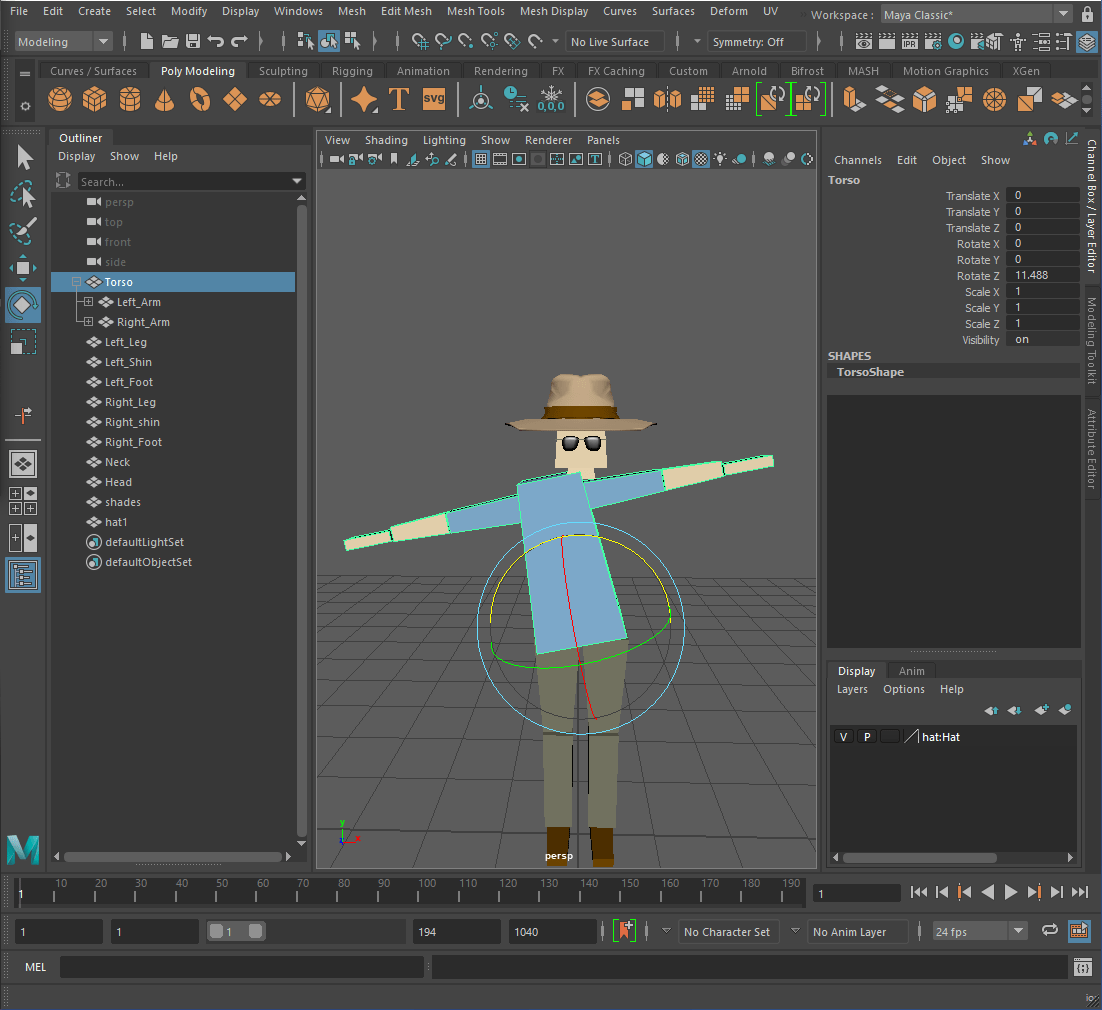
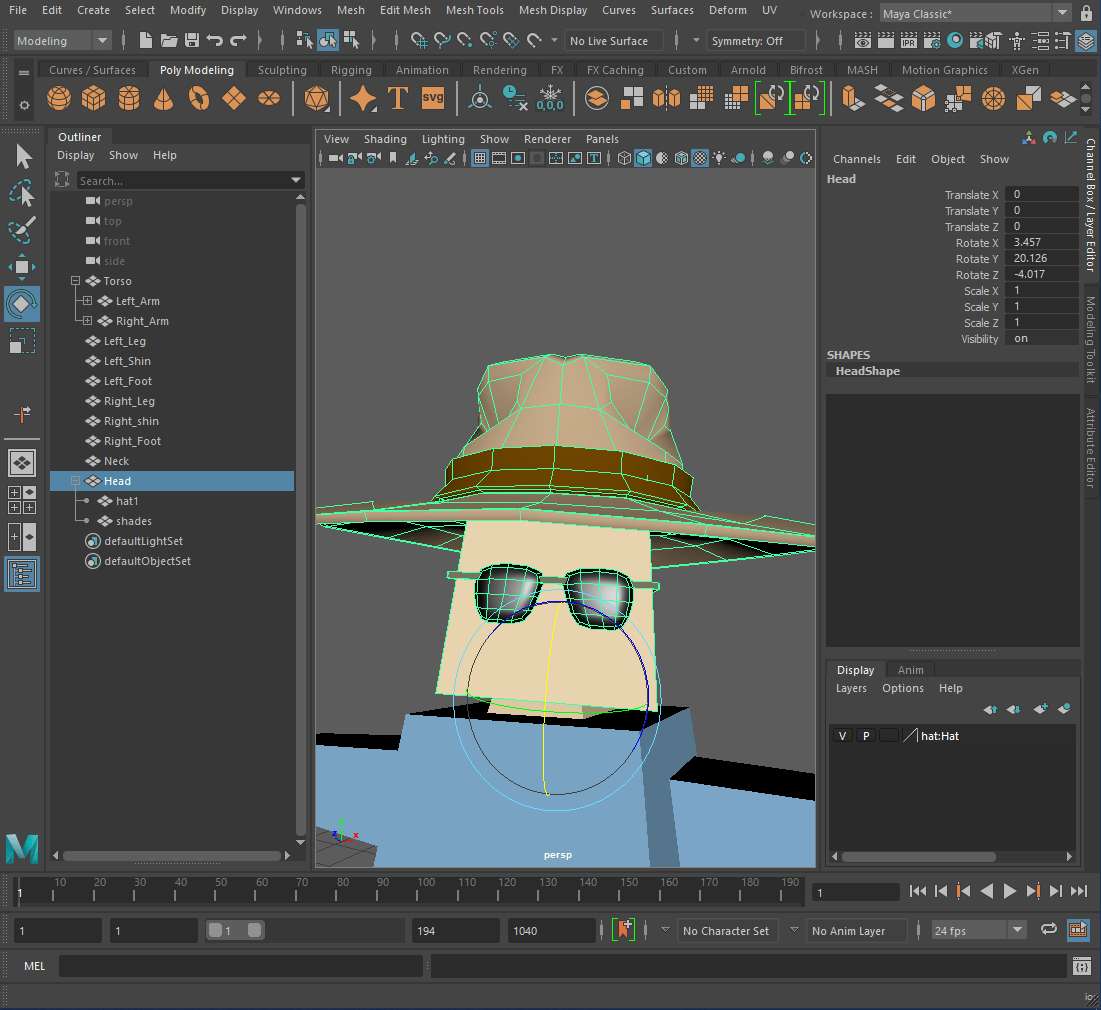
Parent the ‘head’ to the ‘hat’ and ‘shades’, then I connected the ‘torso’ to the ‘neck’ and the ‘neck’ to the ‘head’.
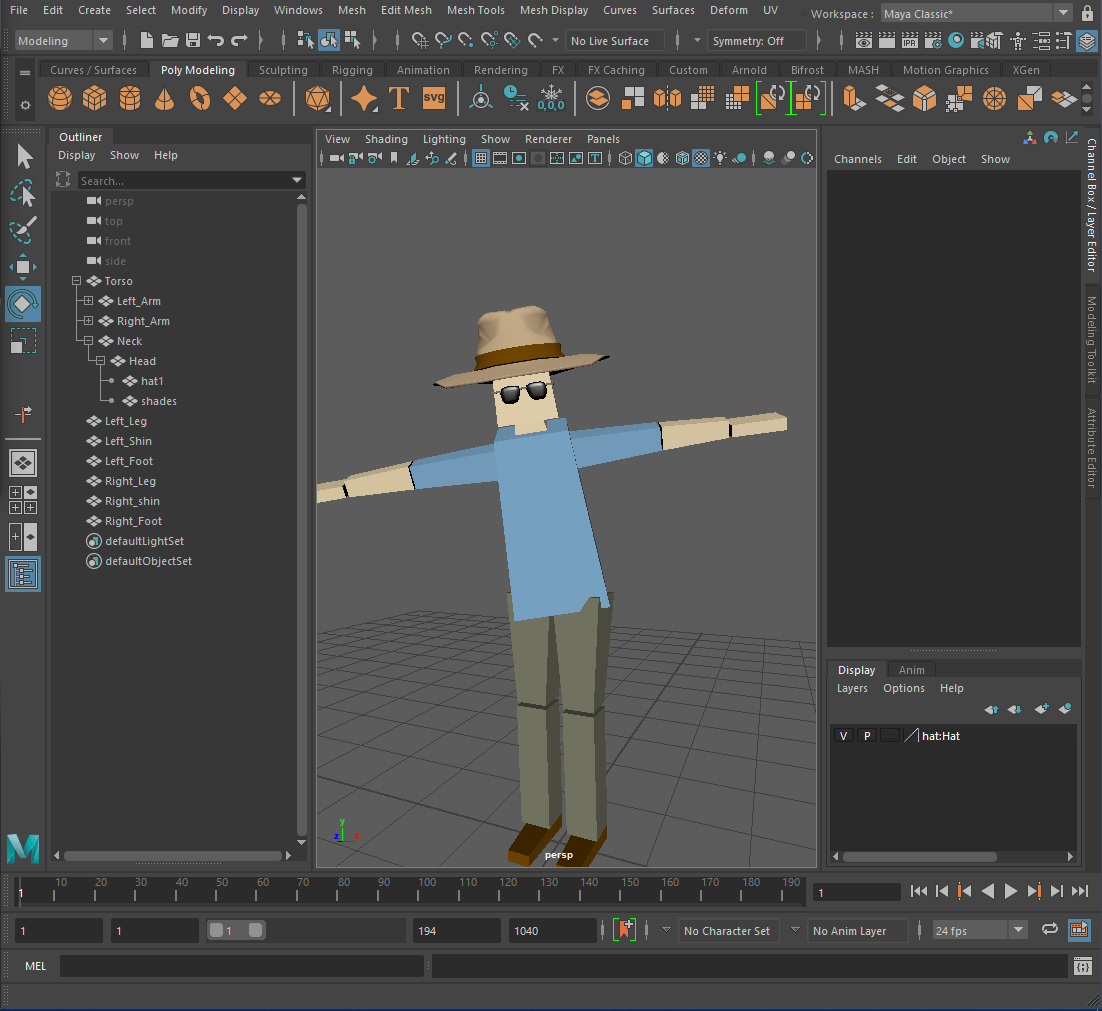
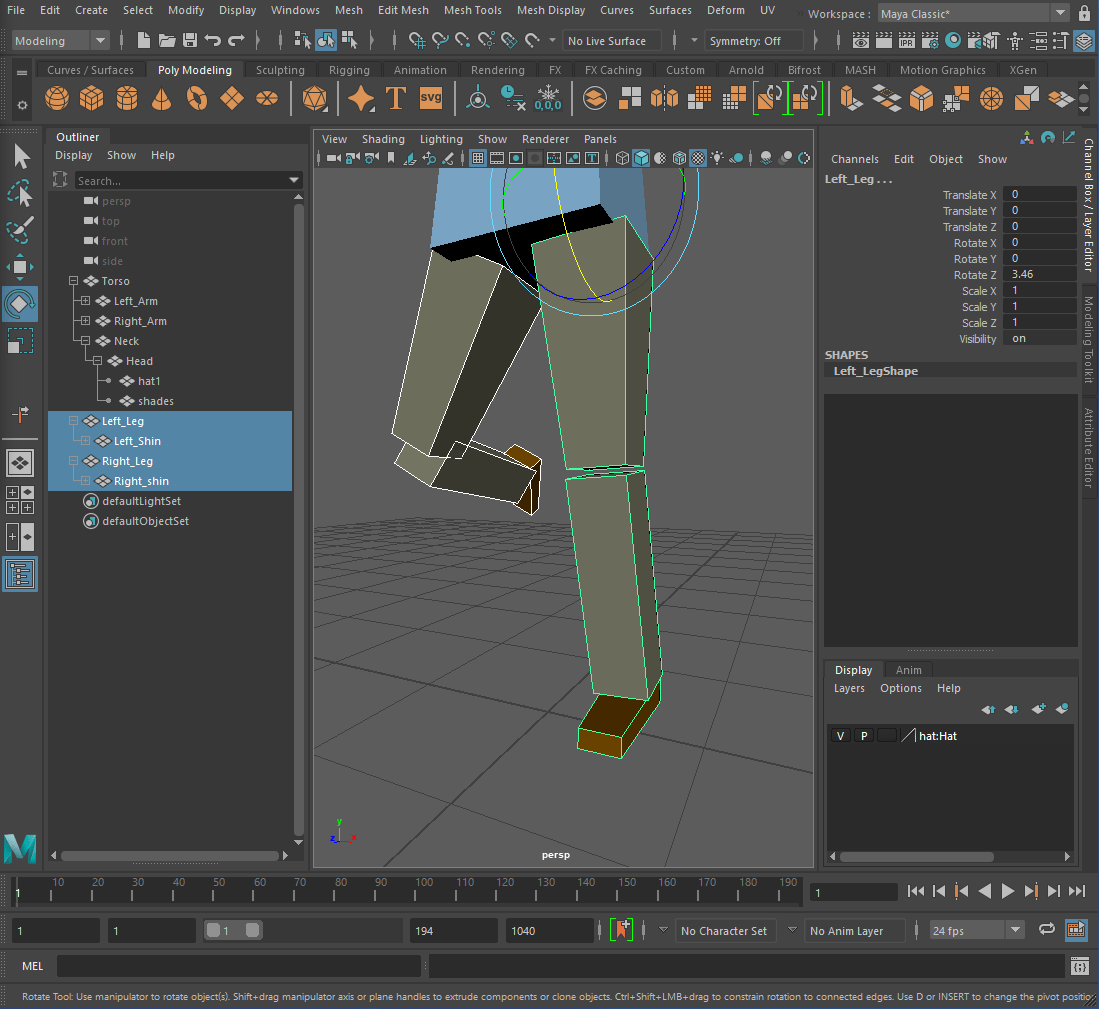
Parented the ‘foot’ to the ‘shin’ then the ‘leg’ and repeated the process for the other ‘leg’. I then connected the ‘legs’ to the ‘torso’.

—Exercise 2:Control Rig—
For the second exercise we were tasked with creating the control curves on the sack of cubes.
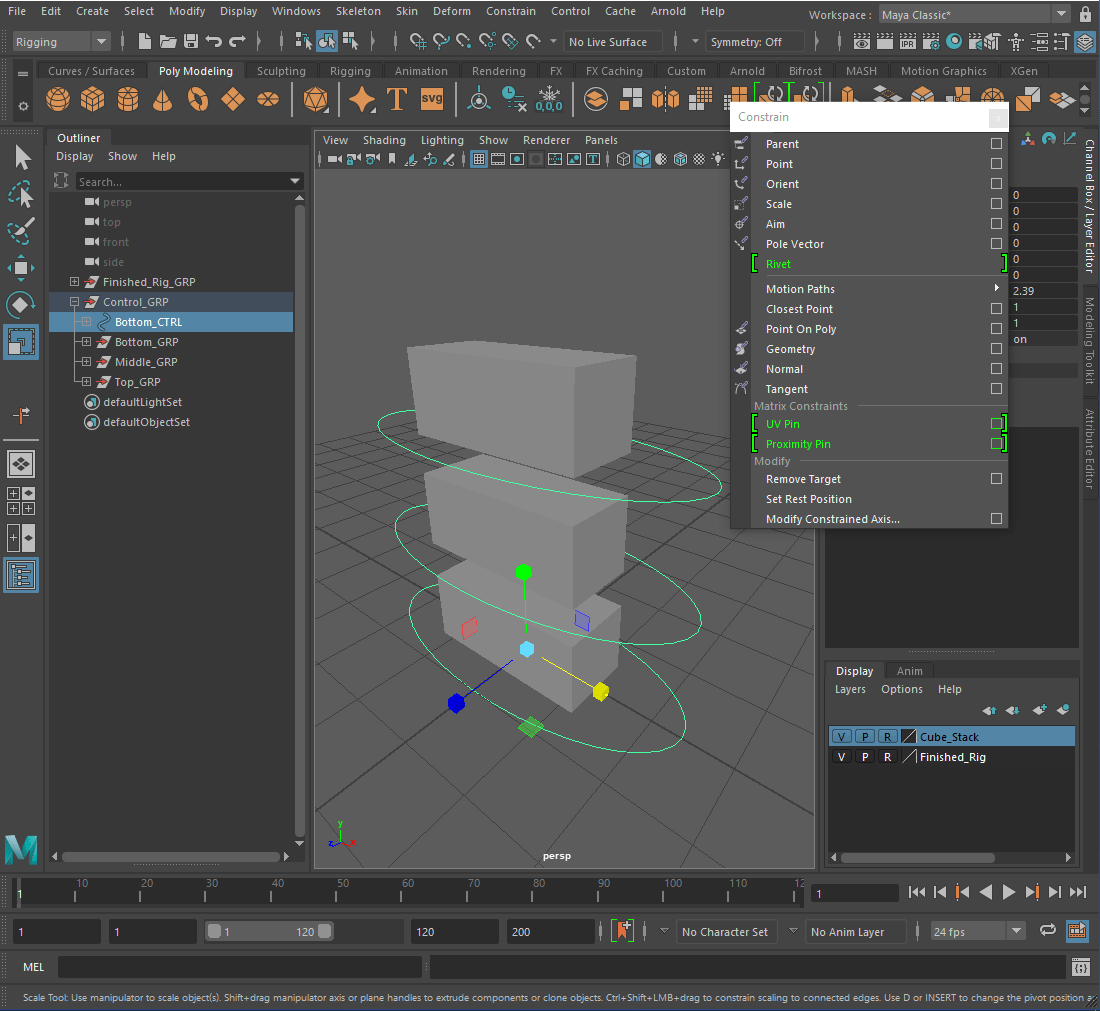
Added a ‘NURBS Primitives circle’ at the bottom of the stack, duplicated it and snapped it to the bottom of the other cubes. Froze the transformations of the Control Curves and created three separate groups for each cube. Changed the top menu to ‘Rigging’ and tore off the ‘Constraint tab’.
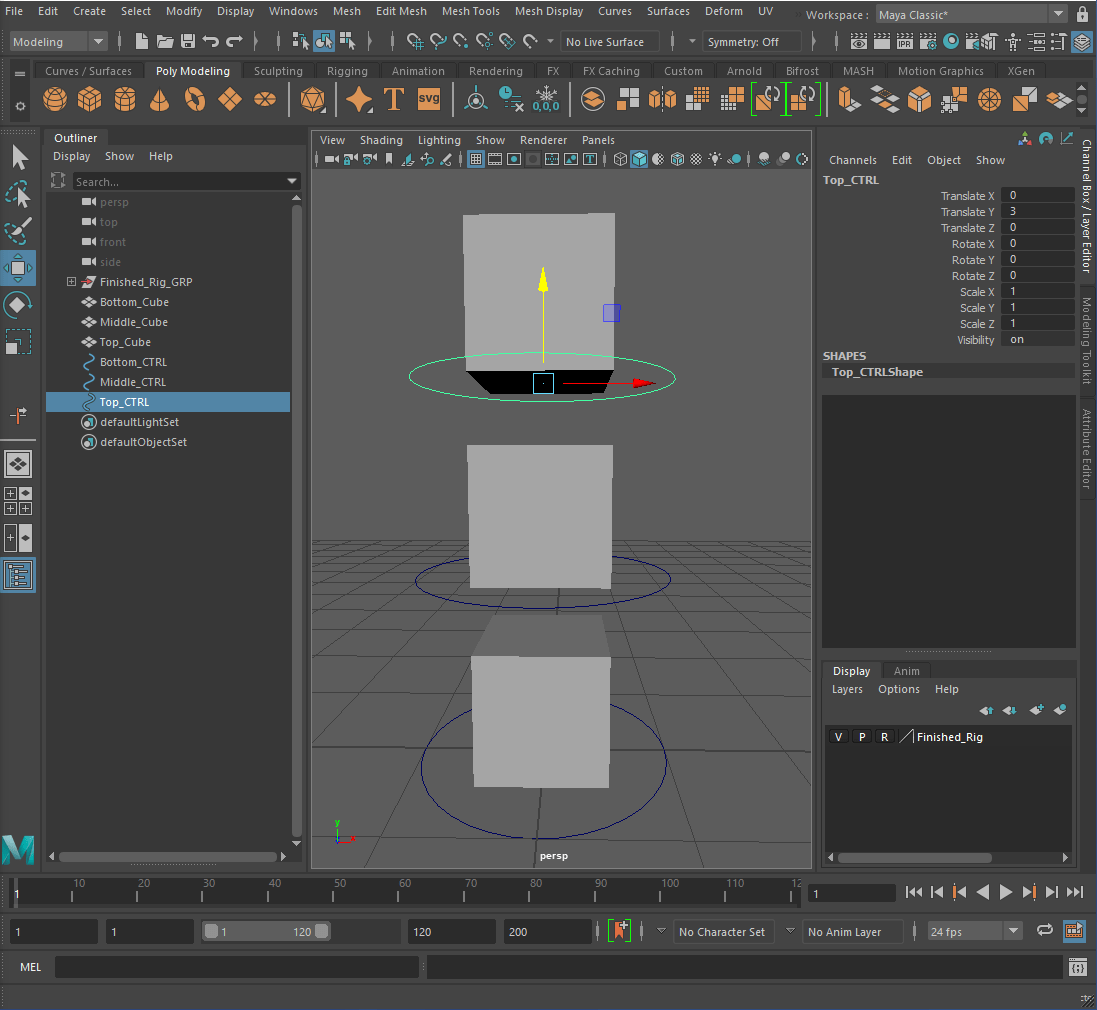

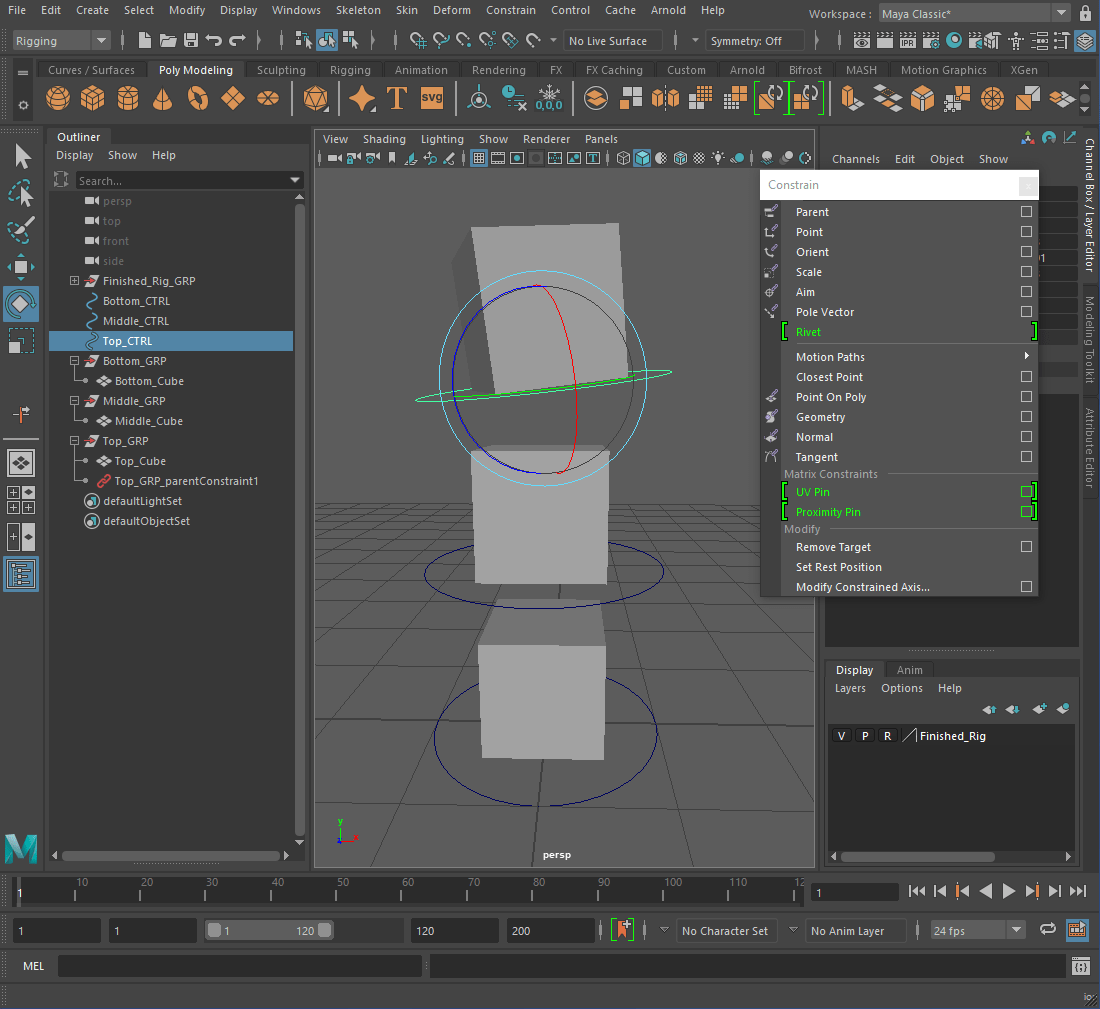
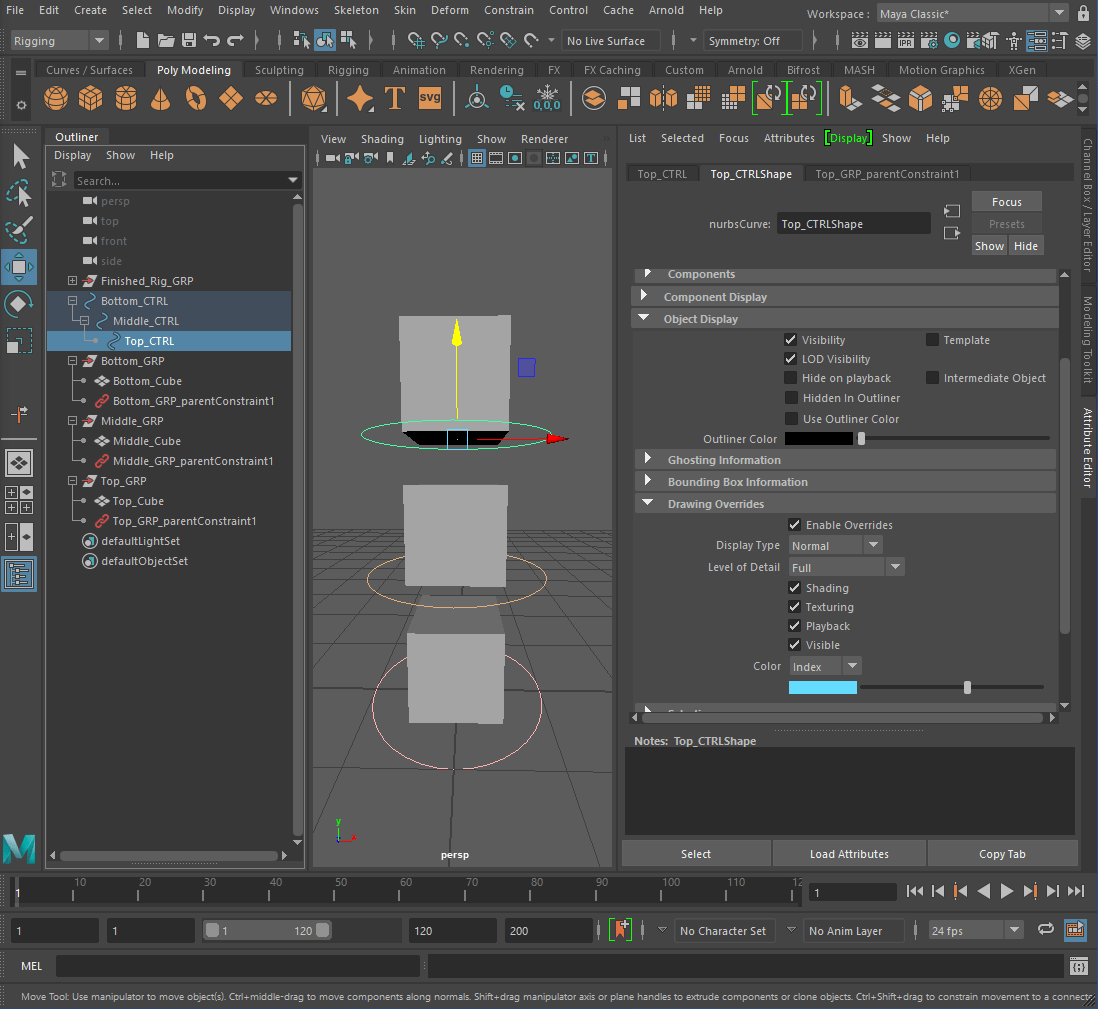
Selected the ‘Top_CTRL’ then the ‘Top_GRP’ and clicked ‘parent’ on the ‘Constraint tab’. – Repeated the same process for the ‘Middle_CTRL’ and the ‘Bottom_CTRL’ and parent the Control Curves.
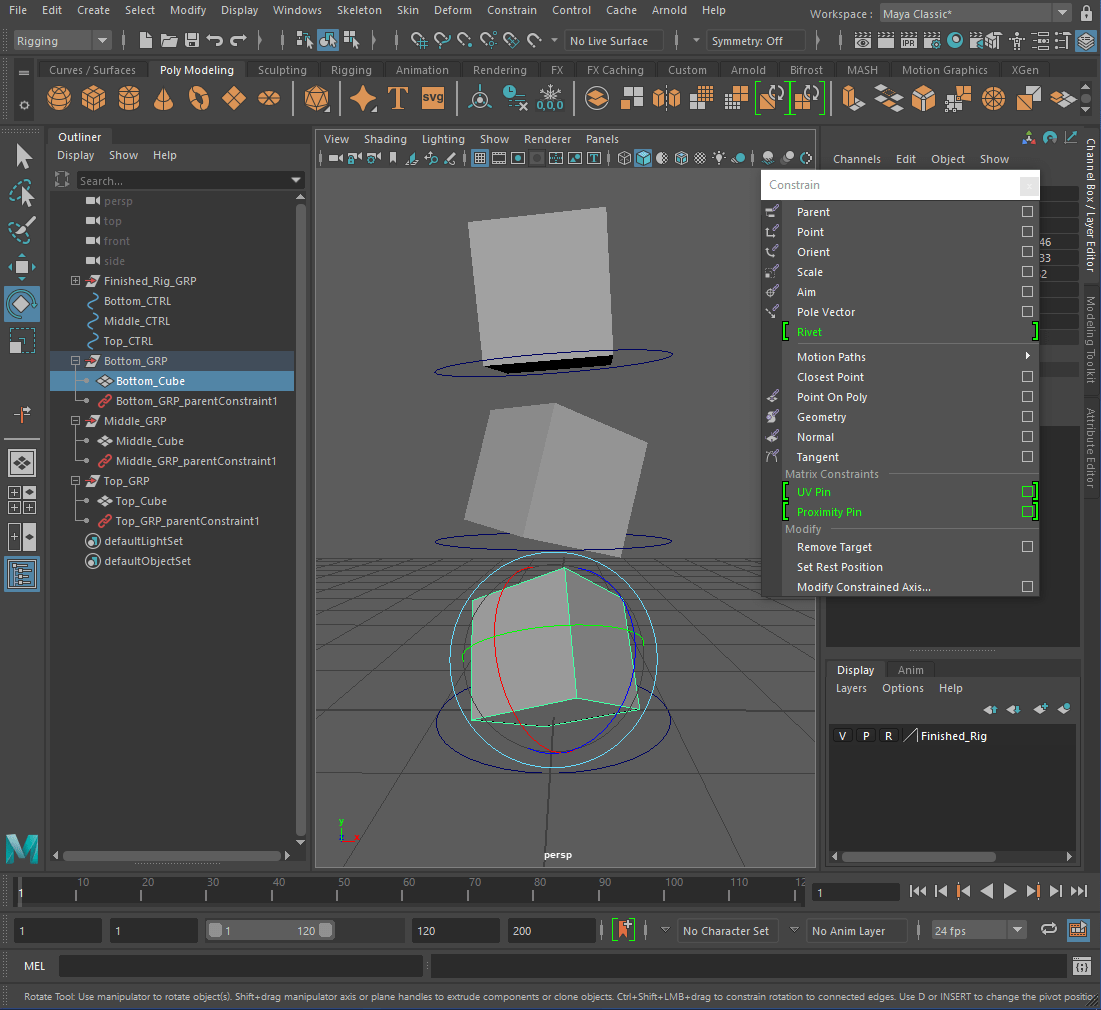
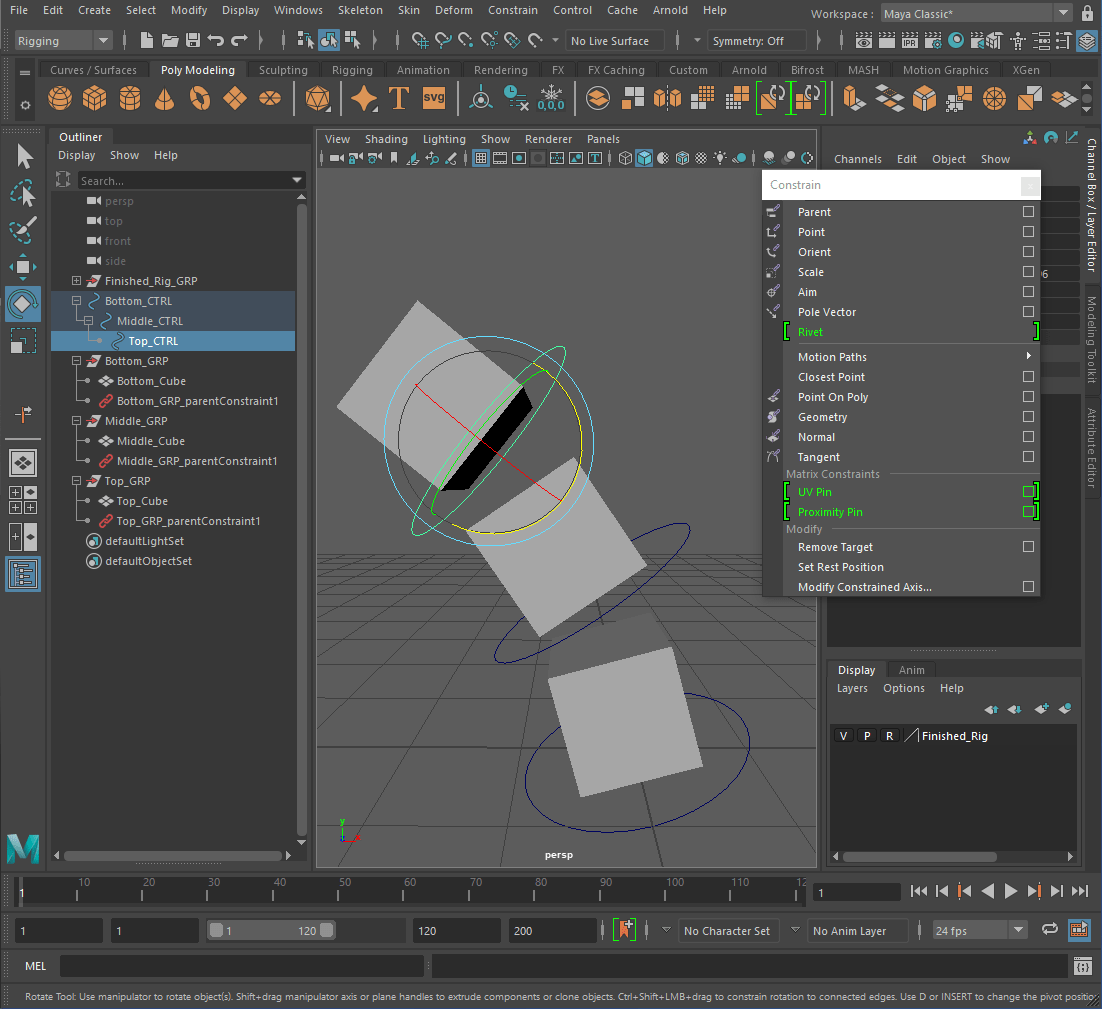
Changed the colours of the Control Curves and created a display group for the cubes so that I don’t select them when animating and grouped all the parts together. Finally I added a scale constraint to all cubes.

____________________________________________________________________________________________________________________________
Homework/Assignment 2 & 3:
For homework we were tasked with finishing off any of the video exercises and tutorials that we didn’t complete in class and to continue working on Assignment 2 & 3.
—Exercise 3:Control Rig—
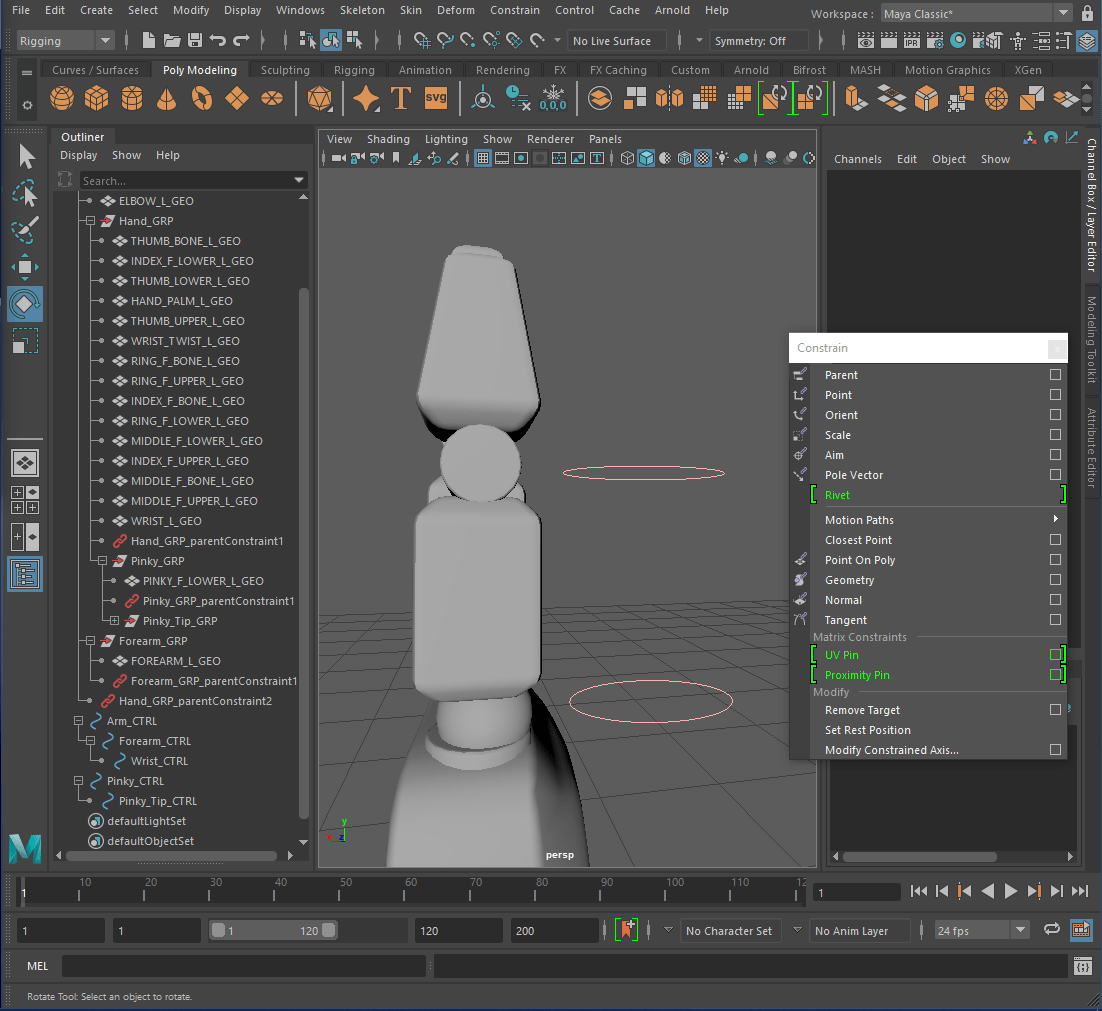
For the final exercise we were tasked with rigging a robot hand with control curves and constraints.
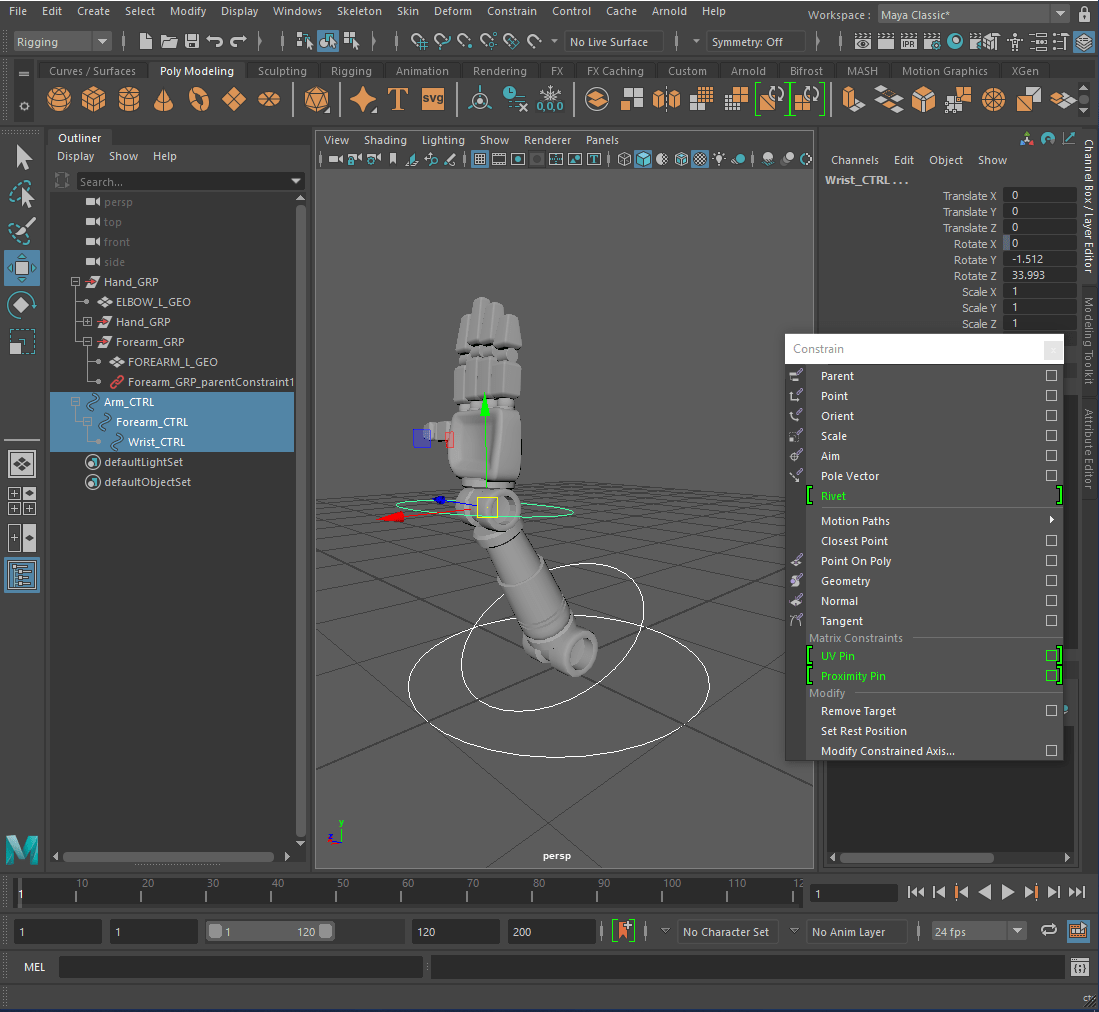
Added ‘NURBS Primitives circles’ to the arm and scaled them. Froze the transformations of the ‘Control Curves’ and grouped all the parts of the hand, change the top menu to ‘Rigging’ and parent the ‘Wrist_CTRL’ to the ‘Hand_GRP’.


Locked the ‘Rotate X’ and created a group for the ‘FOREARM_L_GEO’.Renamed and repositioned the pivot point of the control curve and parent the ‘Forearm_CTRL’ to the ‘Forearm_GRP’. Locked the ‘Rotate X’ and created a parent for the control curves.

-Fingers-
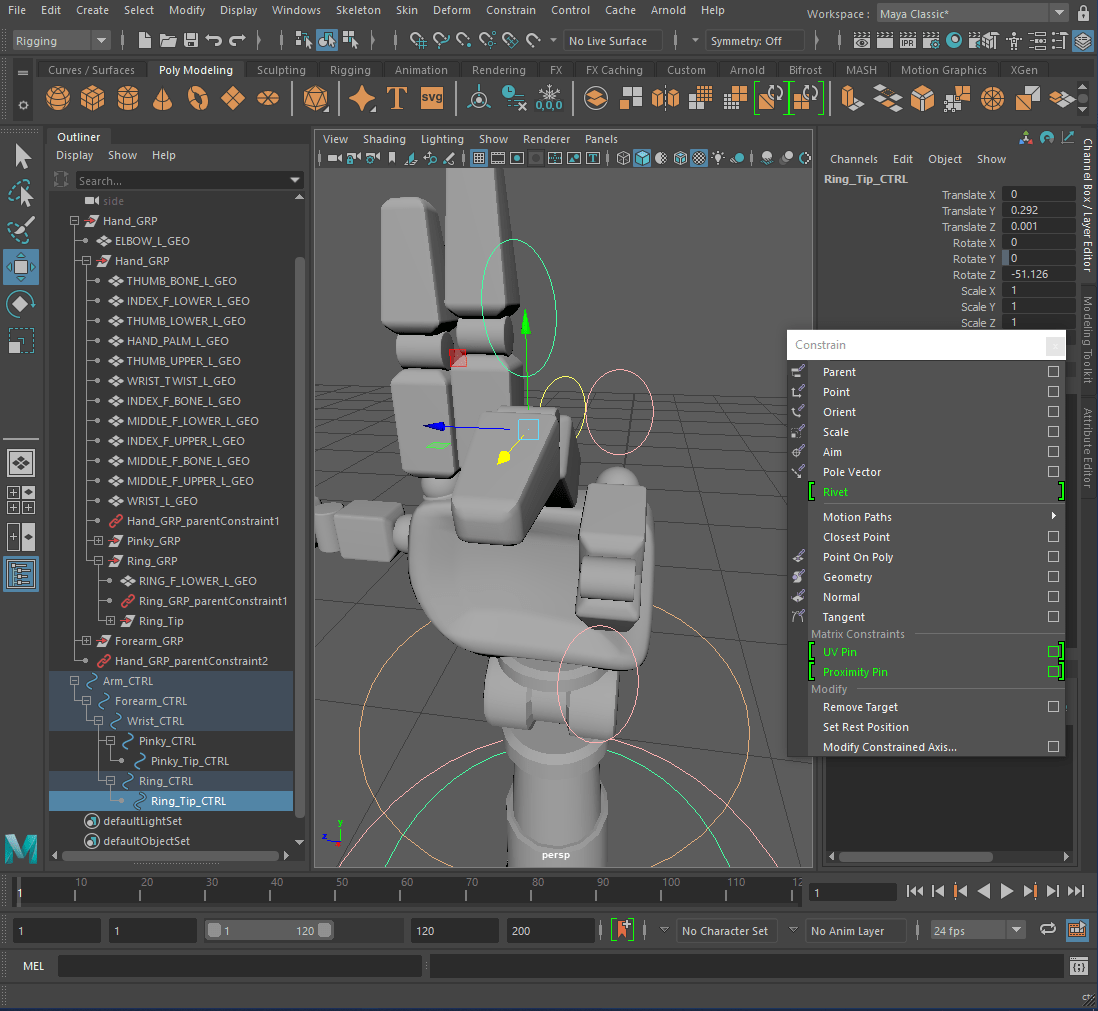
Parent the ‘Arm_CTRL’ to the ‘Hand_GRP’. Created another ‘NURBS circle’, scaled it and positioned it. Selected the control curve for the pinky, right click and select ‘Control Vertex’. Selected all the vertex and moved the control curve to the side. Scaled the control curve.

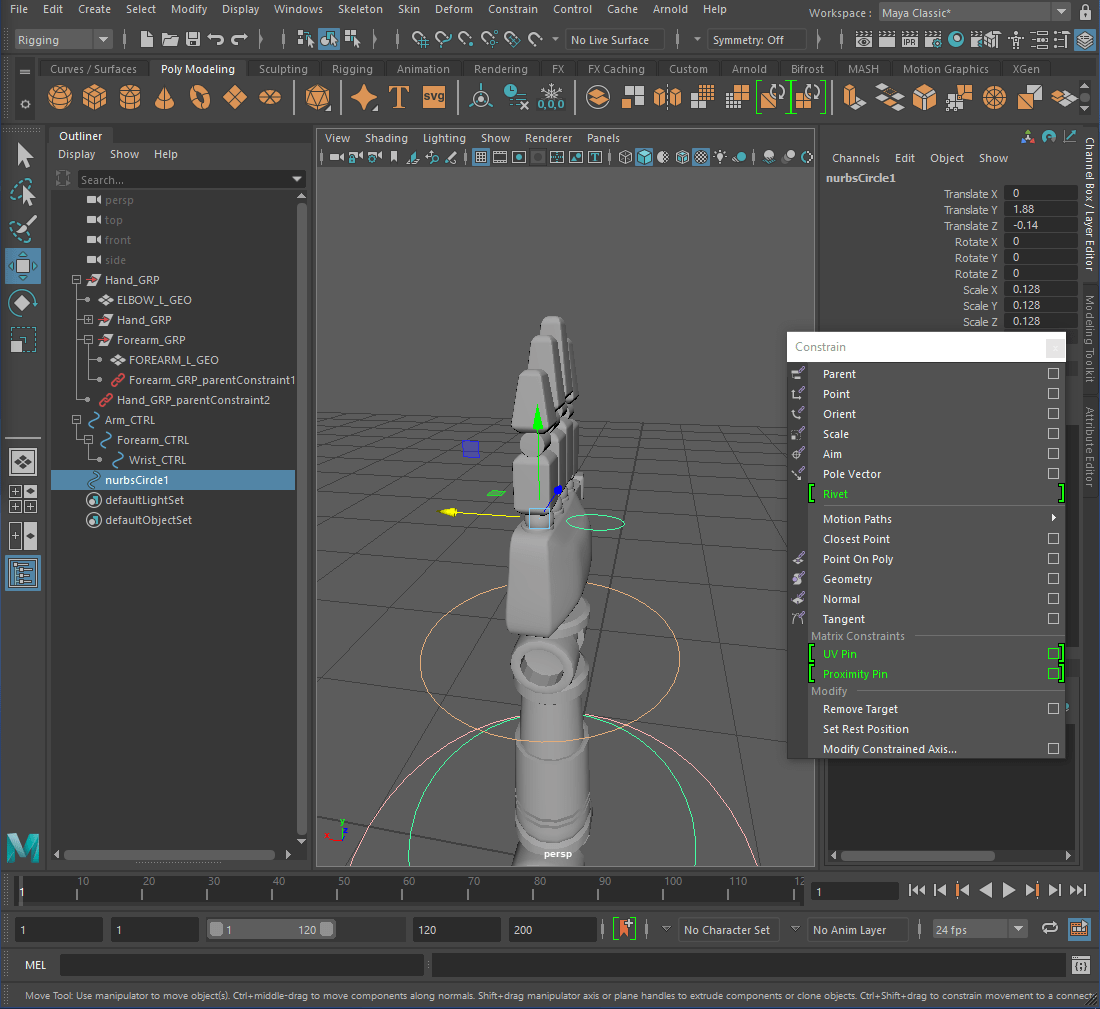
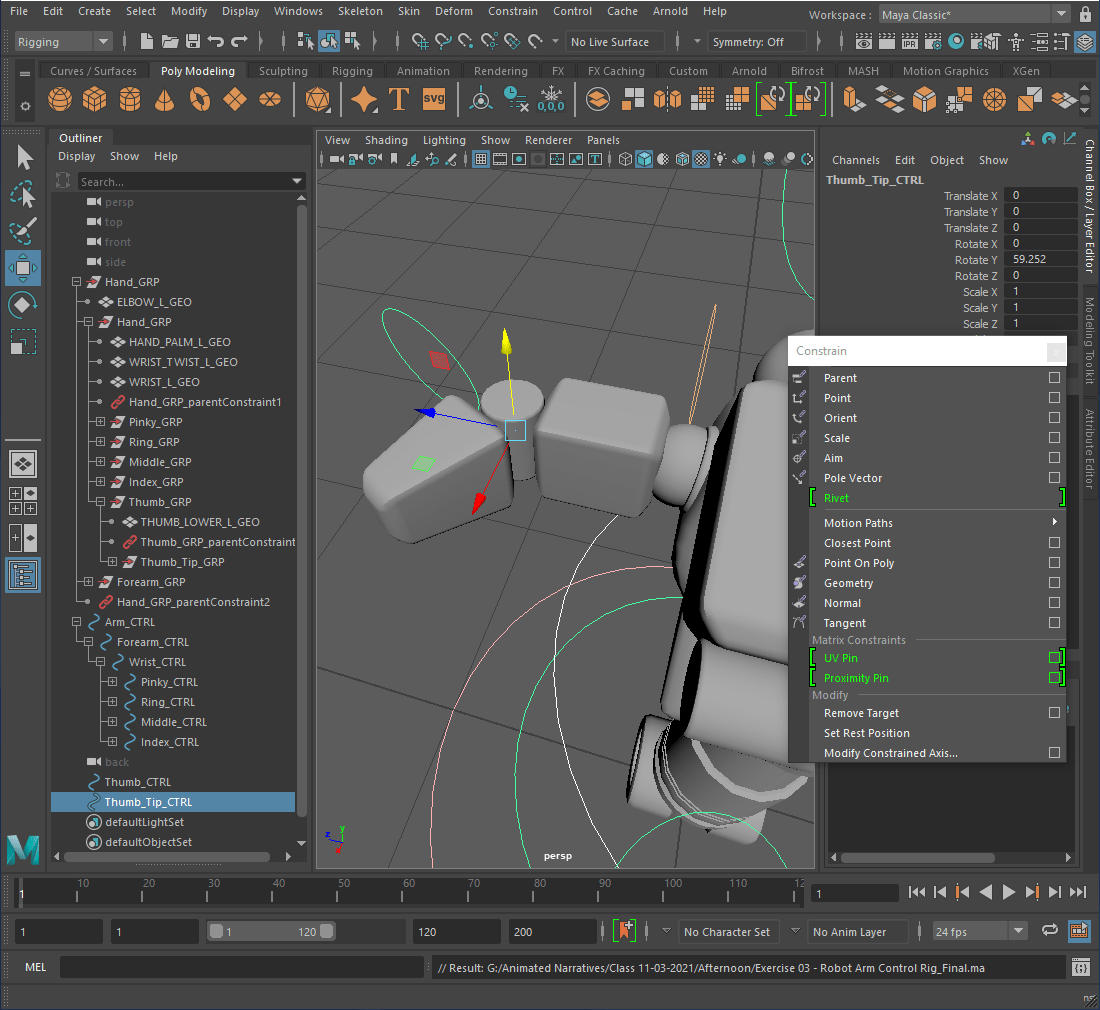
Grouped all the parts of the pinky finger together and parent the ‘Pinky_CTRL’ to the ‘Pinky_GRP’. Duplicated the control curve, positioned it, froze the transformations and grouped the top parts of the pinky finger.

Parent the ‘Pinky_Tip_CTRL’ to the ‘Pinky_Tip_GRP’, parent the pinky control curves and parent the pinky control curves to the wrist.

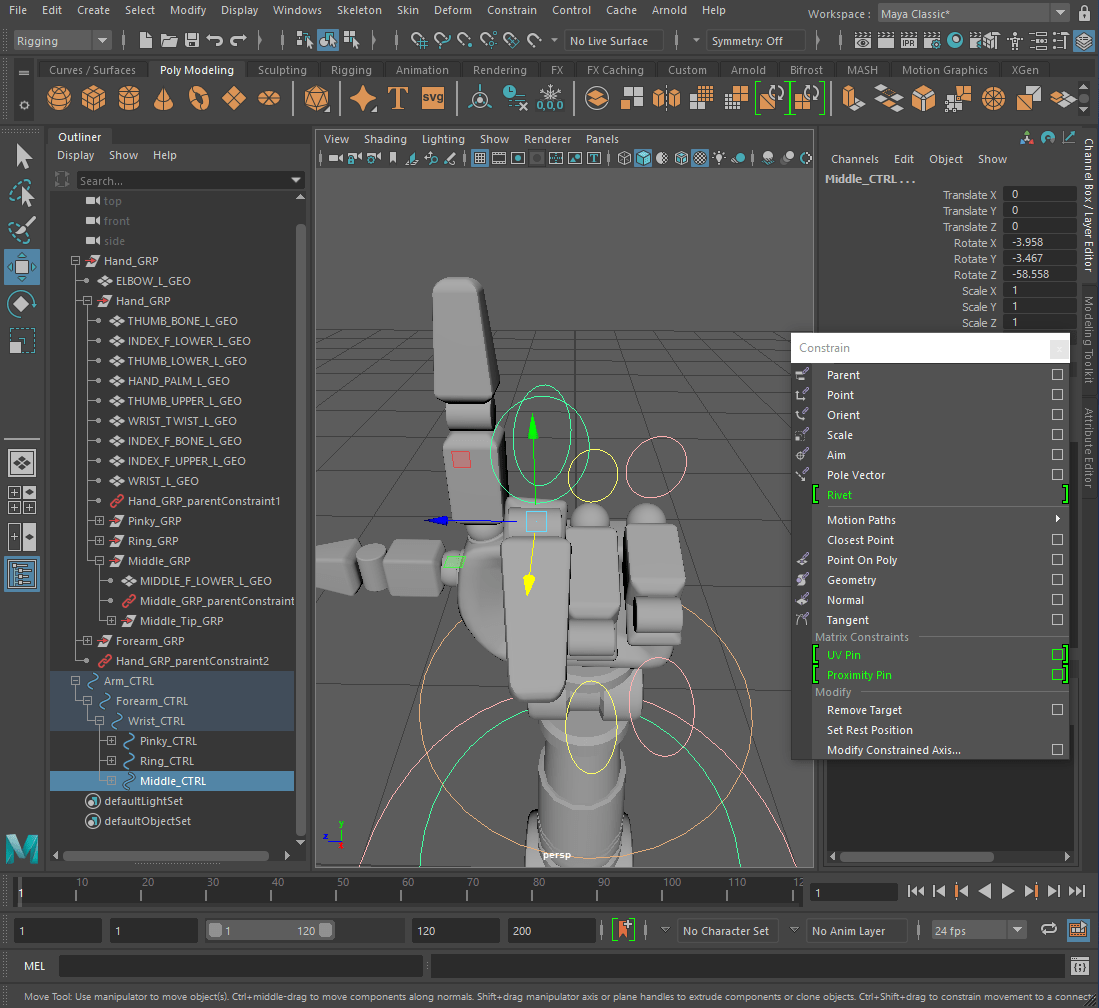
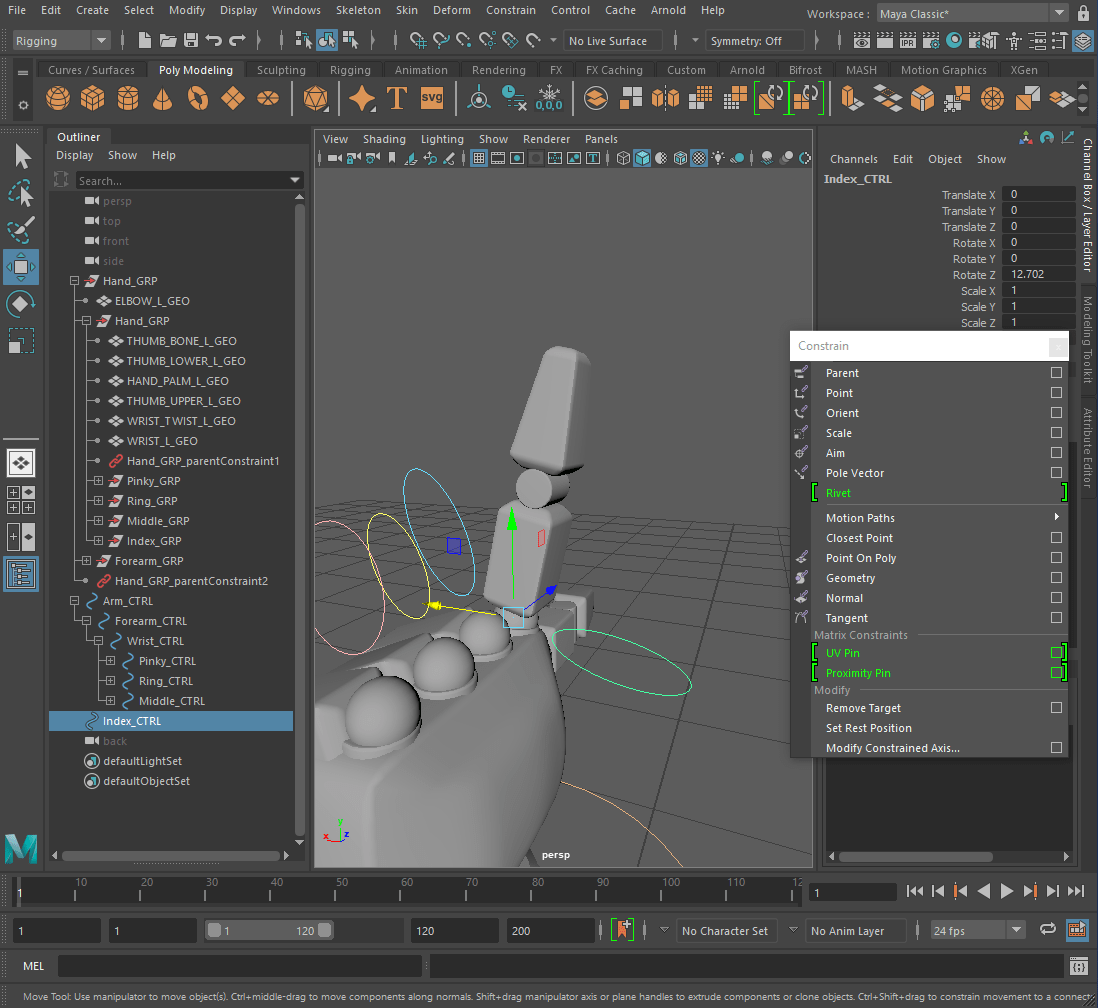
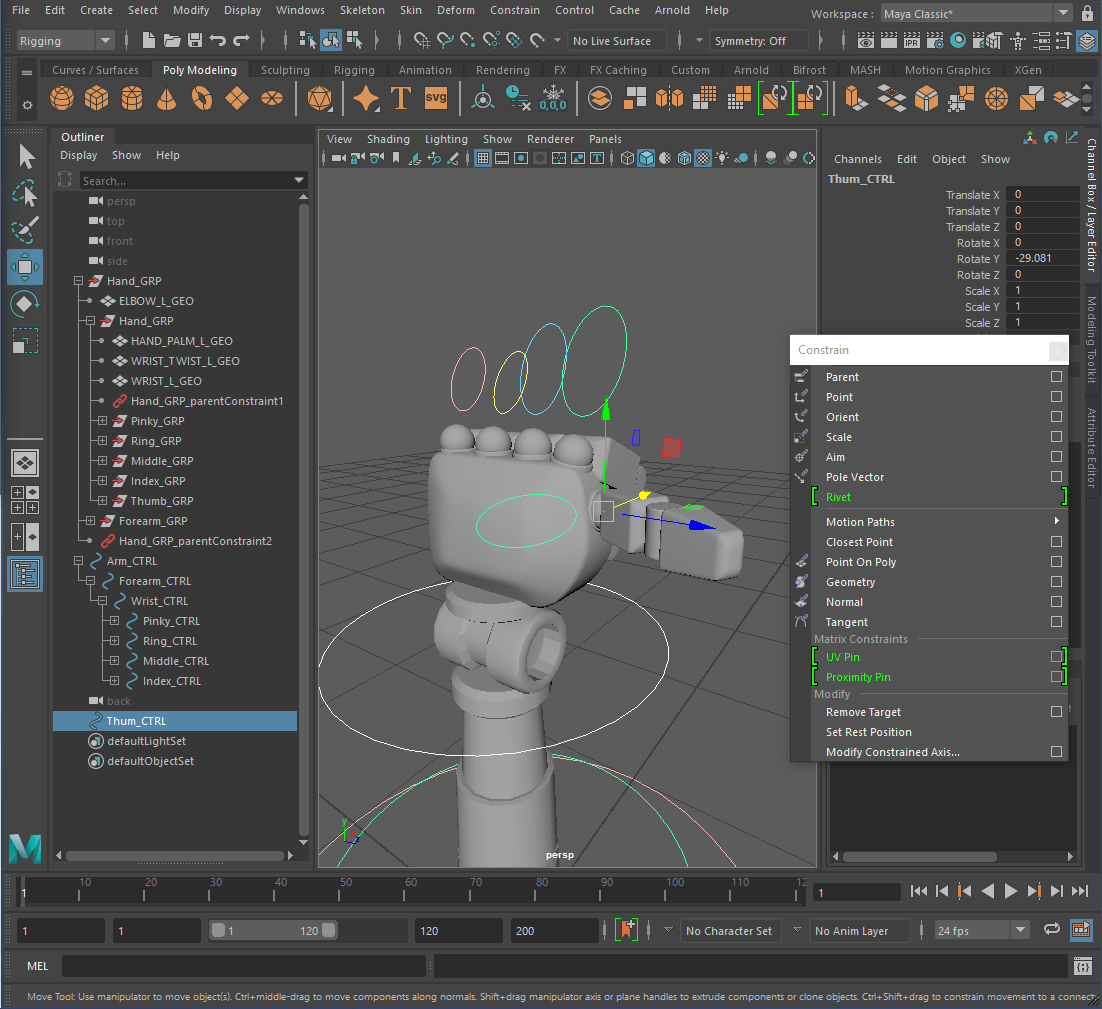
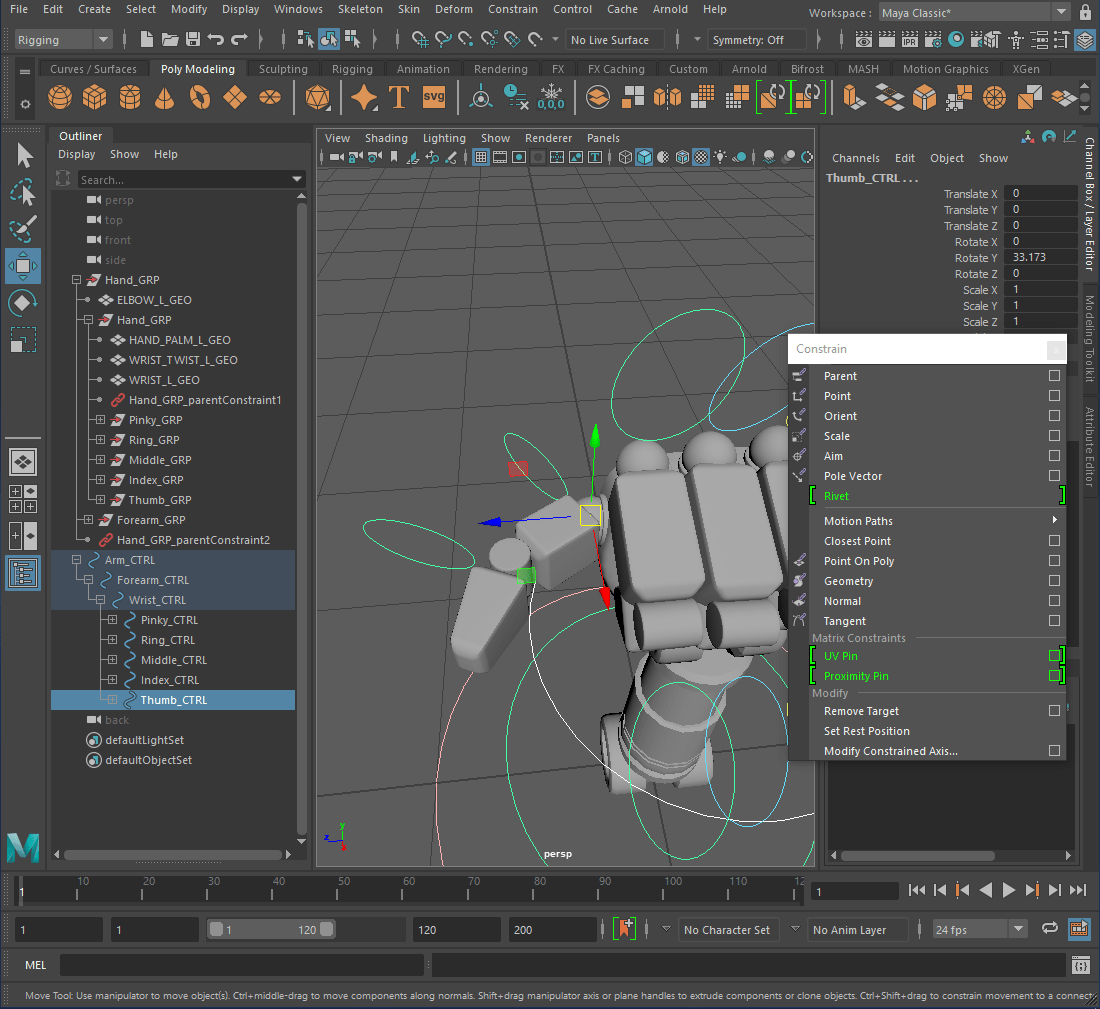
Repeat above process for the rest of the fingers.
- Ring Finger


- Middle Finger


- Index Finger

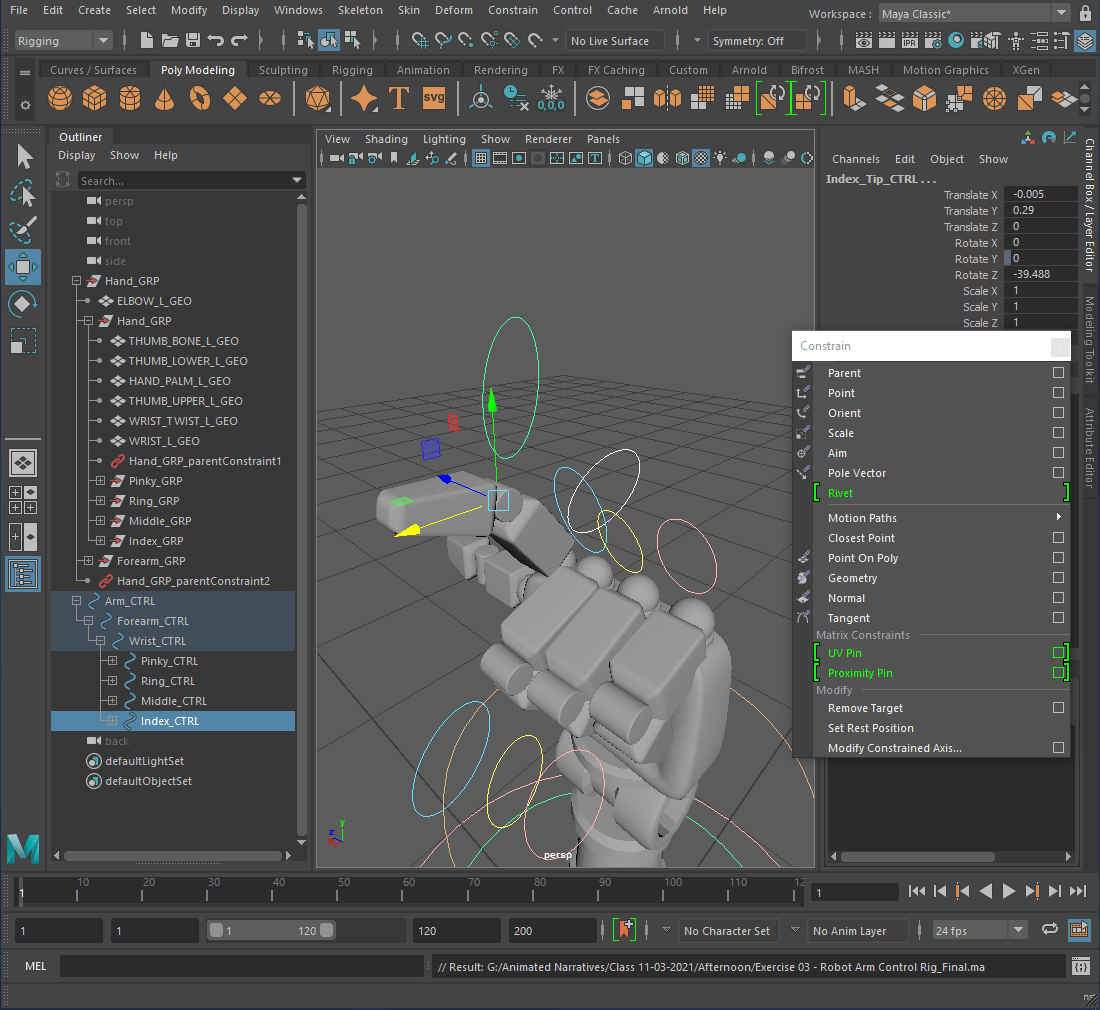
- Thumb
____________________________________________________________________________________________________________________________
Assignment 3:
Our group discussed what tasks everyone is going to be covering in Maya.
- Danielle and Nicole(Me) = Model the environment in more detail.
- Amber = The ghost
- Tori = Model the sandwich and the hallway
- Curtis = The hallway
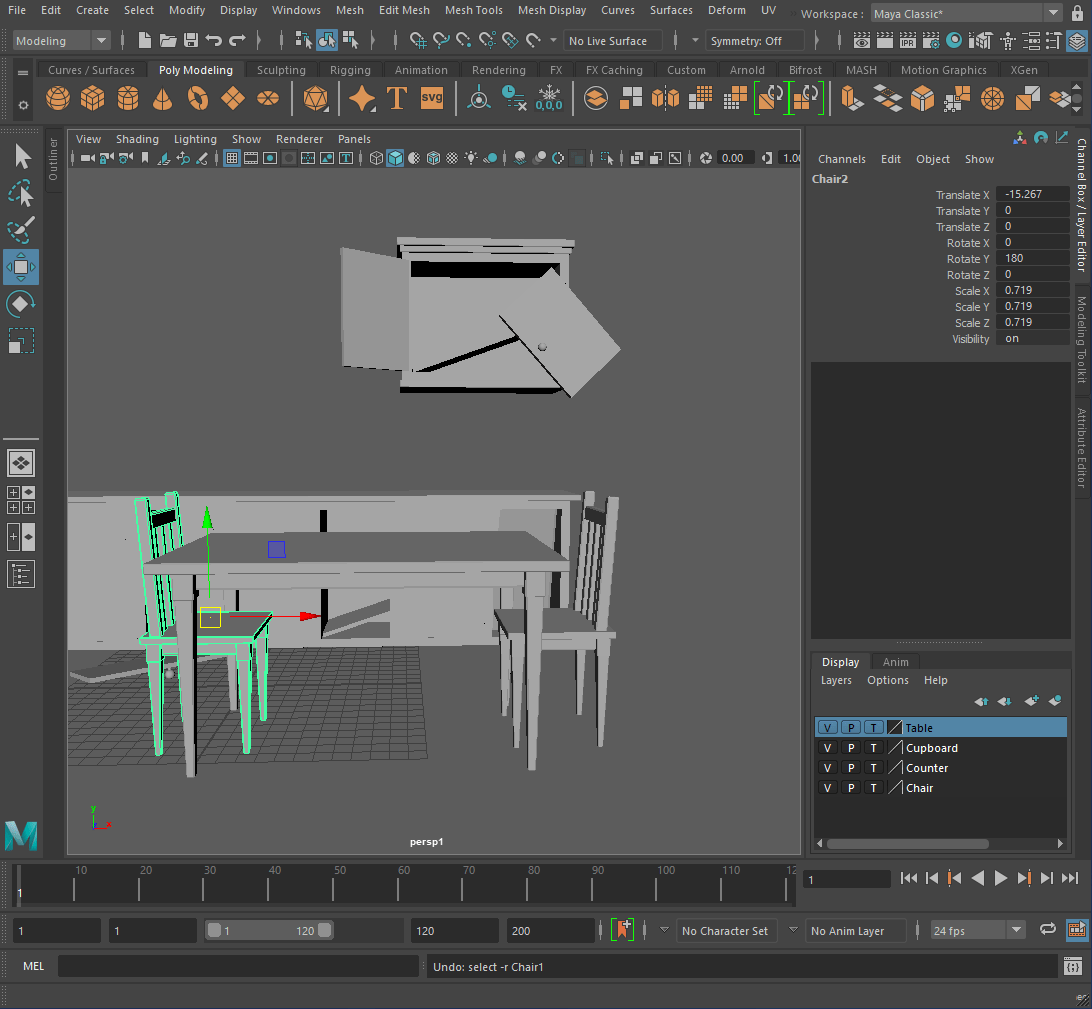
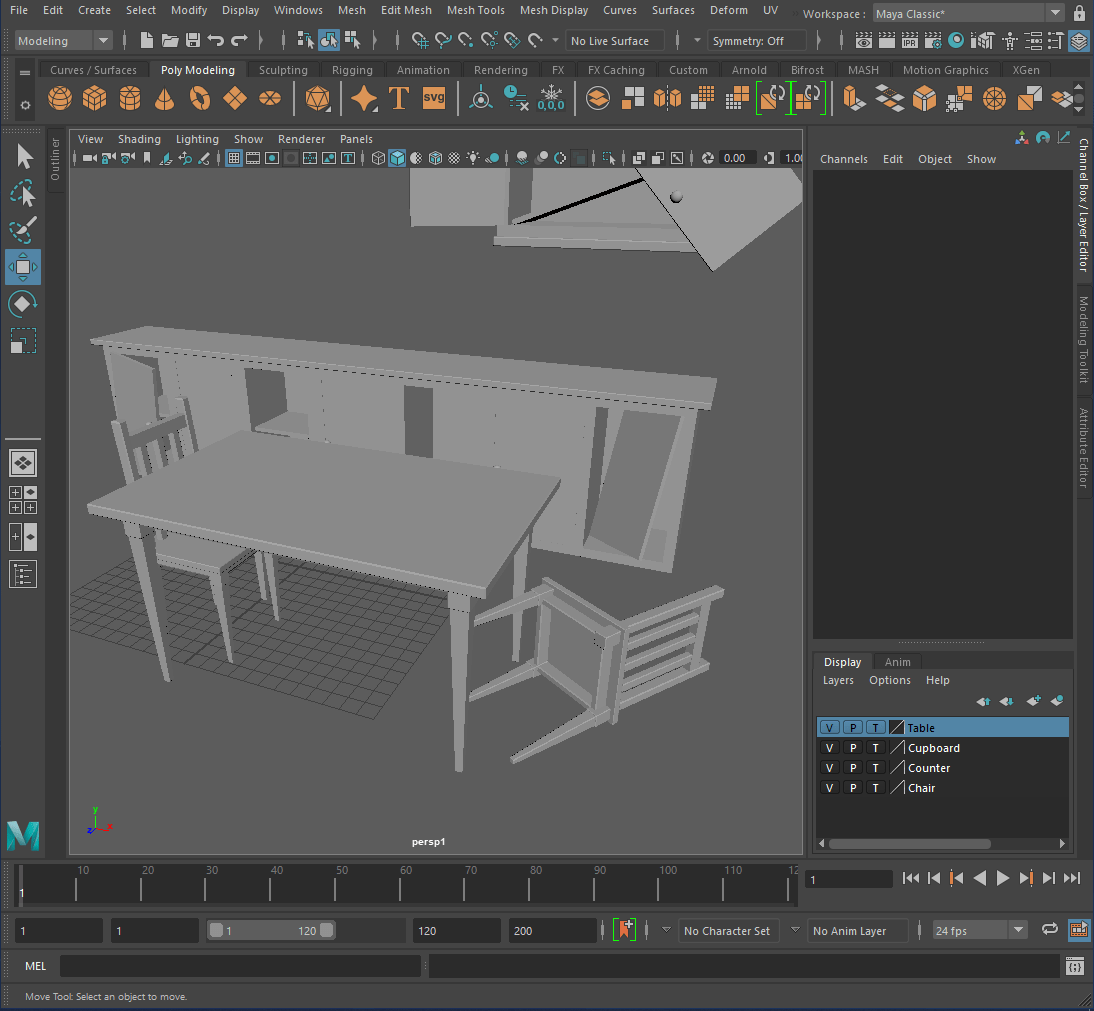
Progress:
This week I focused on modeling the furniture in the environment in more detail. Based on feedback from our group Danielle rearranged the placement of some of the furniture in the kitchen.
Final Thoughts:
I am happy with the progress that I have made this week for Assignment 3. The tutorials on how to animate the Walker rig in Maya were really useful and I will be applying that knowledge to Assignment 2.
For next week I will find some references for Assignment 2 and begin storyboarding the movements.