ASSET CREATION
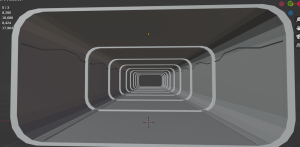
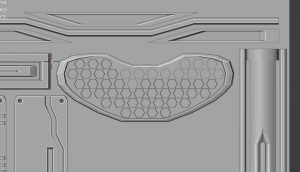
The talk earlier in the day about creating modular assets made me think about possible designs I could do for things like walls, floors, ceilings etc. I also need to consider how the textures will look at all scales especially at a smaller scale. the image on the right is one mini mockup of a corridor.
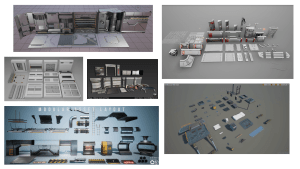
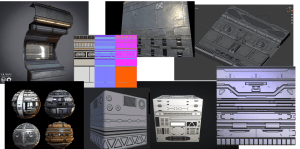
While not all of these are clean sci-fi they are good guidance for how to go about how to go about creating assets in a modular way. I started off trying to make a few pieces but they just didn’t look right at all. So I went to look at my concept art and references more carefully and think about how I could go about making them modularly.

Before I started on many more assets I wanted to explore a good workflow for creating game assets specifically.
This version I did looks ok it is going to act as a hallway. The pieces can be used in other spaces as well though.


I had to rethink about a lot of the pieces I already made since we started to cover trim sheets. I didn’t really understand the concept of what it is and does so I did some research
https://docs.monaverse.com/create/creating-assets/trim-sheets
My work is to now just focus on modular pieces that can be used in the level design. The games people finally decided on an appropriate scale for our character so I was able to properly consider it.
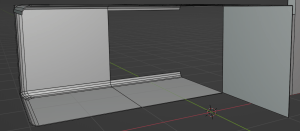
This is how the most basic asset pieces were I was focusing on interconnectivity.
I eventually got them all finished I really wanted to focus on keeping the poly count low and clean UV mapping.

I would have liked to been able to make more asset pieces but I was given the role of being the texture artist so I wasn’t able to do that. I am happy enough with these although I feel like they are somewhat bland but I plan to bring them to life through the texturing mainly via trim sheets.
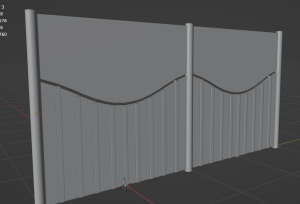
here are the hallway modular pieces grouped together. I plan to use an array modifier and a mirror modifier to repeat the pieces.

While I was creating my own assets I was also starting to make the trim sheet. This is some of my earlier attempts that got scrapped.

Eventually after a few attempts I found some helpful reference images.
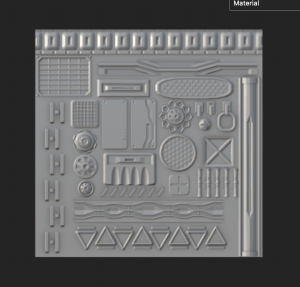
This ended up being my trim sheet.
I was having a lot of issues with the baking. I got it mostly sorted out there was still a few issues but I was able to paint over them.
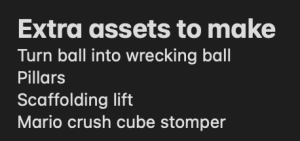
During a group call we had on the bank holiday Monday one of the games designers needed new assets and because I felt like I didn’t get making many I volunteered to do it.
I started off with the chain piece as I could modify the ball I already made. I used this video as a quick reference.
I thought adding a spiralling infinity shape would make it more sci-fi and visually interesting. it made it harder to make sure everything interlocked correctly but I like the final result.
![]()

I also had to remake a few asset pieces my peers due to how they were constructed in the first place. Thankfully they weren’t complicated. I also changed the UVS on a few other pieces so it would texture properly.


I also helped out on the rig a bit because rigify was being a nightmare. I added in IK and FK controls.


I found these tutorials that broke it down into an easy to understand way.
Up until this point I had avoided rigging but now I have a stronger understanding of it so it isn’t as scary. Although the weight painting wouldn’t apply to the hands correctly. Another group member was able to sort it out.

After this I focused entirely on finalising the textures, I made a few more extra pieces such as lights or small props to create scale but otherwise asset creation was done.
I did add in a few more objects to go along with the feedback gave by industry people regarding scale.
