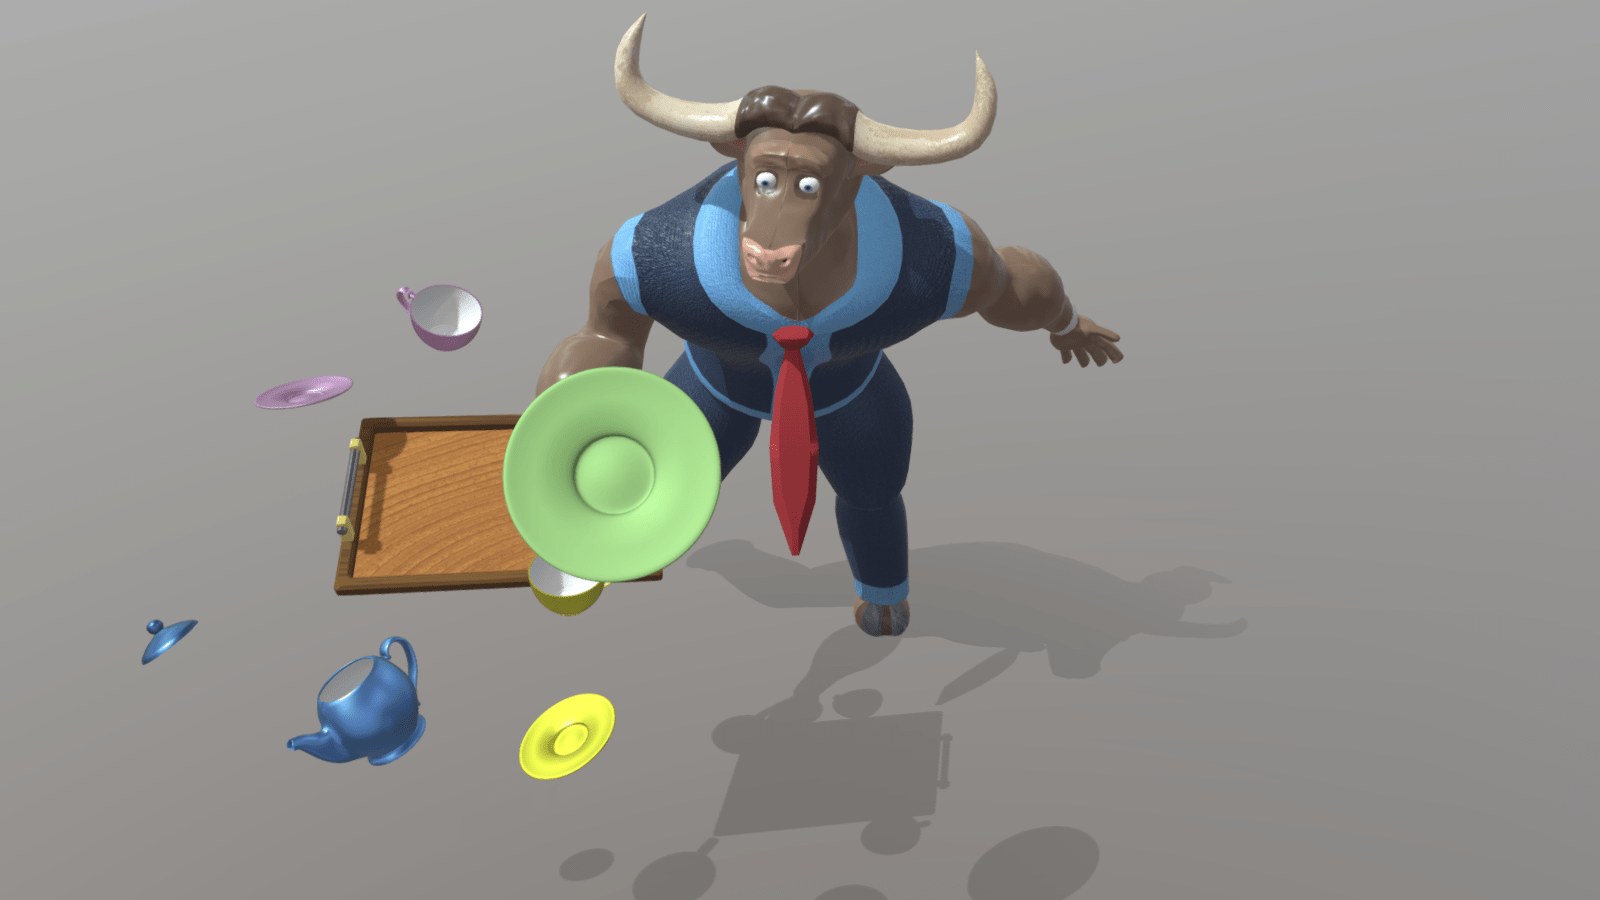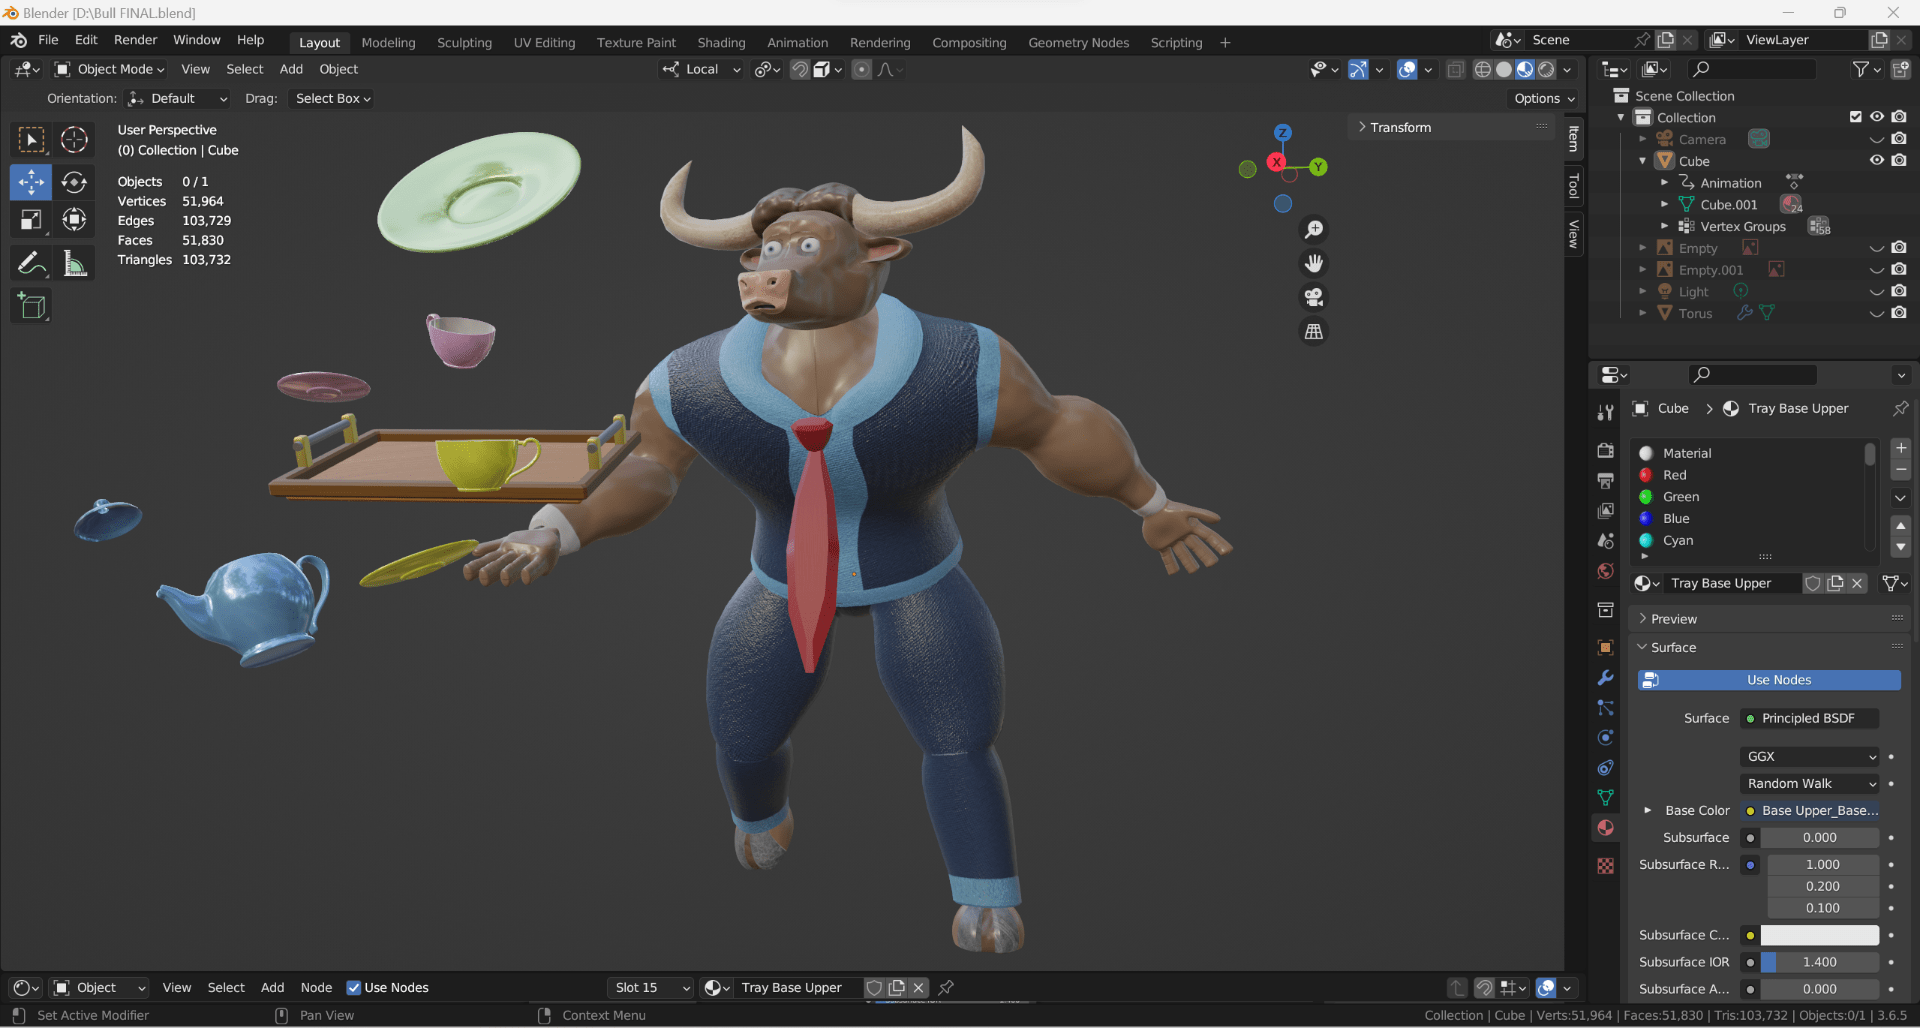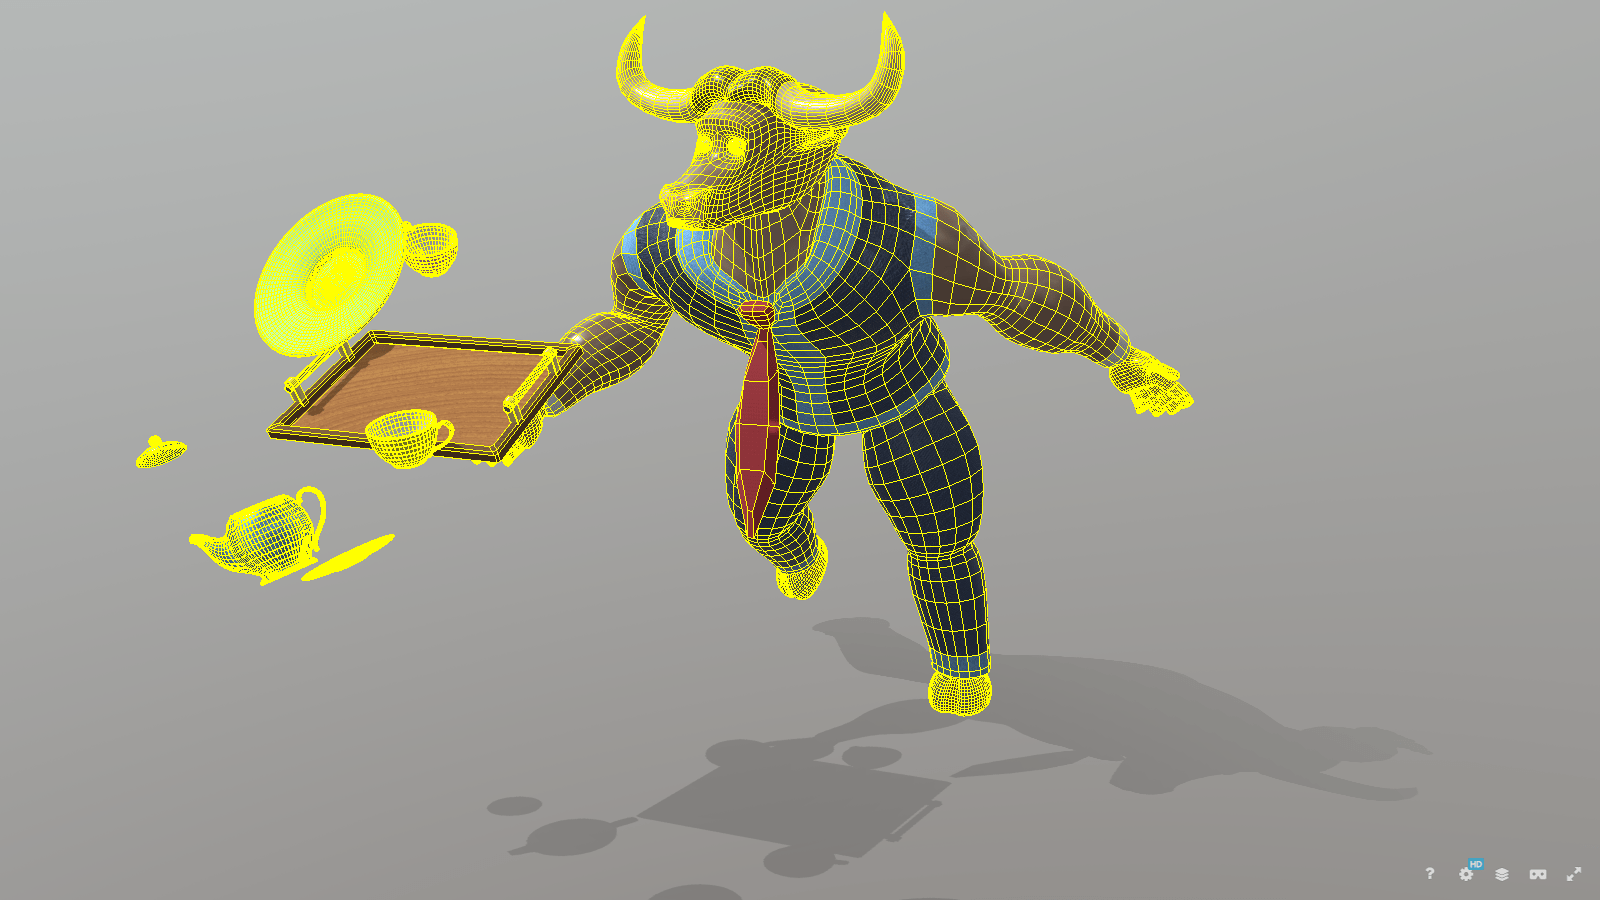
The final stage of this assignment was for me to pose my completed model in Blender, and to then upload both it, and my props, to present an interesting, expressive, and visually appealing scene in Sketchfab.
Having first added armatures using the process set out in the tutorial video, mindful that the eyes had been created as a separate object; to ensure they remained in the correct position when exported to Sketchfab, I parented these to the main body of my model.

Next, to help me pose my character, in keeping with the storyline, I searched for online images to include in a story board of people who had tripped, and were in the first stages of falling.

Using these references, I then placed my model in a similar, dynamic, pushed pose that drew attention to his exaggerated, bulging muscles, and to highlight his shocked expression, also turned his head to the position where he would helplessly watch the prop items I’d created go flying into the air. While I’d originally hoped to use all of the tea set items as props, doing this would have not only made me exceed my 50K polygon limit, but would have ruined the visual impact by making the scene appear much too cluttered.
Considering the staging of my final scene was also important at this time, and meant me deciding where, and how best to place my props within the 3D space, that would both reflect the storyline, and achieve the maximum effect when my model was rotated through 360 degrees. I therefore envisaged the trajectory of the items flying off the tray, and took into consideration that, being the heaviest item, the teapot needed to be placed lowest within the scene. Finally, thinking of the prop’s proportions, and perspective in relation to the bull’s exaggerated form, I also scaled each item to match this, and the scene.

Happy with the outcome, I then hid the armature, and exported the project to Sketchfab as an .fbx file. Once processed in Sketchfab, I adjusted various settings to achieve the best presentation and required mood, such as the lighting, background colour, and shadow display. However, when I checked, the amended roughness values that had given the tea set item their glossy glaze, and had mimicked the oil worn by the bull, to like bodybuilders, define his extreme muscle definition, had not carried across into Sketchfab. However, with a little guidance from my tutor this was easily amended, by adjusting the values of each individual component in Sketchfab.
Also, it was only after my Sketchfab upload that I realised, despite be so careful when creating my final design, I has unexpectedly exceeded the 50k polygon limit for my scene. Knowing something untoward had happened, I investigated each item in Blender to find that, for some reason, my teapot handle had been duplicated during the creation process, and removing this duplicate, which I hadn’t initially noticed, took me back to 48.8k, and well below the limit. While this meant changes, and having to reupload the file, staying within the brief is essential, as is rectifying any small issue to improve my work going forward.
Here’s the link to my final, updated Sketchfab upload, which after adding categories, tags and a short description to increase discoverability, will hopefully attract attention, and create interest in my work.
Overall, I’m delighted with the outcome, which I feel fulfils the brief, and relays my ‘bull in a china shop’ idiom, and the backstory that my waiter, with his bodybuilder aesthetic, has tripped, and in true Hotel Transylvania style, something catastrophic is just about to unfold.
My character was also easy to move and pose, as I’d taken time and care during the construction process to verify the geometry was correct, retopologised every issue, and ensured that my armatures were well placed, symmetrical and balanced.

Also, spending so much time developing my character and his back story, as well as taking the time to really understand both him, and the art/animation style of Genndy Tartakovsky before I started modelling, genuinely helped smooth, and speed up the creation process. However, although it didn’t tie in with my planned storyline, choosing a later stage of the fall may have allowed me to push the pose more, but could have affected the believability of the scene, as by that stage, my props would have broken.

Great work! That is the kind of info that are meant to be shared
across the net. Disgrace on the seek engines for not positioning
this post higher!
Hello, I read your blog on a regular basis. Your humoristic style is awesome, keep it up!
At this time it looks like BlogEngine is the best blogging platform
out there now. (from what I’ve read) Is that what you’re using on your blog?
This excellent website certainly has all the info I needed about this subject and didn’t know
who to ask.
Hi, this weekend is pleasant in for the reason that at this point in time I am reading this impressive informative article here at my home.
No uncertainty site will very quickly be famous, due to its quality contents.
Everything is very open with a really clear explanation of the issues.
It was definitely informative. Your site is extremely helpful.
Thanks for sharing!
Excellent blog! Do you have any tips for aspiring writers?
I’m hoping to start my own website soon but I’m a little lost on everything.
Would you suggest starting with a free platform like WordPress
or go for a paid option? There are so many options out there that I’m totally overwhelmed ..
Any recommendations? Kudos!
An intriguing discussion is definitely worth comment.
I do believe that you need to write more about this subject,
it may not be a taboo subject but generally people don’t speak
about such topics. To the next! All the best!!
This is very interesting, You are a very skilled blogger.
I’ve joined your feed and look forward to seeking more
of your fantastic posts. Also, I’ve shared your website in my social networks!
Just desire to say your article is as surprising. The clearness in your post is
simply excellent. I could assume you’re an expert on this subject. Well with your
permission allow me to grab your feed to keep updated with
forthcoming post. Thanks a million and please carry on the rewarding work.
Every weekend I used to visit this web page, for the reason that I
want enjoyment, for the reason that this this website conations in fact nice funny data too.
I blog frequently and I seriously thank you for your content. The article has truly peaked my interest.
I’m going to bookmark your site and keep checking for new information about once per week. I subscribed to your RSS feed as well.
I think this is among the so much significant information for me.
And i am satisfied studying your article. However wanna remark on few normal
issues, The site style is perfect, the articles is in point
of fact great : D. Good process, cheers
Pretty section of content. I just stumbled upon your web site
and in accession capital to assert that I acquire actually
enjoyed account your blog posts. Anyway I
will be subscribing to your feeds and even I achievement you access consistently quickly.
Your style is so unique in comparison to other folks I have read stuff from.
I appreciate you for posting when you have the opportunity. Guess I’ll just book mark this blog.
I am sure this paragraph has touched all the internet people,
its really really pleasant article on building up new web site.
After looking into a handful of the blog posts
on your web site, I seriously appreciate your way
of writing a blog. I added it to my bookmark site list and will be checking back in the near future.
Please check out my web site too and let me know how you feel.
Hello, for all time i used to check webpage posts here early in the morning, for the reason that i like to gain knowledge of more
and more.
This is my first time visiting here and I am in fact impressed to read all this in one place.
Hello to every , as I am in fact keen of reading this blog’s post to be updated regularly.
It consists of good data.
I have learn several just right stuff here. Definitely value bookmarking for revisiting.
I surprise how so much effort you set to create any such magnificent informative web site.
I am regular reader, how are you everybody? This piece of writing posted
at this site is truly pleasant.
Hi there, I wish for to subscribe for this blog to
get newest updates, so where can i do it please help
out.
Incredible points. Sound arguments. Keep up the amazing spirit.
With havin so much content and articles do you ever run into any problems of plagorism or copyright
infringement? My site has a lot of exclusive content I’ve either authored myself or outsourced but it looks like a lot of it is popping it up all over the internet without my permission.
Do you know any solutions to help reduce content from being ripped off?
I’d truly appreciate it.
Write more, thats all I have to say. Literally, it seems as though you relied on the video to make your point.
You obviously know what youre talking about, why throw
away your intelligence on just posting videos to your weblog when you
could be giving us something informative to read?
You can definitely see your skills in the work you
write. The arena hopes for even more passionate writers such as you who are not afraid to
mention how they believe. At all times follow your heart.
Truly when someone doesn’t know after that
its up to other viewers that they will help, so here it takes place.
Hello everyone, it’s my first visit at this web page,
and piece of writing is actually fruitful in support of me, keep up posting such articles.
Hi, constantly I used to check webpage posts here early in the daylight,
because I like to learn more and more.
Thanks for sharing your thoughts. I truly appreciate your efforts and I will be waiting
for your further write ups thanks once again.
You ought to take part in a contest for one of the best websites on the net.
I’m going to recommend this site!
Howdy! I know this is kind of off-topic but I needed to ask.
Does running a well-established blog such as yours require a large amount of work?
I am completely new to running a blog but I do write in my diary daily.
I’d like to start a blog so I can share my
personal experience and views online. Please let me know if
you have any ideas or tips for brand new aspiring bloggers.
Appreciate it!
Hey I am so happy I found your web site, I really found you by accident, while
I was browsing on Digg for something else, Nonetheless I am here now and would just like
to say thanks for a remarkable post and a all round interesting blog (I also love the theme/design), I don’t have time to go through it all at the minute but I have
book-marked it and also added in your RSS feeds, so when I have time
I will be back to read a lot more, Please do keep up the awesome job.
Having read this I thought it was really informative. I appreciate
you spending some time and effort to put this content together.
I once again find myself personally spending way too much time both reading and commenting.
But so what, it was still worth it!
Pretty! This has been a really wonderful article. Many thanks
for supplying this information.
It’s remarkable for me to have a web site, which is useful in support of my know-how.
thanks admin
I am sure this paragraph has touched all the internet users,
its really really fastidious piece of writing on building up new blog.
I couldn’t refrain from commenting. Perfectly written!
always i used to read smaller content that as well clear their motive, and that is also happening
with this piece of writing which I am reading at this
place.
I want to to thank you for this fantastic read!!
I definitely loved every little bit of it. I have got you book-marked to check out new things you
post…