With this being the final week and me being completely free to work on the character after the last assignment was completed, the only thing I’d need to worry about was juggling my work time with Uni work, which ended up being a difficult task.
For the start of this week, I knew a lot of work needed to be done on the model before it would look anywhere close to complete.
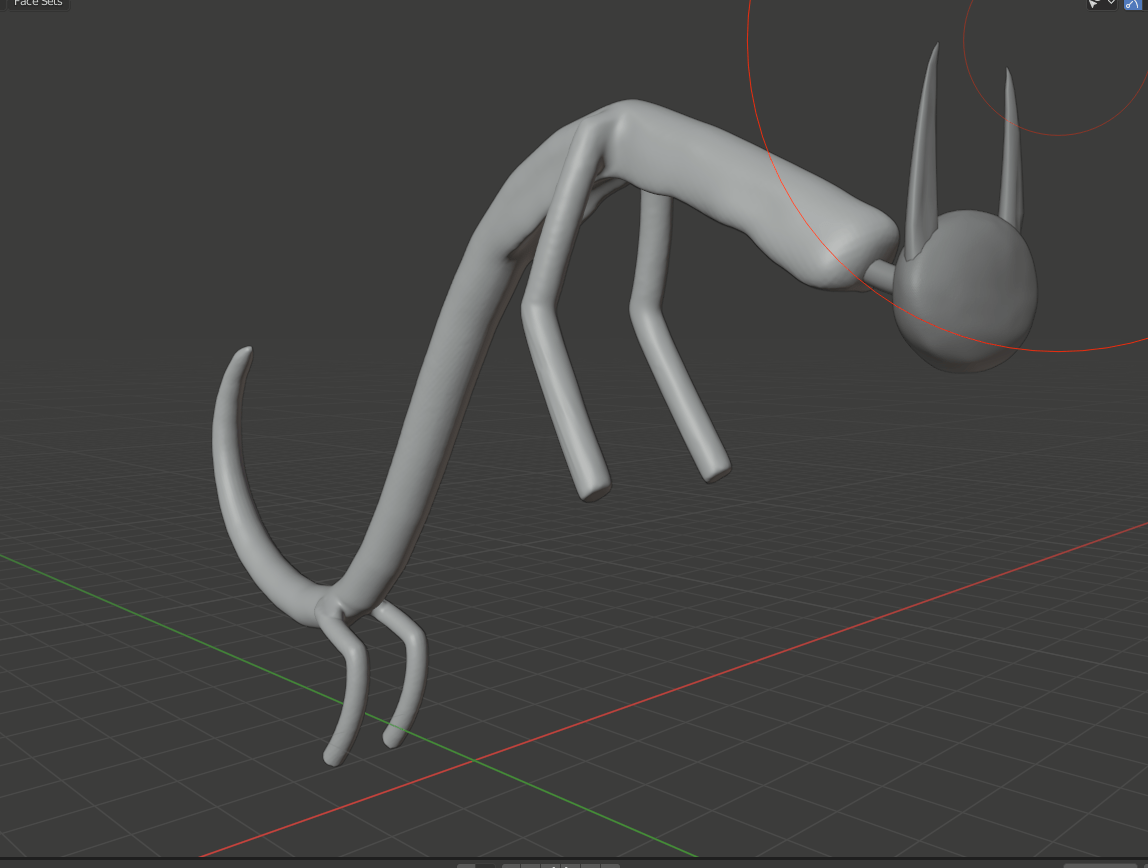
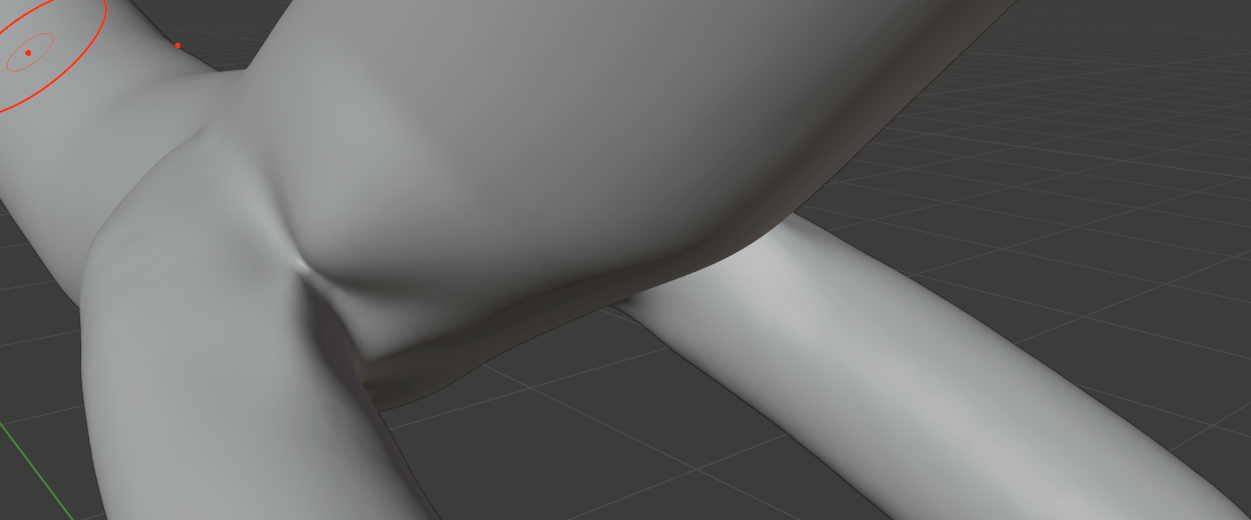

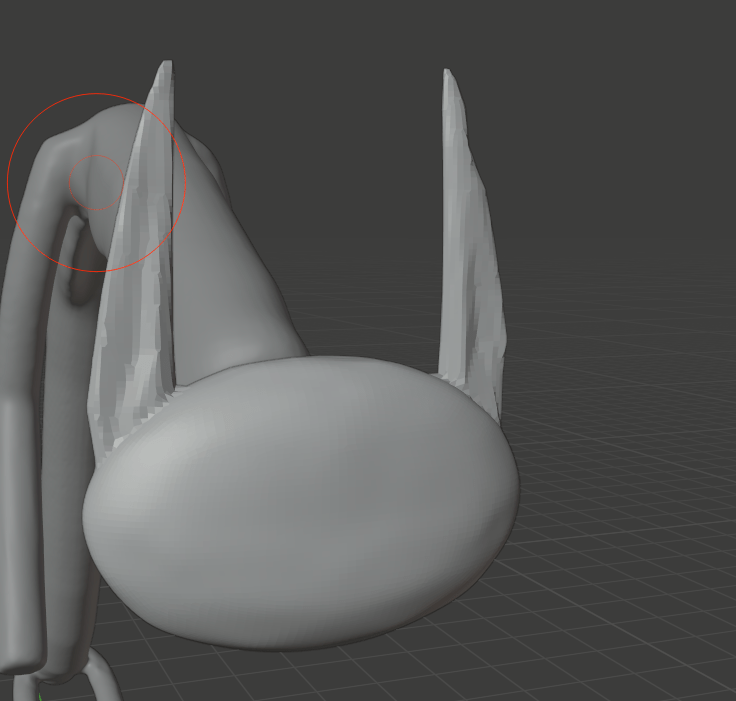

One of the major things was to attach the remaining limbs to the body to make it one whole mesh, and after fixing up the hips fully, I moved onto the face, and using the boolings tool and low poly mesh, I joined the face and ears together and did the same for the neck, I choose not to do it with the body, as I knew that the neck joint would be covered by the collar which I still needed to make in Maya.


After a few more tweaks to the model, like making the jacket sit out a bit more, and adjusting the shoulders, I then brought the model into Maya.
The model was massive when I brought it into Maya, possibly an issue with the two programs clashing?
The first thing I needed to do was make the collar, I initially decided to just use a flat plane to make the collar but realized that I couldn’t extrude it.
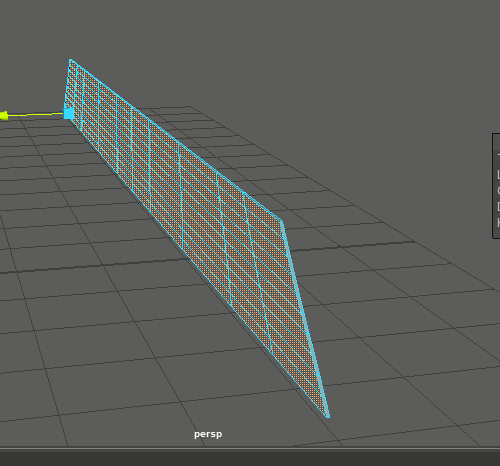
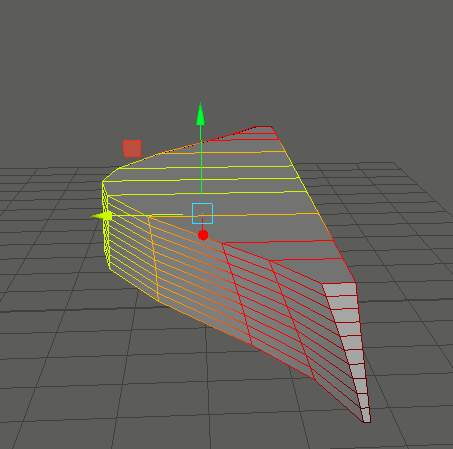


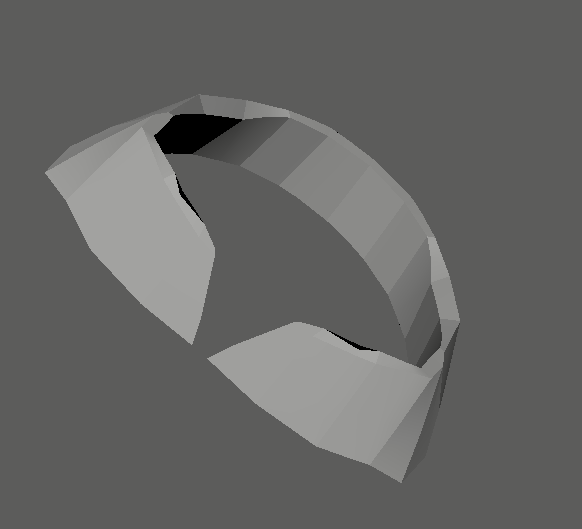
 So I then decided to use a cube instead, however, that quickly devolved into chaos as the model just didn’t look right at all and I felt as though It would look horrible if I kept going, so instead I found a Torus, and felt immediately that It was a better fit for the job.
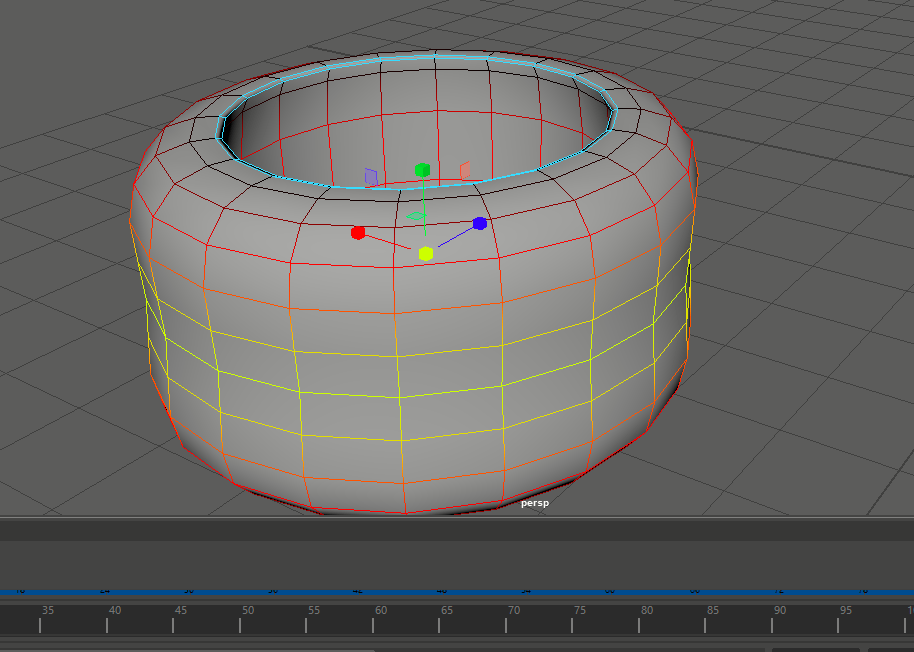
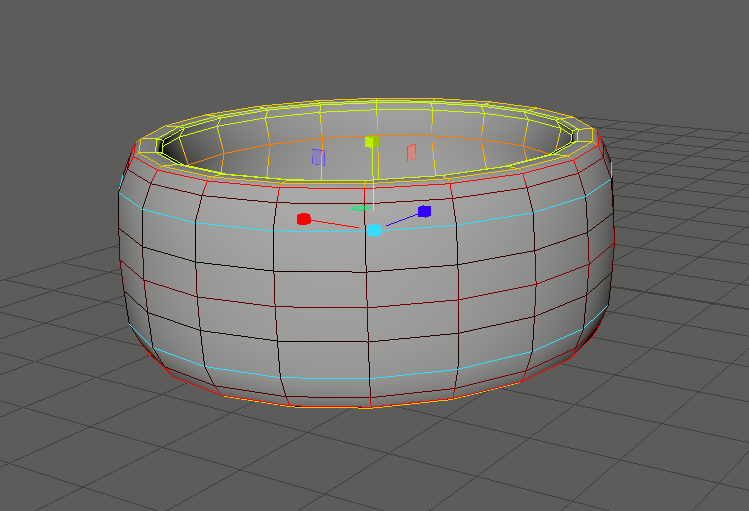

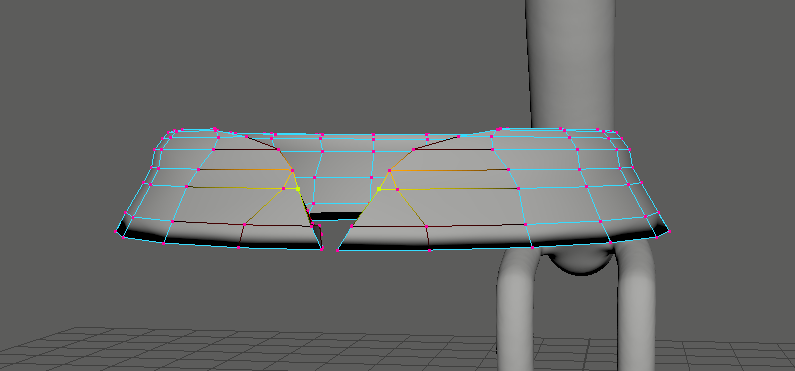
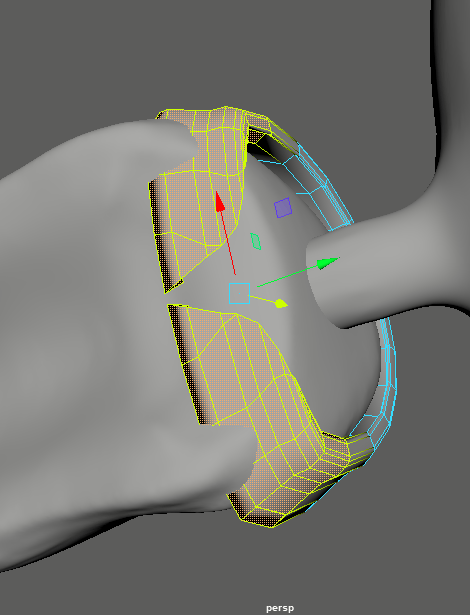
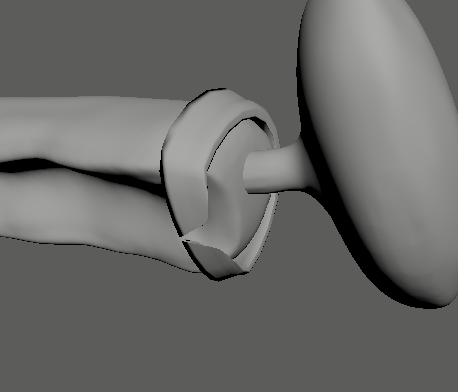
So using soft select I molded the Torus into the shape of a collar and then using the Multi-cut tool to make the front, and then filled in the holes in the mesh, flattening it gave it less of a bulky look and I put it onto the character’s neck.


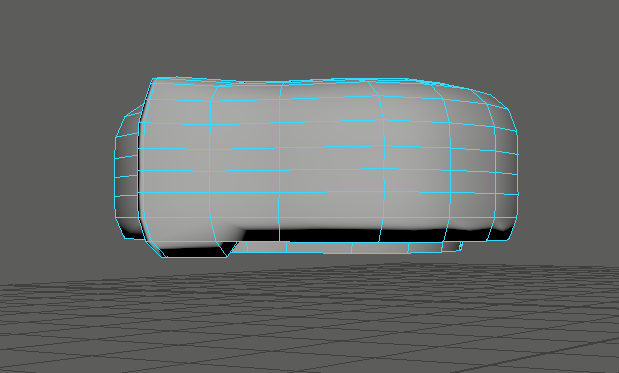
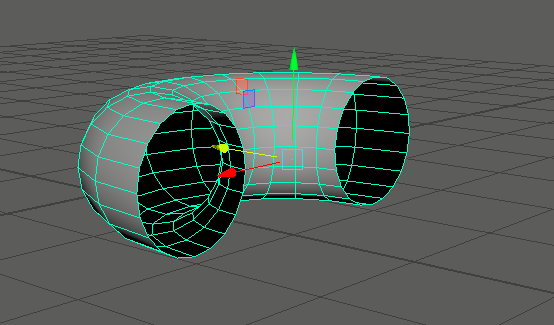
Using a Torus again, I made cuffs for my character by cutting the front of it open and sliding the two points together.
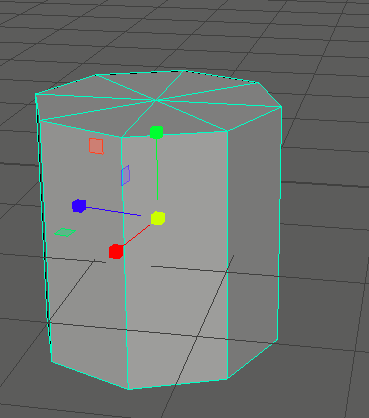
 I thought a nice touch would be to add buttons to the cuffs, so I made two cylinders for each side and lowered the polygons on them so that they’d at least show that his suit had buttons, without taking up too many polygons.

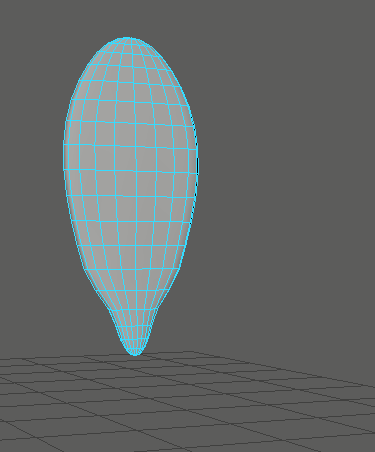
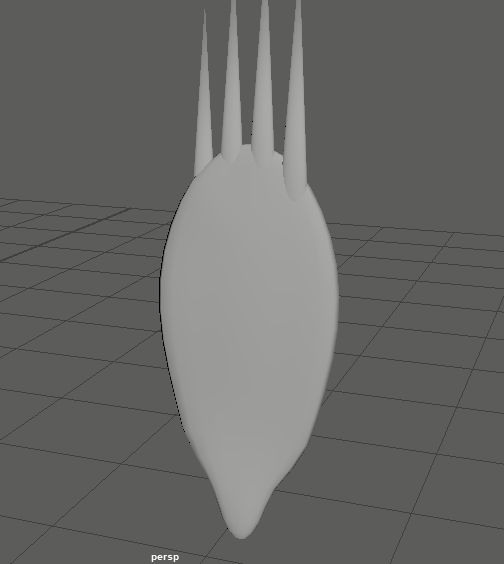
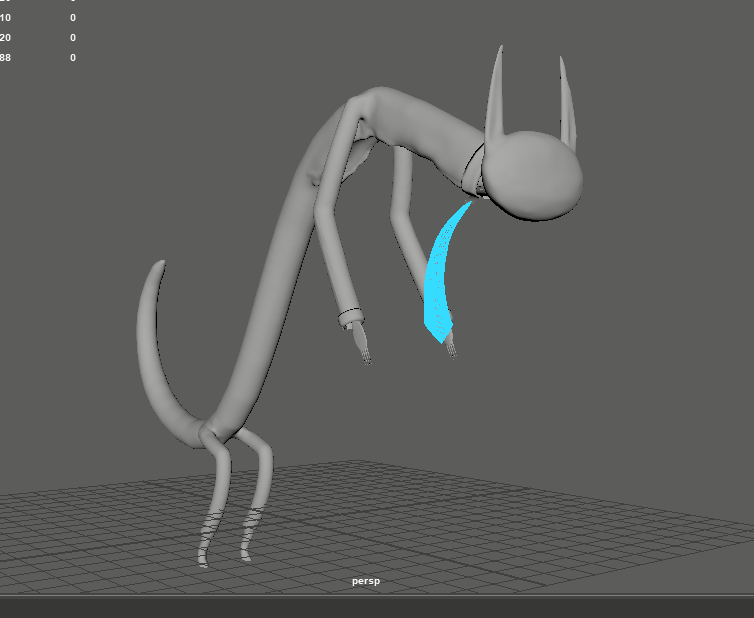
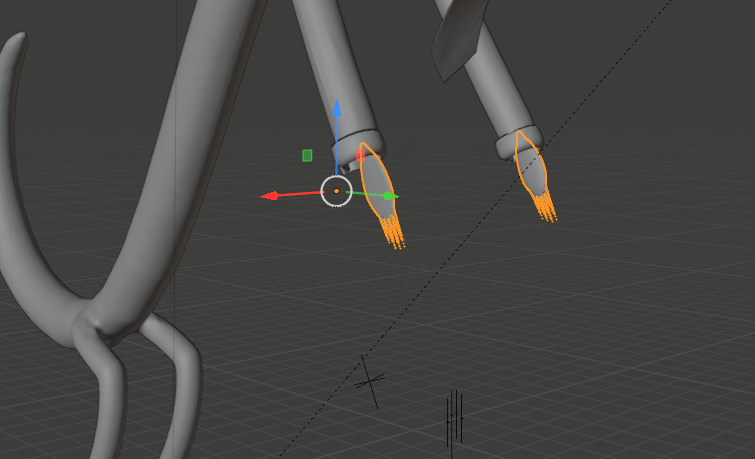
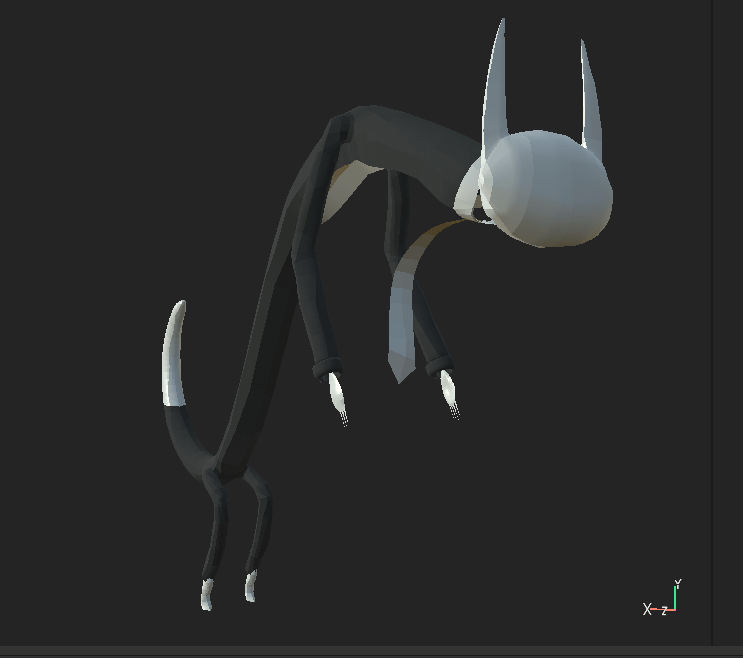
After putting on the cuffs and adjusting the collar, I then worked on the hands and using a sphere, I then straightened it out and then thinned out the end of it, to make it look like wrists, despite the fact it’d be covered up by the cuffs. And then using several cones, I then made the sharp fingers as seen in my concept art, I knew I’d need to smooth them out when I moved the model into a blender.
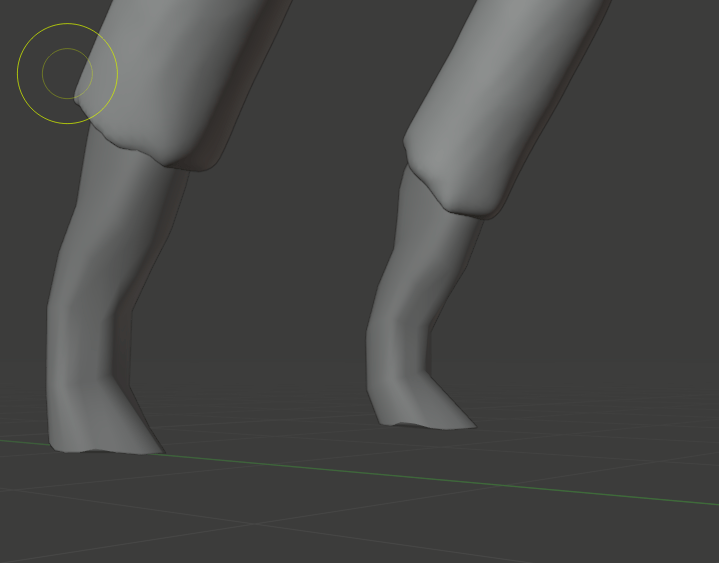
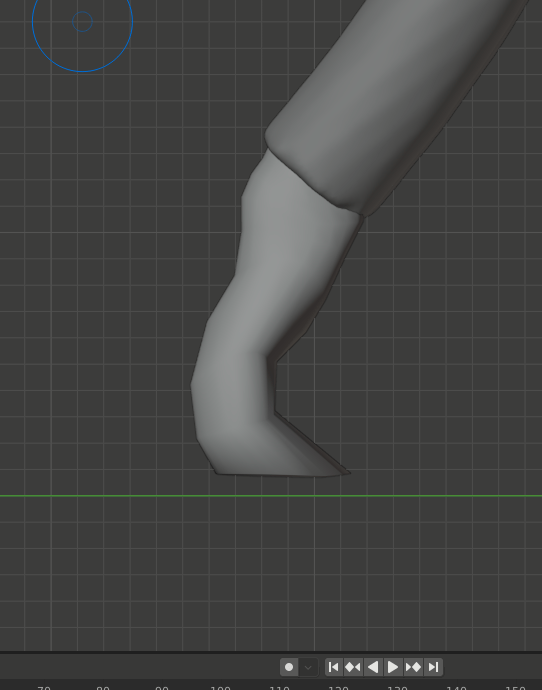
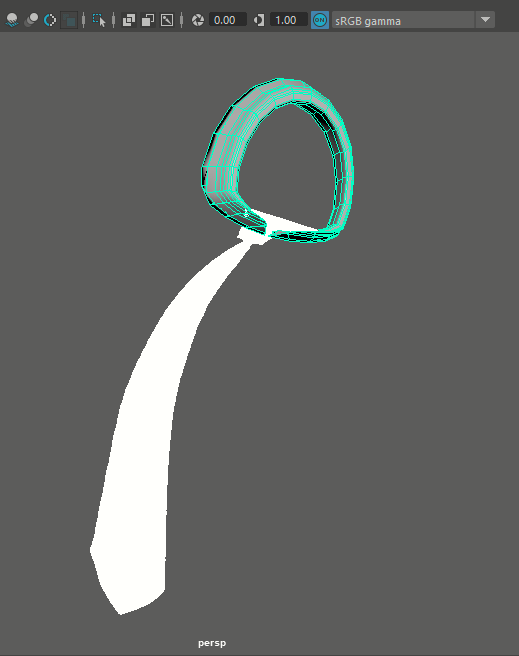
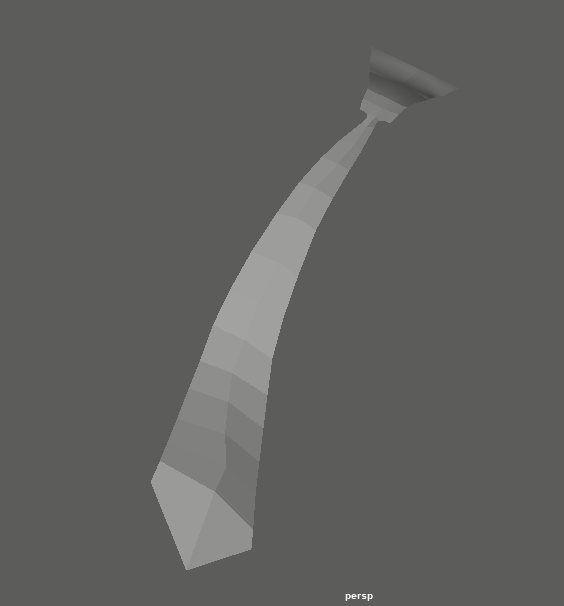
Using half a Torus I constructed the feet, I made them vaguely cat-like, and less like the illustration I had made earlier, before moving onto the tie, again using a cube to make the outline of the base of the tie I then followed it up by creating another flat cube which by using soft select I then made into more of a tie shape.


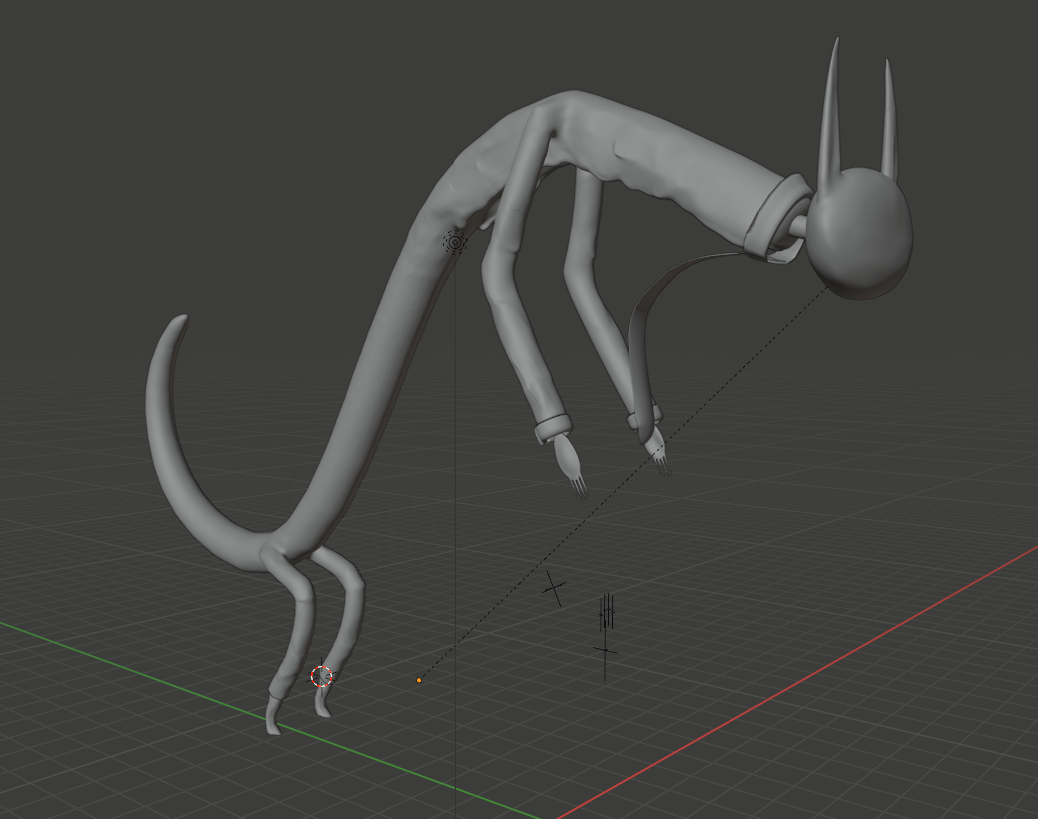
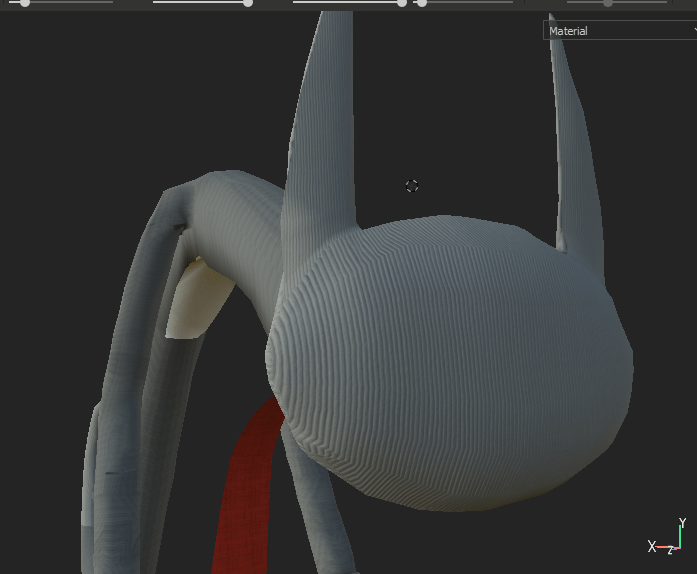
And with the base of the model finally completed, I then moved the model into blender for the final time, smoothing out all the new models, using the boolean tool and low poly to make the models blend easier together, I then added wrinkles to the suit to make it look more like a suit and less like his skin.


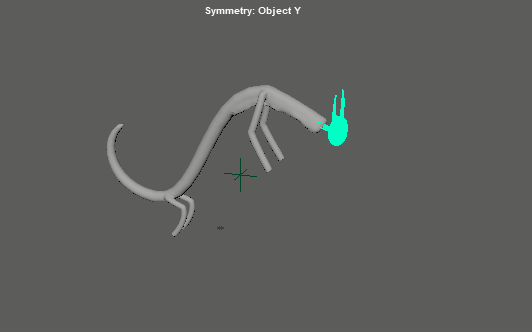
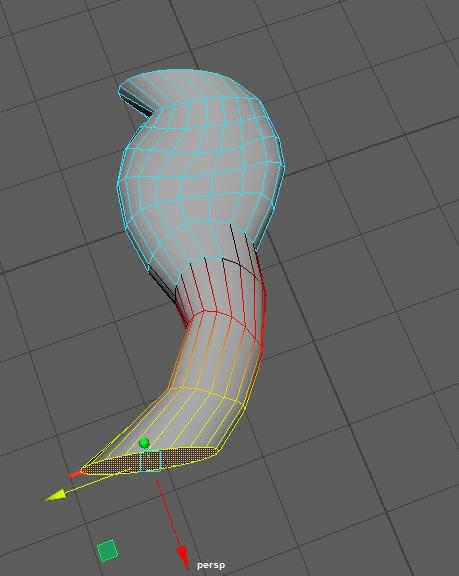
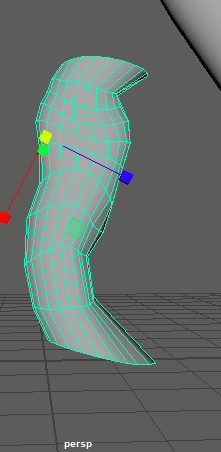
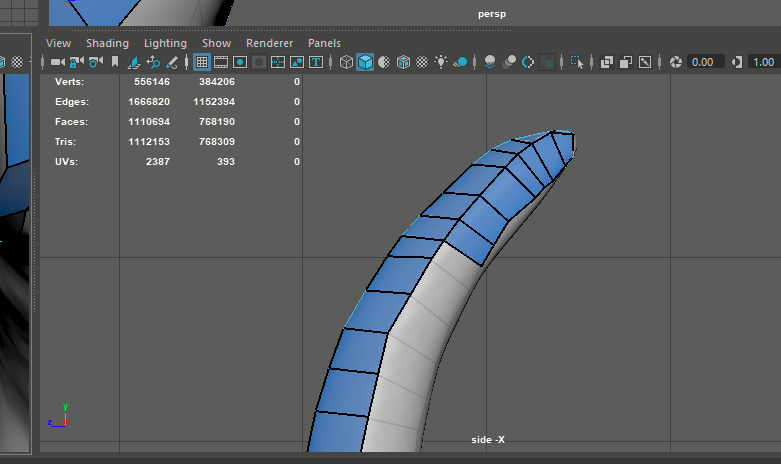
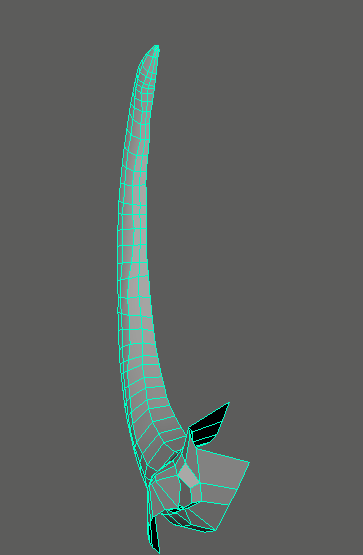
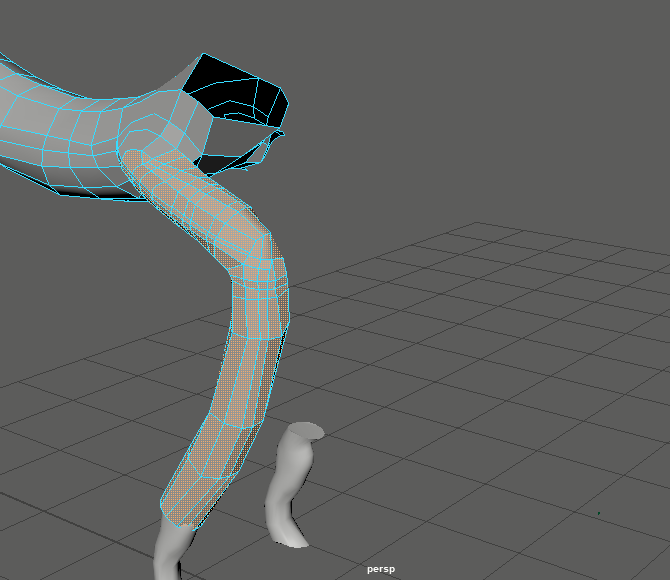
Retopology was the last big hurdle to overcome..and to put it bluntly, it took a while, the model is large and there’s a lot of curves to the model so it needed a lot of extra edges, to add to this my symmetry wasn’t working, however, I found a workaround, the Quad Draw tool creates faces, so all I’d need to do was create the faces on one side and then mirror the mesh on the other side, I tested this out with the tail and it worked all I’d need to do was join them up.

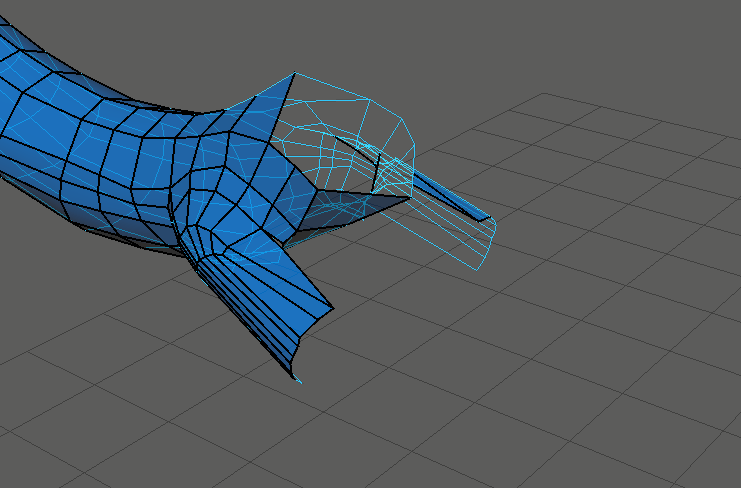
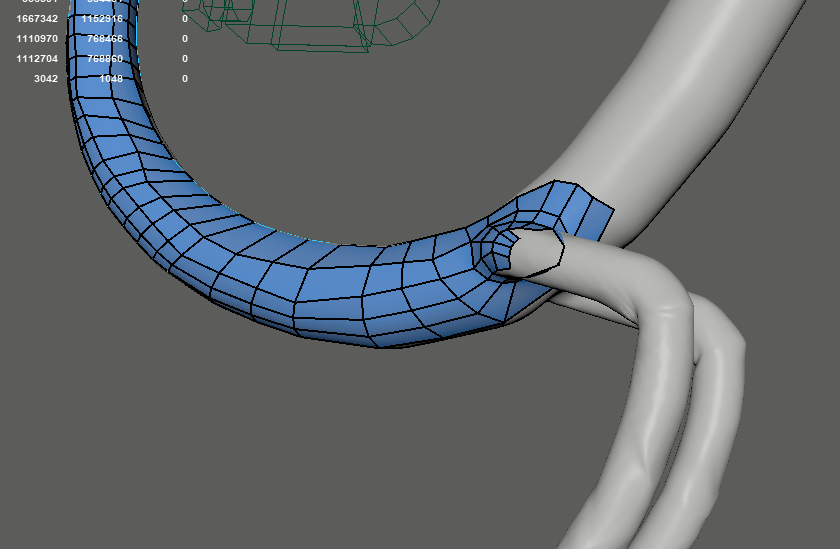
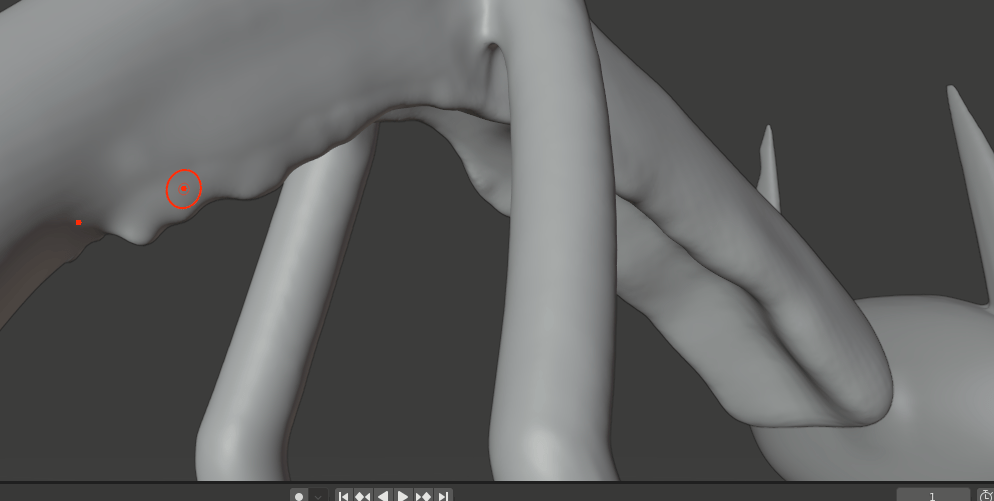
A feature of the quad draw tool was the ability to create edges in the faces with the use of the CTRL key, however, sometimes it would suggest going places that don’t need extra Edges or wouldn’t go to where I needed it, so as a workaround, I then found that the multi-cut tool works on this, and works a lot better as I was able to control exactly where I wanted the extra edges to go.
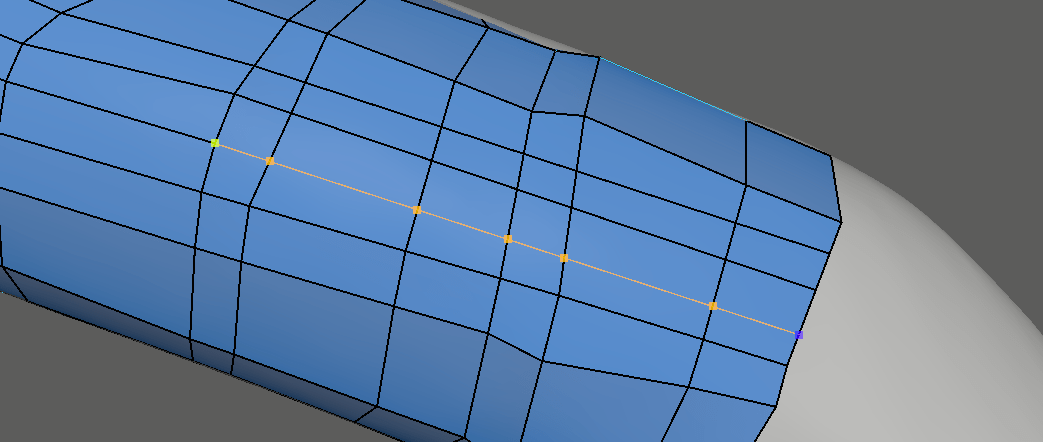
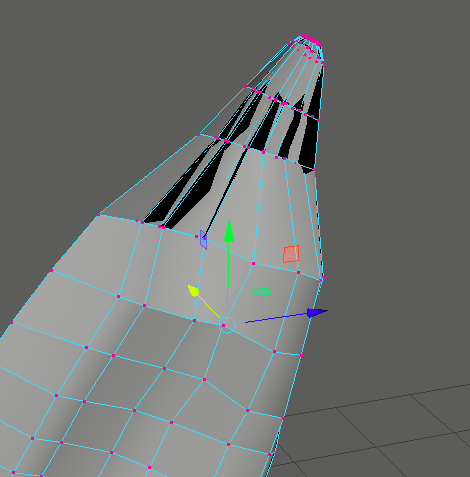
It took a lot of time to do, even having to go into Vertex mode to manually move some of the points out and away from the model due to the quad draw tool being slightly buggy.


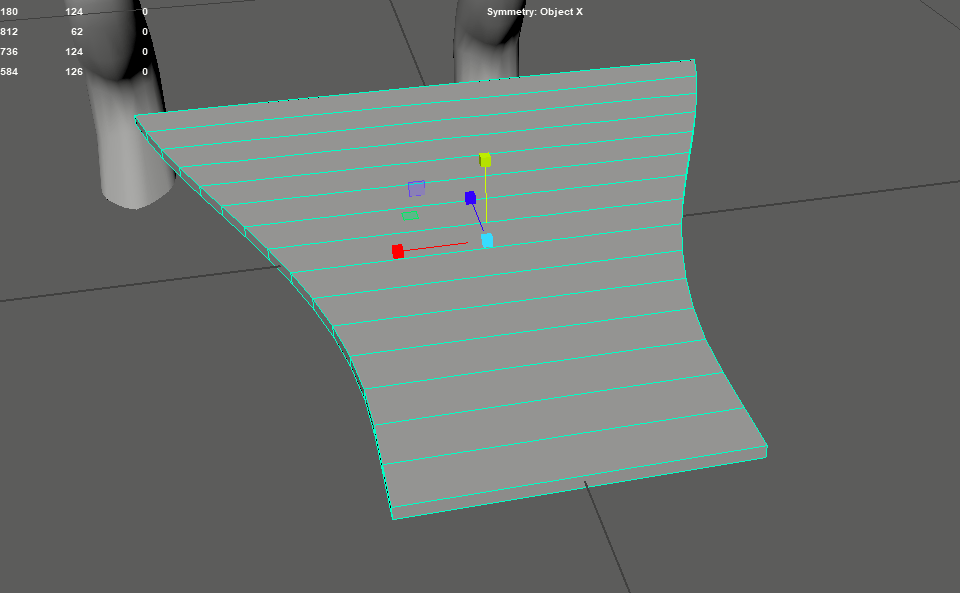
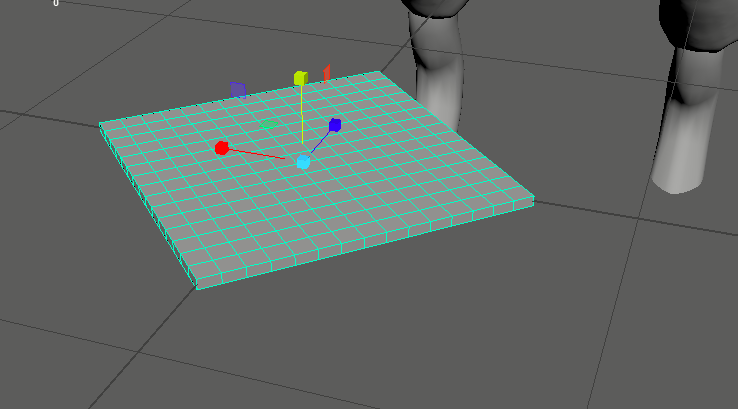
I then worked on the tie, which housed the most polygons, out of all the smaller models, and created a flat plane, the feet, and the collar, I skipped out on doing the cuffs, as they were quite small anyways and I wanted to preserve the model’s buttons.

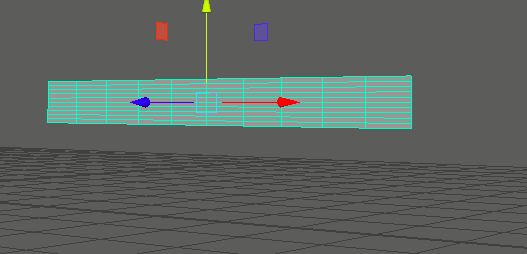
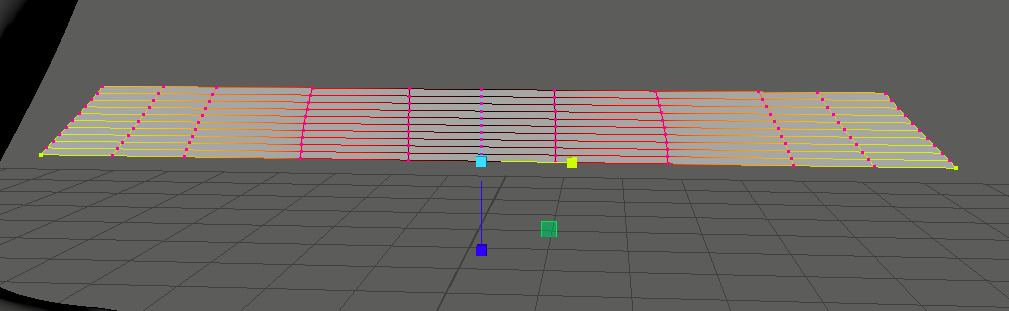
Finally, I began work on the UV map, this took a long time as well, but not as much as retopologizing the model, as I used the planar tool on most of the models to create simple yet effective UV maps.

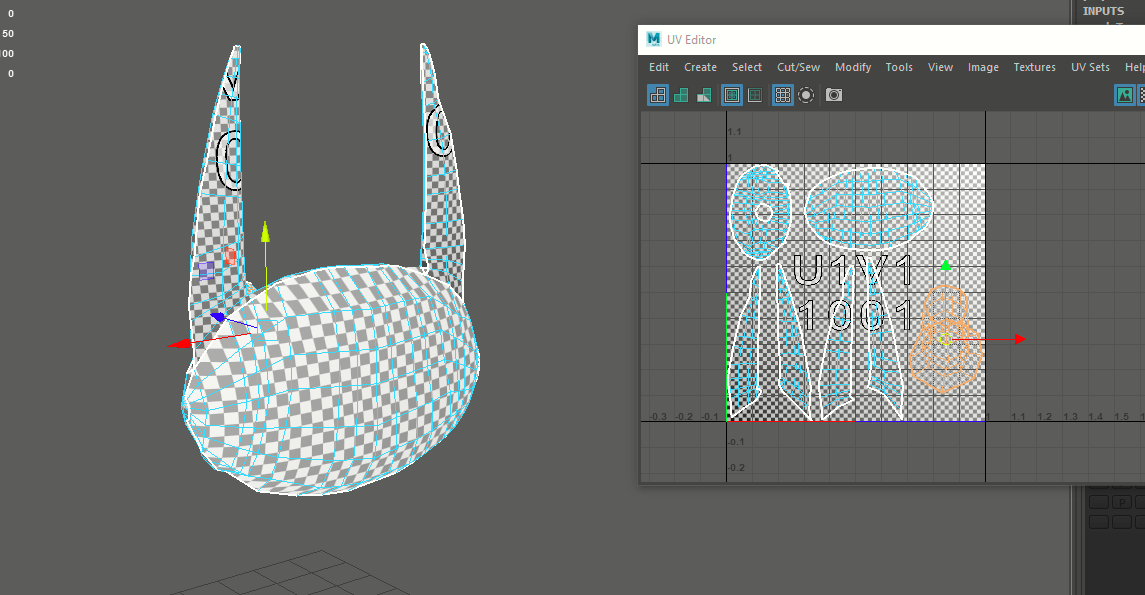

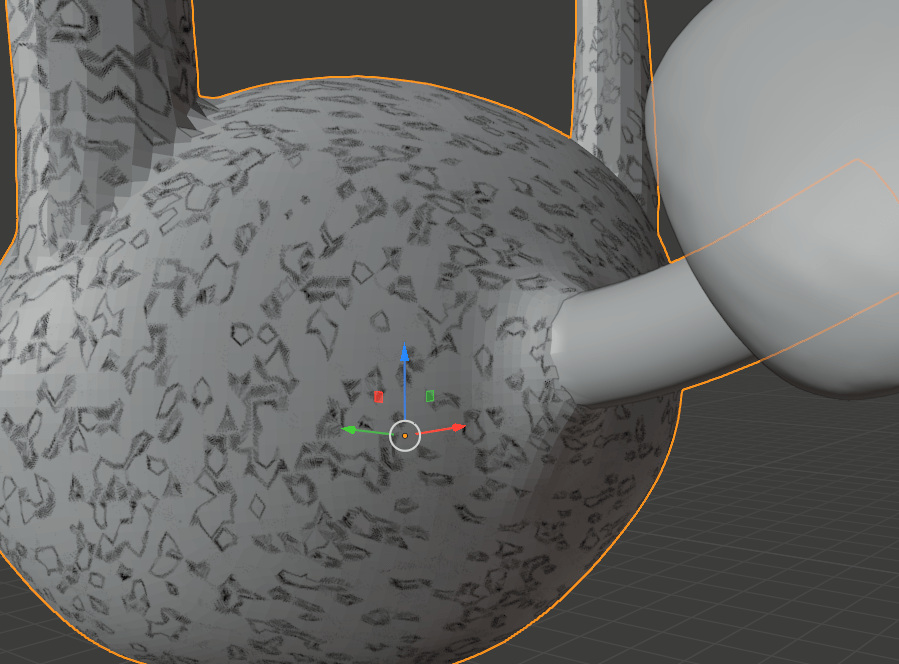
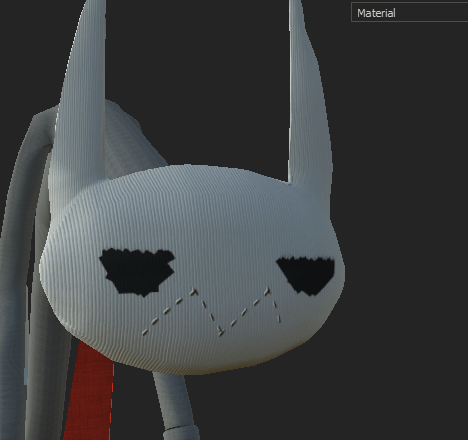
I had to separate several of the model’s faces to create the look I wanted, but after I brought the model into substance painter, I added a suit texture to the whole model and temporarily added a wooly texture to the body where I would later make them more cat-like, till I had an idea, if I kept the simple look I could convert the model and the character into a plush, so made a face out of the stitching.

I then noticed that the back of the tie had no texture, so in maya I extruded the back of it and imported the model in again to substance painter.

I took one final look at the face and decided to remake it before finally uploading the character to substance painter.
https://skfb.ly/o68sr