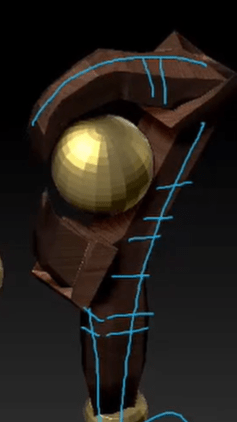
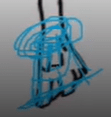
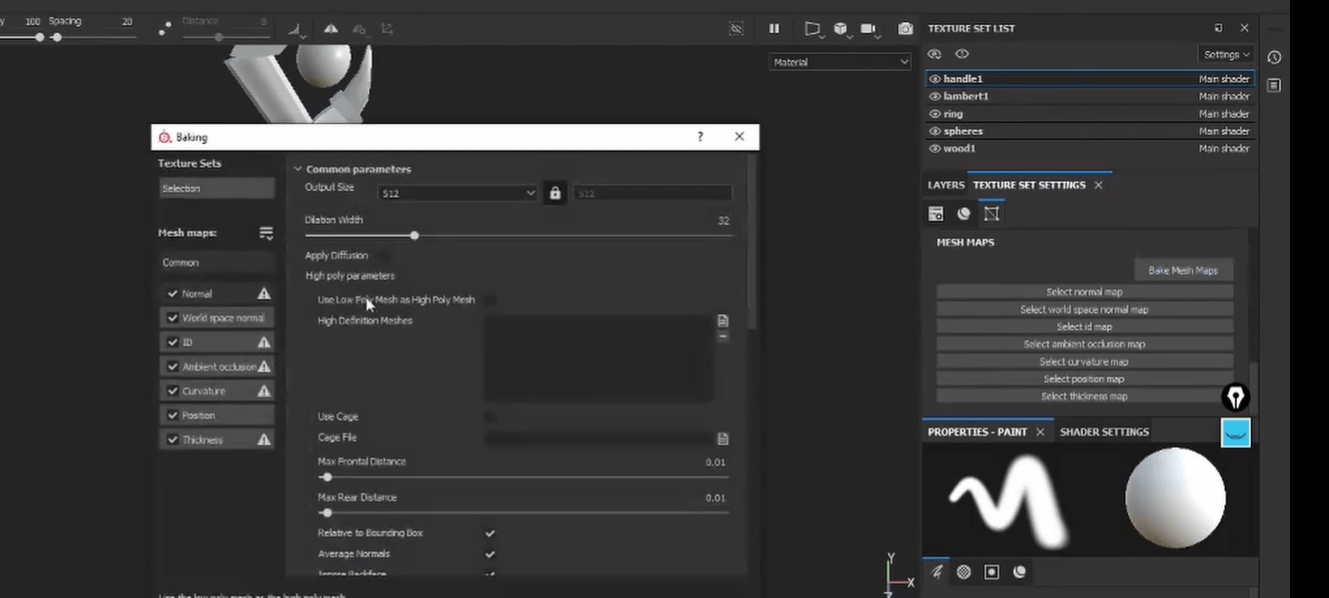
The video feedback back from Henry settled a lot of issues I had throughout my assignment. He seemed happy with the design of my handle and the smaller details around the rings, however he explained to me to bake my orbs before uploading. Firstly to select my orbs, go to mesh display and soften edge.


Another improvement I can make is to follow the flow of the texture. Due to my UV’s being in the wrong directions, the grain of the wood then flowed in the wrong ways. To improve this I would need to use the checkerboard behind my UV’s or an imported image to align each section and to also use more reference images to understand how the grain of wood twists around corners and sharp edges.
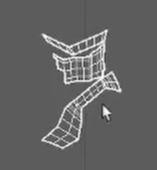
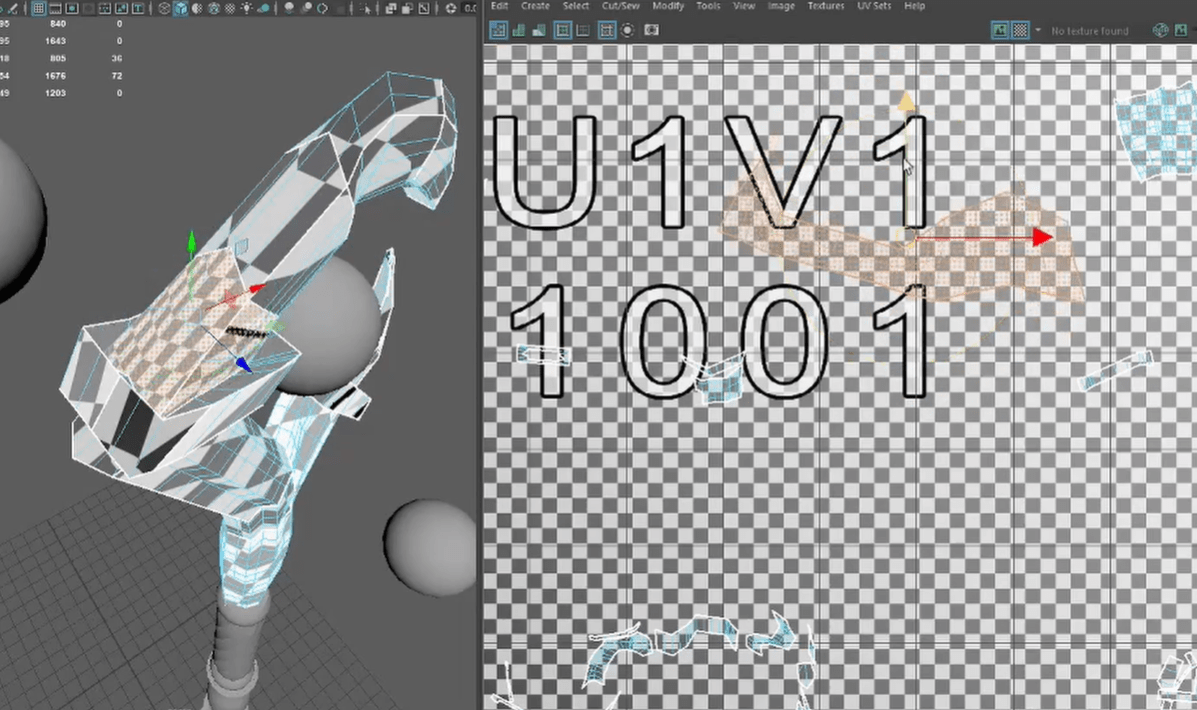
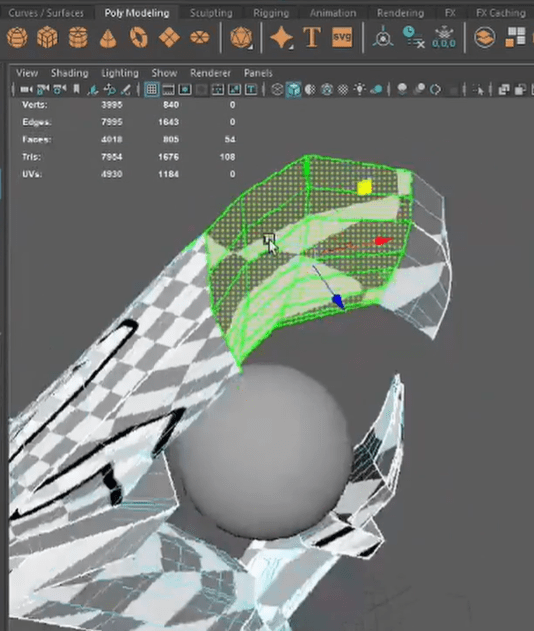
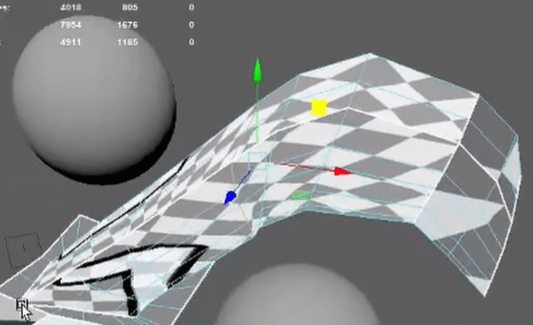
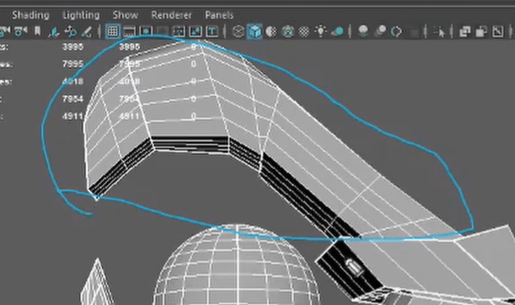
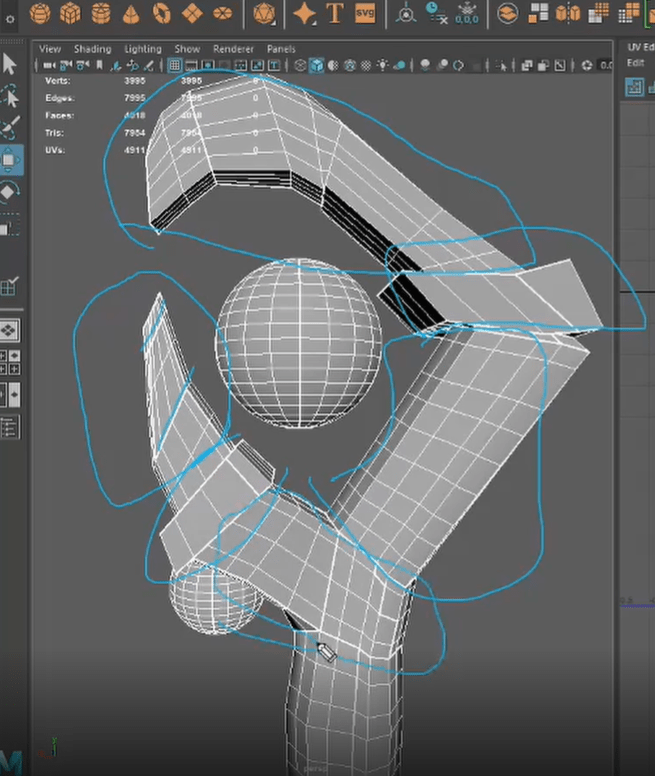
The next main area of improvement is my UV mapping. The positive thing is that when my whole model is selected the UV maps work okay, however I’m now aware to use less UV’s and instead do as little UV’s but do them in larger chunks. One specific map that consisted of smaller faces needed to be stitched together by selecting the edges and stitching them and then selecting an edge that’s slightly hidden to unfold. I’ll remember for next time to keep it simple and bigger pieces.


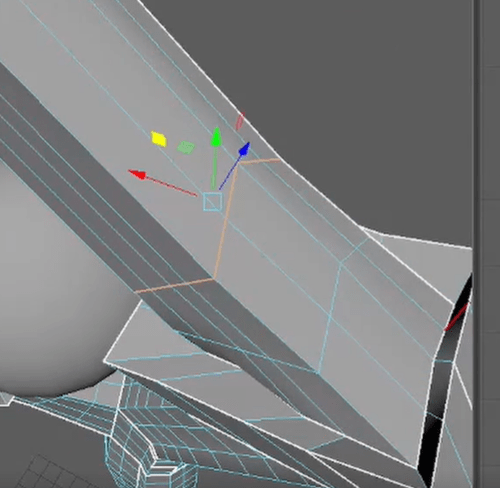

The pictures below show Henry’s comment on bigger portions of my model for mapping and aligning up correctly for texturing.

The next suggestion for my model is the orb I placed at the bottom of the staff. I struggled to create the layered wood I wanted but it didn’t work out so I had to change last minute. However, Henry made the suggestion of creating a box and small planes throughout, as well as possibly adding a rope to hide any imperfections.

I only had two small changes to my blog which is to add in more research about modelling and sculpting, especially to assist in my assignment 2. The other change is to not focus all my research on staffs but to possibly research on canes and the textures within them which would’ve helped in the wood texturing.
The last main area of improvement is the texturing on my model. Before beginning I’ve noted that for my model I only used 1 texture which applied to the whole model, whereas I should’ve separated them.
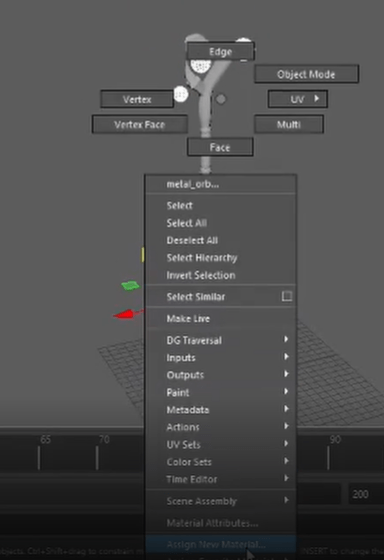
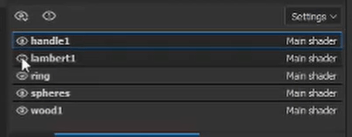
I struggled with opening and working Substance Painter before but I’m going to try a older version so I can carry out what Henry suggested. Firstly I needed to separate my materials then selecting my orbs, right clicking and assign a new material as a lambert and renaming it. For the whole model I need to repeat this to be transferable to Substance Painter.
Finally, the last section was about my upload to Sketchfab. I had a lot of issues with this before but Henry was able to show me how to export and what settings to have it under.
The feedback I was given was a great confidence booster in what I have created so far and will definitely be a huge help in my cute character assignment.


