Beginning Week 2 we went straight ahead to the next major principle “Pose to Pose/Straight Ahead”. Where it involves key frames are drawn from the start to the end with picked poses at significant points whereas the in-betweens are drawn between poses to give a full breakdown of the animation and control over the 2D and 3D animation. It is another way to have a strict timeline of production planned out in a way to show storytelling of the character’s storytelling.
In our module we were given the task of animating a character with 3 – 4 poses that lasts 2.5 secs, strict timeframes between the 2D and 3D and consider anticipation, fellow through and overlap and blocking breakdowns. Using the resources from blackboard I downloaded the Rain. Rig from blender studios and saw Mike’s videos on the Origami boy rig and how he demonstrated the blocking and anticipation within the whole animation and poses. Afterwards I went back to the principles to look more closely and have understanding of the anticipation/exaggeration, pose to pose and overlapping.
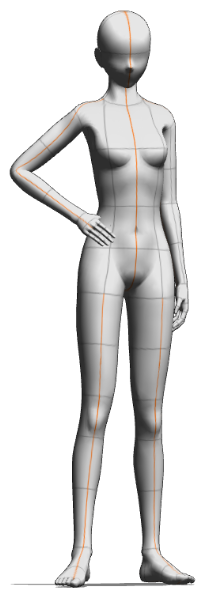
After downloading the rig for Blender, I quickly looked and sketched poses for the model and went ahead by adding the poses into the model. I first had some problems with the IK FK Switch as I did them without adjusting the rigs as I ran into glitches and tried to solve the problem, luckily Mike gave me the insight I needed with the bone collection of the main controls which logically and physically made it possible for the armature to move like a person instead of moving it too freely. Whereas I continued with poses and researched ways on how to make it more anticipation with secondary action and follow through with the blocking for one part of the frame to move from A to B.


I collected random poses here above to give the rig more gesture and emotion (without facial expression) and looked at more videos on better posing and blocking with the assistance of the line of action and body shape once the main body, arms and legs to fit the rest of the poses with more emotion for the rigged character.


Later on I moved onto the overlapping action and in-betweens with other parts of the rig which involved the feet, hair, eyes, hands, fingers and clothing. I focused on the feet to make sure I knew how to get to point A to B with keeping the initial location of the rig and made movement a step or hop for exaggeration. I did the hair next which I gave it an arc for having the flow and weight side to side to make it life like than it was the hands and eyes to make sure they followed through with the moments. Whereas I went on Graph editor to clean it up with the curves and frames especially the hair movement following an arc.

I finally finished it and I reflected how how it was for rigging isn’t my biggest strength in 3D but after reviewing this week I’m glad we refreshed our memories of it here on Blender to make our animations smooth and fix problems were facing with IK/FK switch and the graph editor as I always forget near the end of the animation stage. Here is my final video of the exercise.