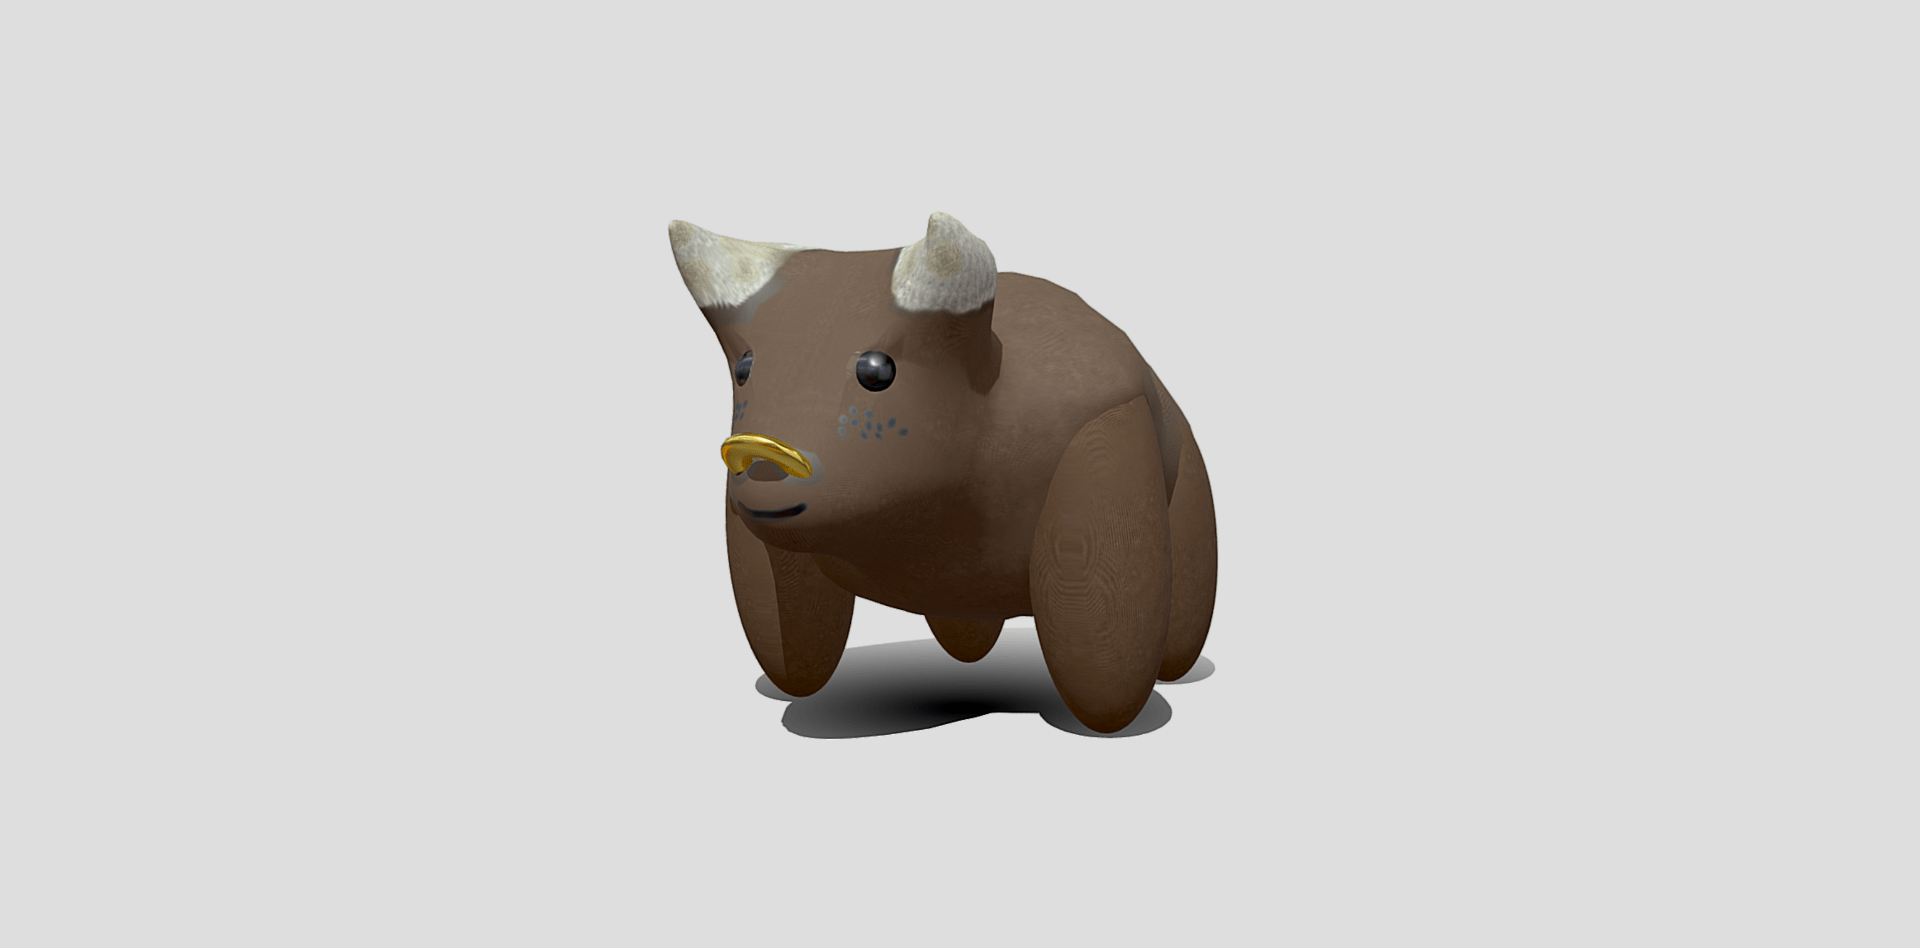
For my cute character assignment, I was quite with my outcome. Due to timing issues and other responsibilities I had great trouble with exporting the UV’s and textures for this model from Maya to Substance painter and it was therefore a great opportunity to do some of my own trouble shooting on each software. I am happy with the model itself after retopologising the original FBX export from blender. This project has been a serious learning curve for me, as I moved closer to the deadline. It has made me realise that most of the time during projects you are guaranteed to run into technical problems and mistakes that need to be fixed. Overall, I am very pleased with my cute character model, and I believe I have succeeded in making a cute character with a very limited number of polygons I am happy with the texturing of my model in substance painter and the techniques I have used to make some of the details pop. This assignment has advanced my working knowledge of Maya, Substance Painter and Blender, for that I am very grateful for the process I had to go through in order to finish the project.
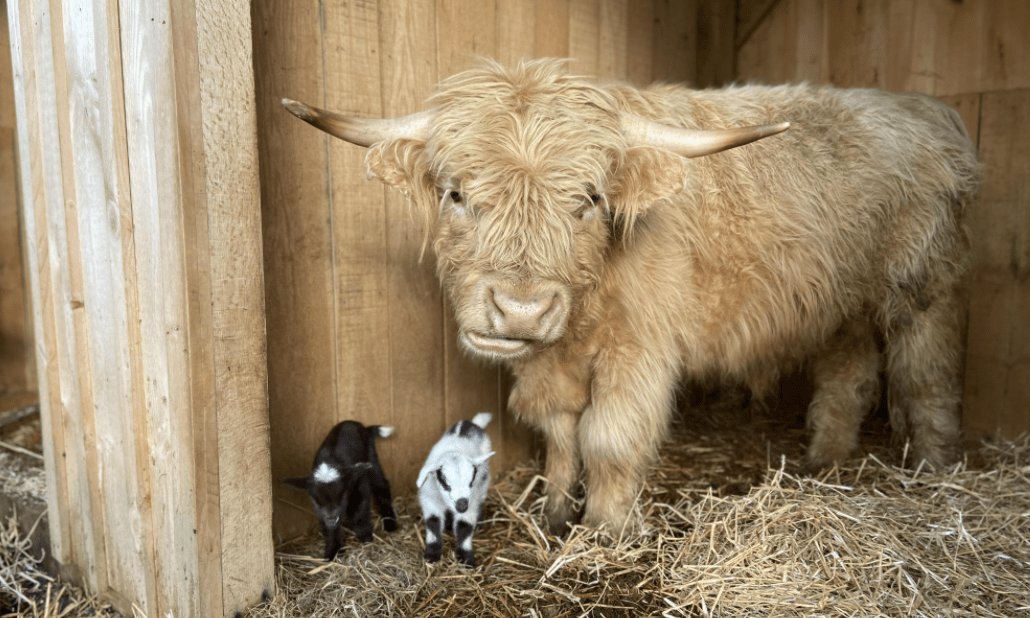
Visual reference for the Bull Character, alongside some underlying references used to take inspiration from for texturing my character;
visual bull references:

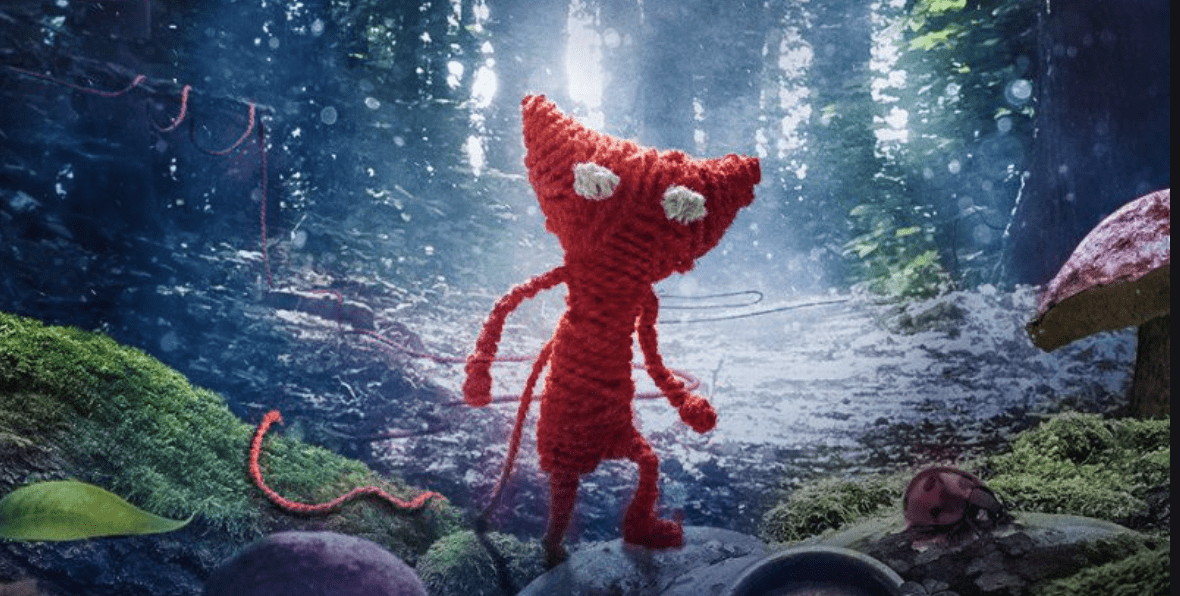
Texturing references from Unravelled:
From “Unravel”, I took inspiration from the slight markings in the material of the character to make it seem like it is constructed from string, but with my character, I made it very subtle and included marks to show age in the material and chose a fabric like material too.

Original Sculpted model in blender:
Below is my final sculpt in Blender, The main tools used were the Grab tool, Scrape tool, Smooth tool and Snake Hook tool. It was made up from 5 different Iso spheres, which were then positioned and adjusted to represent the basic areas of the characters body.

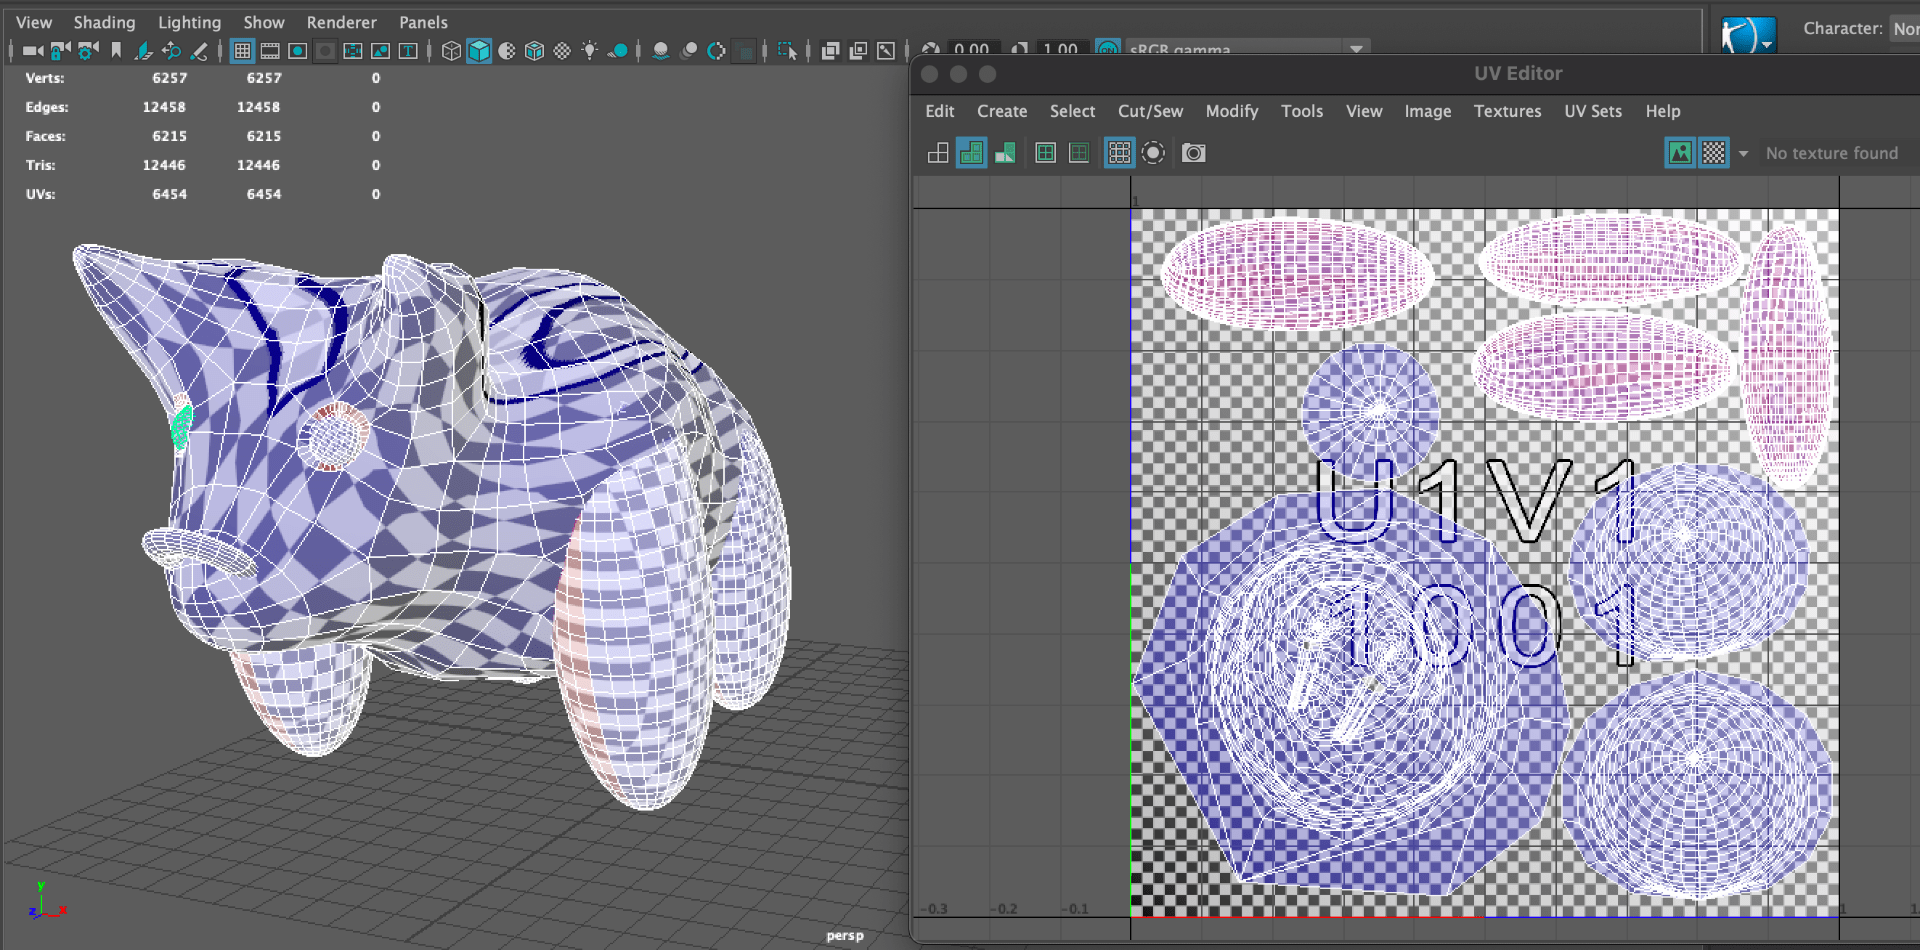
Progression with my UV Mapping:
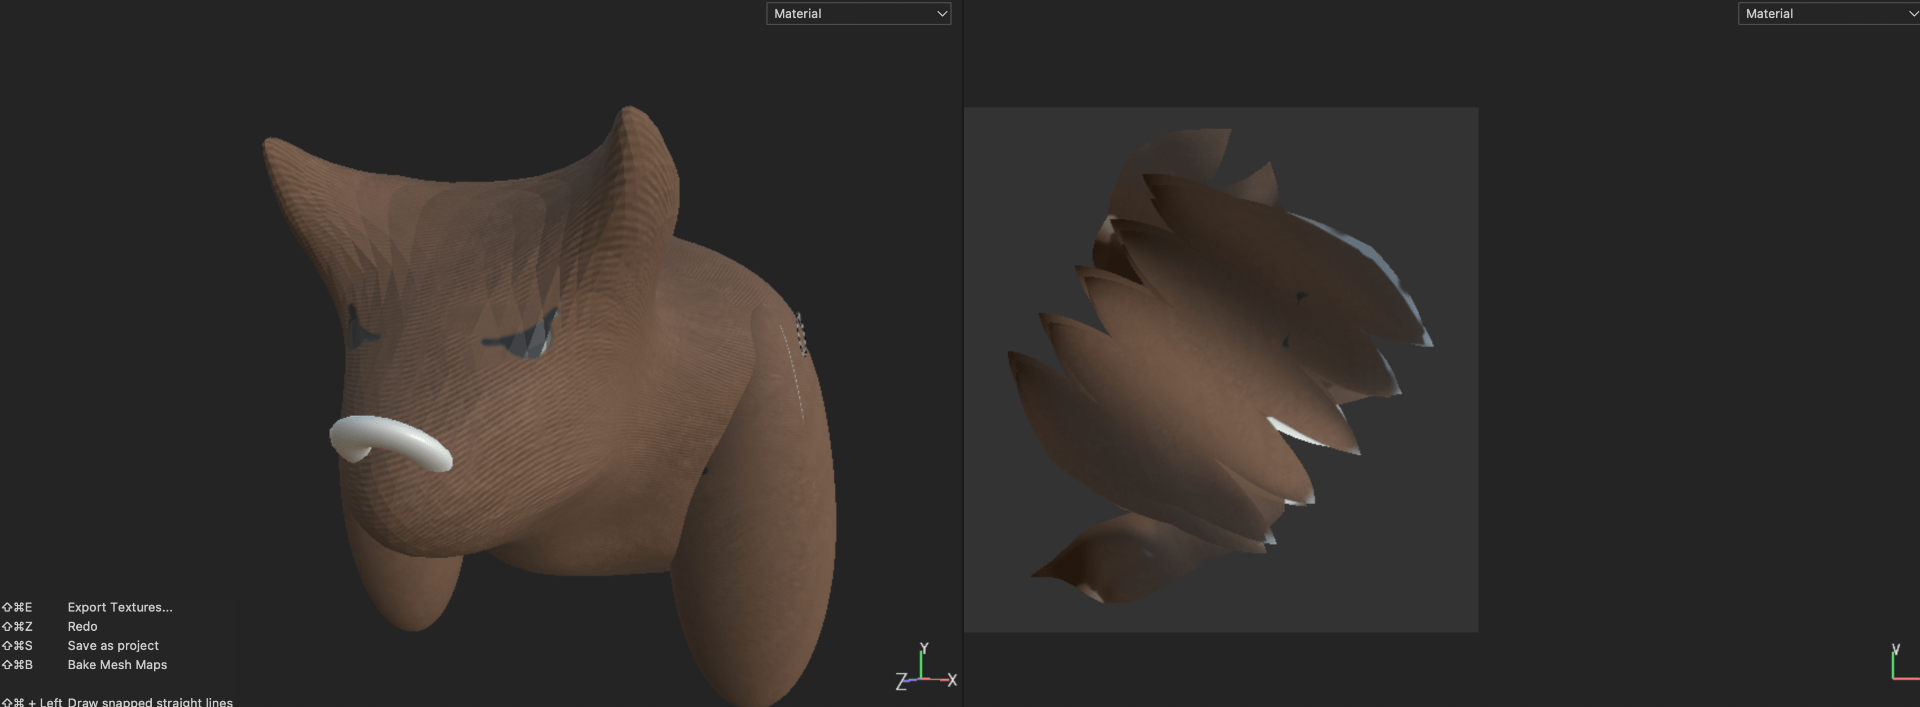
After completing my sculpted model in Blender, I exported the FBX file into Maya to prepare for texturing. I started off by attempting to completed my UV’s when I first imported my model from Blender. This proved very unsuccessful and in this process I also realised my Poly count was far too high. To fix this problem I retopologised each part of my model to have the poly count lower than the required amount. This made the UV mapping far less messy and much more of an easier process.
The original UV maps and textures:
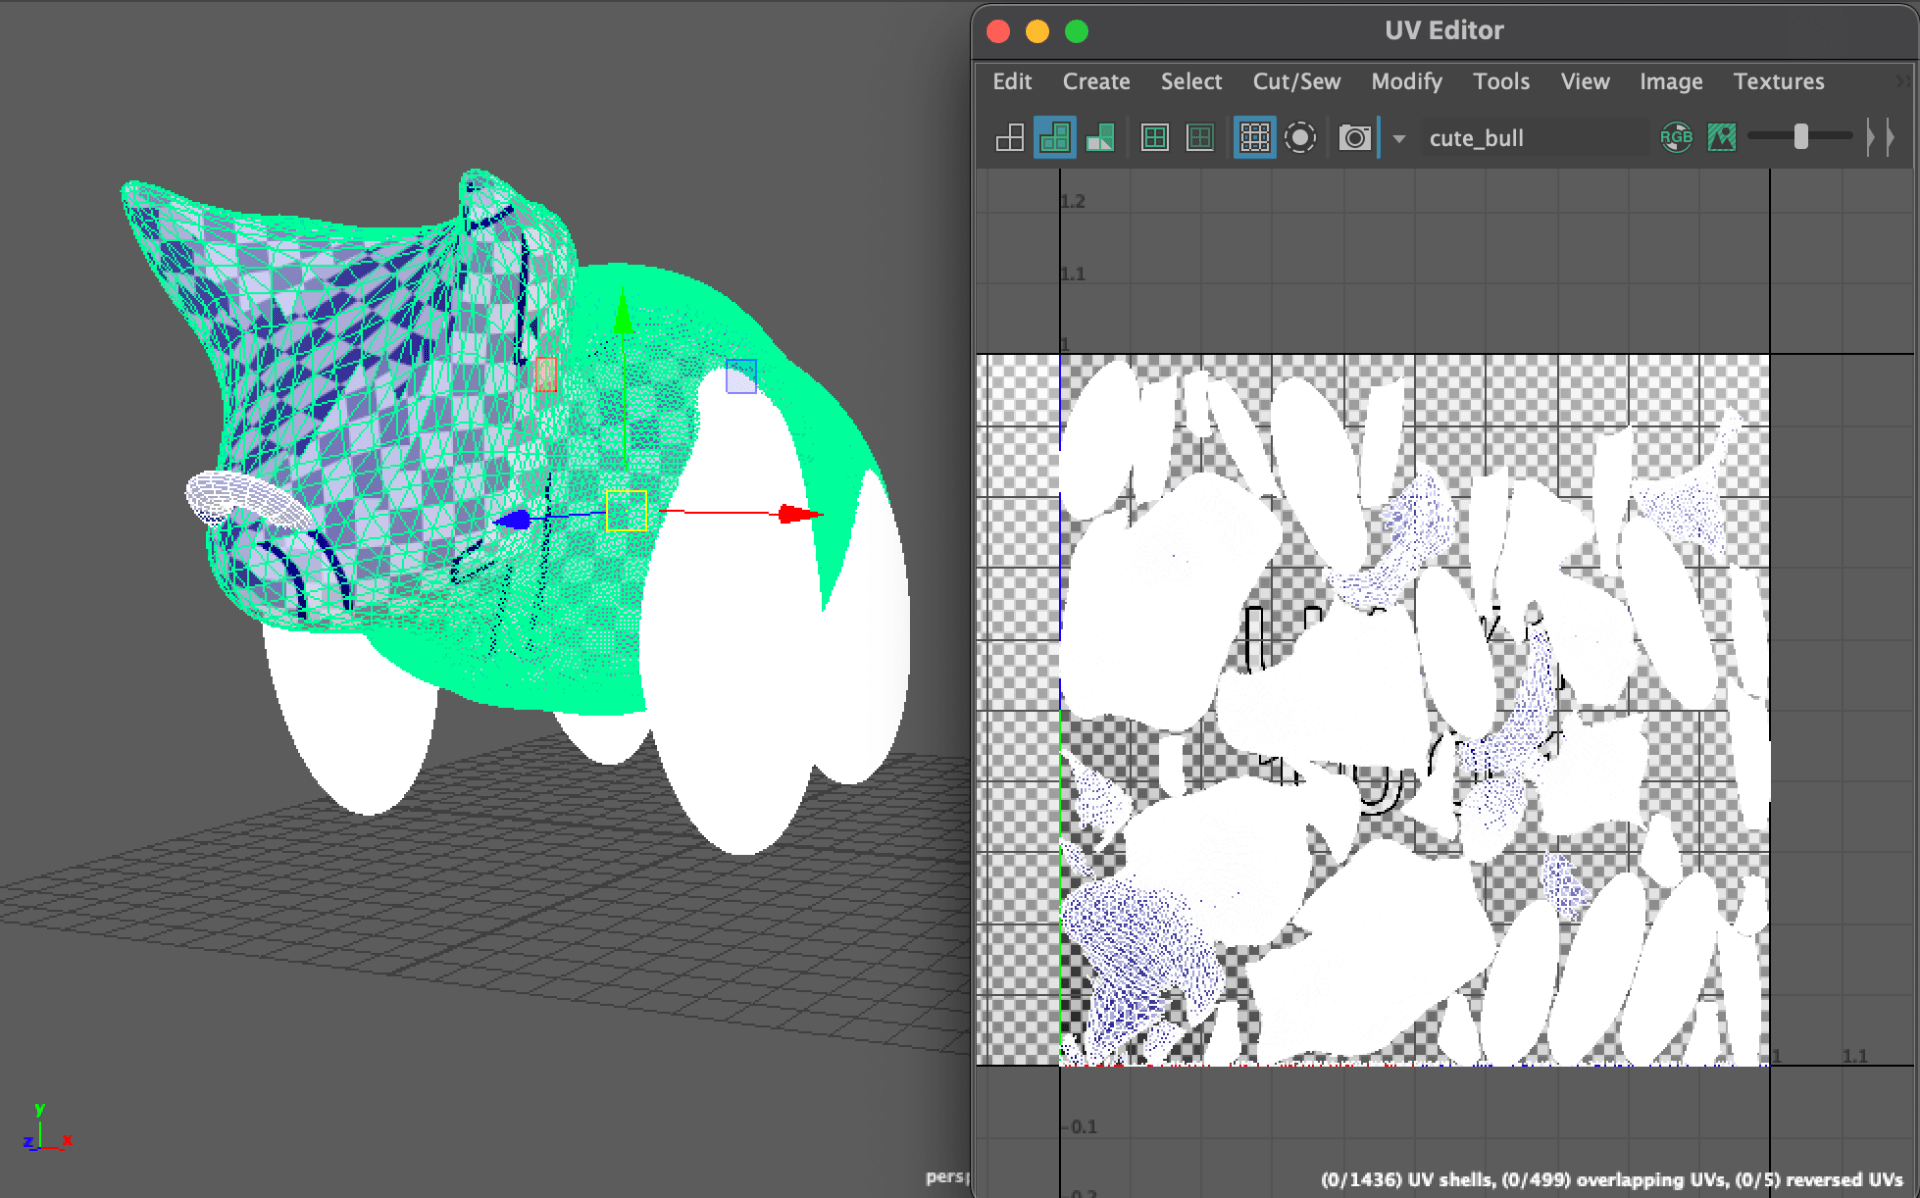
The final UV maps and textures, with my retopologised model:
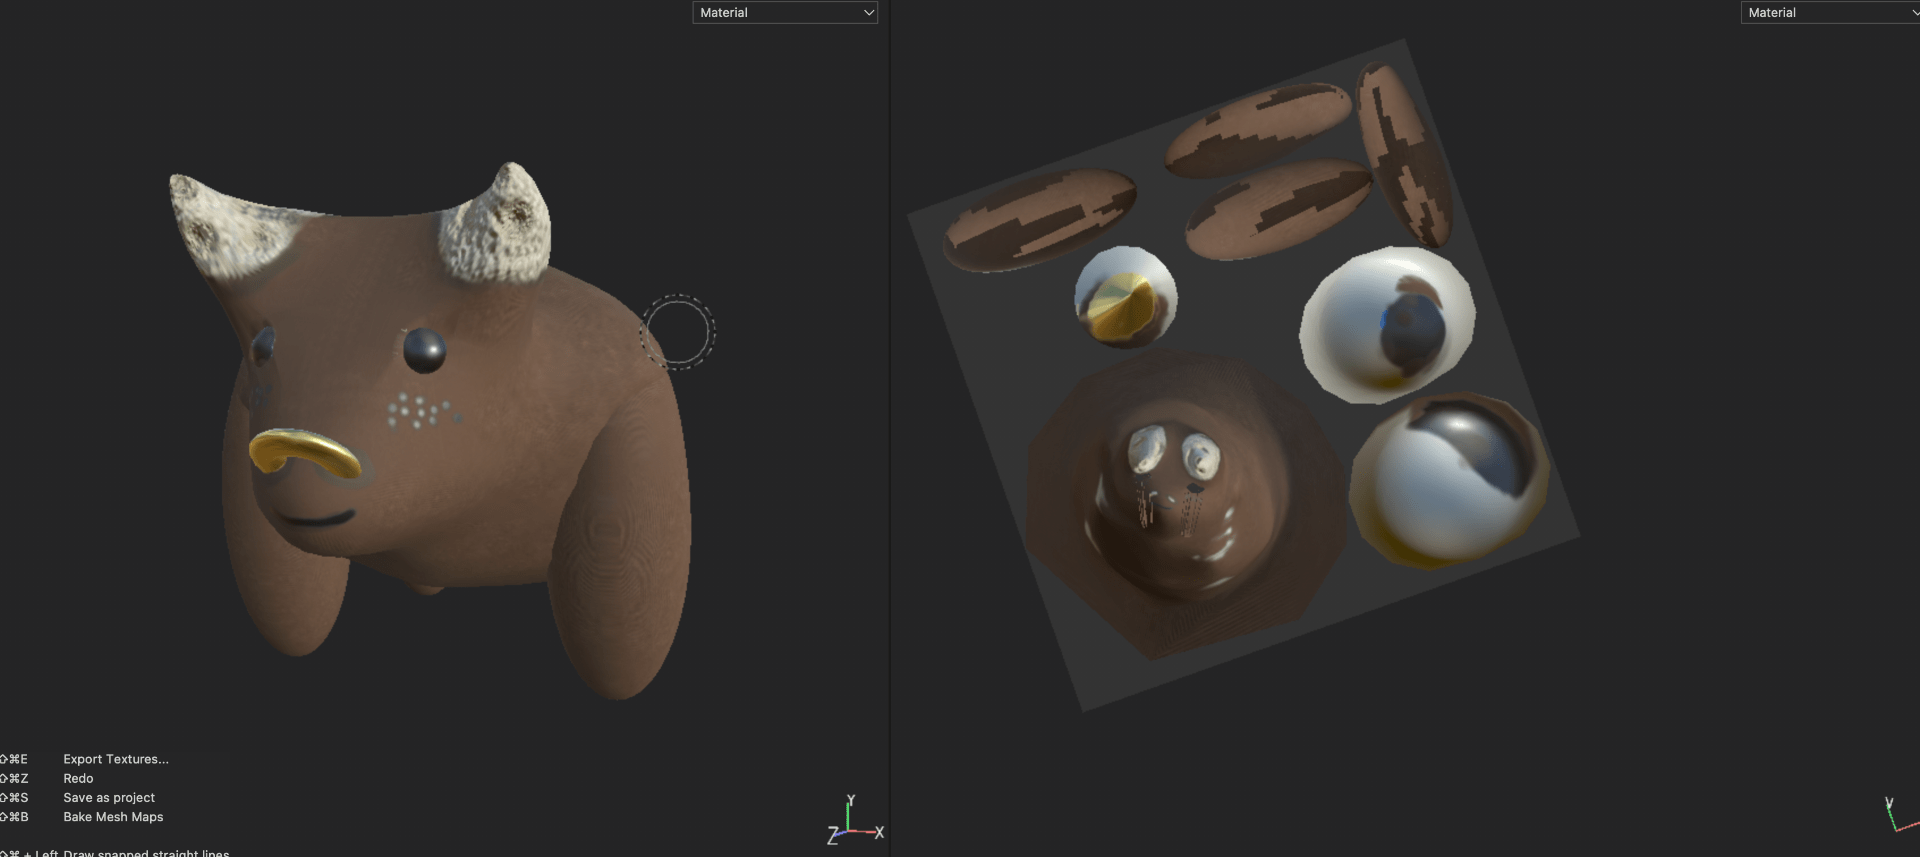

Texturing techniques used:
A bullet in wall marking tool was used in the bone of the horns to seem like this cute bull has possibly seen some action in its lifetime.

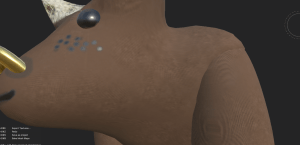
A black metal material was used to give the bull freckles to add to the cute factor of the character and contrast the more violent features such as the chinks out of its horns, made with the bullet in wall marking tool.

A soft fabric material was used on the body of the character, and was repeatedly dabbed onto the characters surface in certain areas to give it more of a worn look.
Below is my final poly count for my model and the sketchfab render: