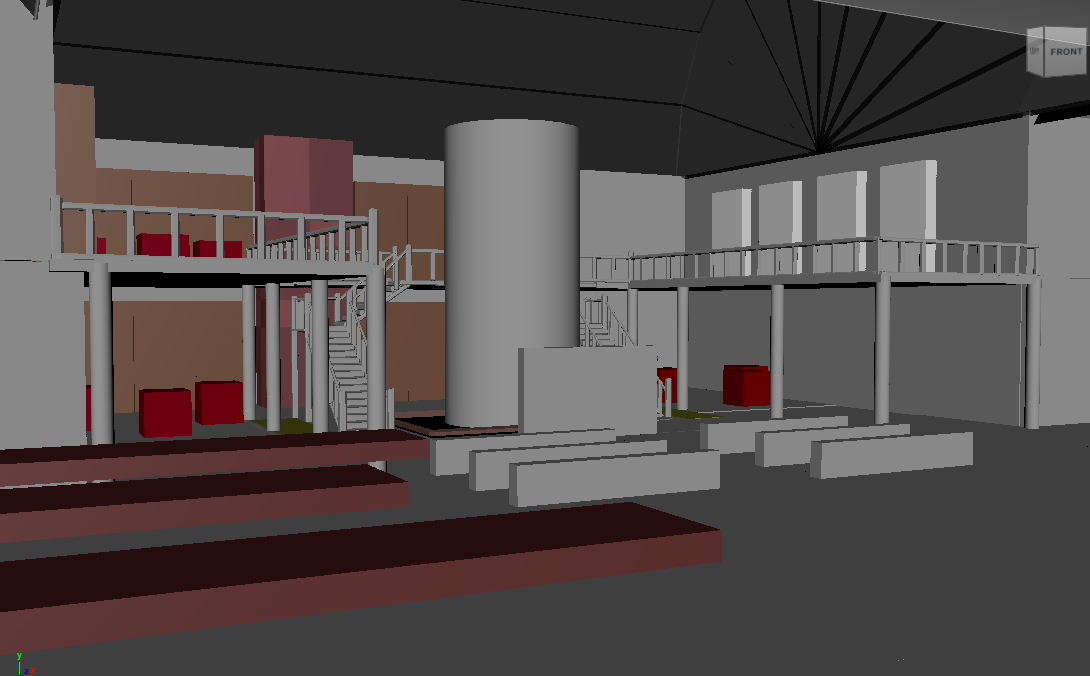
My laptop couldn’t handle lighting the scene, and the PC in my house couldn’t handle rendering so I went to Uni to use the computers there to render it after getting an extension.
I had some issues with the rendering, as it broke at one point and kept rendering the same scene over and over no matter what I changed so I restarted the computer and it seemed to fix it, though I’m still not sure what was going on there. I also failed to realise I had to increase the size of the camera cuts section as well as the length, or it would only render the parts in the camera cuts. So I had to do some last-minute panic rendering as I went to make my cinematic and realised only half the shot had been rendered for 3 shots.
I followed the instructions in this video to try and make sure my renders looked as good as I could get them to.
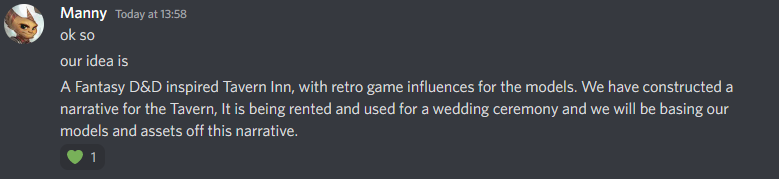
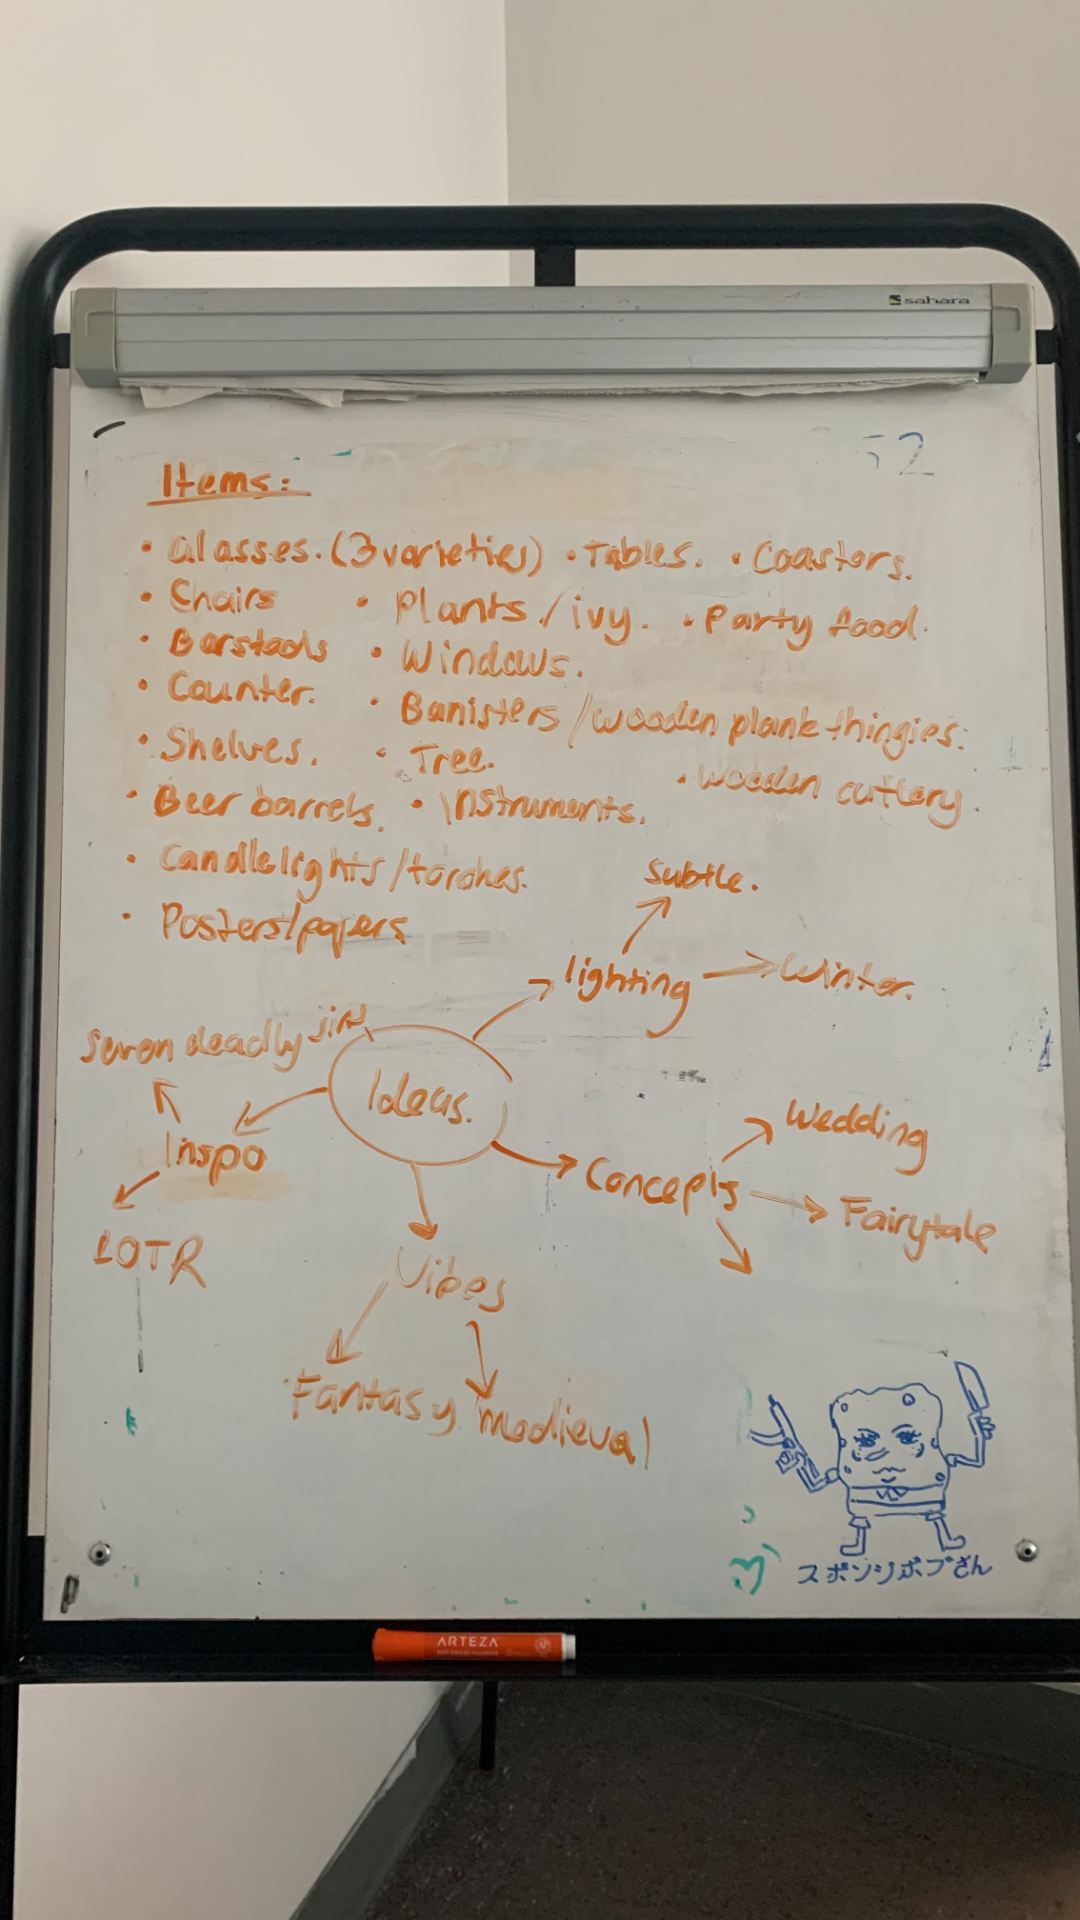
Ellie and Manny worked on the basic layout of the walls, floor and stairs while everyone else finished up models and texturing. As a group, we had agreed that we would use the same base and fill out the insides differently with our own visions of the tavern.
Adding my models
Transferring all of my models into the Unreal file for people to use proved to be pretty easy, although I had a few problems with some of the FBX files due to forgetting to turn smoothing groups on and my less than impressive storage file of FBX files. I did clean up my files to make sure I’d not get so confused in the future, especially if a group member asked me for something, I didn’t want to send them the wrong file or something.
I originally had exported all of my textures from substance painter in the default settings, before Ellie informed me that there was an Unreal package version, which I had seen previously but forgot to look into. I re-exported them as the correct files and brought them into my scene, although I think by that time my group members had just used the original ones.
My laptop and the PC in my house were struggling a lot so I looked up ways to try and fix or optimise the scene, as the main error was ‘out of memory’. I think doing this helped, as I was then able to run it on the Pc.
Window Credit
We used a model in our scene that wasn’t made by any of us for the smaller tavern windows. The Tavern – Wall Window was made by François Espagnet, and is licensed under the Creative Commons Attribution.
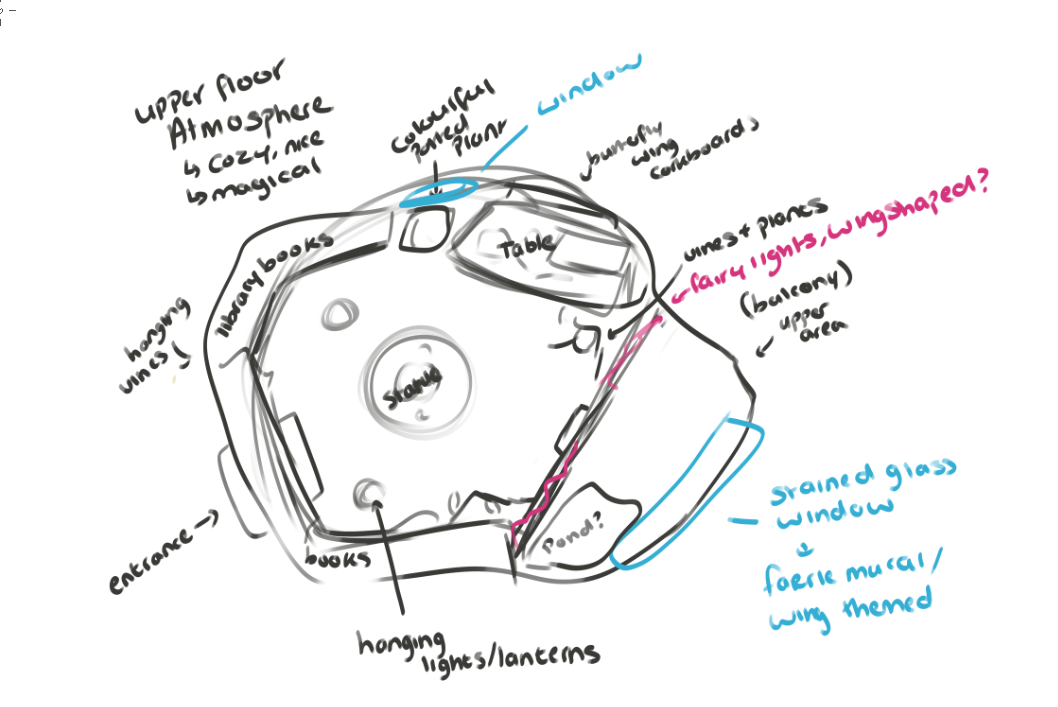
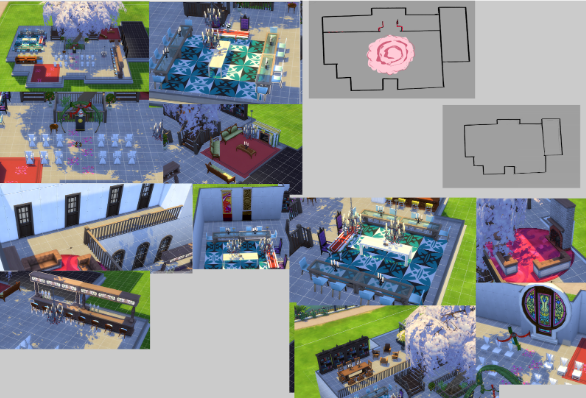
Laying out the scene and Lighting it
I had some issues understanding the blueprints and references, etc at the beginning but eventually, I sort of got the hang of it. Though blueprints still mildly confuse me. I’m quite proud of my layout for the scene, and I like the colours I chose to use from the different variations, as I was trying to stick to a colour scheme; especially with the lighting.
I watched some videos on lighting for the sort of vibe I was trying to achieve in my scene.
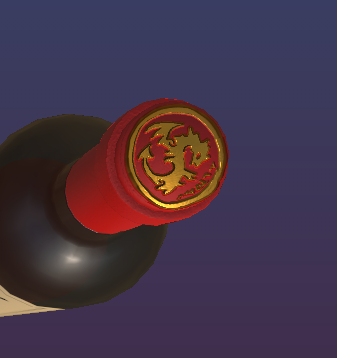
I tried to put more effort and time into texturing for this assignment, as in my previous semester I hadn’t played around with substance painter in too much depth, in my opinion, the textures were quite simple. I had a go at hand painting details, like the label of the wine bottle and shading in the fireplace. I also learned how to use the opacity and height maps properly, as last year I failed at the height ones epically.
Before modelling most of the props or assets, I created concepts for the model. I mainly concepted the bigger models, or the ‘hero’ props I thought would feature more in the scene or that were very important to the theme tavern wedding.
I admit I was a bit out of my comfort zone as I’ve always loved the look of stylized art and scenes but I’ve always personally found it easier to go for realism. So this pushed me to try and adapt to a very different style than what I usually would.
Glasses and Tankard Concepts
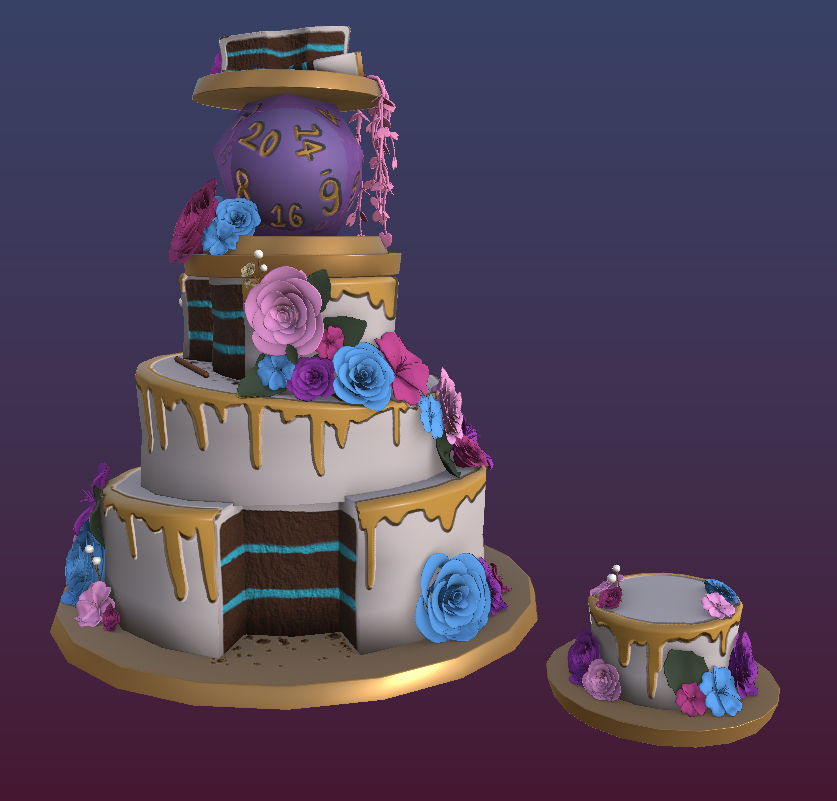
Cake Concept
1st is the full cake and the second is the cake after the party, so it’s been cut and eaten. The top layer is set to the side, as there is a tradition that you keep the top layer to freeze and eat on your one year anniversary.
Chandelier Concept
Fireplace Concept
The fireplace was originally meant to have a fireguard on the middle section that was shaped like a dragon, I was going to do this with a plane and texture maps. Although since I was running very low on time, I cut that part out as I thought it’d be very time-consuming.
This week we were given some models to texture in accordance with a chosen art style, along with some tutorials. I decided to try the photoshop filter texture methods in the tutorial, as well as the gradient colour maps so I would know how to use them in the future.
This is the textured tree
I was trying to match the art style of Valkyria Chronicles, though I think the lines would be best added in unreal as a shader.