Animation Strategies – Week 5, Lighting and Post-process effects

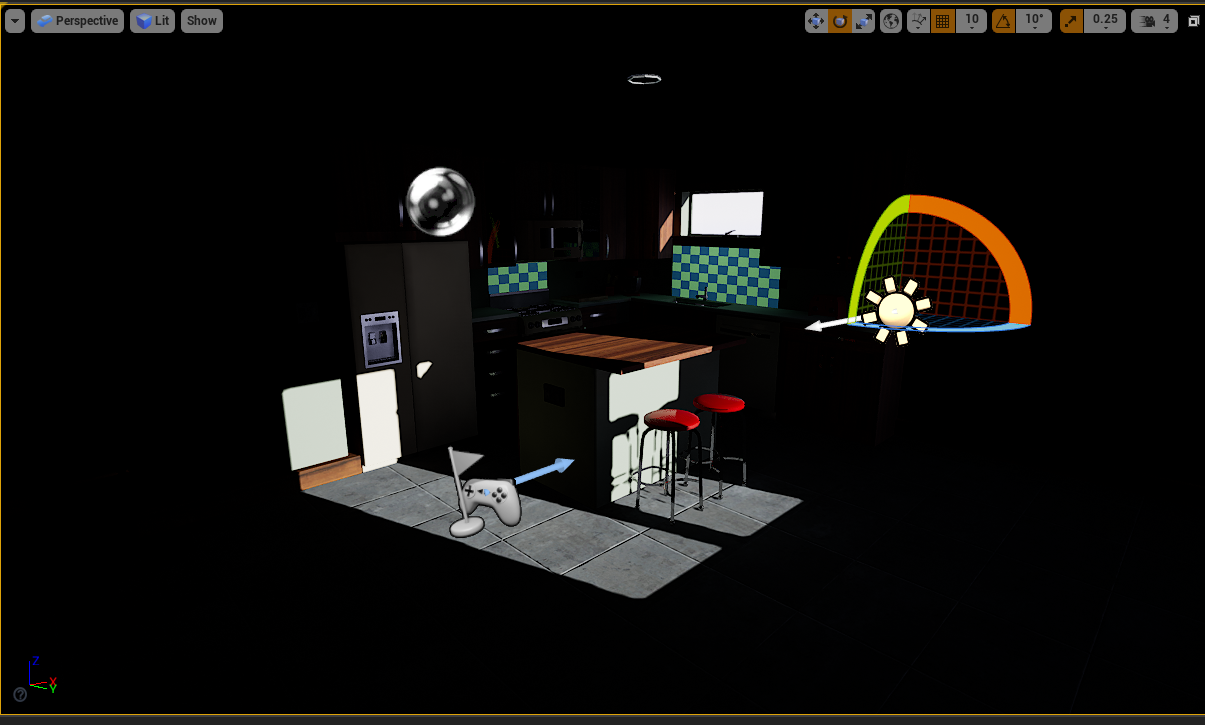
Started by altering the light map, and baking the light for the first time.

Added spot lights to the windows.

Added a rectangular light to the out of camera wall, gave it a pinkish colour.

After adding an emissive texture to the materials above the cooker, an example of adding a light source to a scene without actually adding a light.
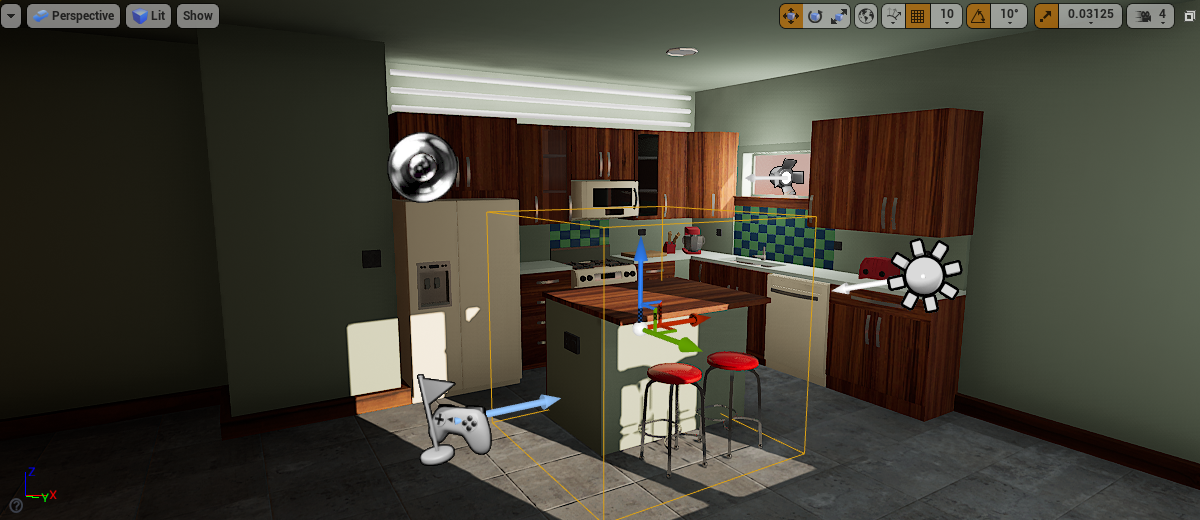
Added post process volume.

Added Lightmass Portals.

Adding and controlling bloom effect.

Adding IES Lighting.

Emphasising Lens Flare.

Light Shafts.

Manipulating the colour of the shadows.

IES Light.

LUT chart to influence colouring of scene.

Node map for flashing lights.

Node map for water emission from point light.

Adding cell shading.

Animation Strategies – Chosen wall textures, floor textures and testing in UE5

I textured the kitchen scene:

Then moved on to some project texturing

The wall textures that I have settled on, still pending approval from the other members of my team.

These are the flooring textures, also pending approval from other members of my team.

These are how the textures applied and appeared in UE5, I wanted to test this to see the textures under lighting and how they felt together.

I also began modelling one of the TV assets. This was the first attempt, but I didn’t like it, based off of the reference below:

TV Asset reference

I tried following a guide to make a retro TV, which was helpful but when I started to manipulate the shapes of the TV it looked a little odd:

These are better than the first attempt, however I think I will need to work on them more and see how they turn out.

Animation Strategies – Week 4, Bringing textures and applying textures in UE5

This week we were given tasks to bring some textures and animations into UE5.

Colour and metallic textures to some UE pre-made props:

Wood grain textures, depth of normal maps to show the grain of the wood textures, node editor to allow for rotation of tiles:

Transparency textures to a prop, Animation internally:

IMG_5053

Animation added to flat planes to show movement:

IMG_5055

Animating water:

IMG_5056

Applying emissive textures, using texture to light the scene instead of using lighting:

Applying Decal:

Next I want to complete the kitchen scene lighting and texturing before class on Monday.

Animation Strategies – Some test texturing

As the look of the walls lay in the textures, and no UV mapping is required for this, I decided to do a little bit of experimentation with the wall in textures today. I tried to use the image below as a reference, I think perhaps I could look at adding a few little lumps and bumps to the metal to make it look dented, but otherwise I’m pretty happy with how this is looking as a concept.

This was the chosen result for the wall:

Animation Strategies – Week 3, Refresher on Textures and Wall Sculpts

This week we were tasked with presenting our concept, ideas, concept art etc. to the class. After this, we were given some tutorials to follow to give us a refresher on texturing and substance painter:

This was the tree that I textured from that tutorial.


I spent this week and some of class thinking about the walls of our environment, as I have been tasked with modelling and texturing these. I went for a modular approach to this, and wanted to ensure that the metal wall panels were quite uneven and crooked to keep on style:

I used the following references for this:

I particularly like the references above because of the strange angles and the stylistic elements, and when I texture the wall after it’s been approved, I want to go for this sort of look. Quite reflective, but scratched and buffed.

This was the wall after bevelling in Blender, then I went in with some details:

I thought this was a little too much, since the style we’re aiming for is a little more simplistic, so I just decided to buff out the edges of the wall:

I then added some mock bolts etc. just to see what that might look like, these are by no means the final models, I will be taking them to class on Monday to review and see where improvements need to be made. With this reasoning in mind, I will likely leave texturing for a while: