For this assignment, we were tasked with modelling, UV unwrapping, texturing and real-time rendering one of the following:
- Windmill
- Mantel Clock
- Treasure chest & treasure
- Sword & shield
- Sci-Fi door
- Old Well
- Magic Witch / Wizard Staff
I decided to go with a “Sword & Shield” for this assignment as it was the first idea that I started to have ideas for after reading the options. I had a rough idea in my head of what I wanted both the sword and shield to look like, as well as where I would be drawing my inspiration from. I wanted the sword itself to have a distinct shape for its blade as this would give it a more interesting appearance and also give me slightly more freedom when it came to modelling because I wouldn’t be tied down to making it realistic.
One of the major key influences for the sword I wanted to create was Riven’s sword from League of Legends, I loved its overall design and I thought it would be relatively simple to create a similar blade using a flattened cube shape in Maya. The falchion and cutlass were also both used as inspiration for my sword model as I felt by adding the handguard, much like the one on the cutlass, would add a more character and detail the weapon.


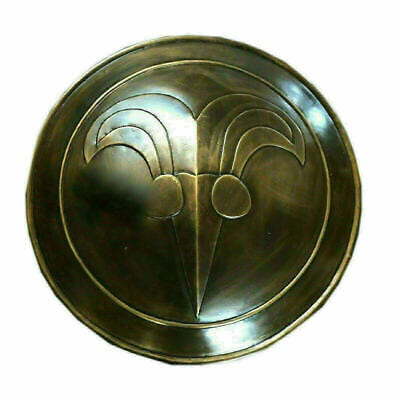
For the shield I knew I wanted to have some form of wooden, Viking/Celtic shield, because I am new to 3D modelling in general and thought it would be good practise to add in the details of the wooden planks running parallel to each other in the shield. By keeping the overall shape of the shield circular, it would give me more time to focus on adding smaller details.


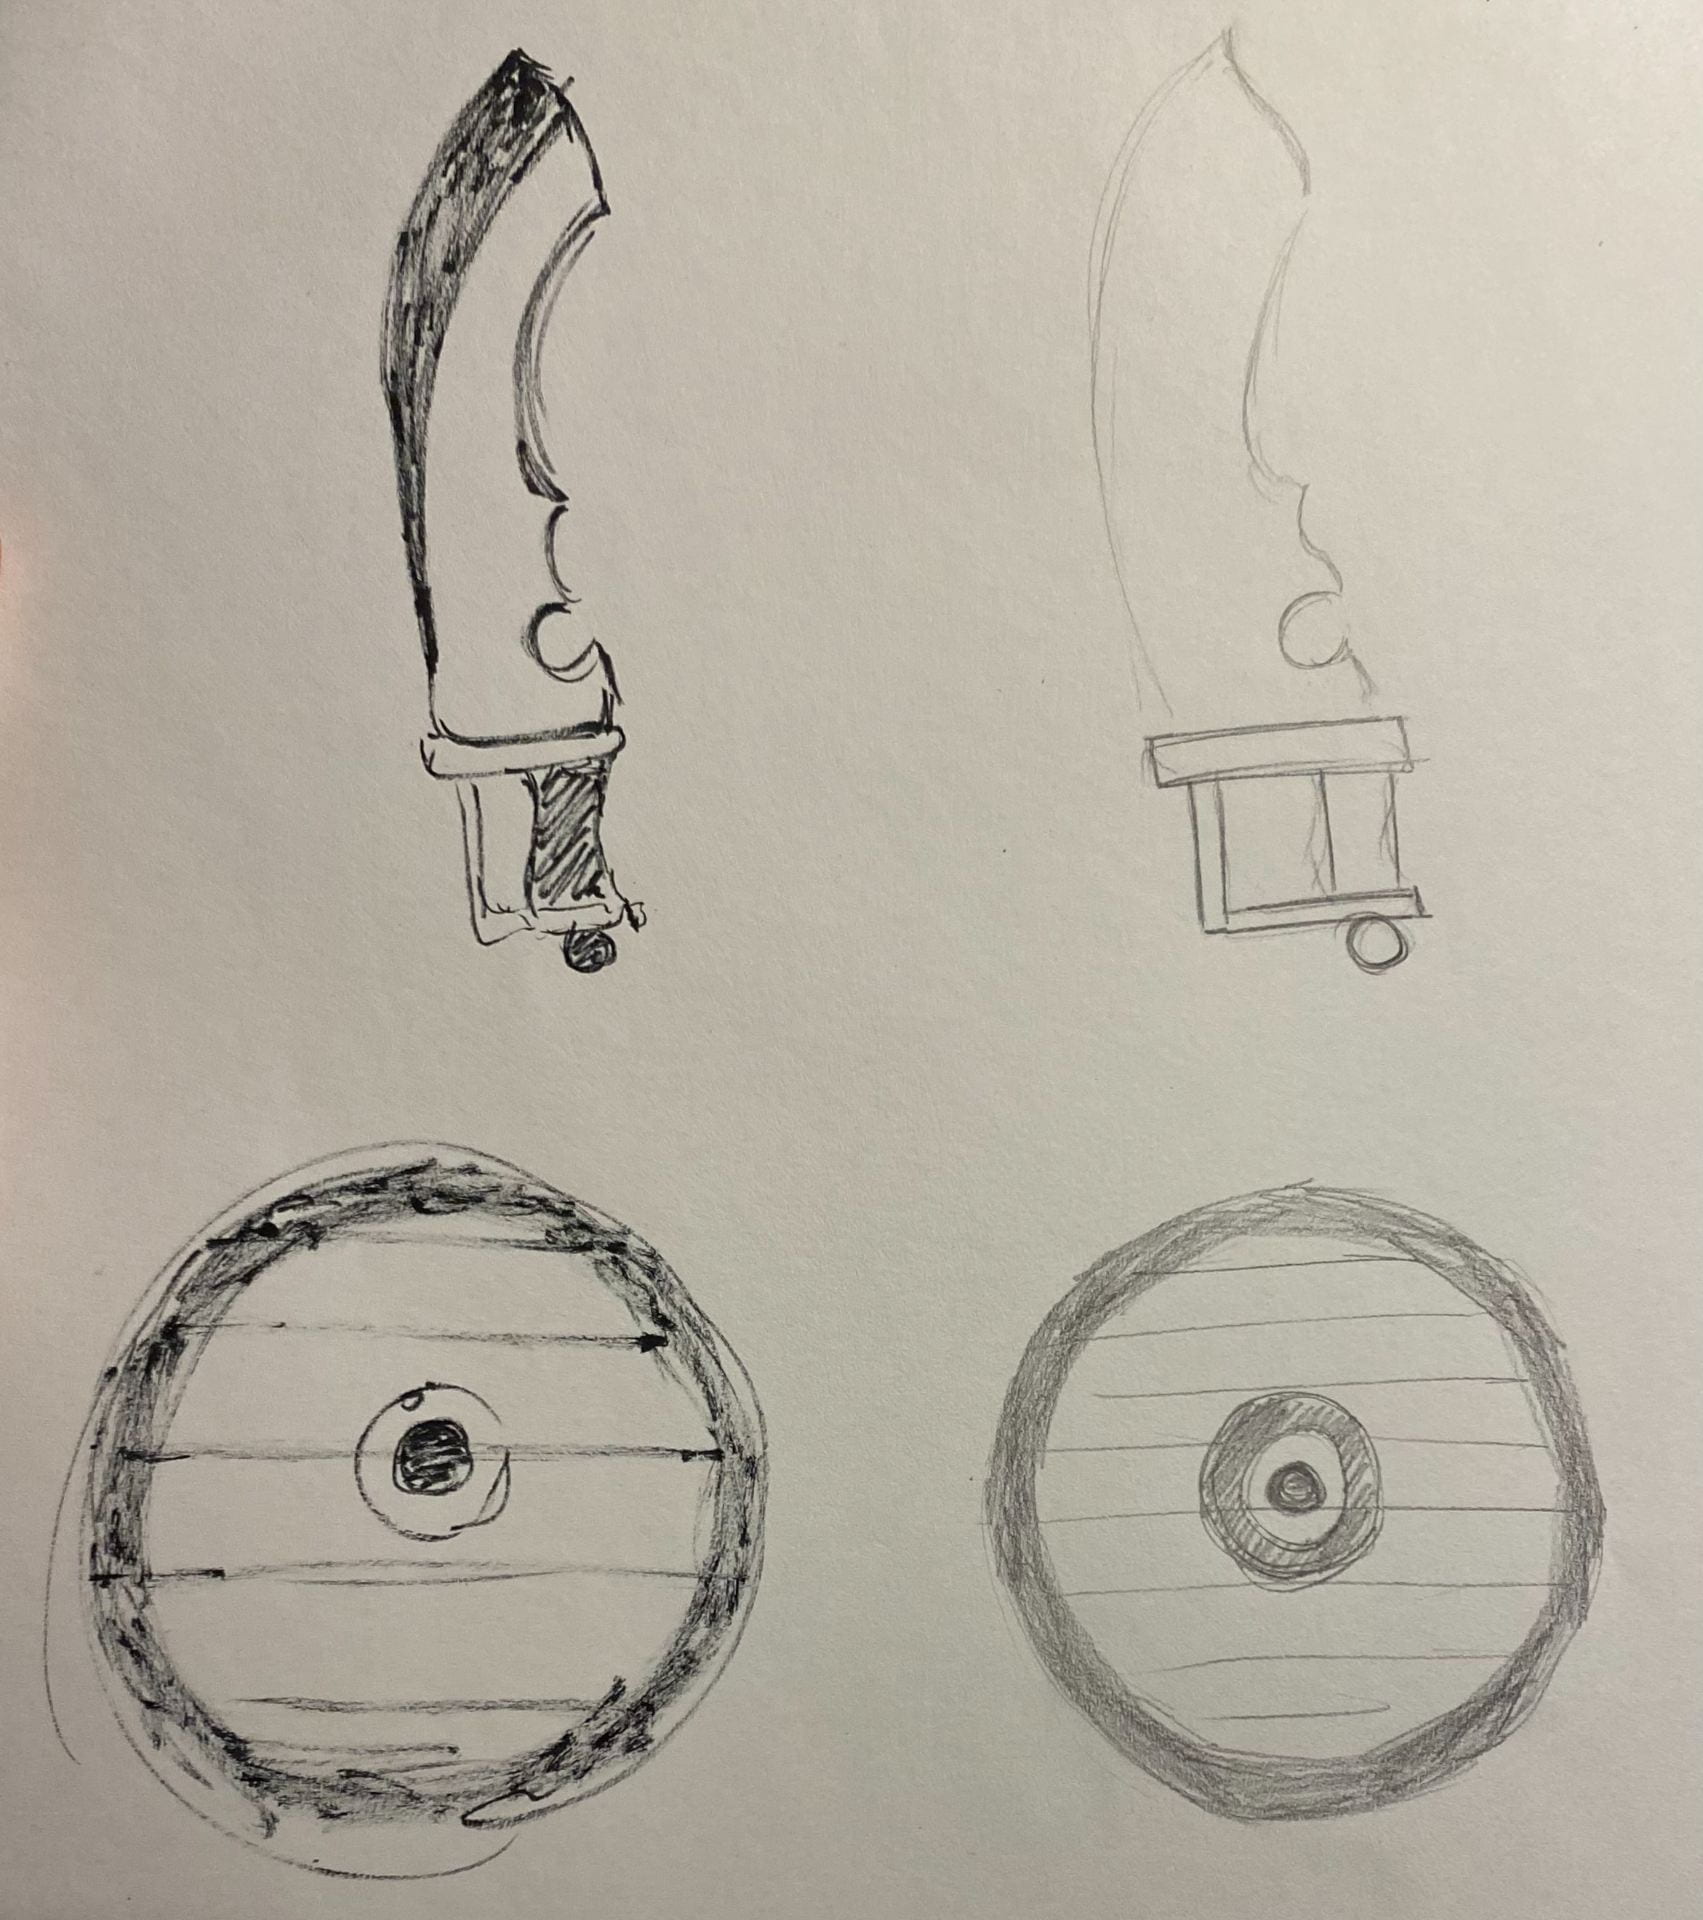
I then did some loose sketches in one of my sketch books to give a rough idea of the shape I was going for with both my Sword and Shield. This also gave me a better idea of what shapes I would need to start with, in order for the models to turn out the way I plan them to.
MAYA (SWORD)
The first model I made was the sword. I began by making a polygon cube which I flattened and lengthened out to be around the size I wanted the blade to be. I used the multi-cut tool to roughly make the blades shape on the square. The extra space on the square was then deleted and I used “Ctrl + MMB” with the multi-cut tool to add more edges to increase the curves that could be made in vertex mode.

I then added a sphere and reduced its size so that it matched up with the rest of the model, and placed it just above the hilt. I plan to texture it later on to make the sword look more fantasy like by adding red shiny colouring and other effects.

The guard, handle and handguard were all relatively simple to model. For the guard I just used the polygon cube shape again, resizing its length, height and breadth to be relative with the blade. The handle was done using the polygon cylinder shape, by going into the vertex mode I was able to make it longer and also add some curves to make it look like it was actually made for the use of a handle. The curved guard connecting from the bottom of the handle to the top guard was a little more troublesome as I had to rotate part of the torus shape in the middle, to give it the curved appearance.

MAYA (SHIELD)
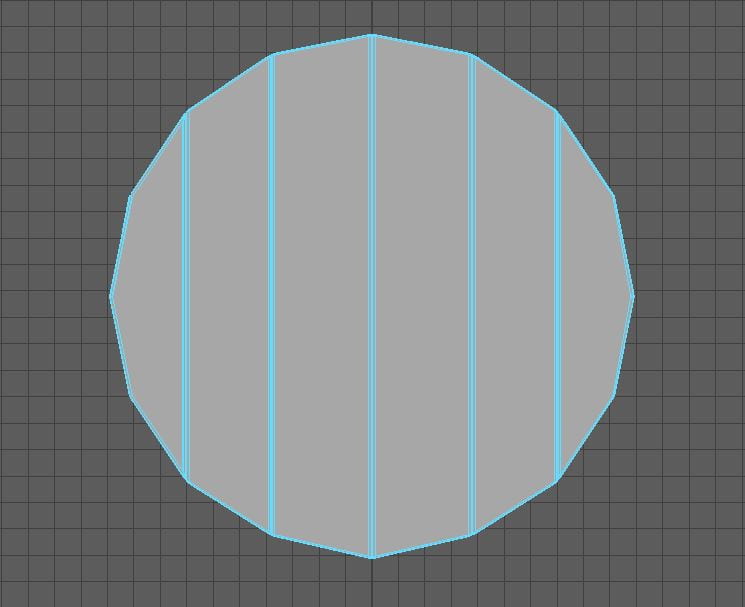
When creating the wooden part of the shield I used a polygon cylinder, I changed the subdivisions of the cylinder from 20 to 16 so that I could then use the multi-cut tool to create the outline for the 6 wooden panels. Then I used the cut tool to separate the panels from each other so that I would be able to bevel each of the panels for detail.
The shield boss was another relatively simple part of the model to create, it consisted of two cylinders that were reduced in size to fit with the rest of the shield, I then added a sphere to the center of the shape for more detail.

The frame of the shield was created using the torus shape, and is size and thickness were changed to accompany the size of the rest of the model. I made the handle by using a cylinder shape and connecting it to two flatted polygon cubes.
UV MAPPING
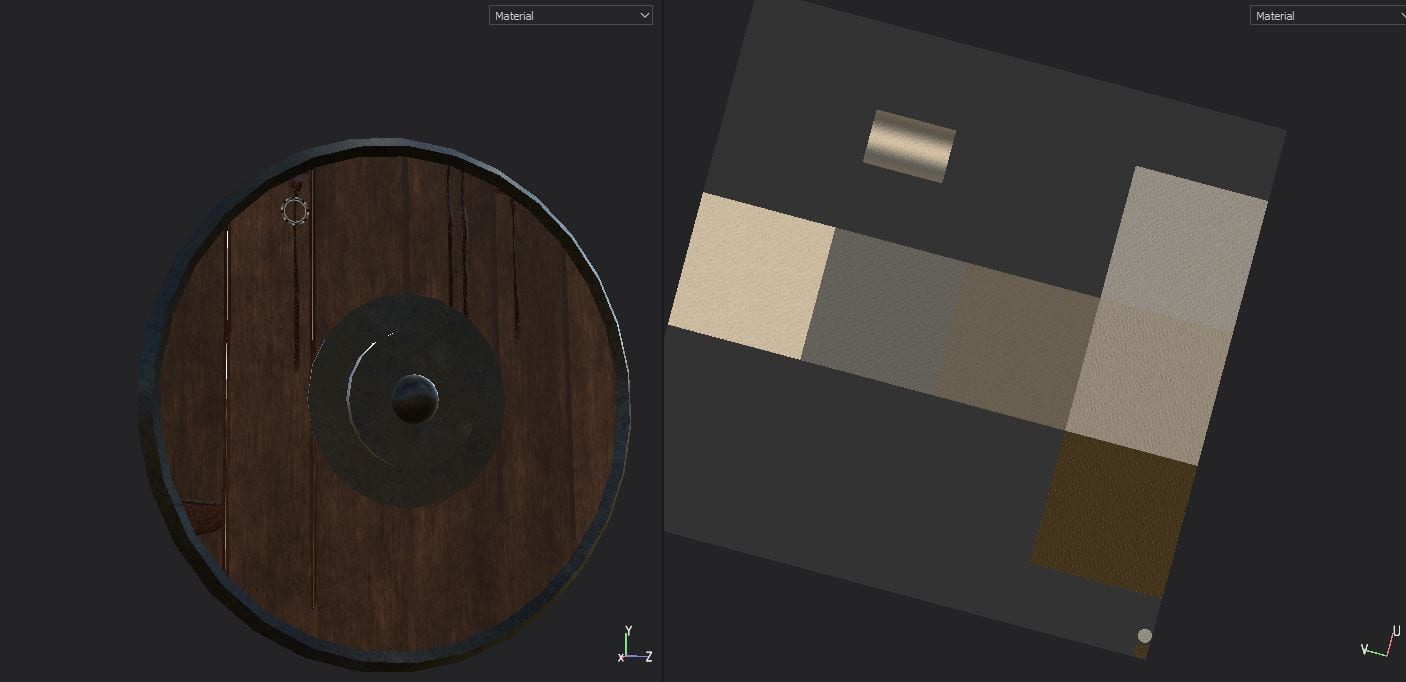
When creating the UV maps for both of the models I ran into a problem with both the blade of the sword and the planks on the shield. Both shapes were overlapping on the UV map so I needed to go back and cut the shapes through the centre and then flip and separate them in the UV editor.


Texturing in Substance Painter
At first I ran into a few problems with Substance Painters textures not working properly on my models, after contacting my tutor they informed me that it was due to my UV maps overlapping as I mentioned before. Once I went back on Maya to fix it it was very simple to get the textures for my models ready. I decided to go for a brushed/scratched steel appearance on the metal park of my models and some nice wooden textures for the handle of my sword and the planks of wood on my shield, I used clothe texture on the handle of the shield and was also able to find some blood stains to add to both models when I was exploring the software. On the orb of the sword I used Anodized Red texture to give it a shiny glossy appearance, which I then scored over using some brushes that had a scratch effect.
SWORD


SHIELD

Sketch Fab
After creating the texture for both the sword and shield I then brought the models onto sketch fab. Here I assigned the textures to 5 different categories; Base colour, Metalness, Specular F0, Roughness/Glossiness and Normal/Bump map. This was definitely the most tedious part of the whole project but it was also very satisfying finally seeing the project coming together.


Overall I am very pleased with how both my models managed to turn out.
My finished models can be viewed via this link:
https://sketchfab.com/john.redmond8217
At the beginning of this project I felt very anxious as I had never properly modelled anything in 3D before. The process felt very slow and I didn’t feel as if I was getting anywhere with the project. As I continued to work at both of the models, using the software’s tools, it all started to become second nature, and it felt very satisfying see my design coming together. The actual modelling process itself was the most enjoyable part in my opinion which surprised me greatly as I thought texturing would have been the part I had the easier time with. The UV mapping had me frustrated at some points but when I went tweaking around myself in the settings it really felt like I was progressing.
I feel there is still much to improve on and many more things about Maya, Substance painter etc. that I need to learn but I am a lot more confident now in my abilities with 3D modelling than I was before the project. There are still many tools that I have yet used and I feel that by continuing to use the software more often, I will become more efficient at modelling over time.
Reference Videos