After creating a hover animation for the Crew section of my site, where the user can hover over images of Neil Armstrong, Aldrin and Collins to ‘bring them to life’ – I wanted to include more animations within my site. So I researched if Webflow had any built in animation capabilities.
I discovered Lottie animations for the first time. Lottie animations are JSON-based animation file formats that can be used on many web-based platforms. Webflow has a feature that allows you to embed these lottie files in your site and easily display them.
I thought of what I could use these Lottie animations for in my site. And so a concept I came up with was a Lottie animation that plays as the user scrolls down the page – adding a layer of interactivity and making the experience more engaging for the user. This Lottie animation could be included near the beginning of my site, as a way to introduce chapters or sections, or just to break up paragraphs of text to make it more visually interesting.
I then had to come up with what the actual Lottie animation was going to be. In doing research on the Apollo Space Program from online photos and in books, something I thought could make a good Lottie animation was the lunar module separating from the command module before the crew landed on the moon.
So I grabbed this clip from a Youtube animation showing a simulation of the Apollo 11 landing and trimmed it in Adobe Premiere.
I then decided to add some colour correction to change the colour of the lunar module from gold to a more red hue to fit with my colour scheme. I couldn’t get it the right shade of red however, so it turned out more orange than expected. However, the end result was sufficient for what I wanted.
I had no idea however, how to turn this video clip into a Lottie animation. So I found this useful Youtube tutorial that explained how to create a Lottie using After Effects, and how to animate the Lottie in Webflow so it animates on scroll.
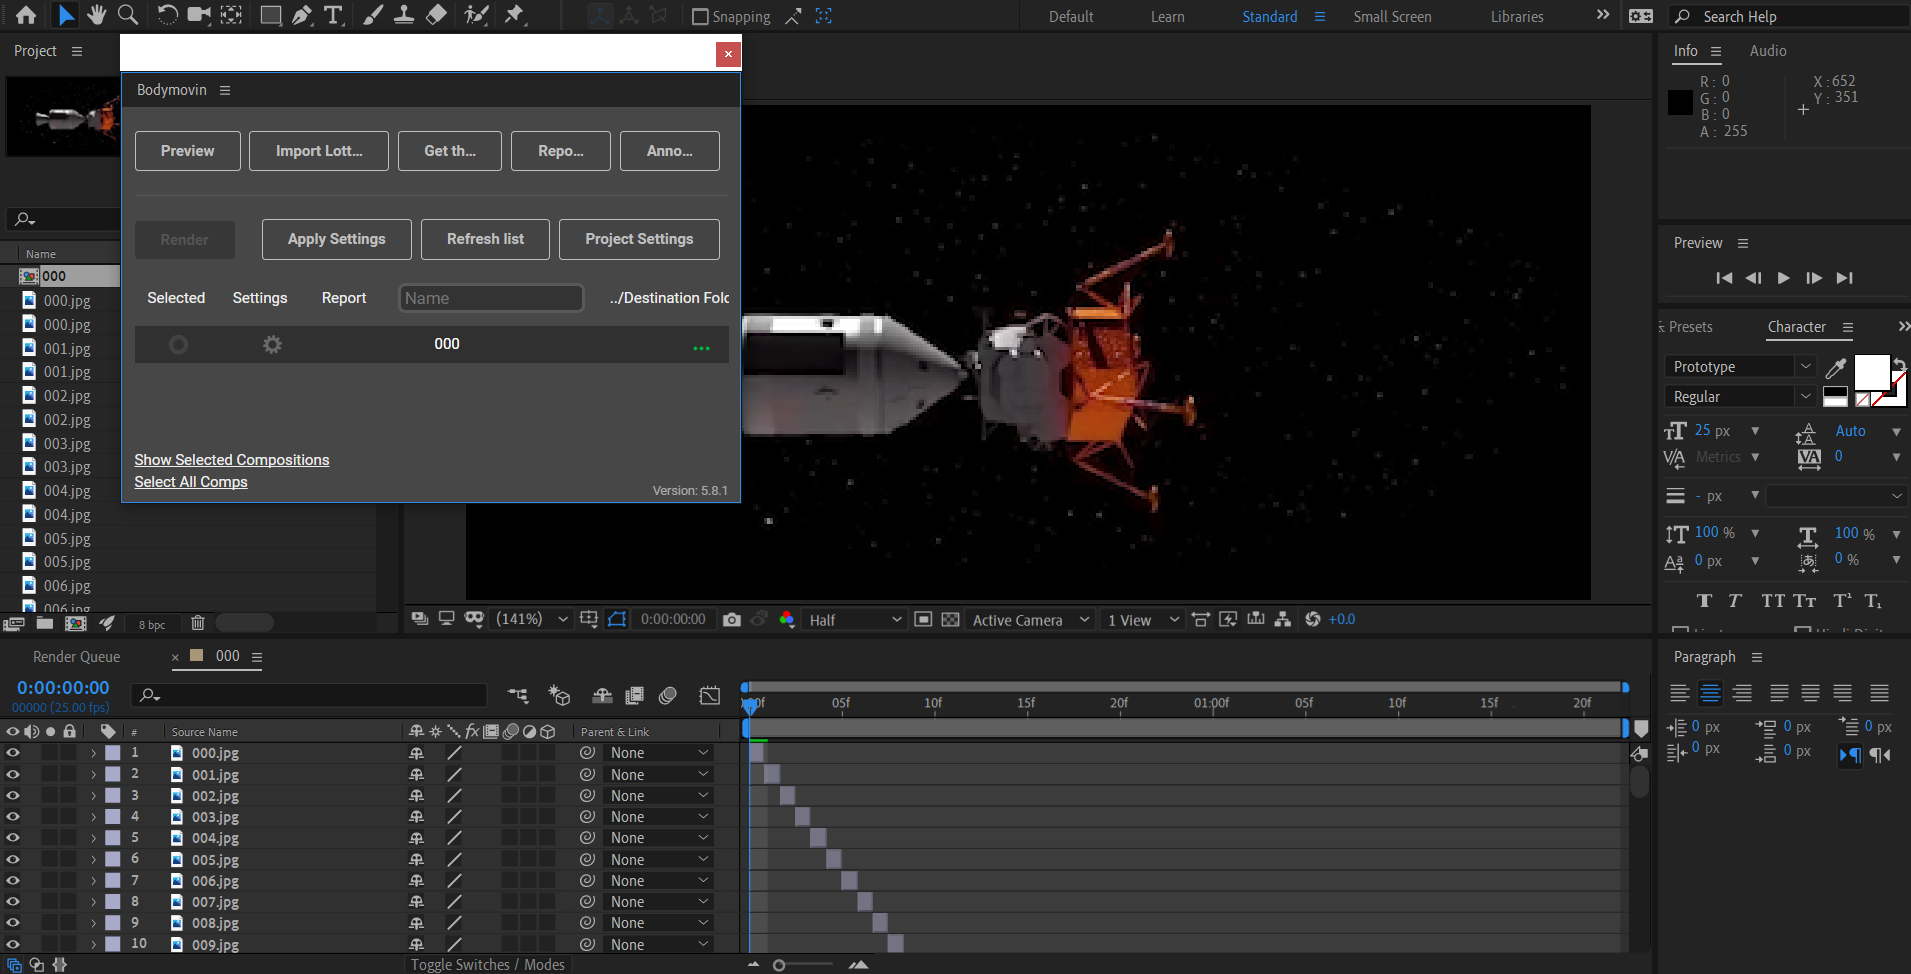
Following the steps in the video, I then exported each frame from the video as a PNG in Premiere, before importing the frames into After Effects as a new composition. After Effects has a plugin called Bodymovin which exports a sequence as a Lottie animation JSON file.
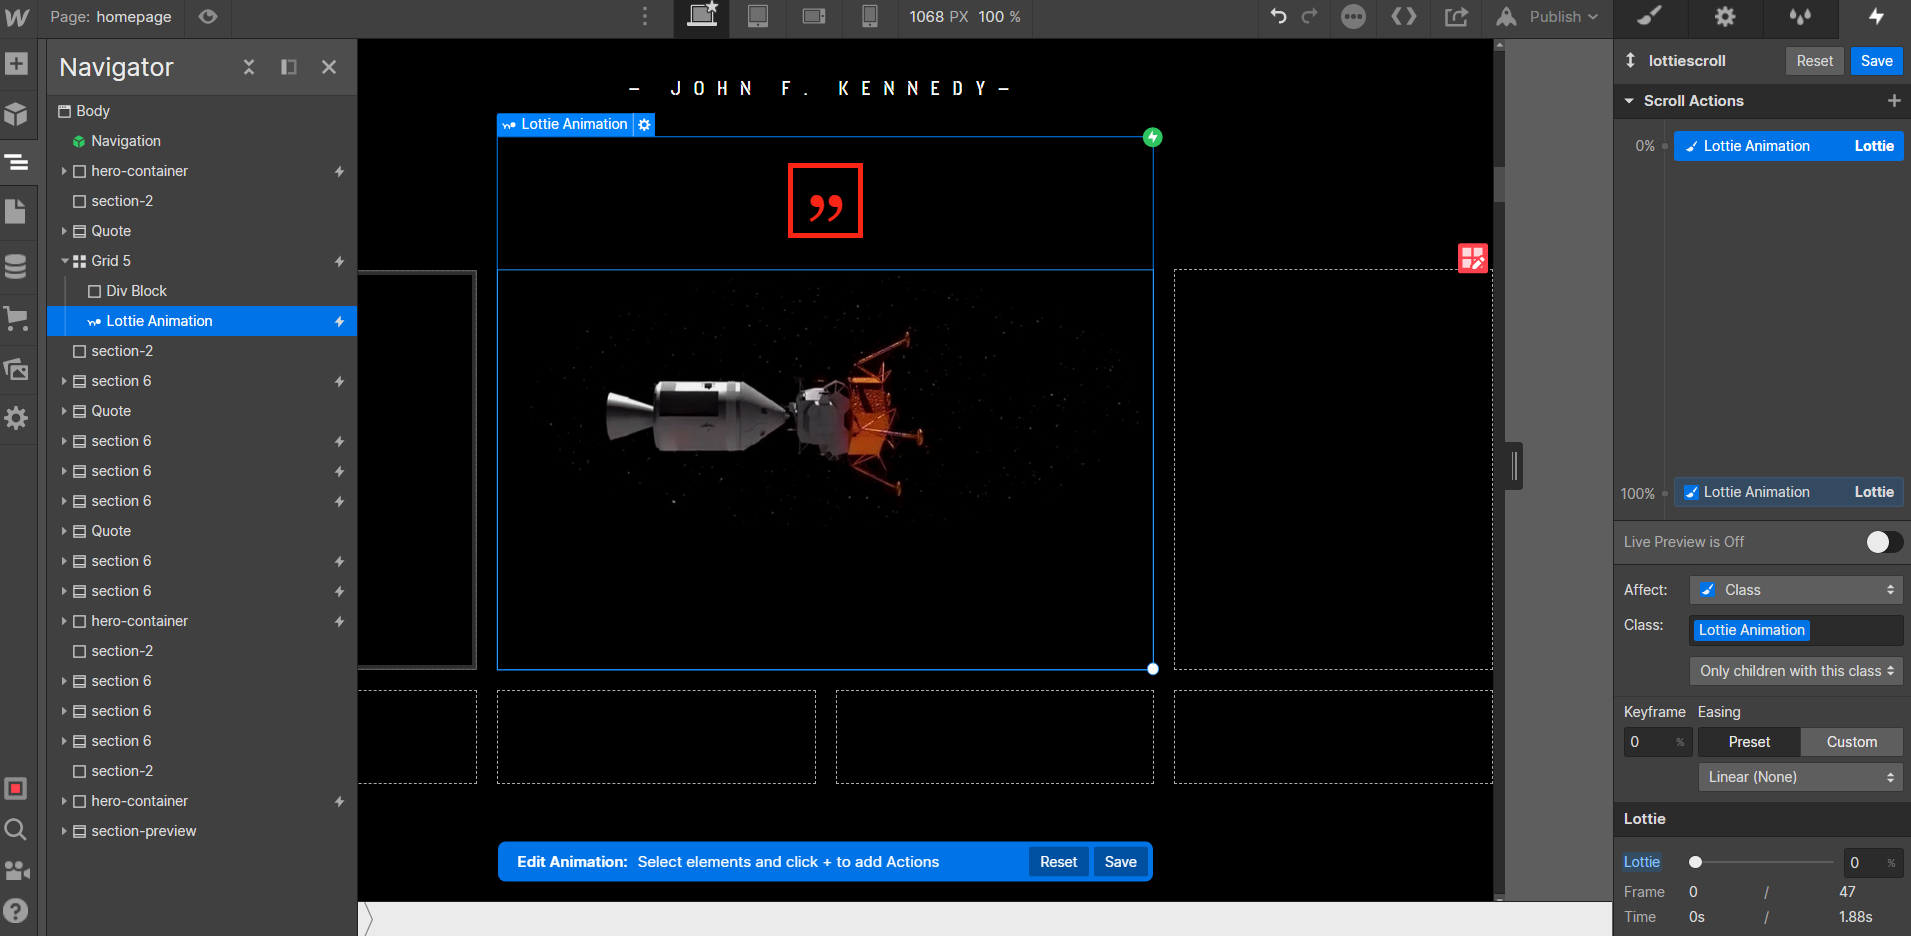
I then imported the JSON file into Webflow and inserted it into a Grid. Following the steps in the video, I had to add an animation to this Lottie that would play while the user is scrolling down the page. I added the keyframes so the Lottie animation would be at 0% at the beginning and 100% at the end. I also adjusted the smoothing of the animation so it wouldn’t move too fast as the user scrolls down the page.
A tricky challenge was trying to resize this Lottie animation. If the Lottie was too big, the animation wouldn’t be clear enough as the scrolls down. So I had to make it small enough so the animation would be more visible.
The finished animation came out as expected. However the animation is not as smooth as I would have liked. I believe because the animation is small in size, it still goes by too fast as the user scrolls down the page. So this kind of animation is best suited for imagery that is very tall and large, so it stays in view longer. I also realised that a lot of these lottie animations included in these interactive sites ‘freeze’ the rest of the page from scrolling, only playing the Lottie animation as the user scrolls down the page. This is something I would’ve wanted to do with this animation if I had more time to work on this section.
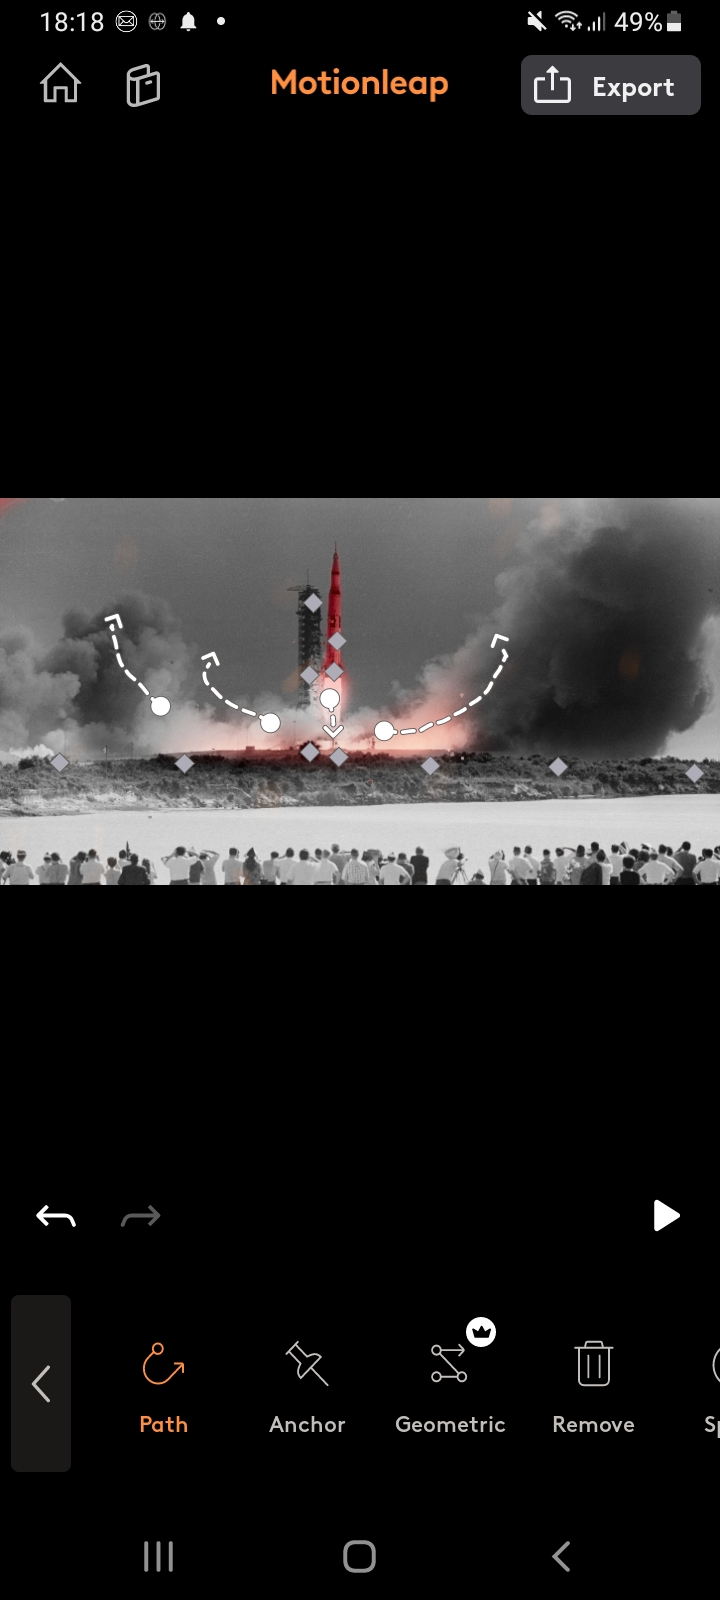
I wanted to create more Lottie animations to include in my site. But I thought it would be interesting instead of using just existing video clips, to bring photos to life by adding motion to them. Similar to the animation I did for the Apollo crew. There are many apps that do this, and Motionleap seems to be one of the best. So after colour correcting an image in Photoshop of the Saturn V launch, making the rocket red against the black and white background, I brought this image into Motionleap.
Motionleap is very simple to use, and you can drag areas of the image you want to move or animate in different directions using the path tool. The anchor tool is useful to keep elements in the image stay in place, so only certain parts are animated. In this image, the smoke billows out from the rocket, while the rest of the image surrounding is static.
I then adjusted the speed of the animation and exported this as a video.
Now that I had the finished video, I was able to export each frame in Premiere which I then brought into After Effects and exported as a JSON file.
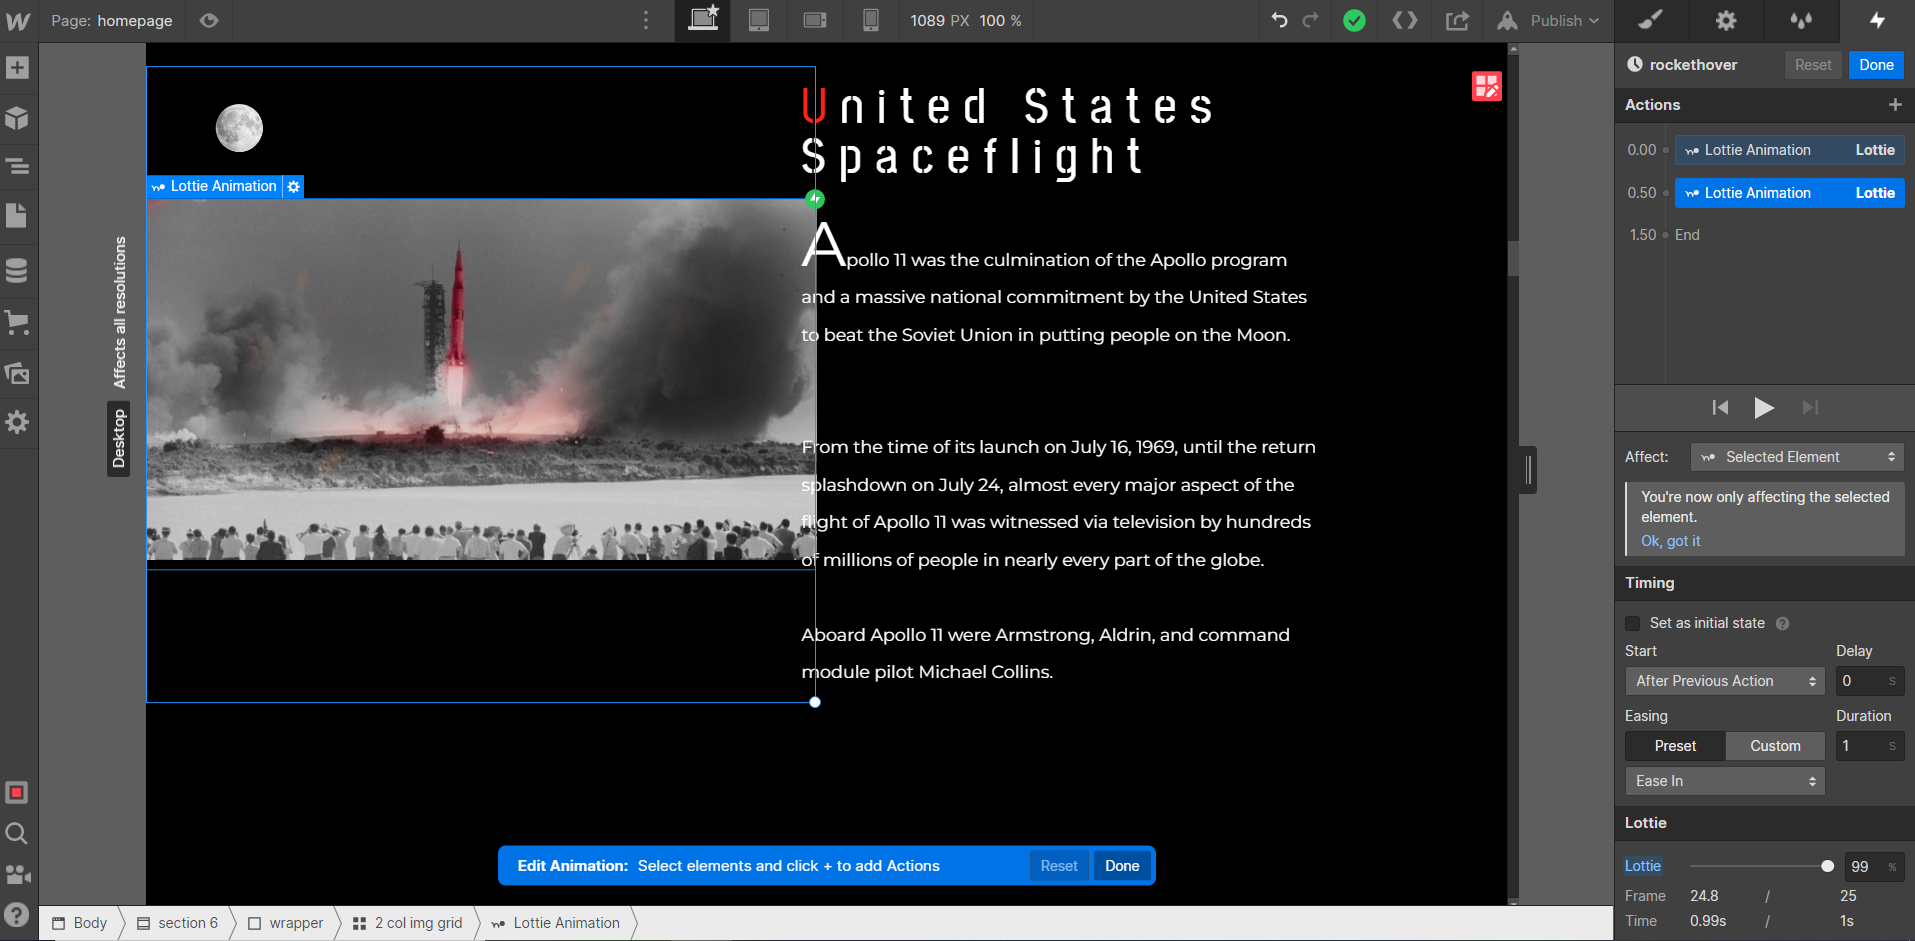
I wanted to add a mouse hover animation to this Lottie as well as the scroll animation, so the Lottie would play on hover. It was difficult to make this Lottie animation in Webflow however, because it would fade to black once the Lottie had finished playing. I then realised there was a black frame in the original animation, and changing the end keyframe to 99% instead of 100% fixed the problem.
I was pleased with the final Lottie animation. Although it didn’t loop perfectly, it did the job.
I did the same process for a splashdown animation of the Apollo 11 crew landing in the ocean. This time I highlighted the red of the balloons.
Now that I knew how to create mouse hover animations, I tried experimenting with a quick animation that would make the lunar module float across the screen with the user’s mouse. I adjusted the smoothing of the animation so it wouldn’t move too quick.
It was enjoyable to experiment with these Lottie animations for the first time in Webflow. Hopefully I can include more animations as I work on this immersive site to make it as engaging as possible.