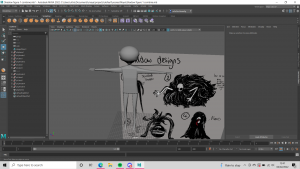
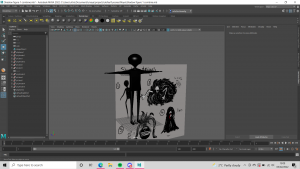
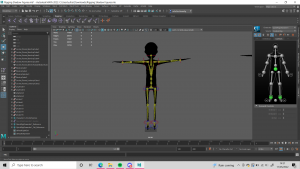
Using the Miro board, we were all assigned rooms to create models for, but as I was also the character designer, I had to create the model for one of the shadow figures. Slightly worried, I decided it would be best to work on that first, as I didn’t have a clue what to do. The generic shadow figure was meant to be tall and skeletal, with large hands and feet. The head would be more skull like with pronounced cheek bones. However, when I did this, I was told it looked like Megamind. While I love Megamind, I didn’t really want people to be reminded of him when they’re suppose to be scared. I started over quite a bit to try to get it right, luckily because it was a silhouette, I didn’t need to have much detail in it.
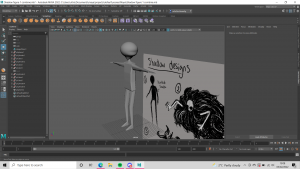
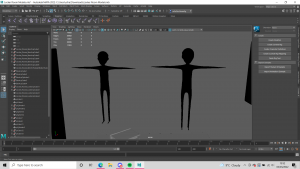
I got the base shapes in Maya, then imported it into Blender where I blended it together. It ended up looking quite good I think!

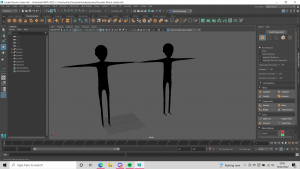
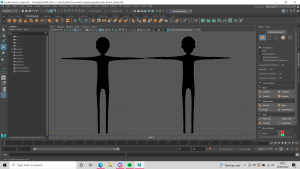
I also had to rig it, which was hard, especially since it was my first time rigging a model. I thought it best to just use the Quick Rig feature in Maya and place my own guides for it. While the rig was nothing special, it worked and isn’t too complicated to use.
With that done, I moved to modelling furniture for the rooms I was assigned. I was in charge of Locker Rooms and Reception, and Theatre was split up between me and Lucy. The models were simple enough, some I wasn’t sure how best to approach. The main desk in reception being one of them, but it turned out okay.
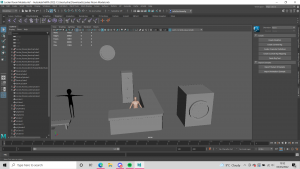
The main desk went through two different designs, but I was told the original was very futuristic. So I went with the L shaped one instead. Originally we had a washer/dryer in the Locker room, but we decided it wasn’t a priority so we just left it. I did two versions of the lockers – one with a shelf and one without, since our player character can hide in them, but also in case we wanted to have open lockers upturned or with the door off the hinges.
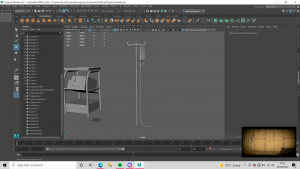
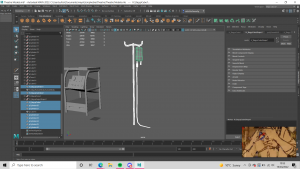
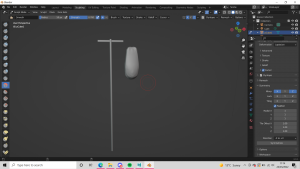
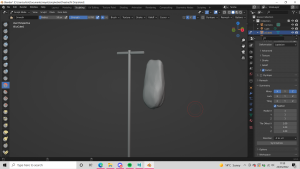
I exported the IV drip from Maya to Blender, just to make it more obvious that it was a bag. I found it hard to put the crinkles in it, but when it was textured that problem was fixed.
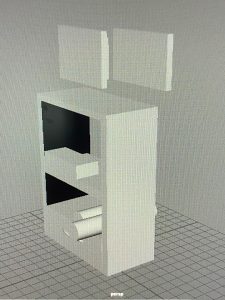
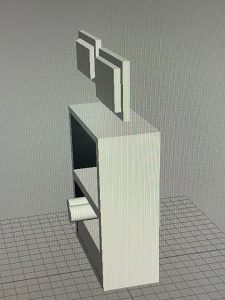
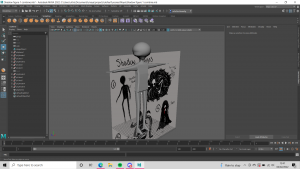
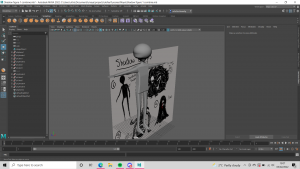
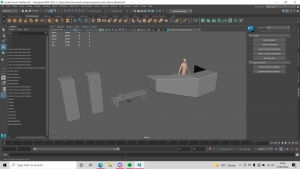
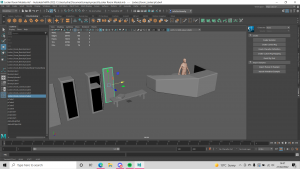
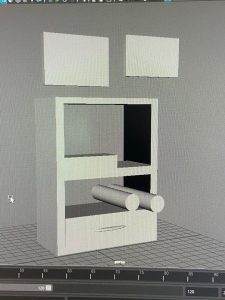 (early designs for the operating machine)

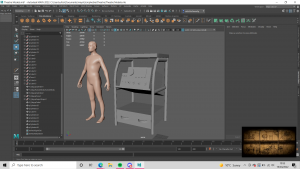
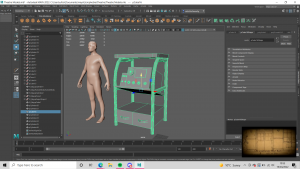
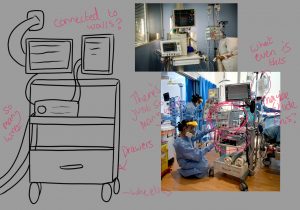
The operating machine was harder, and I had to draw up a reference sheet for it because I wasn’t sure where to even start with it. Most pictures I looked at were literally just a bunch of tools and wires piled onto the machine. After looking at reference photos, I was able to discern what was going on with them.
I also had an operating light, however, I didn’t manage to finish it in time.

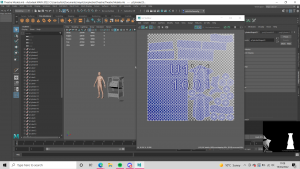
The UVs are suspicious, but I didn’t think it would cause that many issues in the future. I didn’t really have enough time to try to fix them, and every time I tried they got worse somehow. I thought it best to leave them as they are.