With this week I was finally able to make proper progress on the model and create the shape I was looking for.
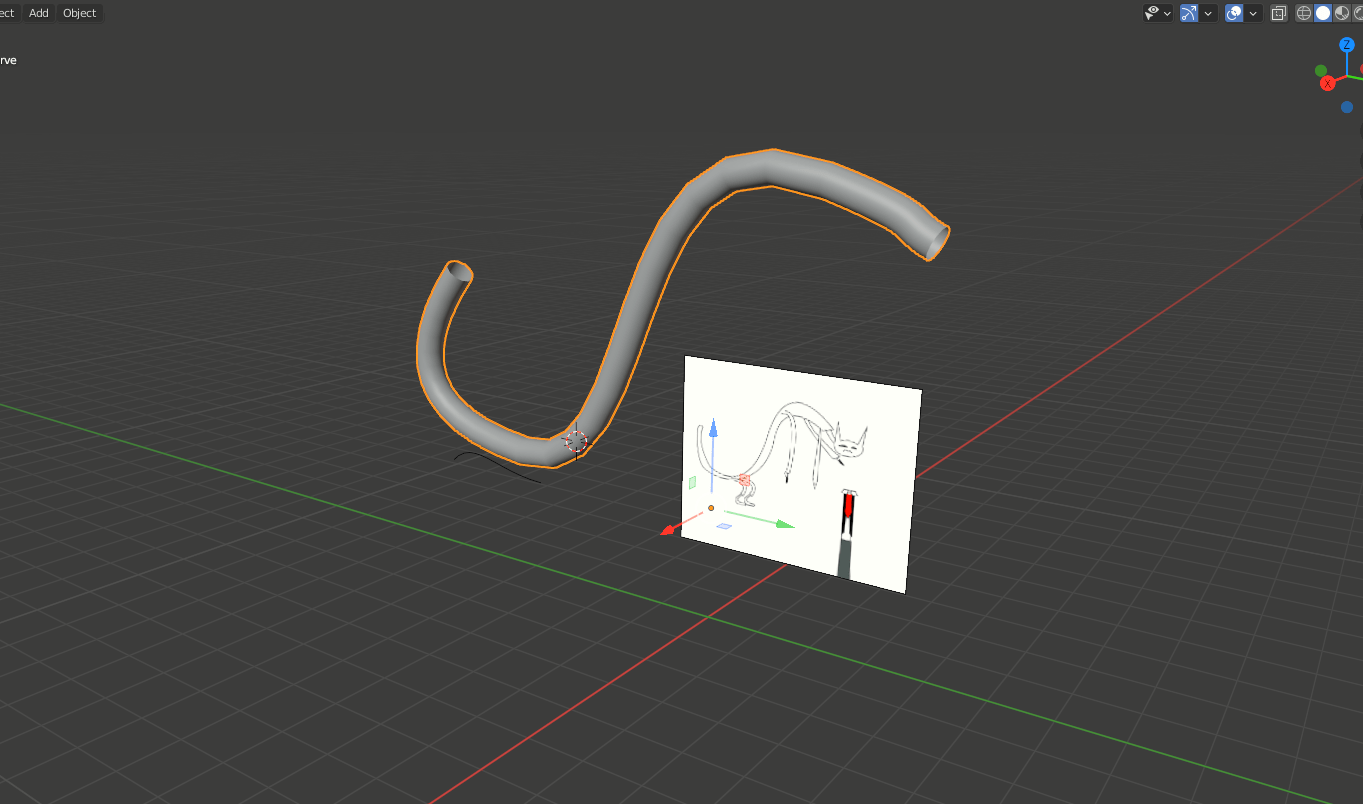
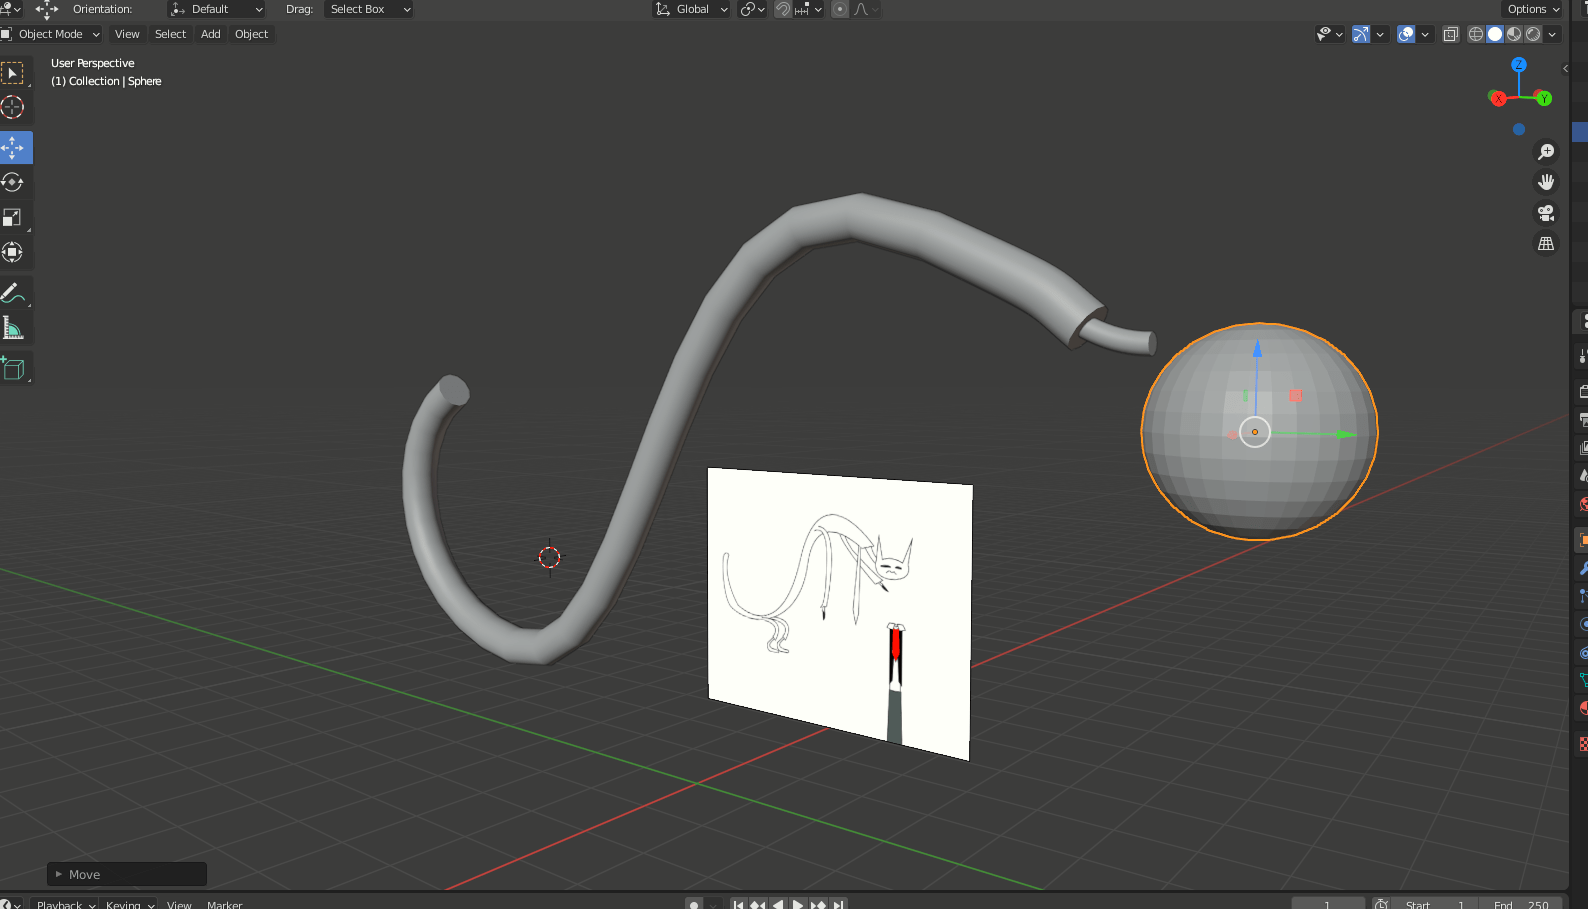
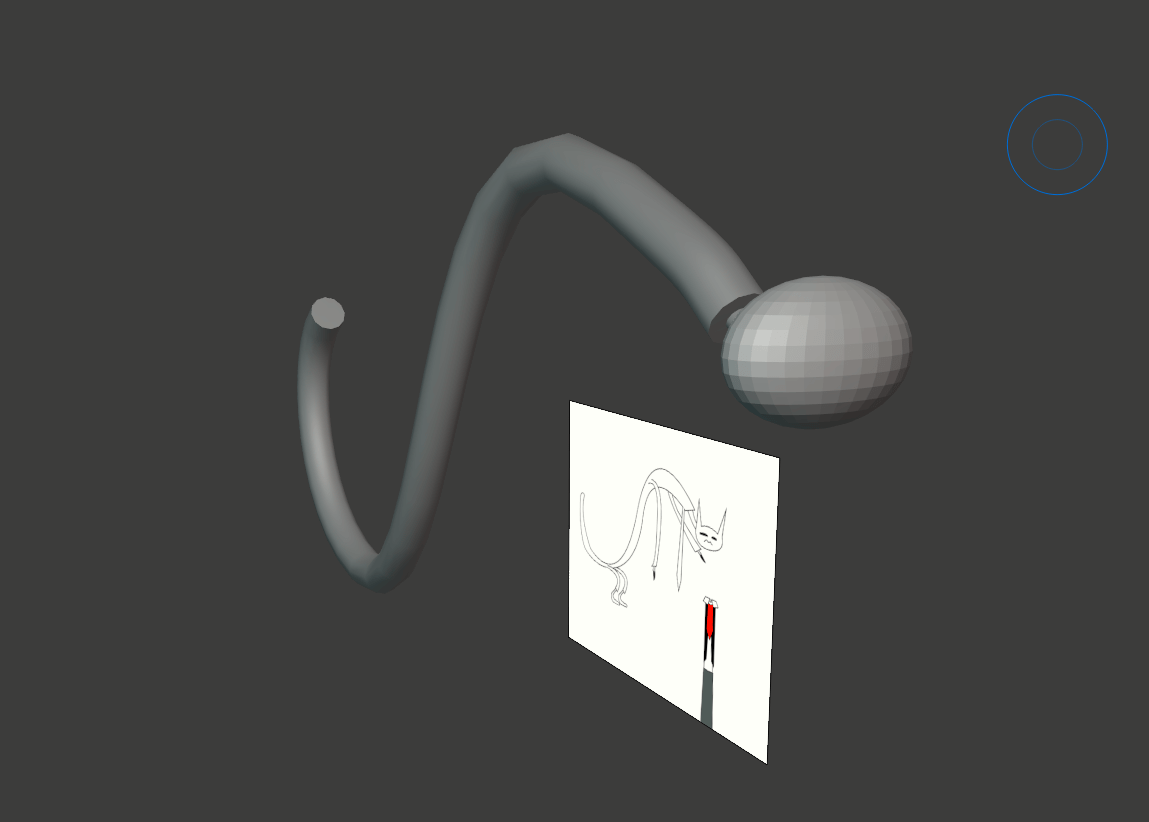
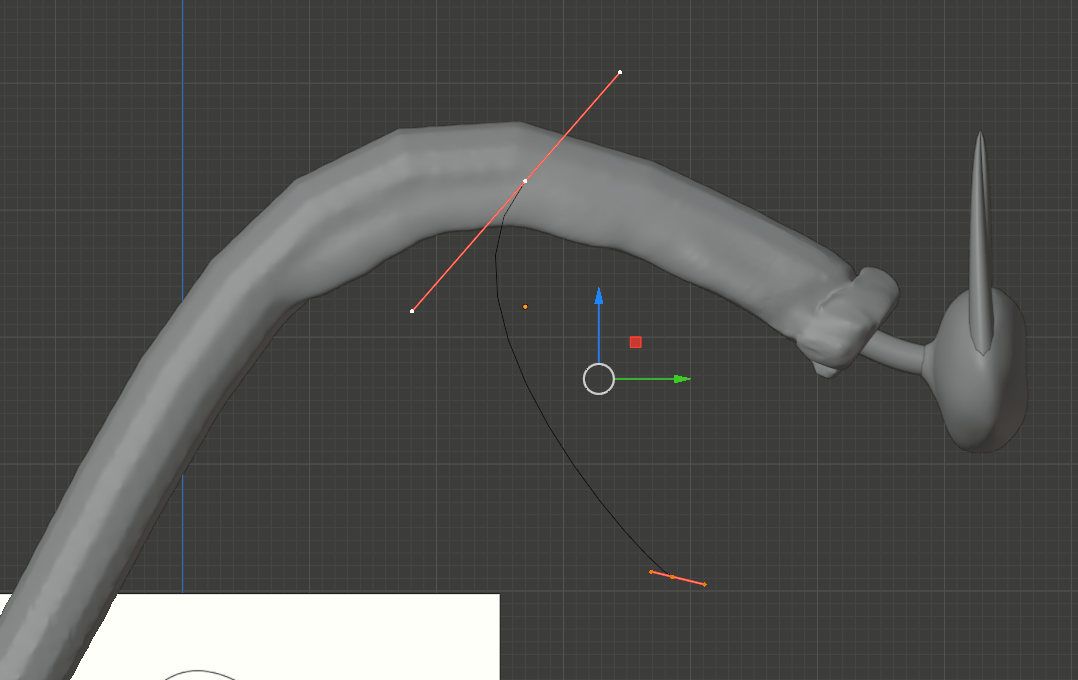
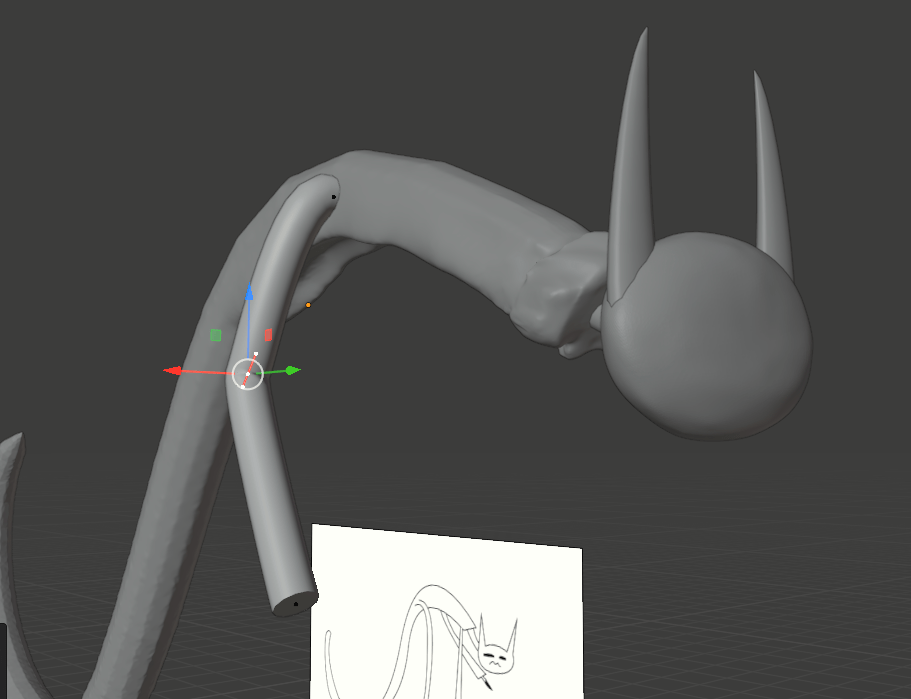
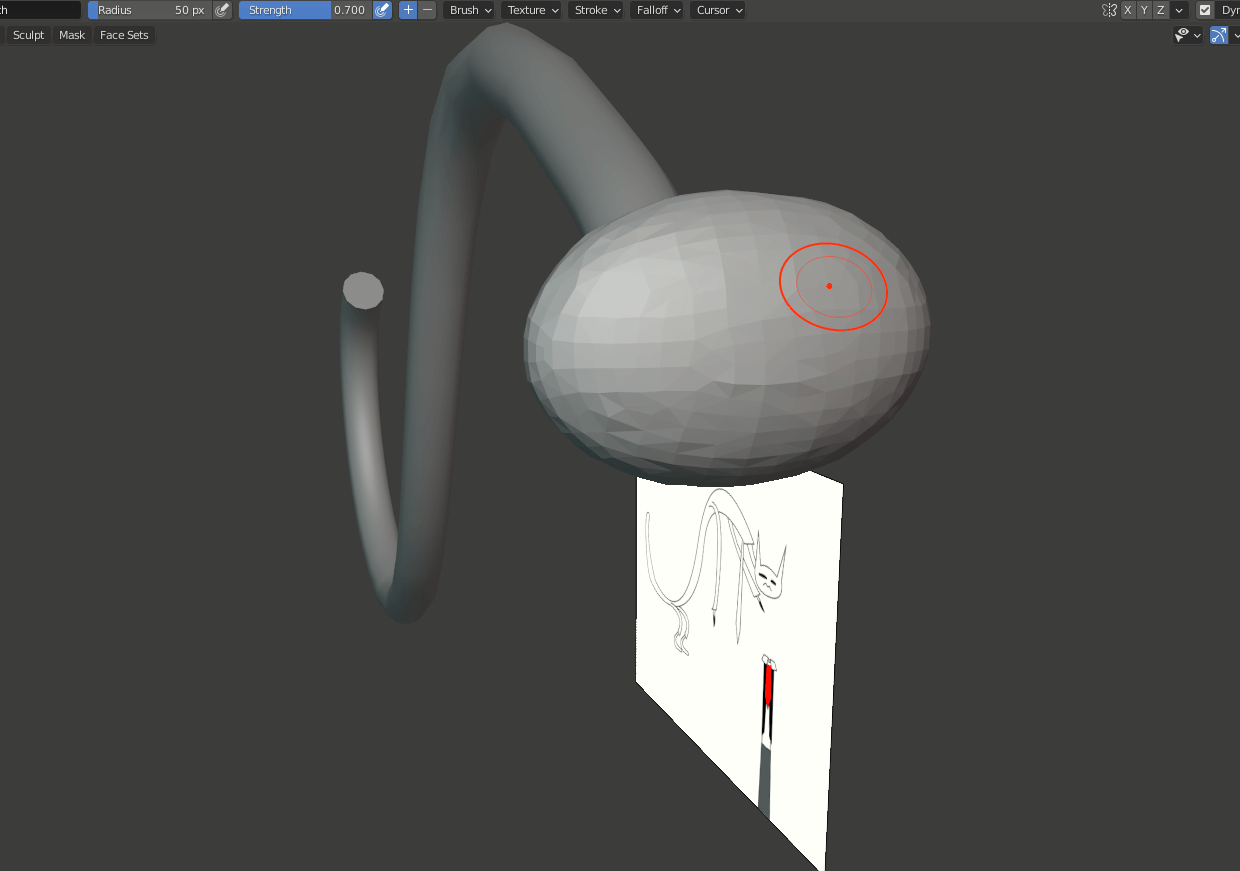
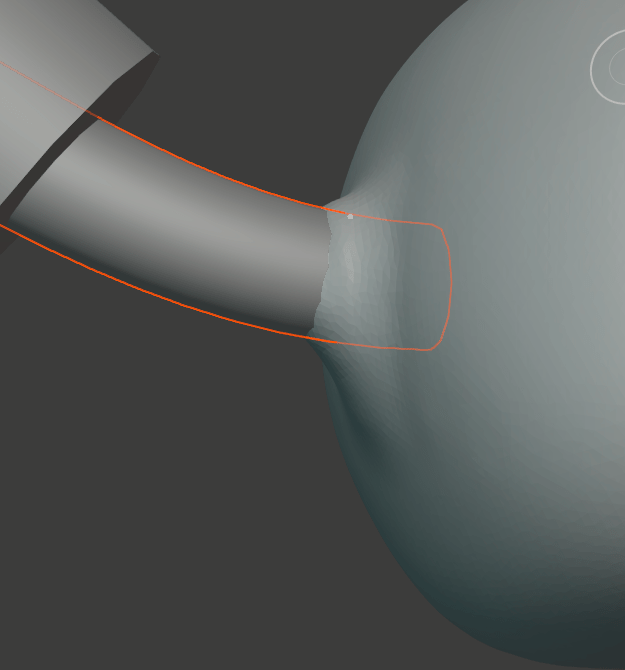
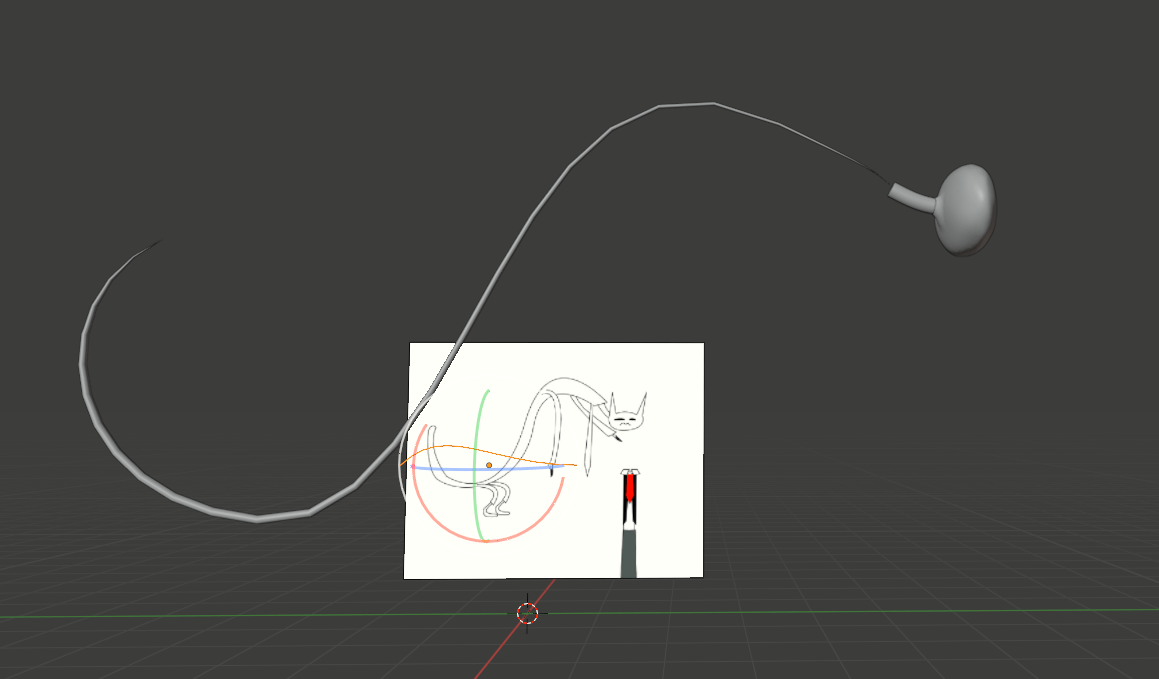
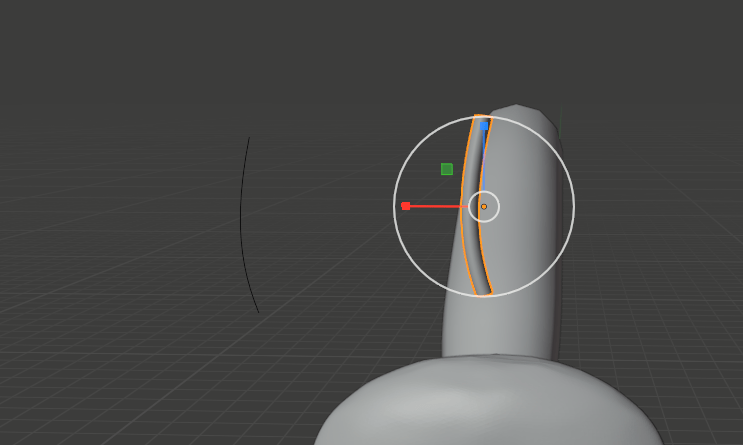
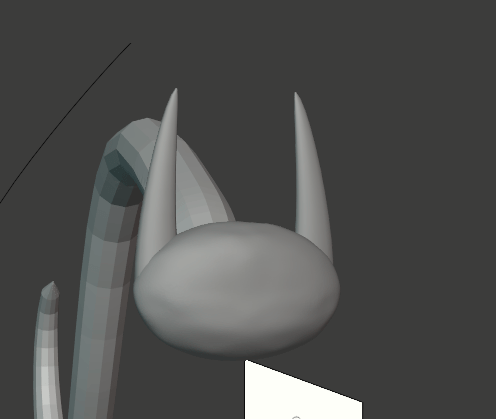
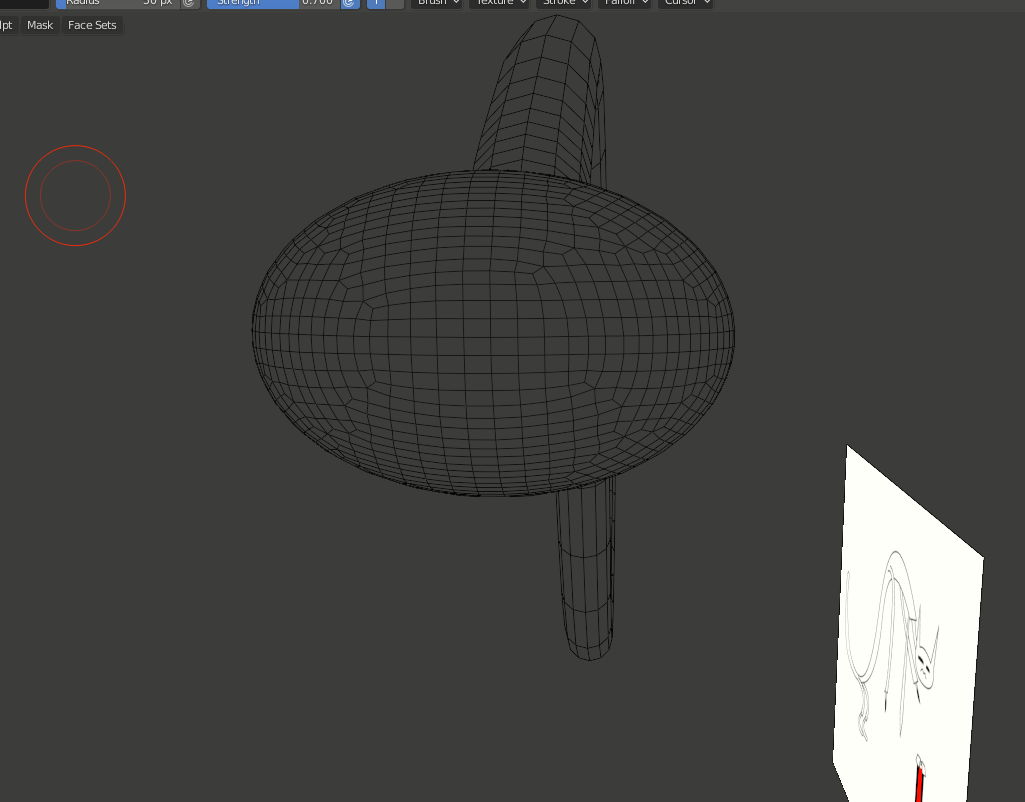 However I wanted to get back to where I was last time with the model and began work on the head and neck, using the Bezier curve to create the neck and a UV sphere to create the face, I then remeshed and Dyntopo smoothed the face, before moving them to the back of the neck, and using inflate tool to give it a general look, I connected the two before smoothing it out.


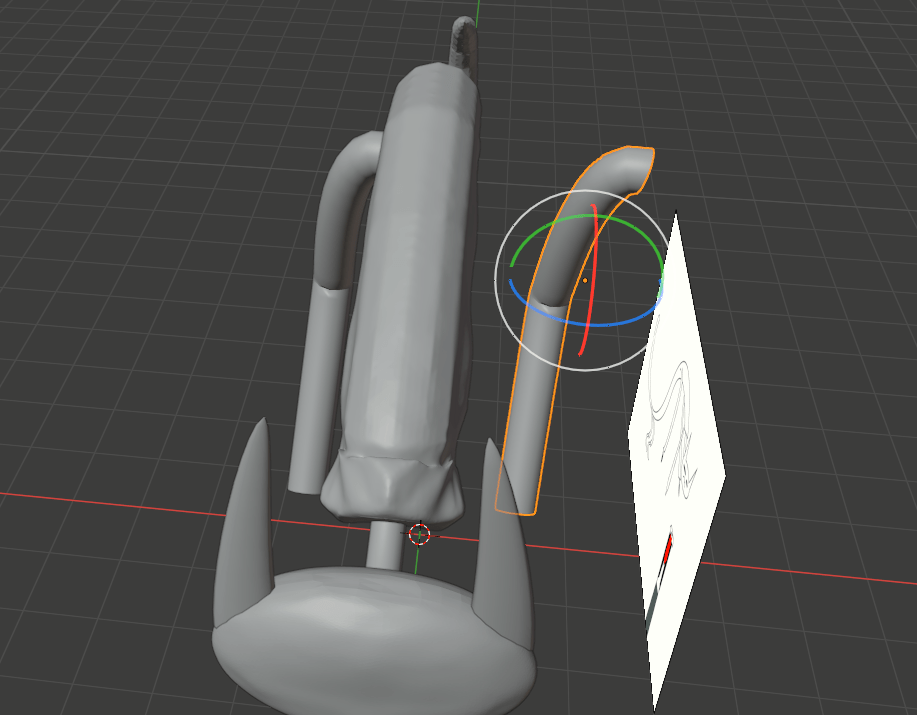
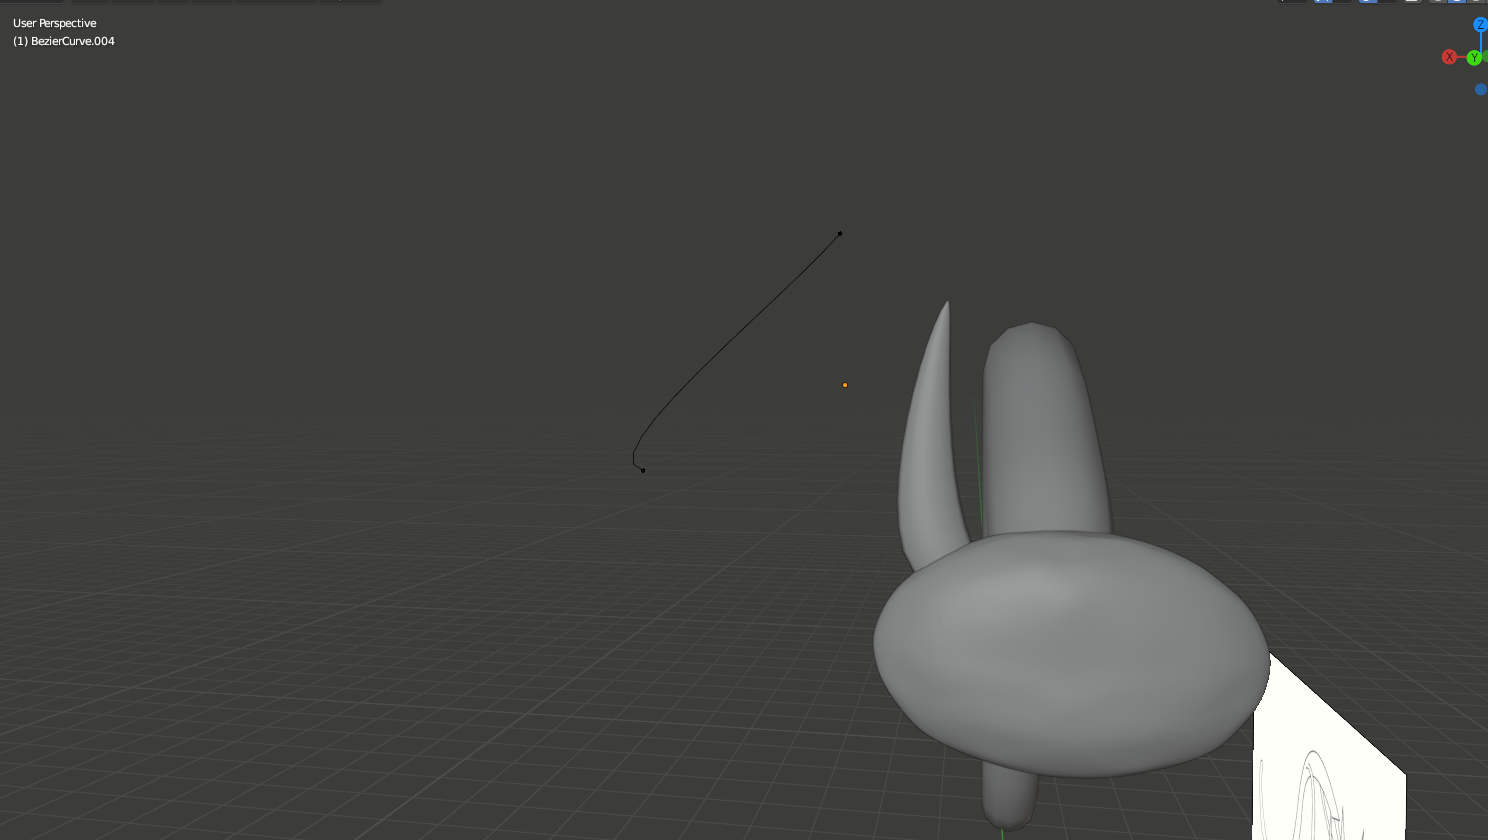
Finally, I was able to move onto the body, which involved creating another curve and adding the “SimpleDeform” modifier to the already existing body, I then used the origin select function to select the newly created curve to allow me to deform and shape the body, I then tried the same thing with the ears to get something similar to what I had made in the illustration, afterwards, I began to work on the body itself.

I started by flood detailing the body, and then began work on a collar, by using the drawing and scrape tool similar to the cuffs in the earlier model, once I had the basic shape down I then dragged the collars shape over top to give it the proper collared look, and using the draw tool, I began to give shape to the shirt on the inside, as well as the tie.


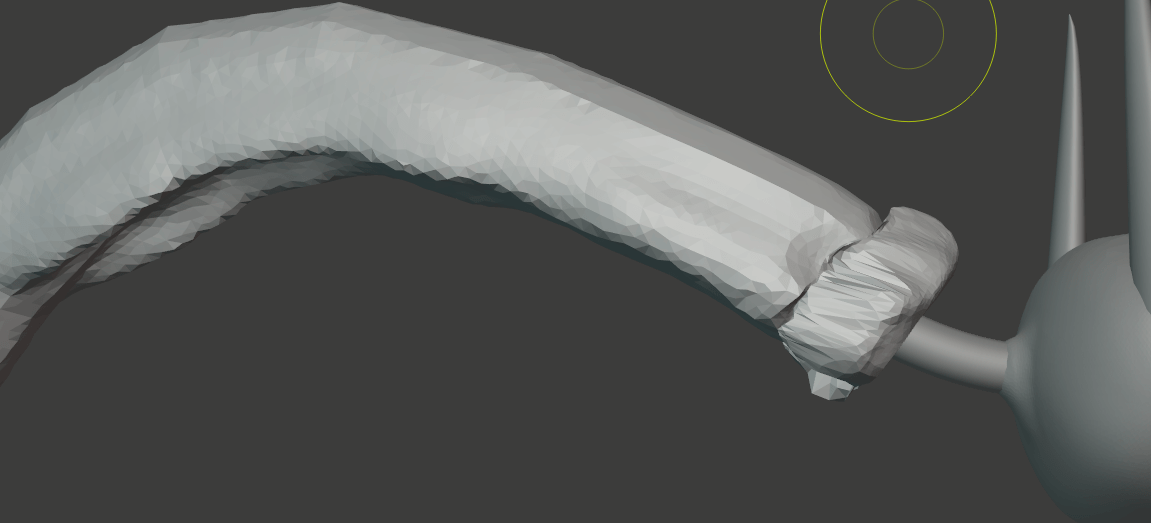
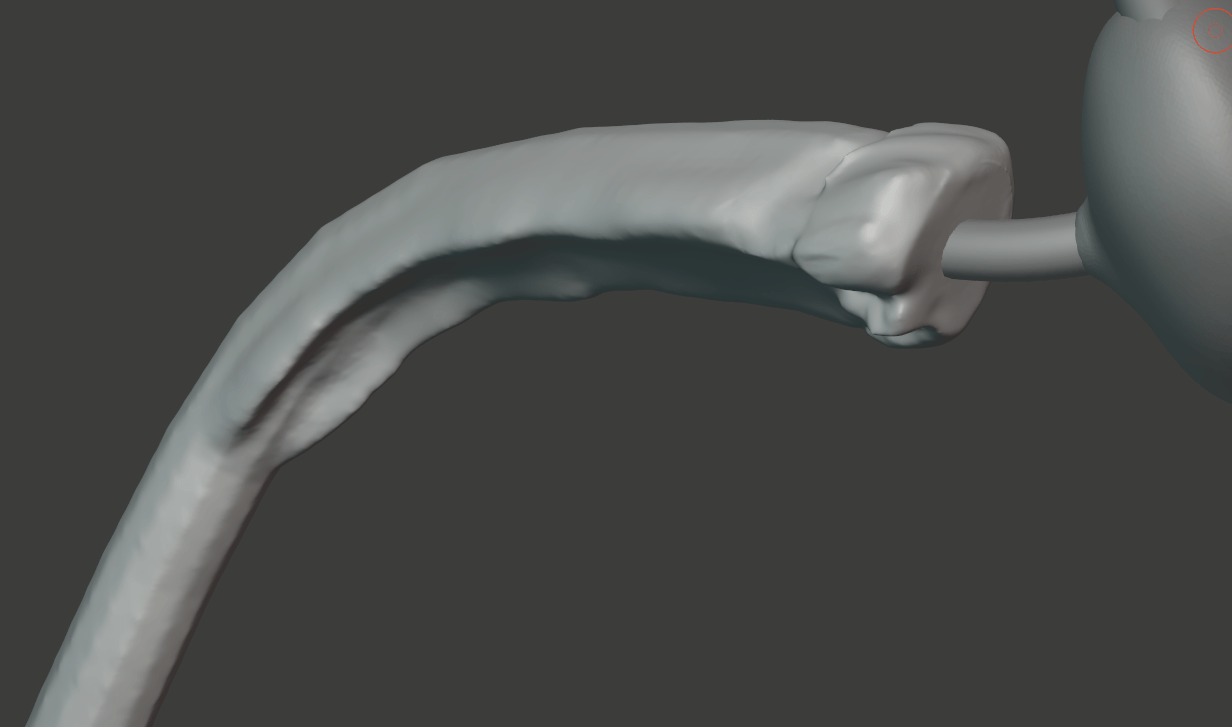
Taking a small break from the sculpt, I then wanted to work on creating the limbs again and using the same technique as I did the body and using the subdivide option to create an elbow, which would hopefully give the arm a sharp look, as if he was wearing a suit, I then curved the shoulder inwards to make it seem more like a natural arm going into a suit, and mirrored it, finally giving the character his two arms.