Since the last time I and my group met up, the group had made tremendous progress, we had begun sculpting out the main characters, and the story was finalized, so all I needed to do was work on the scene I already had finished, and polish it off, one of the members of the group already had one of the snail models finished off, so I decided to take it into my existing room model and see if it scaled well.


Turns out..it did not, and I’d need to fix the whole room up to a larger size so that it would suit the snail model, which would be on a rough scale with the assassin and boss snails which were currently being made by other members of the group.
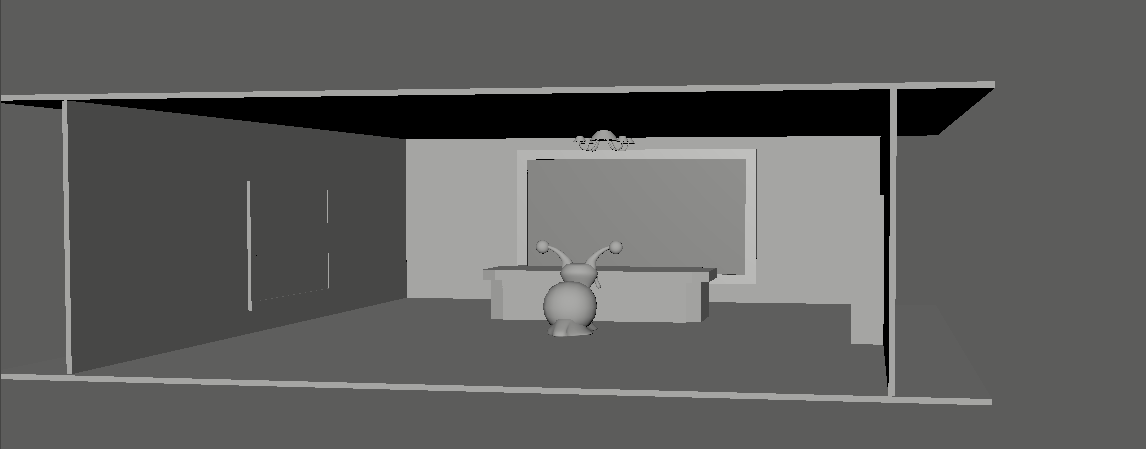


I quickly fixed this and scaled a few things in the room to look not only bigger but more in scale with the model that was made.
After I fixed the room, I then began work on the snail shell motif seen in the window, by using a curve tool and extruding a cylinder, as seen in this video: ( https://youtu.be/4igTVJOEJw0 )
It took a lot of trial and error, and is somewhat frustrating to line up correctly, and if it doesn’t work, you need to re-do most of what you started, but once I was able to get it, I then followed the tutorial to make the shell motif.

After I finished off with the window, I then moved onto thinking about texturing the room, I knew that most of the UV maps would be enough to texture with, and wouldn’t have any troubles, however, the only item I had modified that would have odd or unusual UV planes would be more consistent.

Once I brought it into substance painter, and added a Wood preset to it, it still looked a little off, but it did somewhat look as though wood had been cut down the side of it, I kept the project file in case I needed to edit it in future, and began to make the room a deep red color or make it as Dark as I could, making the lights at the top golden to employ some form of wealth
