Category Archives: 3D digital literacy

Assignment 4 – Organic Modelling

For this assignment, you are required to model/sculpt, texture, and present via Sketchfab, a Cute Character of your choice, without exceeding 40000 Polygons in your scene.

For this assignment, I had a couple ideas come to mind, such as a cat themed character, a “dust bunny” or a seahorse-type character but after some planning I decided I wanted to make a cute astronaut character, much like these ones;

Another big inspiration behind this idea was my favourite video game, animal crossing;

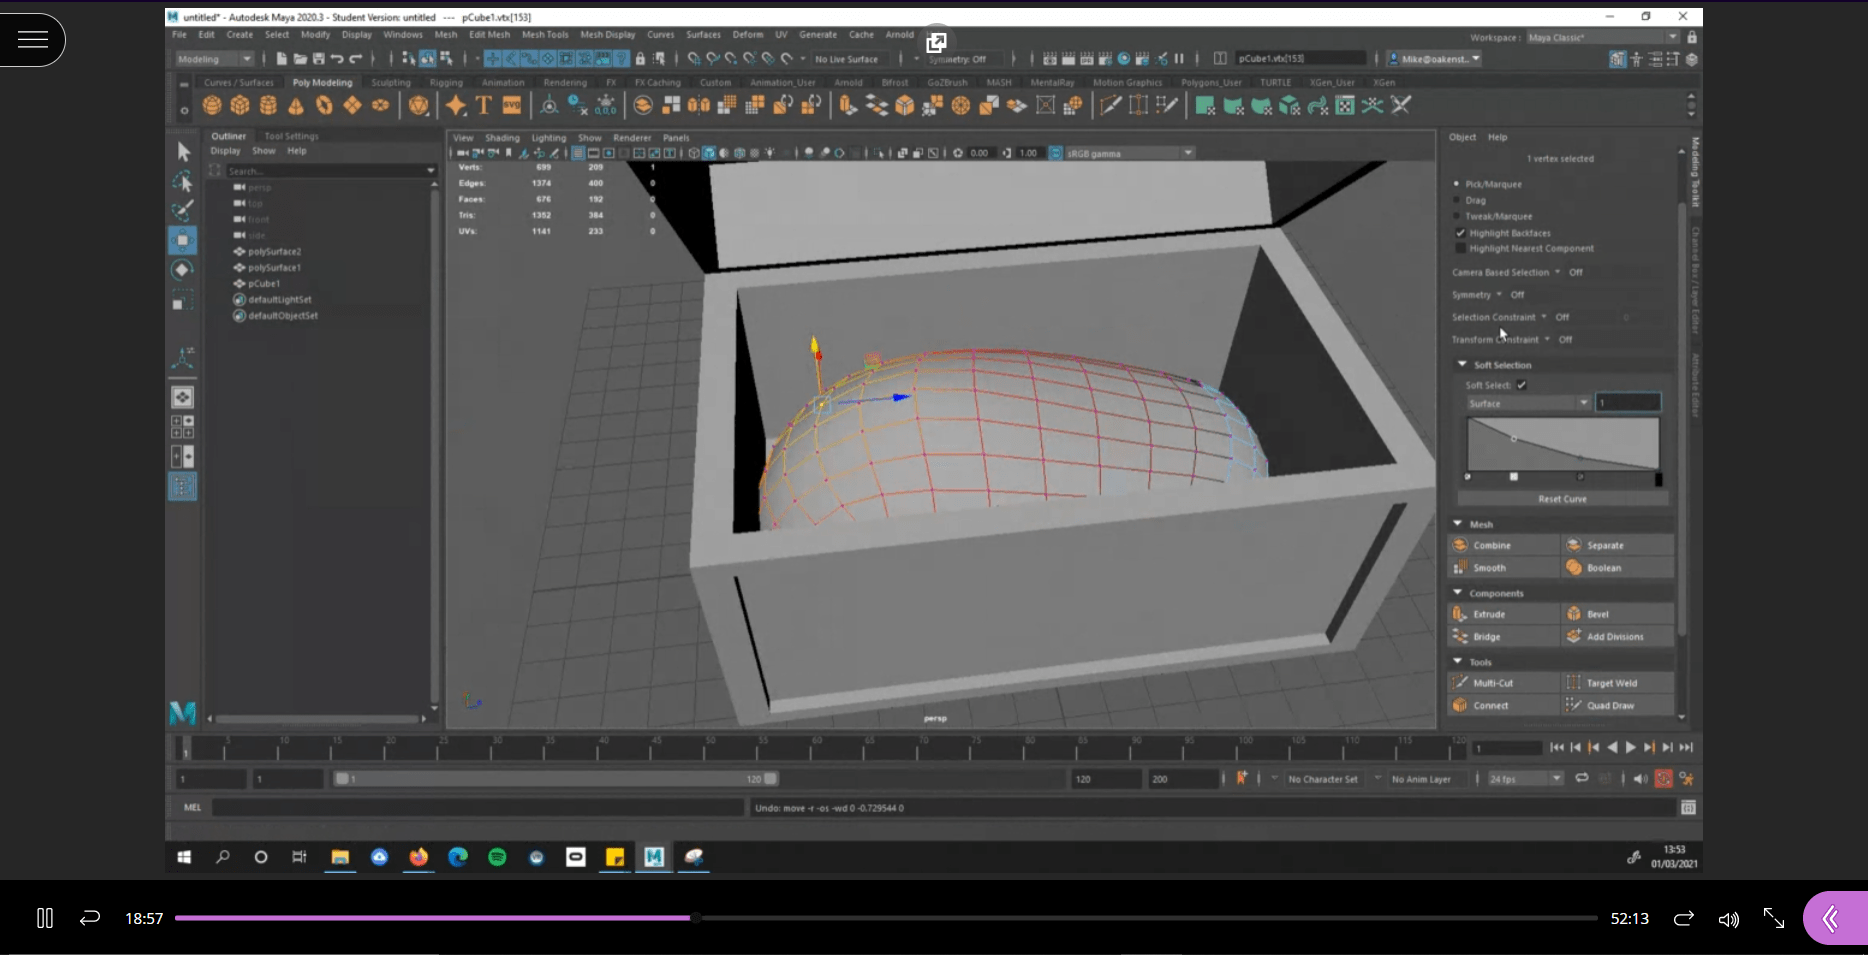
After I’d decided the type of model I wanted to make for this assignment, I needed to do some research and find some tutorials I could follow along the way. Apart from looking up Maya/Blender tips on google, I used this video for reference quite a lot when creating my model;


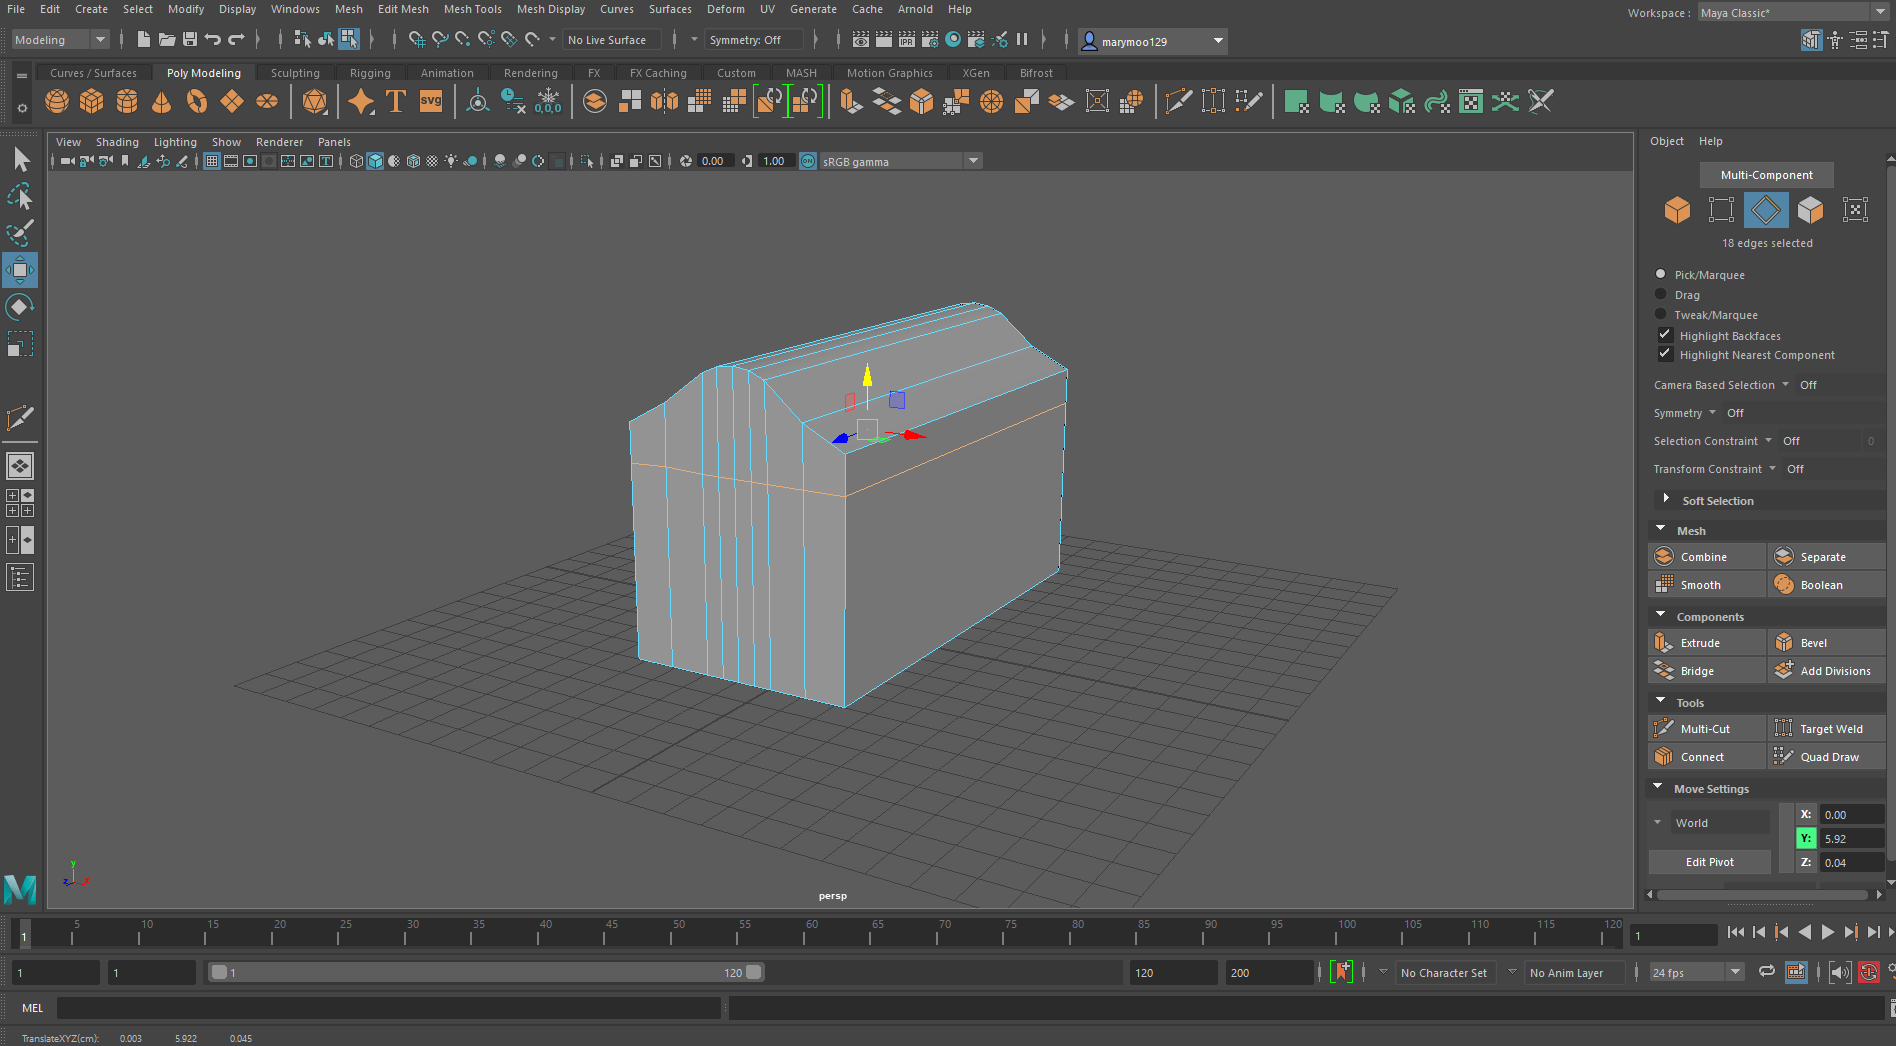
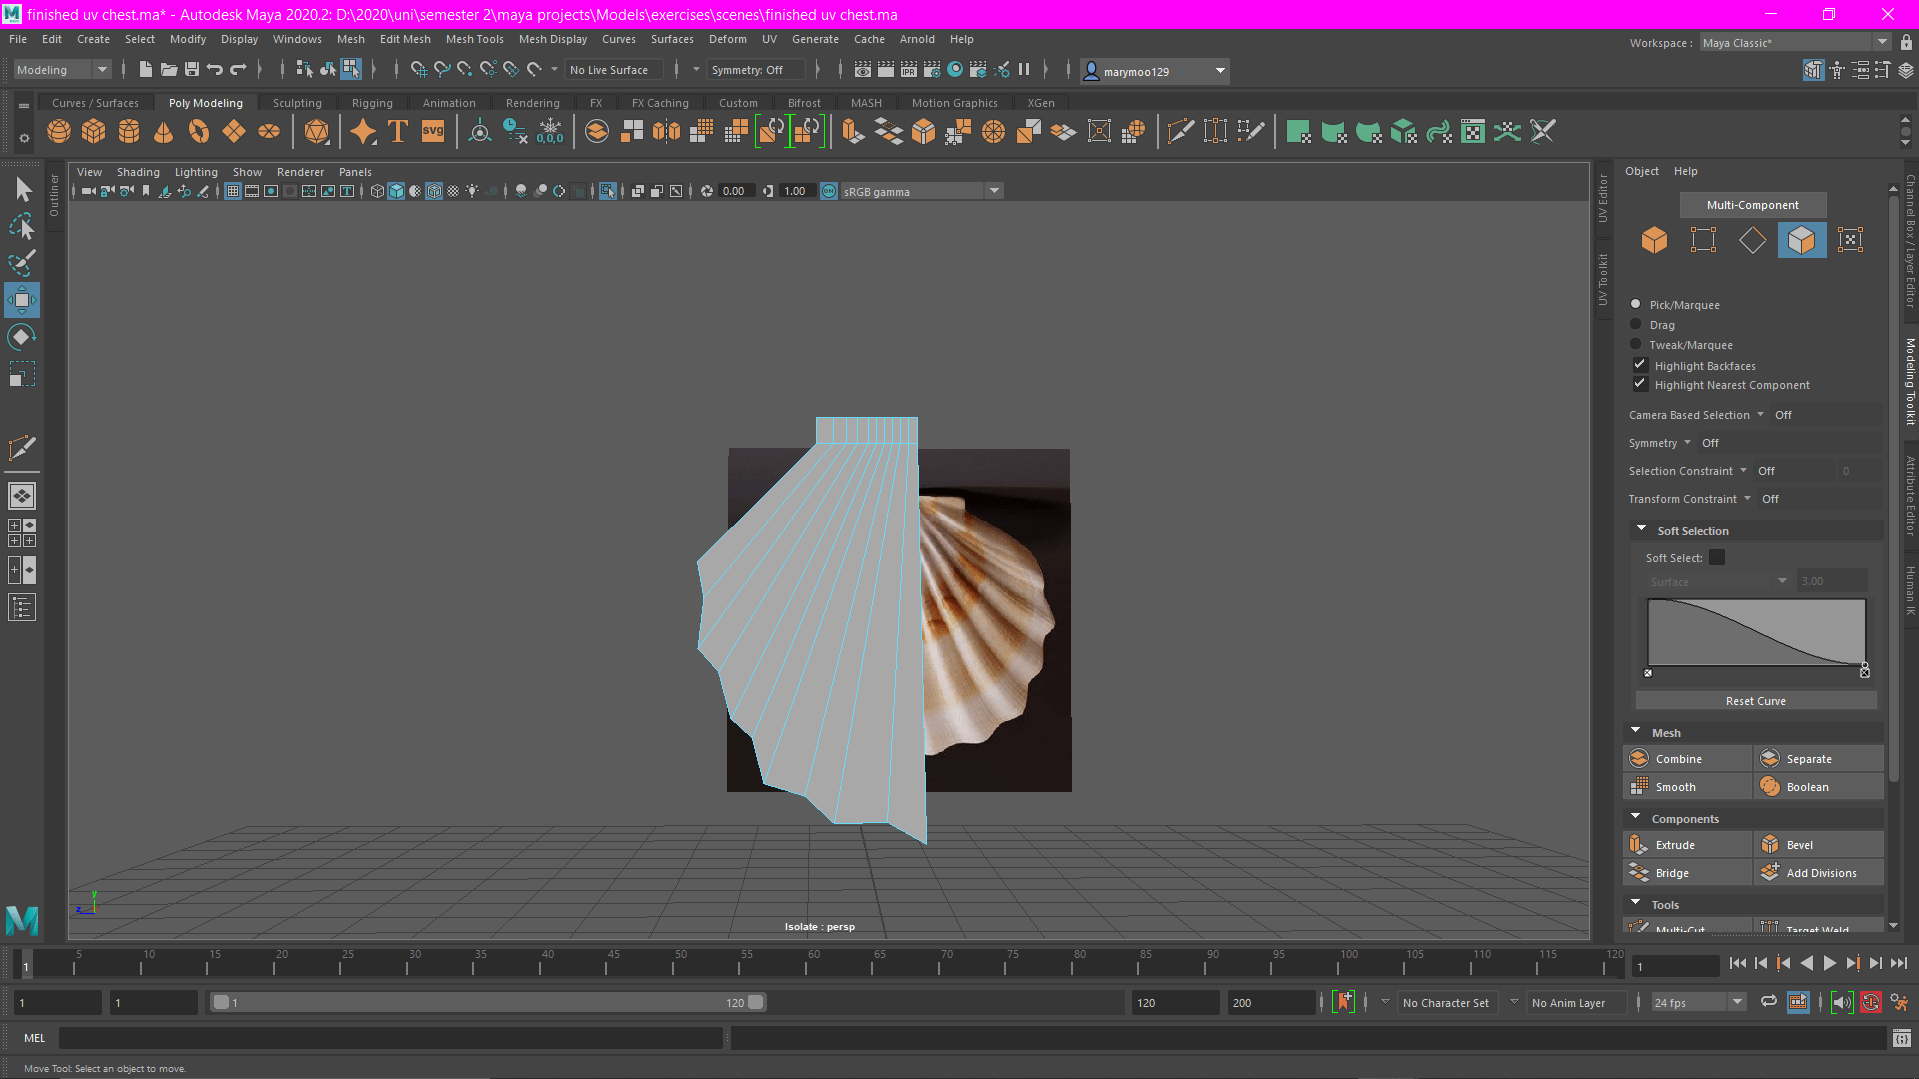
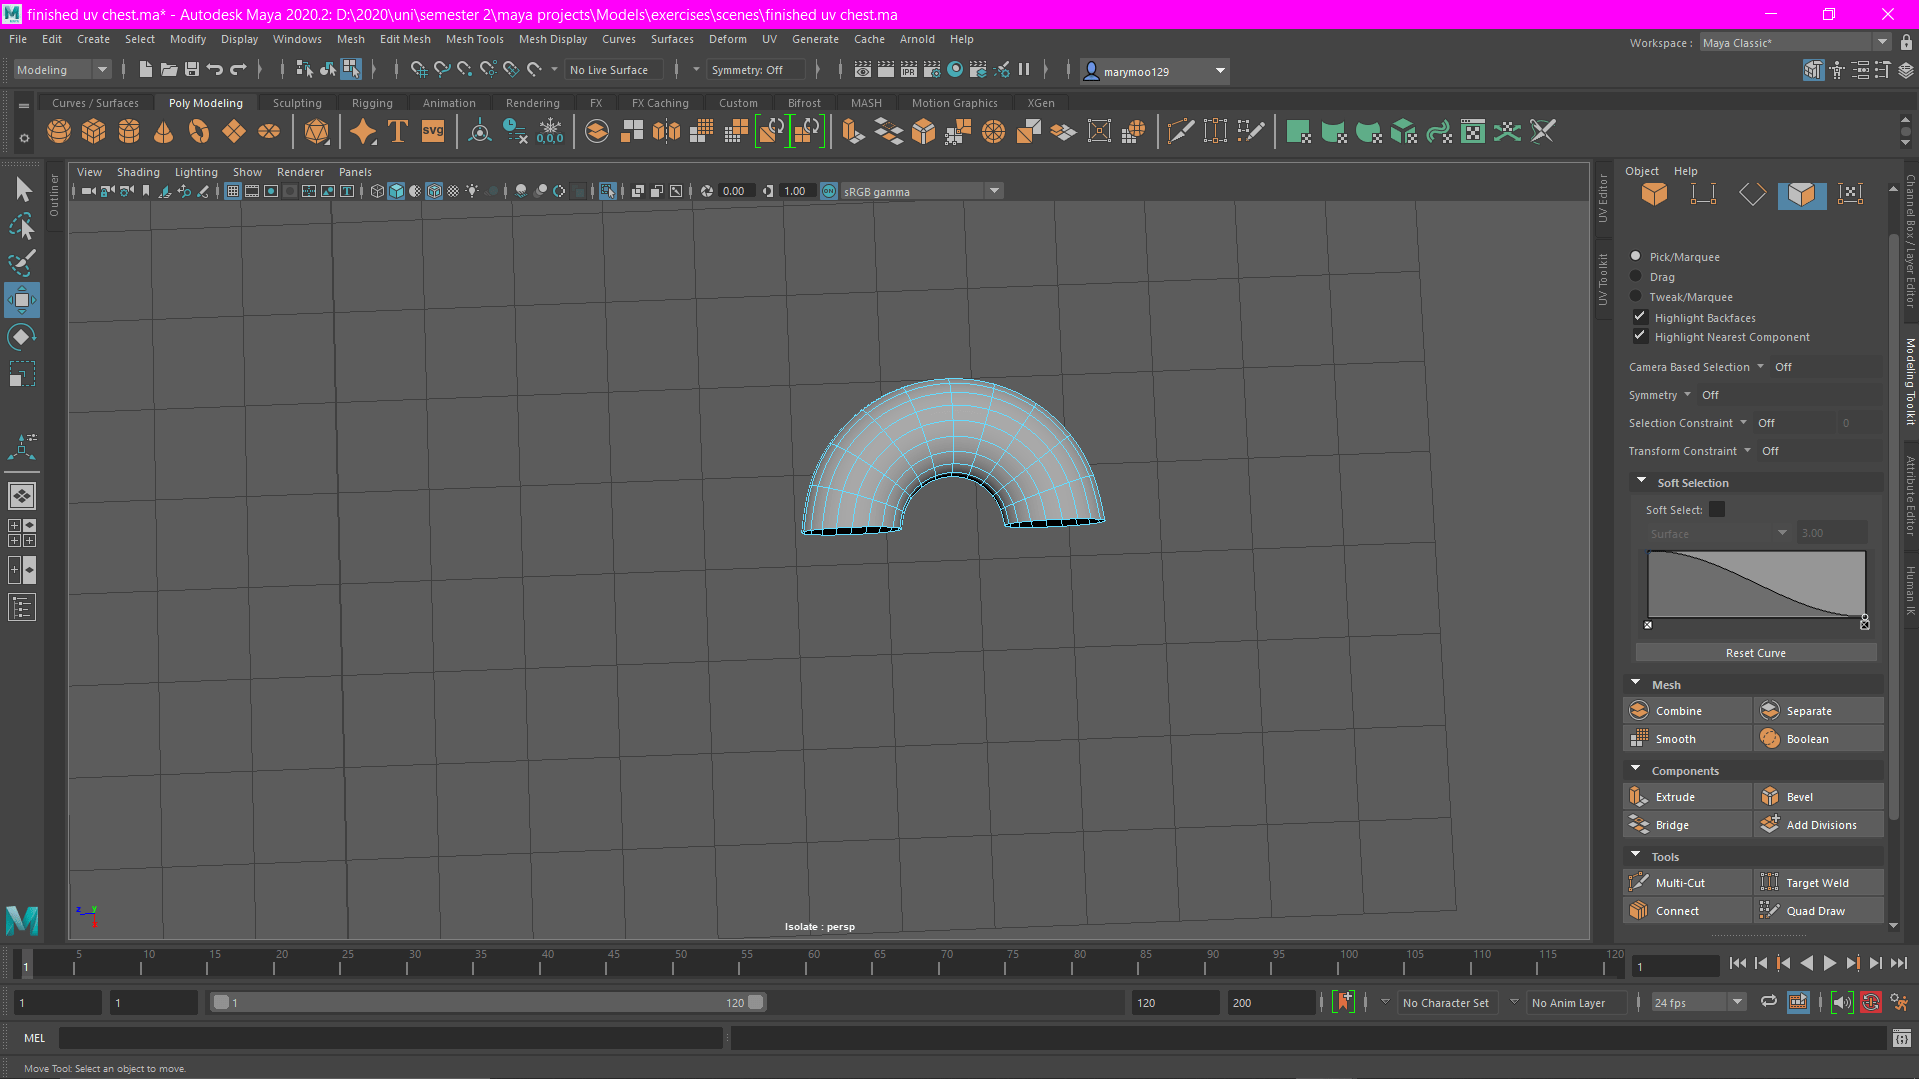
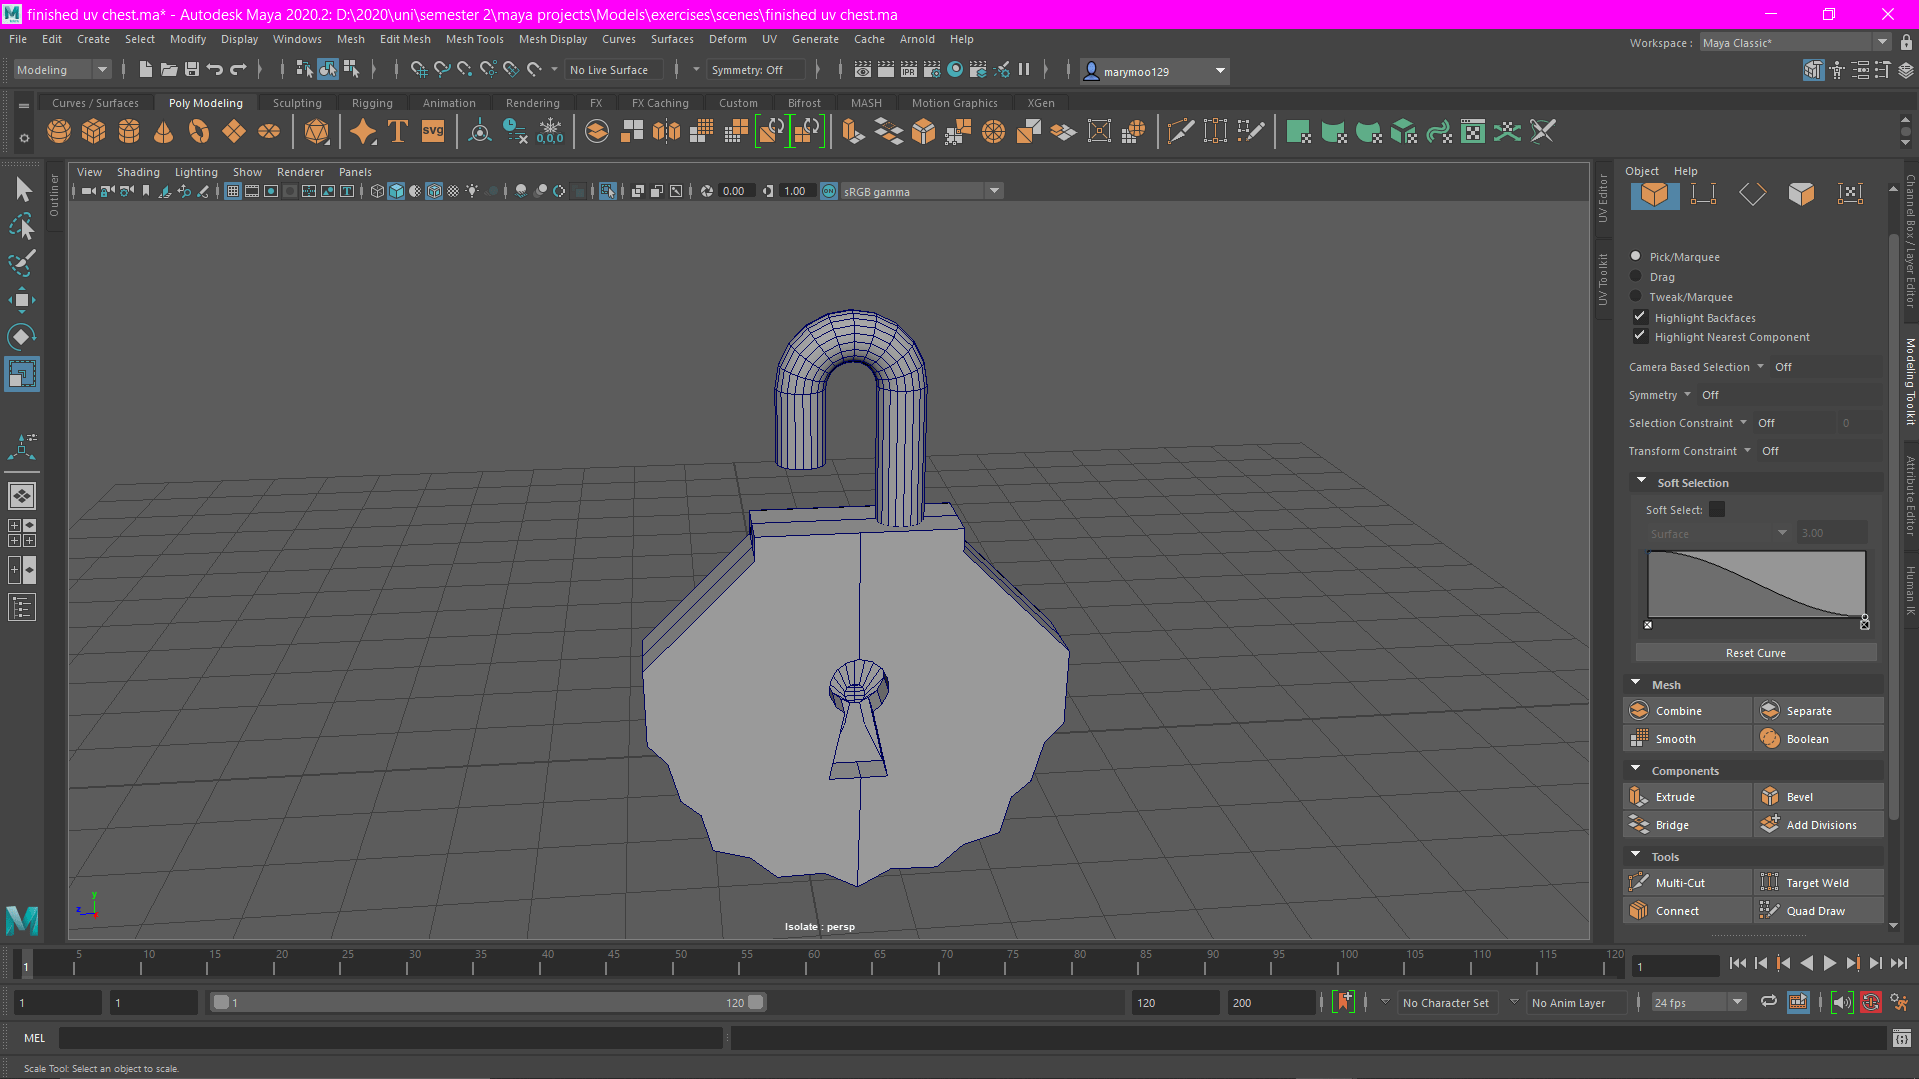
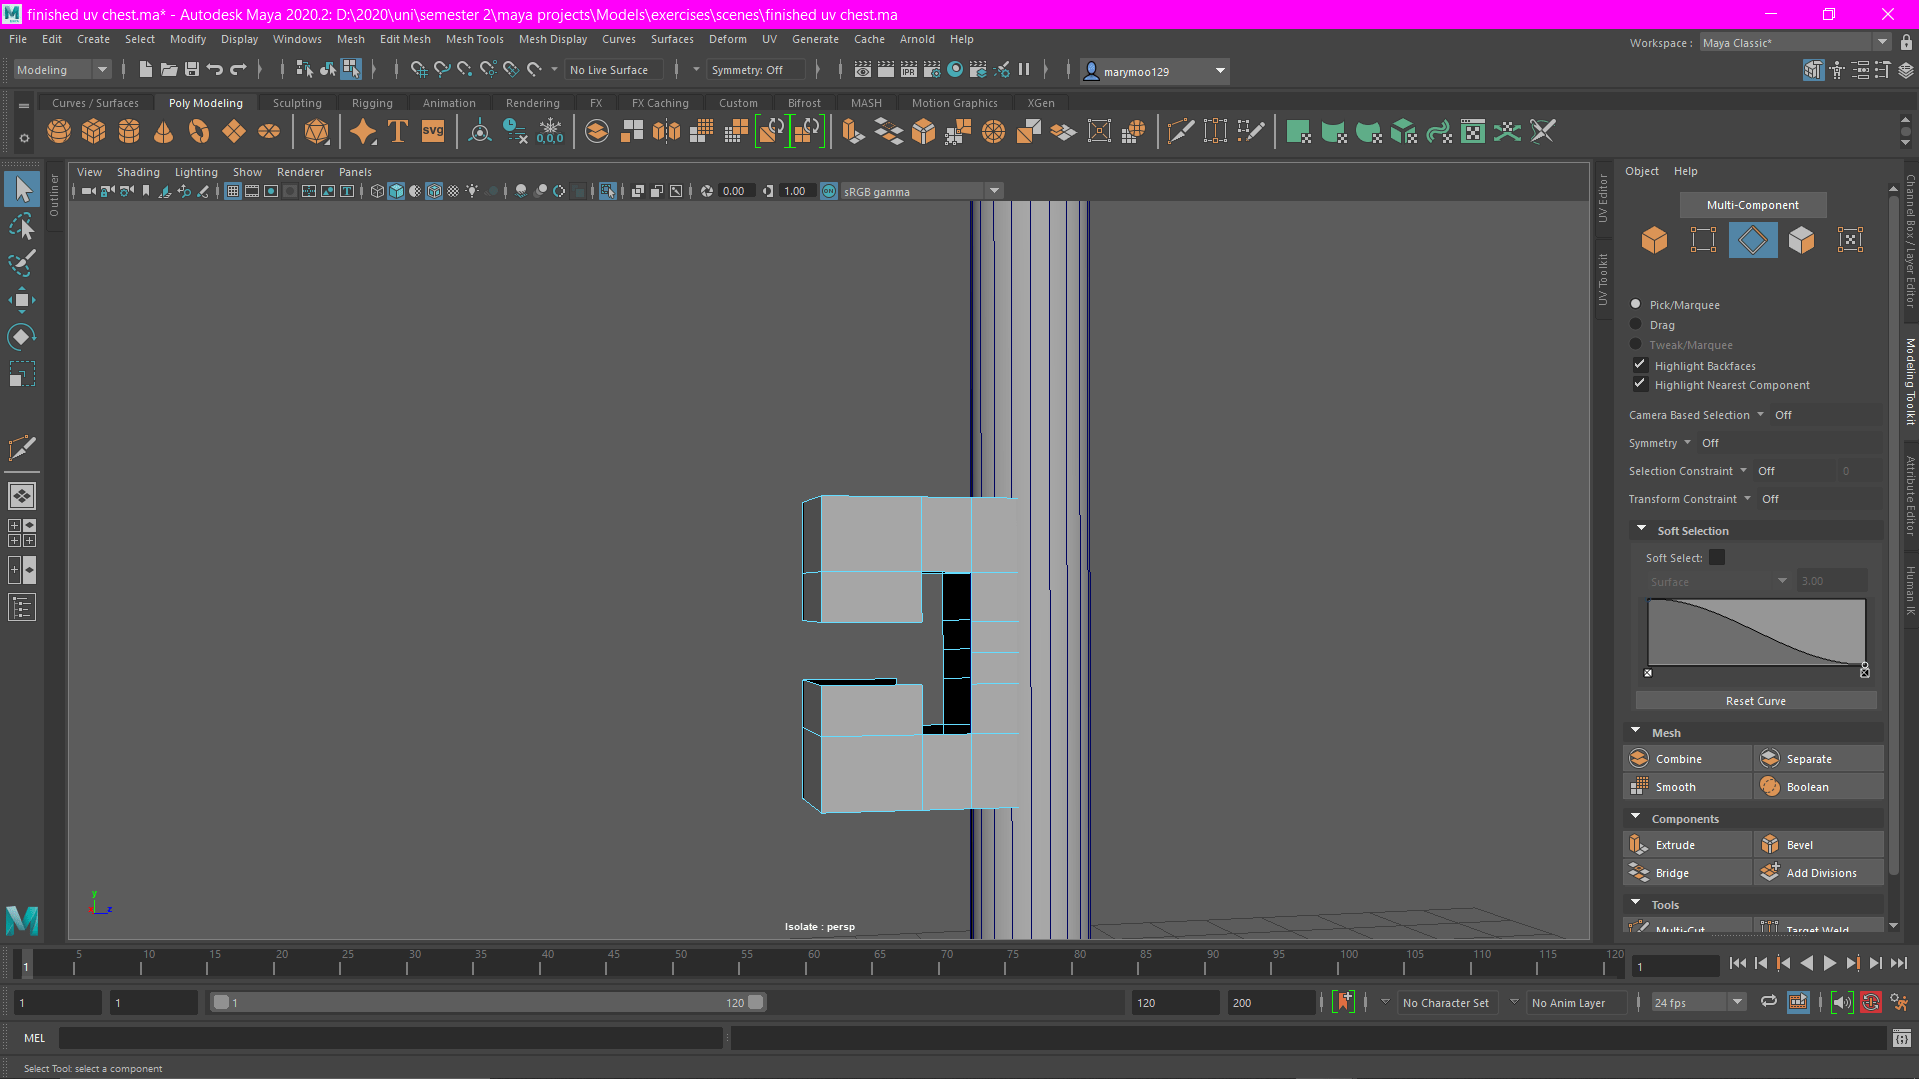
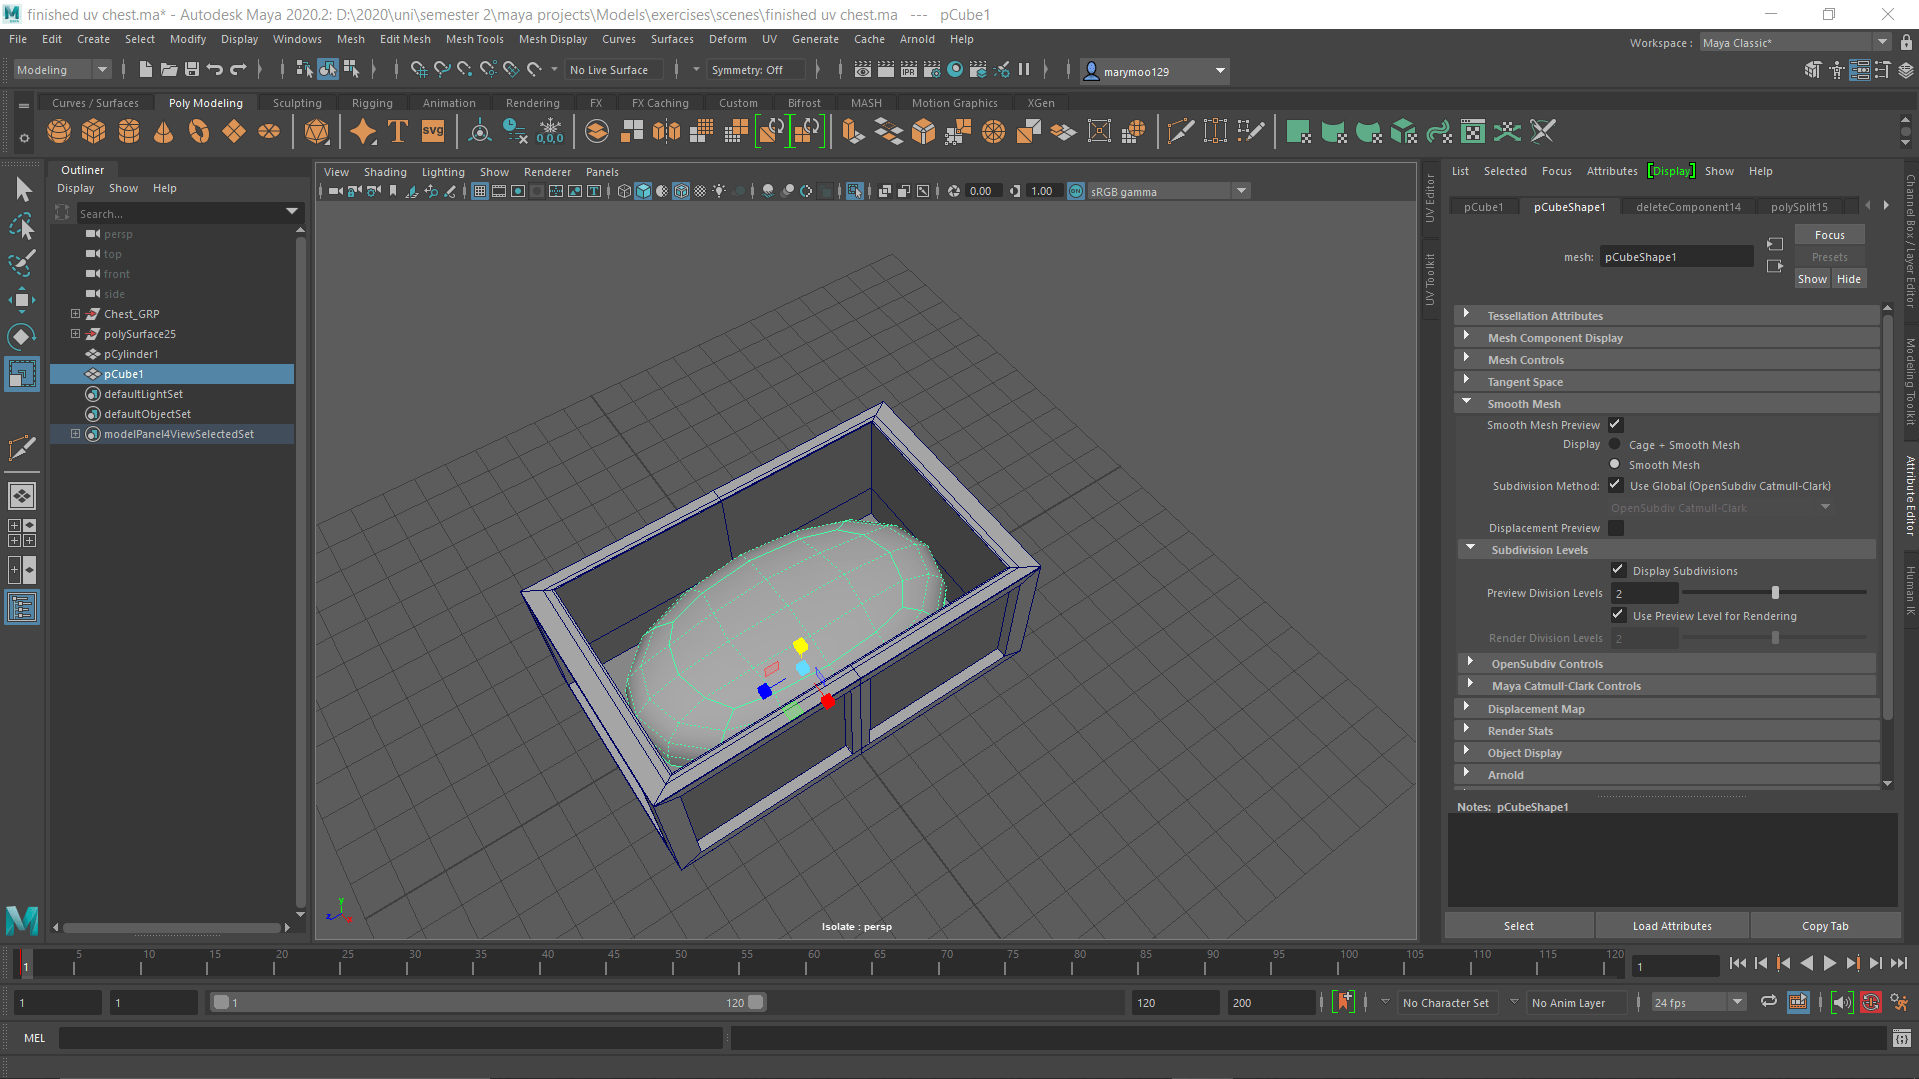
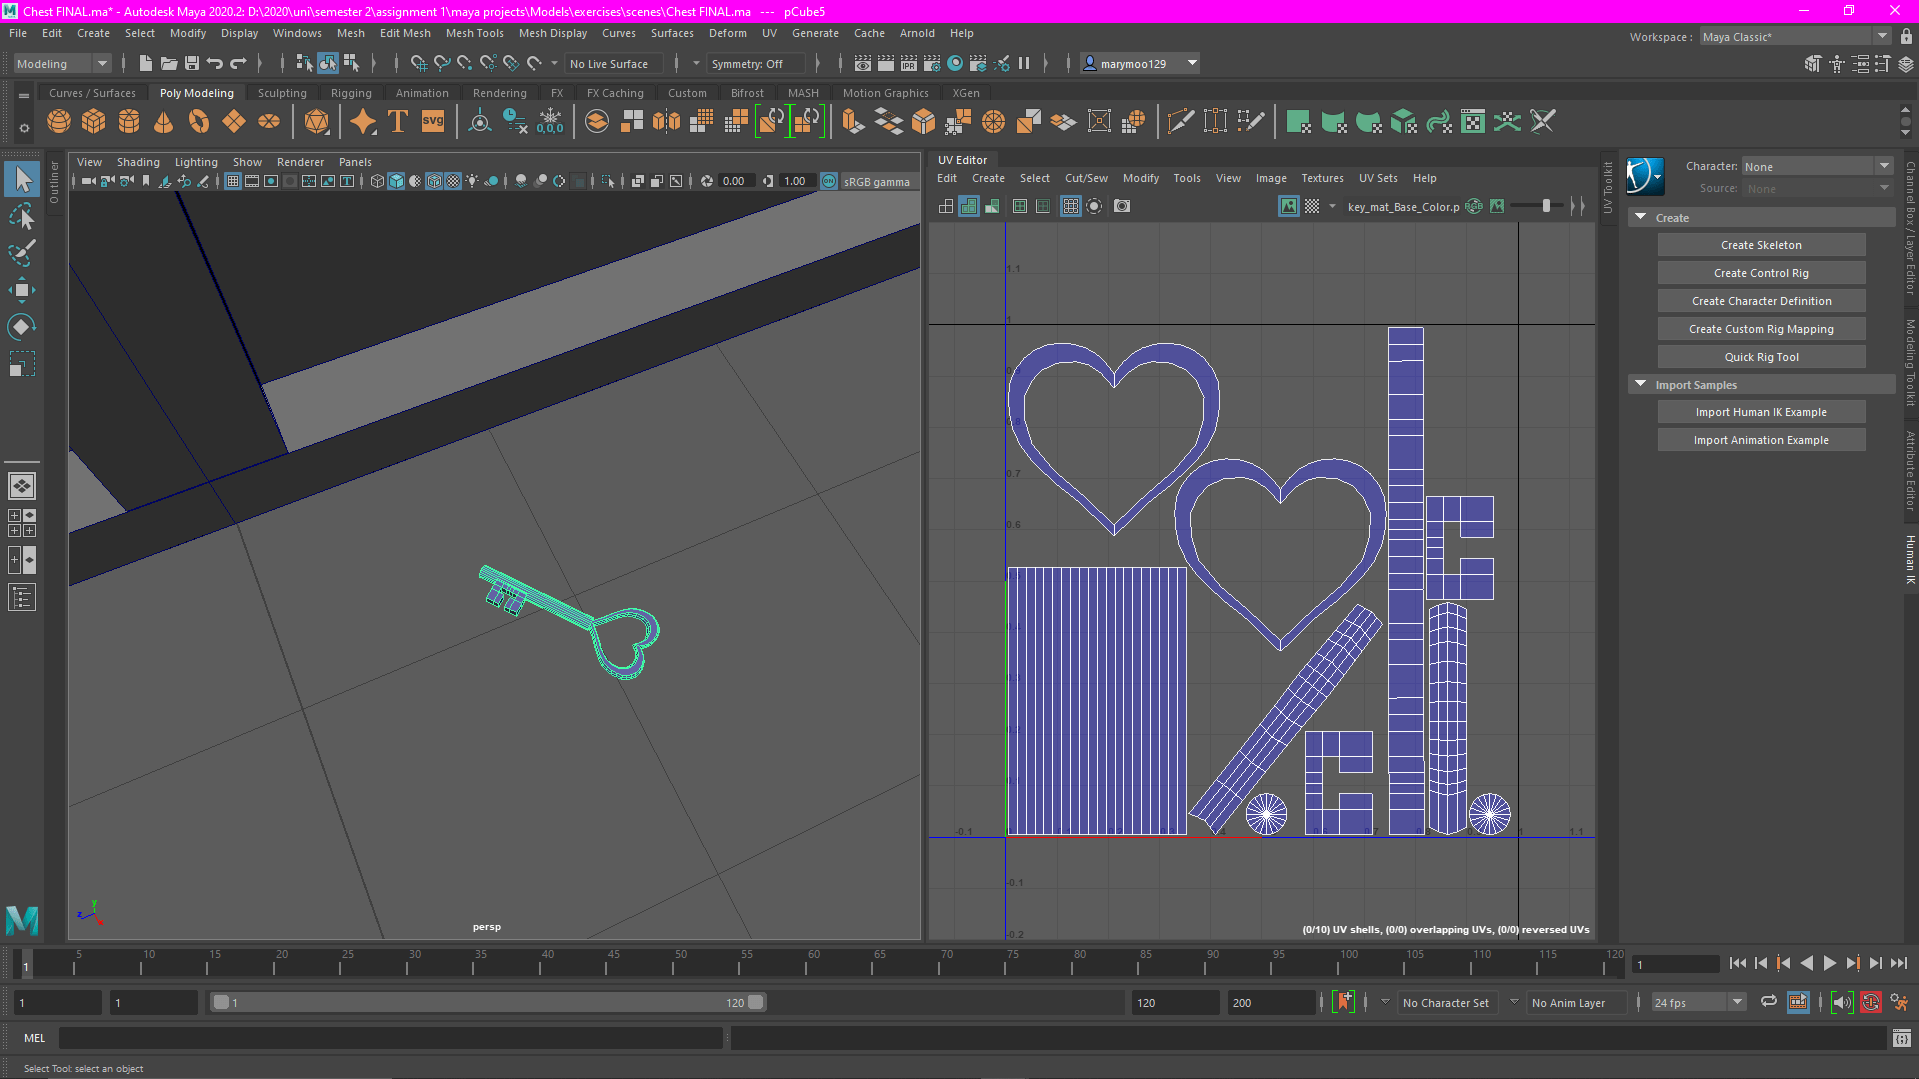
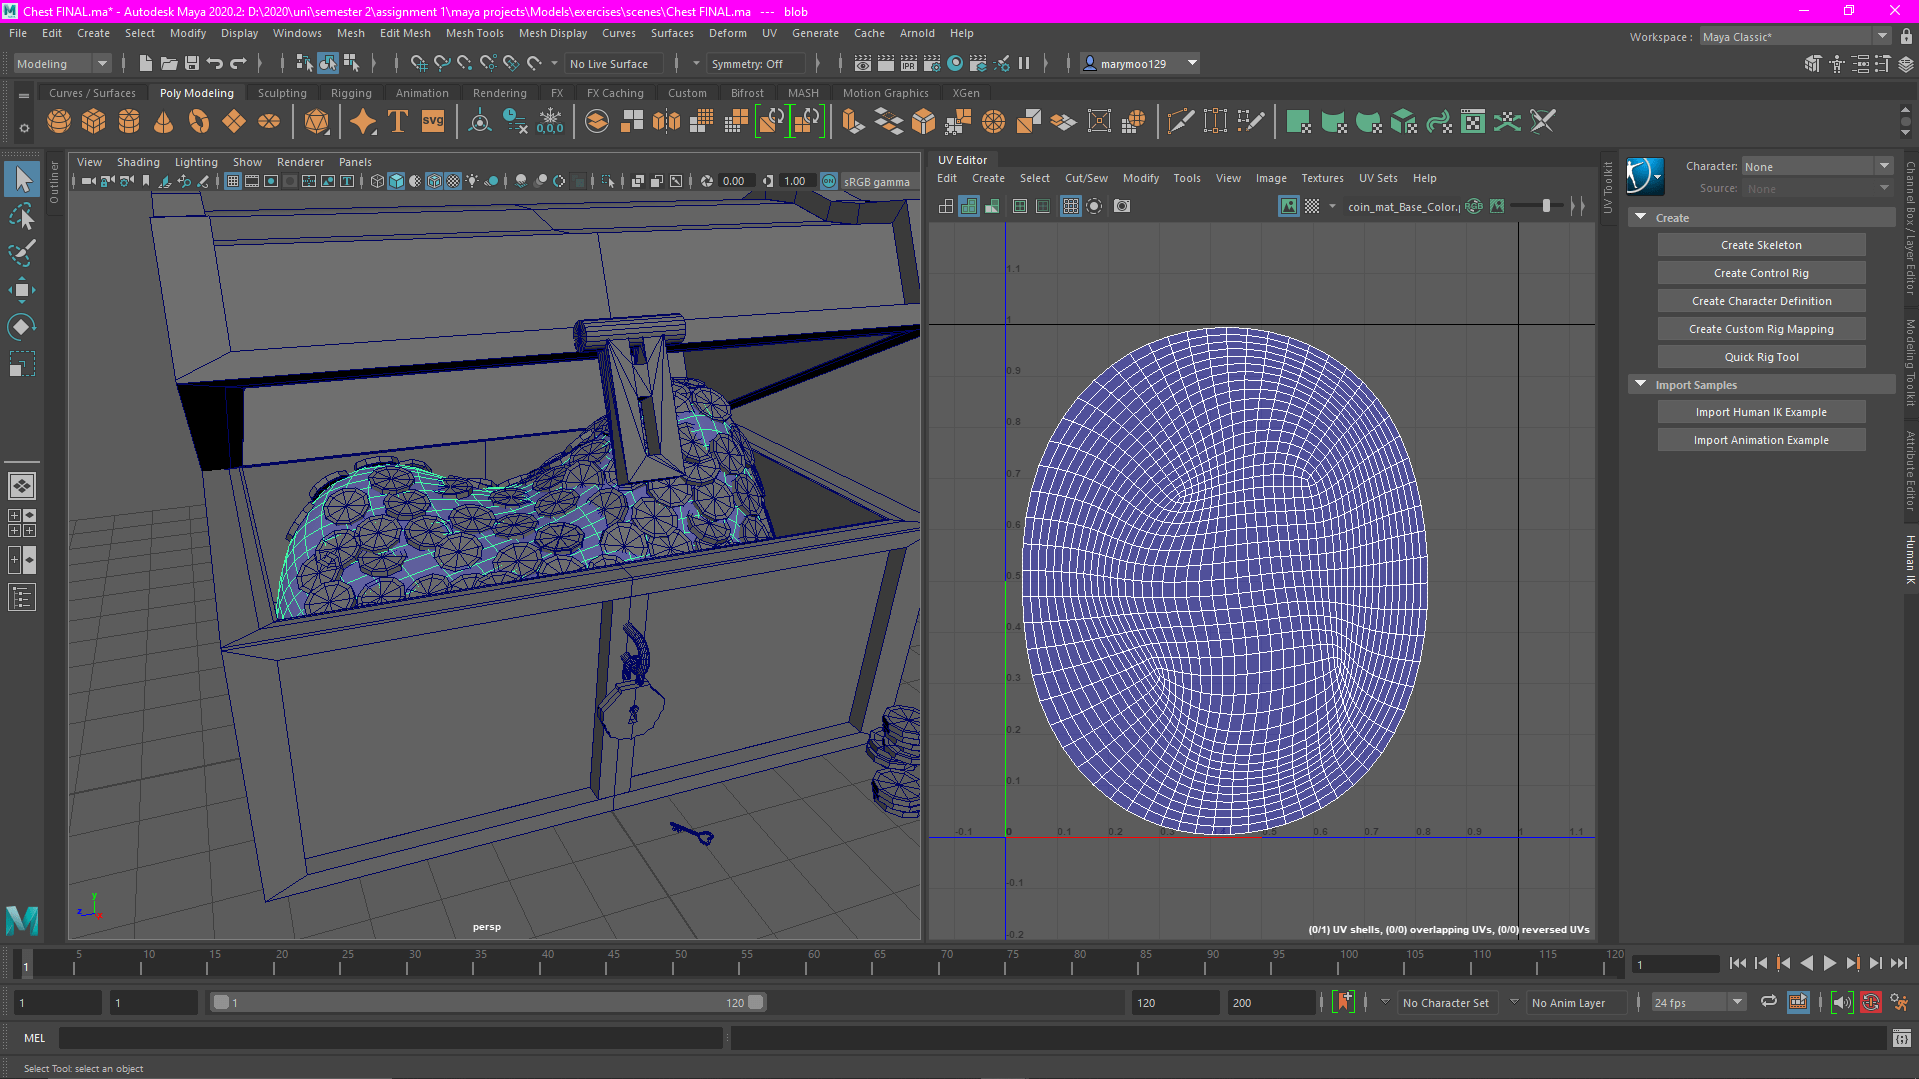
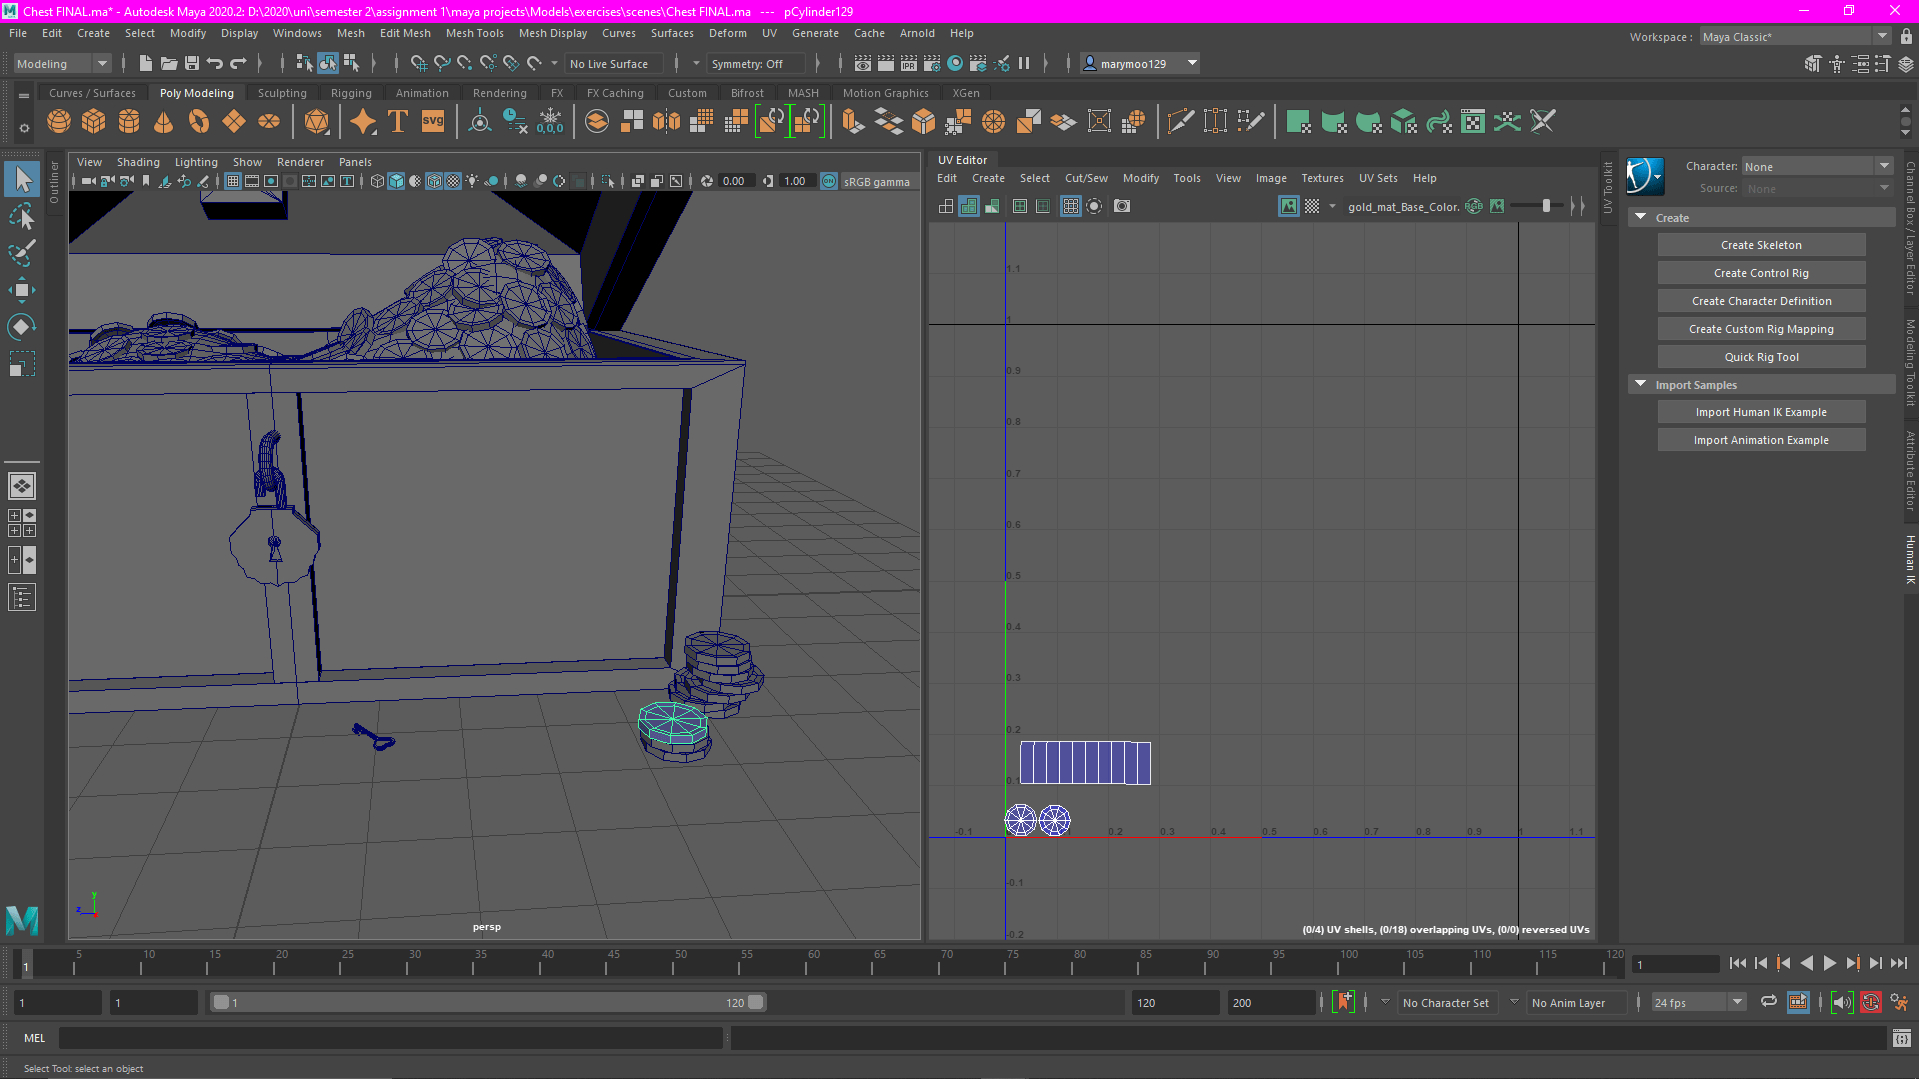
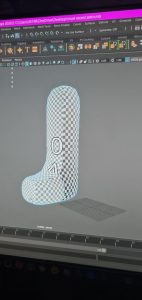
I had initially ran into some problems, e.g. I was struggling to get the poly count below 40,000 and there were some problems with the UV maps as well, such as this one,

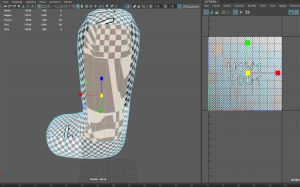
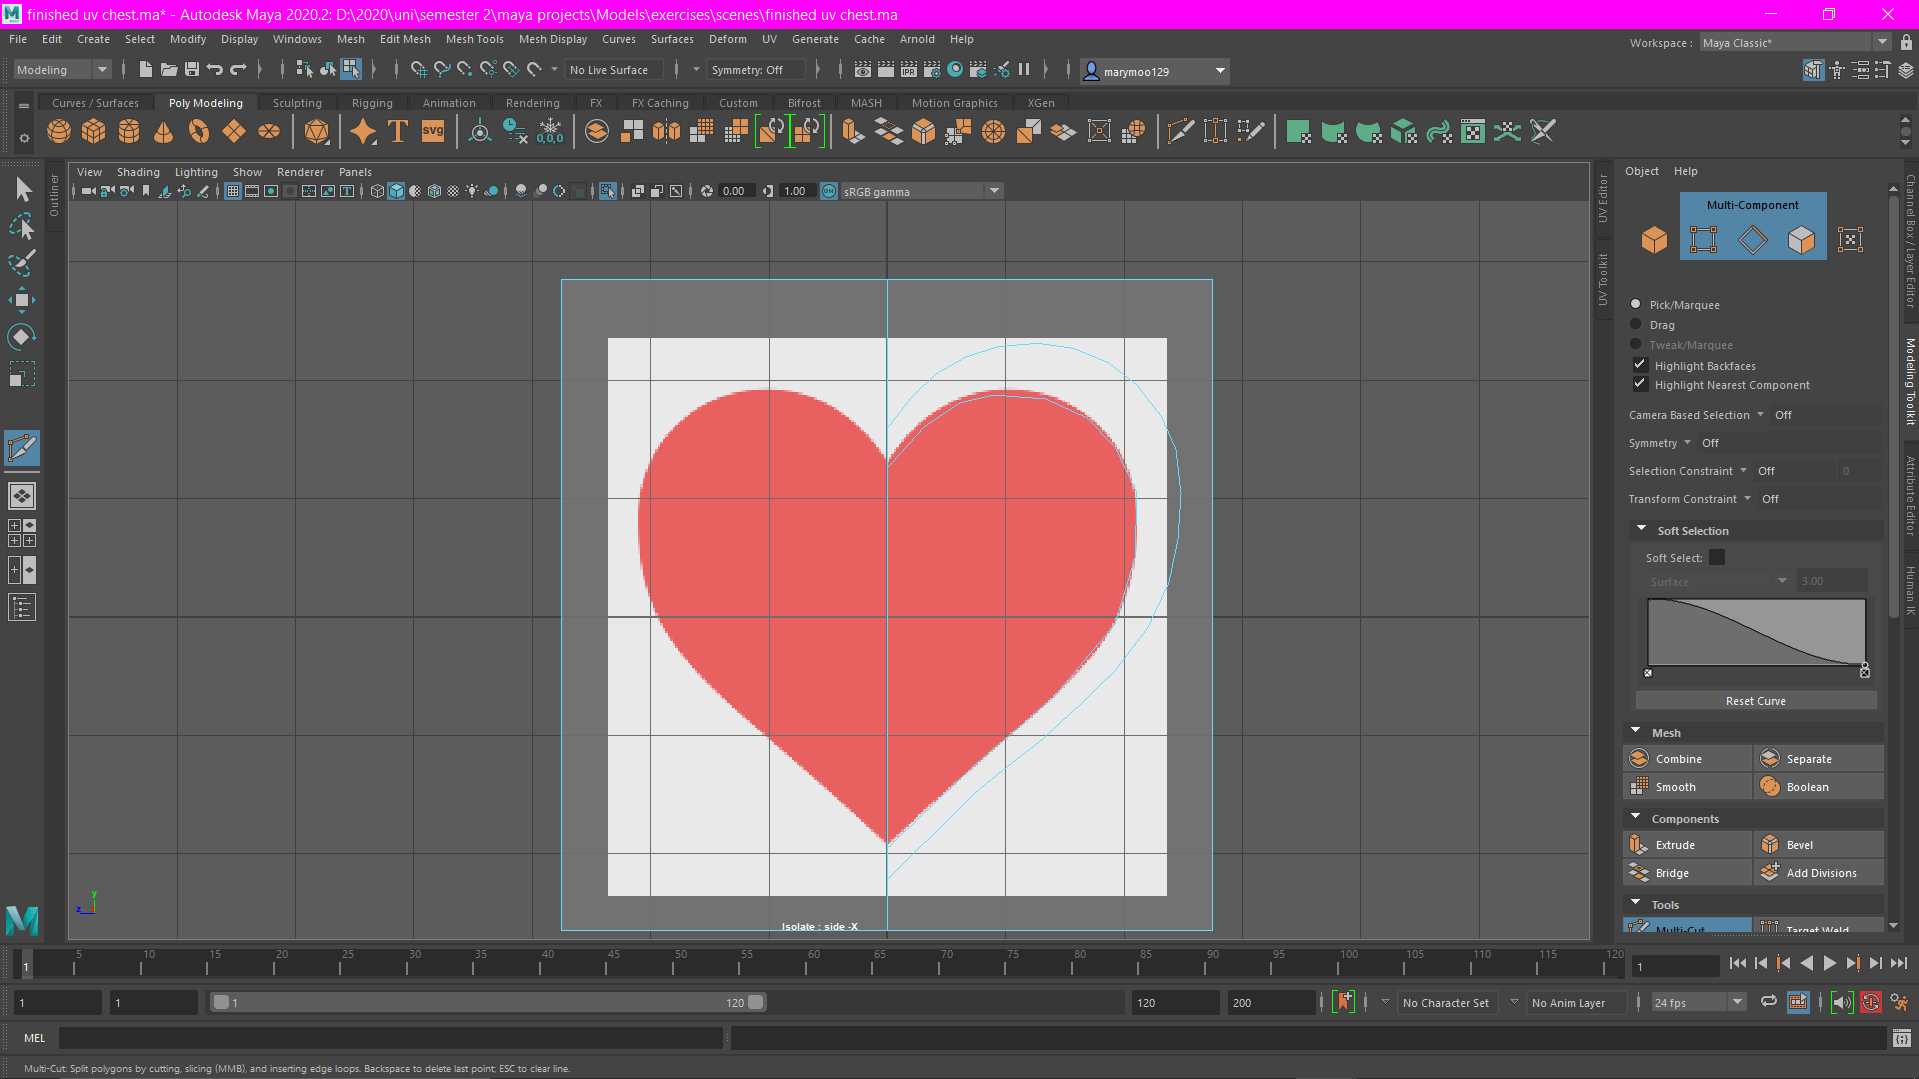
Because originally the mesh was for two leg models rather than one, so I ran into some problems with it when I was trying to organise the UVs. however this was easy fixed, I just removed the faces that were making things awkward and used the “fill hole” option in Maya to fill in the gap. once I put all the edges back in where they needed to be using the multi-cut tool, I was able to move and reshape the leg to make it look back to normal while also fixing the UV maps.

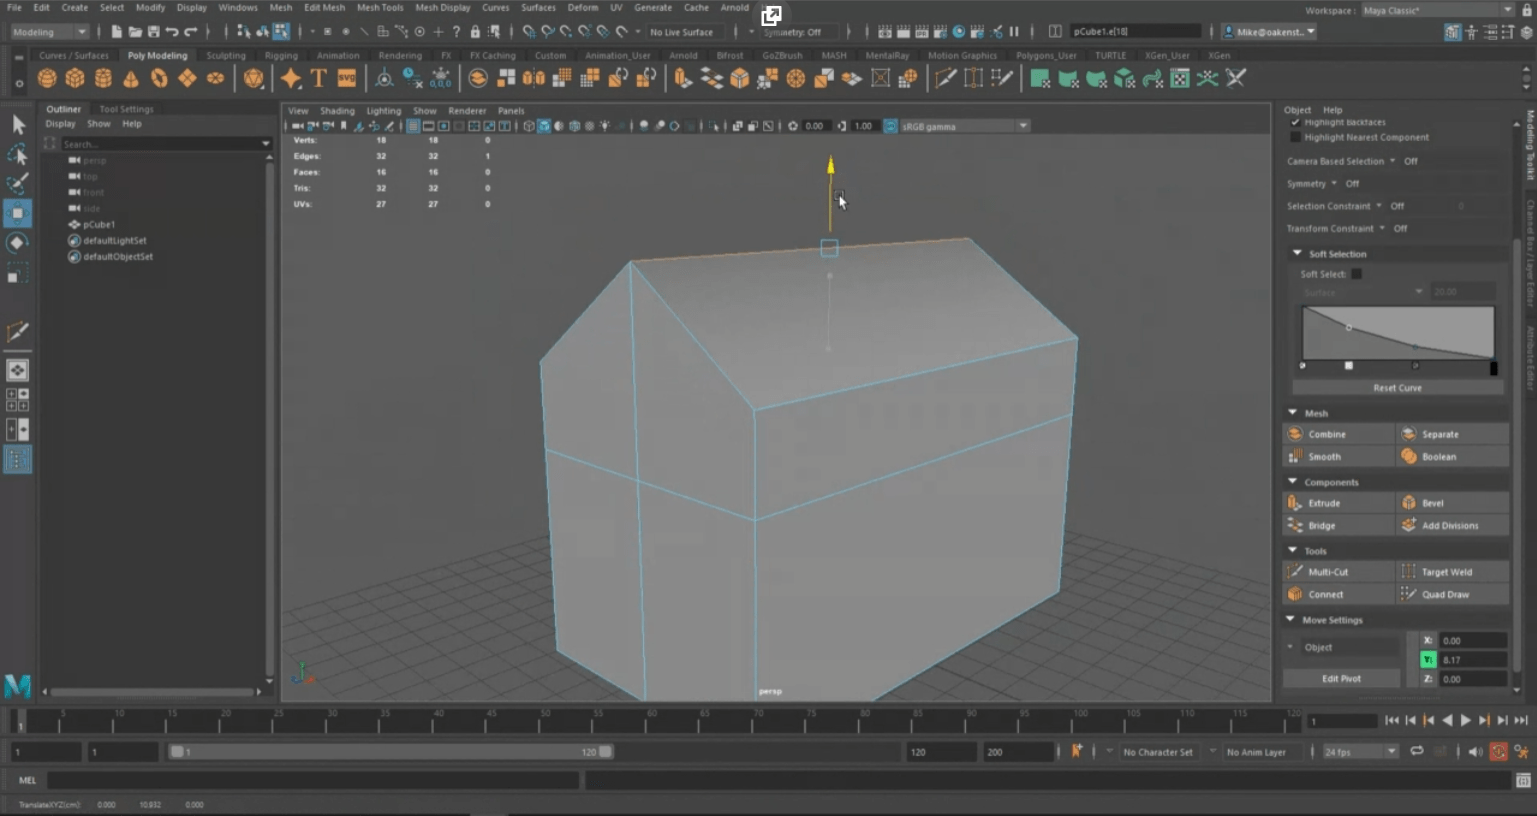
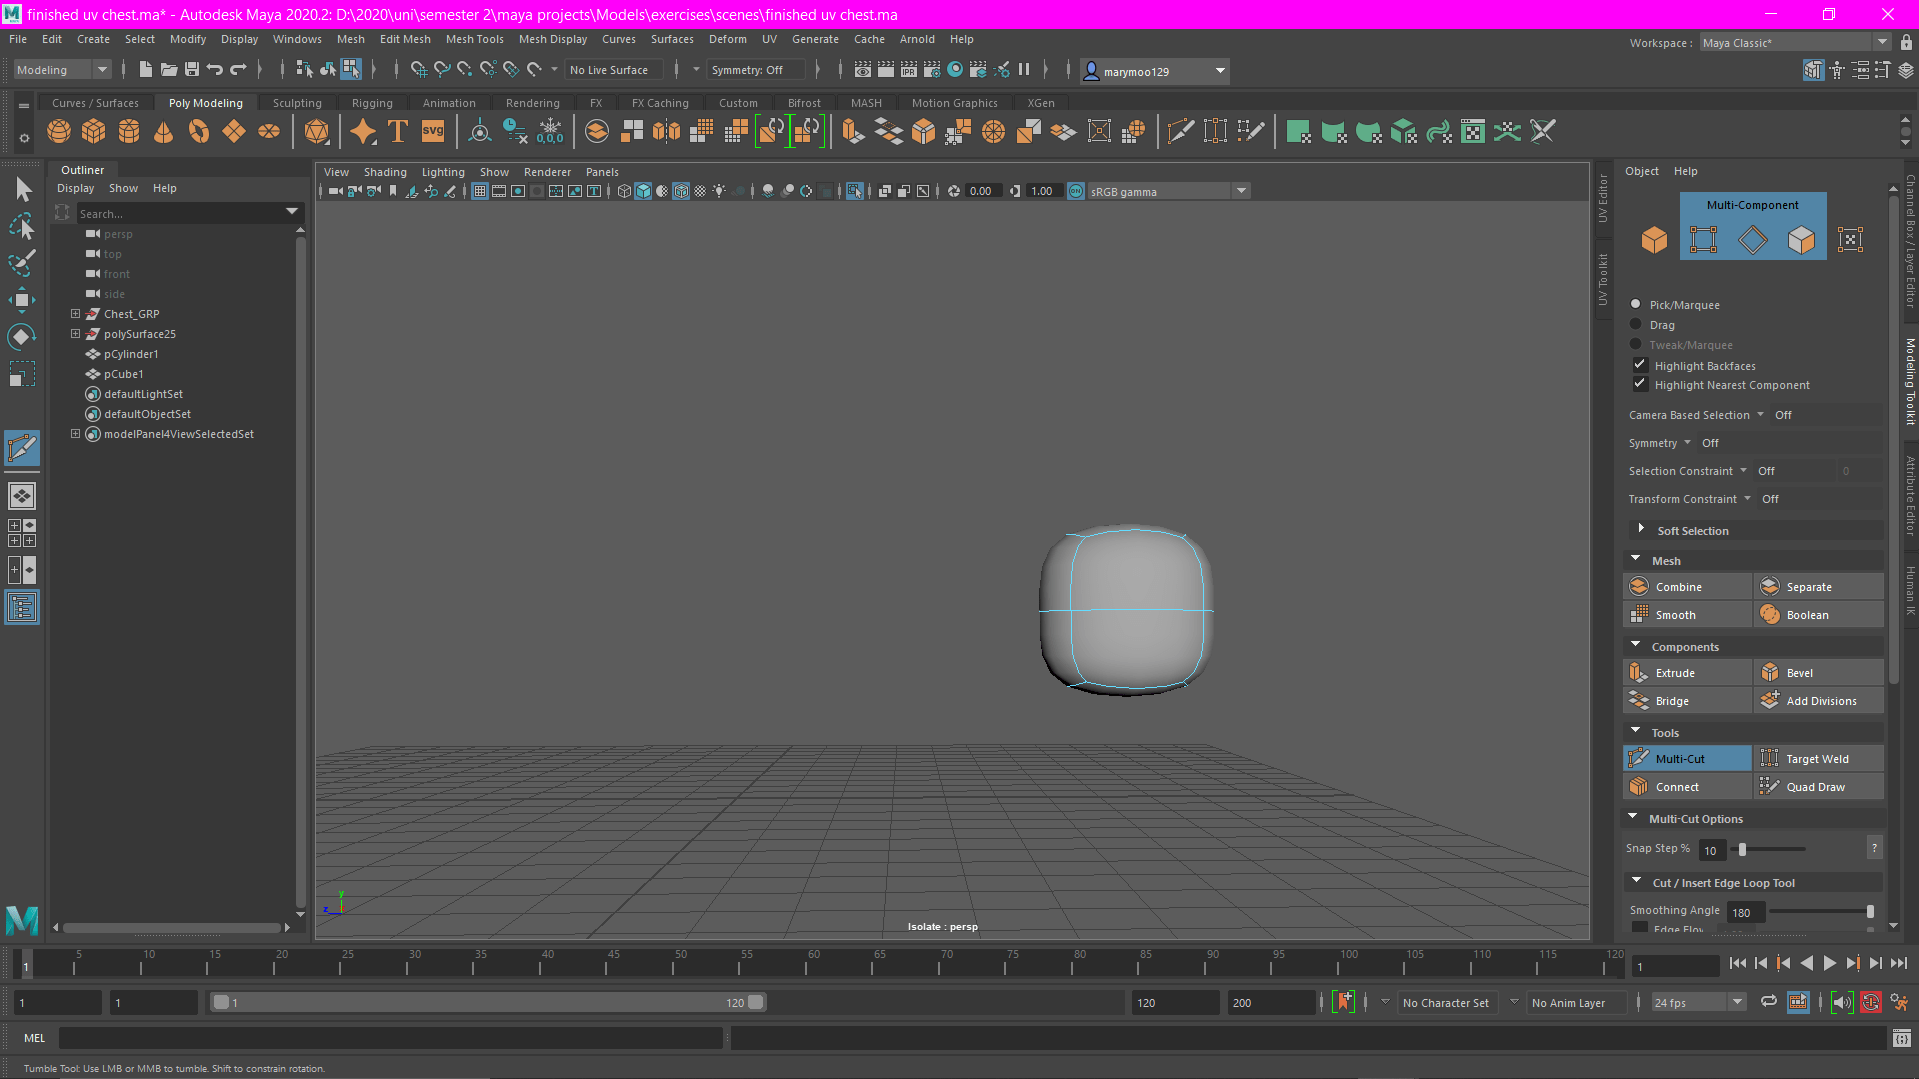
I was able to bring the poly count down by changing some of the shapes from awkwardly sculpted ones in blender, when I brought my model from blender to Maya some of the shapes and UVs got a bit messed up. Both hands had way too many edges and faces for just a simple sphere so I deleted it and added spheres in using Maya.

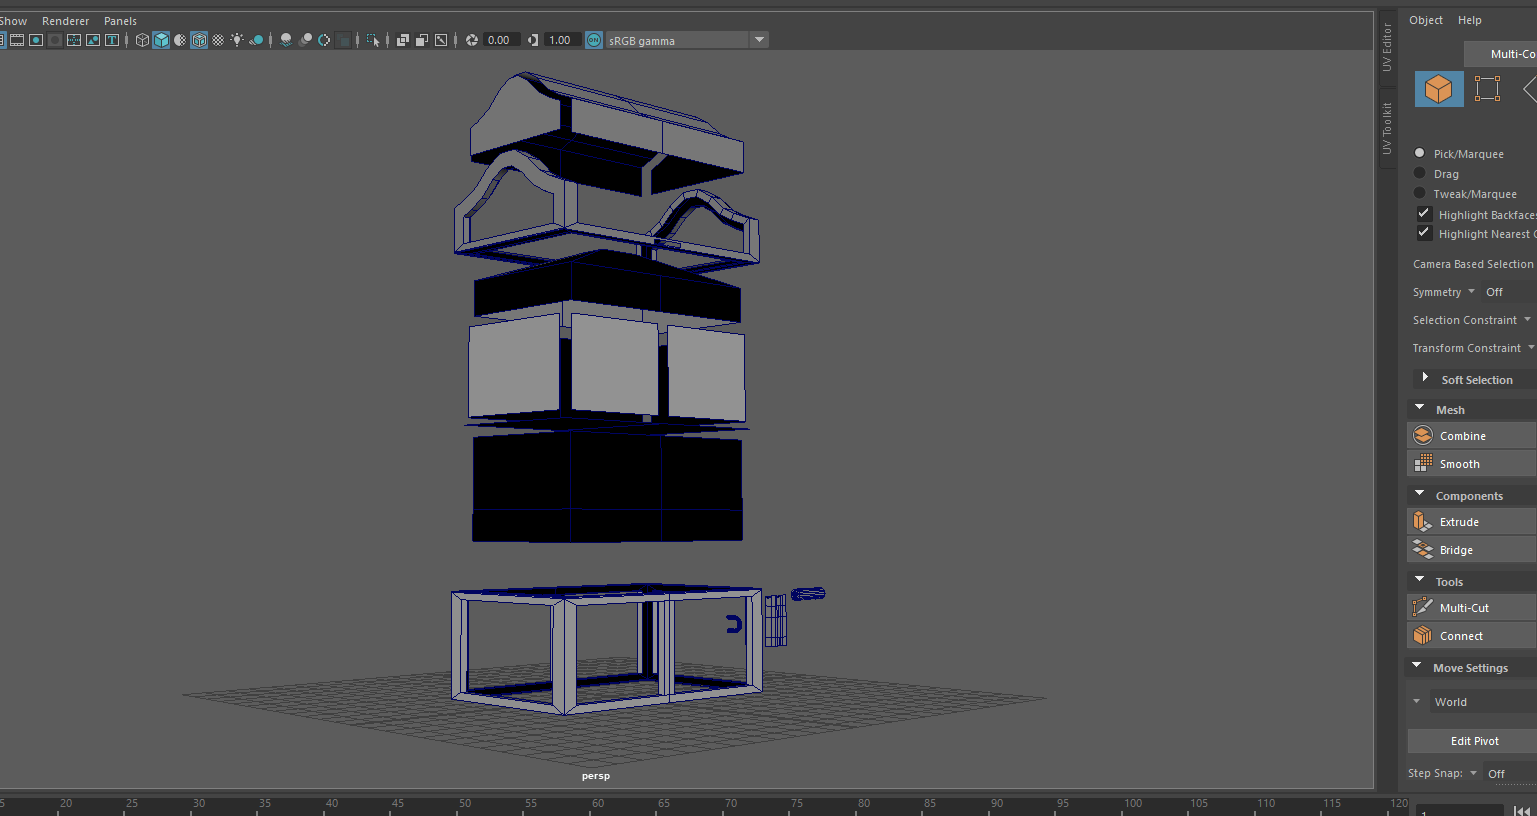
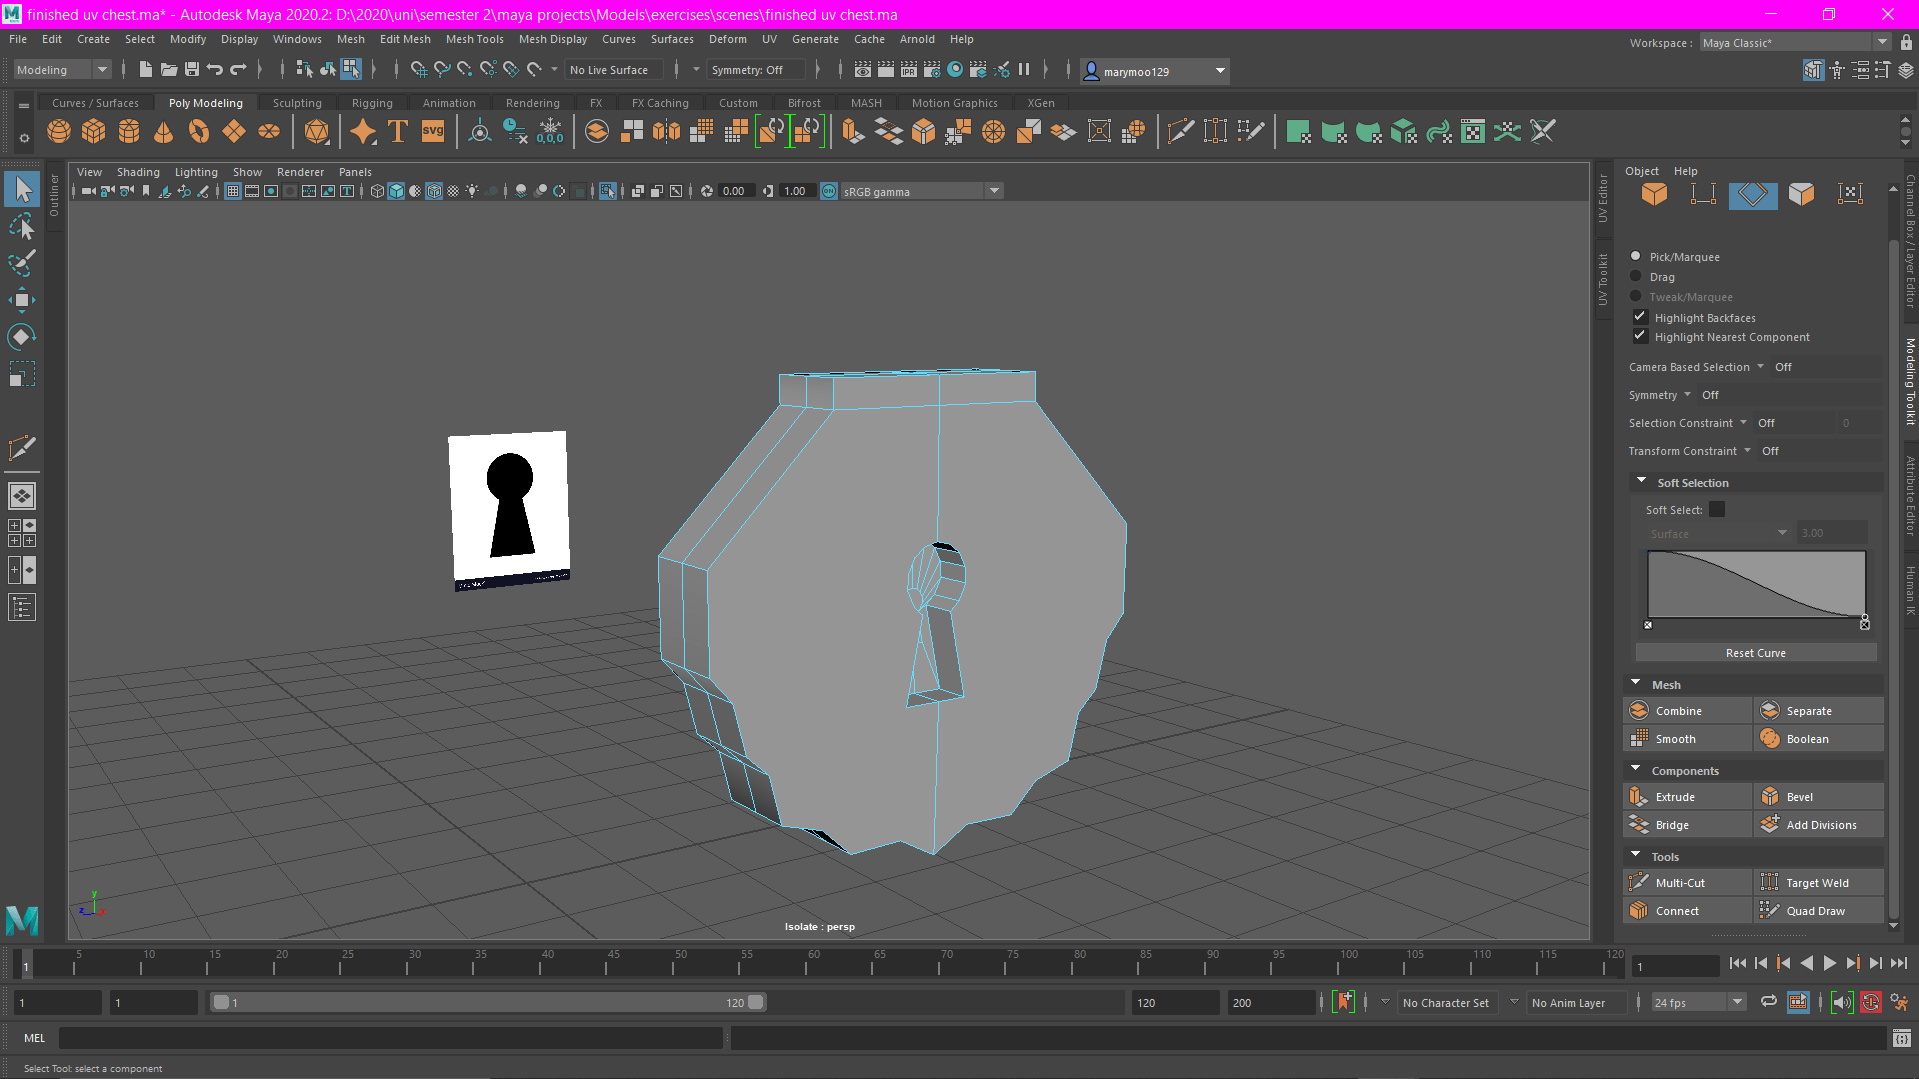
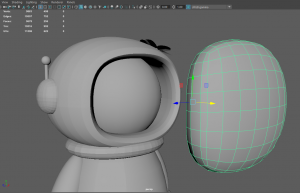
This was how it looked before painting.

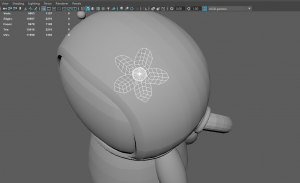
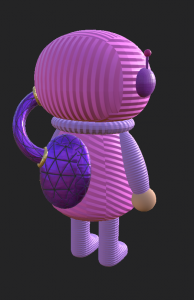
I felt like my astronaut didn’t really have any personality or anything that really differentiates from any other astronaut model so I decided too add just a small flower to the helmet.

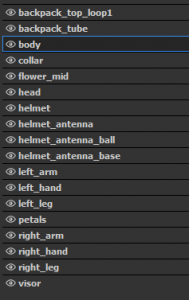
As you can see from the list above the is a material named “head”, that’s because I had planned to add a head with an ‘animal crossing’-type face behind the visor, and I wanted to make the visor see-though but unfortunately I didn’t leave myself enough time to research how to do this properly. So my astronaut does have a head, we just cant see it;

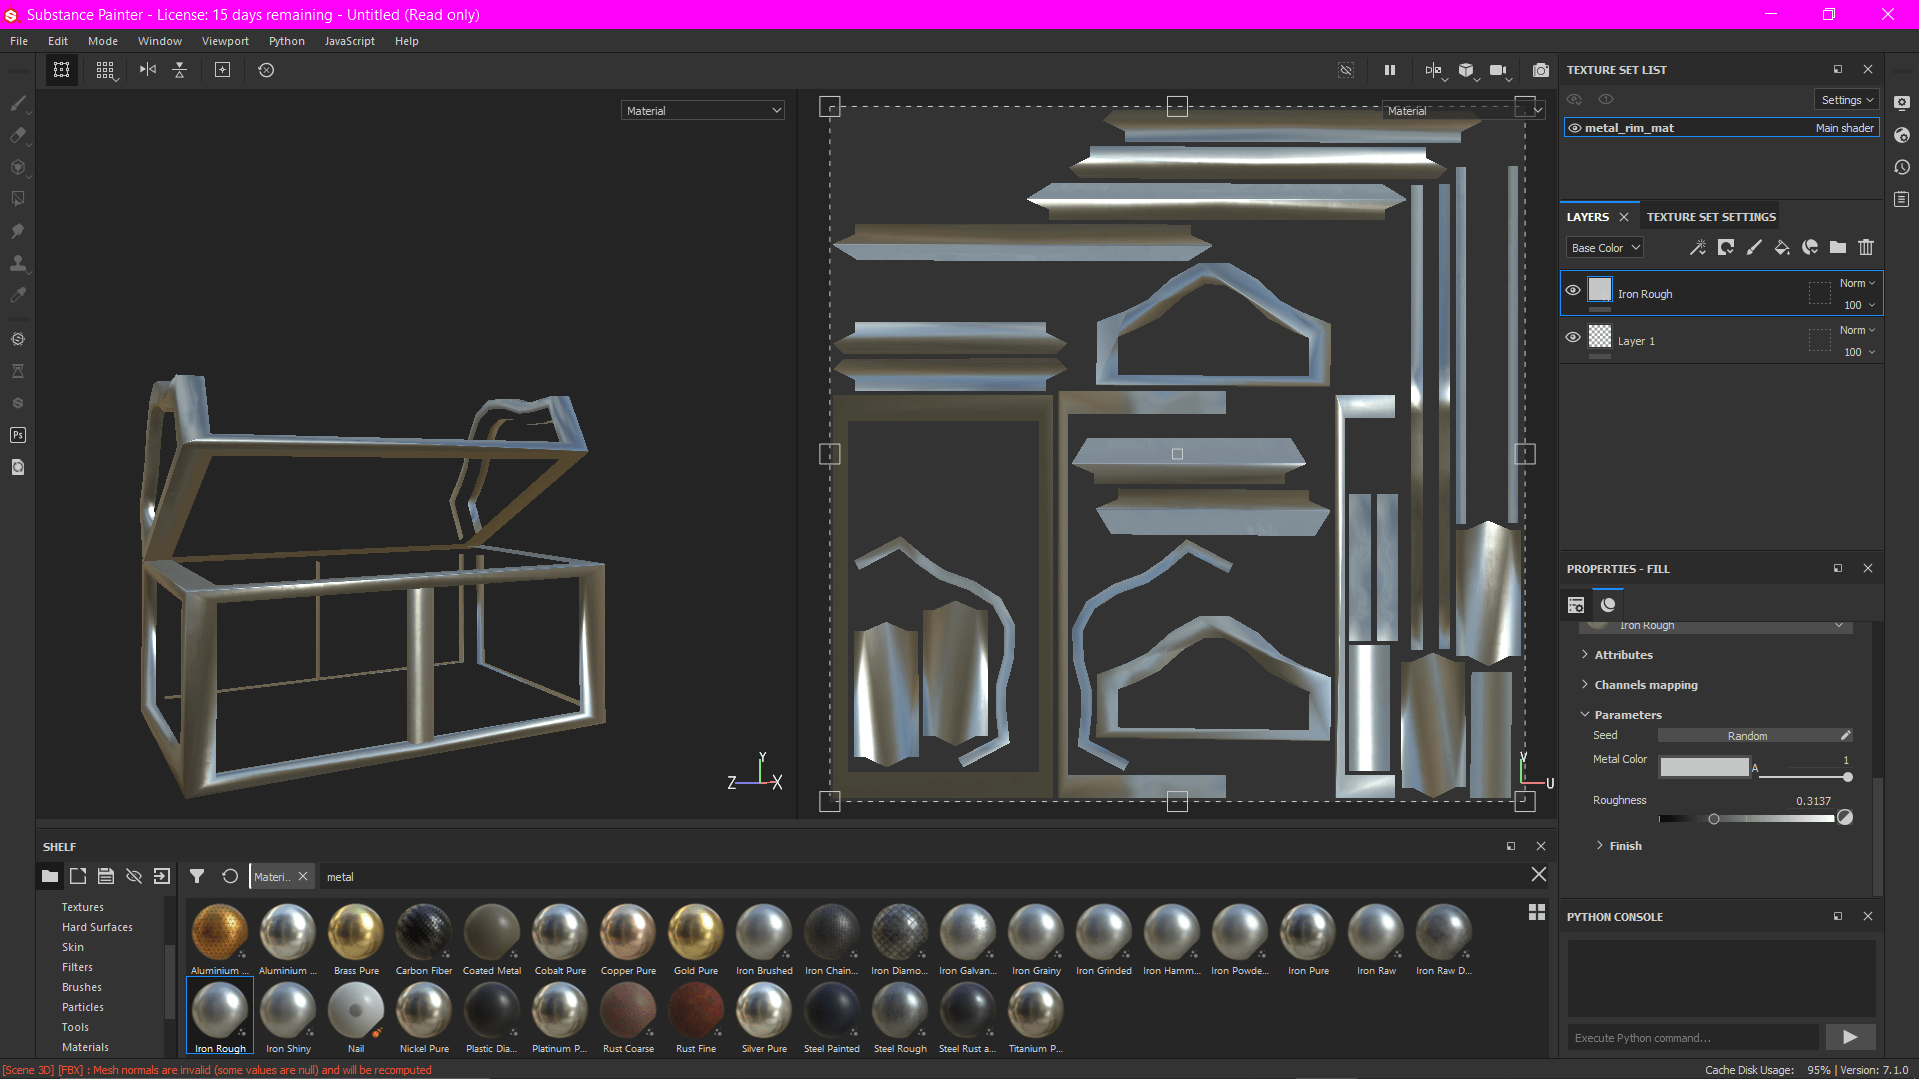
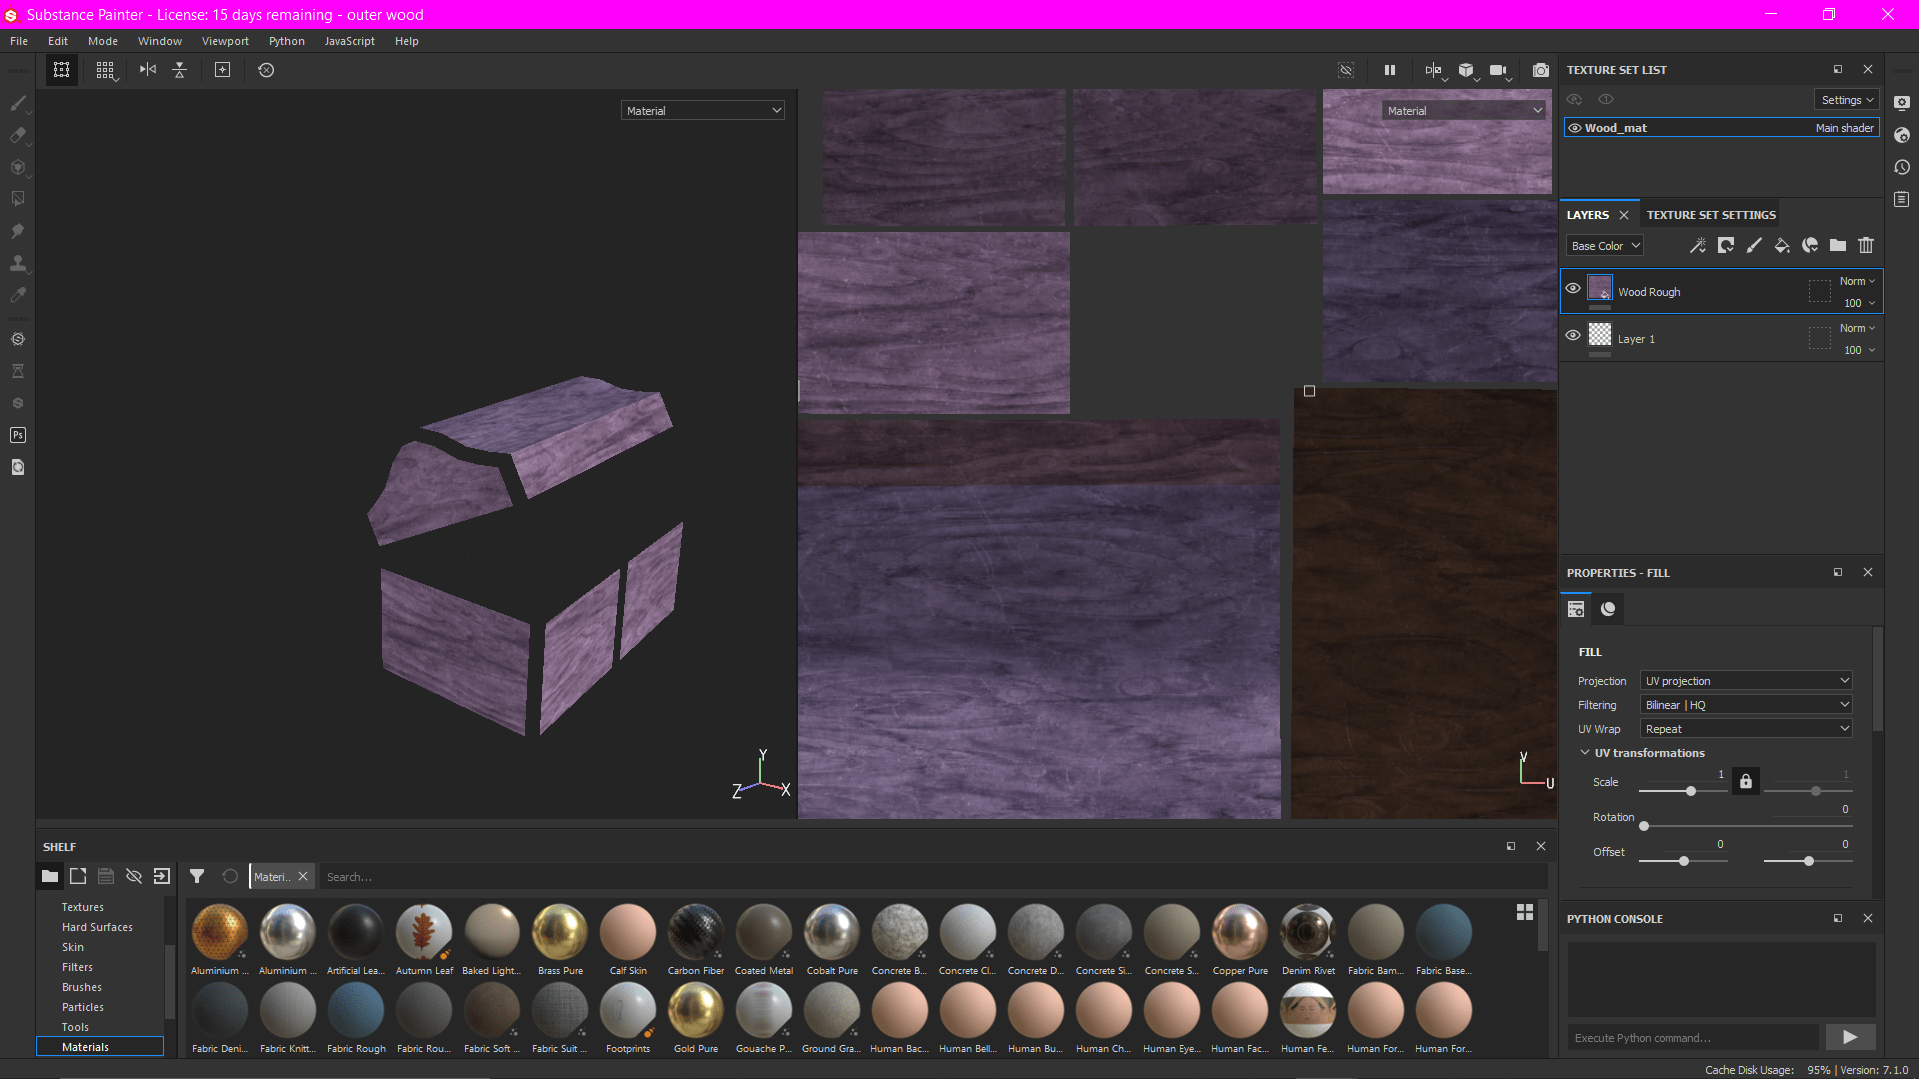
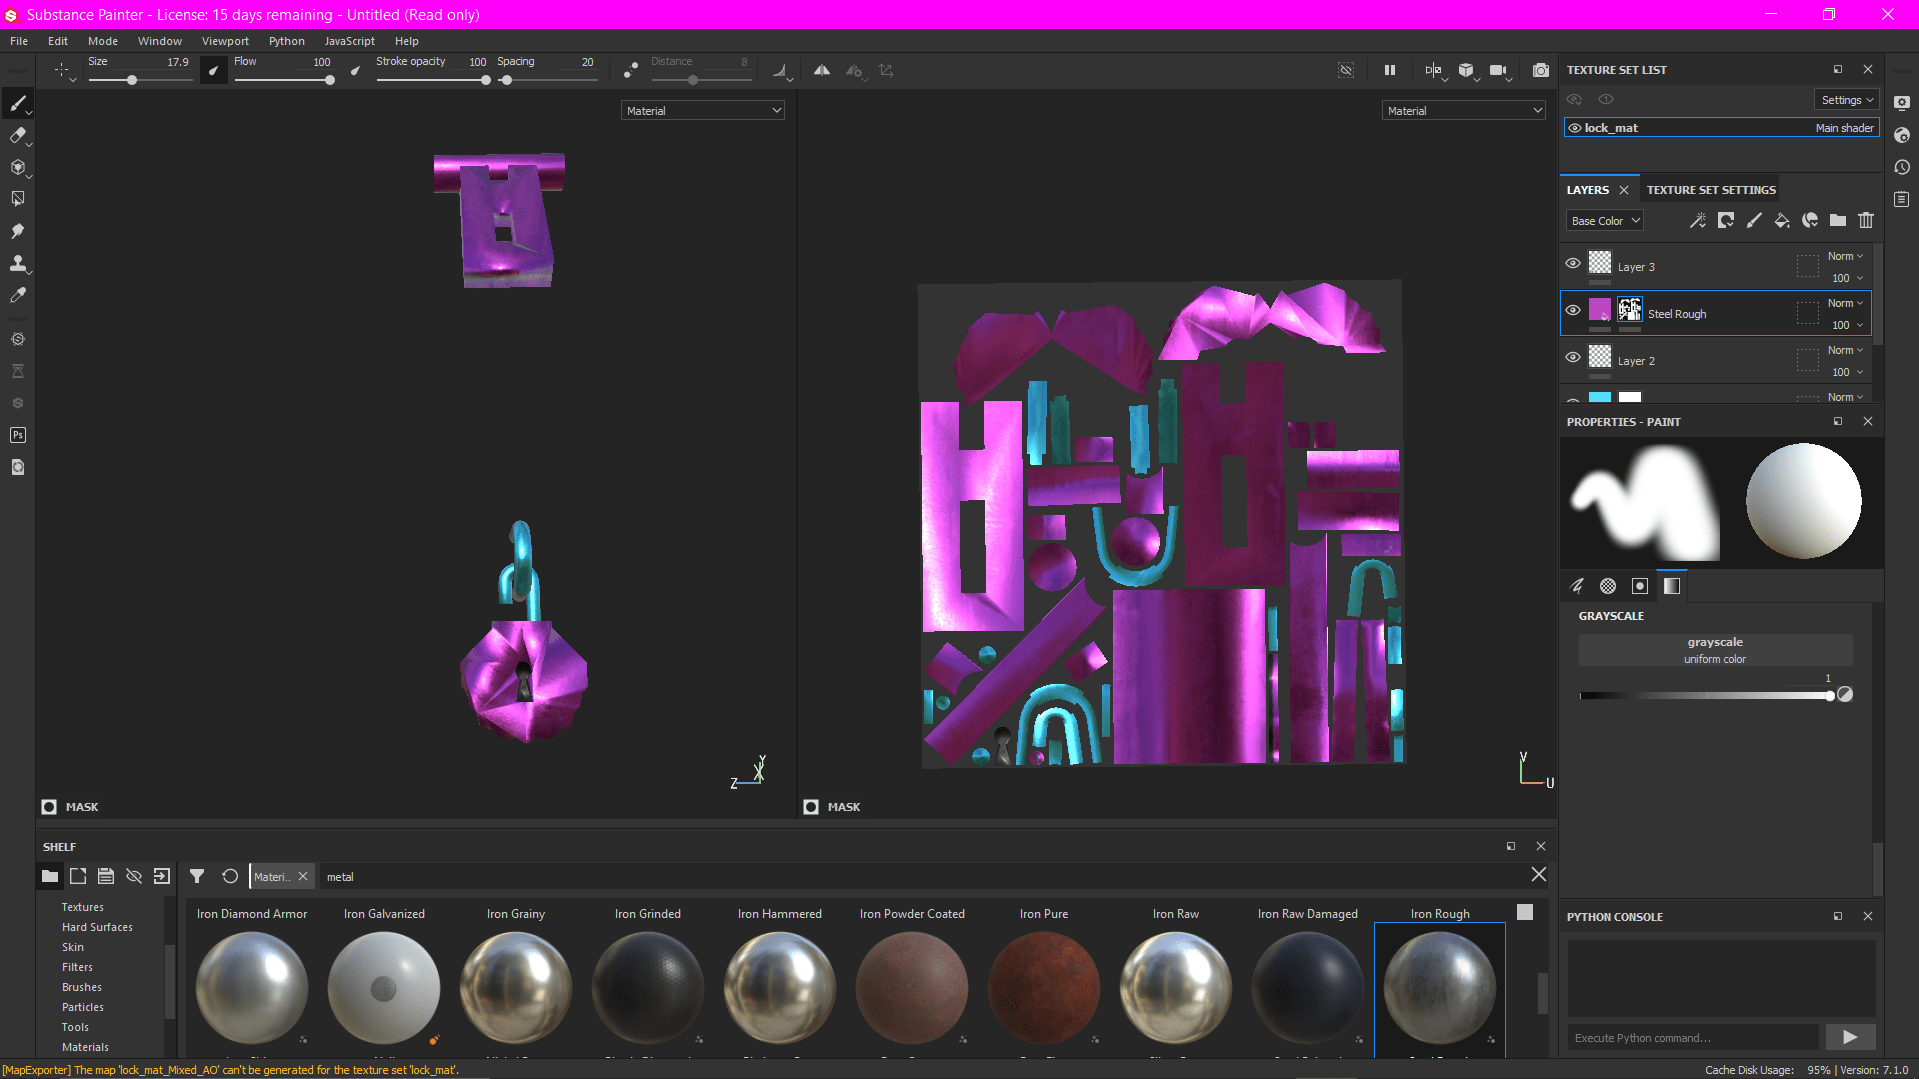
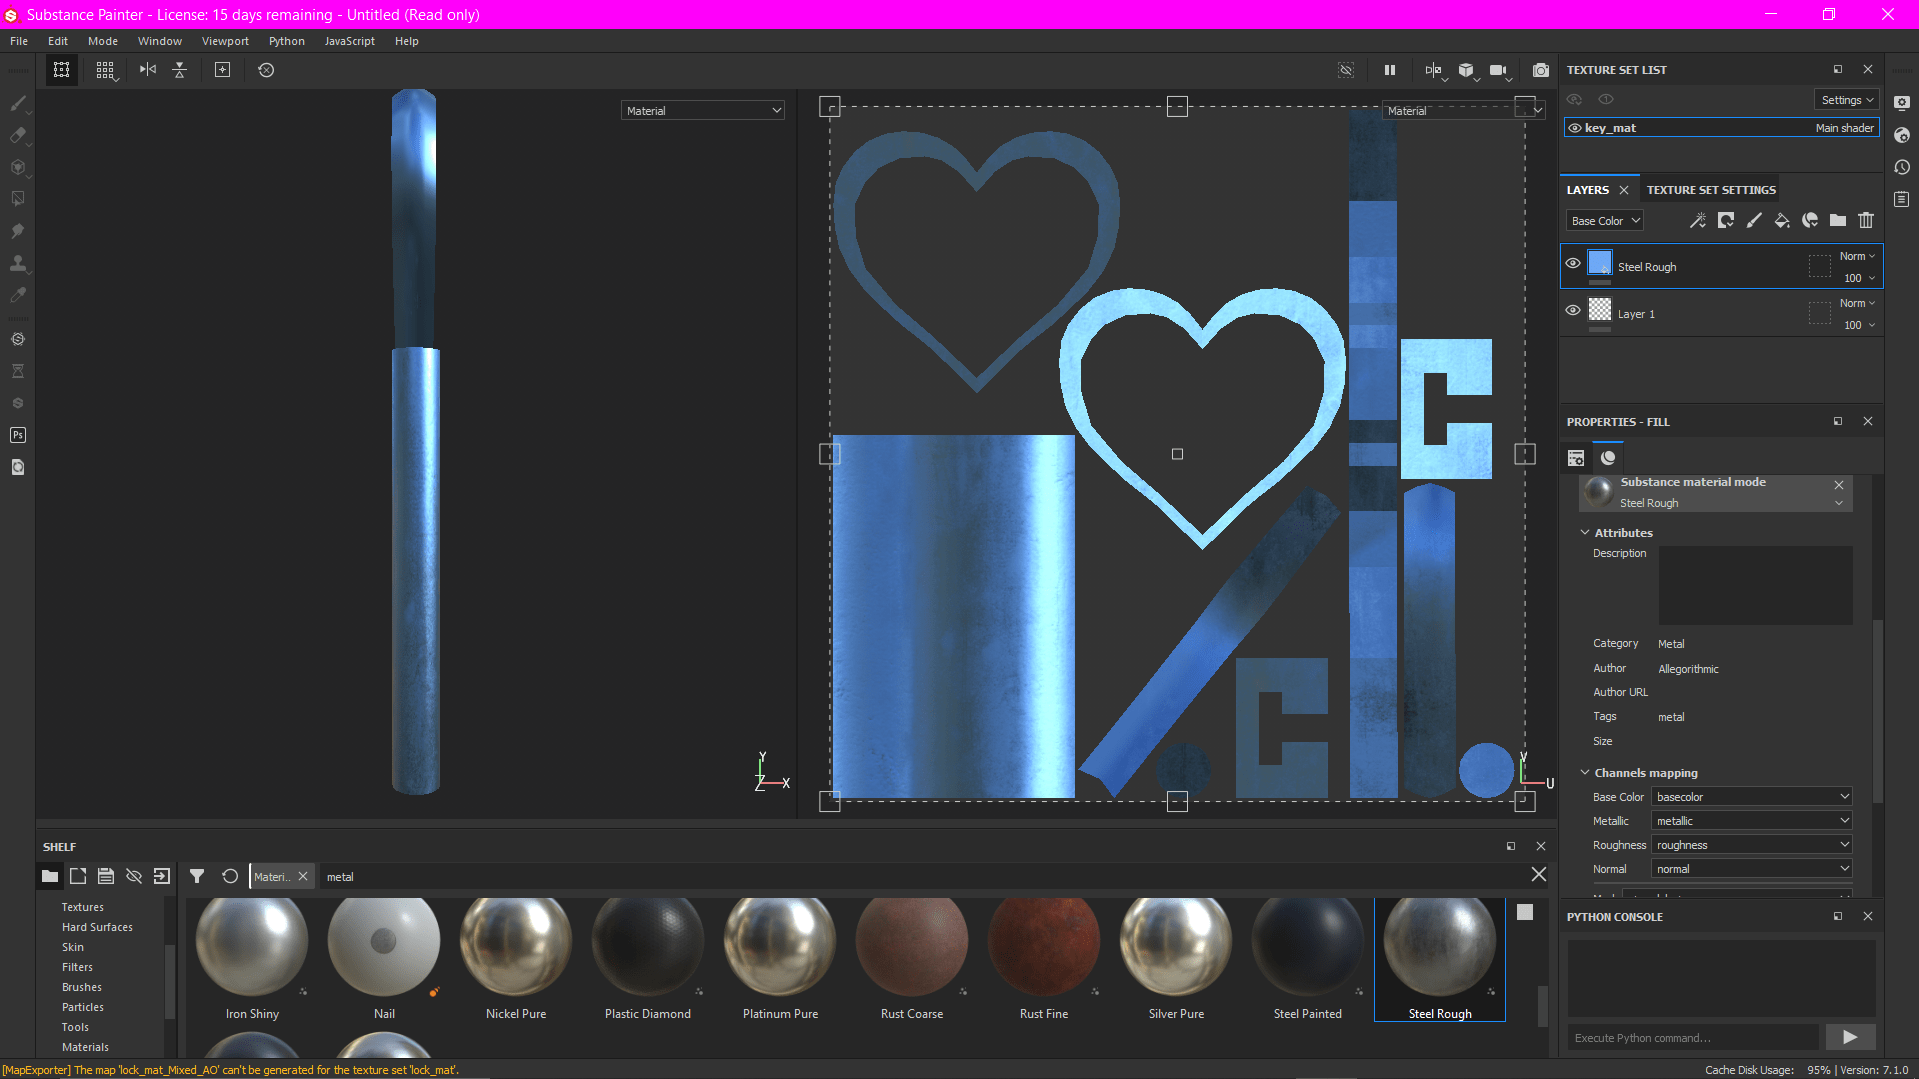
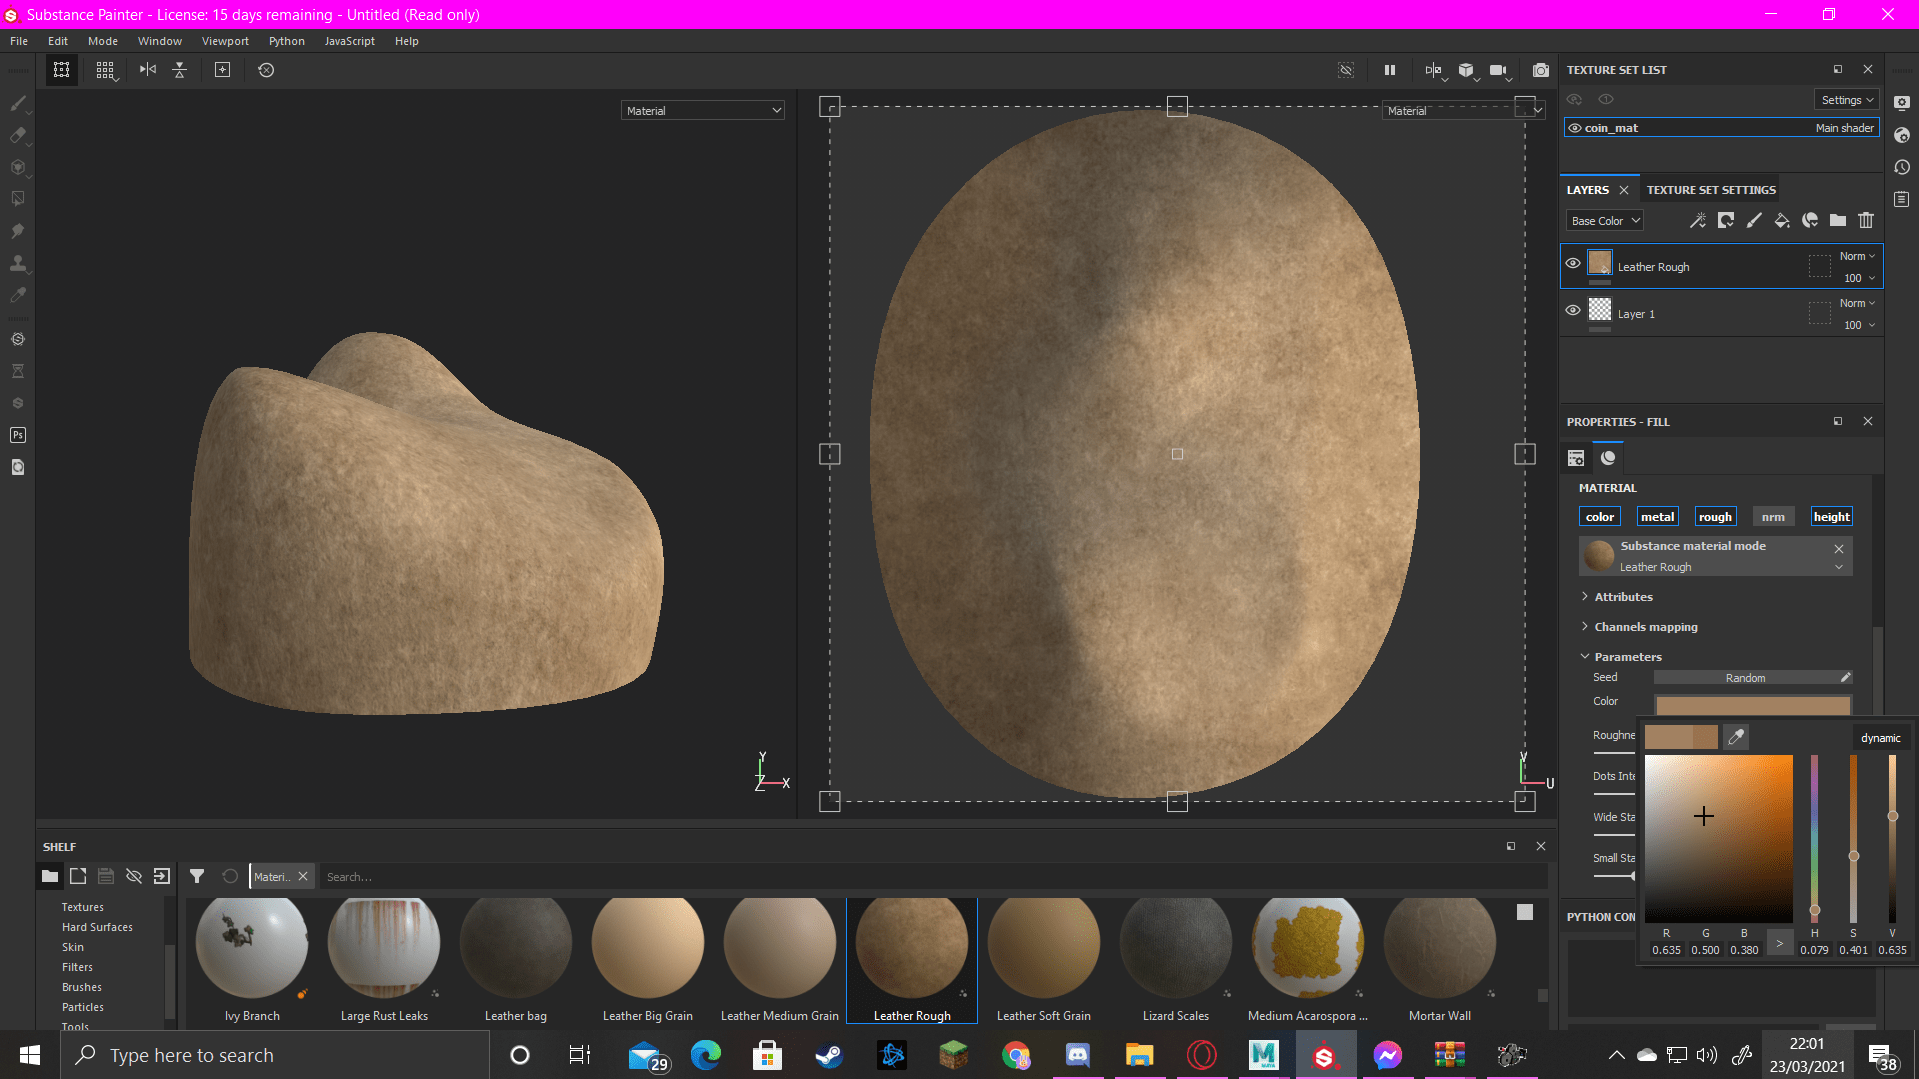
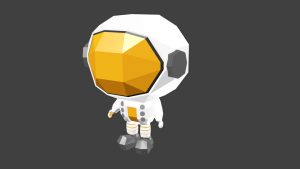
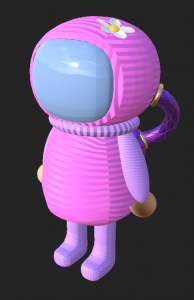
After the model was complete I had to export my model into Adobe Substance Painter to apply textures and bring the little character to life. I regret not pre-planning this or doing any concept art as it took some time looking through and decide what colours and materials looked best on the astronaut. I wanted to go for something cool/cute looking but nothing too crazy, because usually astronaut suits are just plain and simple. I liked the look of the ‘plastic stripes’ texture so that’s what I used over the majority of the model. Here’s how the model looked after painting;

I’m pleased with the way my model turned out but looking back on this assignment I wish I had of dedicated more time and this has really helped me learn the importance of pre-planning/pre-production.

Here is the finished model; https://sketchfab.com/3d-models/2e3ff04ec3894fe8bf1a3e0c513c654a


Assignment 1- Introduction to 3D Modelling

Model, UV unwrap, texture and real-time render one of the following:

  • Windmill
  • Mantel Clock
  • Treasure chest & treasure
  • Sword & shield
  • Sci-Fi door
  • Old Well
  • Magic Witch / Wizard Staff

This assignment will encourage you to design and practice the following skills:

  1. Using referencing images or creating your own concept from references
  2. 3D Modelling Techniques
  3. UV unwrapping
  4. Basic materials & textures
  5. Real-time rendering in Sketchfab

1.  References and Concept Art

  • Chest

I’d decided to go for the chest design as I thought overall it would be the easiest, and it had definitely been the only idea that stuck out and interested me most.  However, at this point, I hadn’t really thought about any themes and I was just planning on creating a standard, stereotypical treasure chest. so I gathered some reference images and began planning.

Initially, I thought I should go with a flat topped chest as it would be much easier for me when it came to modelling and texturing it.

But after some thought and research I though Id be better off doing a different shape as it would be more challenging for me and it would look more aesthetically pleasing for me to take on a more complicated shape.  So, after some searching, I’d found a shape I liked

I then began to create some concept art of my own that I could use and refer to when modelling rather than basing all of my model off of the images, but half way through, when deciding on what colour I wanted it, I had an idea on what theme I wanted to do. Firstly, I’d decided that I wanted to make my chest pink, however, this colour wouldn’t make sense for if this was a chest for your typical pirate, so I thought it’d be a really good idea to base my chest off of a mermaid/under the sea theme.

I’d found some images of pink mermaid chests and used them for ideas to add to my concept art. This is the final sketch of what I want to achieve in my model.

  • Extra details

As if have chosen to design a treasure chest and treasure, I had to plan what kind of treasure I wanted to fill my chest with, so I made a list with some ideas;

  • Coins.
  • Lock.
  • Key.
  • Hairbrush.*
  • Hand mirror.*
  • Jewels and Jewellery.

*(I had to discard these ideas due to time restrictions/the difficulty of them)


When designing the coins I realized that I was going to be making it difficult for myself if I have to fill the entire chest with coins and other small objects, so I was planning on just creating a false bottom in the chest.

After my 1 to 1 tutorial with Michael on the 3rd of March, he was able to provide lots of tips and tricks, but he had a great suggestion that was much better than doing a false bottom. He suggested that I made what he referred to as a “blob” for the bottom of the chest that would later be textured and painted to look like a big pile of coins. I really liked this idea and it meant that now I wouldn’t have to duplicate and place hundreds of little coins.


2. Modelling

  • Chest

Before I started modelling, I made sure I had the recording of my tutorial with Michael handy so I could follow along with his advice while model my chest.

I started off my model with a basic cube and scaled it to the size I wanted the whole chest to be, top and bottom.

After I finished modelling, my lecturer helped me out with getting it ready for uv mapping etc.

  • Chest “loop” 

For the loop on the front of the chest I used the doughnut shape in Maya, scaled it down in size and then cut the shape in half. I then placed this on the front of the bottom part of the chest model.

  • Chest “latch”

For this, I used two separate shapes. I started with a cylinder and a cube and scaled them down to fit nicely.

After I’d achieved the shape and size I wanted, I created a hole in the latch for the loop of the chest to fit into, in order to lock the chest.

Here is the finished latch model.

  • Lock

When modelling the lock I also used two separate shapes. I started with the same shape as I did for the chest loop and used the same method to achieve the shape, only this time i use the extrude tool to pull down either end of the loop to make it look more the the top of a padlock.

Then, for the bottom part of the lock, I used some more of Micheal’s advice from our 1 to 1 advice talk. He suggested for any complicated shapes, like the shell shape I’m using for my lock, that I started off with a large block and then use the multi-cut too cut out the shape I wanted. For this, I decided to use a reference image of a shell behind my model and follow the shape of  that.

Before I got to cutting the shape, I decided to scale out the vertices on the top to create a trapezium-like shape. The I used the multi-cut tool to create lines where the bumps on the shell were going to be.

This is how it looked when I finished cutting it.

As I was only working off of one side on the model, I had to ensure that the other side looked the same, so I used the multi-cut tool again to cut the model in half. After this, I deleted the other side of the model and simply mirrored what I was left with.

I think I found the lock the hardest to model overall.

  • Key

For the key I used two different cube shapes, cut into shape,  and a cylinder shape.  This model was also quite difficult but I  really enjoyed the challenge.

  • Sand “blob”

  • Coins

For the coins, I only had to model one, then I cloned it lots of times and placed them all around the sand blob, and some in front of the chest on the ground.

3. UV mapping

  • Chest

  • Loop, latch and lock

  • Key

  • Sand

  • Coins

4. Basic materials & textures

  • Chest

  • Loop, Latch and Lock

  • Key

  • Sand

  • Coins

5. Real-time rendering in Sketchfab

I used this YouTube tutorial for uploading my model to Sketchfab:


 Reflection

I really enjoyed this assignment, it was really challenging but I learned so much from it. Unfortunately, I wasn’t able to achieve what I wanted overall in the final outcome but that was due to me underestimating the amount of time it would take. The biggest lesson I learned from this was the amount of time and commitment that goes into modelling/animation and I am definitely going to dedicate more of my time into working on my other assignments.

I’m still not 100% confident with UV mapping but I’m happy that I can now at least say I know what I’m doing! It was very helpful and reassuring that I was able to ask Alec for assistance with my mapping. I had also received some advice from a few classmates to help better my model.